

There is something about these pink Atlas machines that folks love. For many, it is the retro styling and distinctive color. For me, it is the smooth running and the high quality of it’s stitch and manufacture. All in all and between us, it is a win-win and this Atlas has something about it that everybody can love.
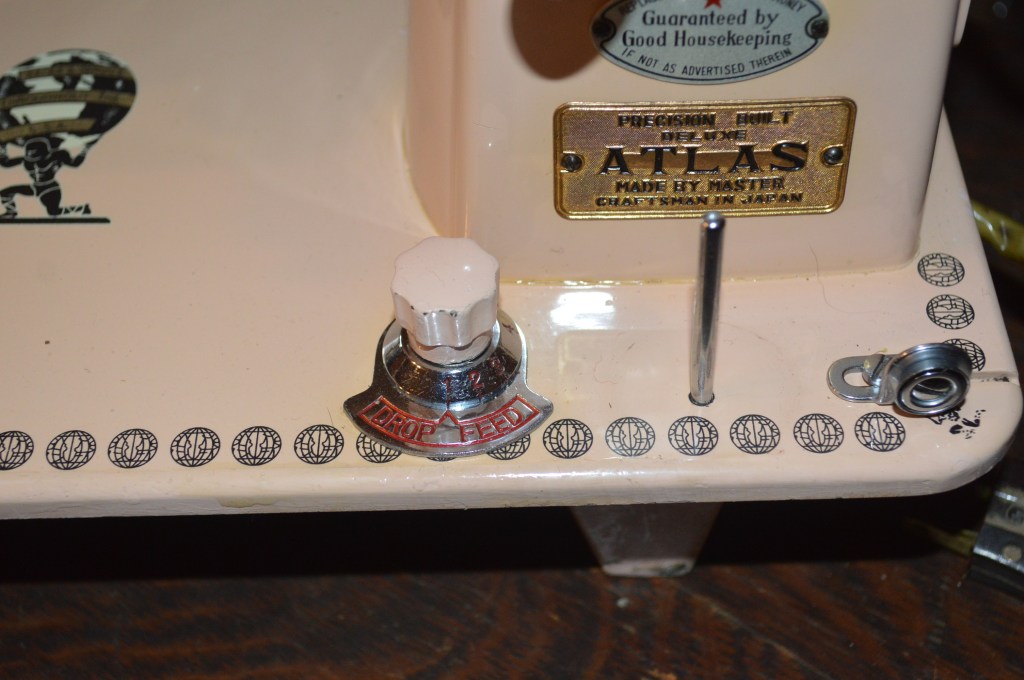
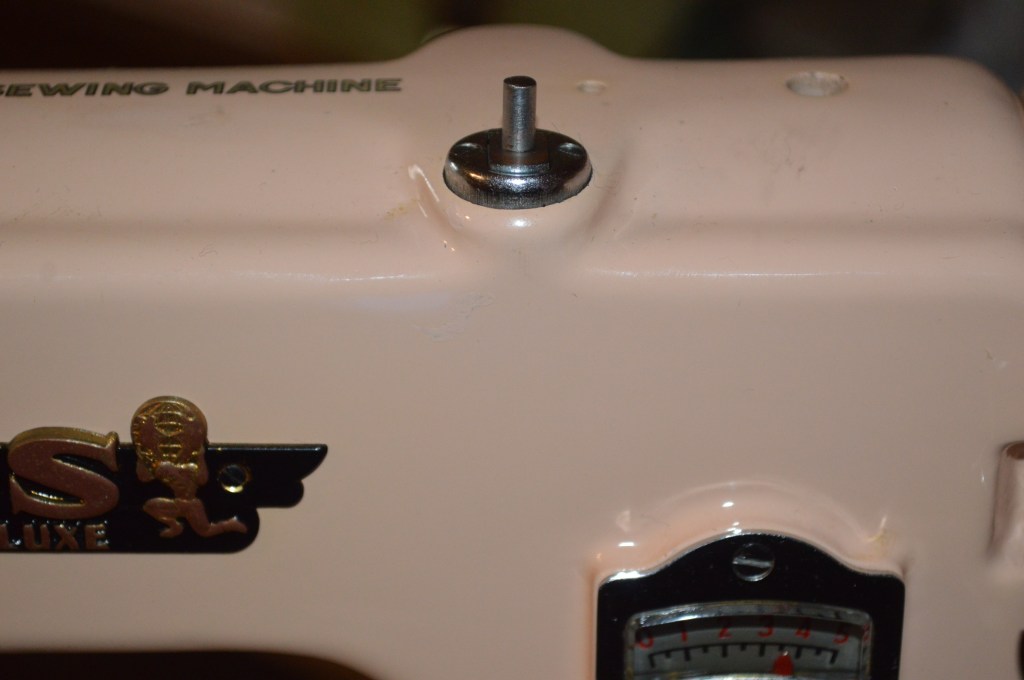
The Atlas Precision Sewing Machine is just what it’s name says it is… it is a straight stitch precision sewing machine. It is an all metal fine quality machine in all aspects you would consider. It is a class 15 machine that produces a fine quality stitch, has great speed, feed, and tension control, and is made with a cast iron bed and frame… very stable and very durable.
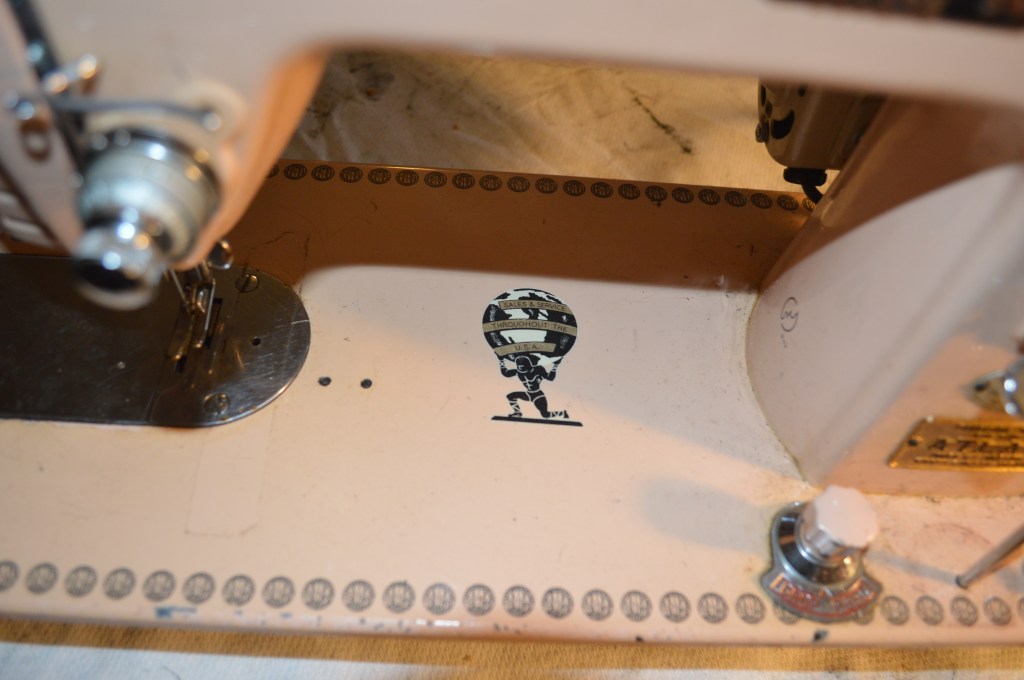
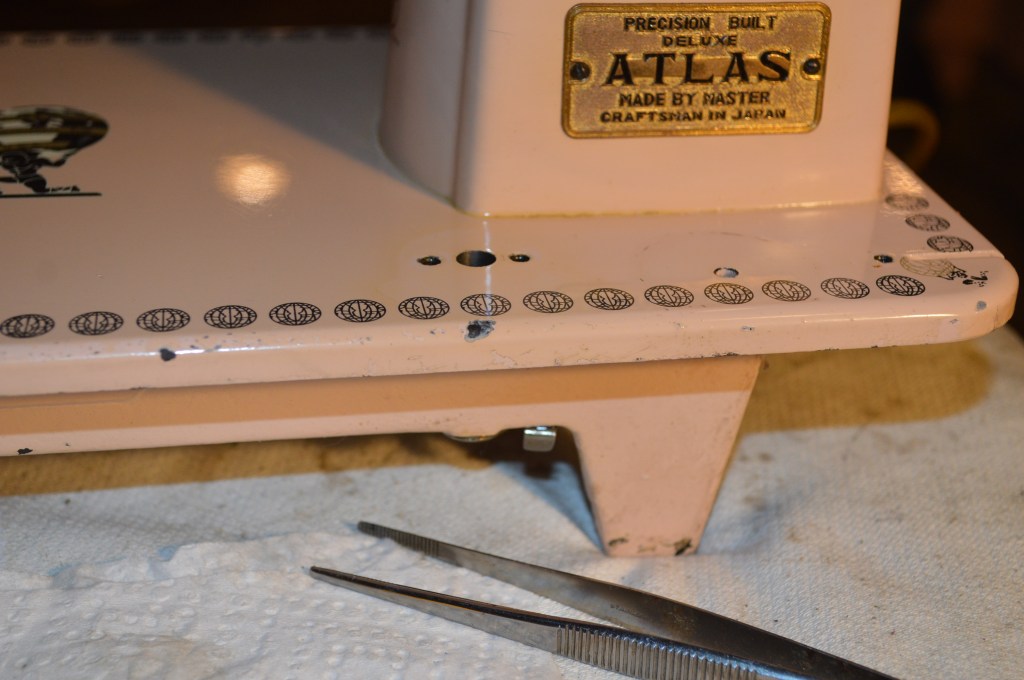
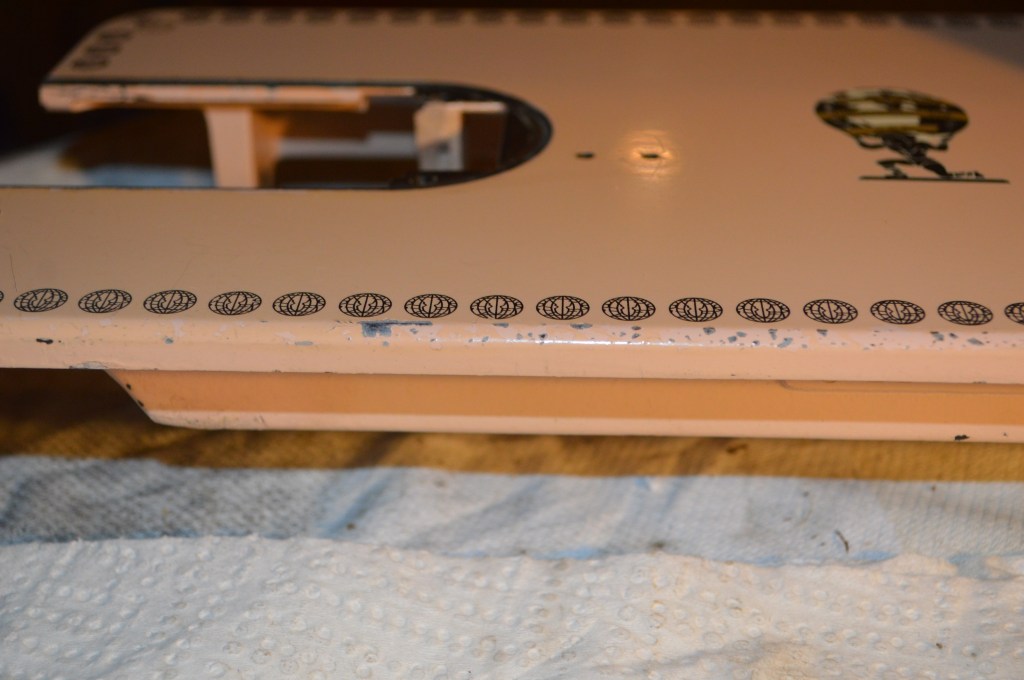
For starters, this particular machine is in great cosmetic condition. The bed decals are near perfect and there are only the slightest paint chips here and there. These are no problem for this restoration because they will be corrected by color matching the paint. The mechanical restoration is very straight forward and includes the disassembly and cleaning of all of the sewing mechanism parts. The motor and tension assemblies will be disassembled and restored. and everything will be buffed and polished. When complete, this “Pink Atlas” will turn back the hands of time and be a near perfect machine in all respects… dare I say “good as new”? Well, lets get through the restoration and then you decide.
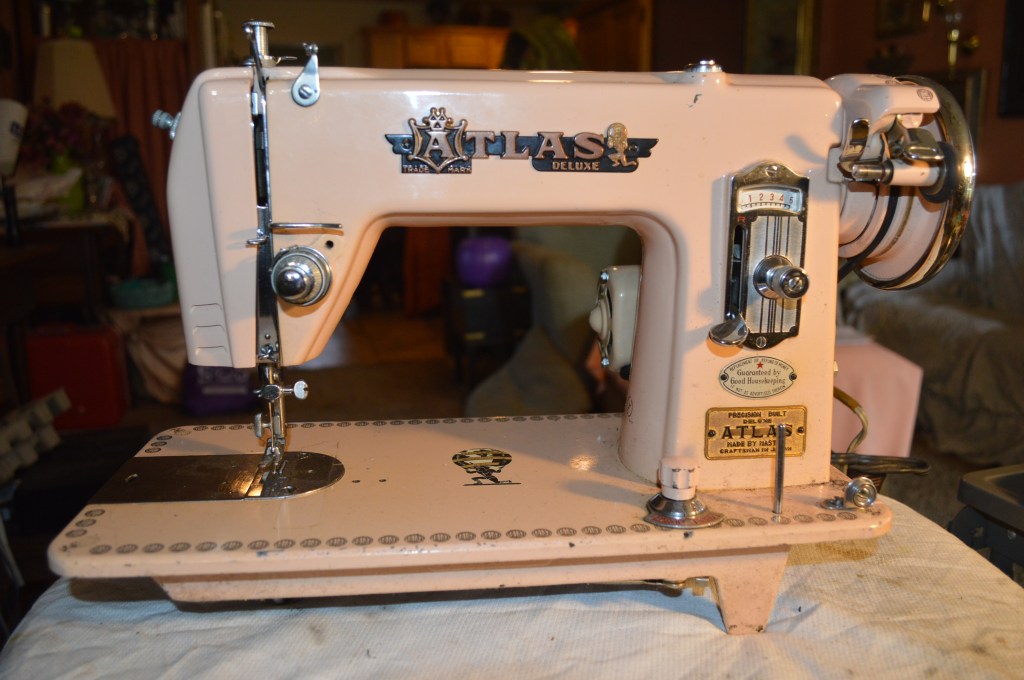
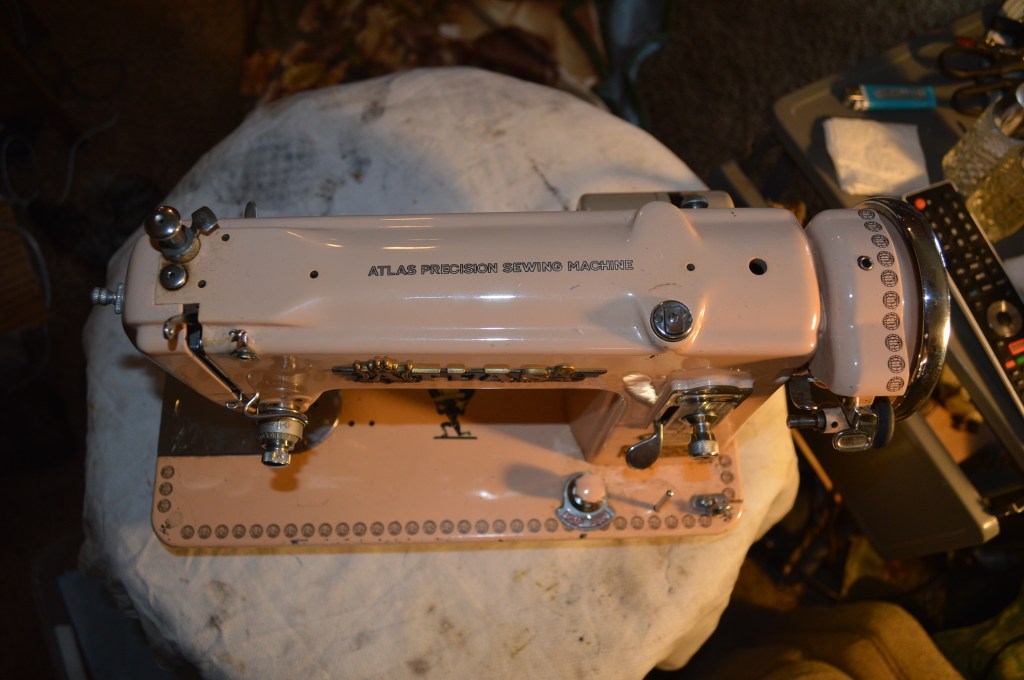
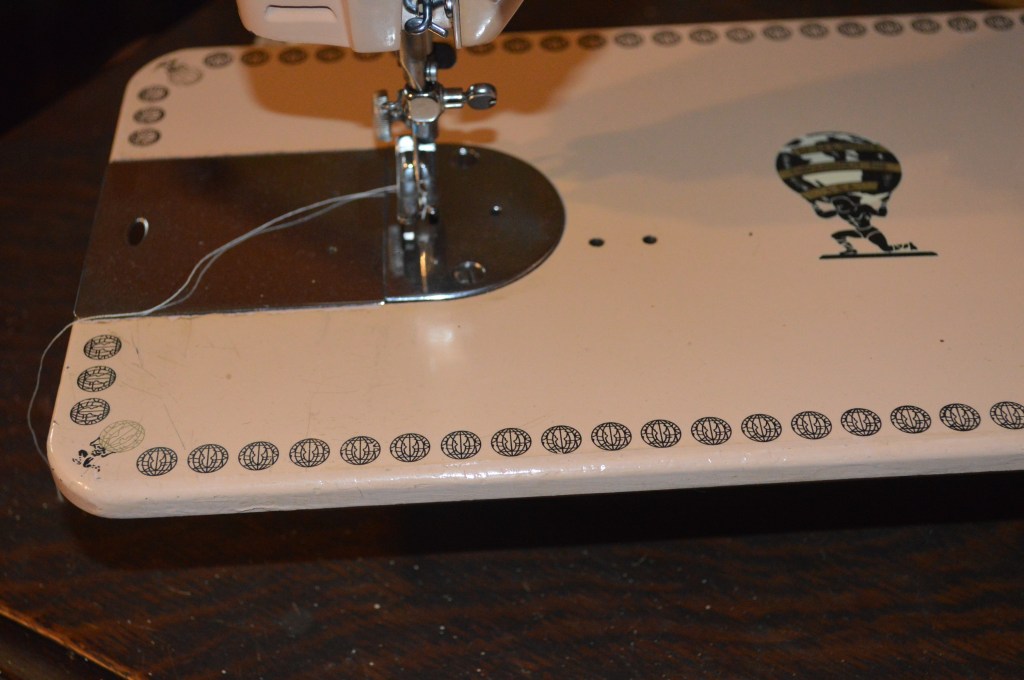
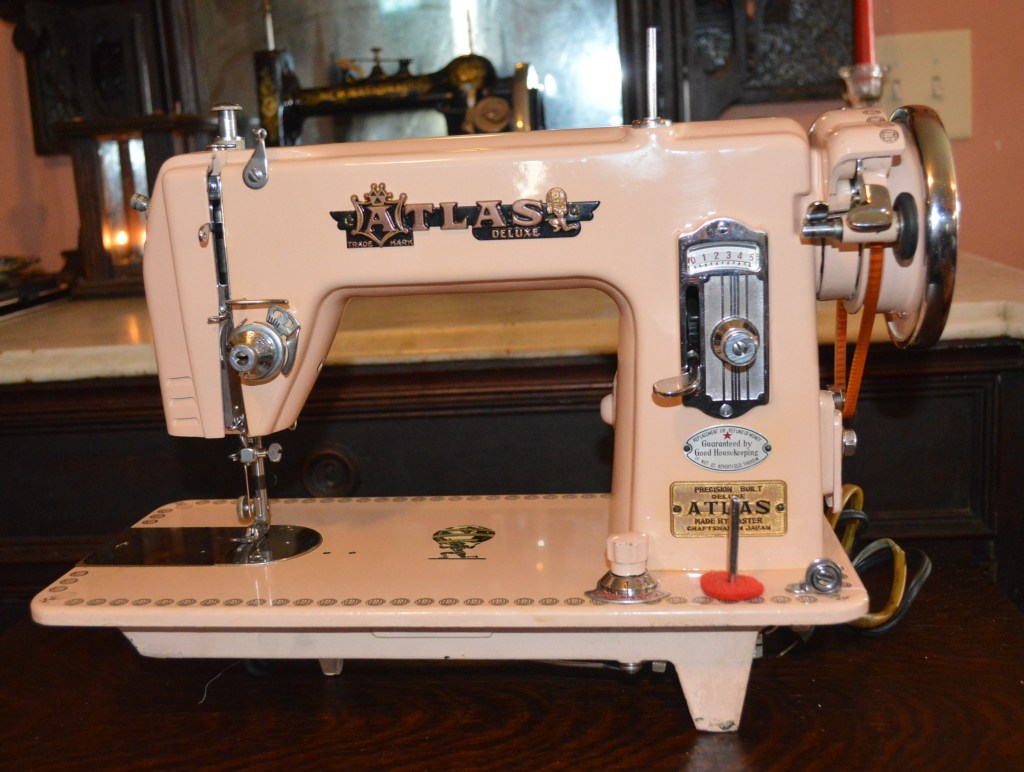
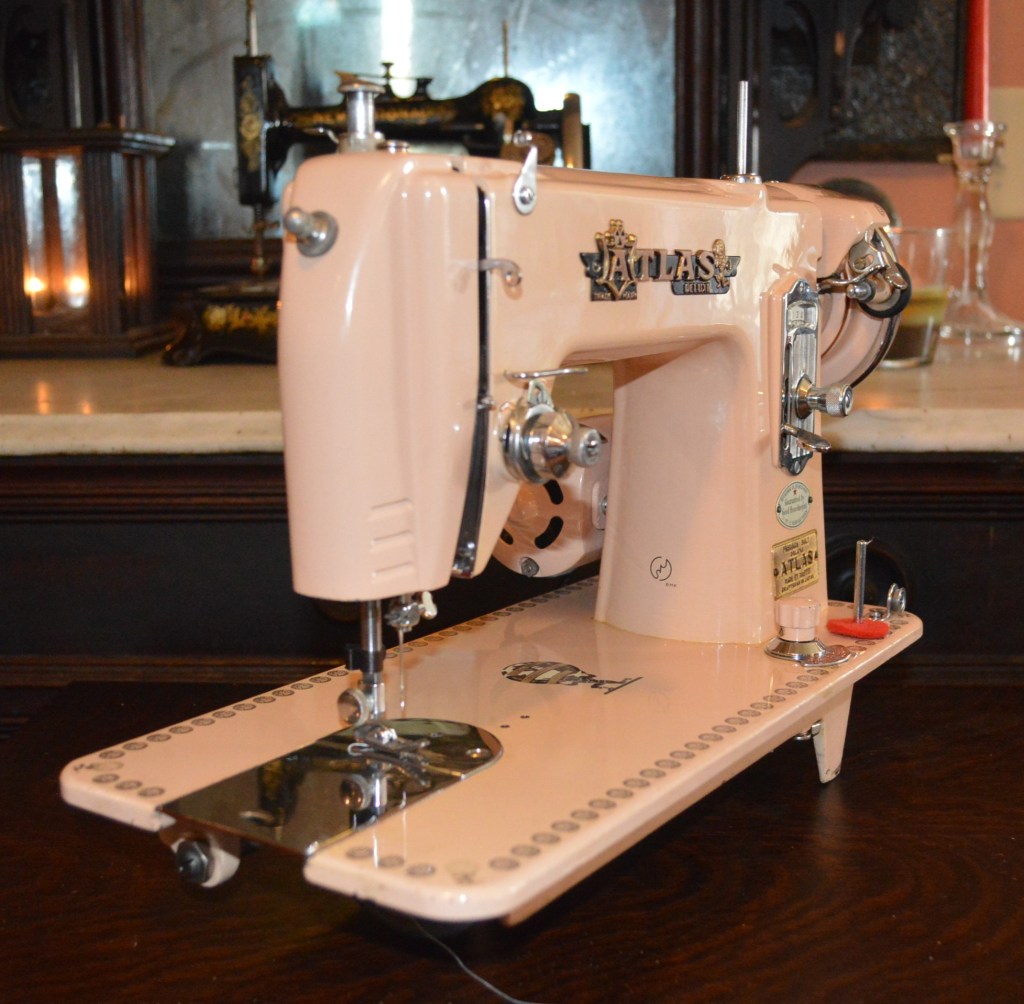
Here is the machine before the restoration begins…
The machine is disassembled. including all of the plates and badges. The great thing about this machine is that most of the badges are attached with screws. This allows them to be removed and this enhances the cleaning of the machine. Badges that are riveted are left attached and cleaned on the machine. Except for the arm shaft, disassembly means removing every part in the machine. The arm shaft is moved thru the bushing to access the contact areas and these are cleaned on the machine. Disassembly is as follows…
Presser foot removed 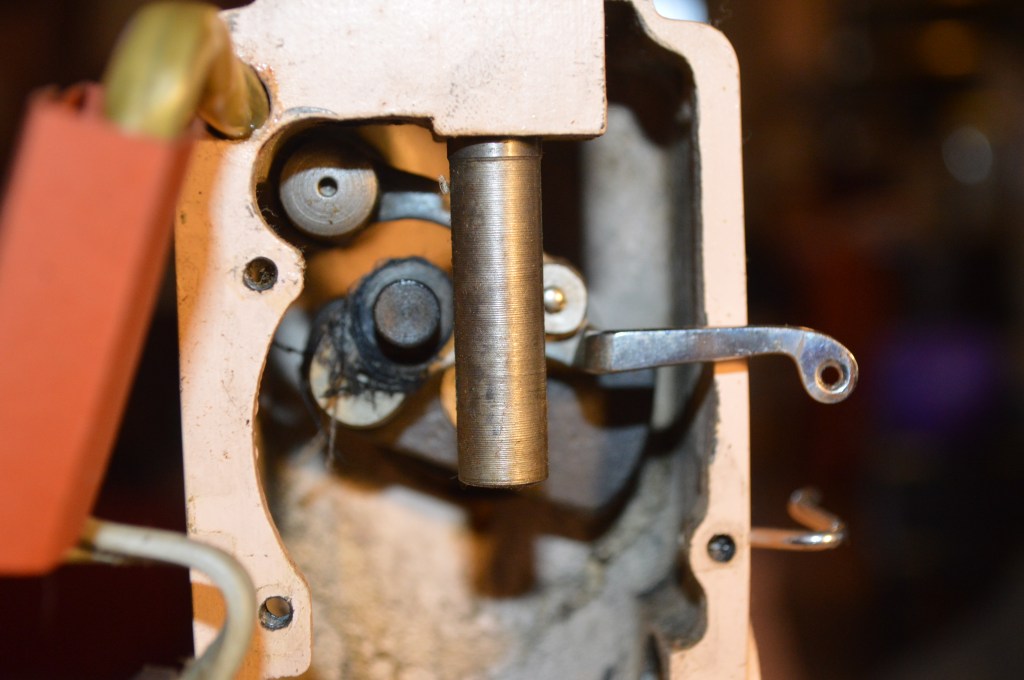
Needle bar and take up assembly removed 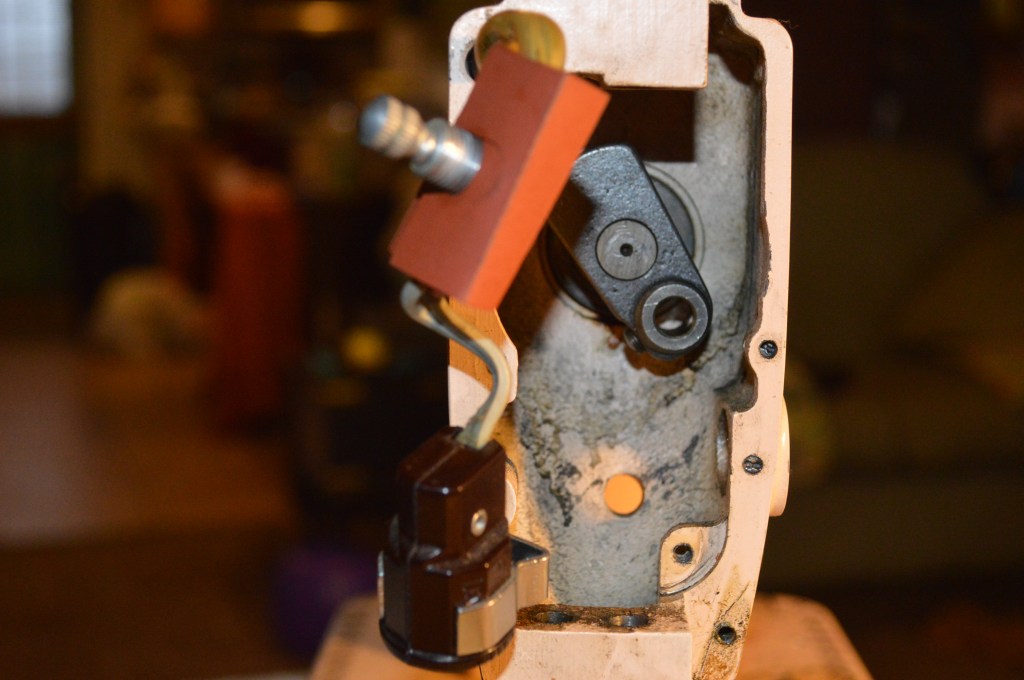
Disassembled 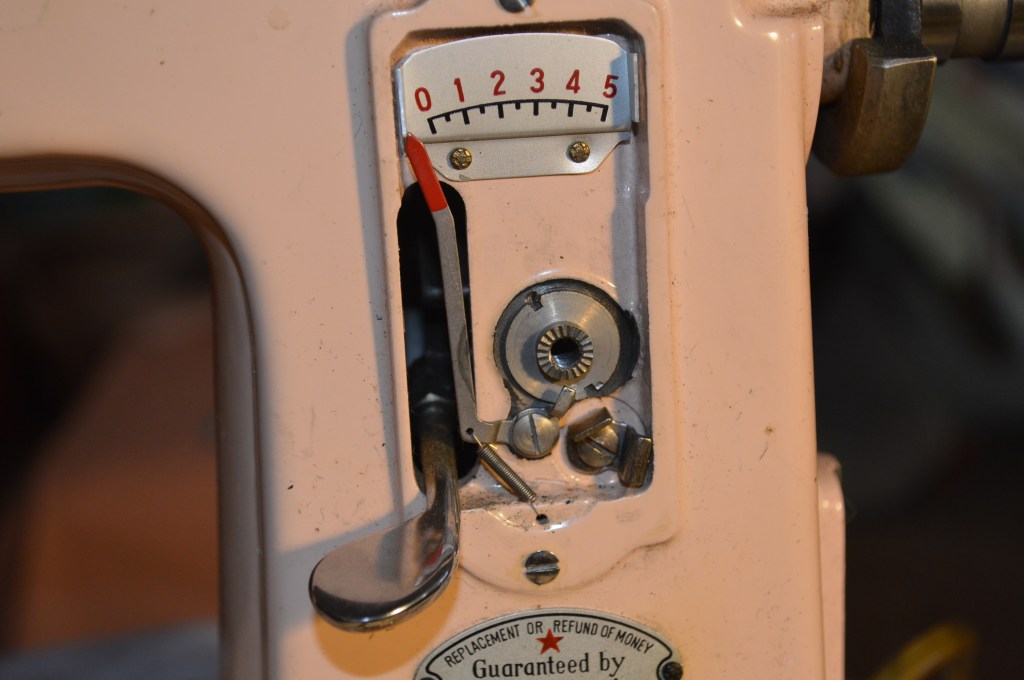
Stitch length plate removed 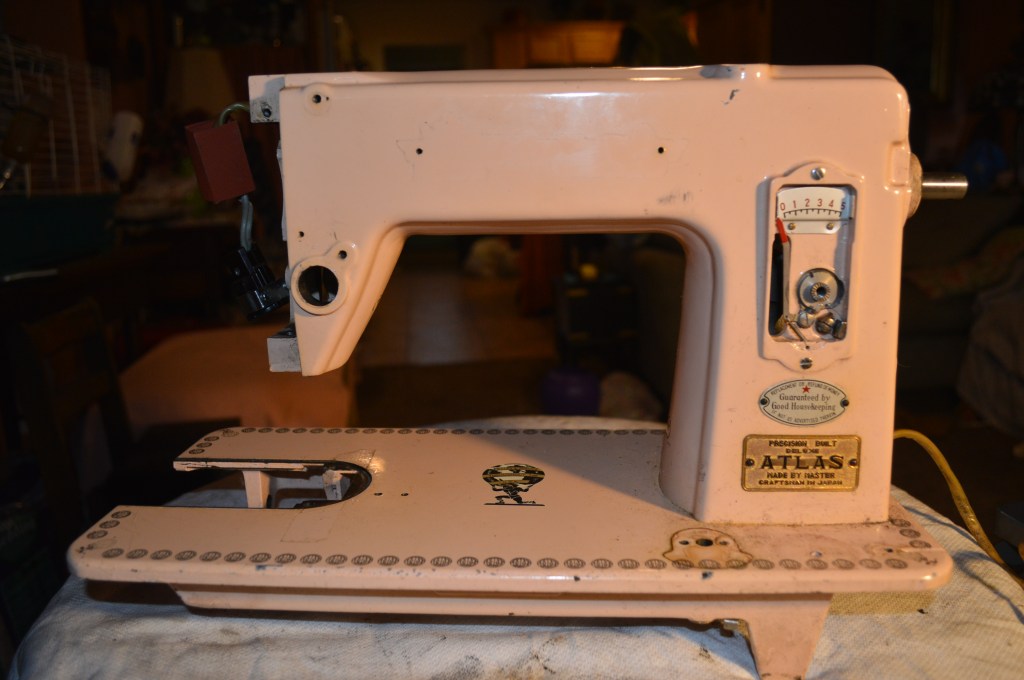
Badges removed 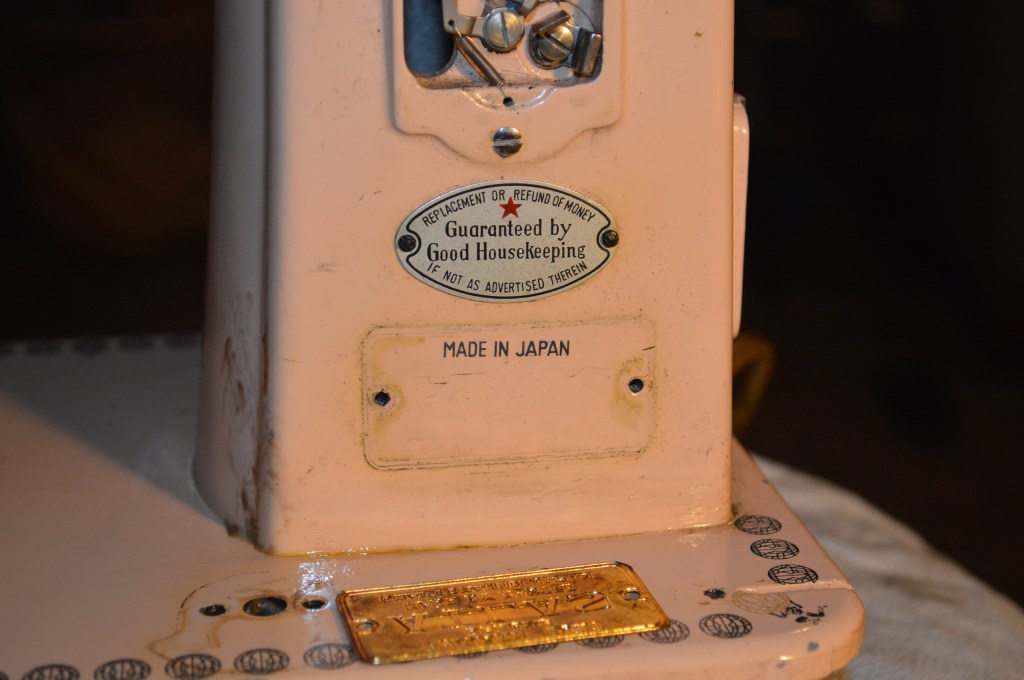
“Good Housekeeping” badge is rivited to the machine. It is cleaned in place 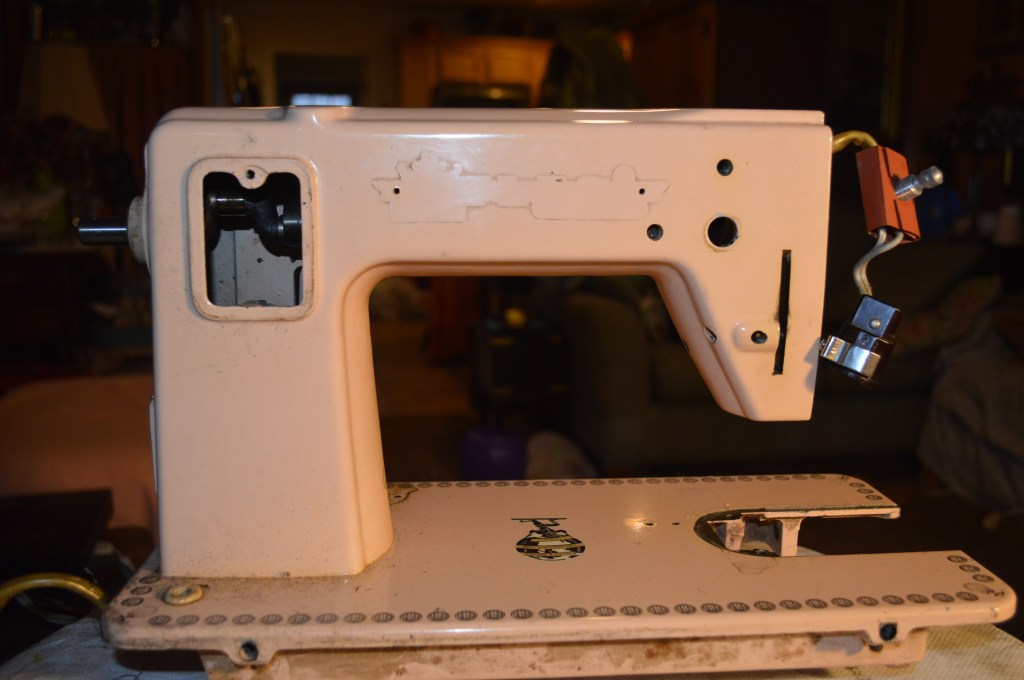
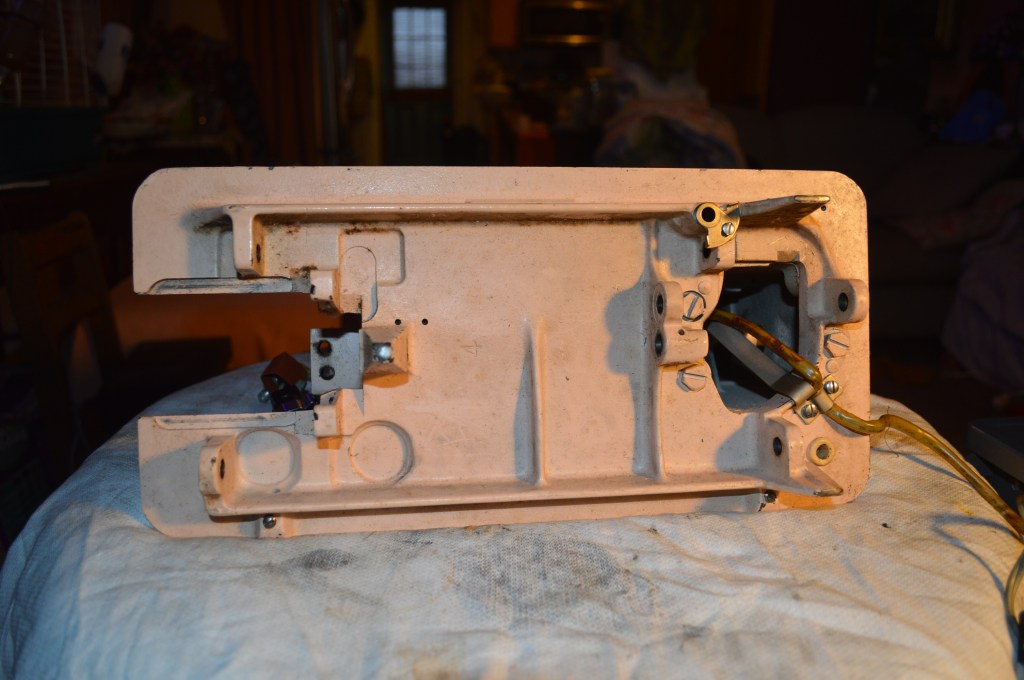
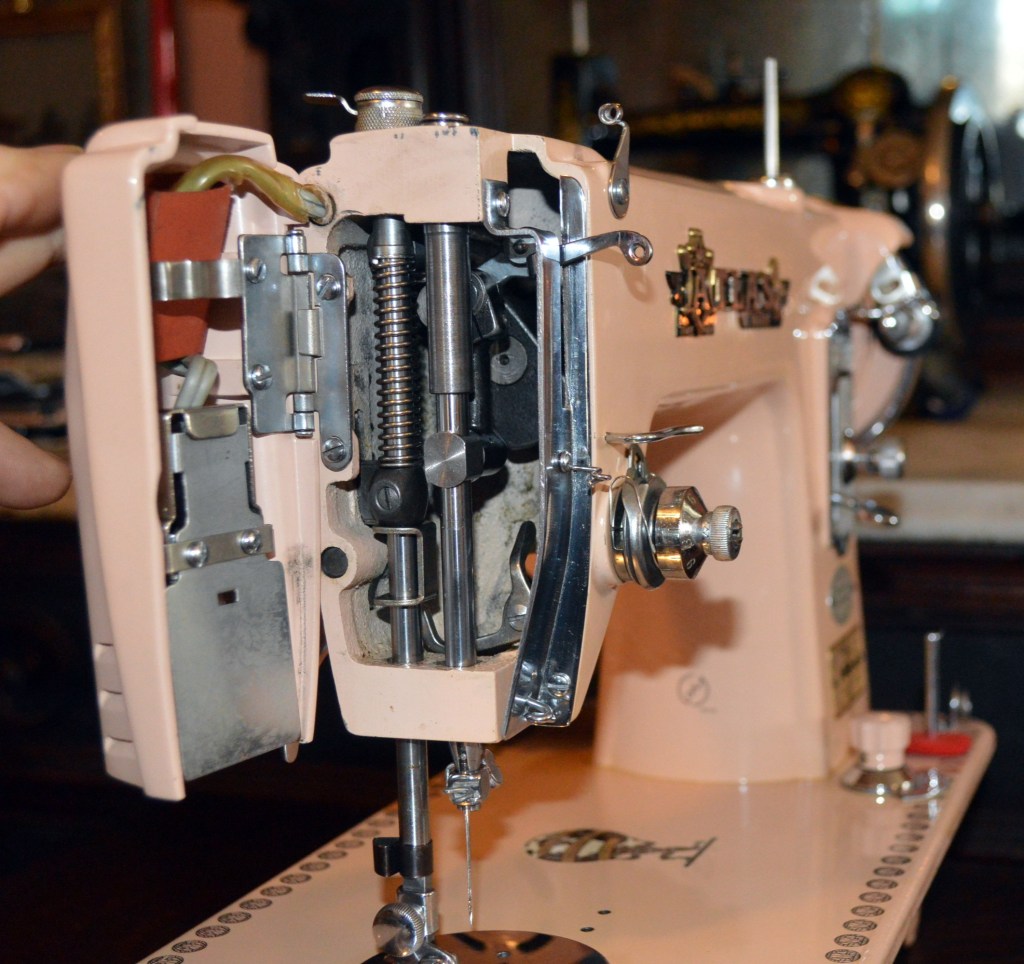
All Sewing mechanisms are removed
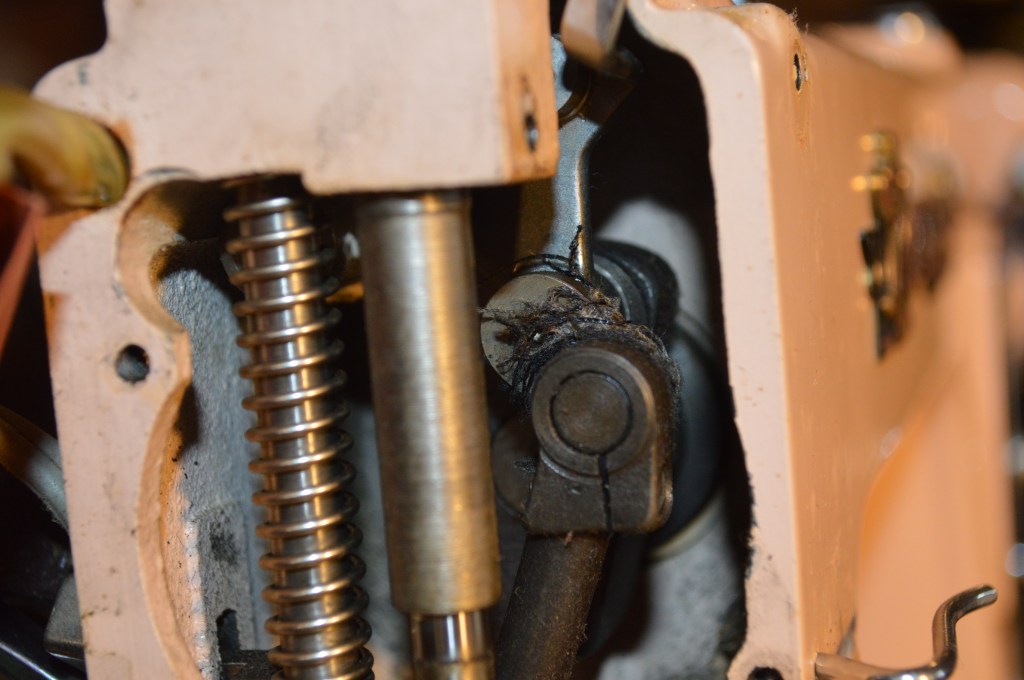
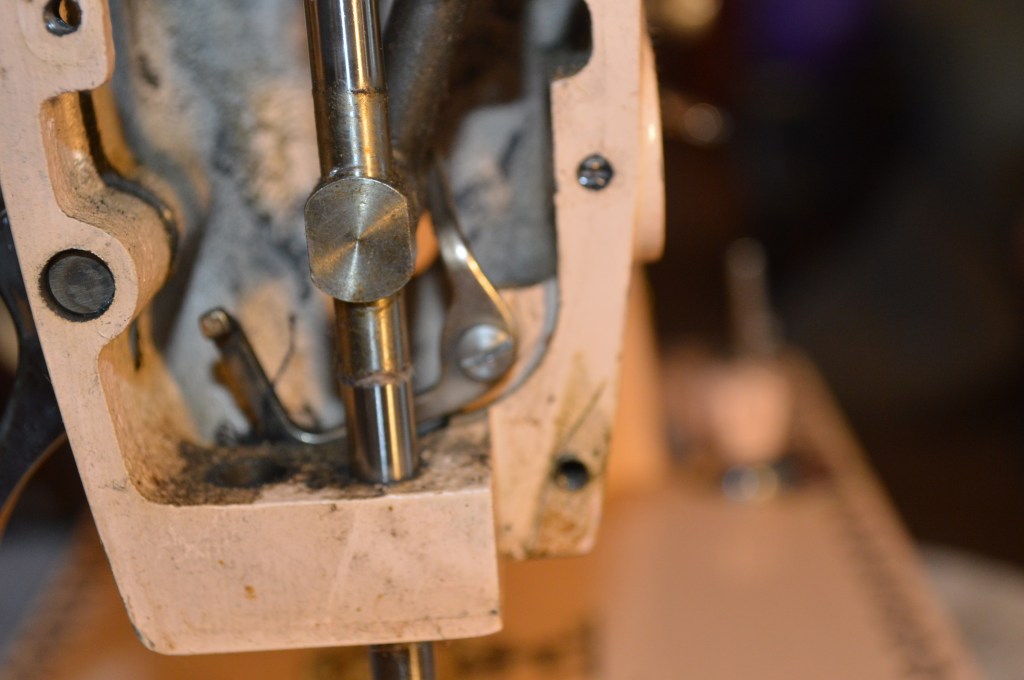
Did you notice the thread nest behind the needle bar take up arm assembly? This is an example of why disassembly is necessary in a restoration. No way to remove this without leaving thread behind otherwise.

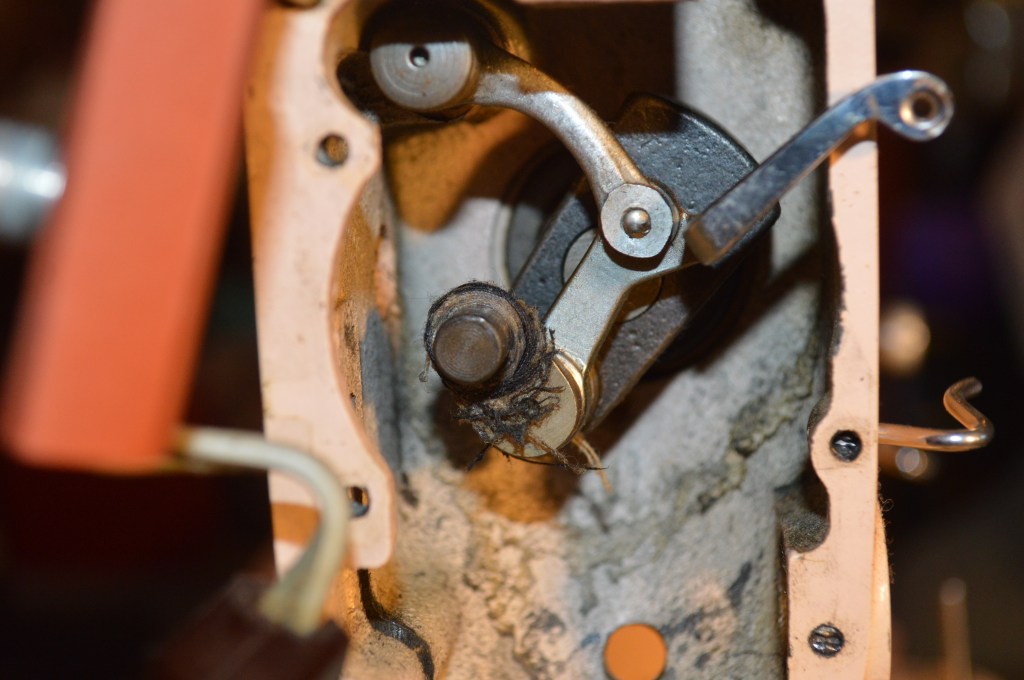
Still there… Need to disassemble everything to clear this thread nest
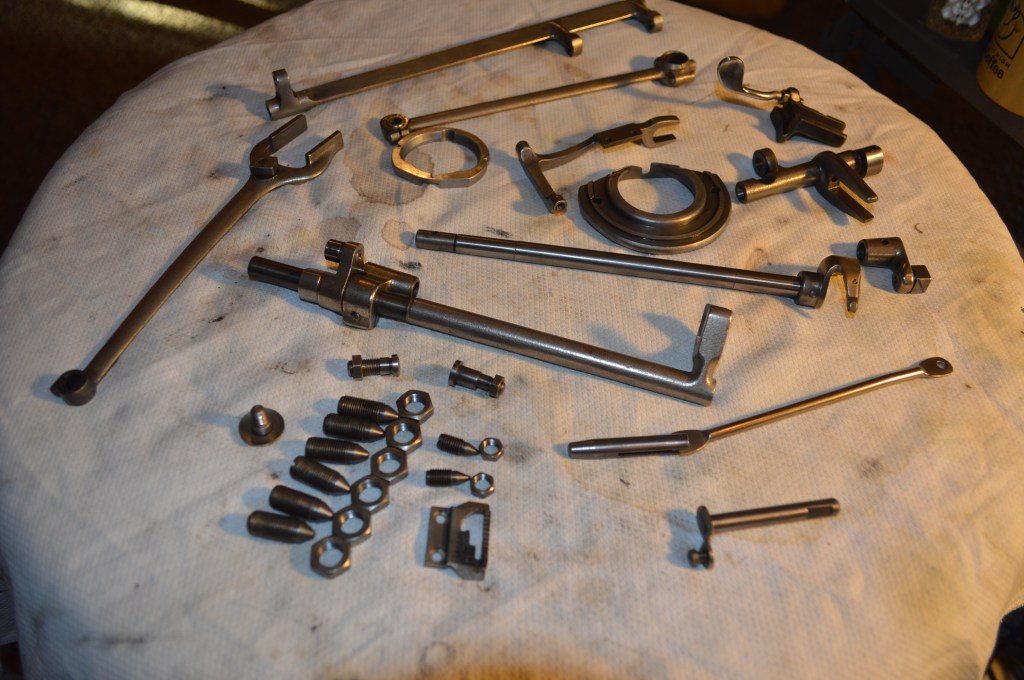
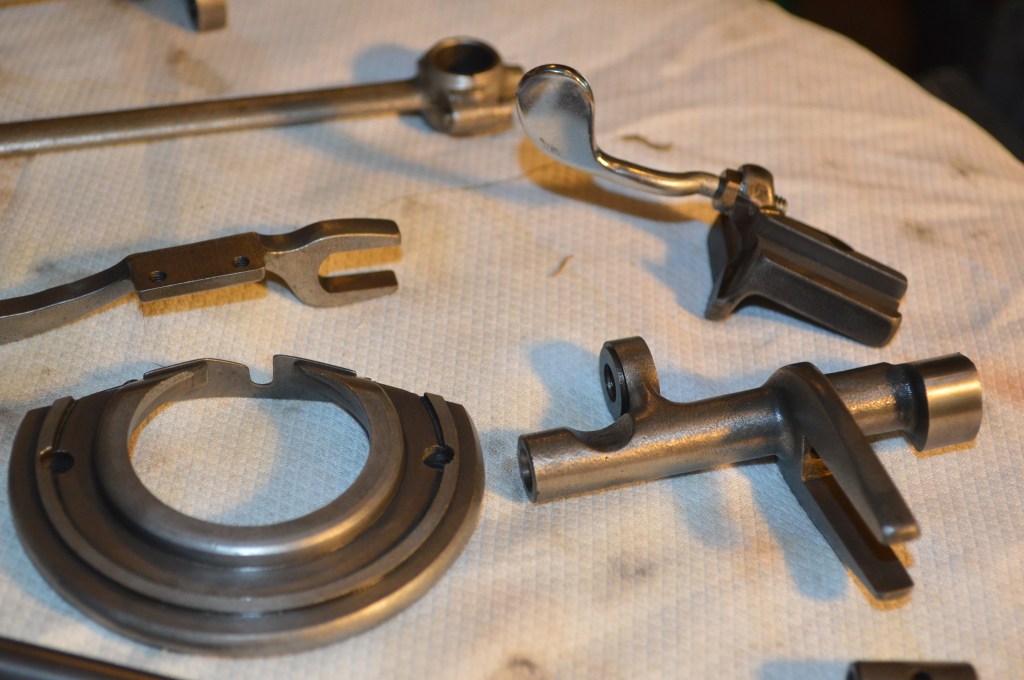
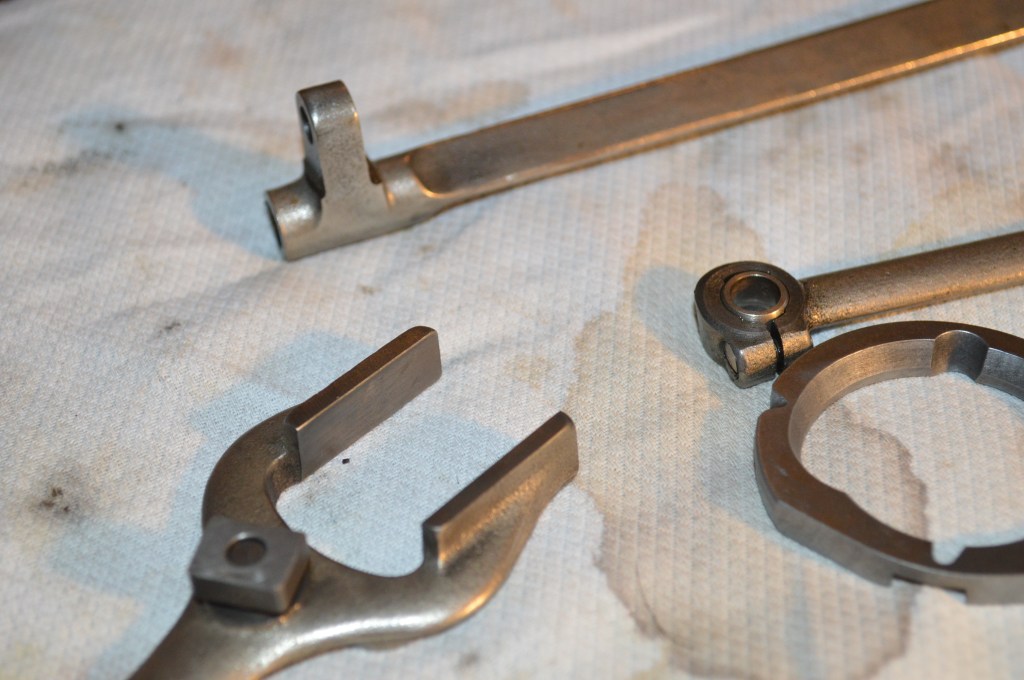
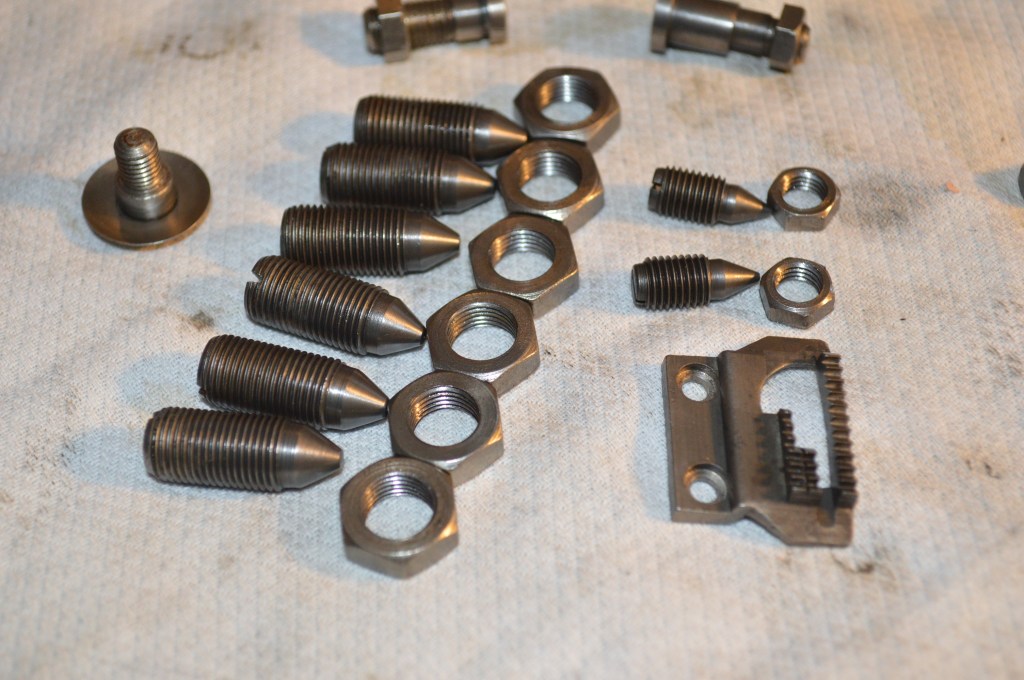
The disassembled parts are laid out for cleaning…
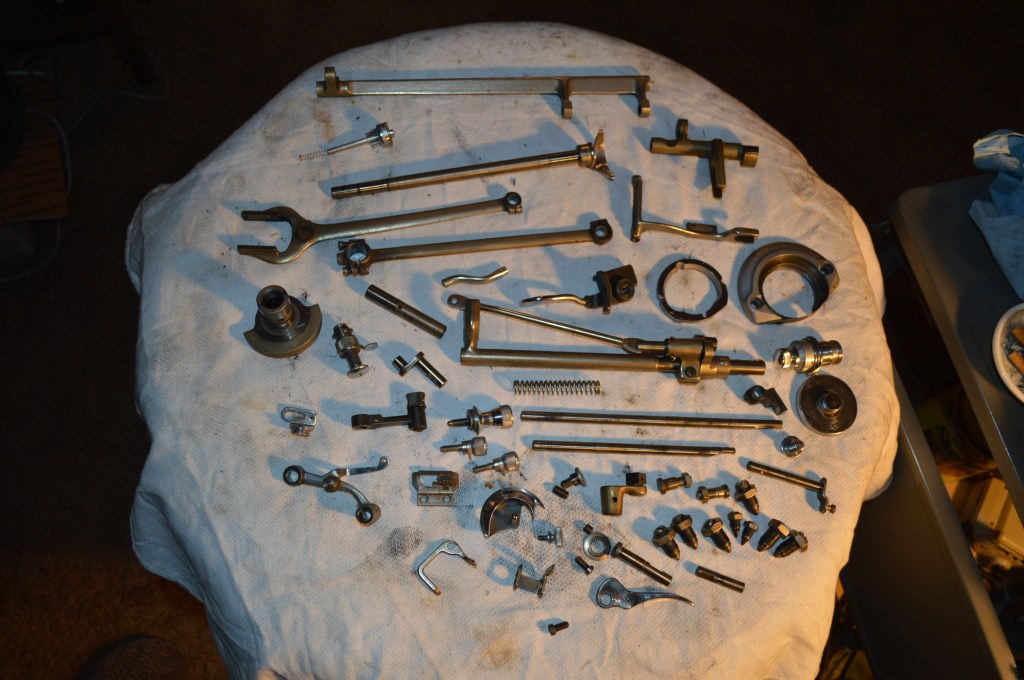
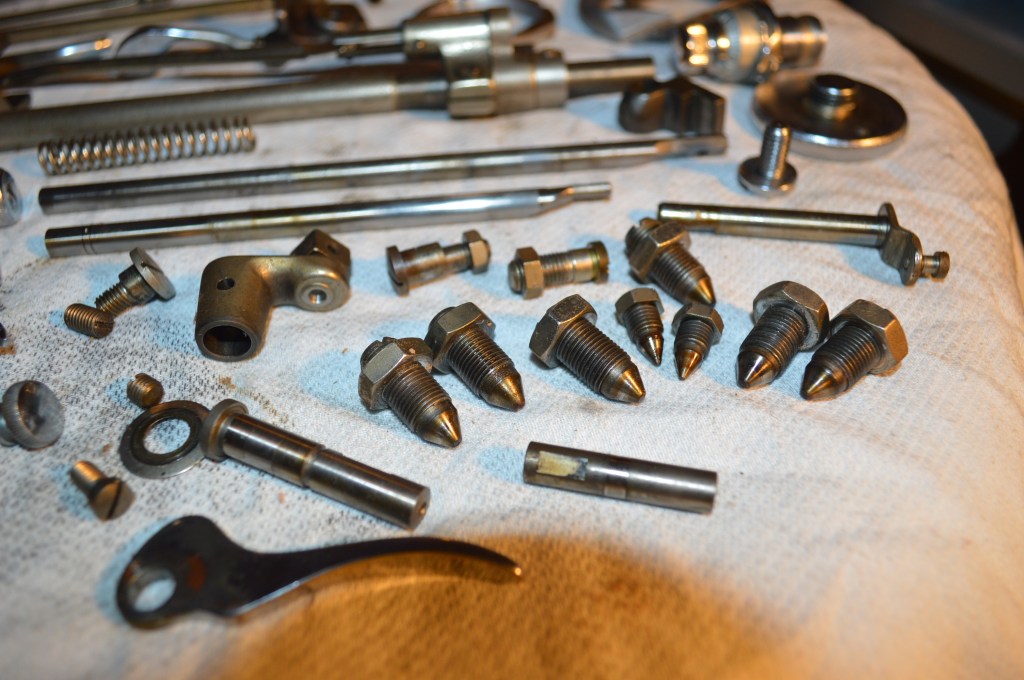
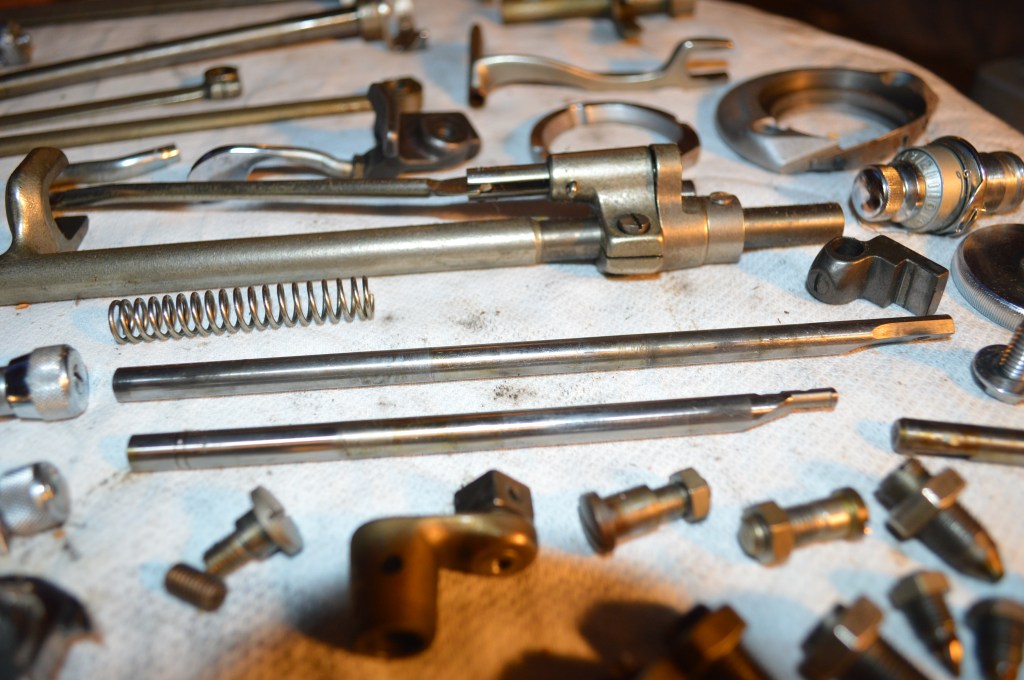

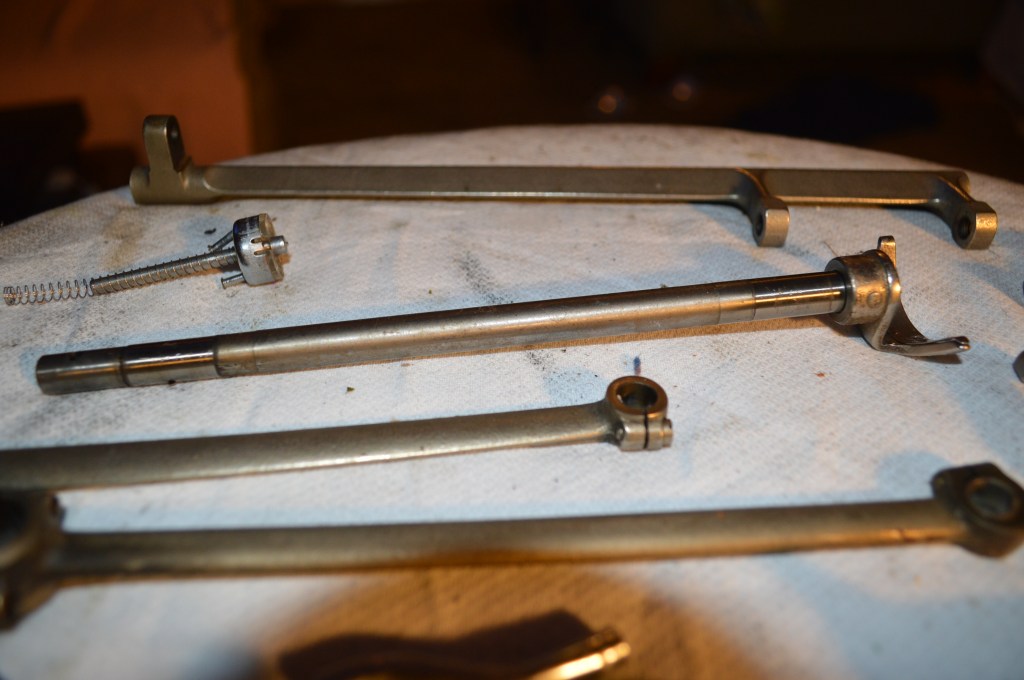
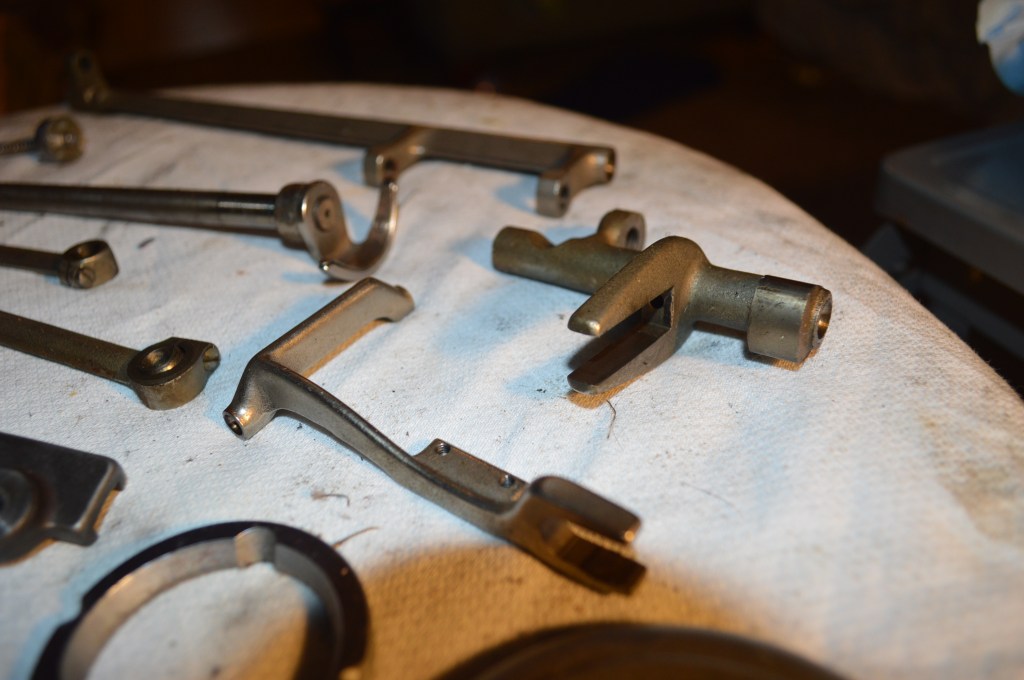
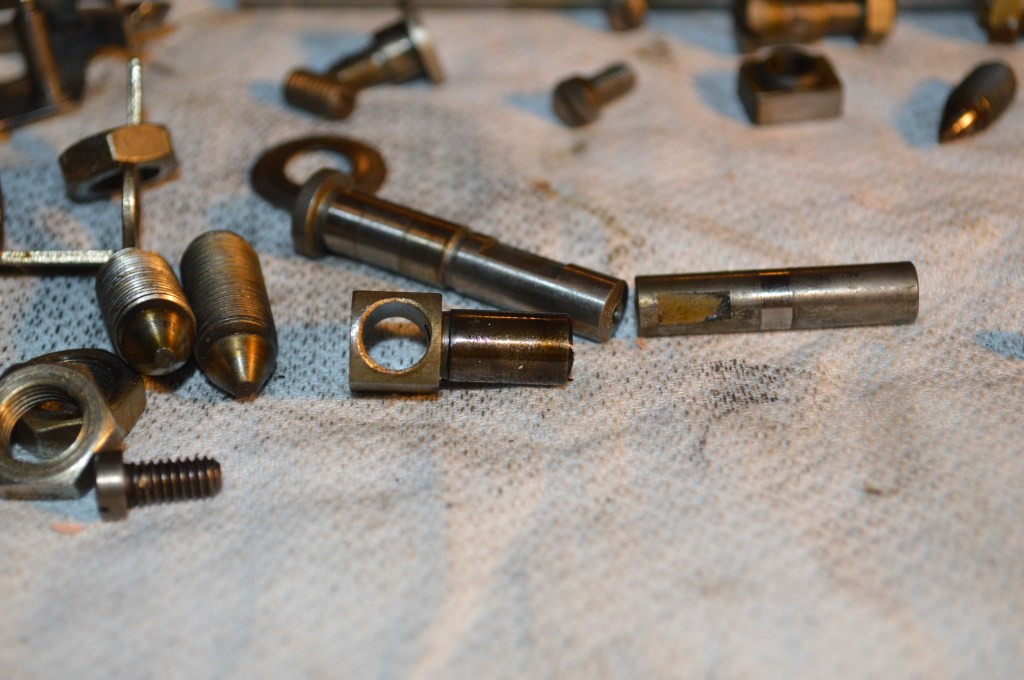
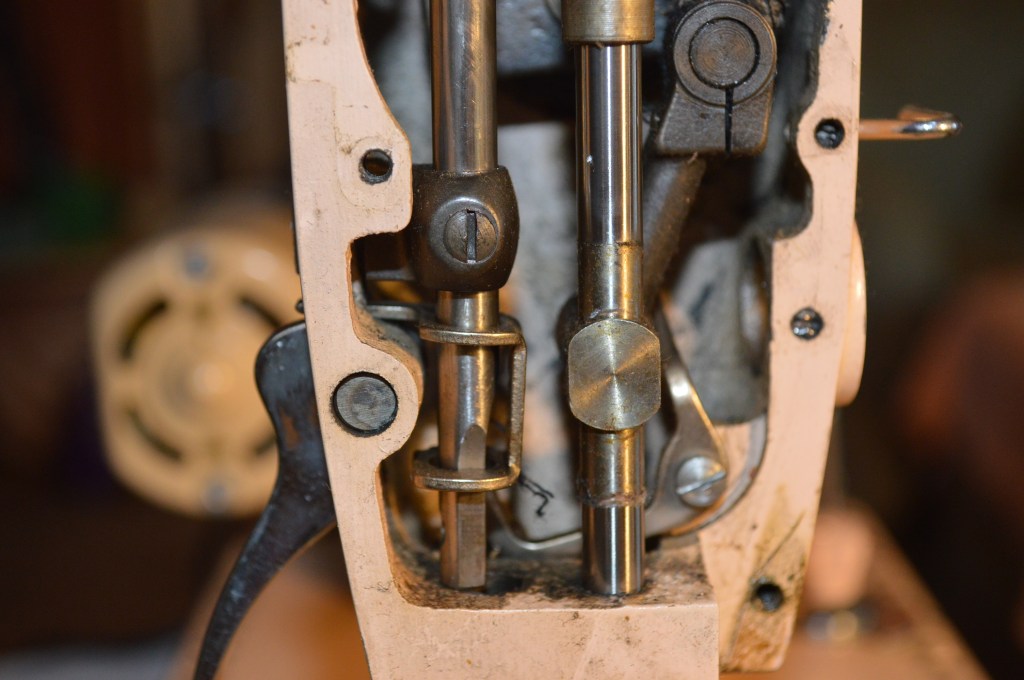
Except for a few parts, the sewing mechanism is pretty clean to start with. There is oil varnish on some parts, but ultrasonic cleaning and then hand cleaning with a soft wire wheel on a dremel tool will remove all traces of this contamination. The needle bar shaft and the presser foot shaft is polished to a glass smooth finish. All of the shaft bores are cleaned with a round wire brush. A gun barrel brush does a fine job for this. Here are the parts after cleaning…

The cosmetic work is next. After deep cleaning, the badges and stitch length plates are reinstalled and the paint chips are corrected.
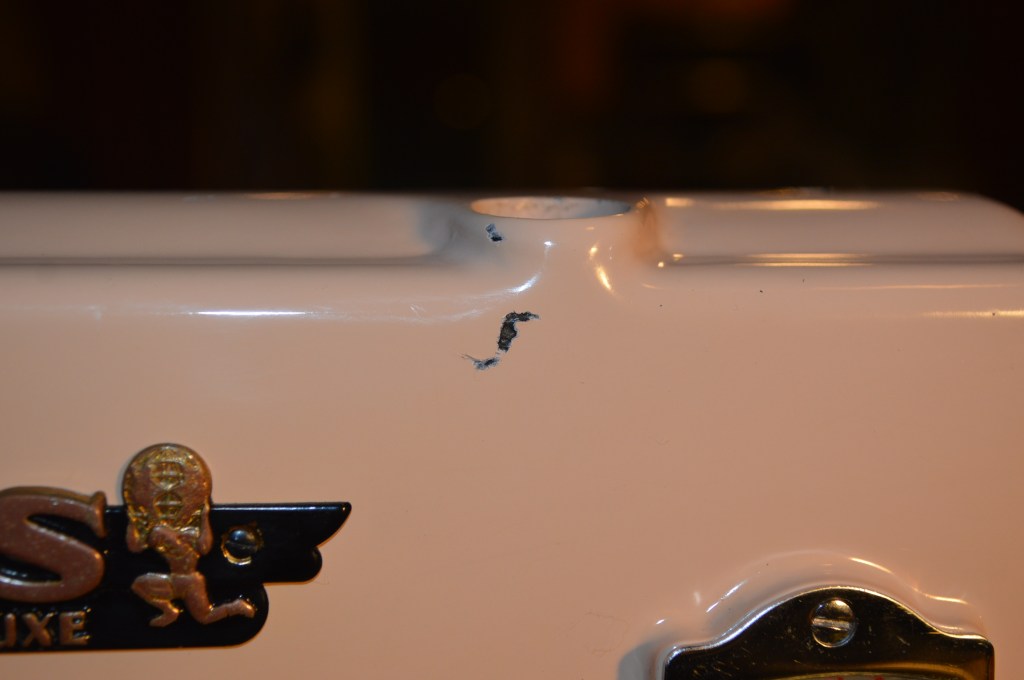
The paint matched areas are filled with paint, allowed to cure for 48 hours, and then coated with polyurethane. Following a 24 hour cure time for the polyurethane, the repaired areas are wet sanded with 2000 grit sandpaper to level them and then they are glaze polished to blend them into the original finish. The result is a repair that is nearly imperceptible.
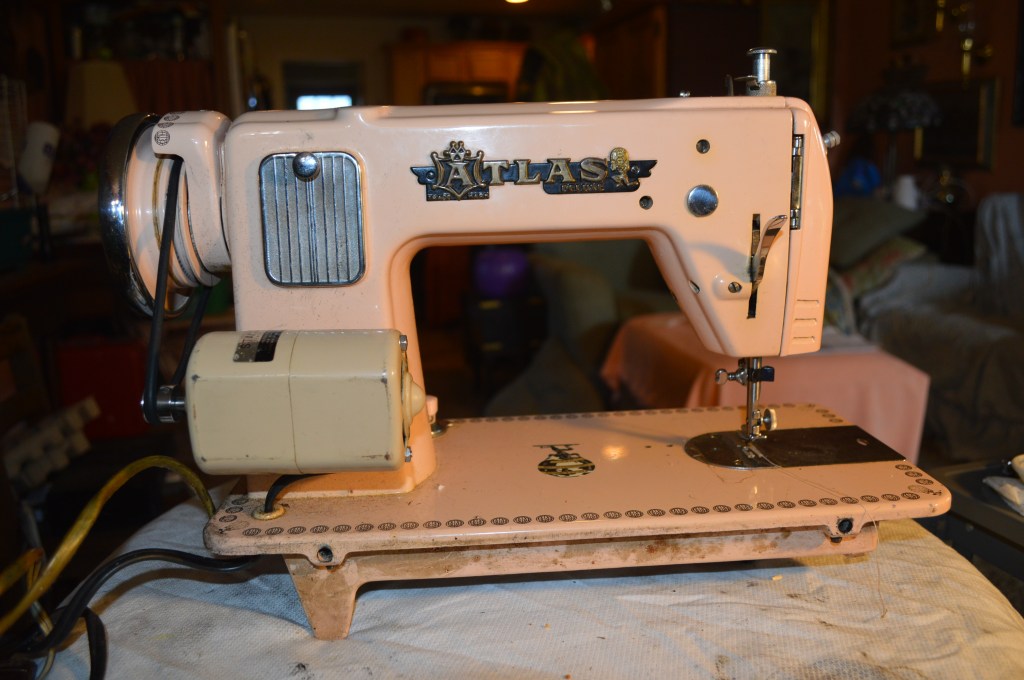
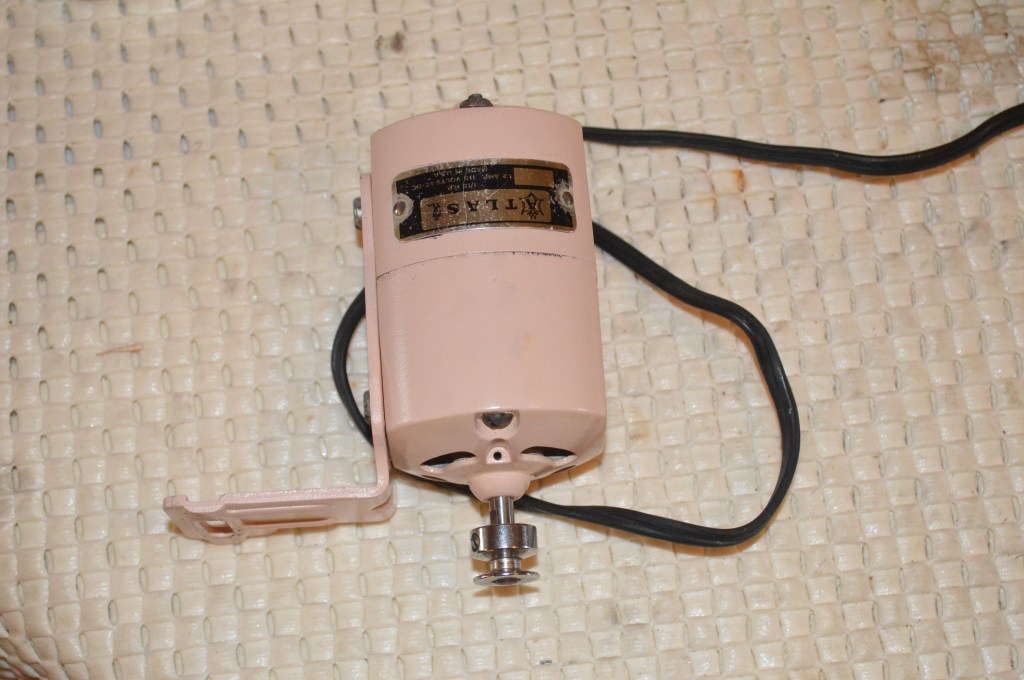
Next is the motor restoration. This machine did not have an original Atlas motor. To keep it vintage correct, I sourced an Atlas motor to restore and use on this machine. Because the paint on the motor case and bracket is dull, they are spray painted with color matched paint. Otherwise, the disassembly and motor restoration is the same as any machine. I will use captions on the pictures to describe the steps in this process.
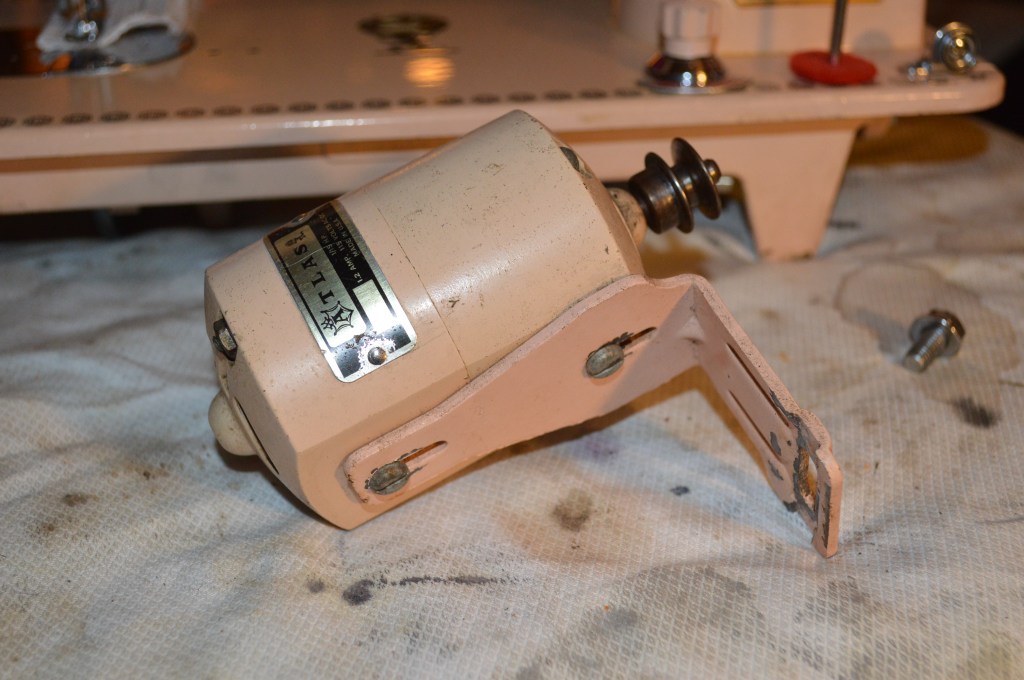
Atlas sewing machine motor 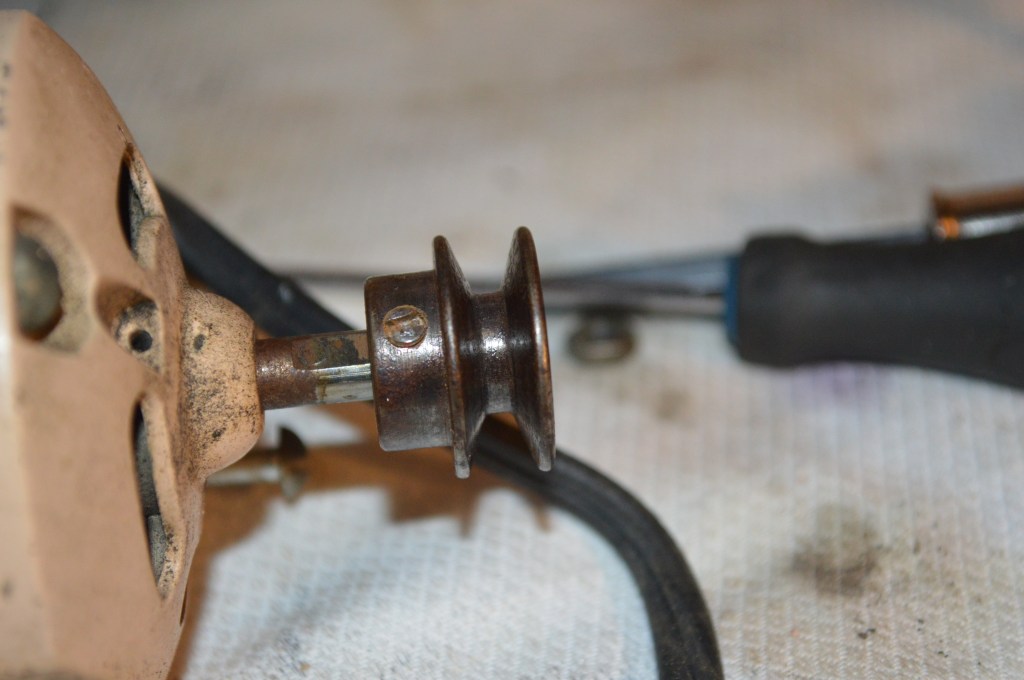
Pulley removed 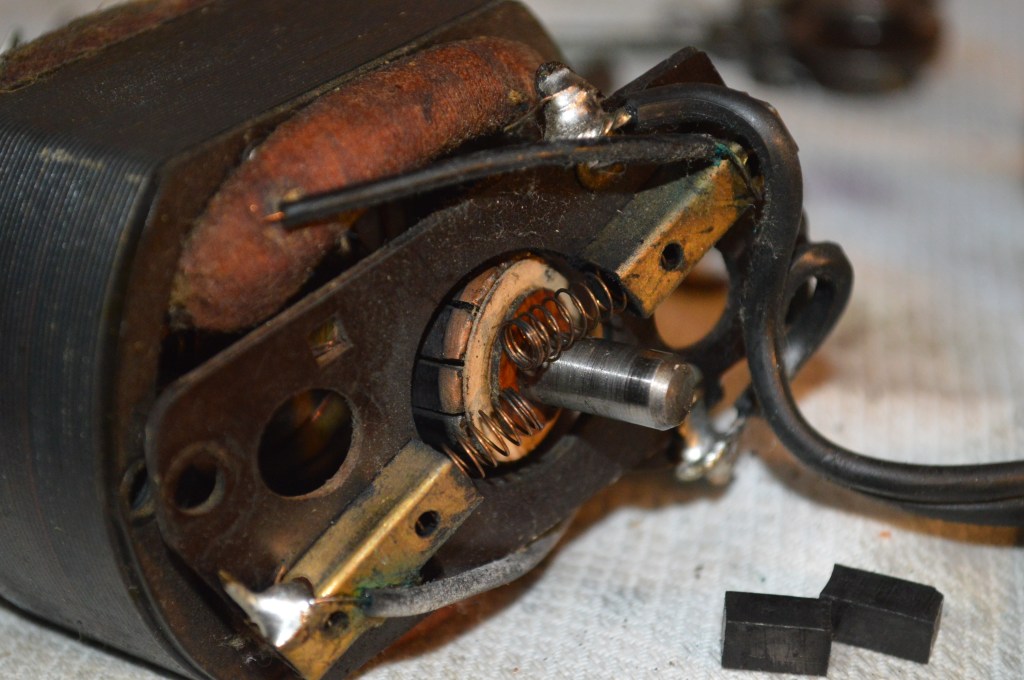
Brushes removed 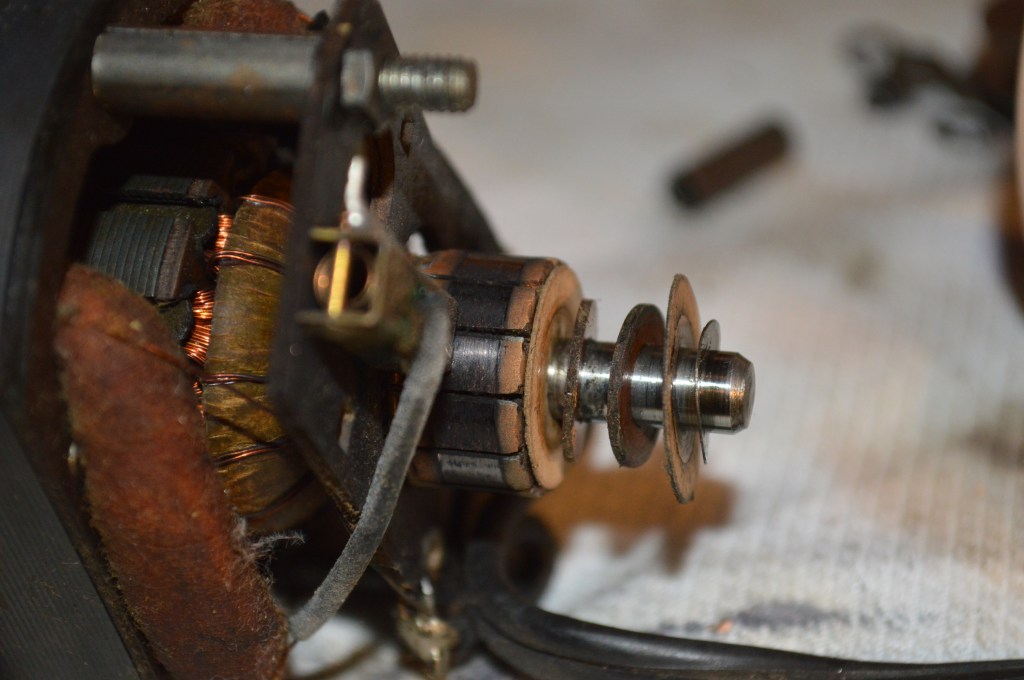
Commutator and shaft before cleaning 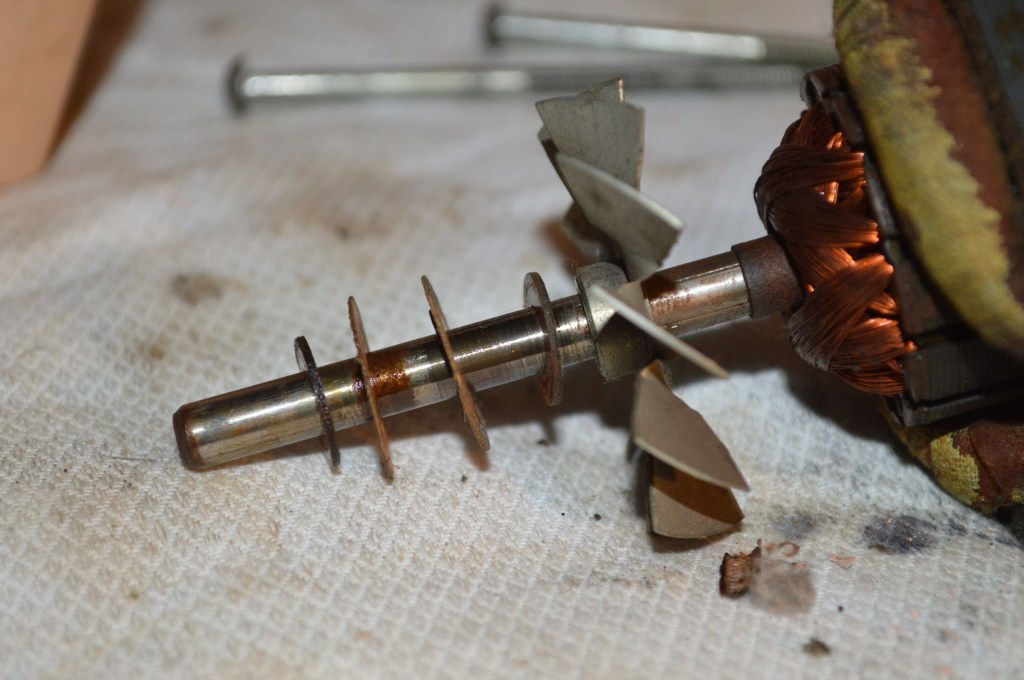
Pulley end of armature 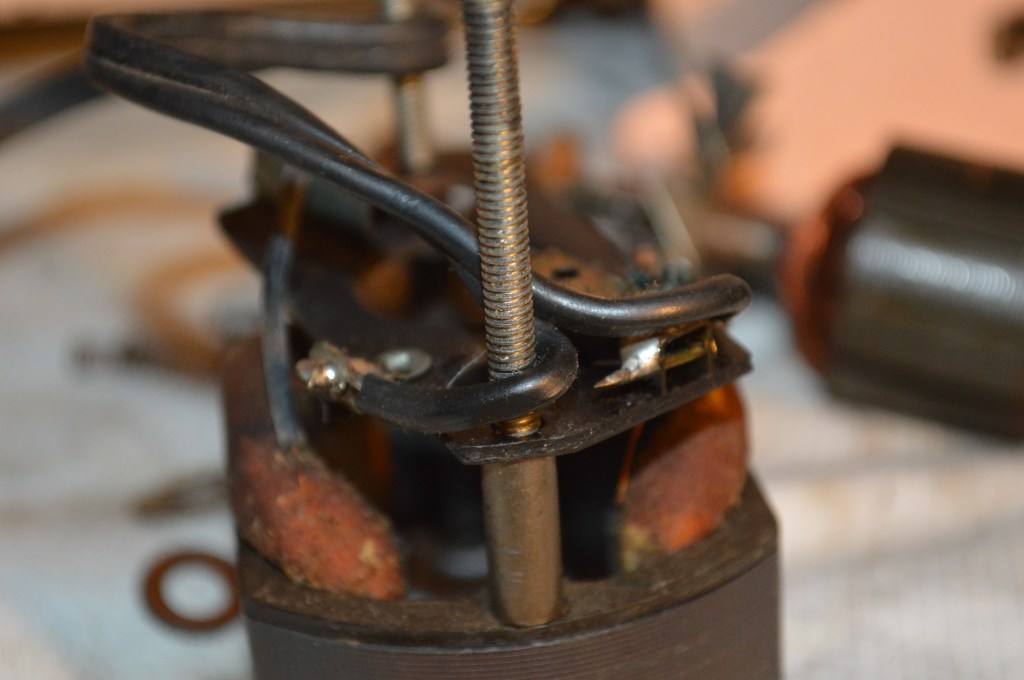
Wires to be de-soldered 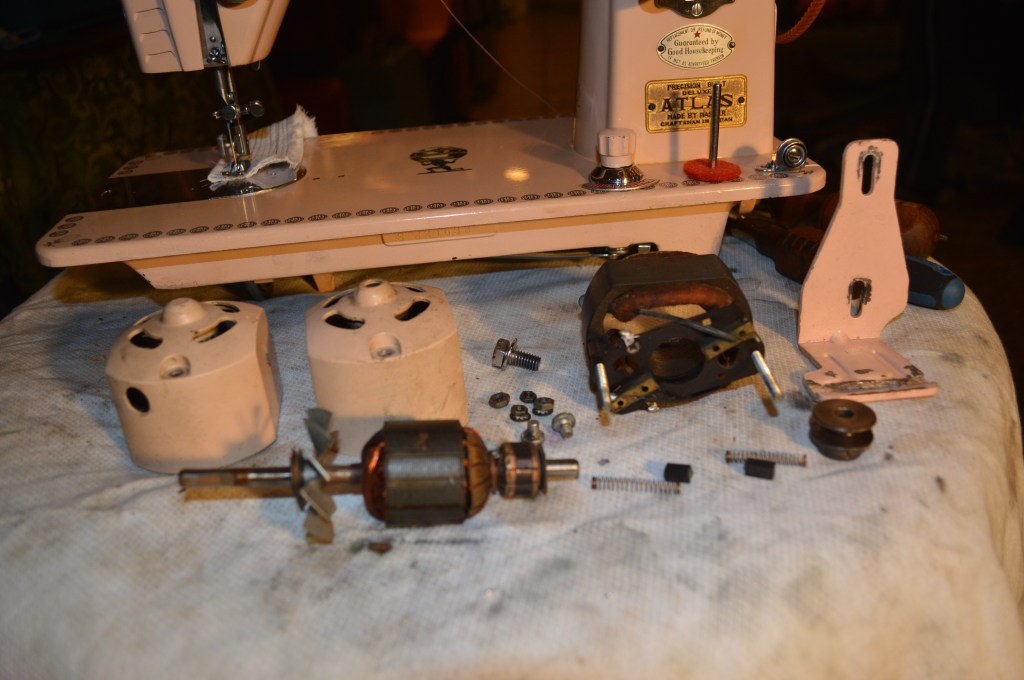
Parts laid out for cleaning 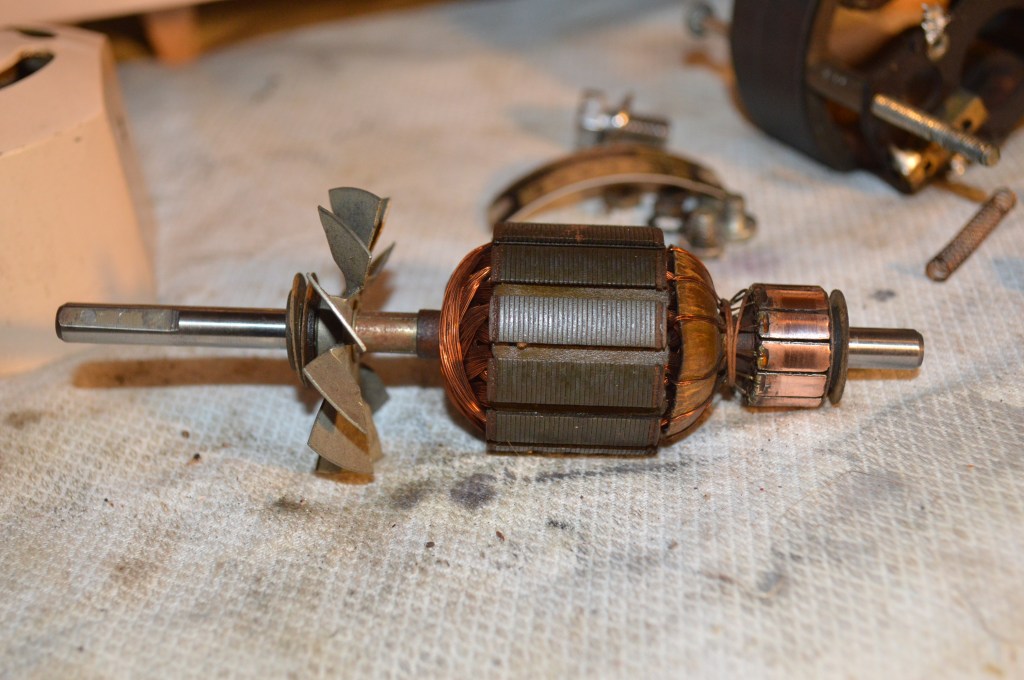
Armature shafts and commutator polished
Finally, the motor case is re-painted to match the machine and clear coated to produce the desired gloss.The motor is reassembled and test run.
The only item left for this restoration is the upper tension control. If you didn’t notice, the tension control is not original either. I don’t know what brand of machine it came off of, but wasn’t an Atlas. I noticed this early on in the disassembly and figured I had a bit of time to find the proper assembly. I was fortunate to find it without delaying the project. This correct tension assembly was disassembled, cleaned, and reassembled. To show you the difference between the two, look at the next two pictures.
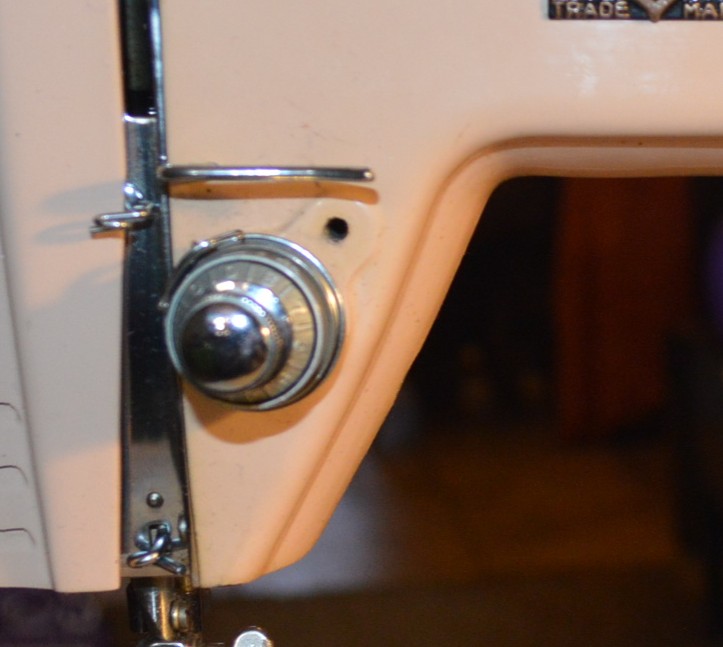
“Unknown” tension control unit 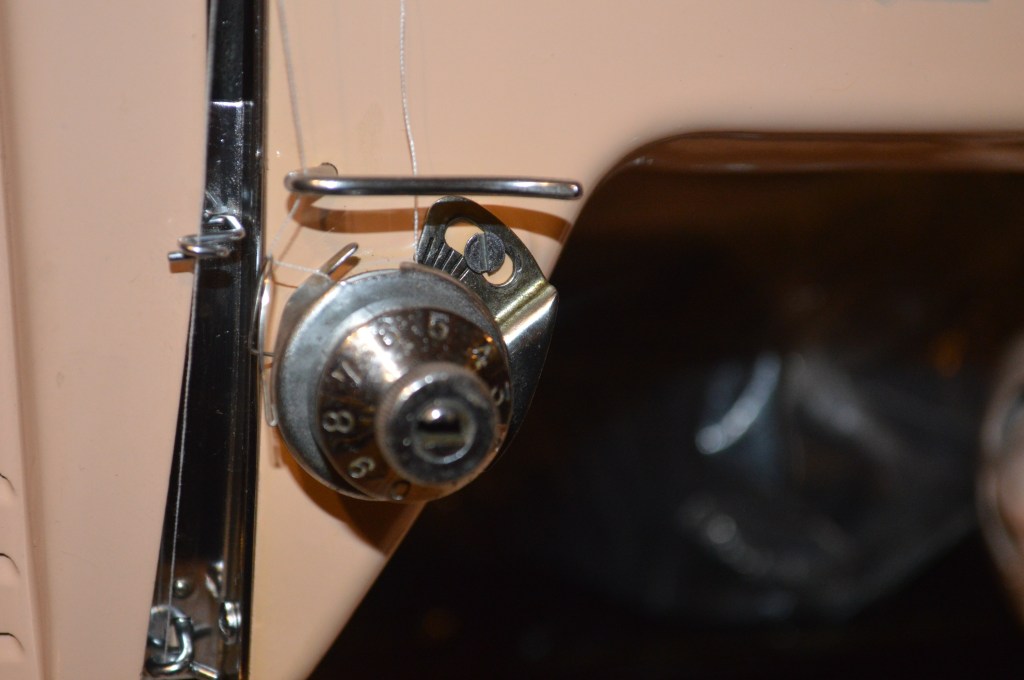
Correct Atlas tension control unit
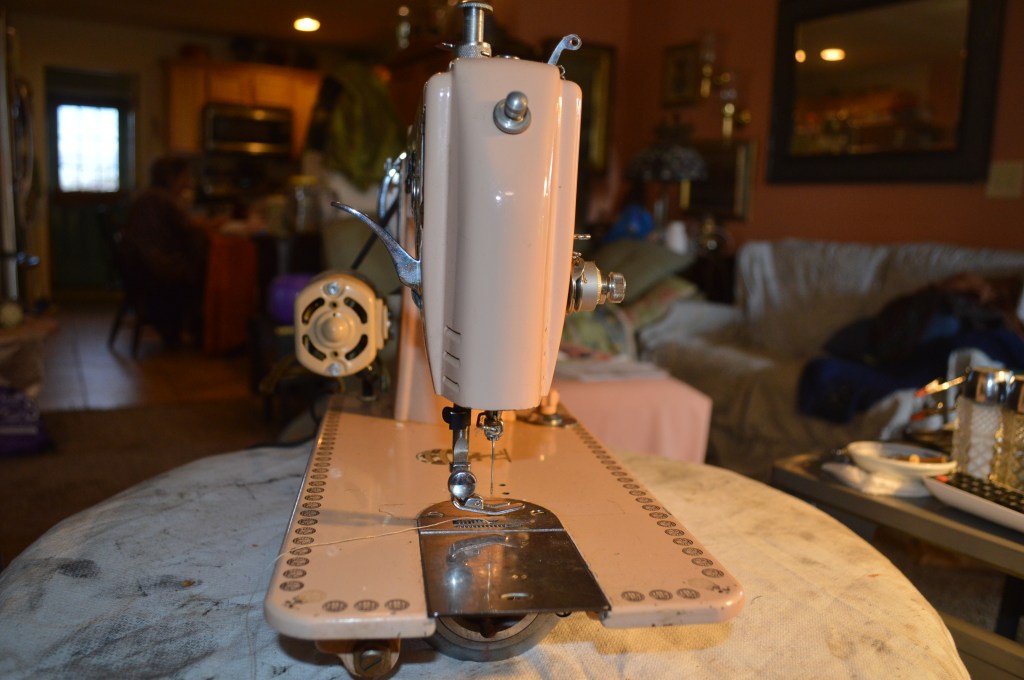
The machine is assembled and the machine is set for proper needle depth and feed control. It is run both with the sewing mechanism engaged (needle running) and disengaged (as for bobbin winding) until the motor feels warm. It is important to do this for two reasons. One is to help break in the motor brushes, and the other is to make any final adjustments to the sewing mechanism (after they settle in). The next step is to test sew with the machine and make tension adjustments… well, that was the plan.
After threading the machine, all seemed well. It picked up the bobbin thread and would make a stitch or two before it started to jam. The bobbin thread was being pulled to the back of the bobbin case. Why? All of the clearances were checked. The hook timing was good, the needle depth was good, the hook to needle clearance was good… but it continued to jam. The only thing left was the bobbin case. Turns out, the bobbin case was the proper manufacturer, but it was for a zig-zag machine. This machine is a straight stitch machine and it needed a straight stitch bobbin… replacing the bobbin case solved the problem and the machine began sew great and make a beautiful stitch.
Now, this brings me to a topic I like to stay away from. My sources of vintage sewing machines is the same as yours. This machine was purchased at an auction. It just as easily could have been purchased at a thrift store, an estate sale, yard sale, or found on the side of the road. No doubt you have come across many sewing machines this way. My point is, you may find a beautiful machine at one of these places, but do you really know what you are getting? Will it sew? If not, will you figure it out before you give up and toss it aside? I don’t know. I only know that this machine didn’t sew. At some time in it’s life the bobbin case was swapped with the wrong case. That may be why the tension mechanism was replaced, thinking that was the problem. Who knows. I guess my point is buyer beware. While you may find a gem like this for a great price, buying a 60 or 70 year old sewing is a gamble unless you know something about it. What I do know is, there is a world of difference in a sewing machine’s performance before and after a restoration. I you are looking for a great all metal vintage sewing machine… which this Atlas precision sewing machine certainly is, know what you are looking at and don’t hesitate to ask some questions.
Buyer beware… a phrase people hide behind. Know that there are different levels of what a seller may claim is a restored machine. Most often it is cleaned and oiled, or it is shiny and adjusted so it will sew a good stitch. I have seen folks say that the machine’s finish has been “stabilized with a fine quality polymer coating”. Great! What this means is that it has been waxed with a product such as “Nu Finish” car polish. Like wax, it is a protective coating for automotive finishes. We might argue that it is a stabilizing finish, wax and polymer finishes do not protect decals or prevent wear to the finish… shellac and lacquer does. Polish and wax look great when applied and produce a nice shine, but stabilize? Certainly there is a place to use polish and wax, but for stabilizing the finish on a sewing machine, and I do as well. But I prefer my methods, and that is why I document all of our sewing machine restorations in a blog post. You see exactly what goes into each machine for what I consider a sewing machine restoration to be. If you are looking for a machine that is reliable, trouble free, and expect it to sew like new, restored is the way to go…
Anyway, this is turned out to be a great restoration and the results are exactly what I expected! I didn’t expect some of the things I encountered, but then again, you never know what you might find… each sewing machine is unique, This pink Atlas Precision Sewing Machine machine looks fantastic and it sews smoothly. Undeniably, this machine makes a great straight stitch… just as the machine is known to do.
Well that’s it! A “Pink” Atlas Precision Sewing Machine ready to find it’s place in someones home. Not just anyone mind you, but someone who is looking for the style and performance that this particular machine offers… the right machine for just the right person.
For comparison, here is the machine before restoration…


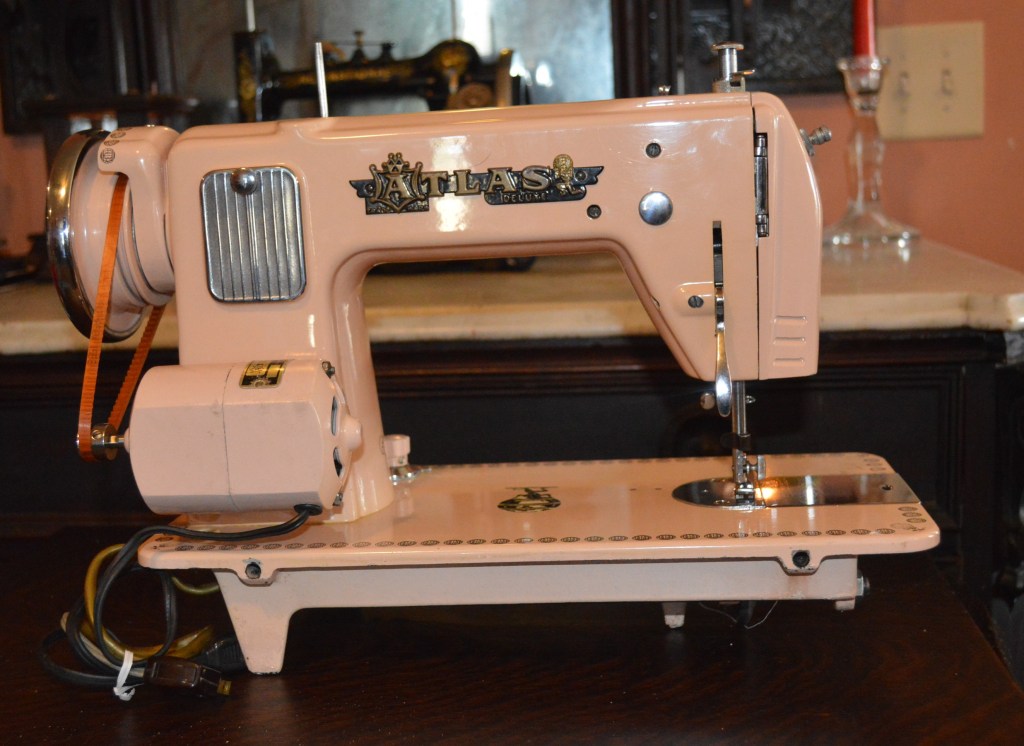
And here is the machine after restoration…


If you like what you see please visit our Etsy store at https://www.etsy.com/shop/pungoliving, and see this “Pink” Atlas Precision Sewing Machine and all of our other restored fine quality vintage sewing machines. If you have any questions, please contact Lee at Pungoliving@gmail.com.
Tell me what you think!

Hello, I wonder if you can tell me what light bulb this machine uses so I can order a replacement. There is very little information about these machines! Thank you.
LikeLike
Hello Lisa,
That’s a good question… My Atlas straight stitch machine uses a 5/8″ base #2SCW 15 watt bulb. Other similar machines use a 7/16″ base #7SCW 15 watt bulb.
Because my Atlas uses the 5/8″ bulb my guess would be a 15 watt bulb with a 5/8″ base. You can also find them in LED that makes a brighter (and whiter) light.
You can play it safe and get one of each to save on shipping… They are available at any online sewing machine parts store or Amazon.
I hope this helps!
Lee
LikeLike
Great blog article. I recently acquired a Pink Atlas machine that is in relatively good shape except for the rubber pieces. I wonder where I can get a replacement rubber “tire” for the bobbin as well as what kind of belt I can replace the old one with.
LikeLike
Hello Cynthia,
Sorry for the late reply but I have been unavailble to answer questions for the past few weeks and I am trying to catch up.
You can buy bobbin tires at any online sewing machine parts store. They are very common and a universal fit (except for a Kenmore or an odd ball antique machine). The belt size is not as universal. You need the proper size belt to adjust the belt tension.
If you have the old belt, put a ruler on the table, lay the belt next to (or on) the ruler, put a visible mark on the belt at the beginning end of the ruler, and roll the belt along the ruler until the mark touches the ruler again. The measurement in inches is the belt size. Belts can also be found at online sewing machine parts stores. The belts come in 1/8″ increments, so get as close to the measured size as you can. I always round up to the nearest 1/8″.
I hope this helps!
Lee
LikeLike