

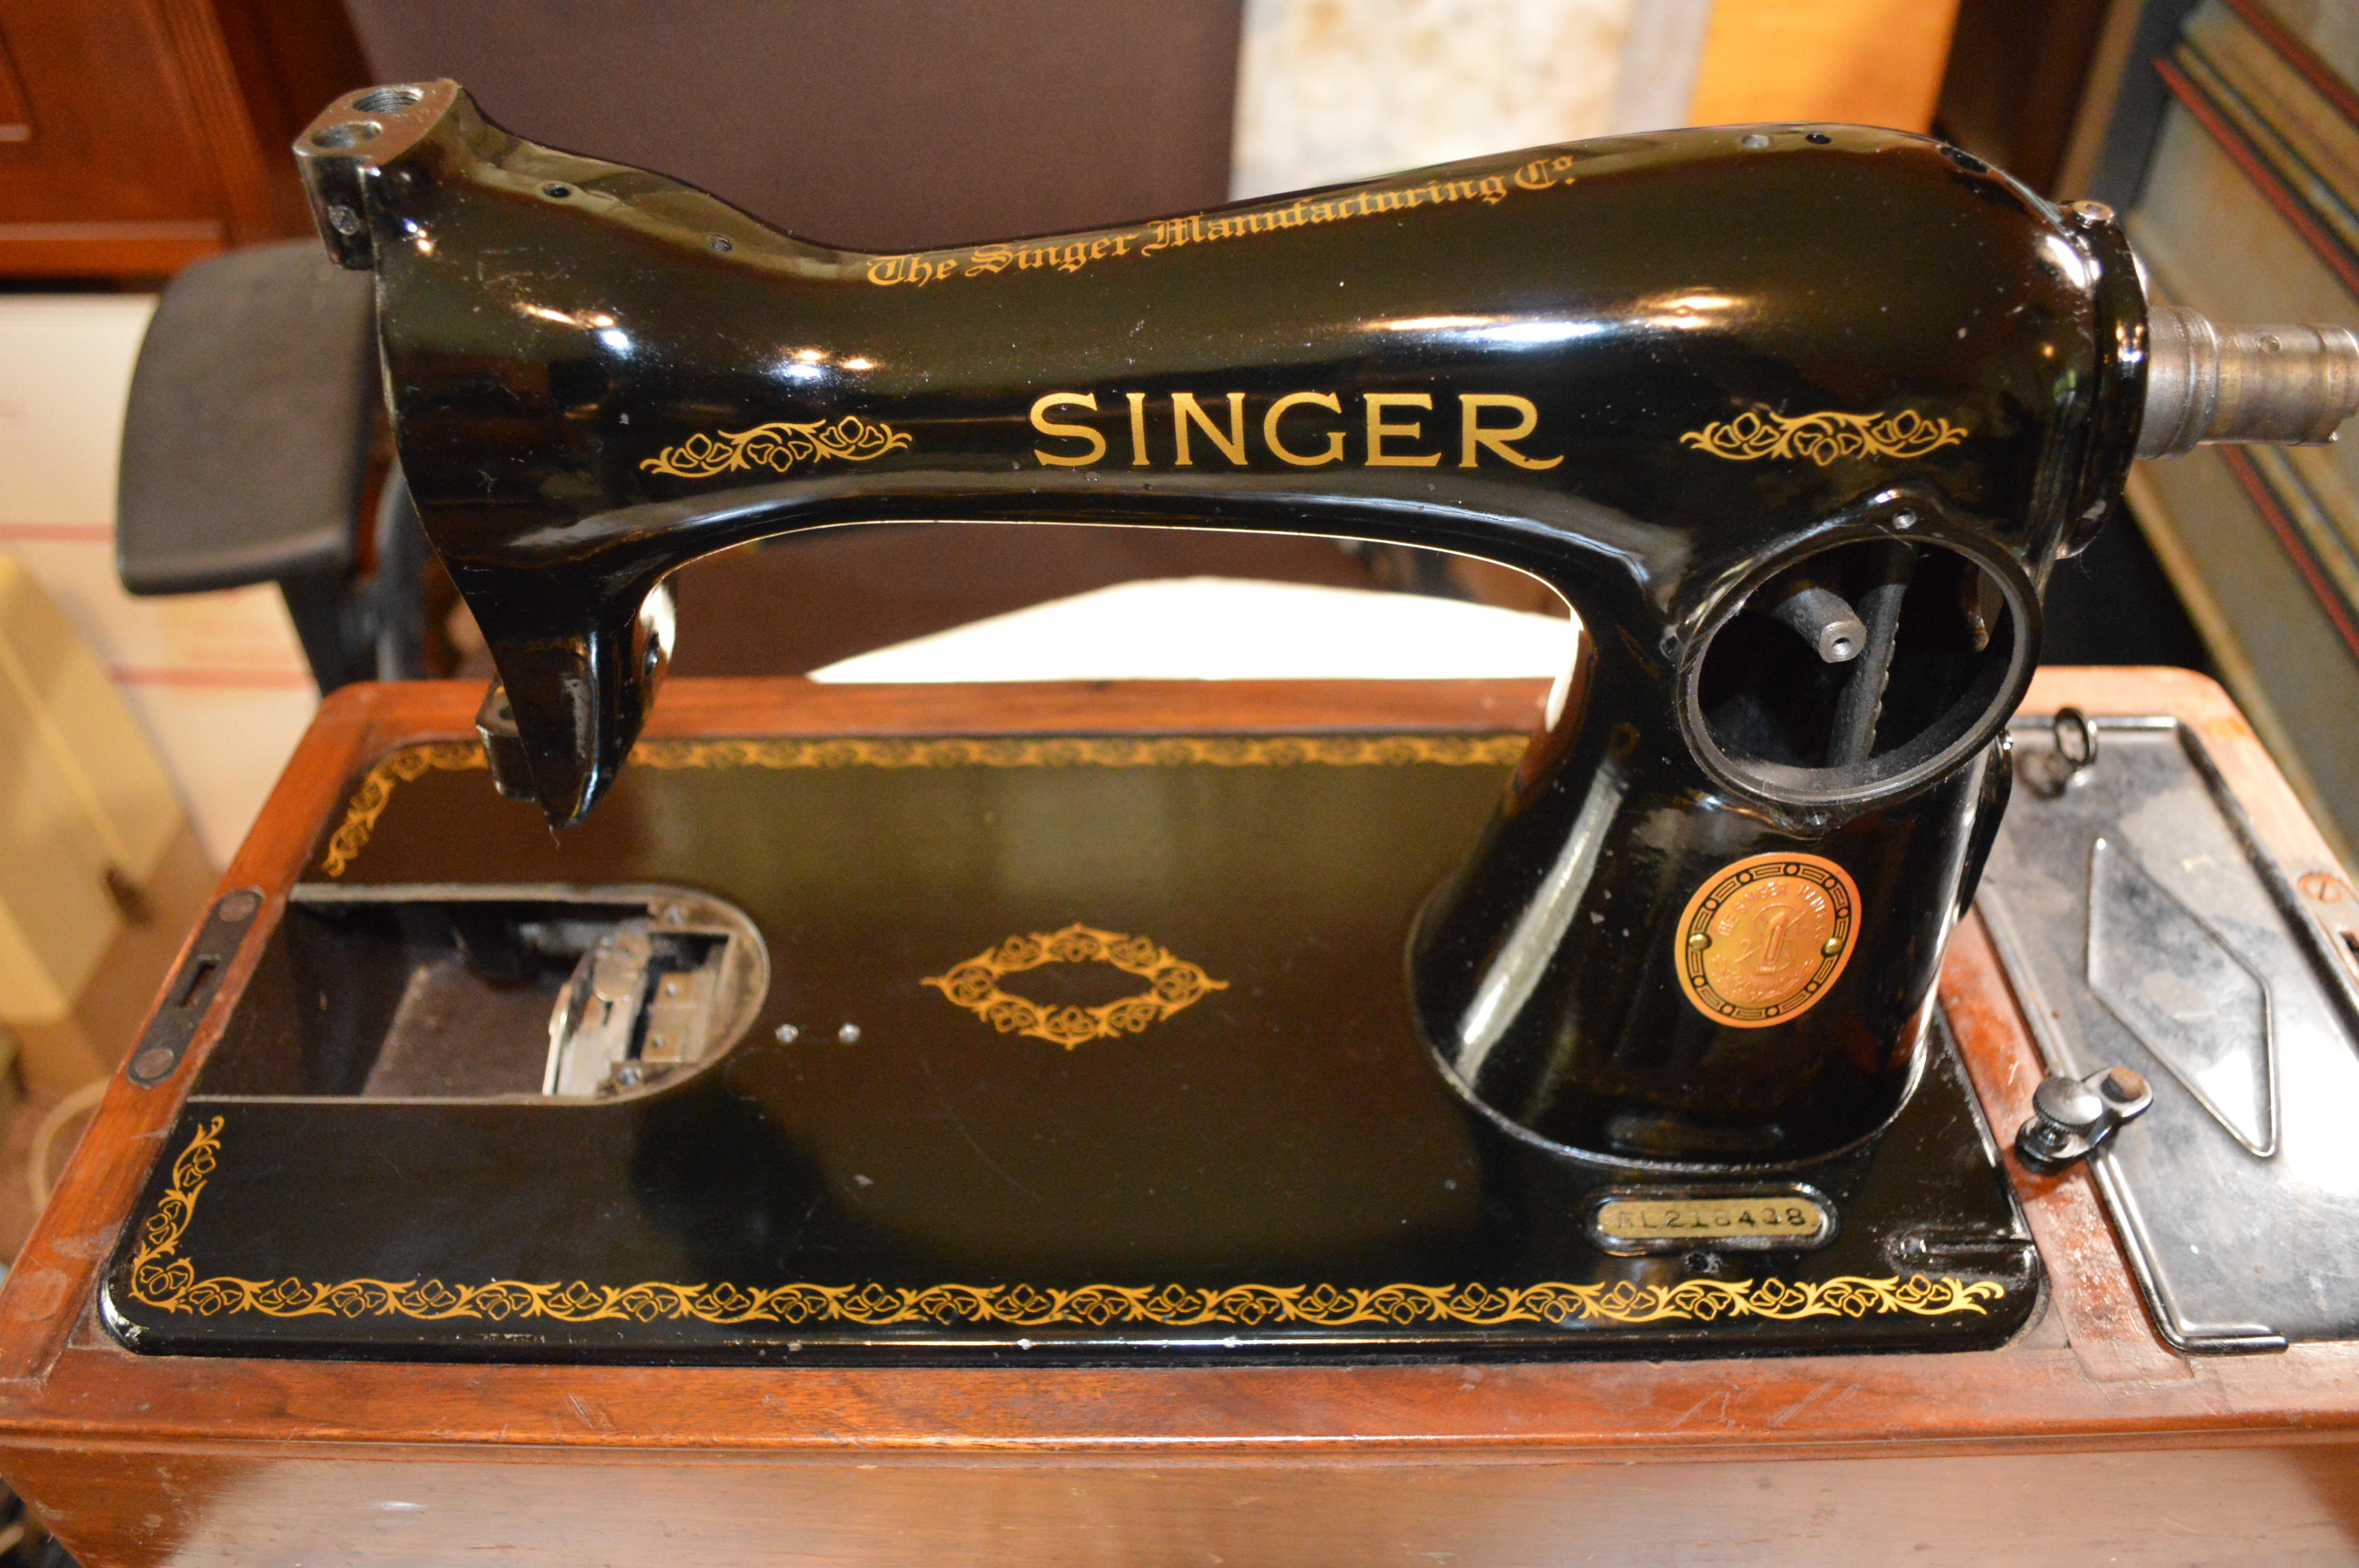
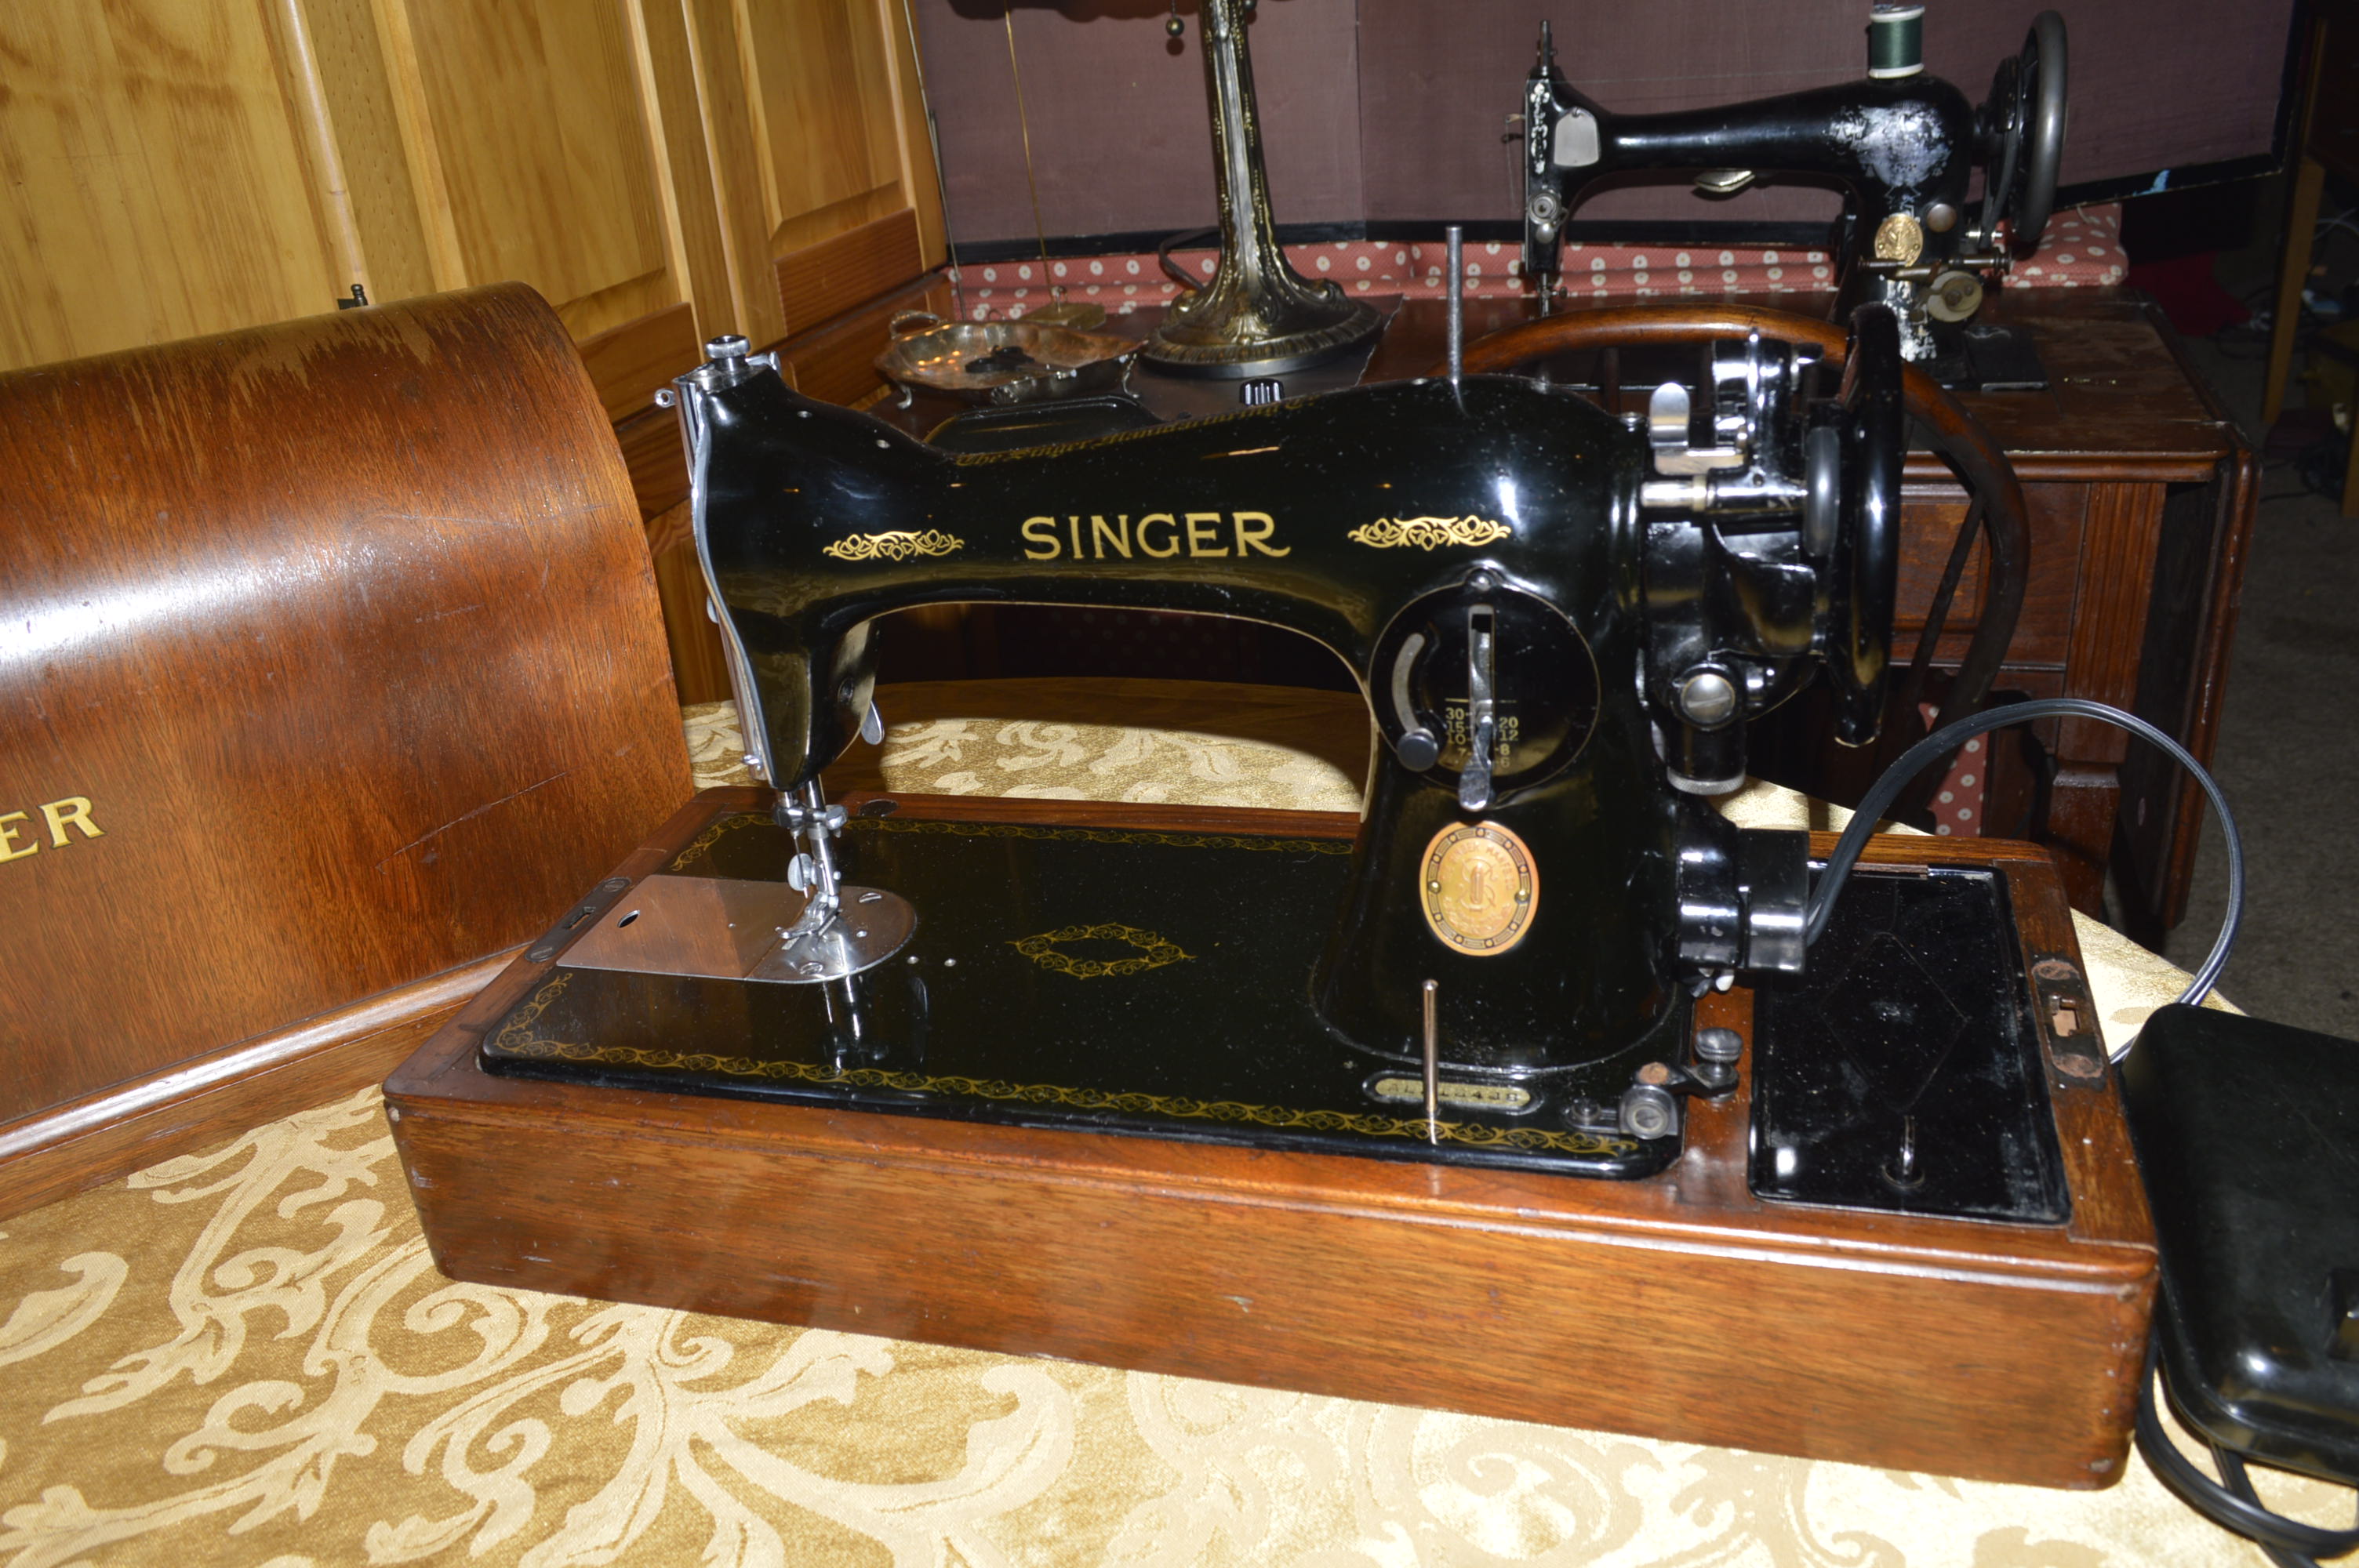
The next project is a Singer 15-91 sewing machine born on December 18, 1952. She shares her birthday with 49,999 sisters. If I had to guess, I would say that she was manufactured in Singer’s factory at the North Pole. I am of course kidding, but Singer did have factories all over the world. I can only imagine what a wonderful surprise she was to some lucky person to open on Christmas day!
I won’t say much about the 15-91 in general, except to say it was one of the longest manufactured model Singer made, spanning almost 100 years. The model 15 is also the most copied sewing machine design in the world… hands down. In fact, the model 15 clones are still in production in various country’s and can be purchased new even today, (no, it is not a Singer, and it is not made to the same strict tolerances Singer’s are so known for). That’s quite a resume.
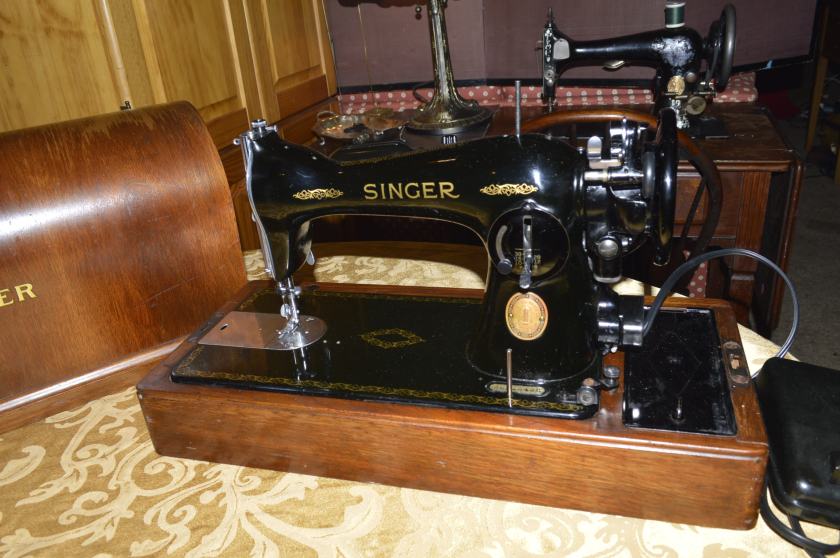
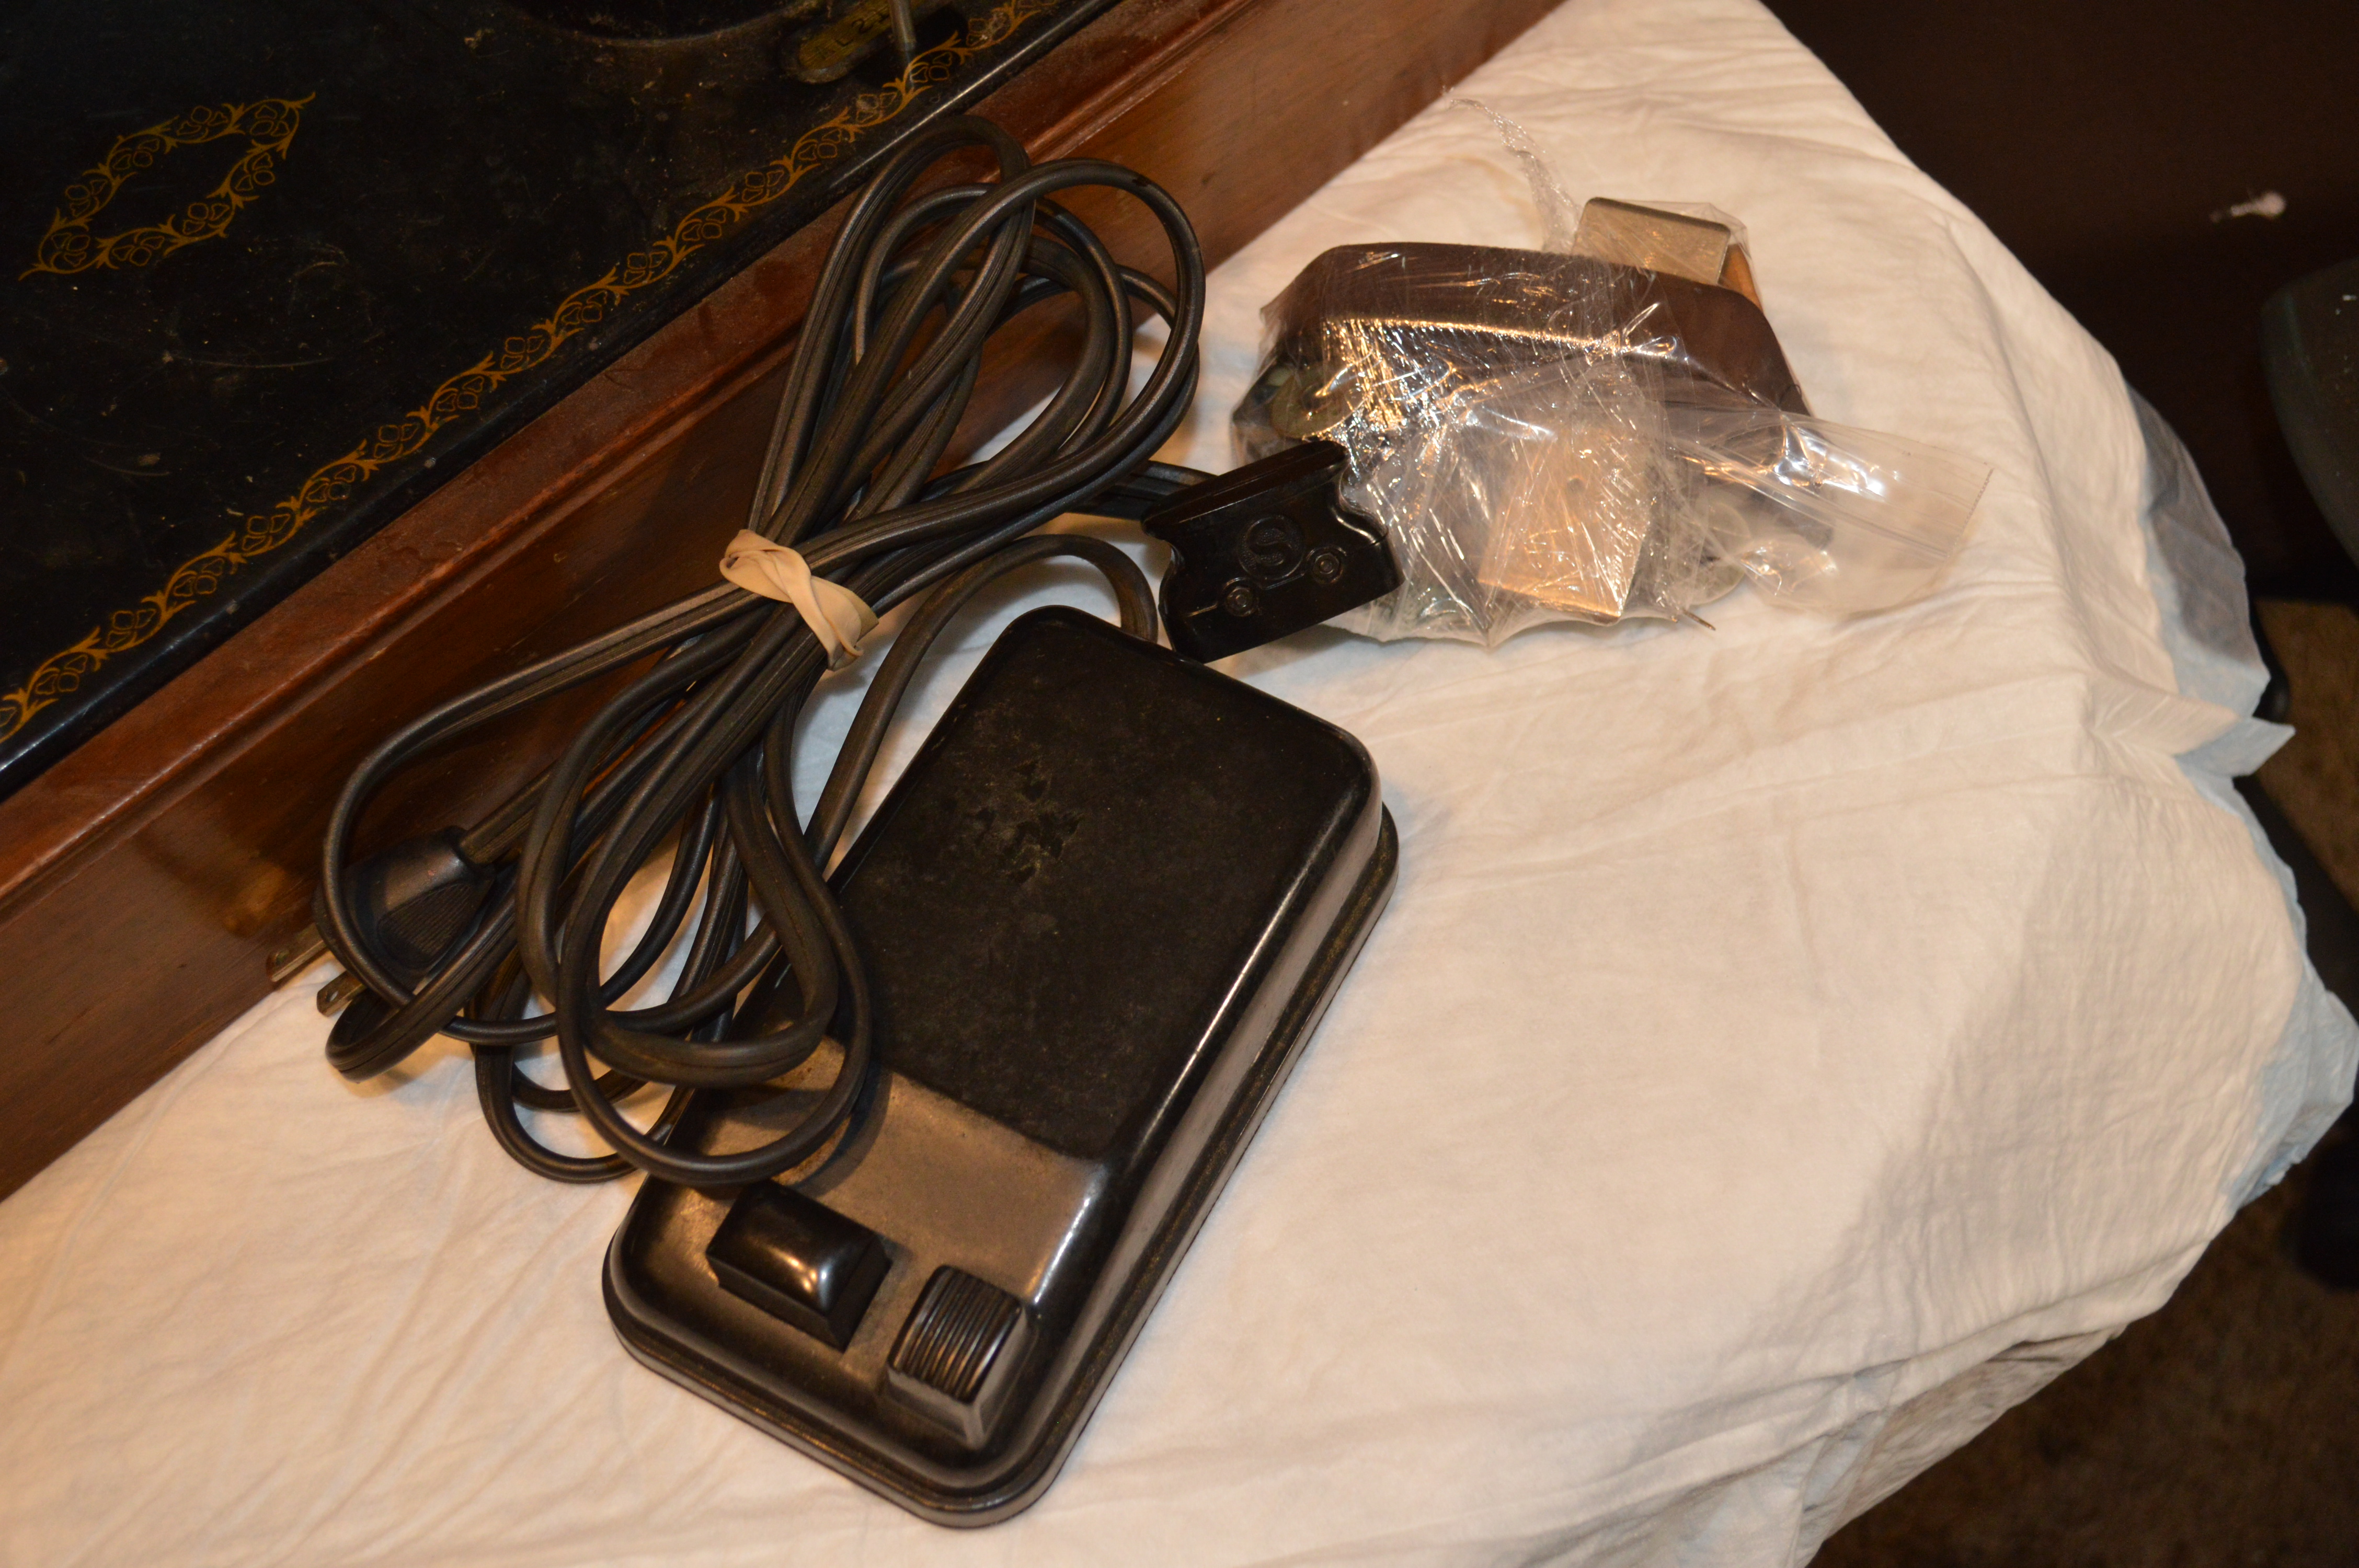
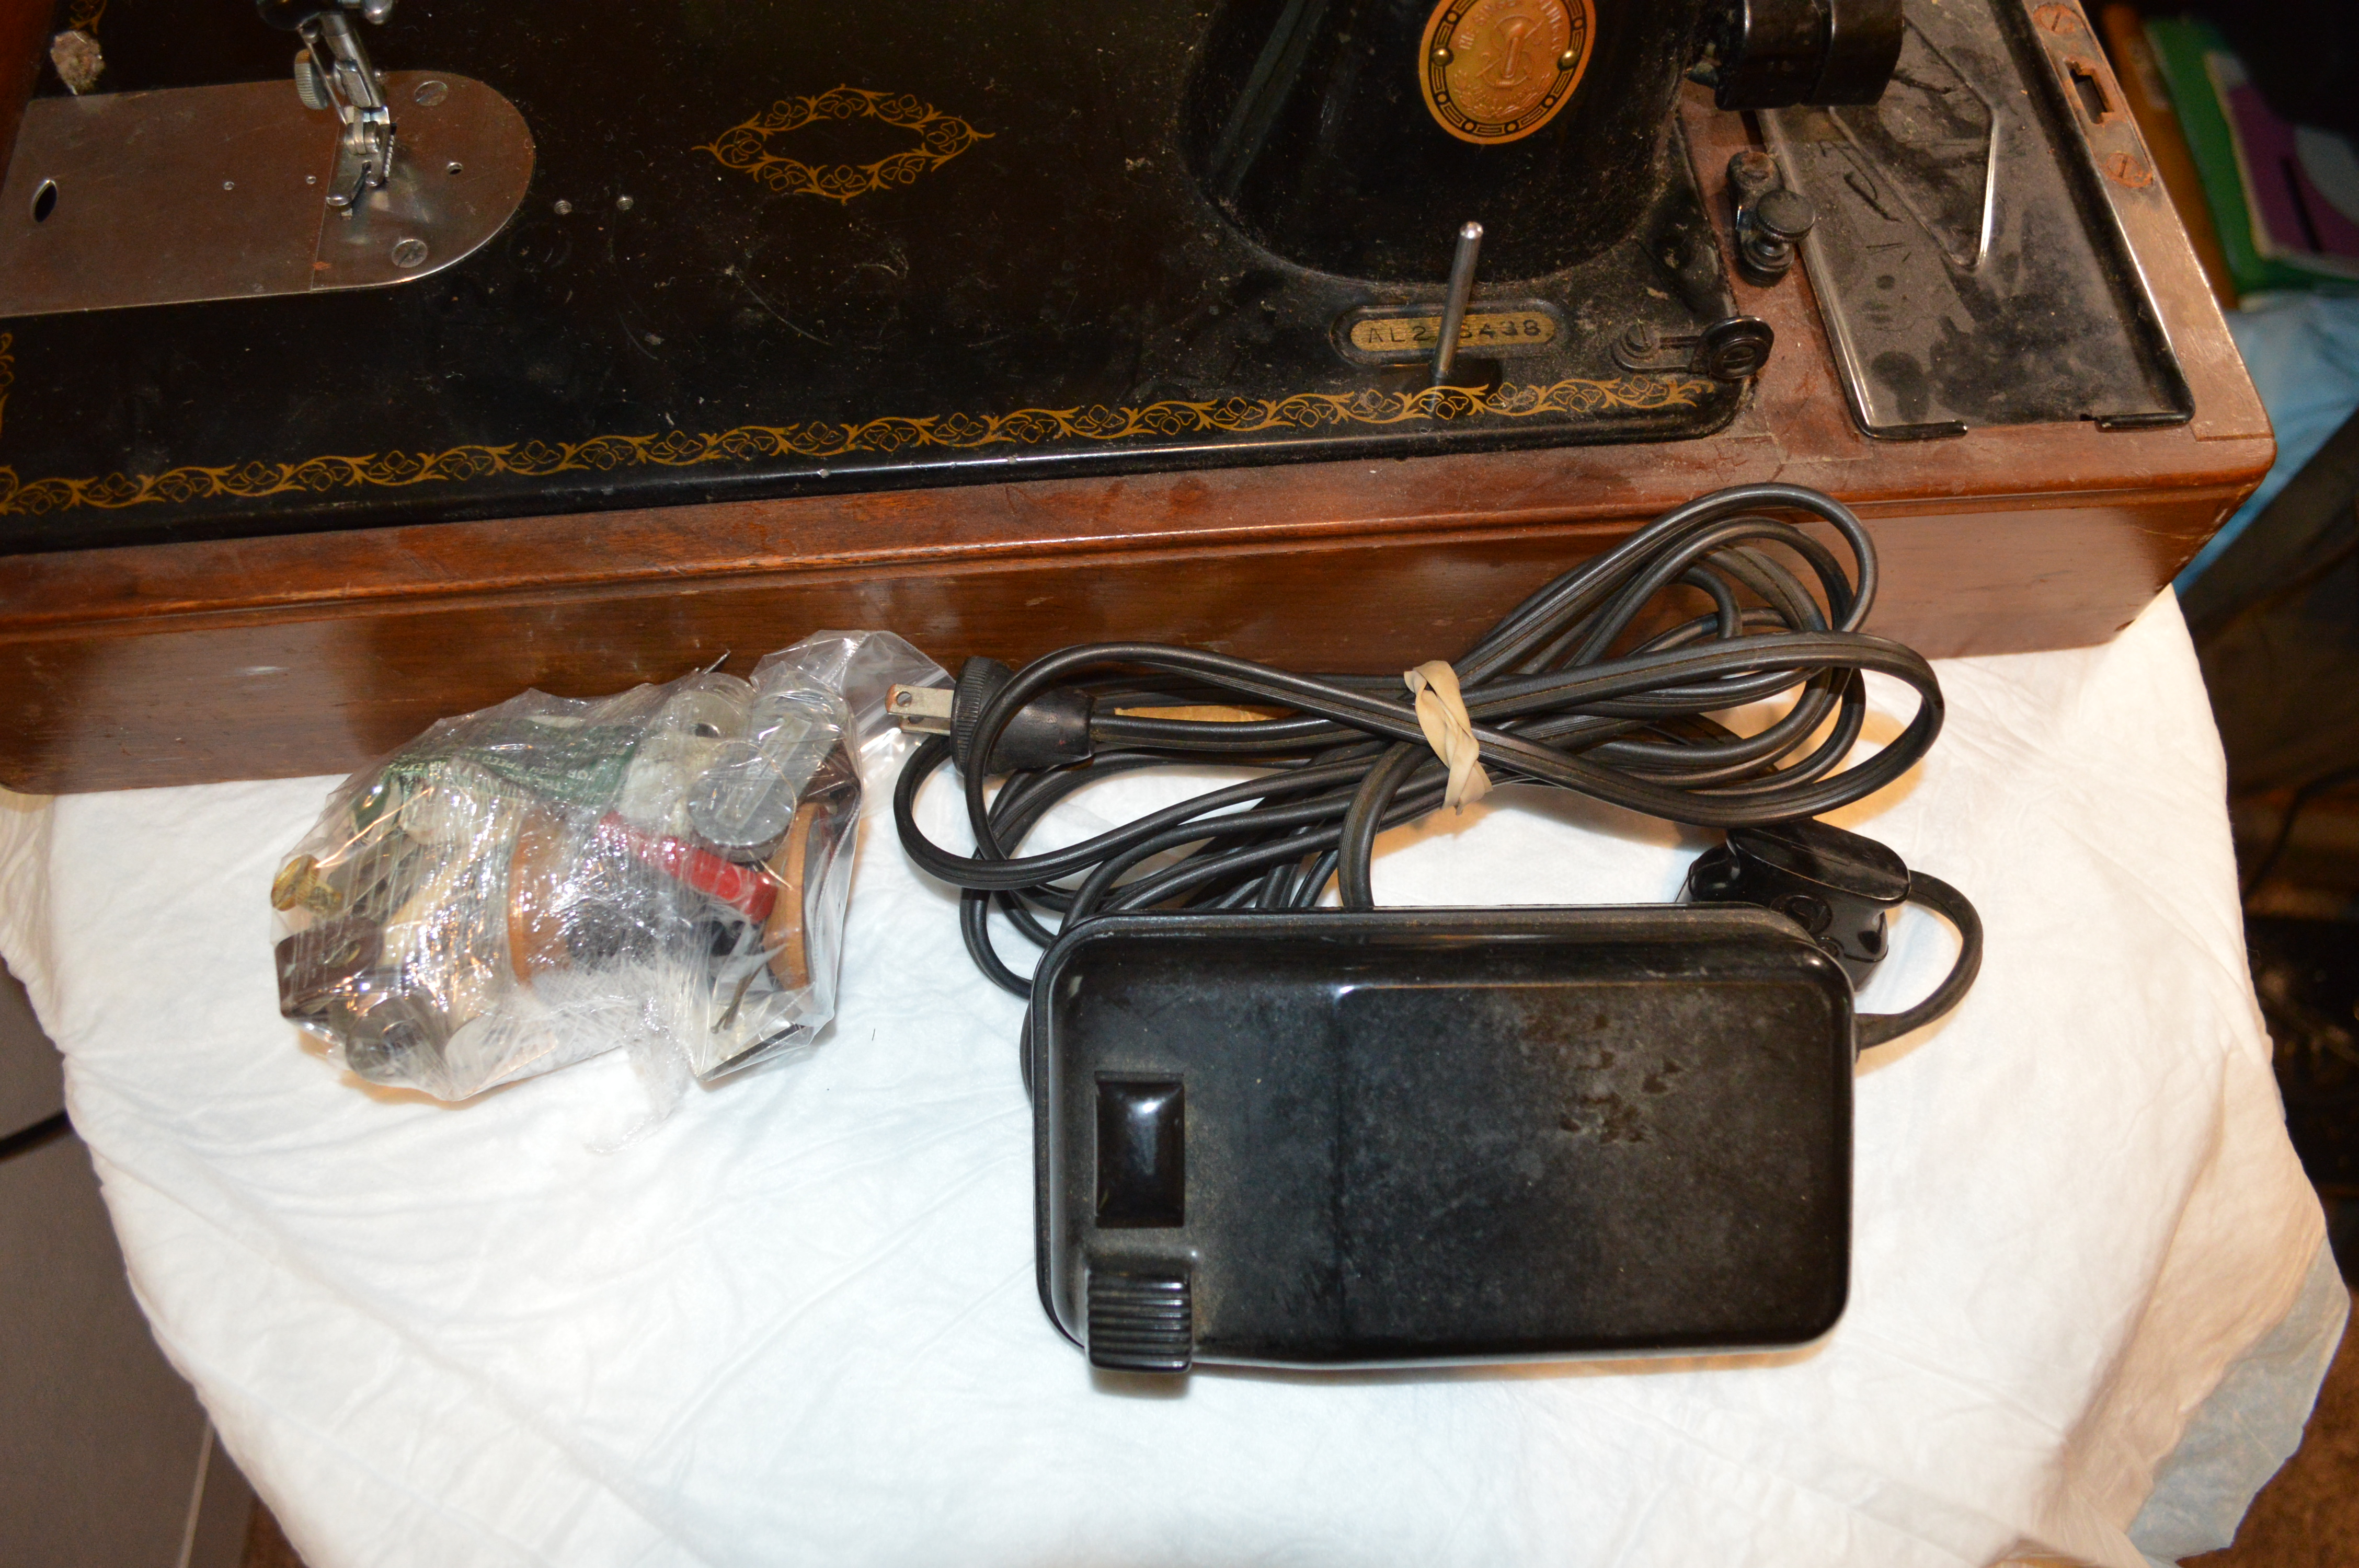
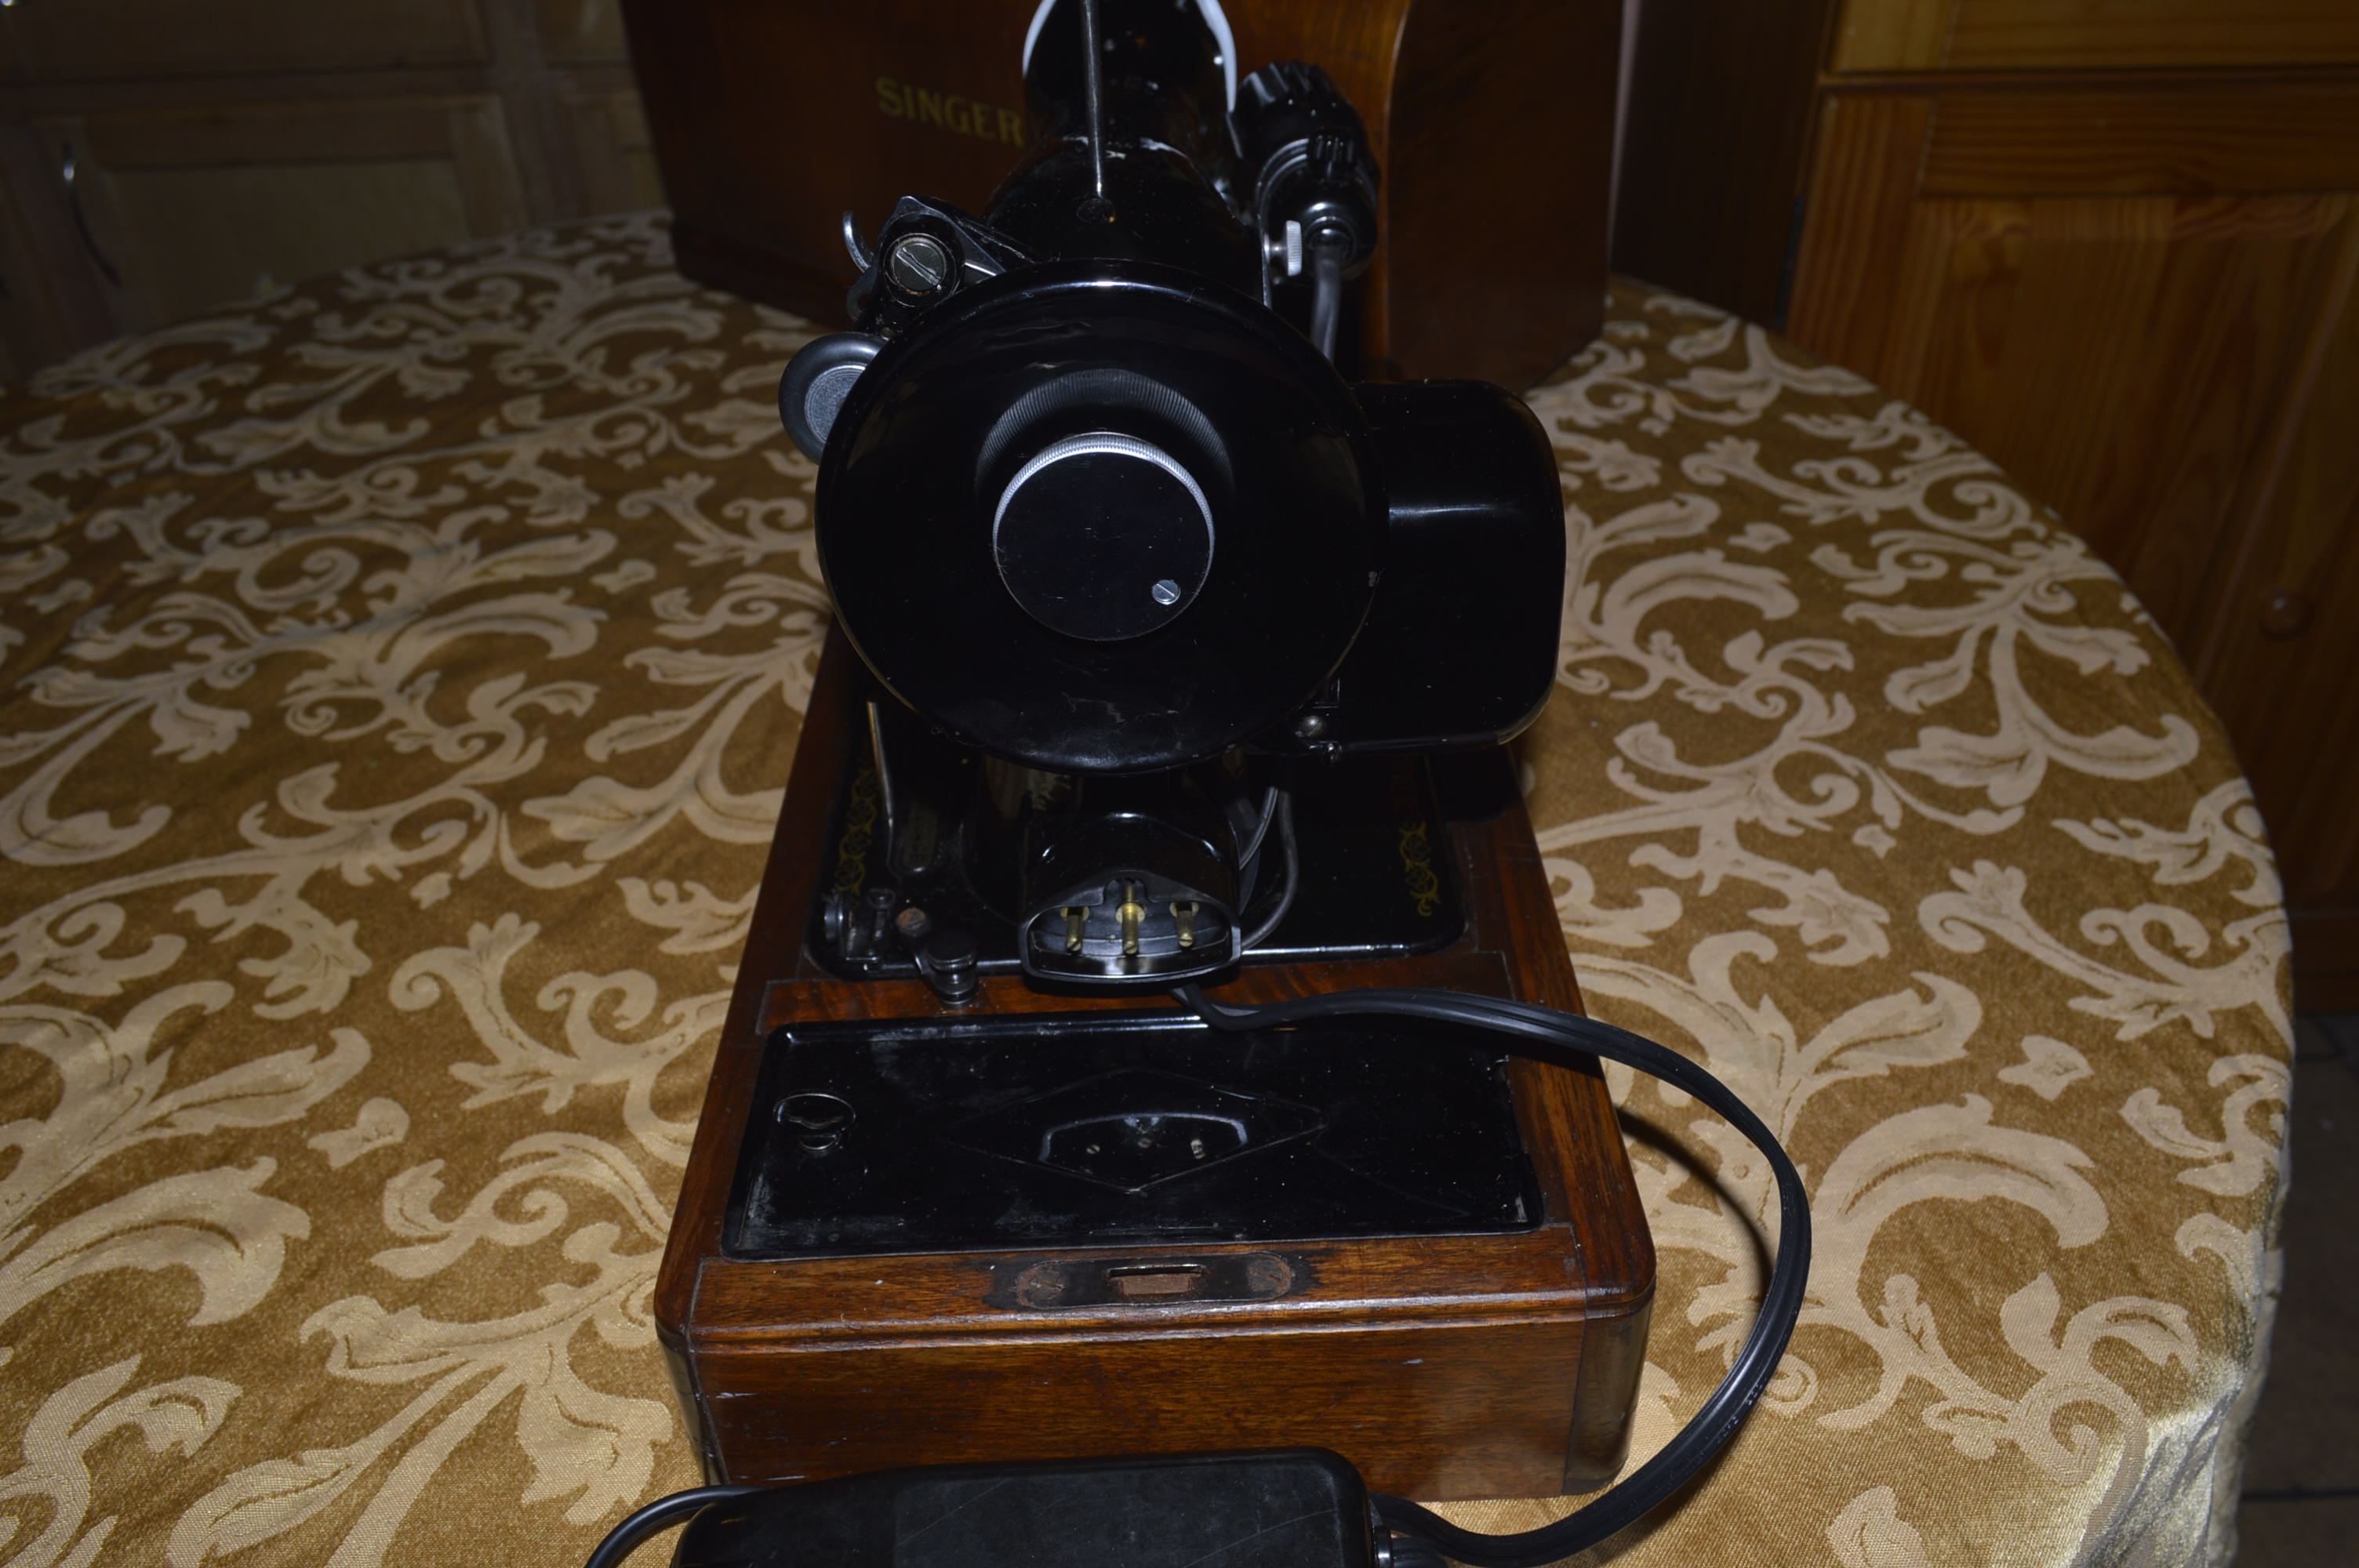
This 15-91 was delivered in a Bentwood case, a few bits and pieces wrapped up in a plastic baggie, and a Singer carbon pile foot controller.


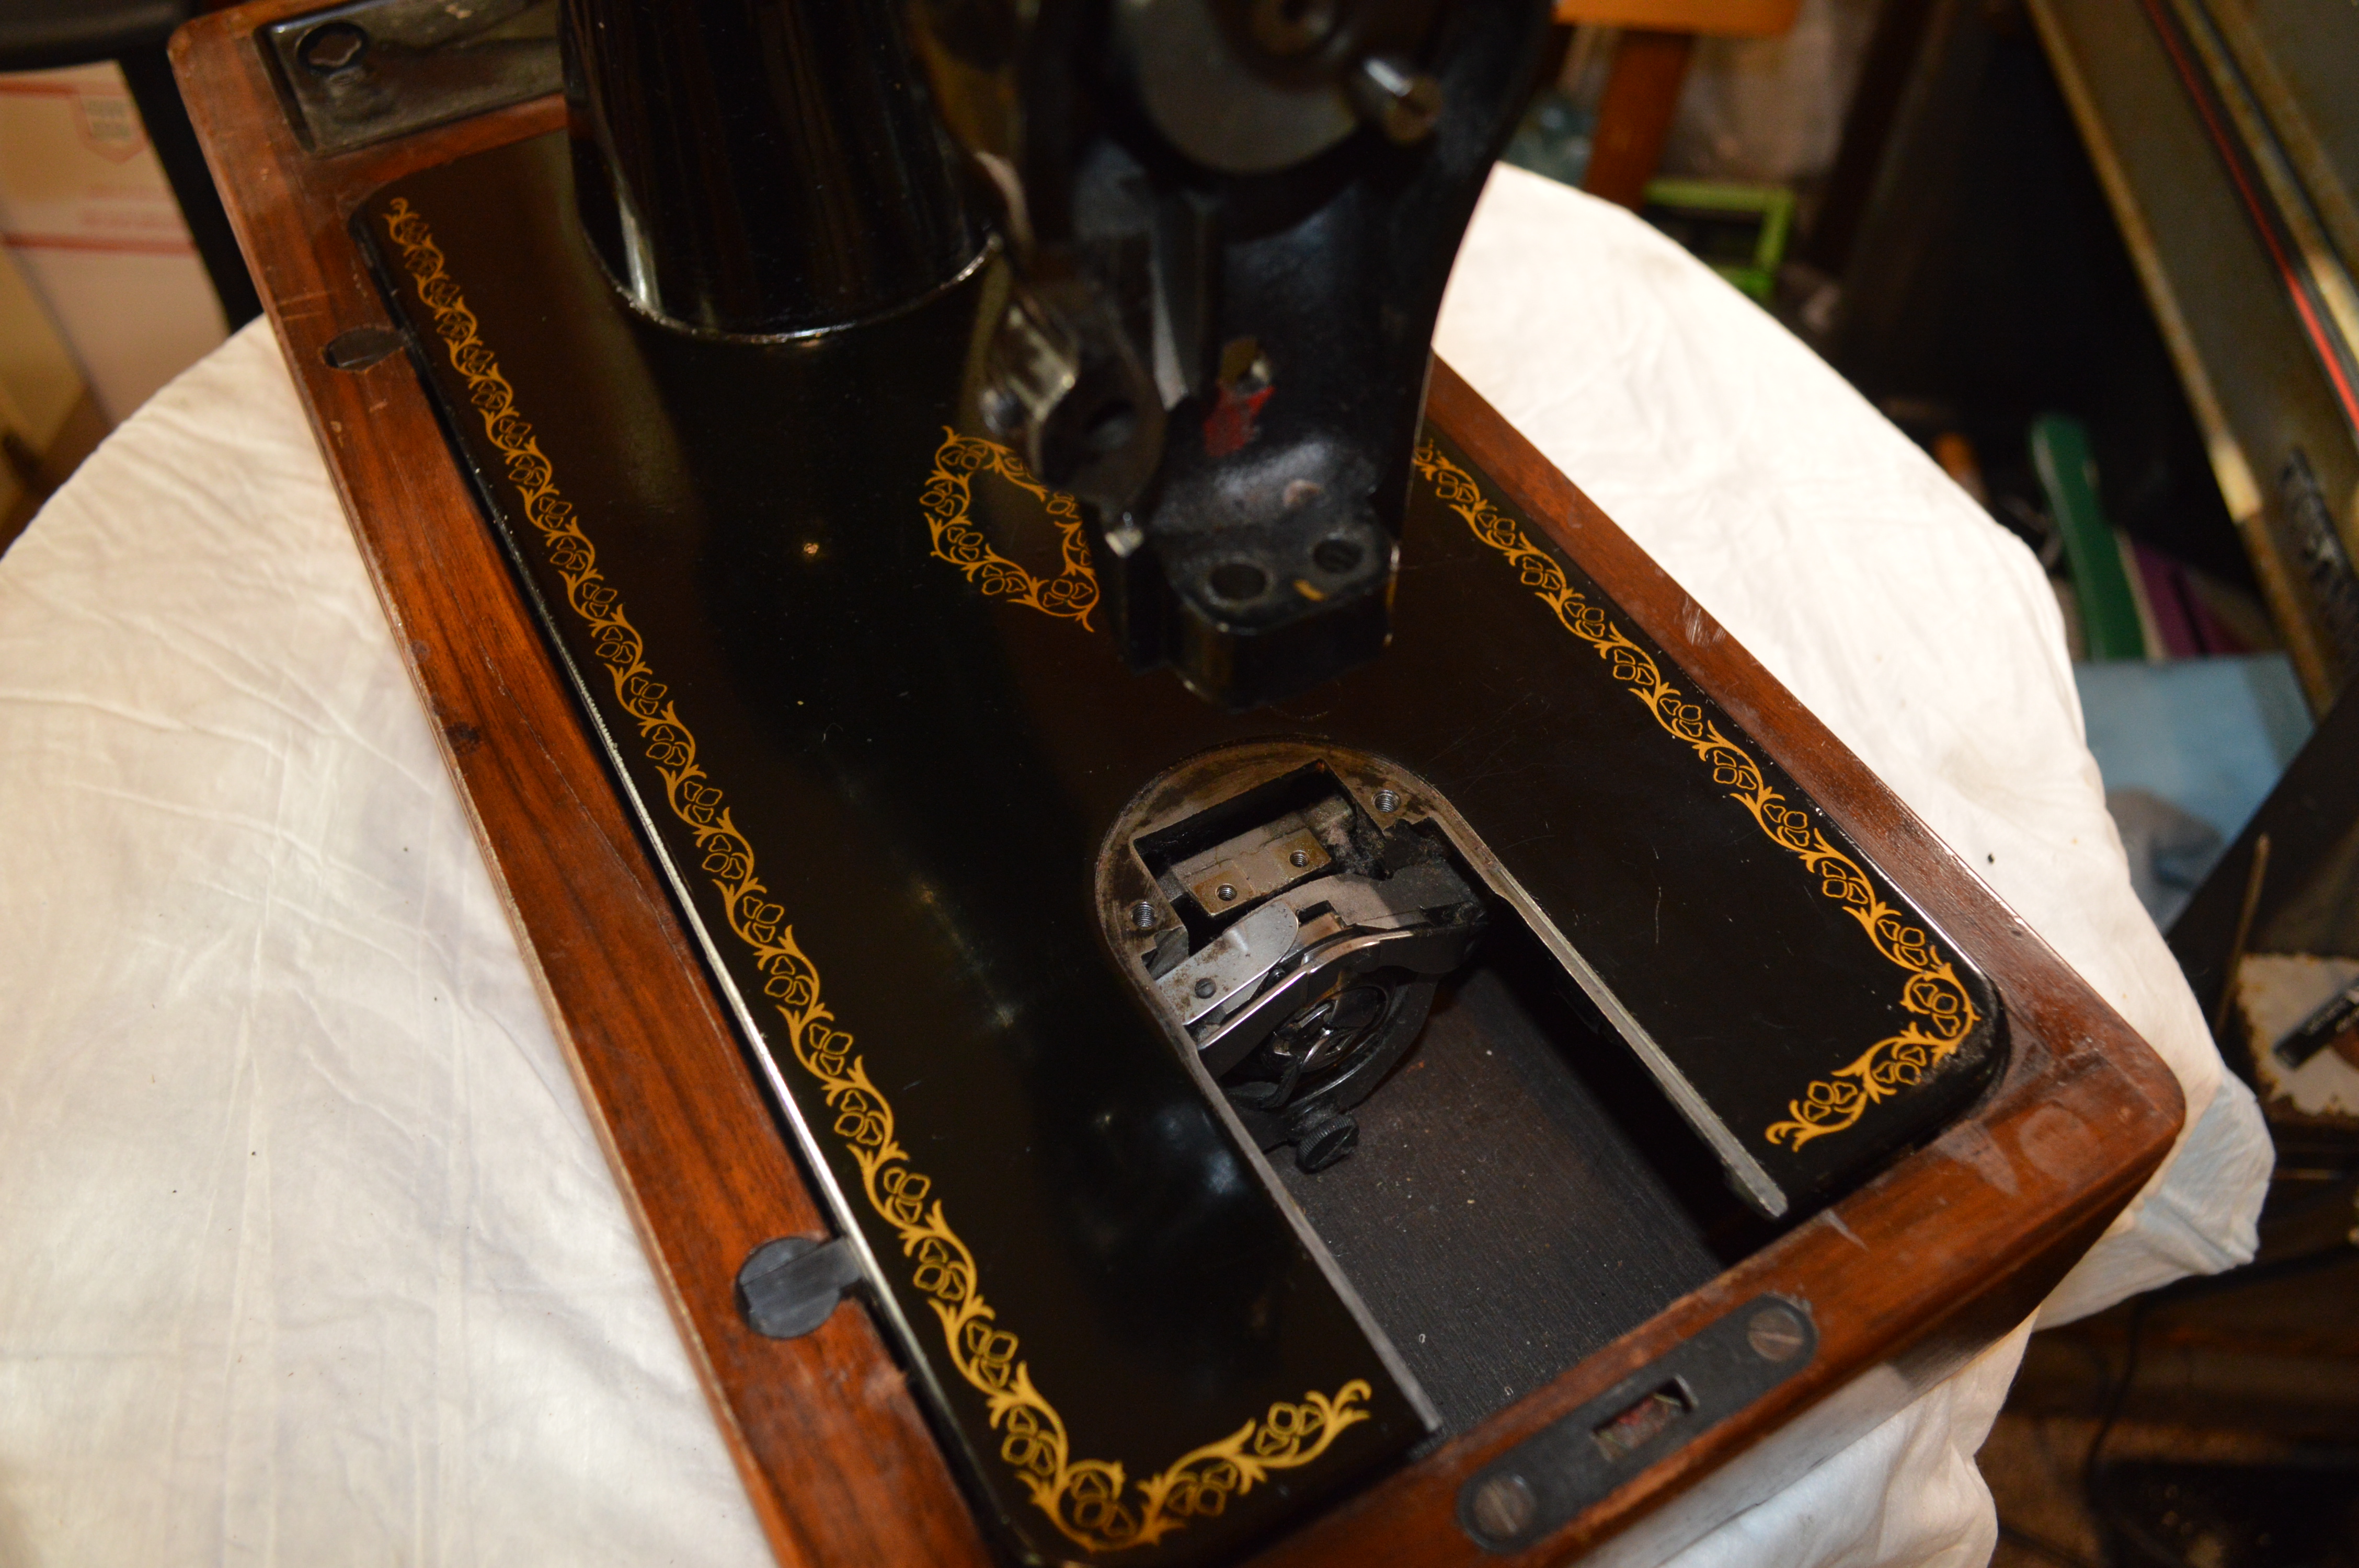
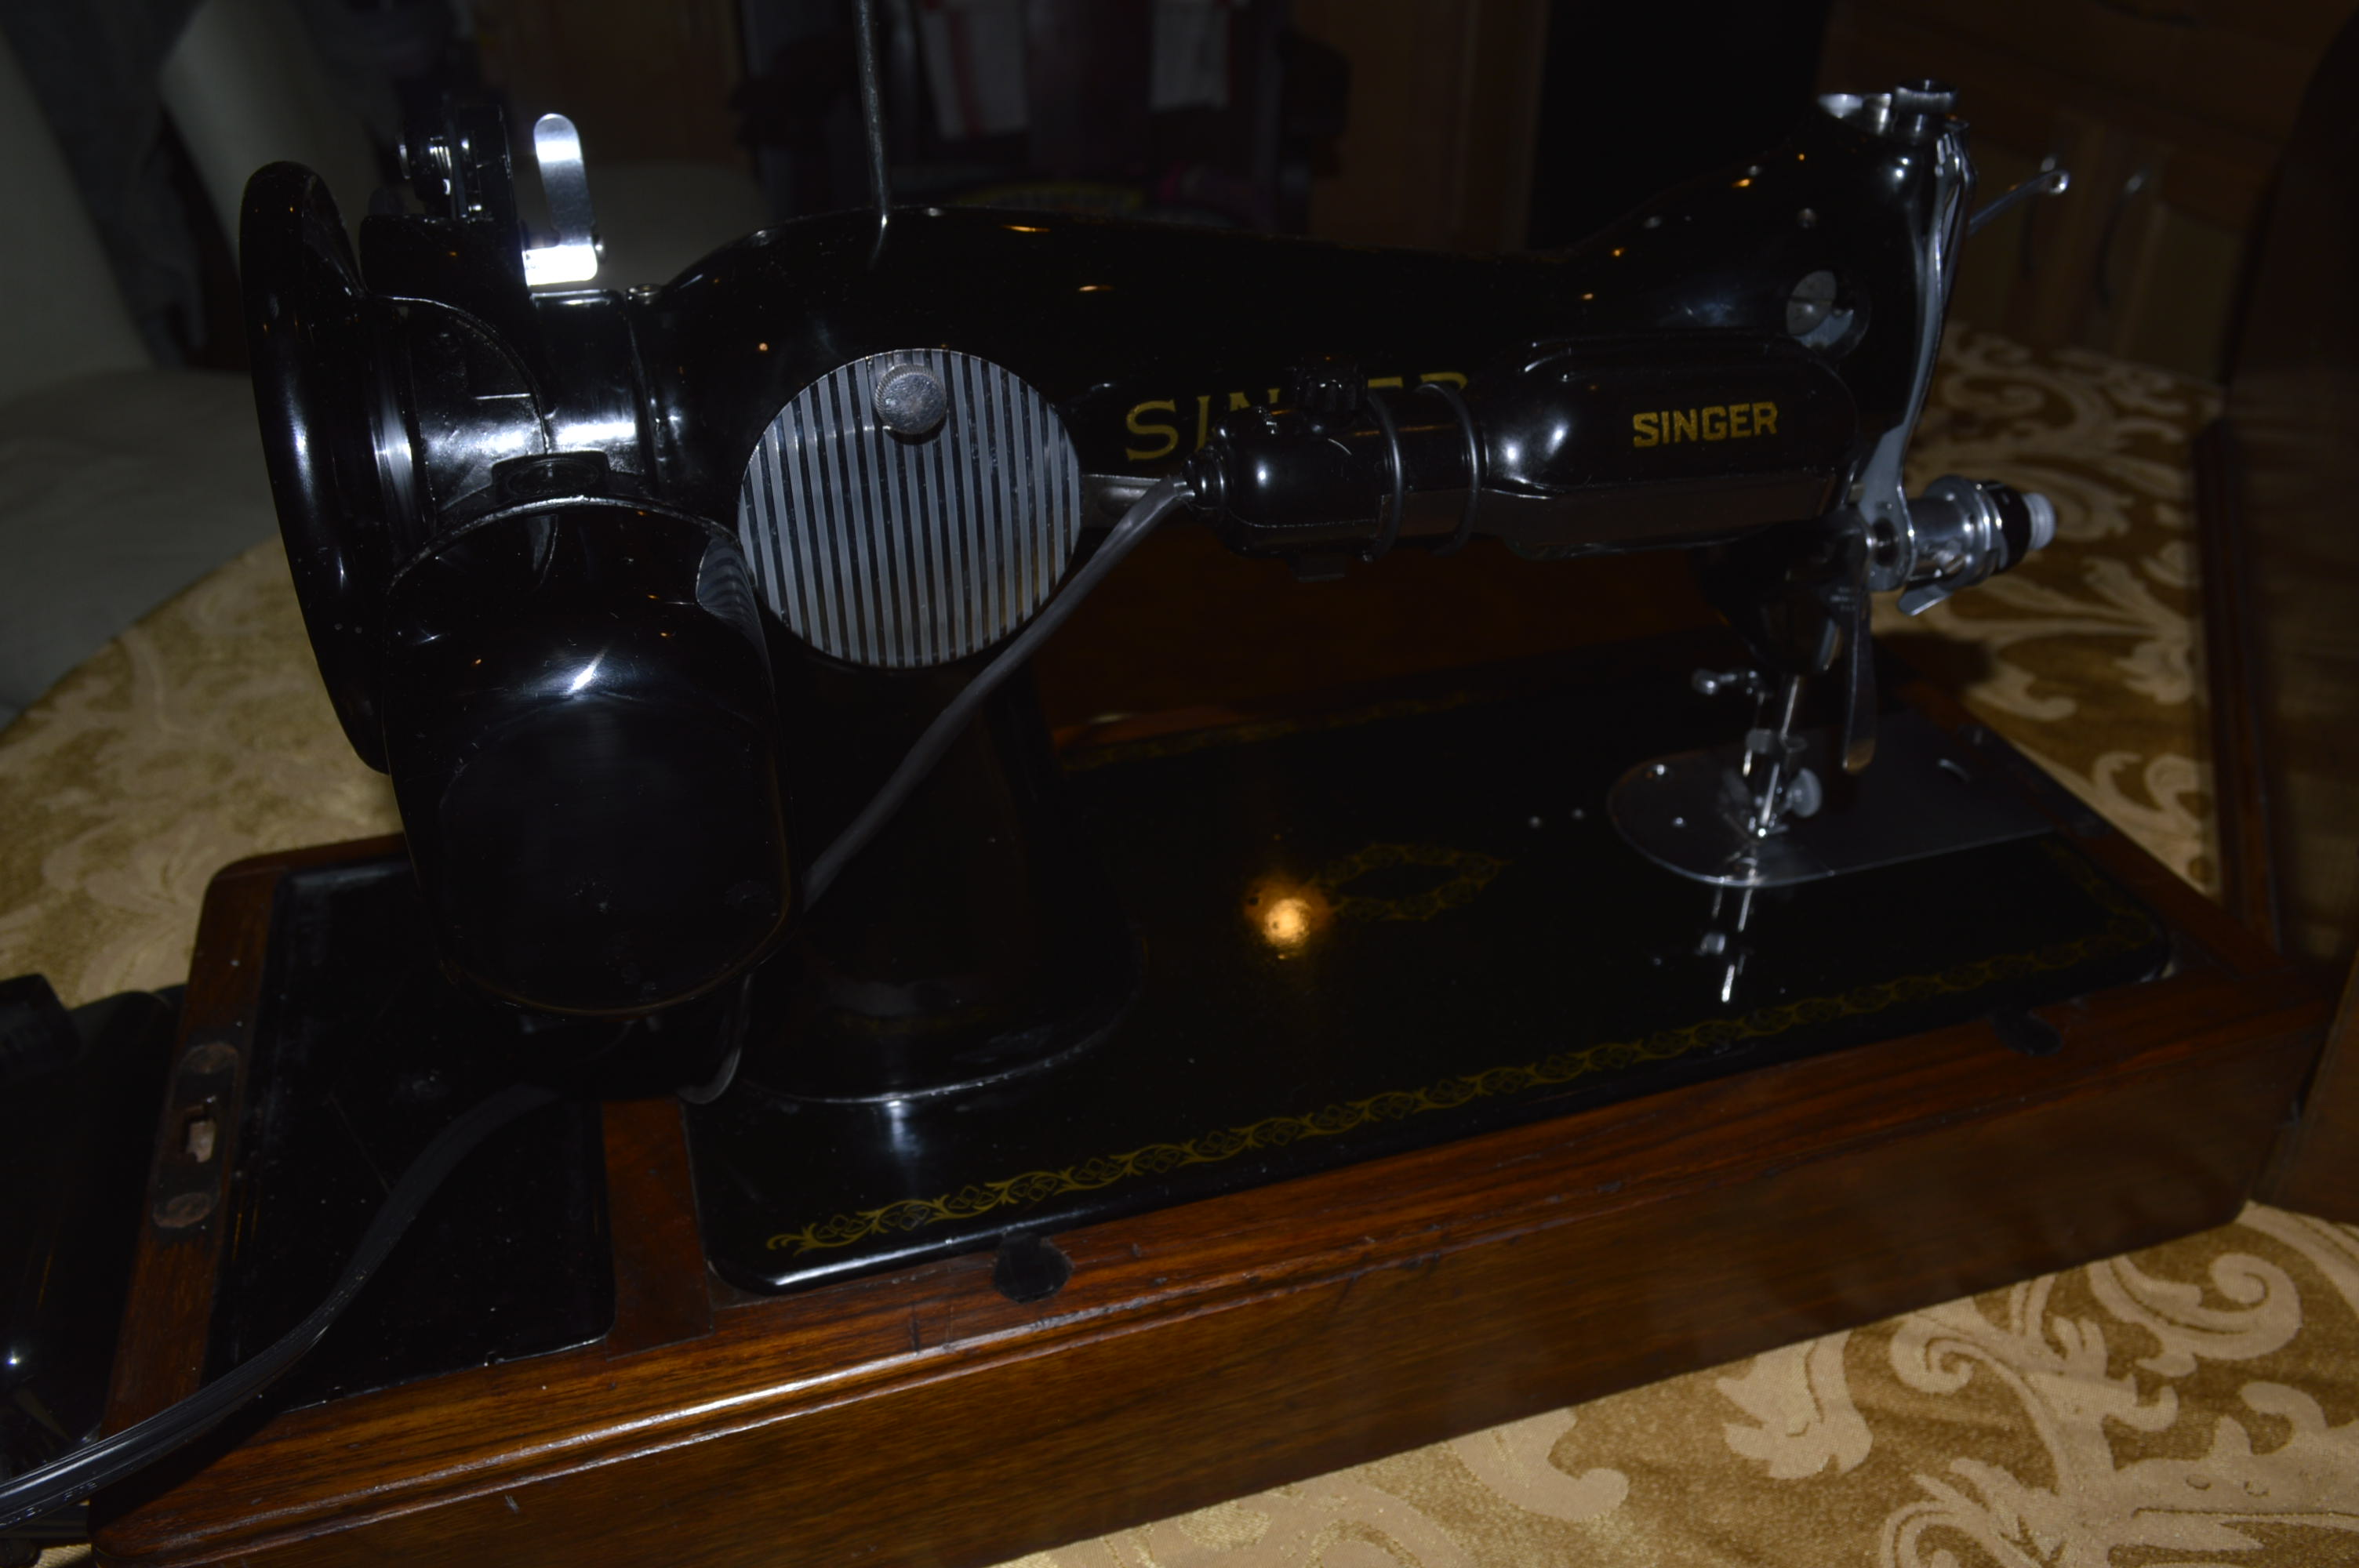
All of the nickel plated parts and covers are in great condition. Upon first inspection, the decals show only a slight amount of wear, and the finish on the bed shows it is in good (but not great) condition… we will see if we can improve on that.
The case is also in good condition with a few scratches and small dings. These can also be improved on. No, the handle isn’t missing… it is in the little plastic baggie with other bits and surprises.
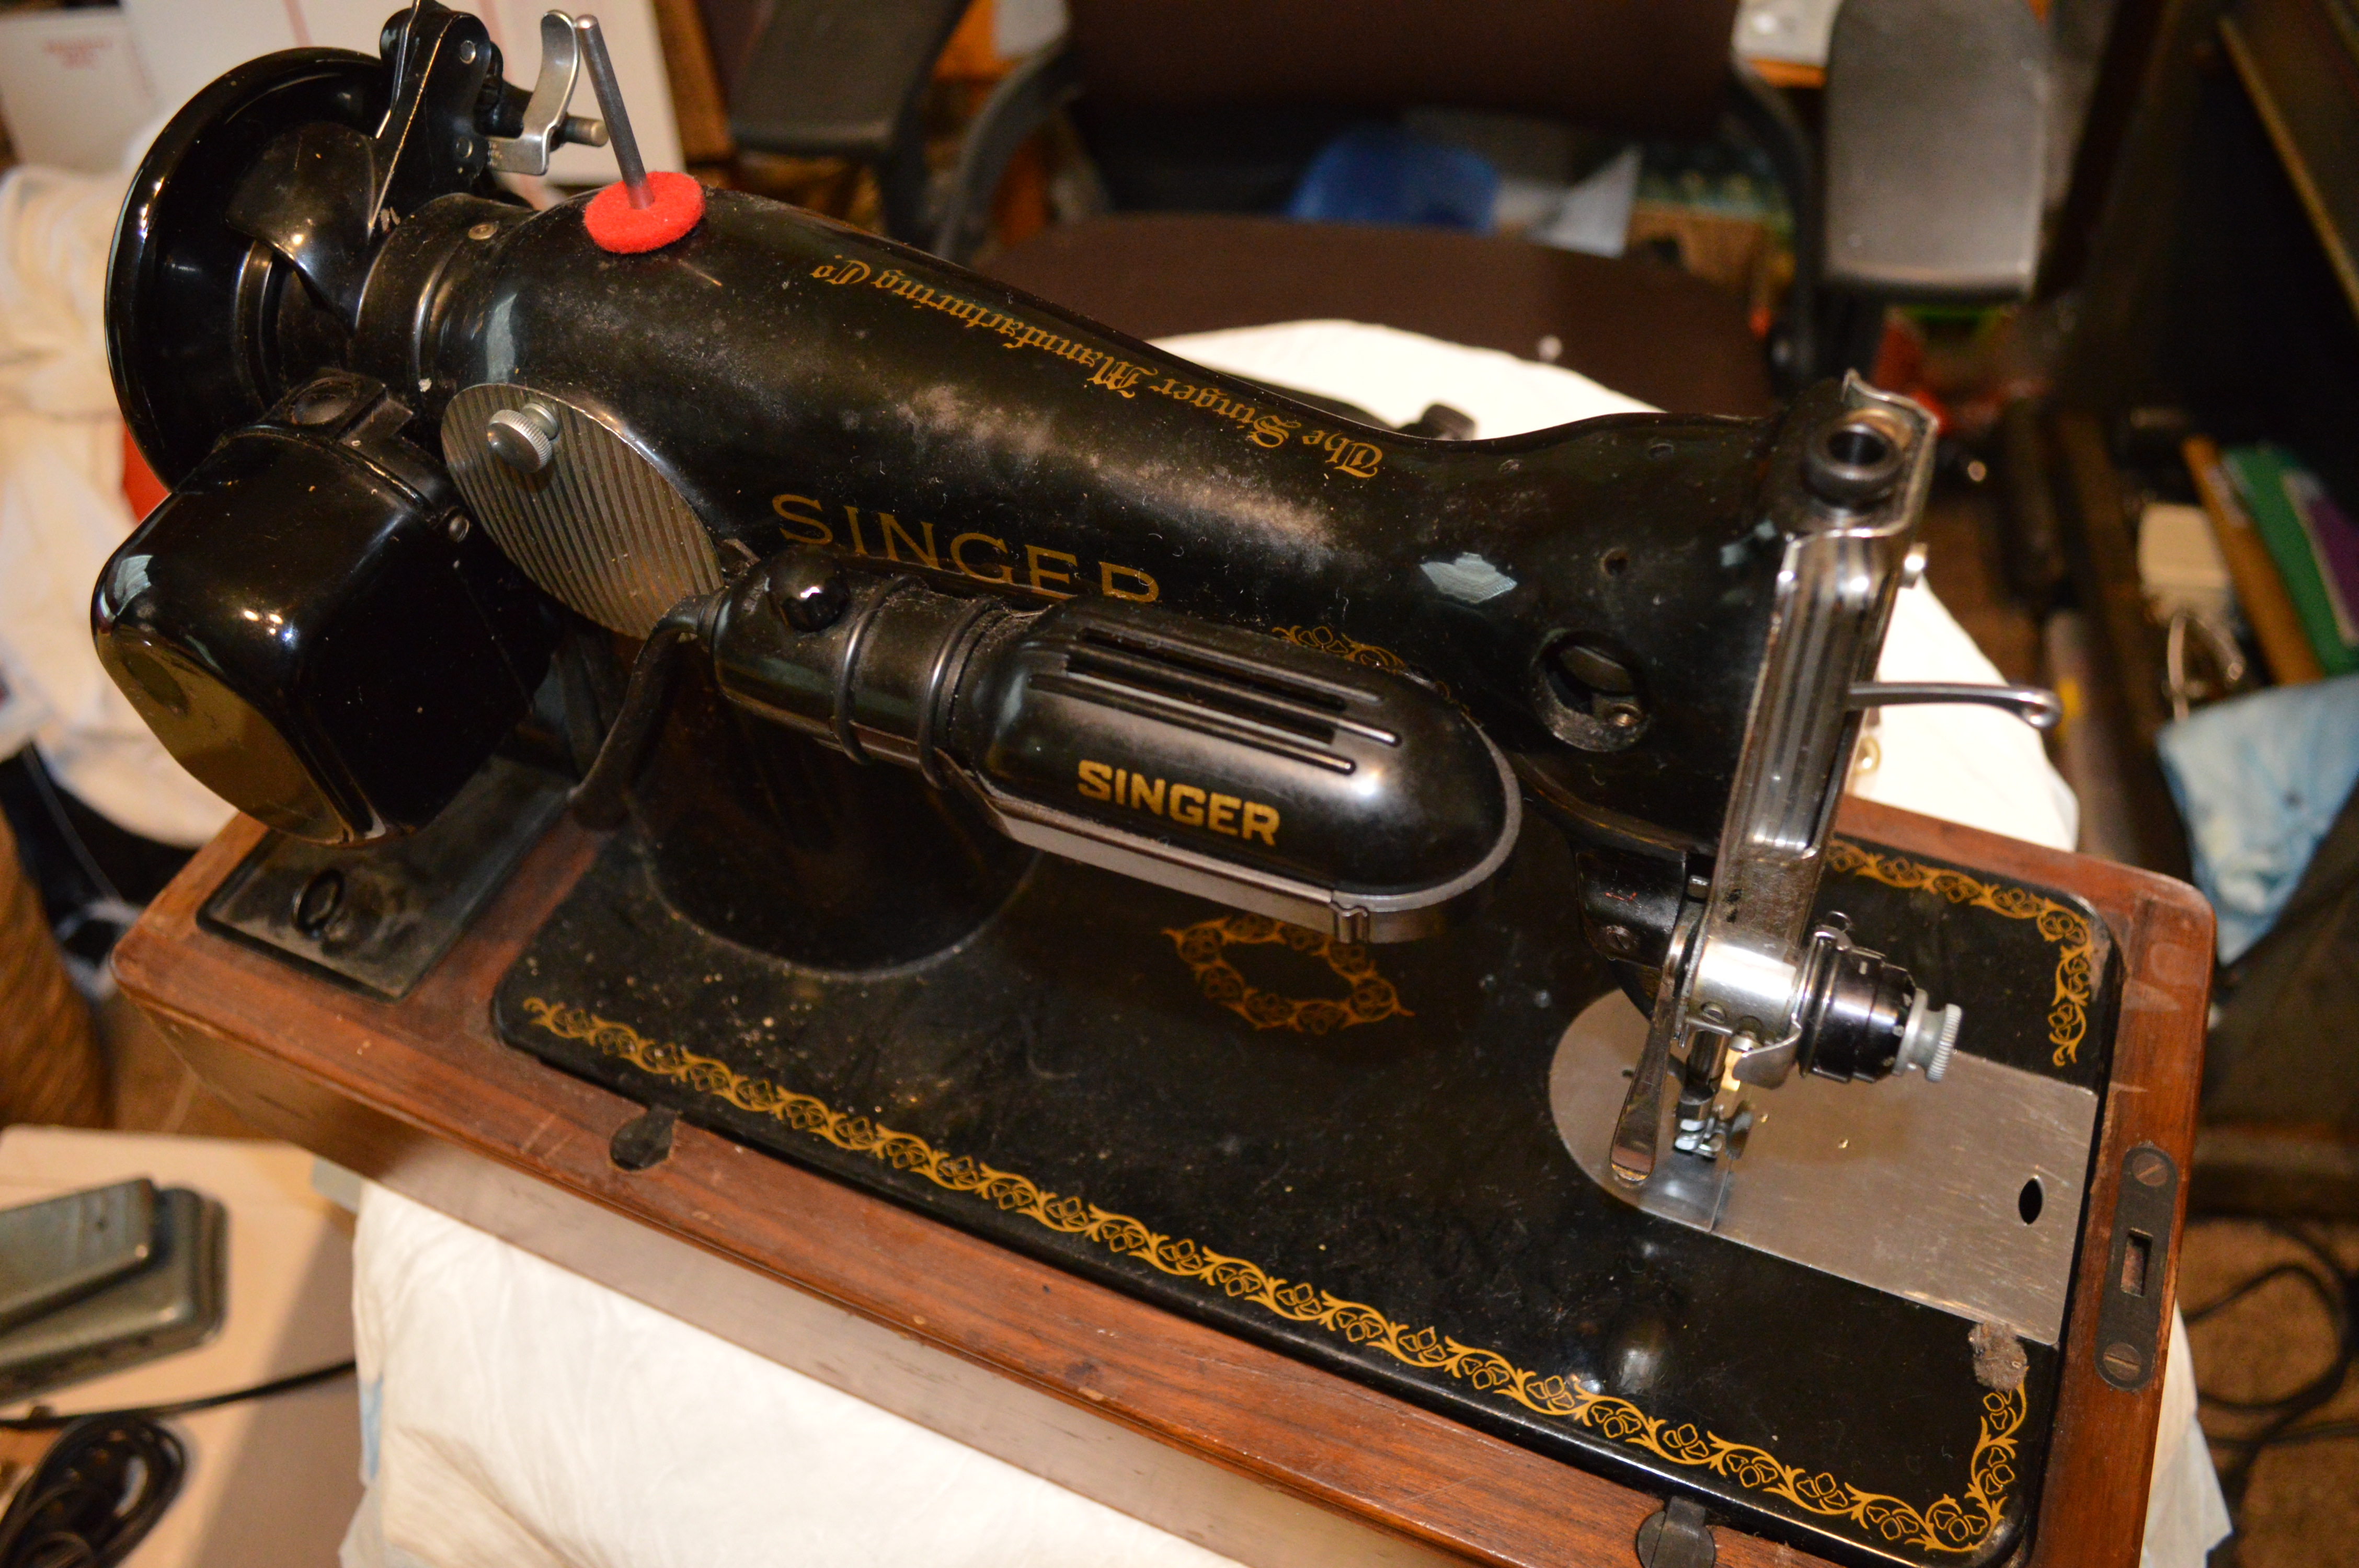
The first step is to clean the body of the machine. Because I am going way past just cleaning with this reconditioning, I am removing everything I can for ultrasonic cleaning. Dusting with a dry paint brush is always done first, followed by cleaning with sewing machine oil.
These parts are removed…


I also remove the spool pins (don’t unless you intend to replace them). They will be replaced because they are press fit, and removal will provide much better access for cleaning the body of the machine. The motor is also removed. A word of caution on removing the motor. There are 2 screws that cannot be loosened by hand. Many a screw head has been bunged up trying this. So often, that there are replacement screws available for purchase. I use an impact driver, but to loosen these, you can use a good tight fitting screwdriver and a hammer. By simultaneously pressing the screwdriver tight against the screw, twisting the screwdriver in a loosening motion (counterclockwise), and gently rapping on the end of the screwdriver handle, the screw will loosen with the impact… don’t hit it HARD, or miss with the hammer!
After the machine is cleaned with sewing machine oil, it looks much better…
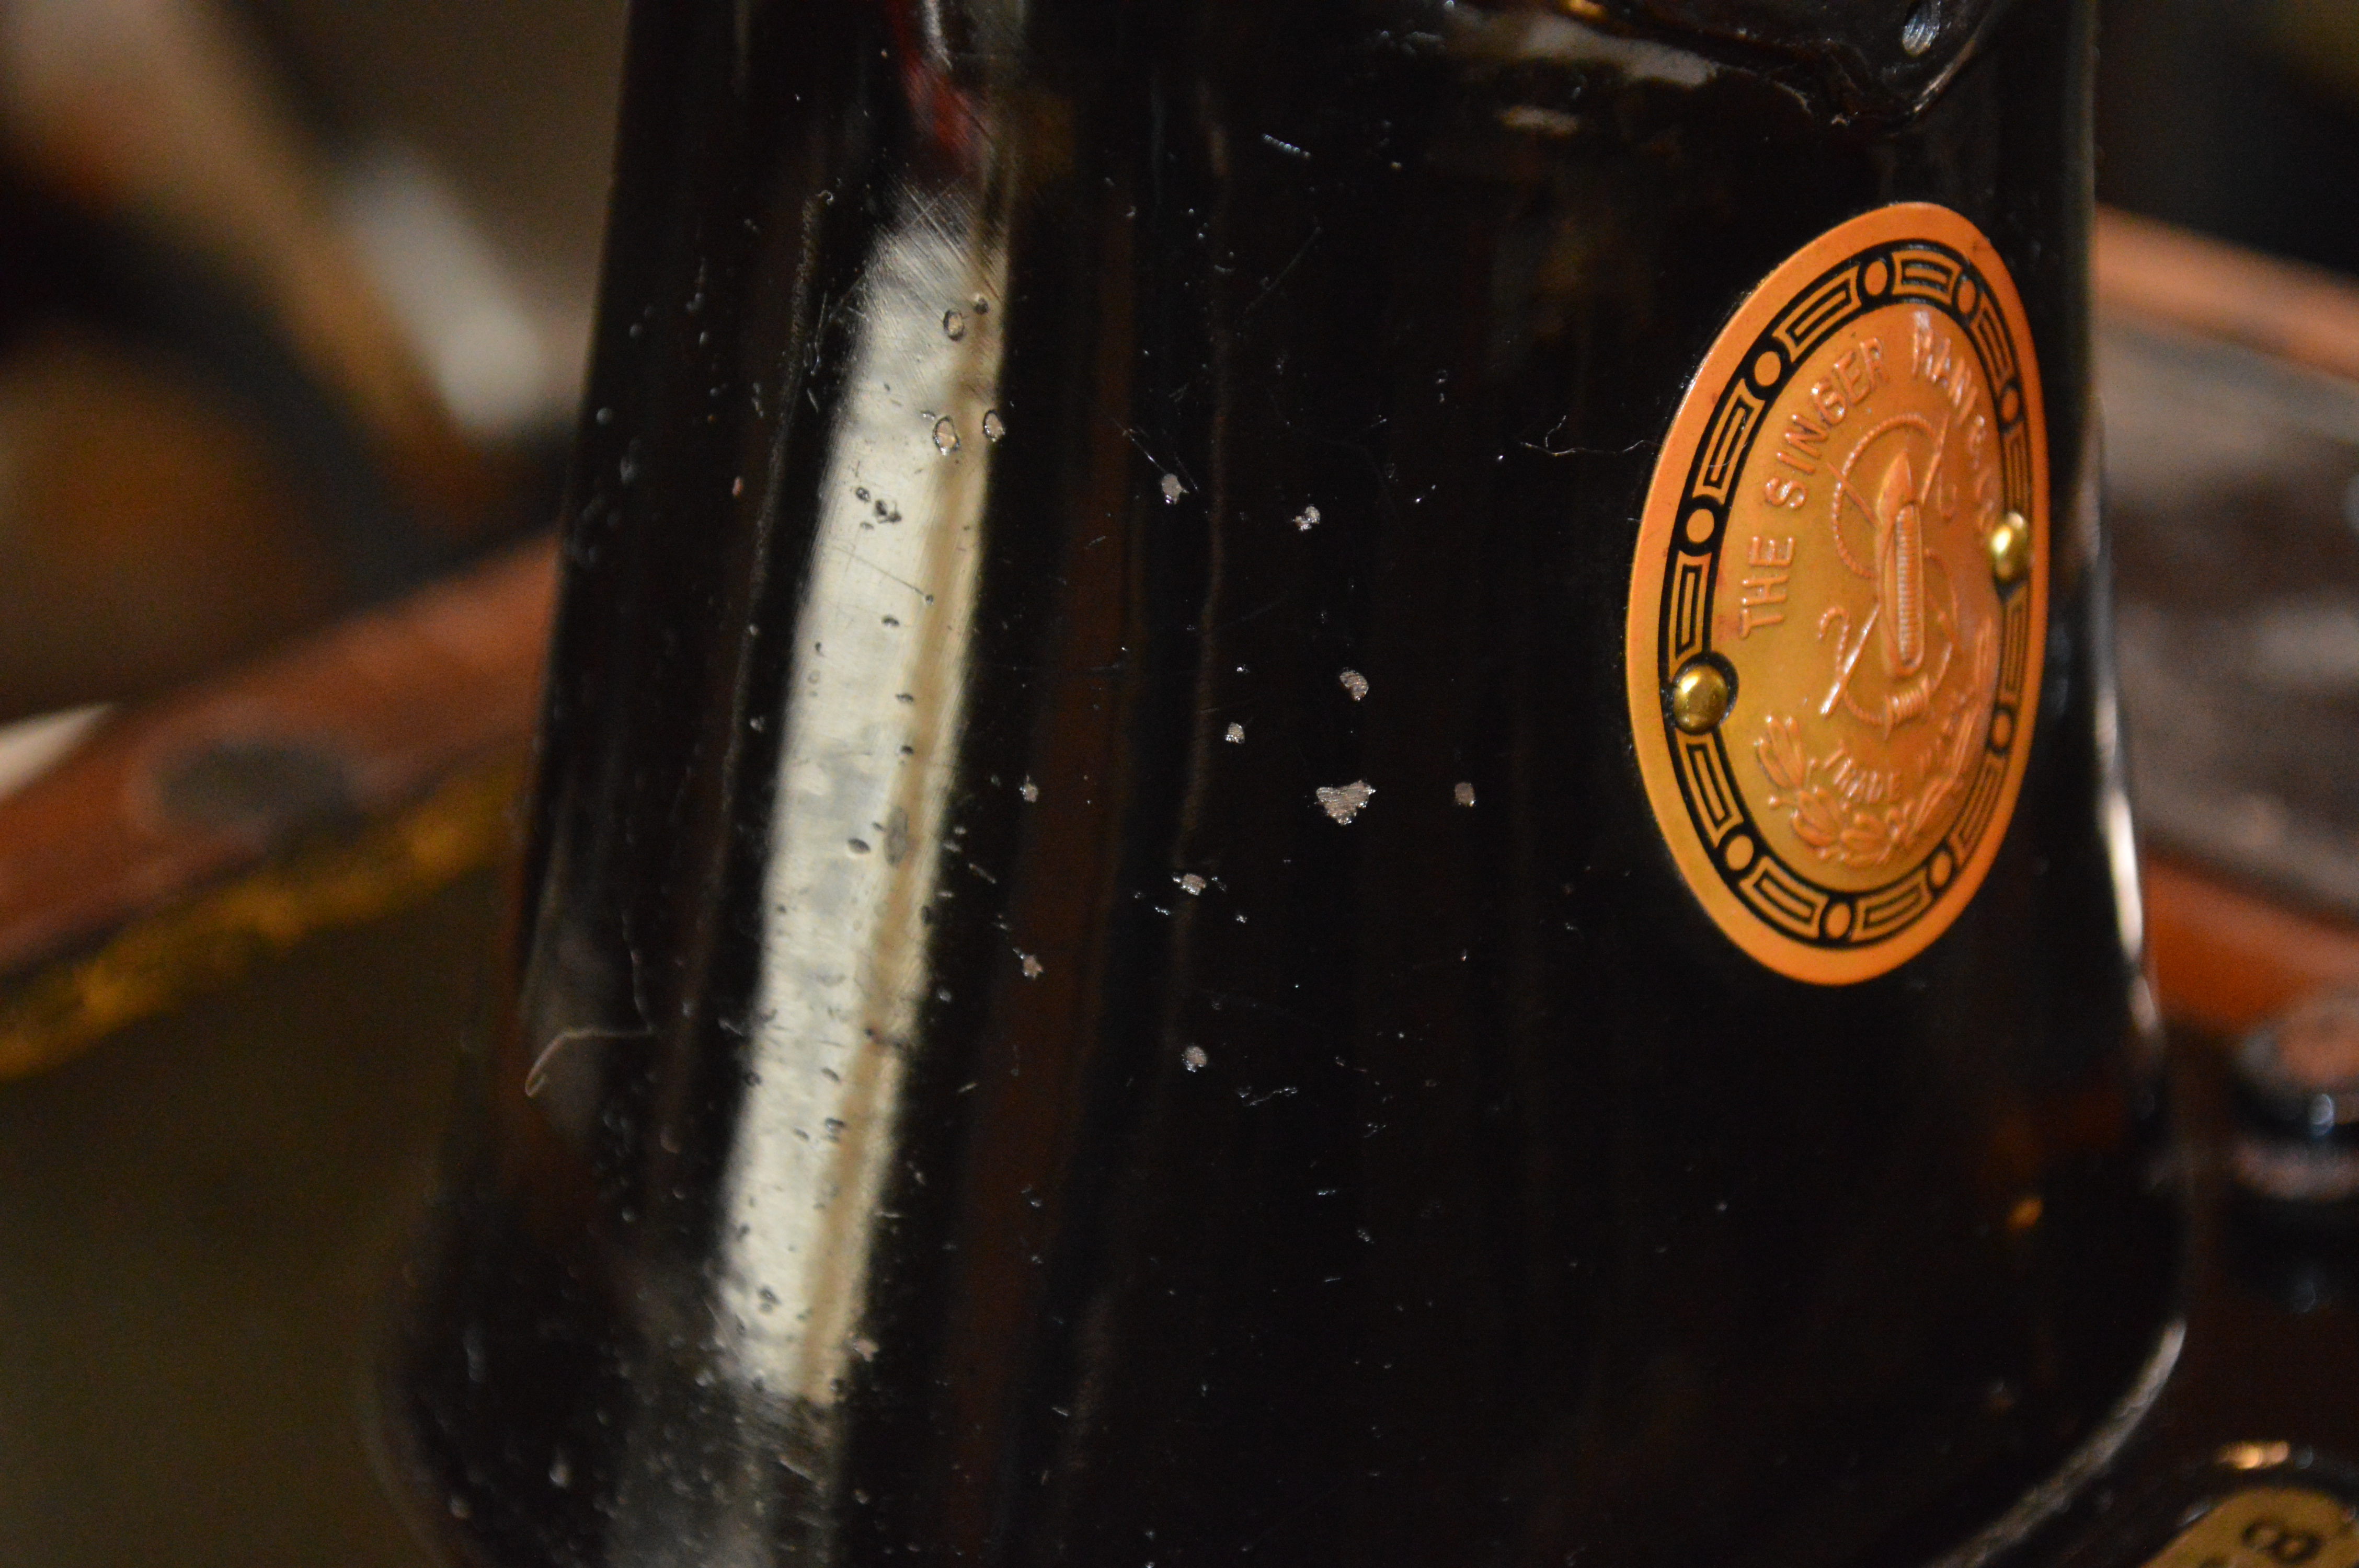


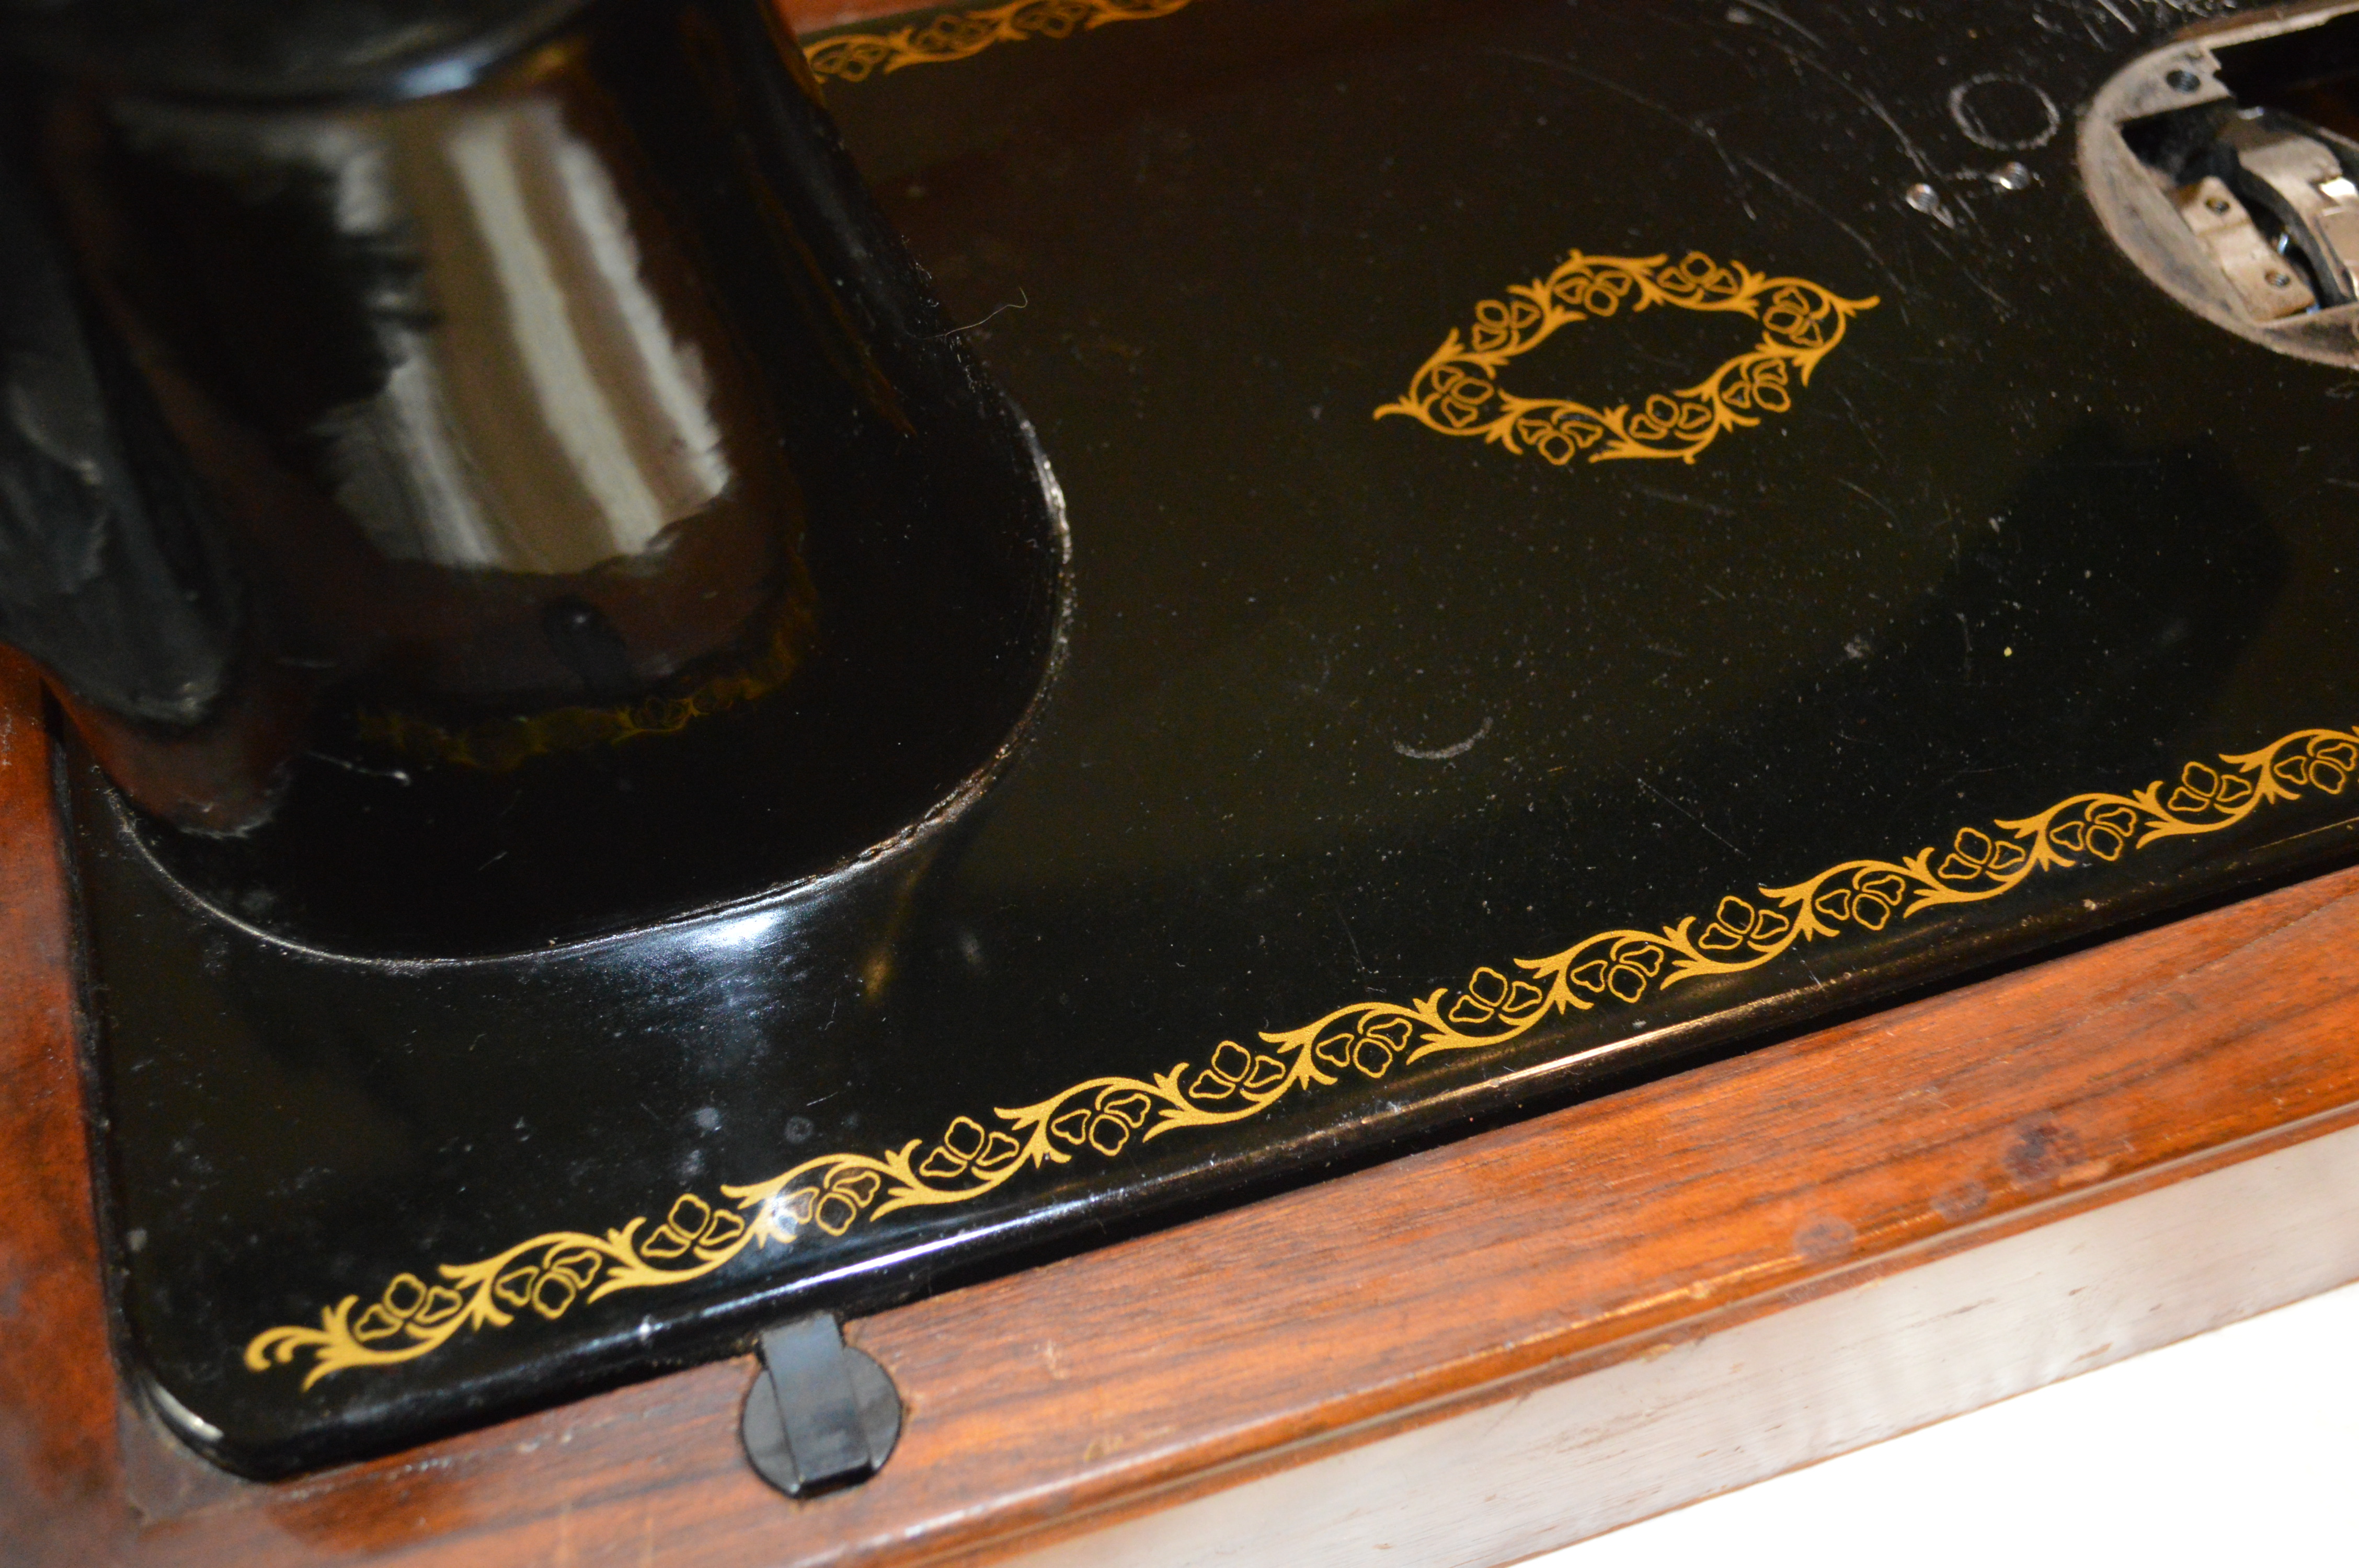
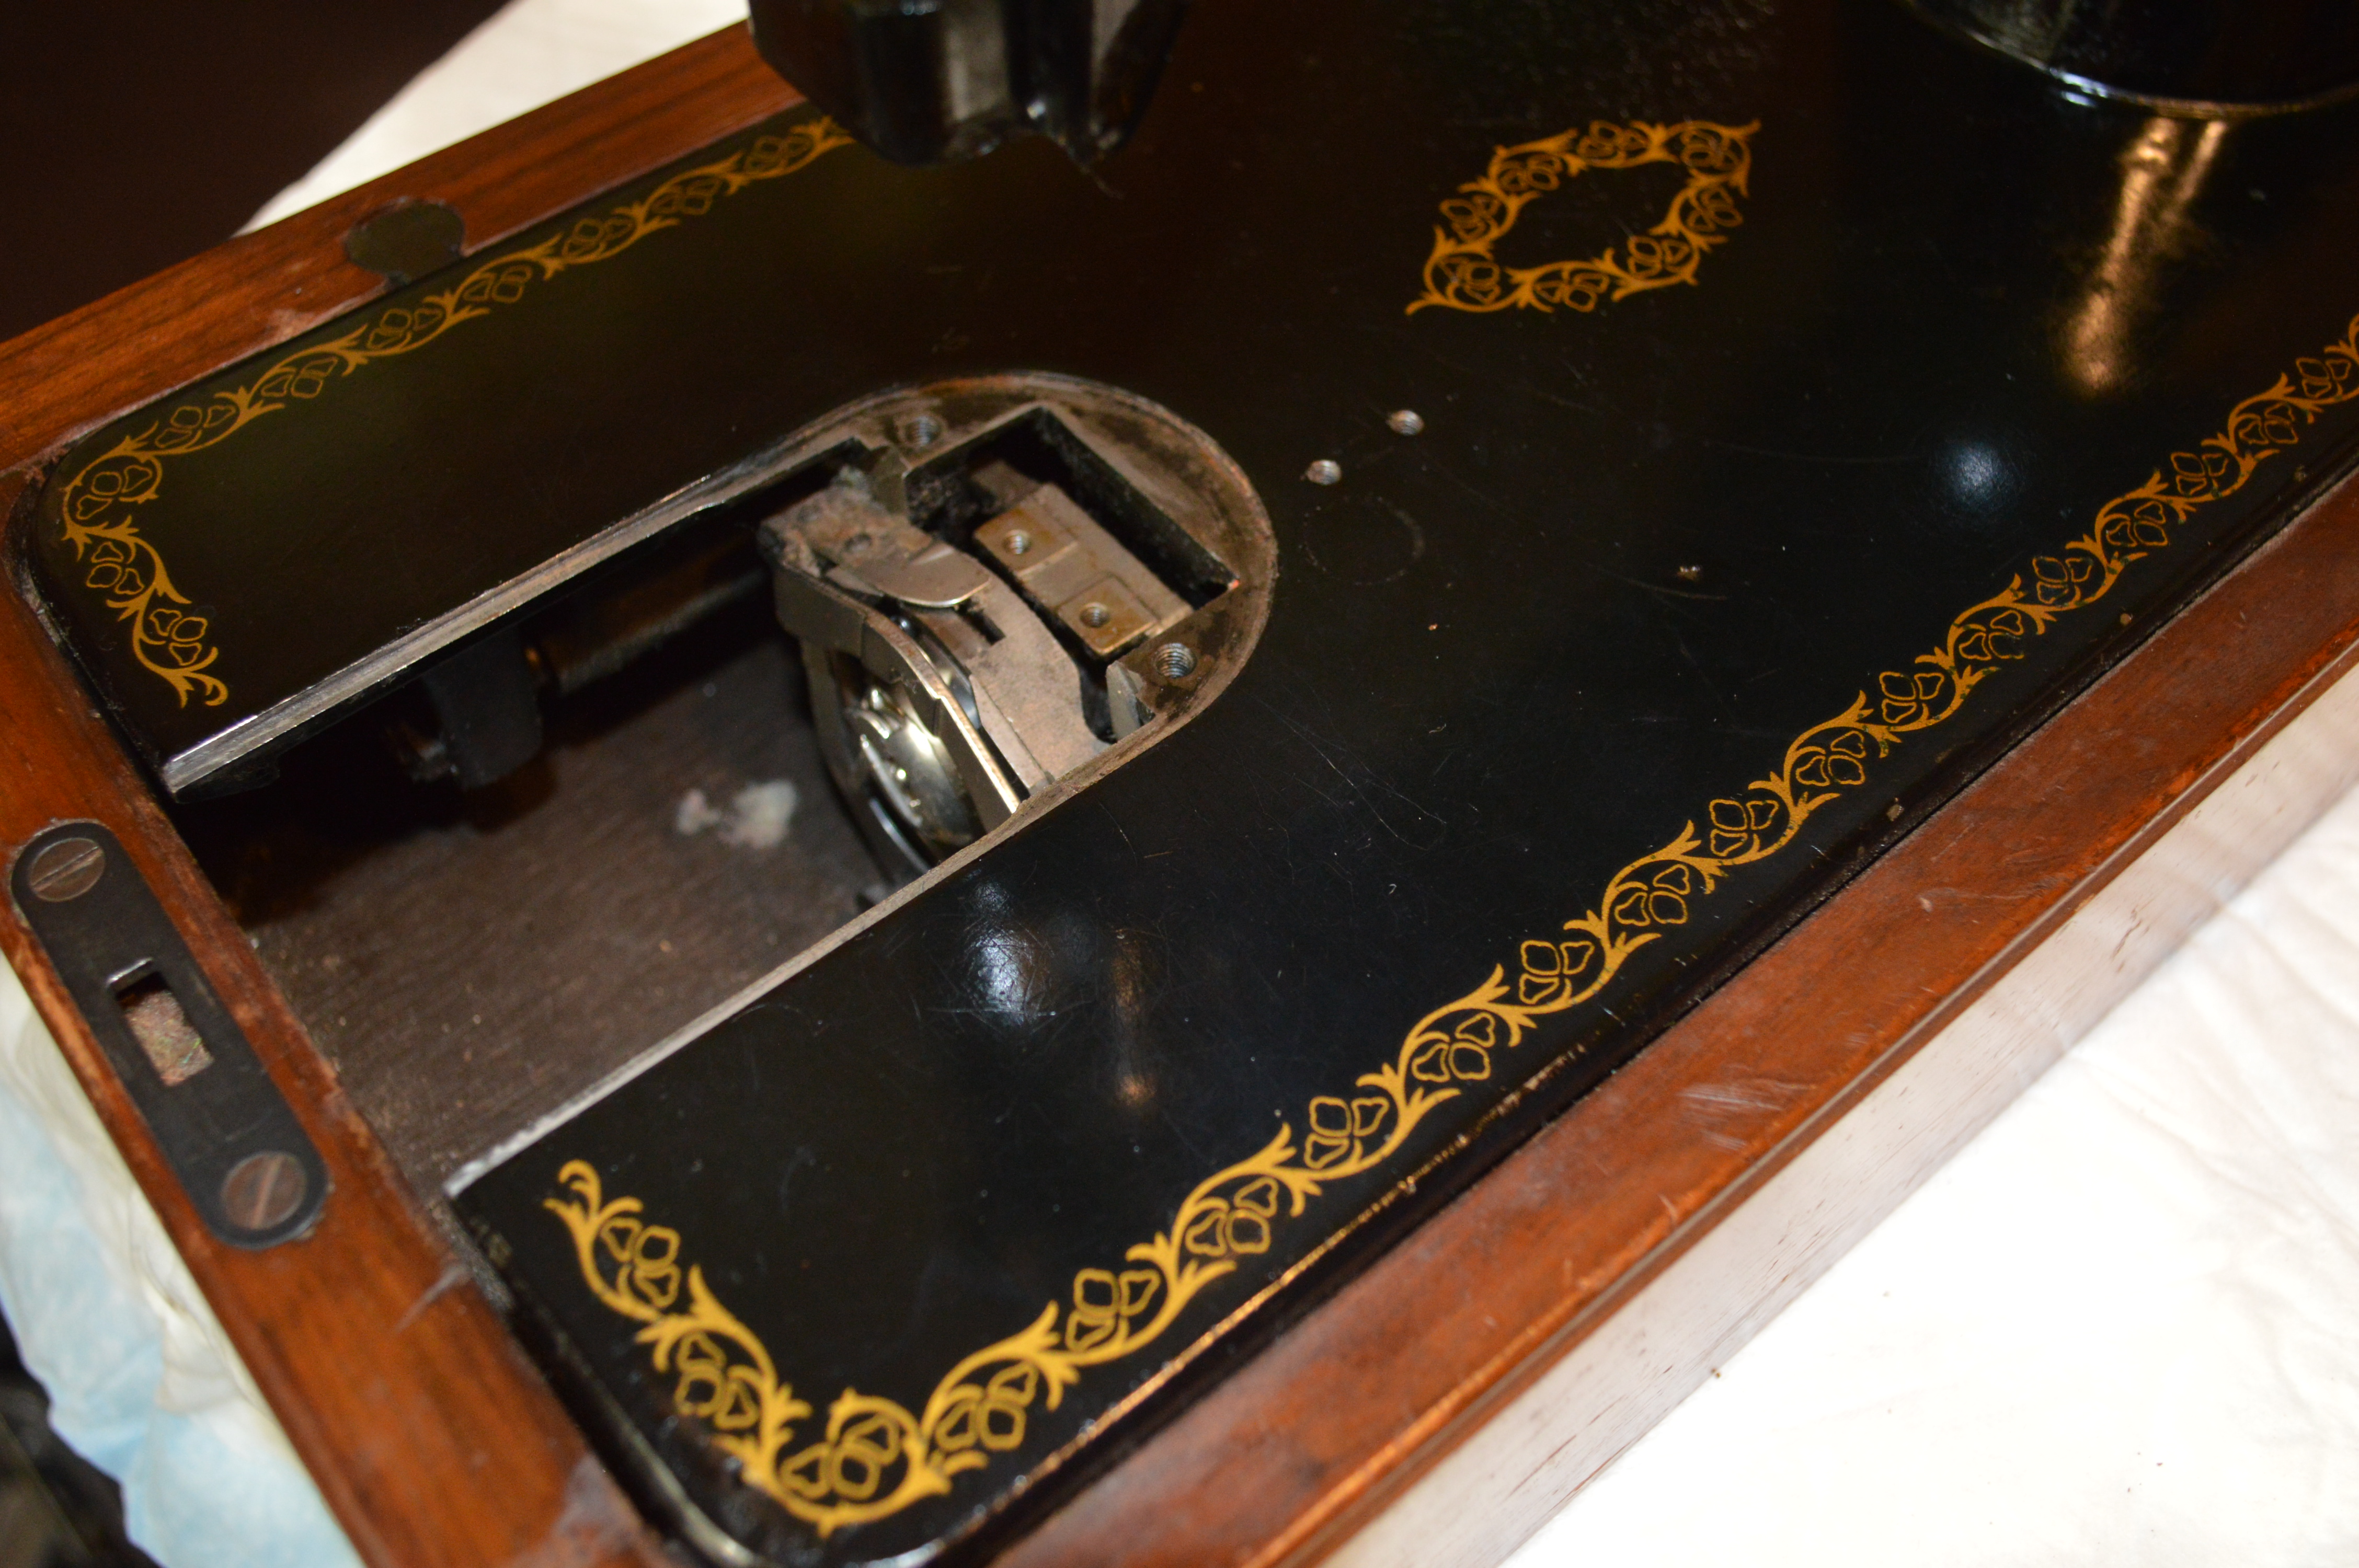


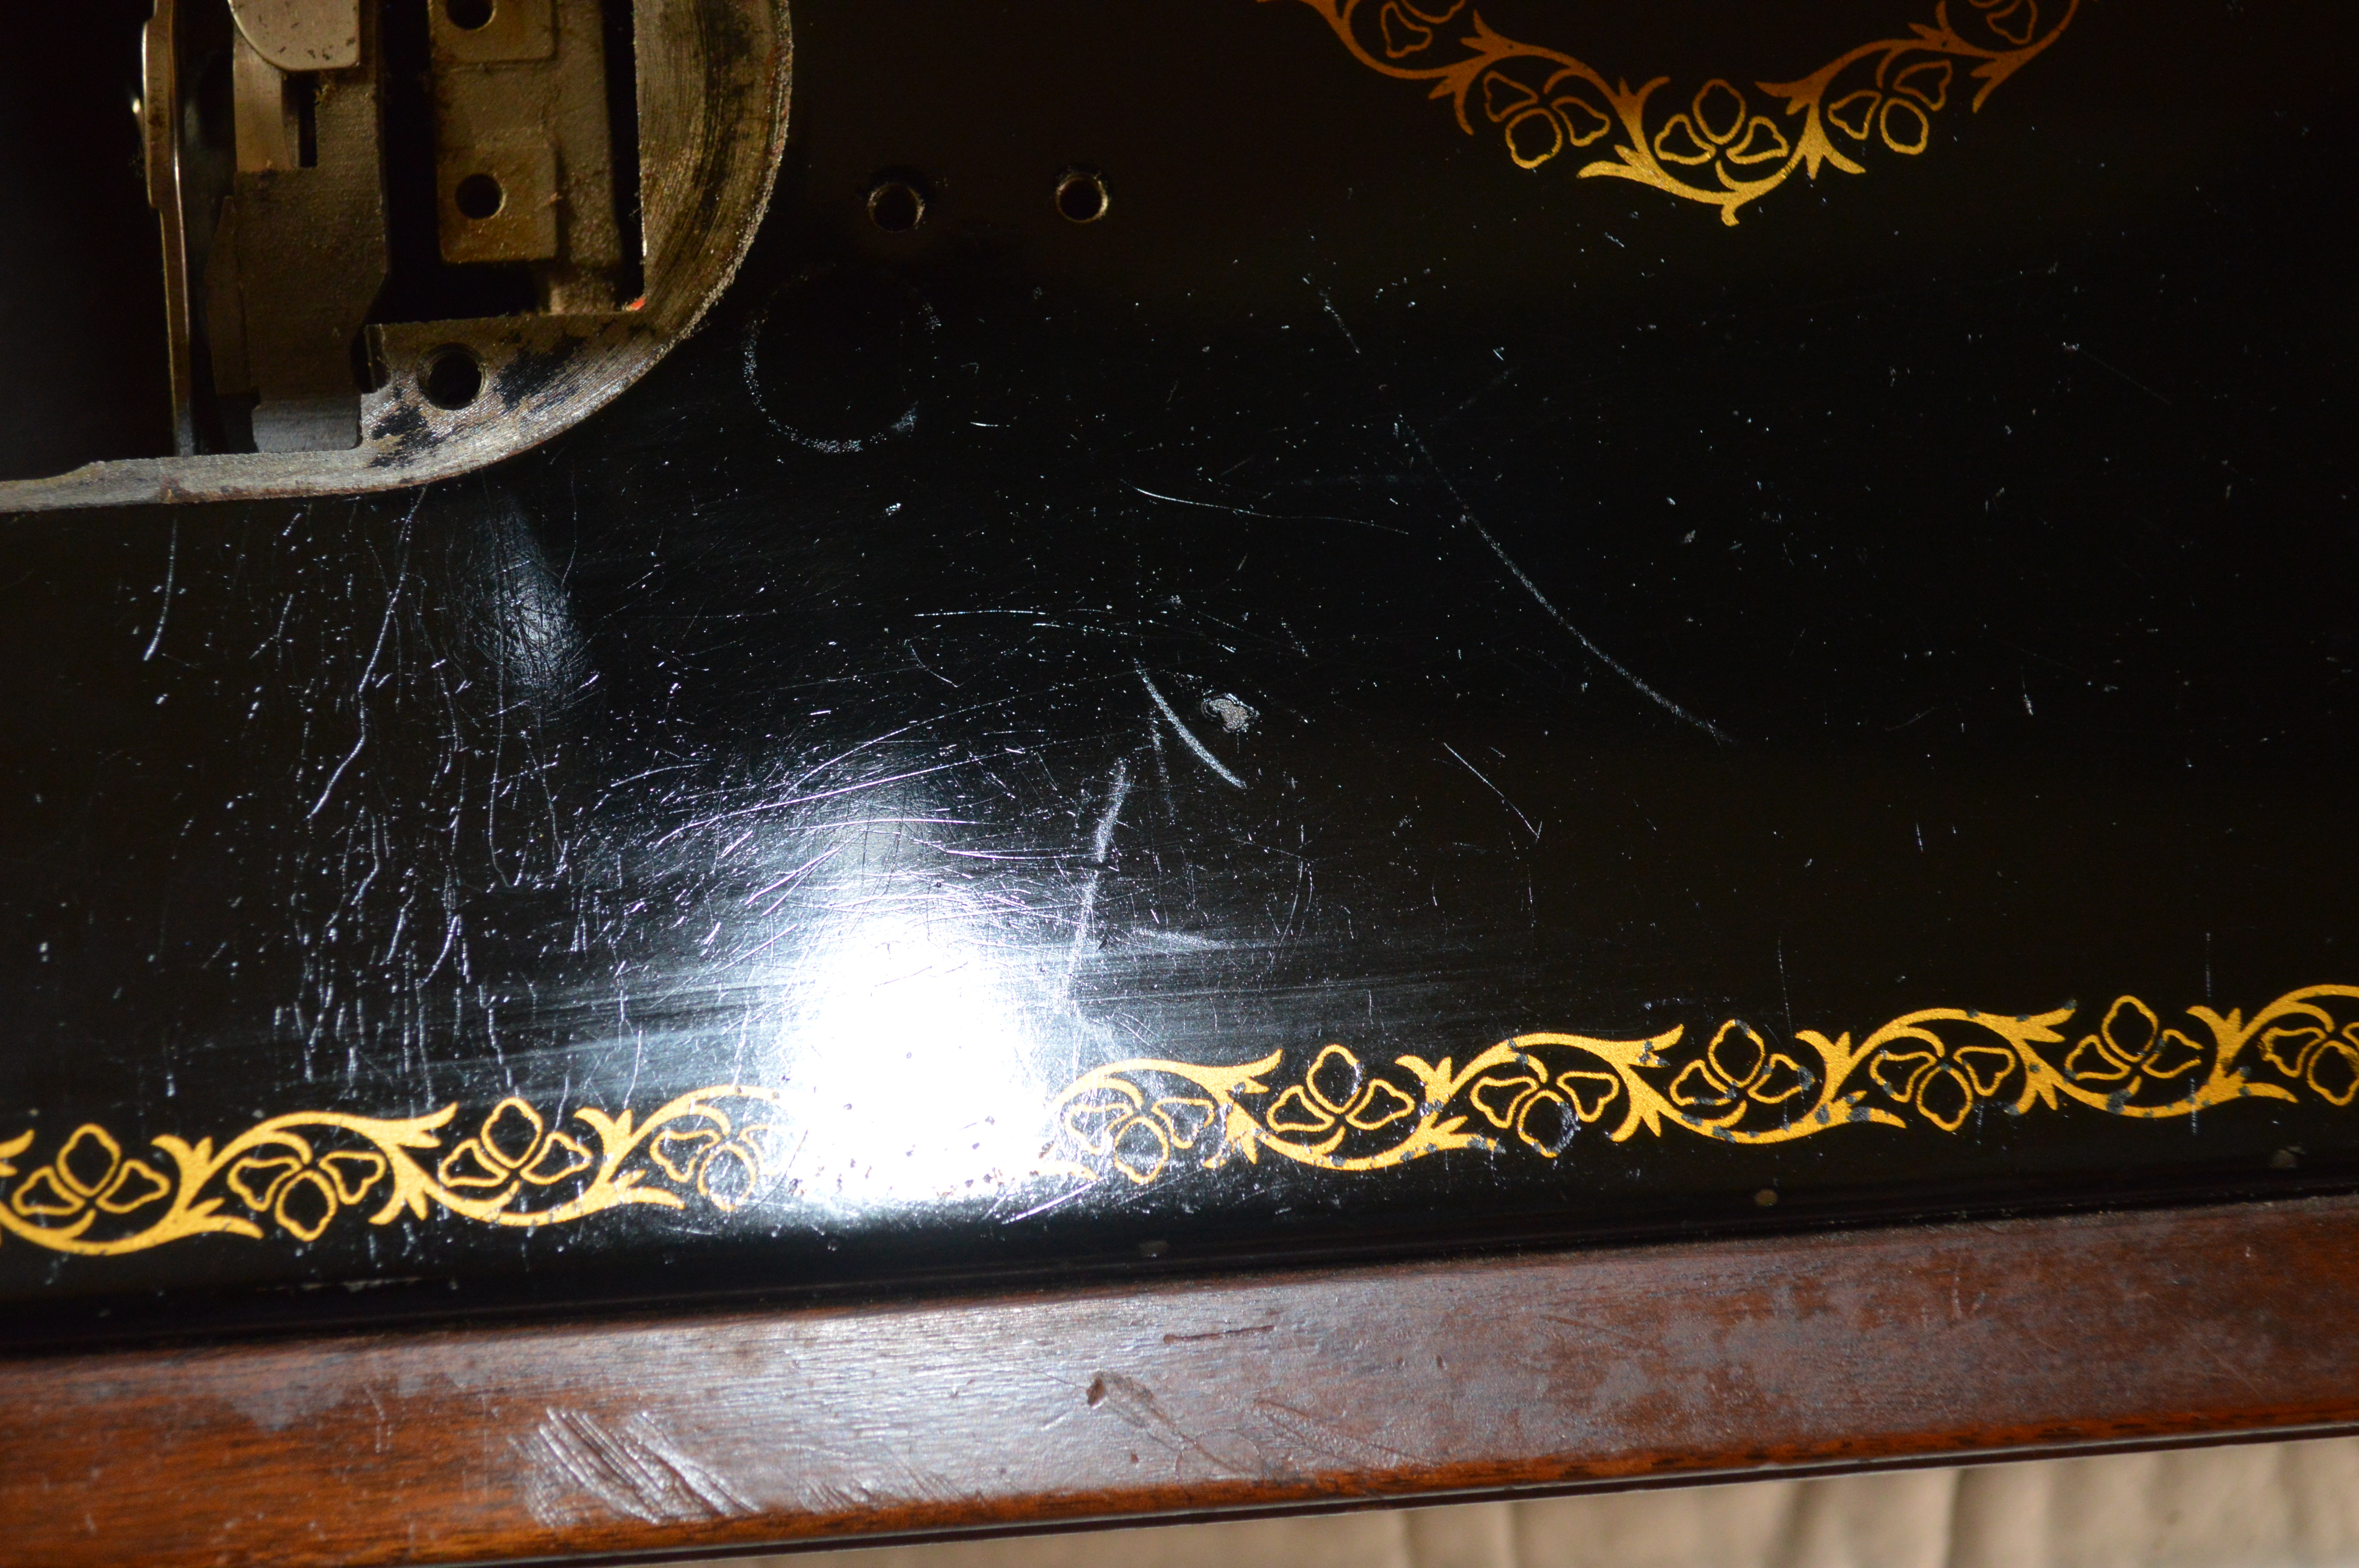
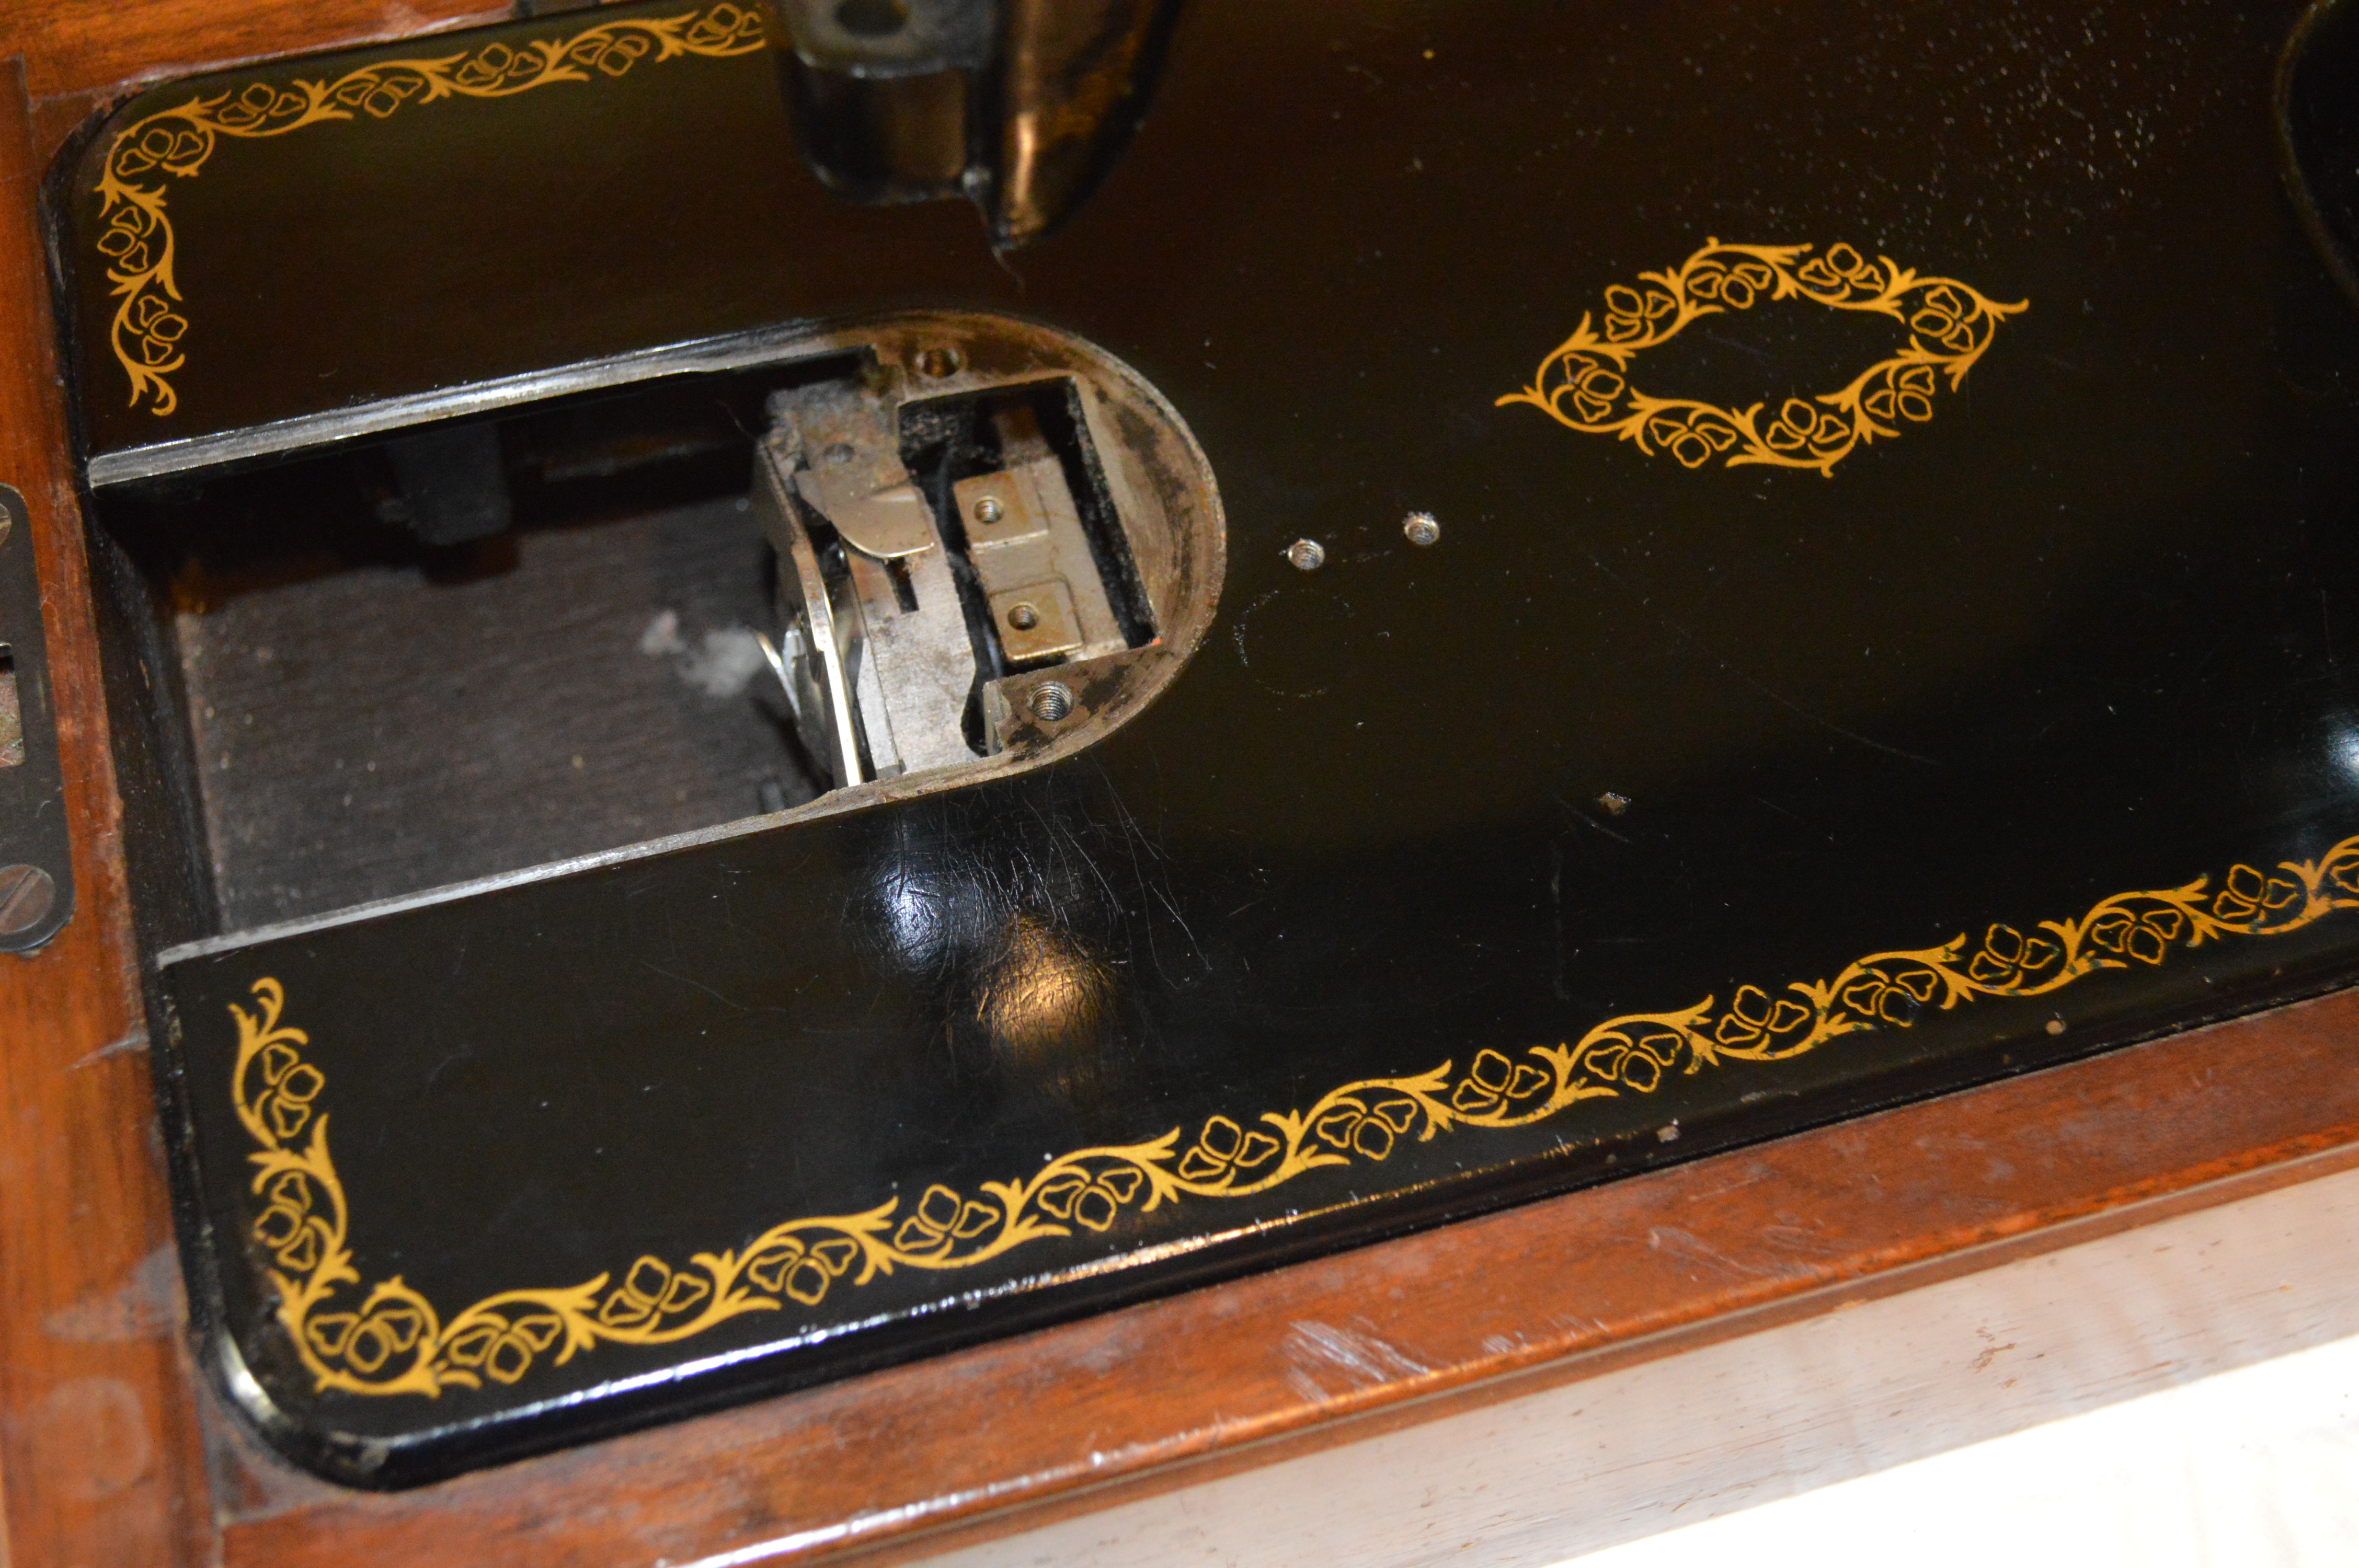
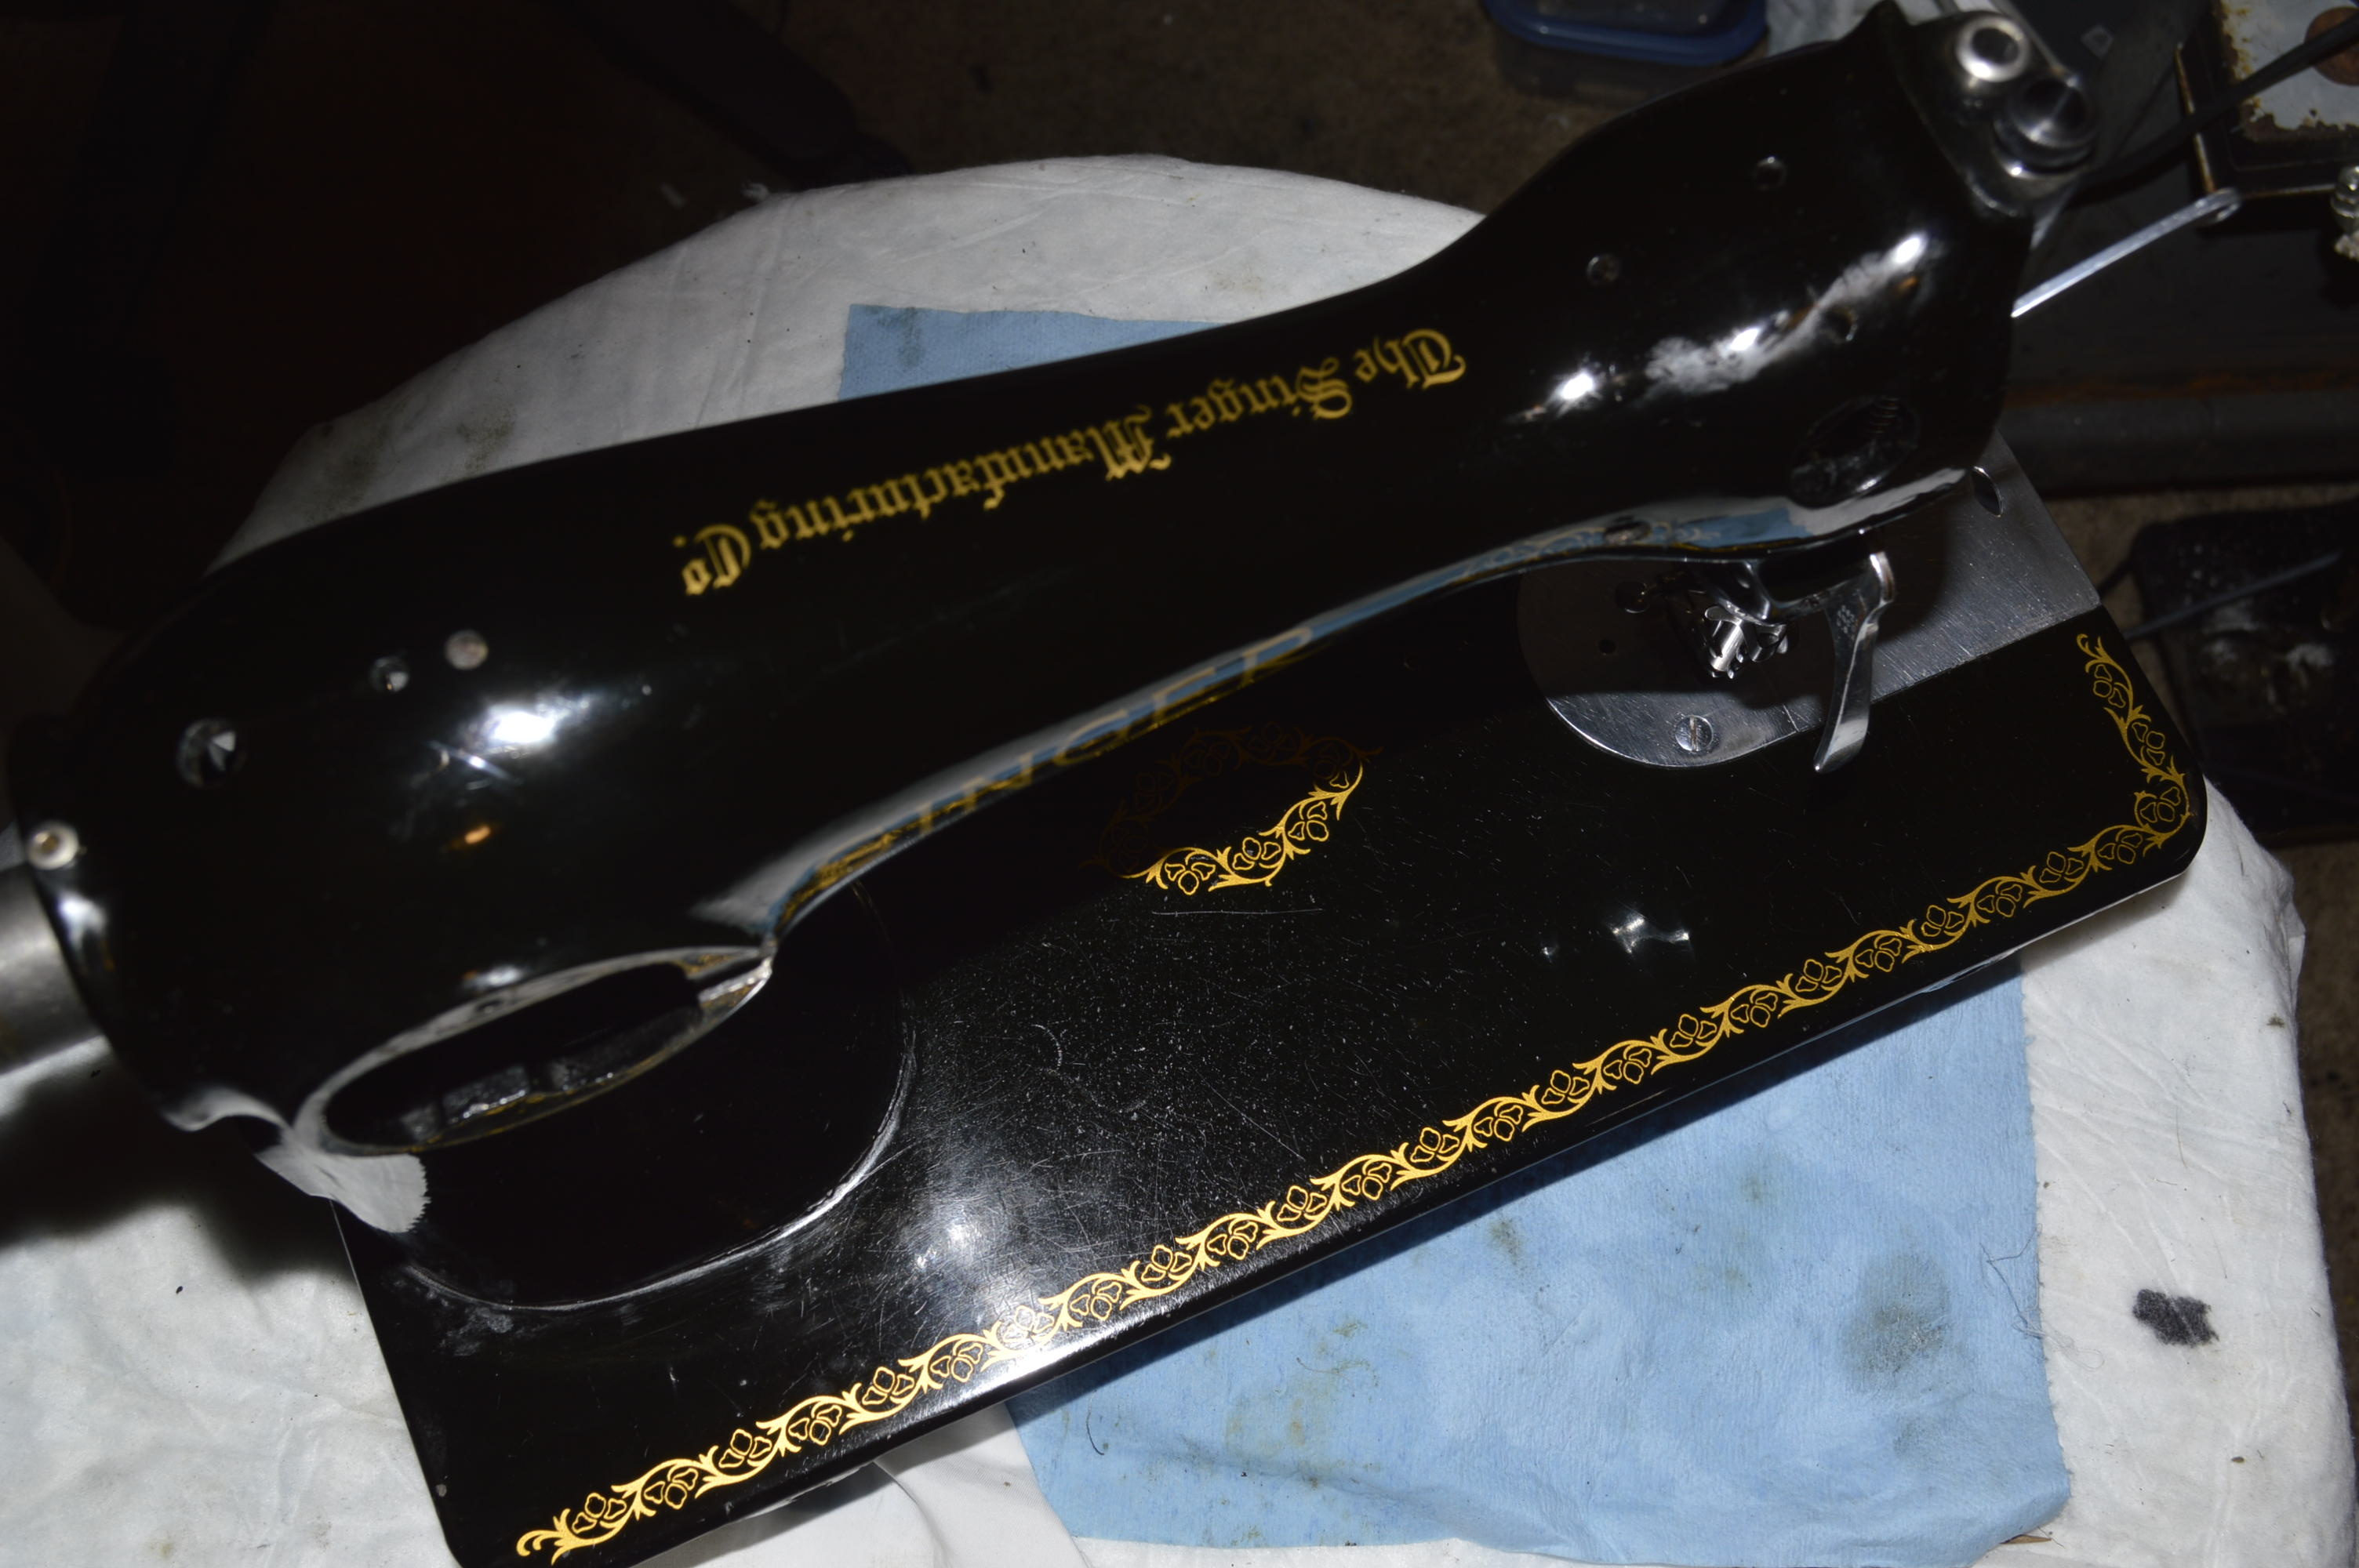
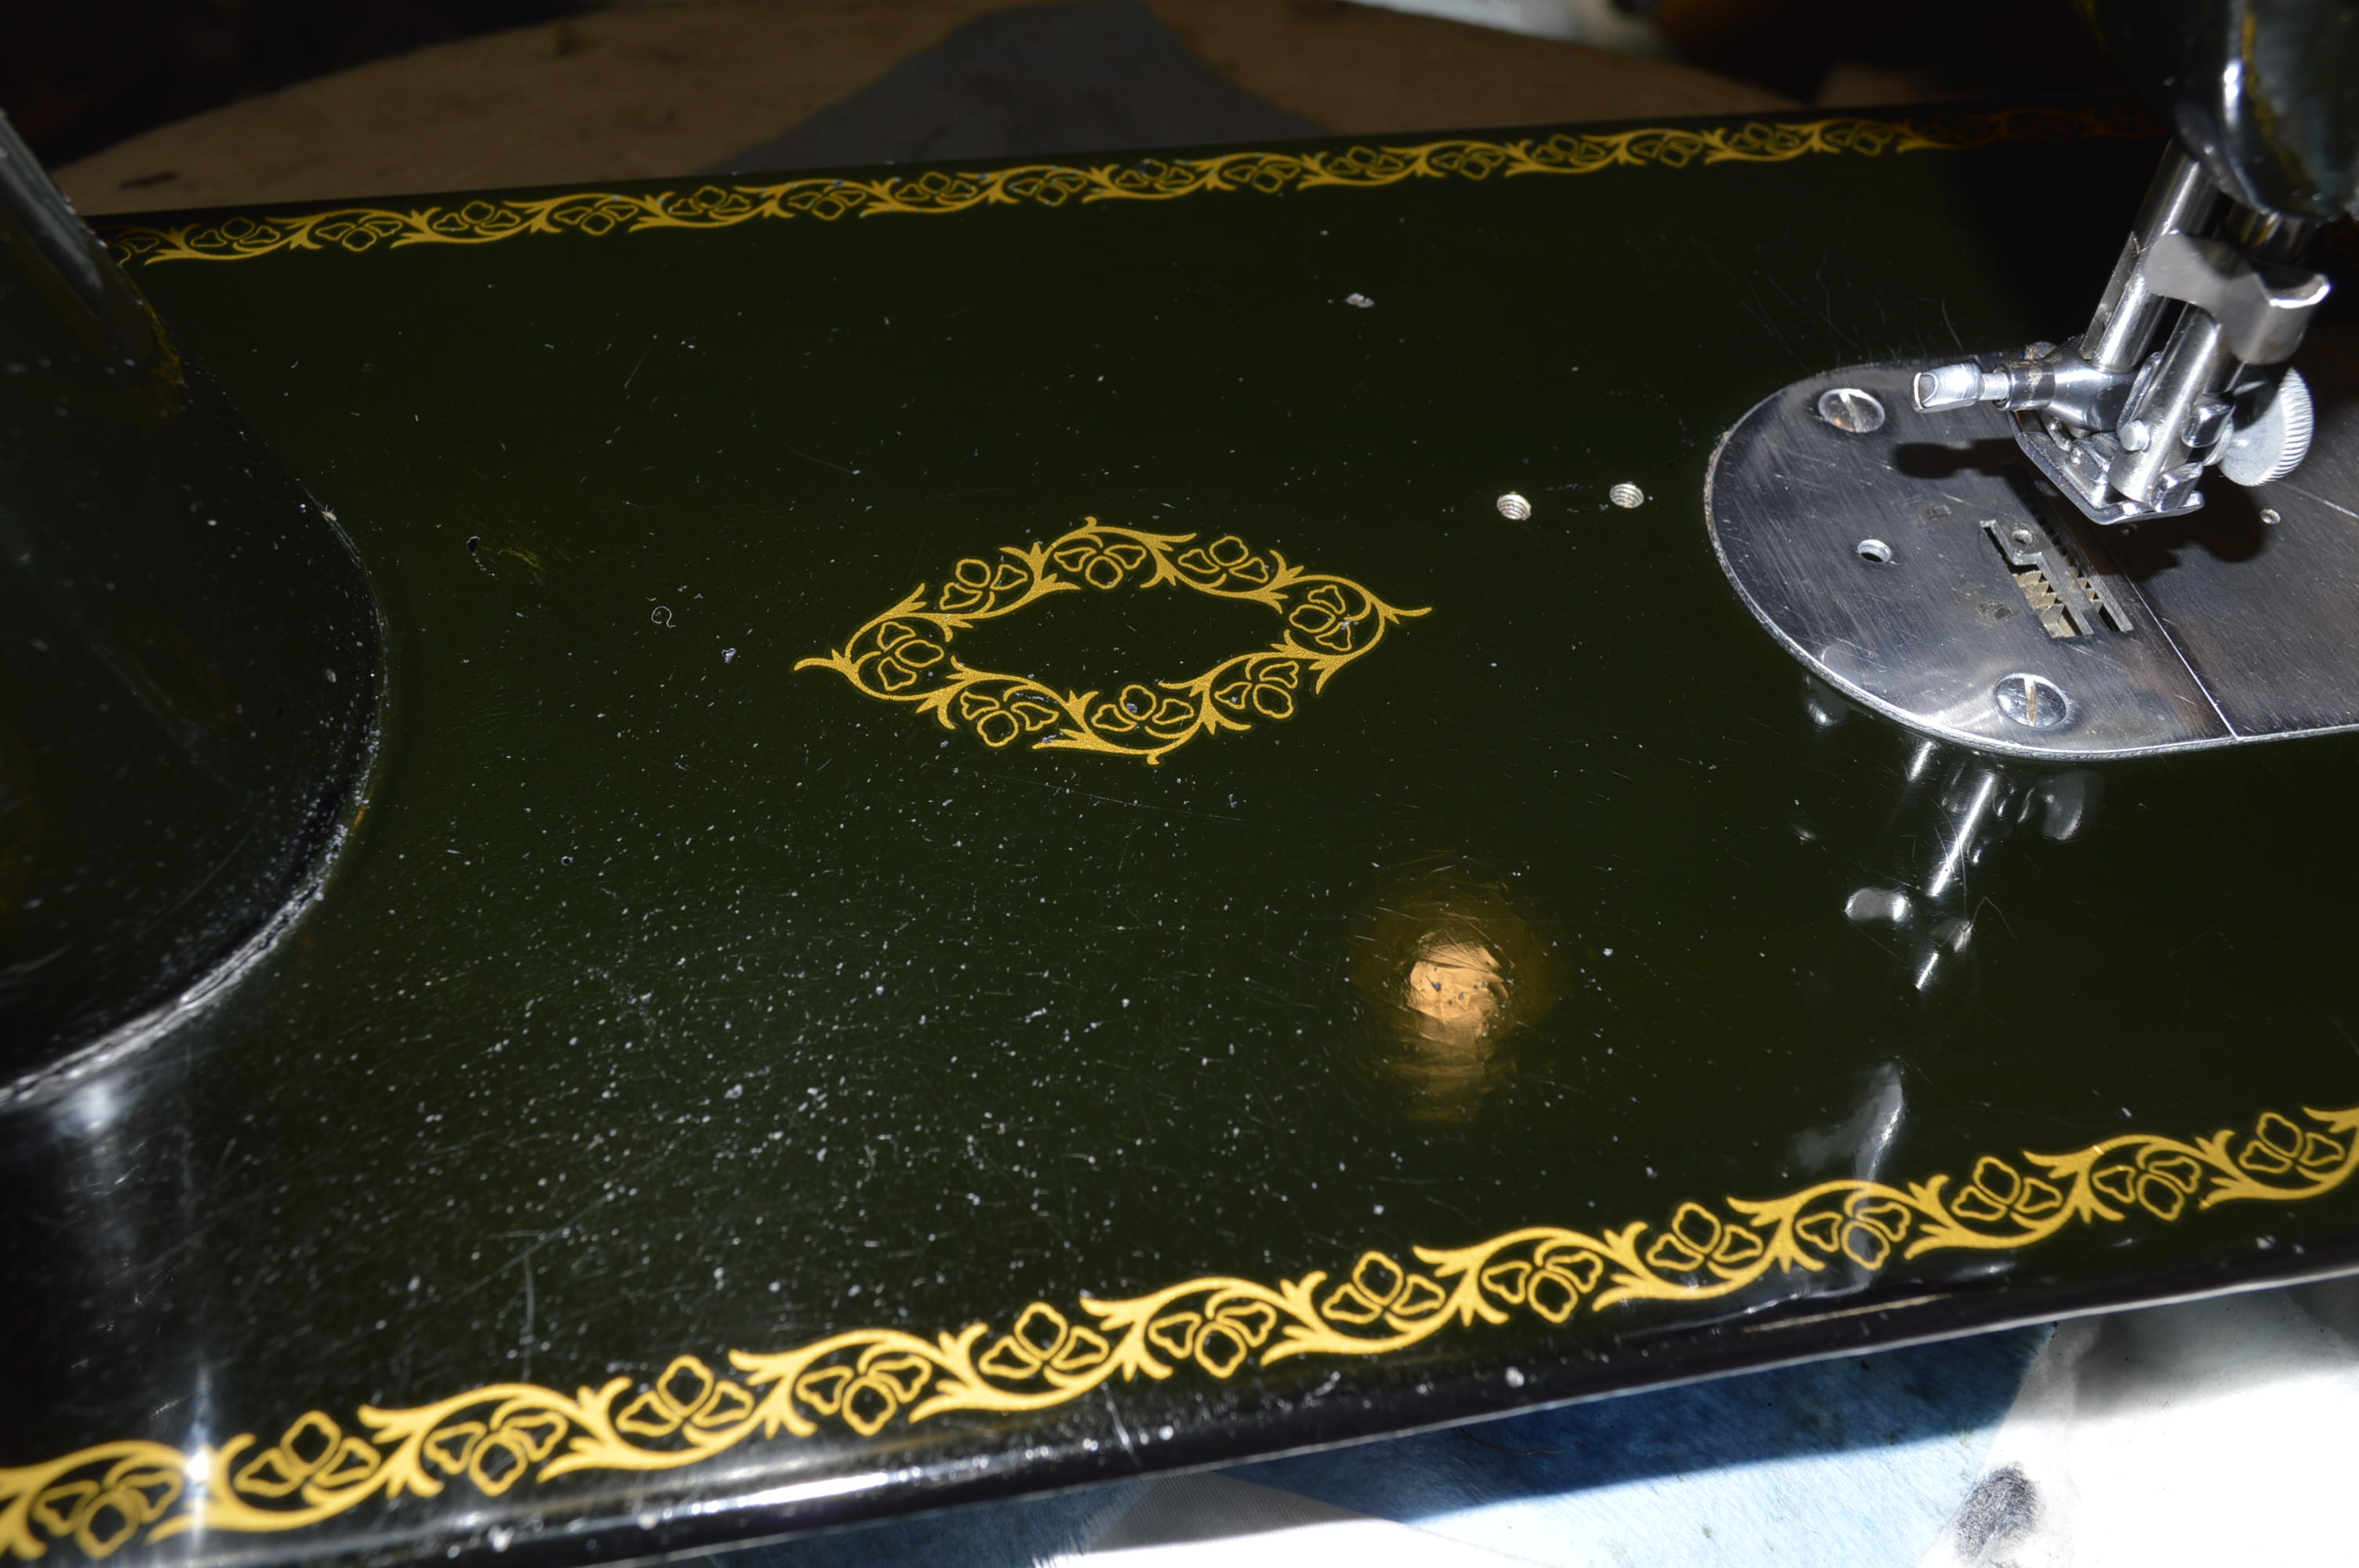
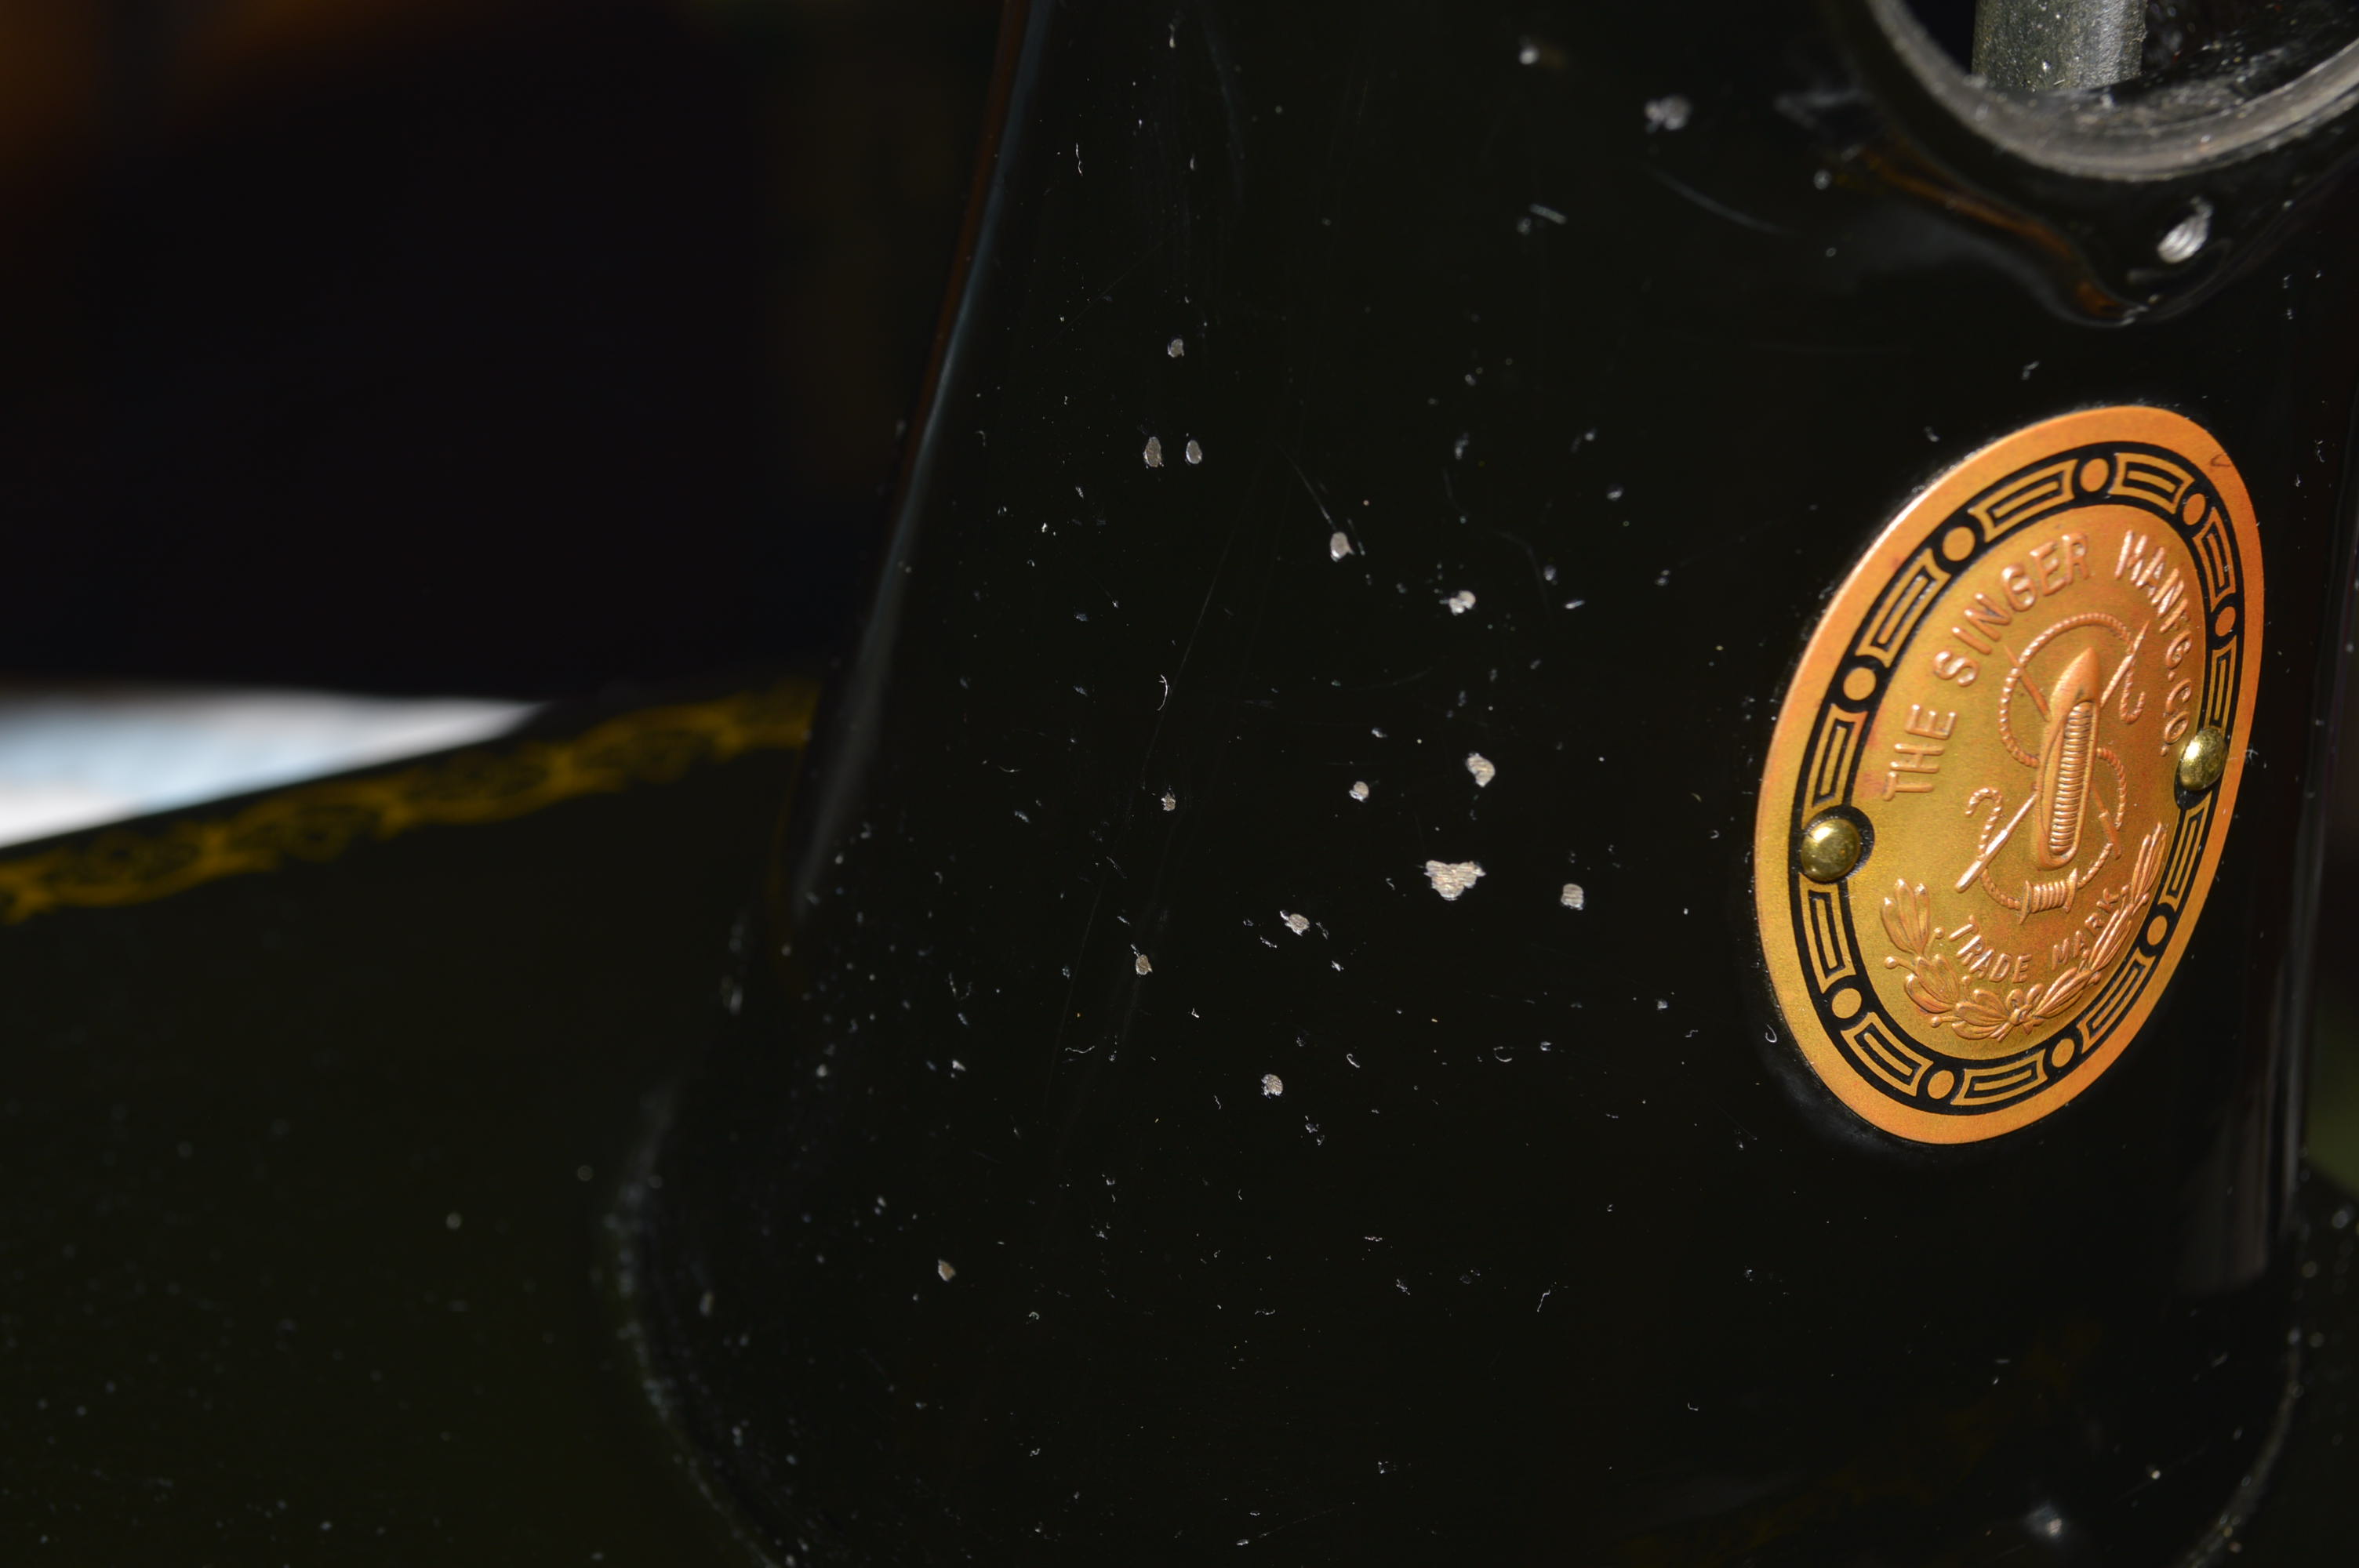
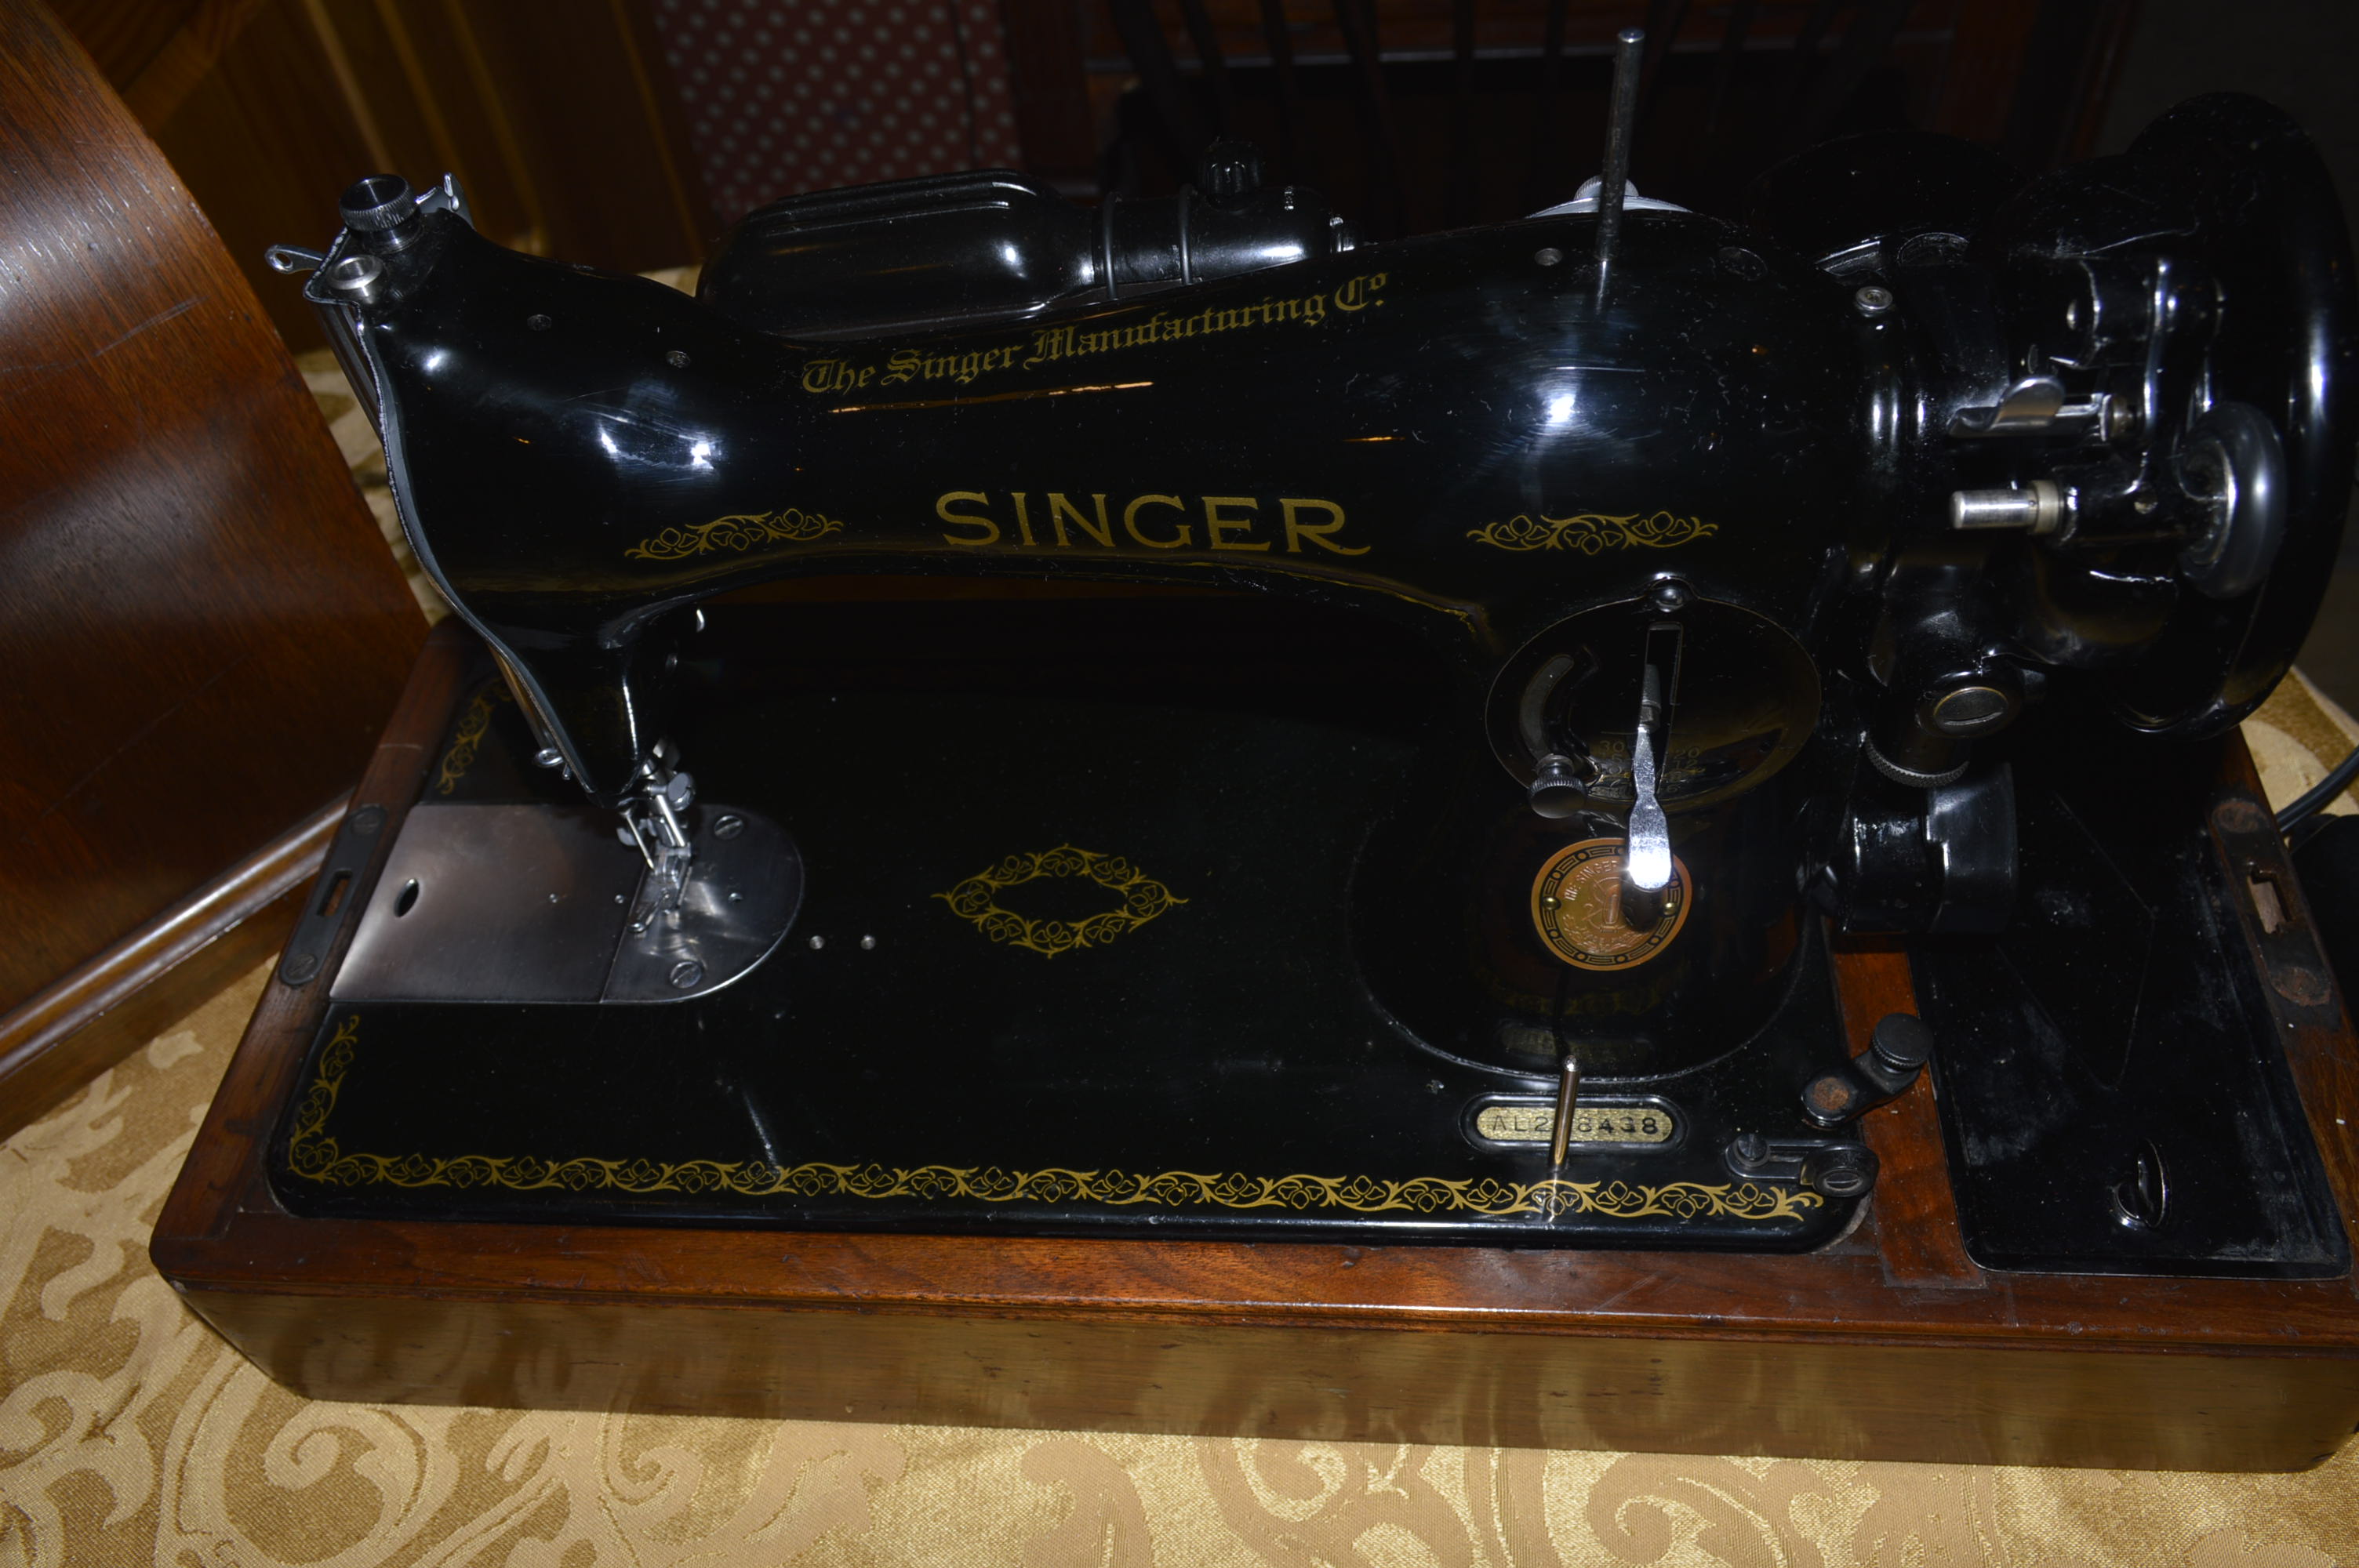
Now the machine is cleaned with sewing machine oil, The finish can be evaluated to see if it can be safely cleaned “deeper”. I have talked about this before, but I have yet shown the process in pictures… But first, just how black is a japanned finished Singer sewing machine? Look at these pictures and you will see why I ask.

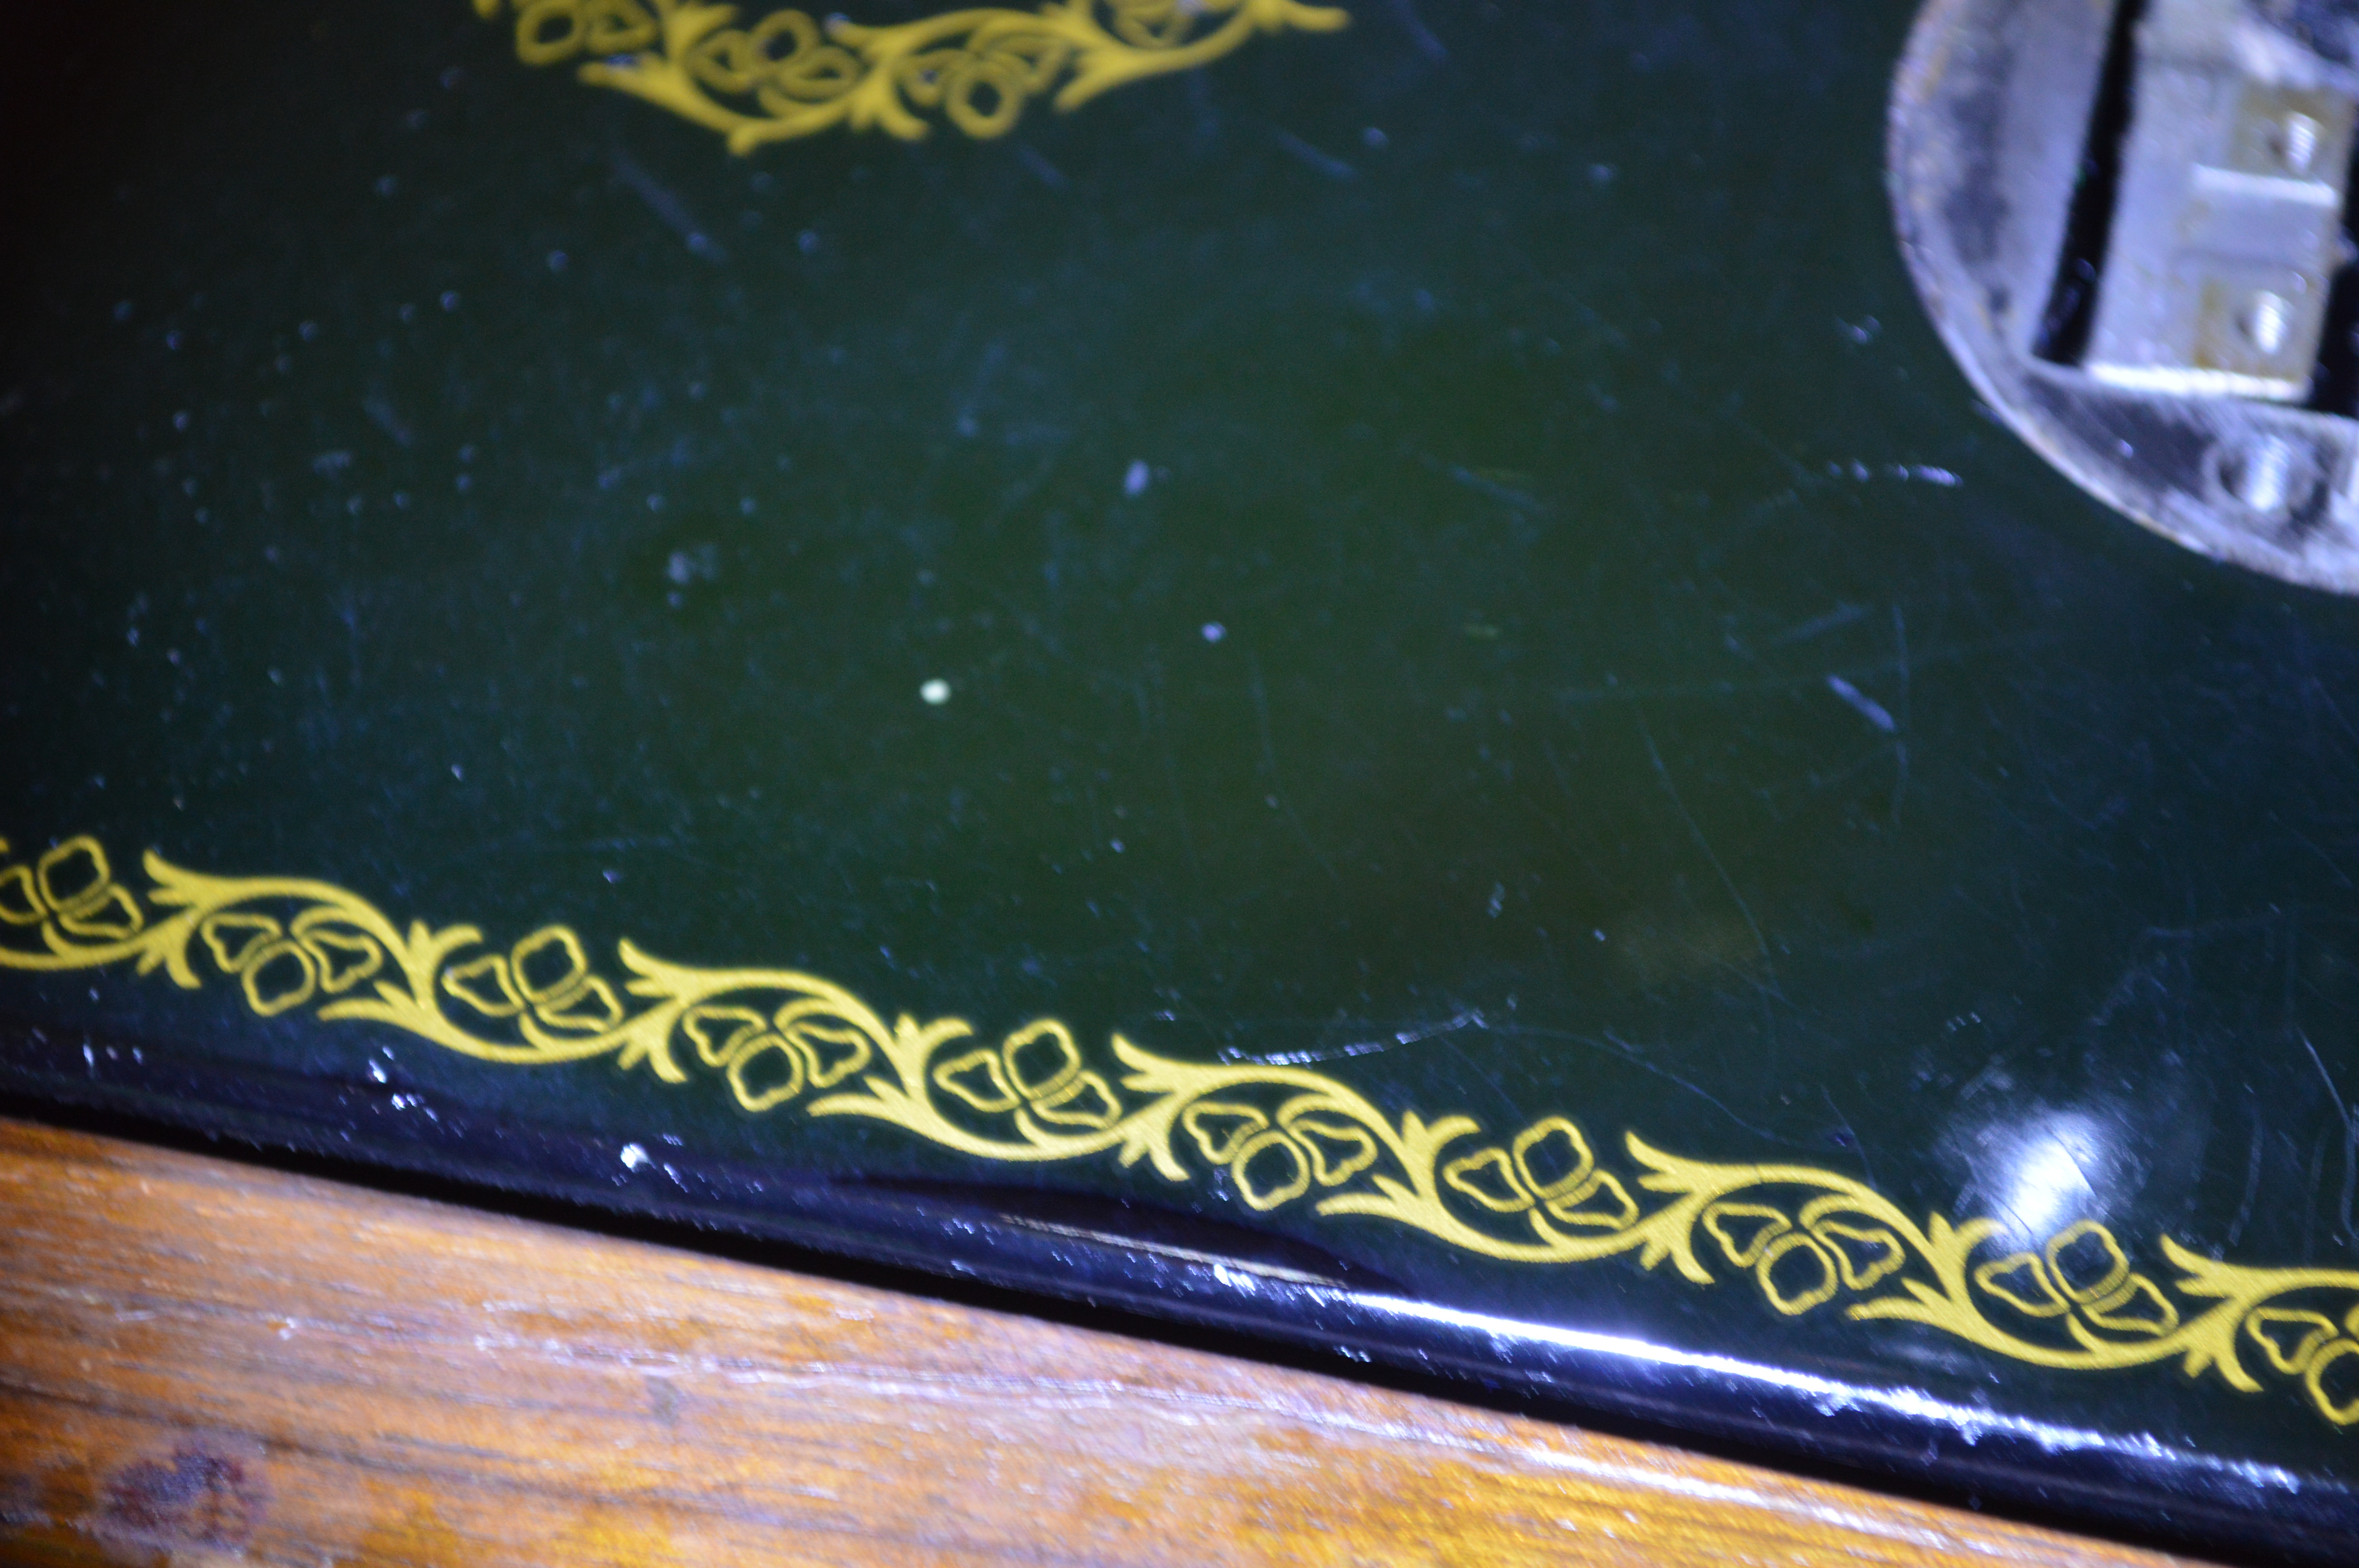

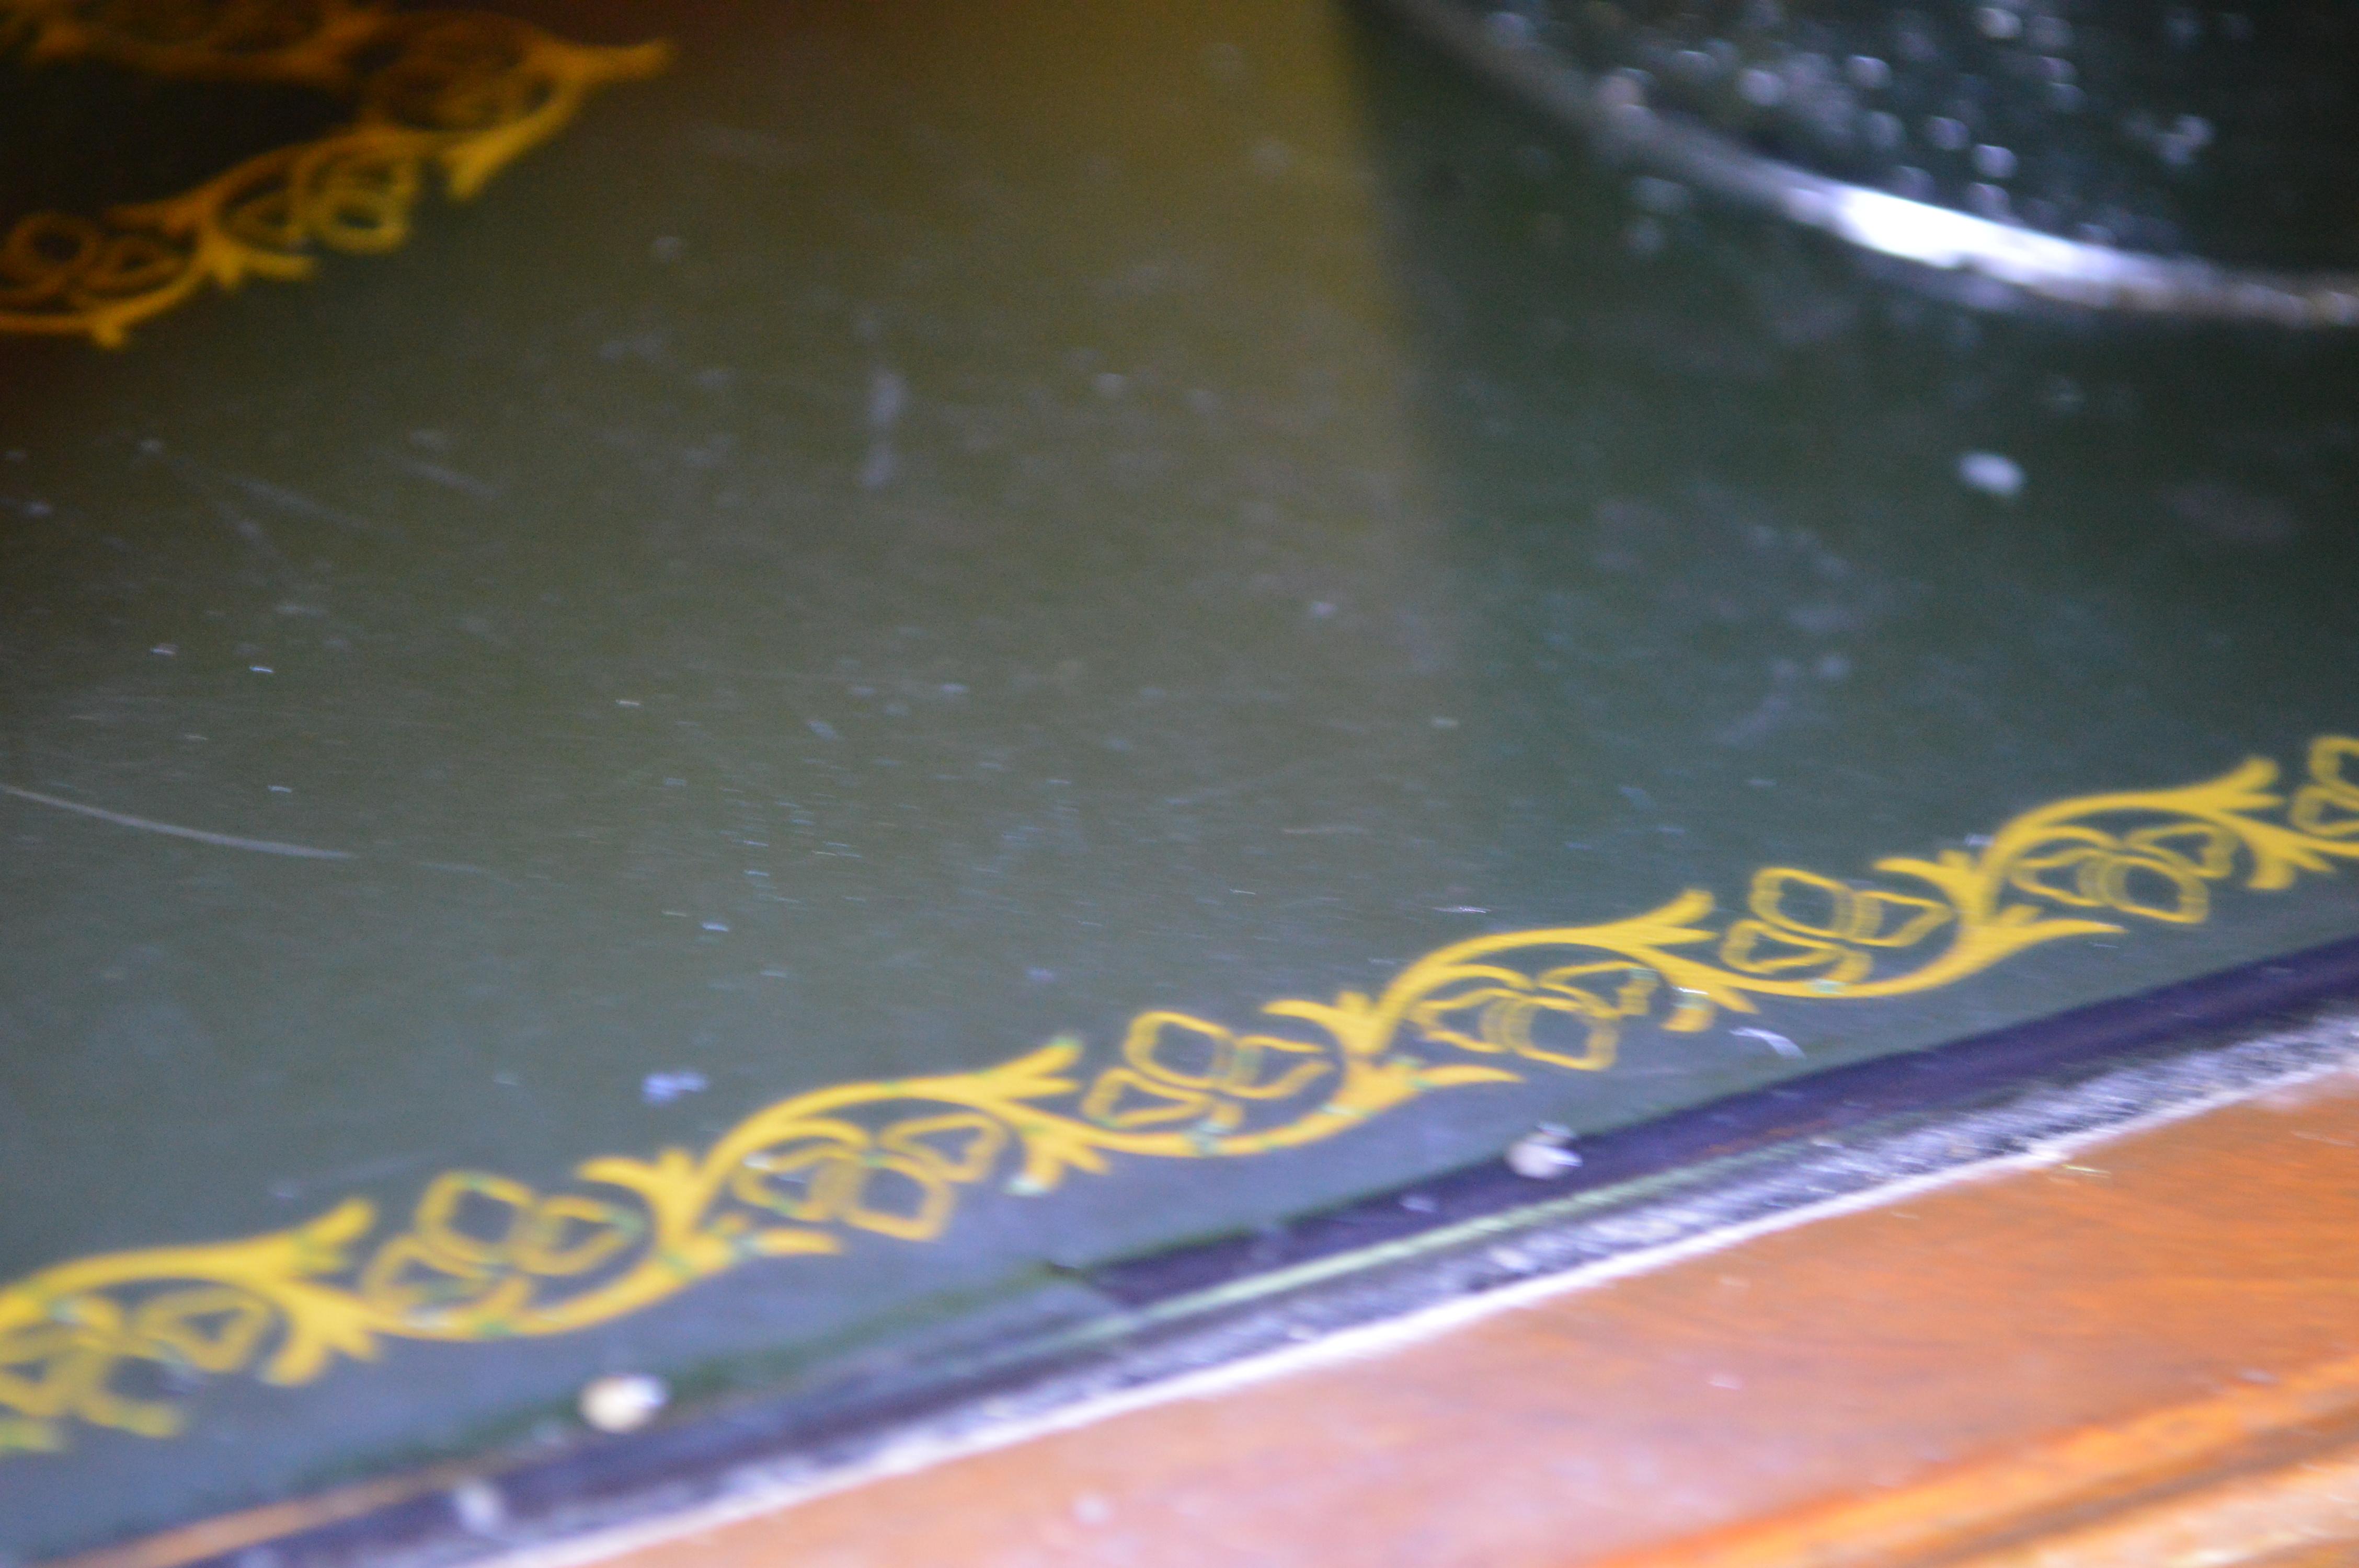
What I want you to focus on in these pictures is the green hue… see it? I took these pictures without the camera flash while I was shining a flashlight on the painted finish. This green hue is the shellac coating Singer applied over the black japanned finish. It is invisible in normal light unless you look very closely for it. This shellac coating is what protects the lacquer finish, and more importantly, the decals from damage. Loss of the shellac coating is normal wear and tear, and it is a good indicator of how the machine was used. Not surprisingly, machines in excellent condition will show an even green hue over the complete body of the machine. Otherwise, looking at the machine in normal light, it is pretty darn black.
If you look at the bottom two pictures, you can see a strip along the edge of the bed that is blacker than the adjacent area. This is where the shellac coating has been worn away and is exposing the unprotected paint finish. If this extended over the decals, they too would be exposed and easily damaged if the machine is cleaned aggressively. Sewing machine oil will not damage the decals in these areas if they are GENTLY cleaned… Cotton balls and sewing machine oil. Don’t go any further cleaning if you are concerned about the decals, because decal damage cannot be reversed. Even if you stop here, the machine looks much better and you have nourished the finish.
Fortunately, the shellac coating is in good condition on this machine, and I can continue the next step in cleaning. Using cotton balls and GoJo, (GoJo is a lanolin based hand cleaner formulated for removing grease and oil). I clean the entire machine, working in small areas using cotton balls and lightly rubbing in a circular motion. The cotton balls must be changed frequently because they pick up dirt that I don’t want to get spread over a large area and result in micro scratches. After cleaning a small area, I go over it with a clean cotton ball to remove the GoJo. Yep, its a lot of cotton balls. I go over the machine twice to get it cleaned and follow up with a light rubbing with a cotton cloth to remove any residue. This is as far as I will go until after the rest of the reconditioning is complete, and all but the motor and covers are reassembled. Then comes the final steps of polishing and waxing (or applying oil over the surface). There are a lot of finger prints on the machine between now and then that I only need to remove once. Here is the machine after deep cleaning.

The definition and color of the decals is revealed, and the surface has a good luster.
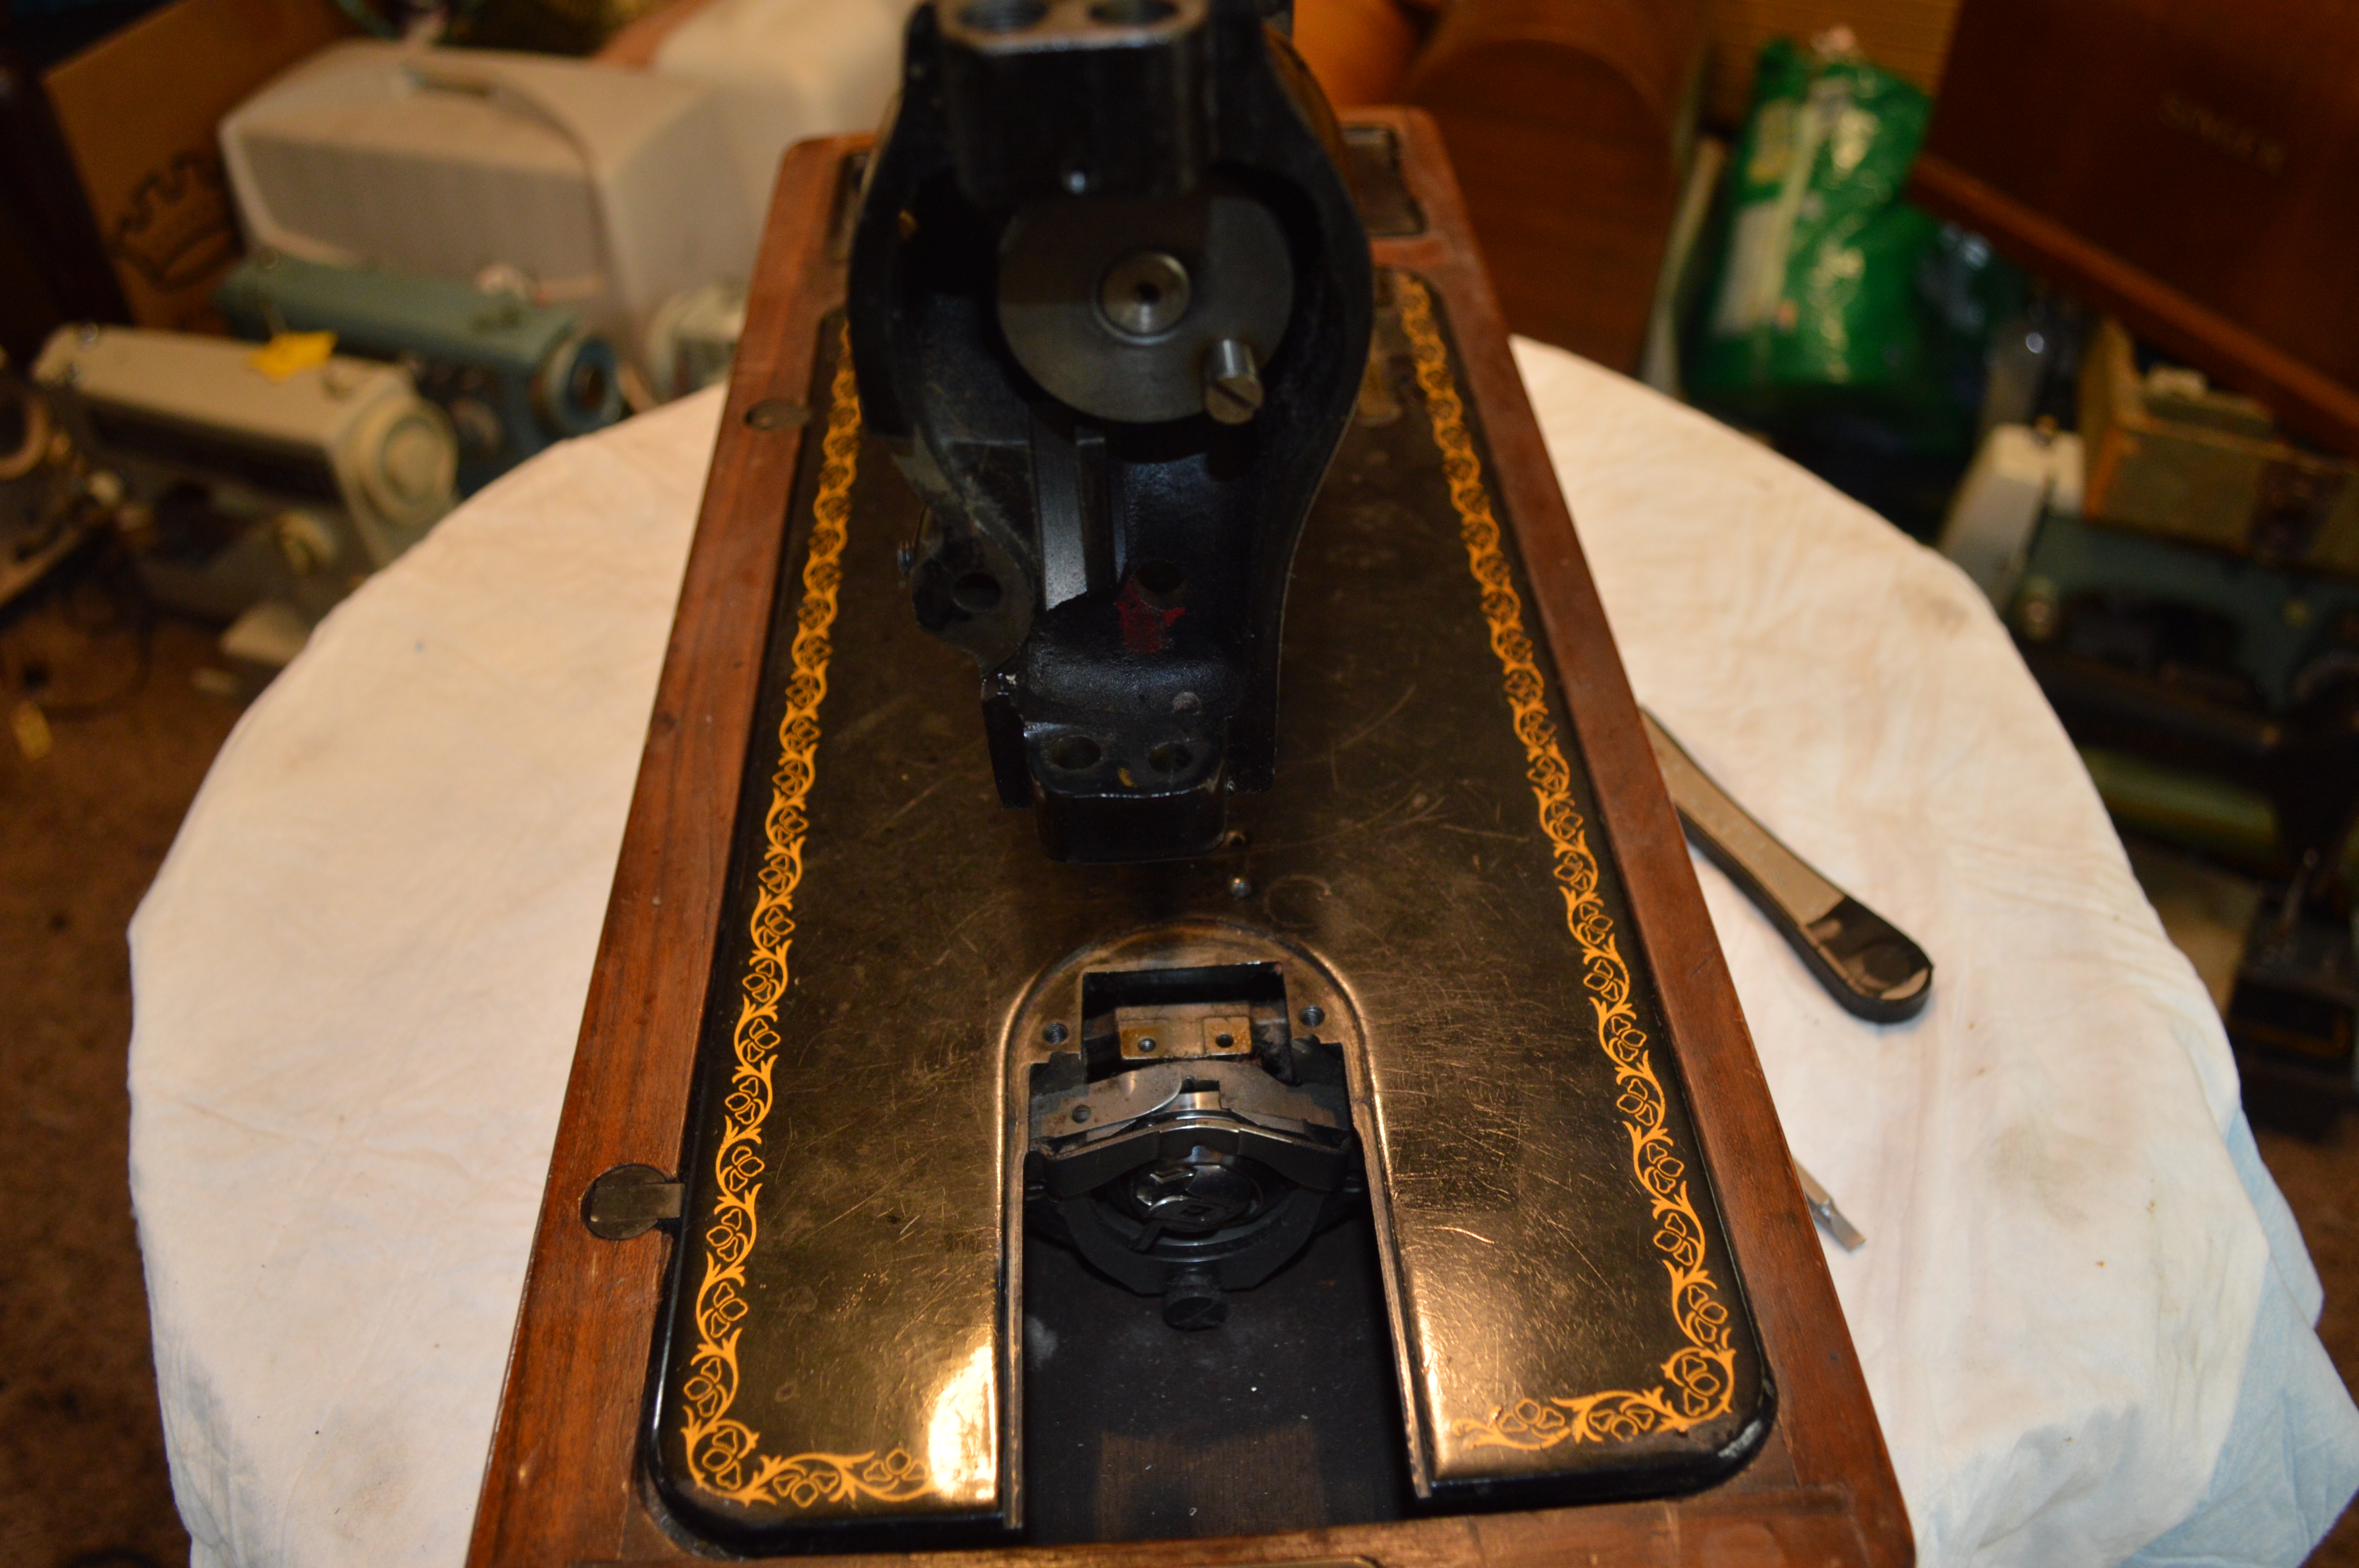
The rest of the reconditioning progresses with the removal of all moving parts and assemblies.
Before…


After…


The parts are all laid out for cleaning, keeping the top mechanism bits and bottom mechanism bits separate. Only because it is easier to manage and assemble that way…
Bottom pieces ready for cleaning…

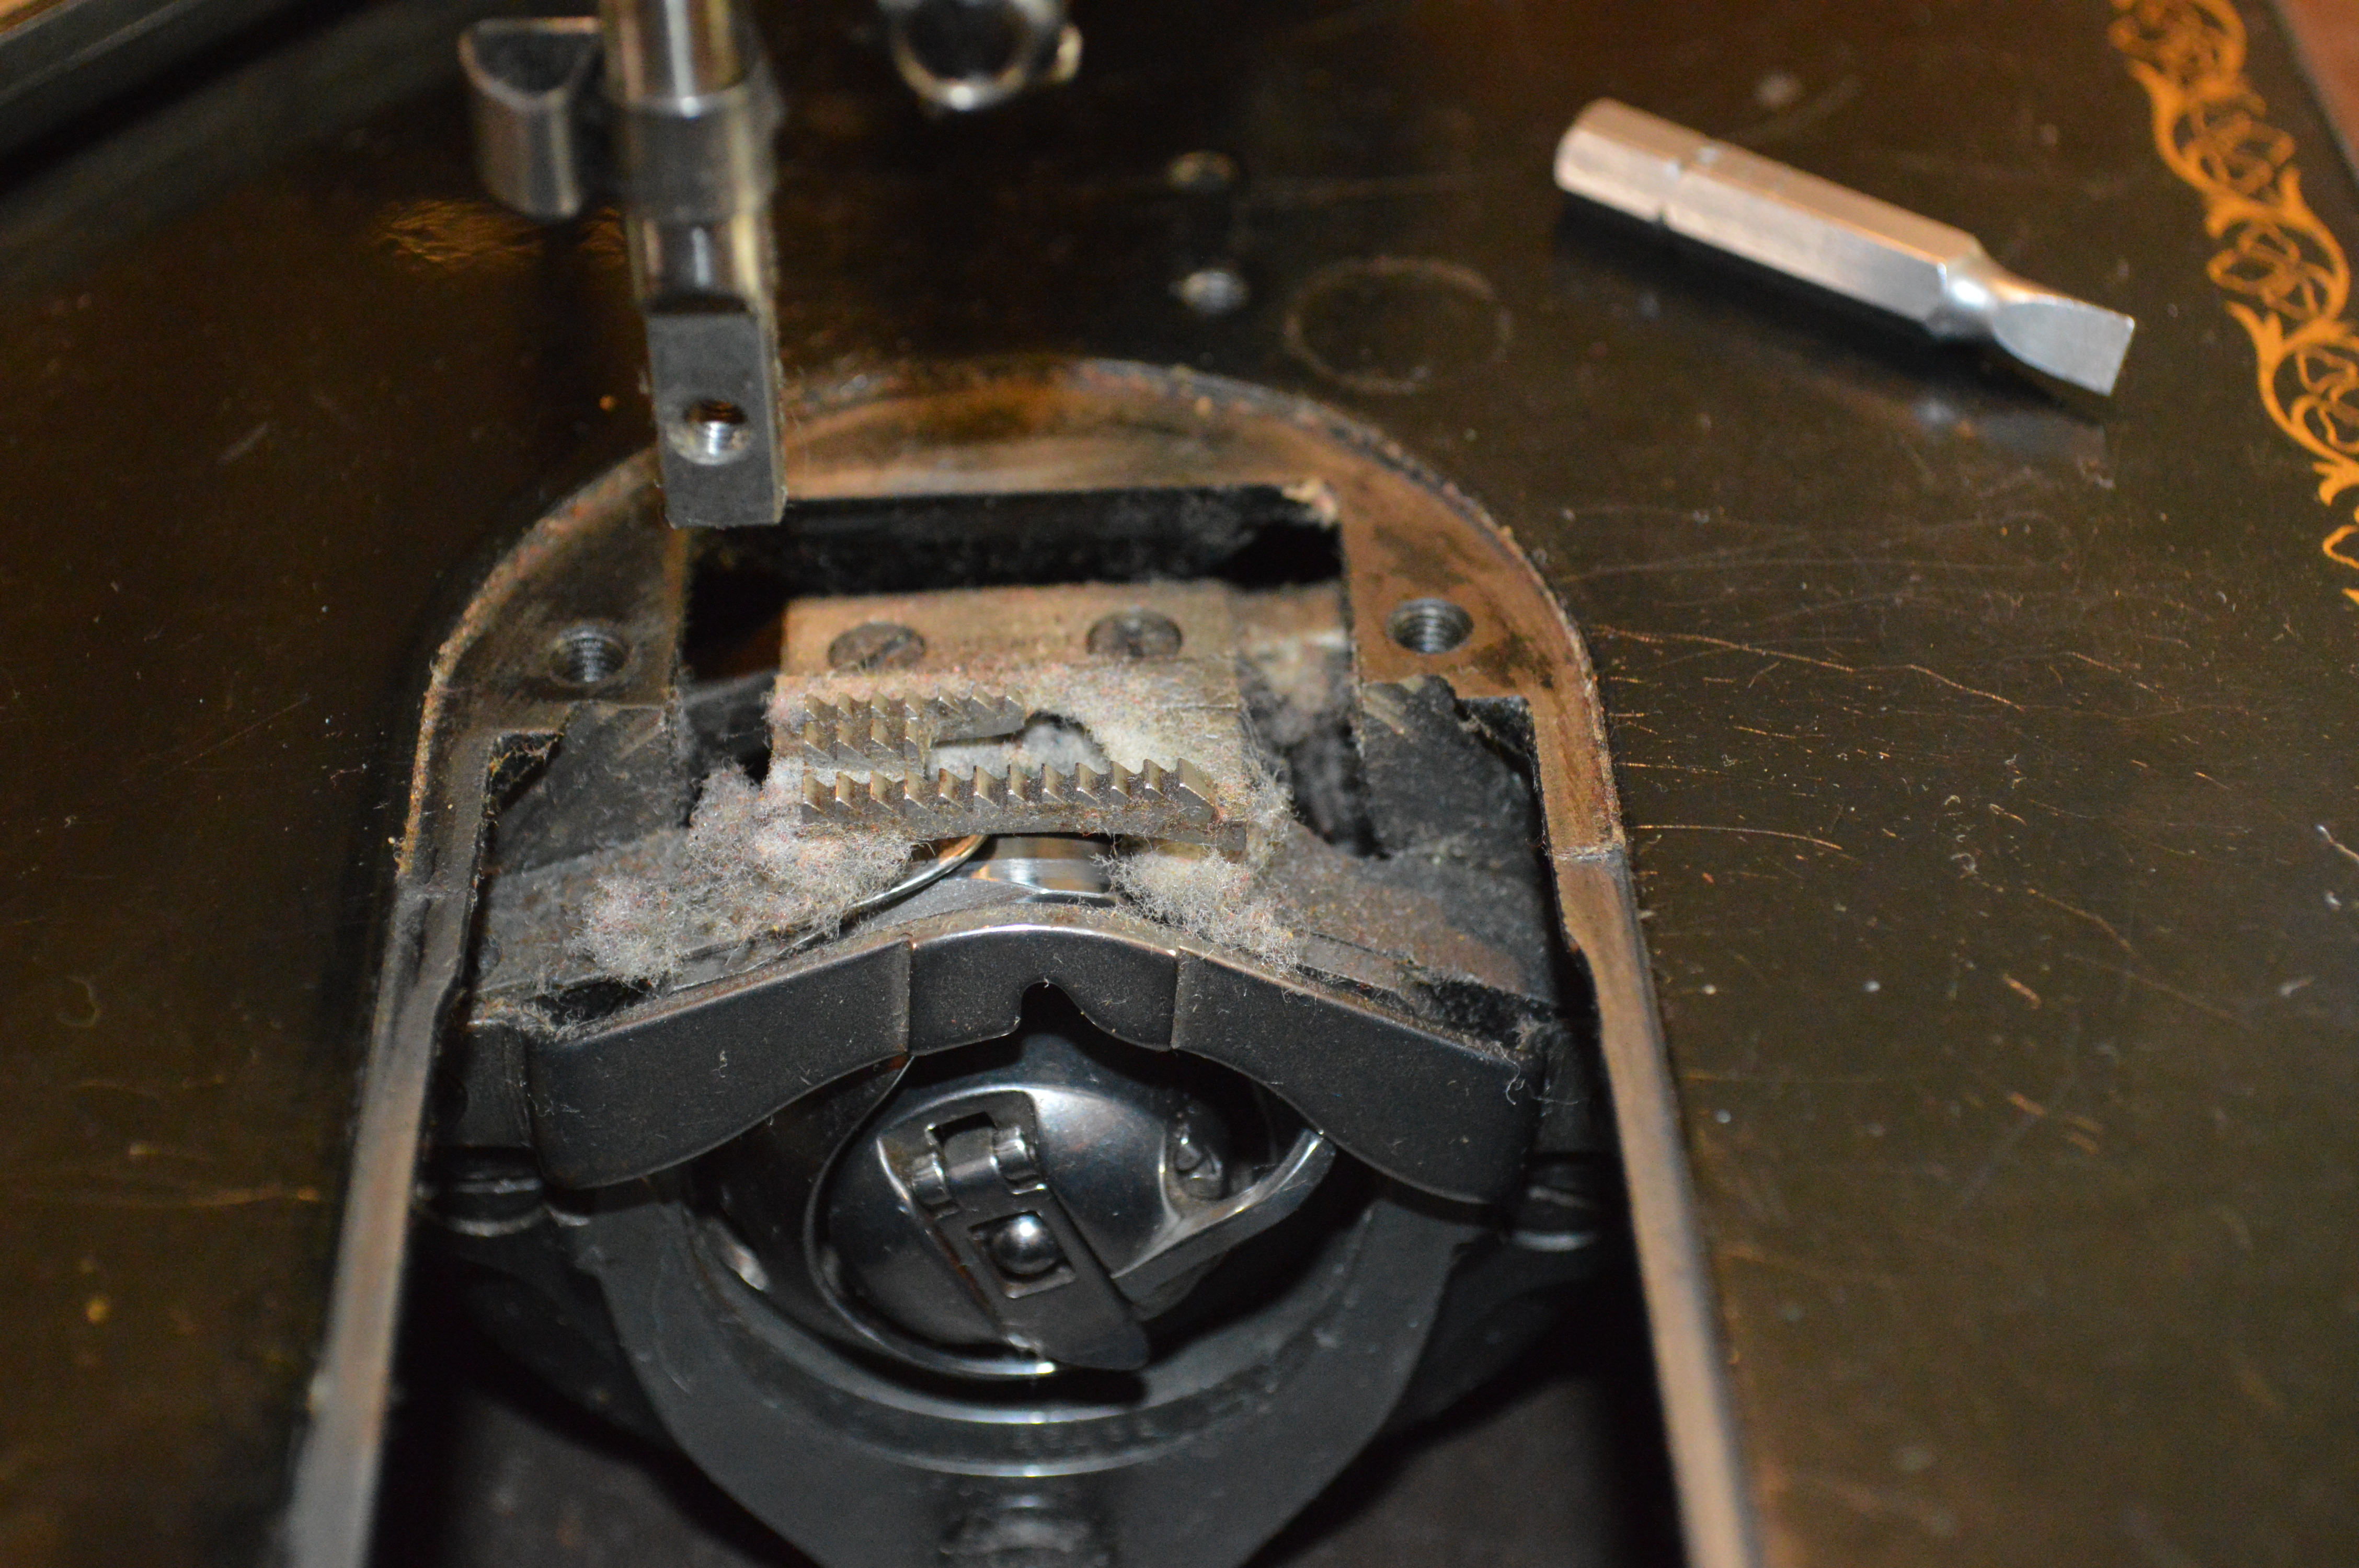
Lets take a closer look at what we are actually cleaning, and why.

Look at these parts closely, the pieces to the left and top of the picture are parts that mate and fit inside of other parts. If you look closely, you will see a brown film on the outside and inside of these pieces. Cleaning is not just about the outside, in fact, its cleaning the inside that counts.
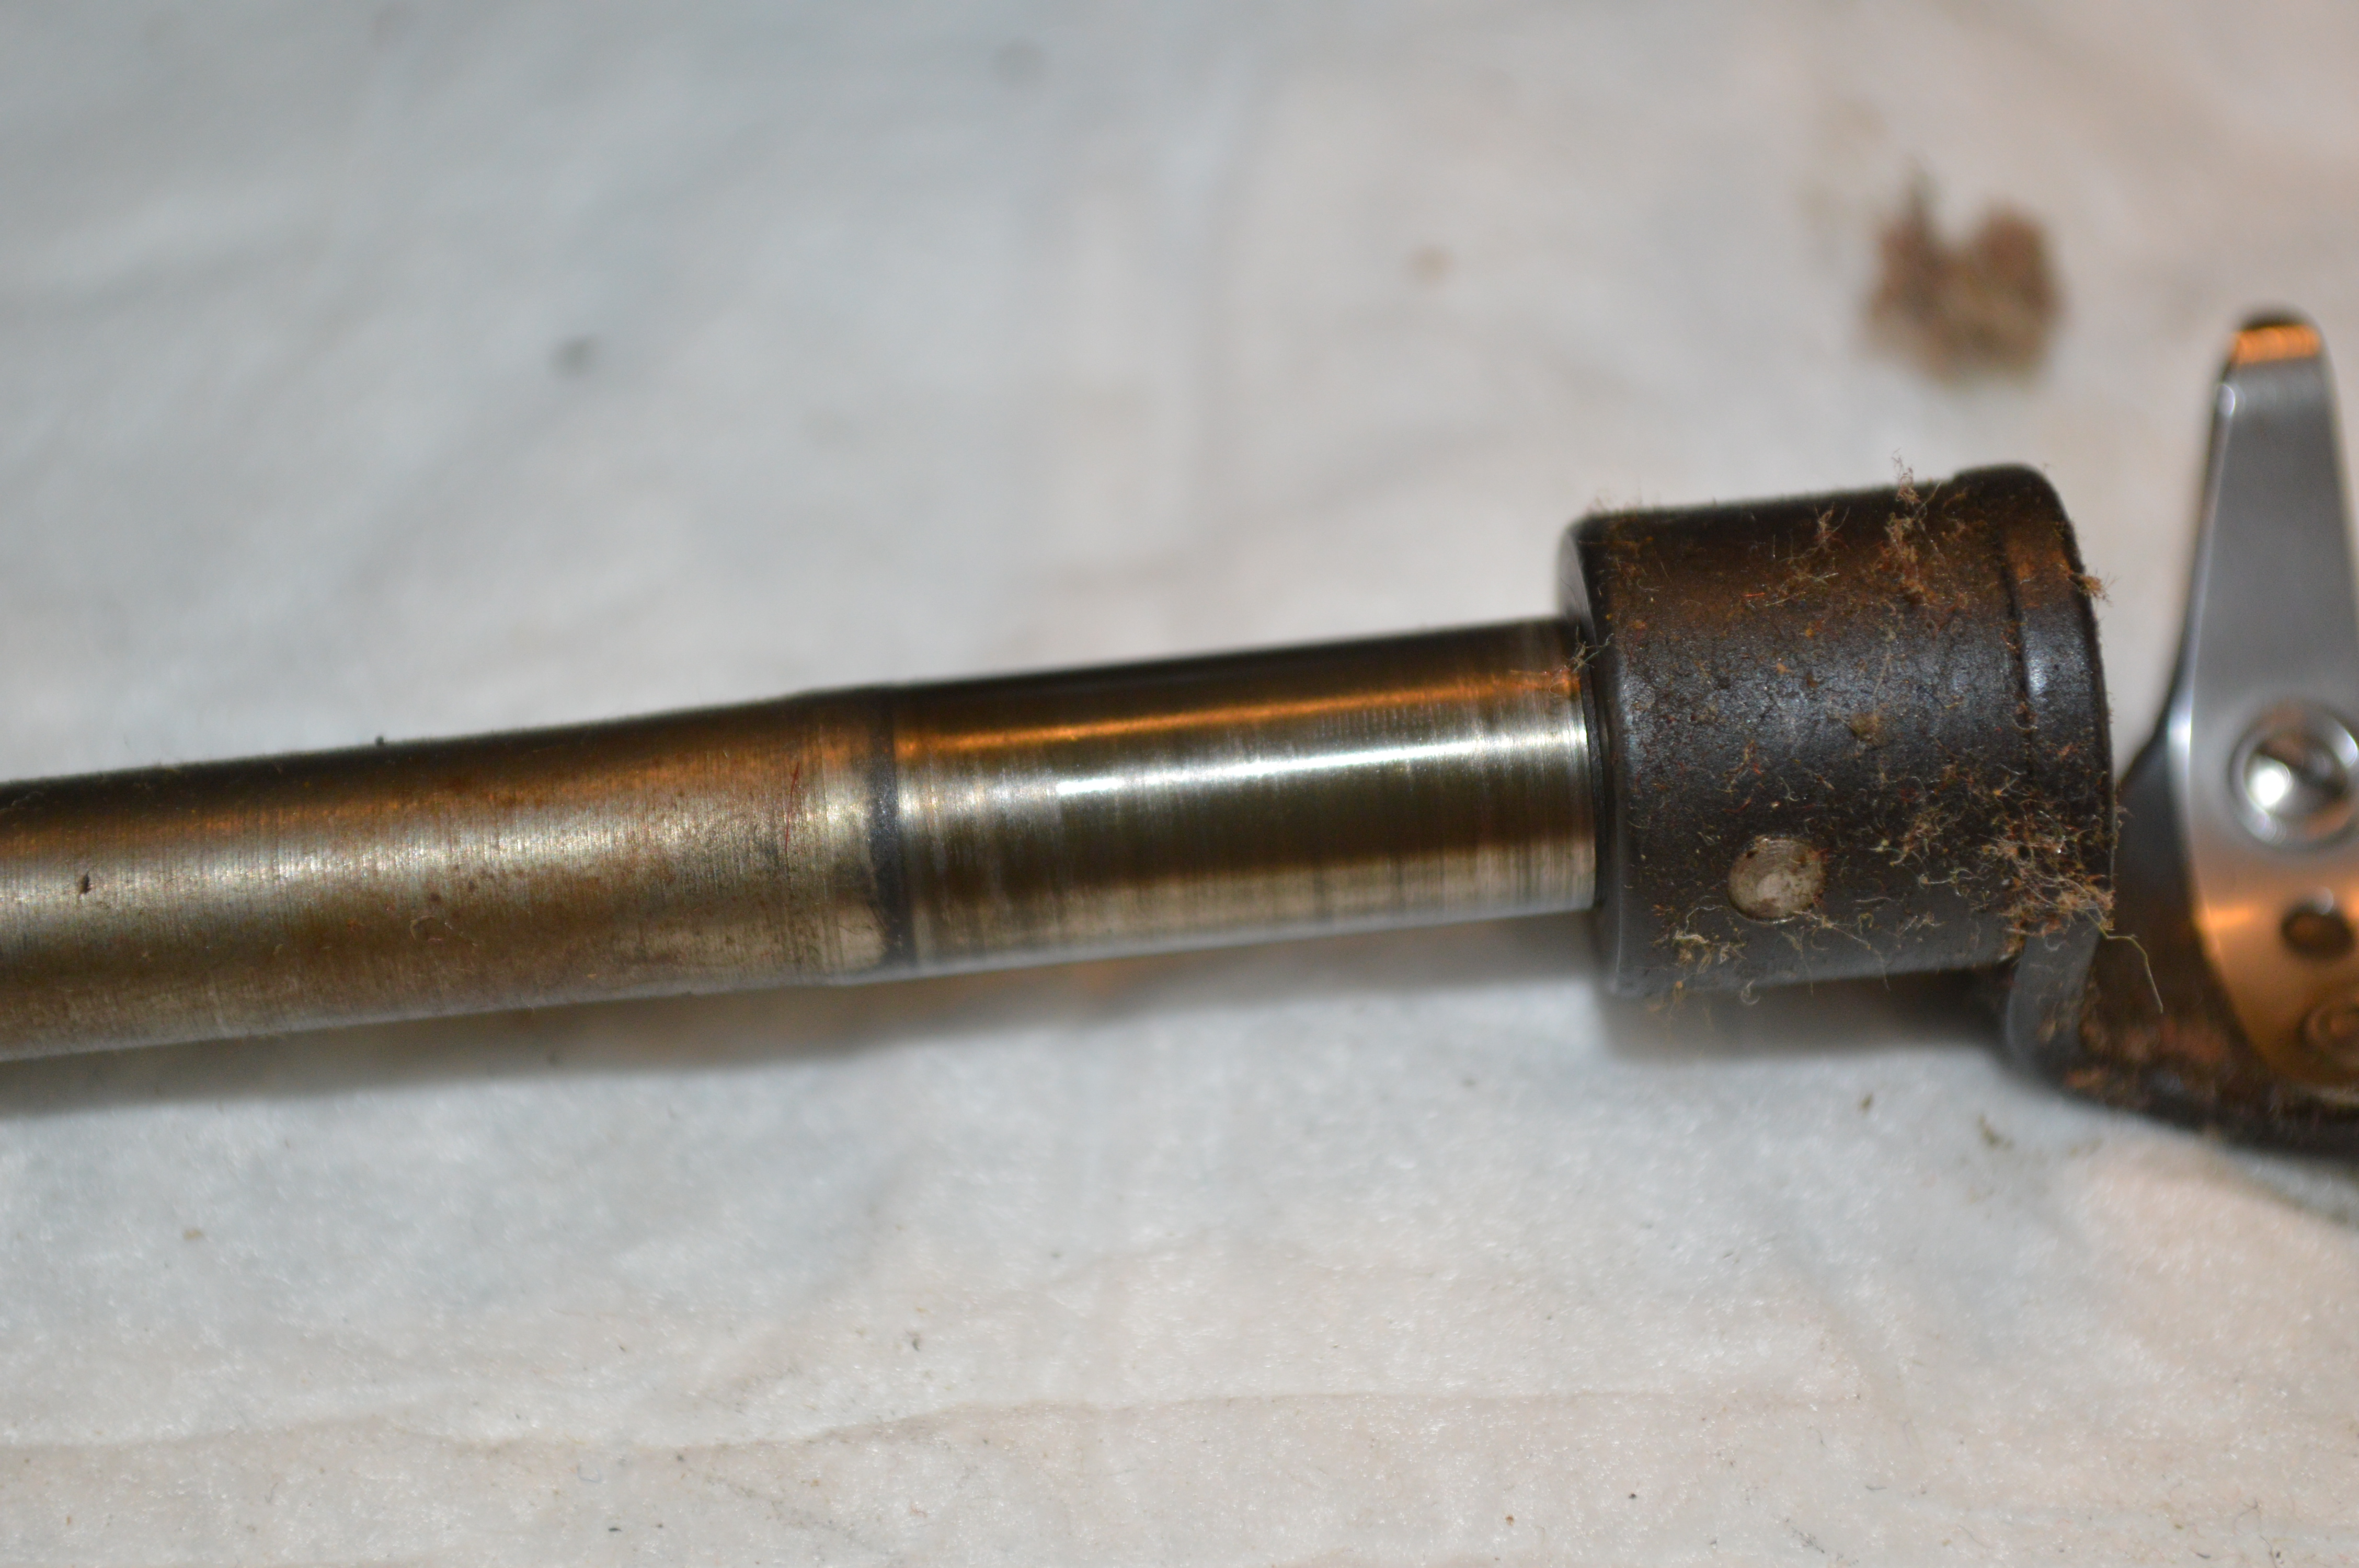
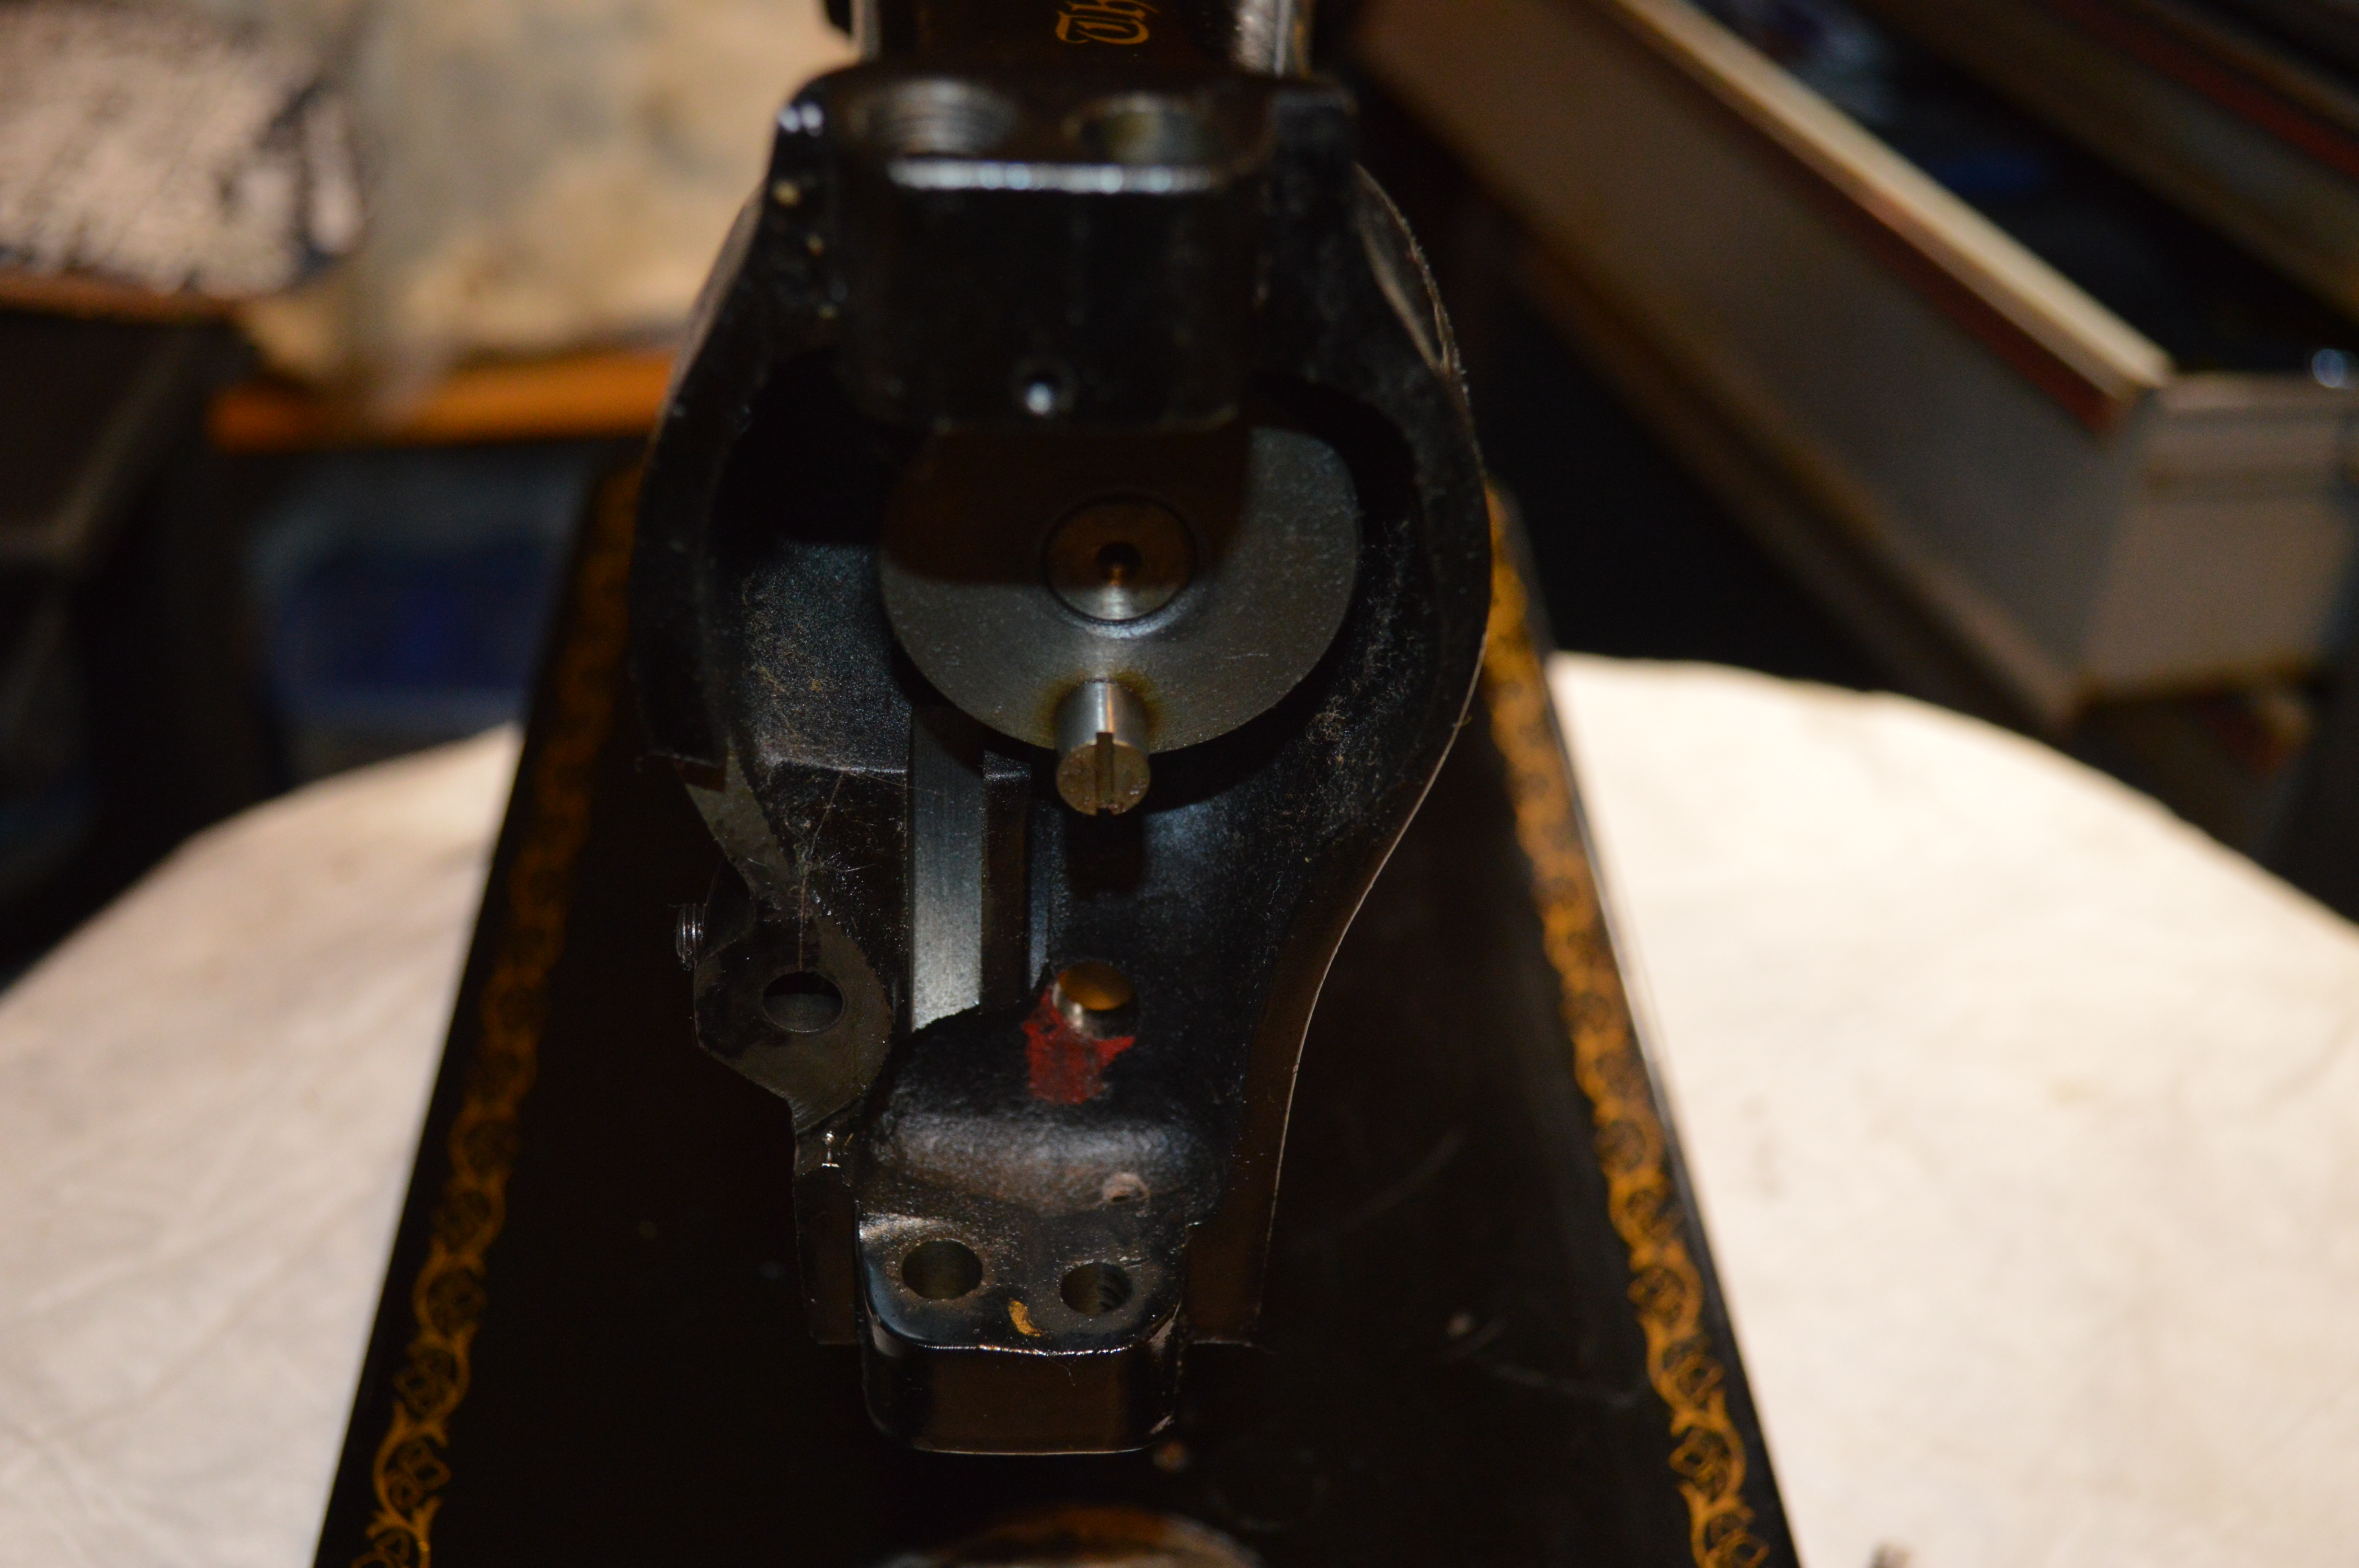
This is the hook shaft that spins in a bushing cast into the body of the machine. See the old oil varnish?

This is the stitch length shaft fork, again, notice the oiled surfaces that are coated with old oil varnish. These must be cleaned.
The same goes for the parts disassembled in the head of the machine. The reason it is important to clean these parts is what sets this level of reconditioning apart from “cleaning and servicing”. All of these parts can be cleaned in the machine and look great. But, cleaning the exterior of these parts will not improve or extend the life of the machine one bit. The fact is, all of the work done by the machine is done where parts connect, and rub, and rotate. These bearing surfaces are inaccessible to cleaning without complete disassembly.
A Singer sewing machine is very forgiving with respect to lubrication, but its not immune. Over time, a film of old oil or varnish will affect the machine. This machine operated smoothly before disassembly, all of that old oil and varnish was there, but it was not noticeable. For my part, cleaning the outside of a mechanism doesn’t change a thing, that’s not where the work gets done. Reconditioning a sewing machine on the other hand is much more than cleaning for appearance. Reconditioning is cleaning to the greatest extent possible, and cleaning parts for the greatest effect possible. This means cleaning parts in the places that make a difference. This means complete disassembly.
I could skip these steps and still have a smooth running machine. But, it does make a difference… a BIG difference. When these parts are cleaned and the bearing surfaces polished, the machine will be noticeably smoother running, and it will remain so for many years.
Tip of the Day…
Disassembling a sewing machine results in keeping track of many small screws. Many look similar but are different enough that they must be put back in the right place. Here’s’ a trick that helps do that.


After removing a screw from a part, put the screw back in the place where it came from. This is easy to do, and it can be done in just about every place a screw can be removed. I hope this helps you keep things straight if you disassemble something so you don’t have to worry about getting them confused.
After cleaning, the parts are wiped with a shop towel and prepped for assembly. Notice the difference?


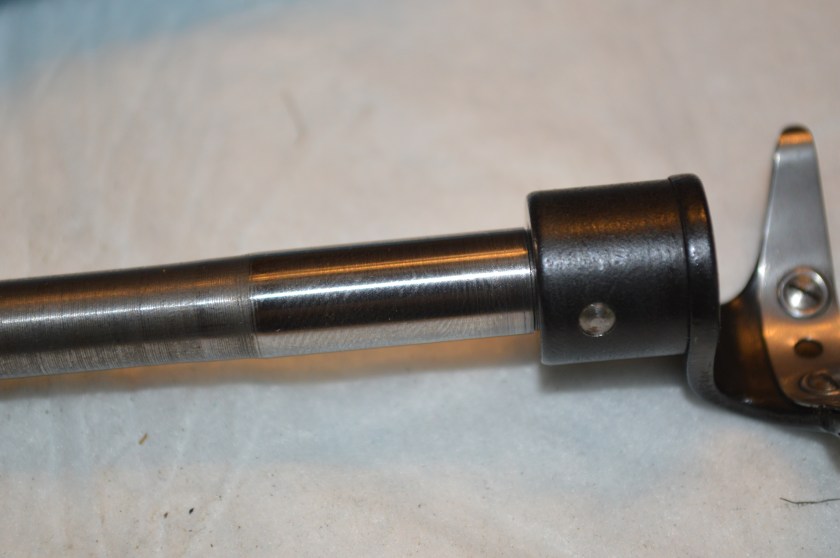
The hook shaft is also polished until it is glassy smooth.
All of the parts are assembled back in the machine. None of the adjustments are made at this point, so they oiled but not tightened just yet.


Next comes the motor.
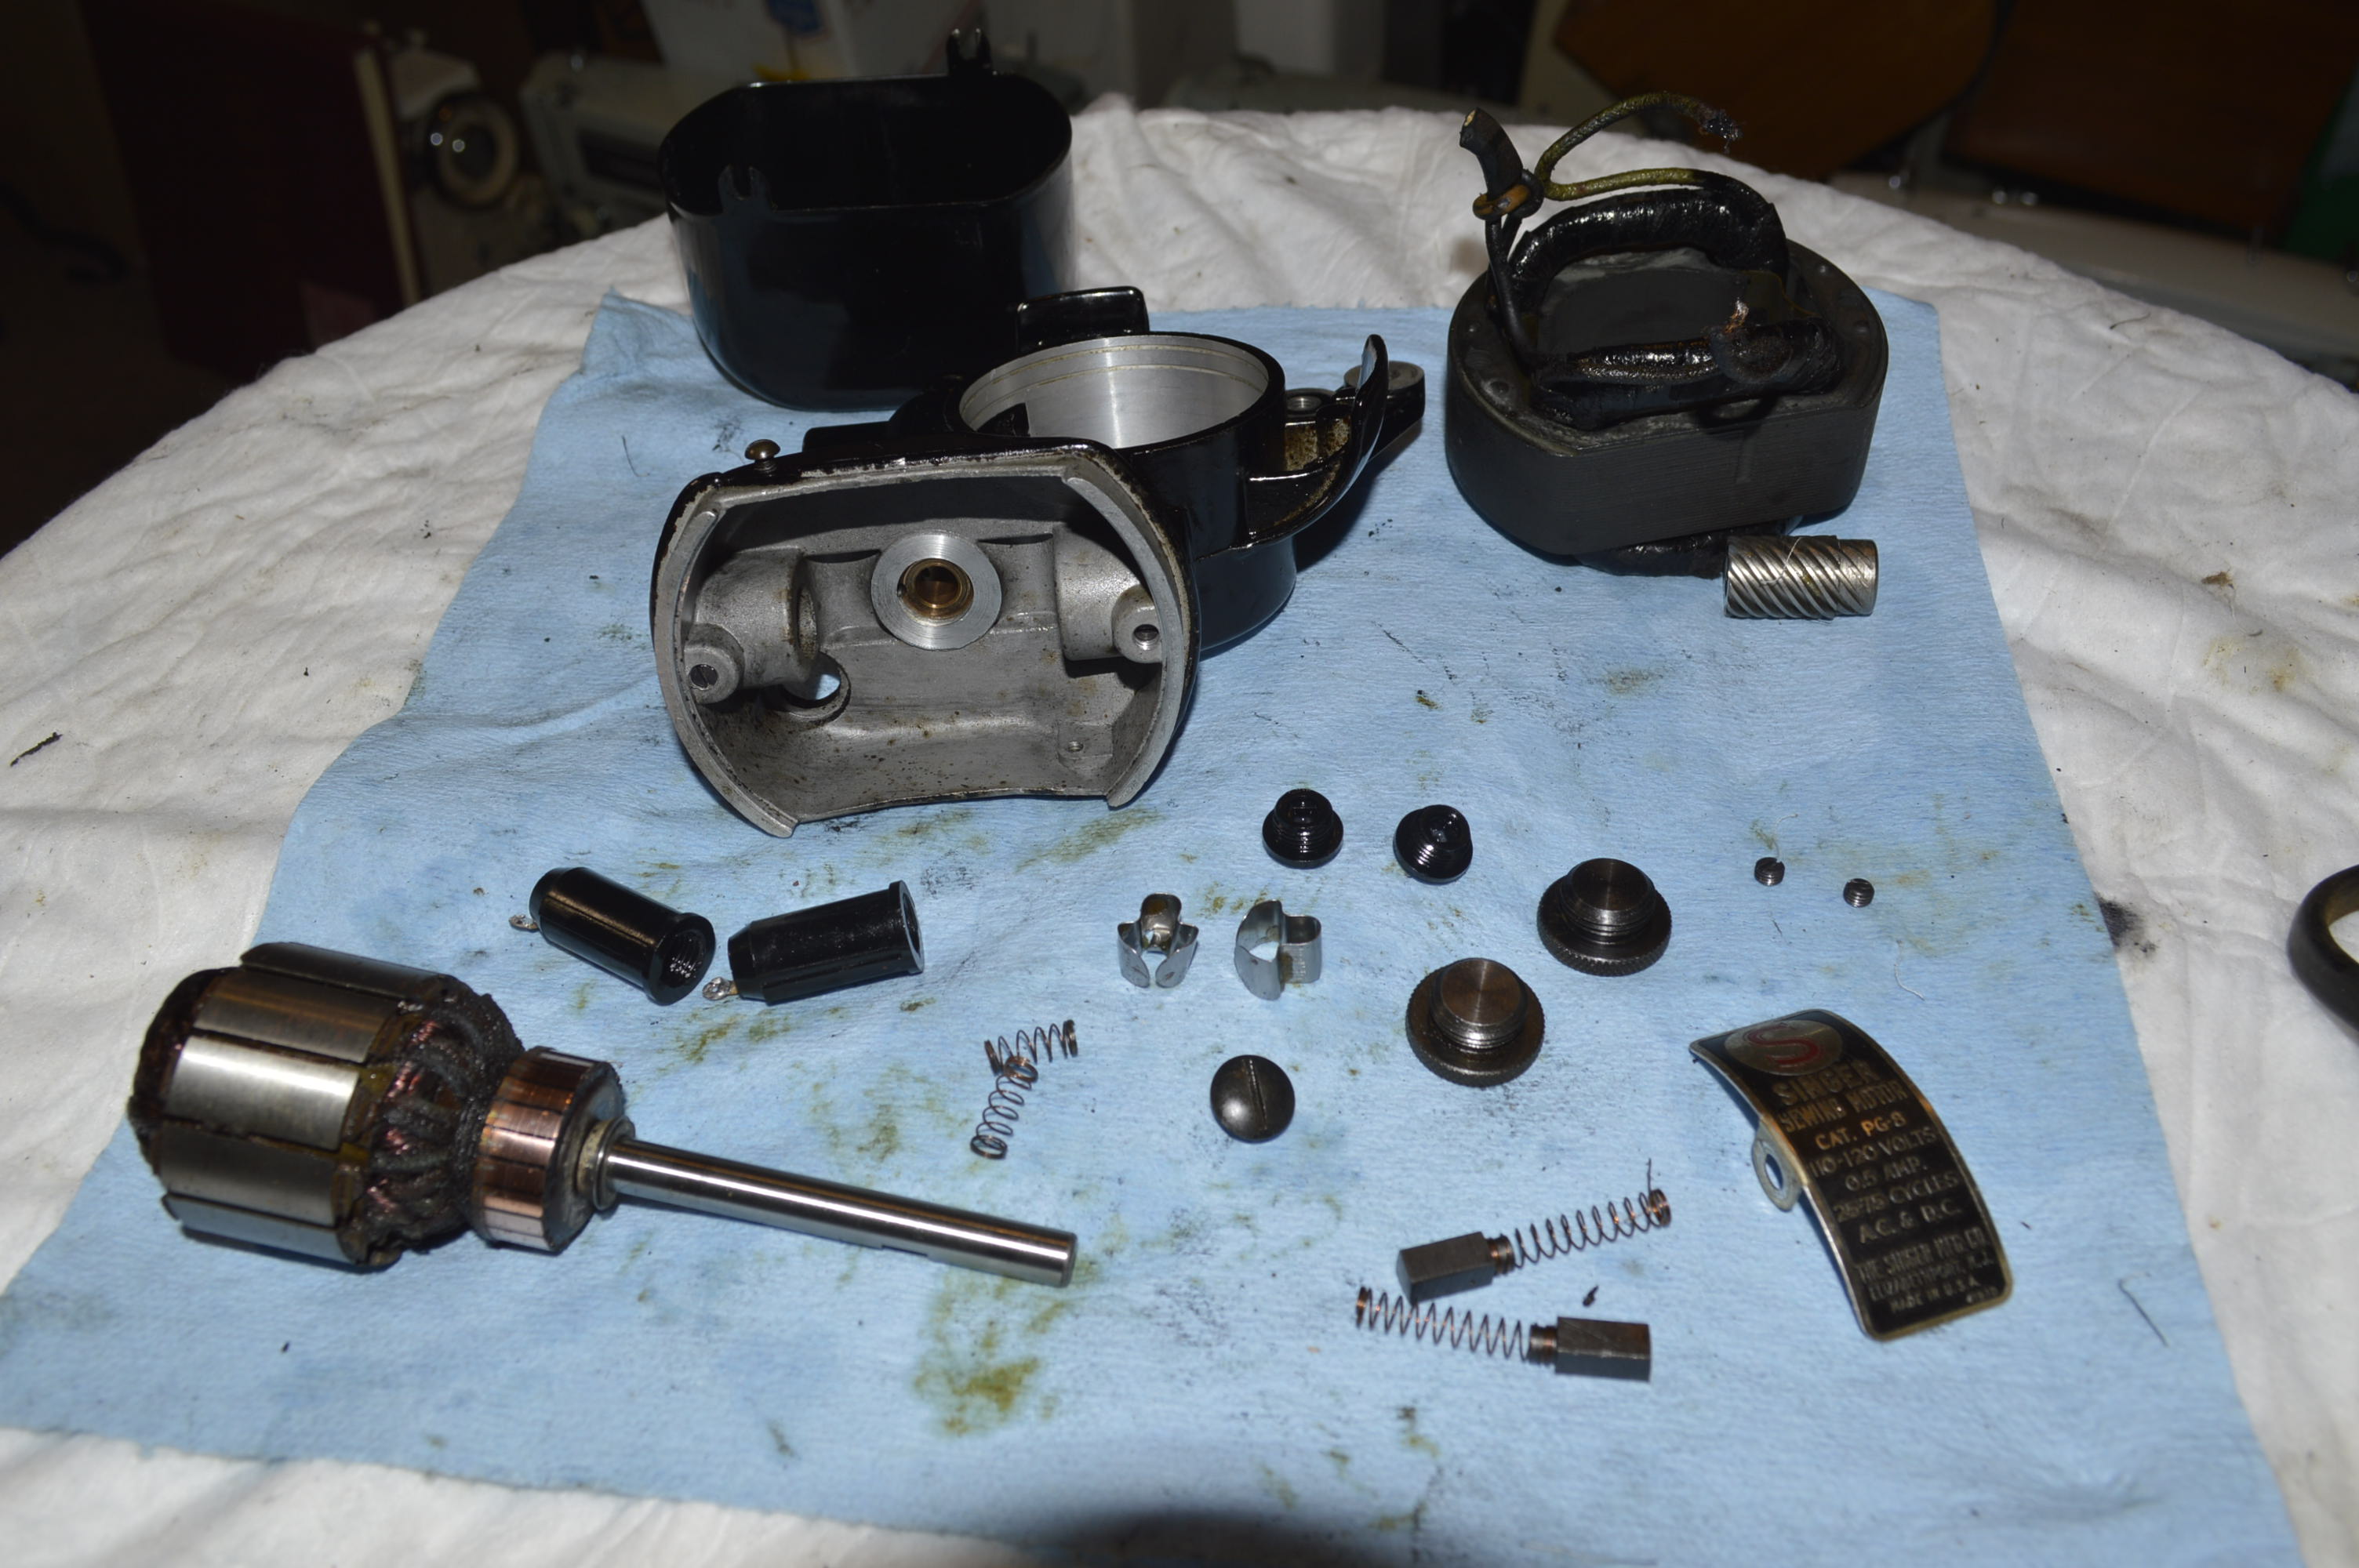
It is disassembled…


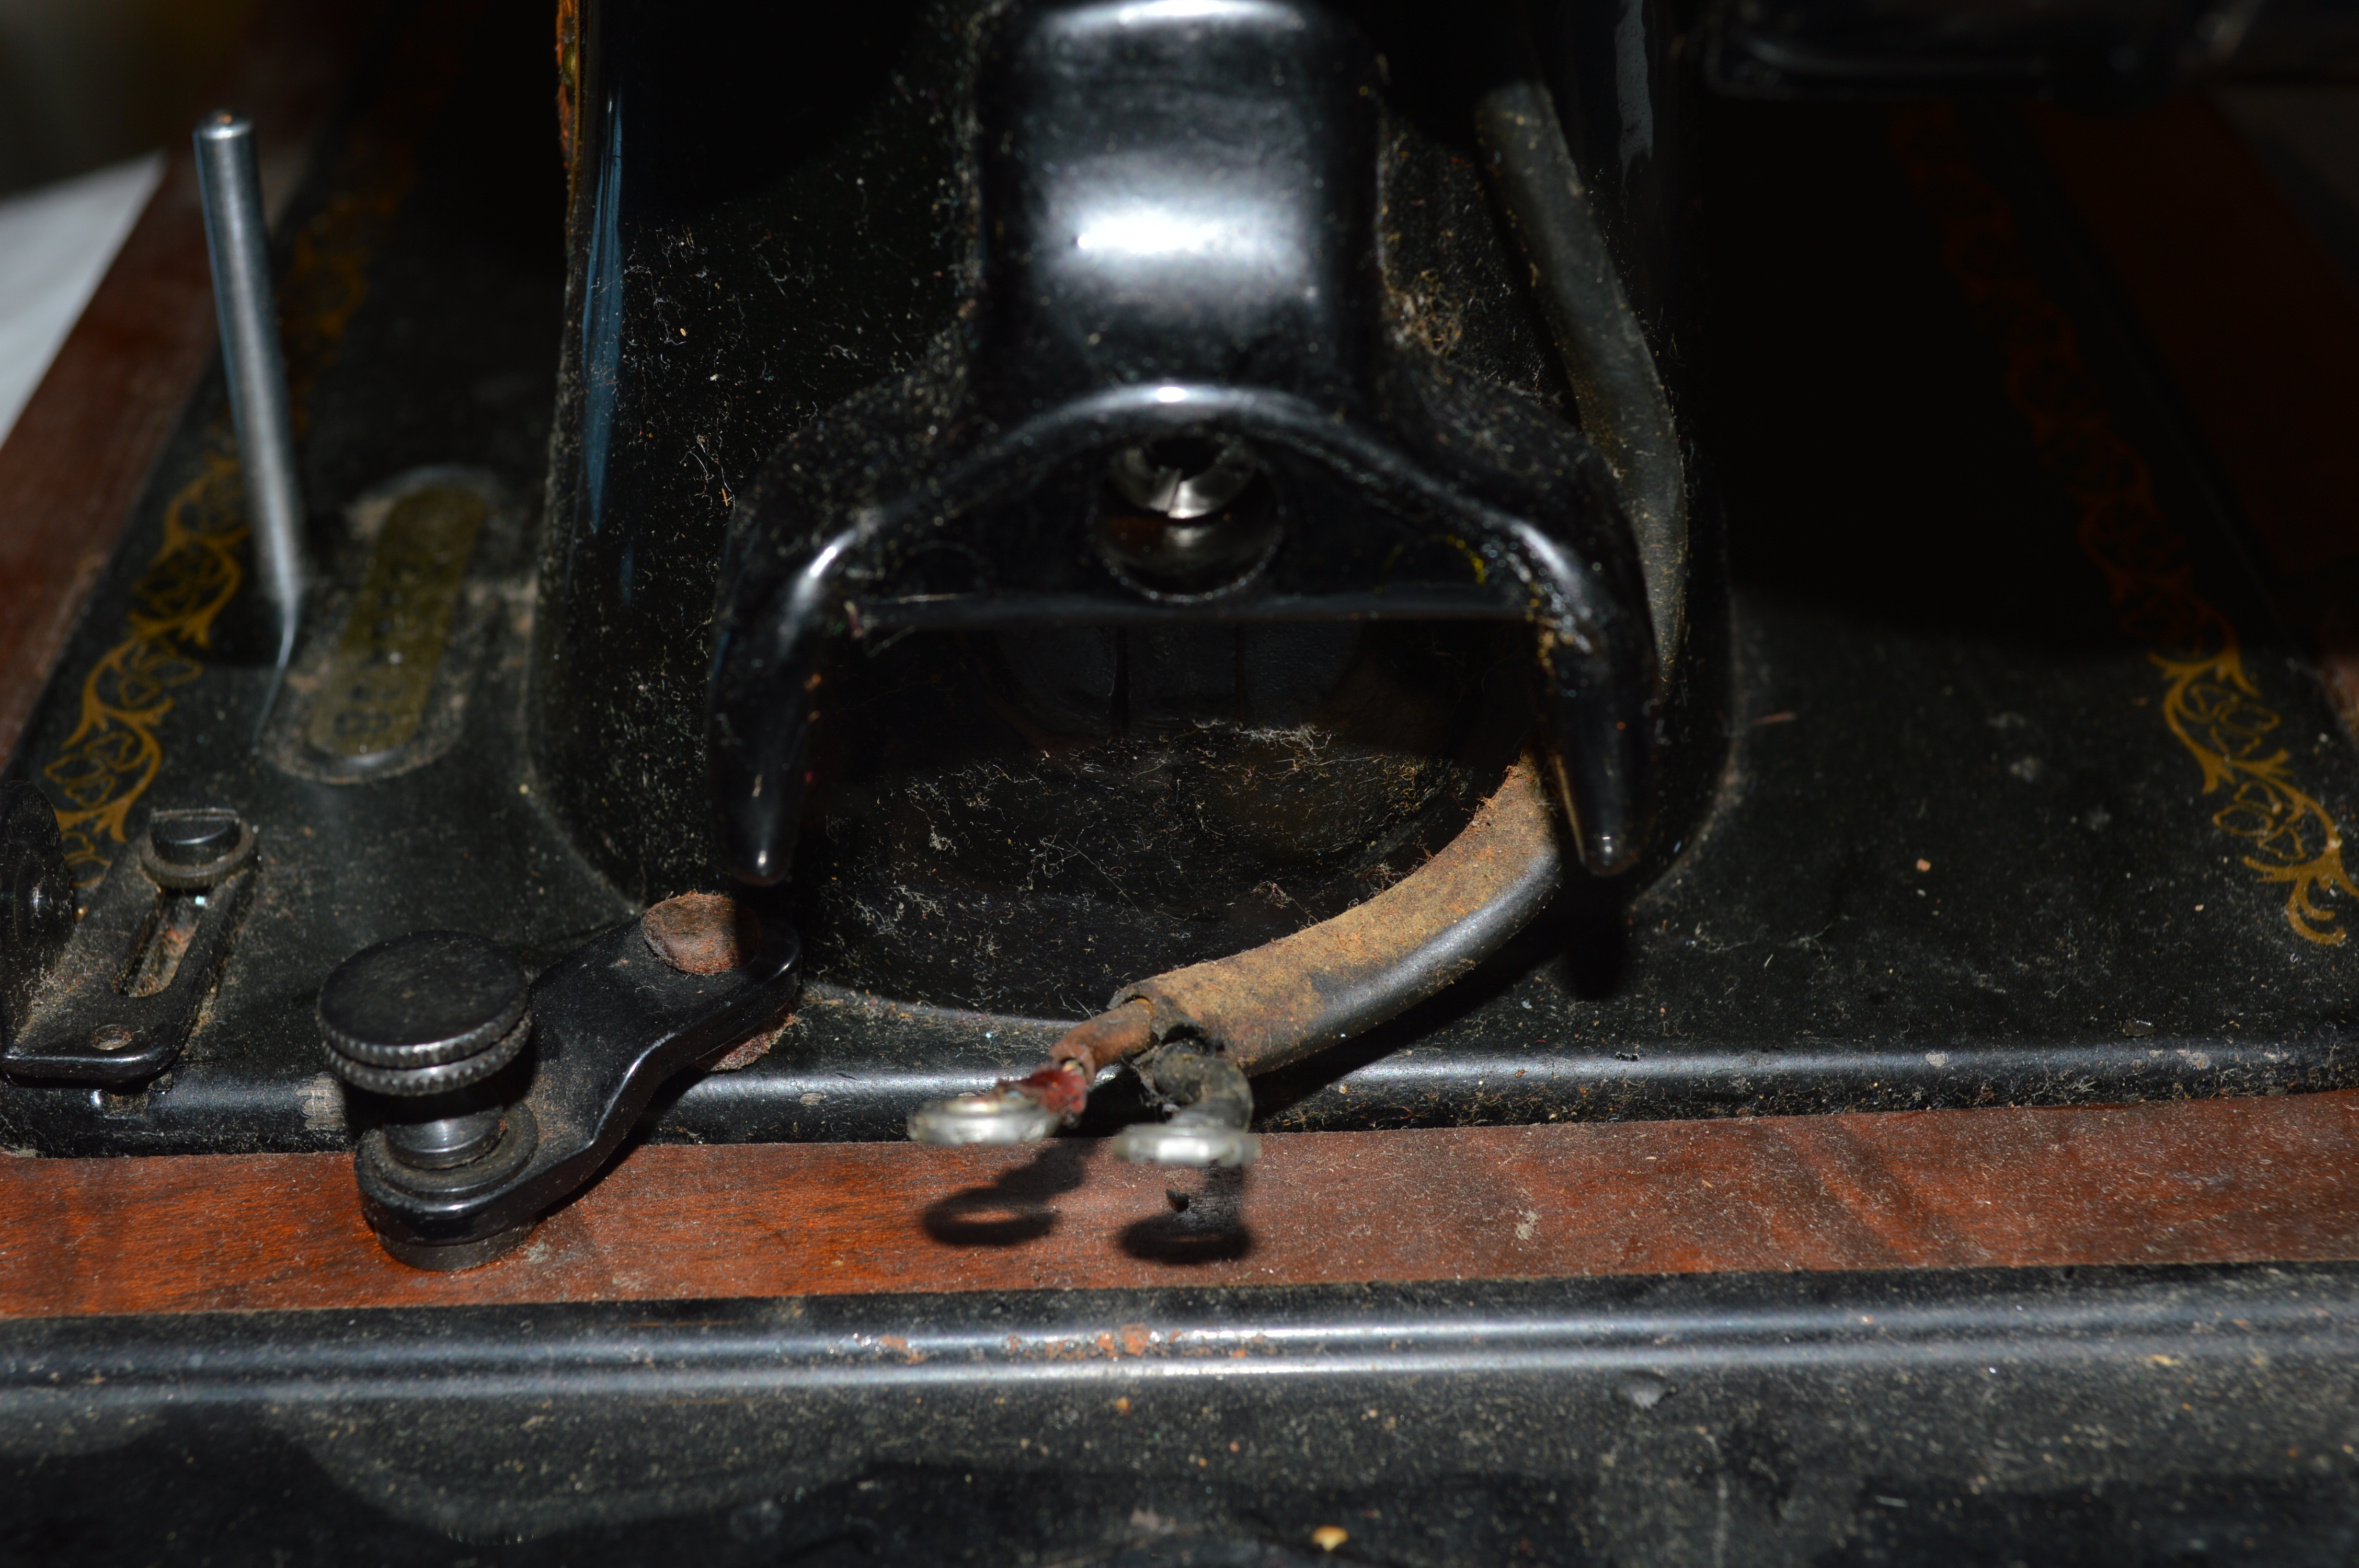
The wires are cracked and will be replaced.

For this rebuild, I decided to remove the stator windings (the larger coil of wire, its what the armature rotates in) from the motor housing. This involves removing the brush holders. They are captured in the housing and must be removed from pulling them out of the housing, This requires de-soldering the wires on the brush holders.

Location of small screws that tighten against the brush tubes… loosen these before attempting to remove the brush tubes! 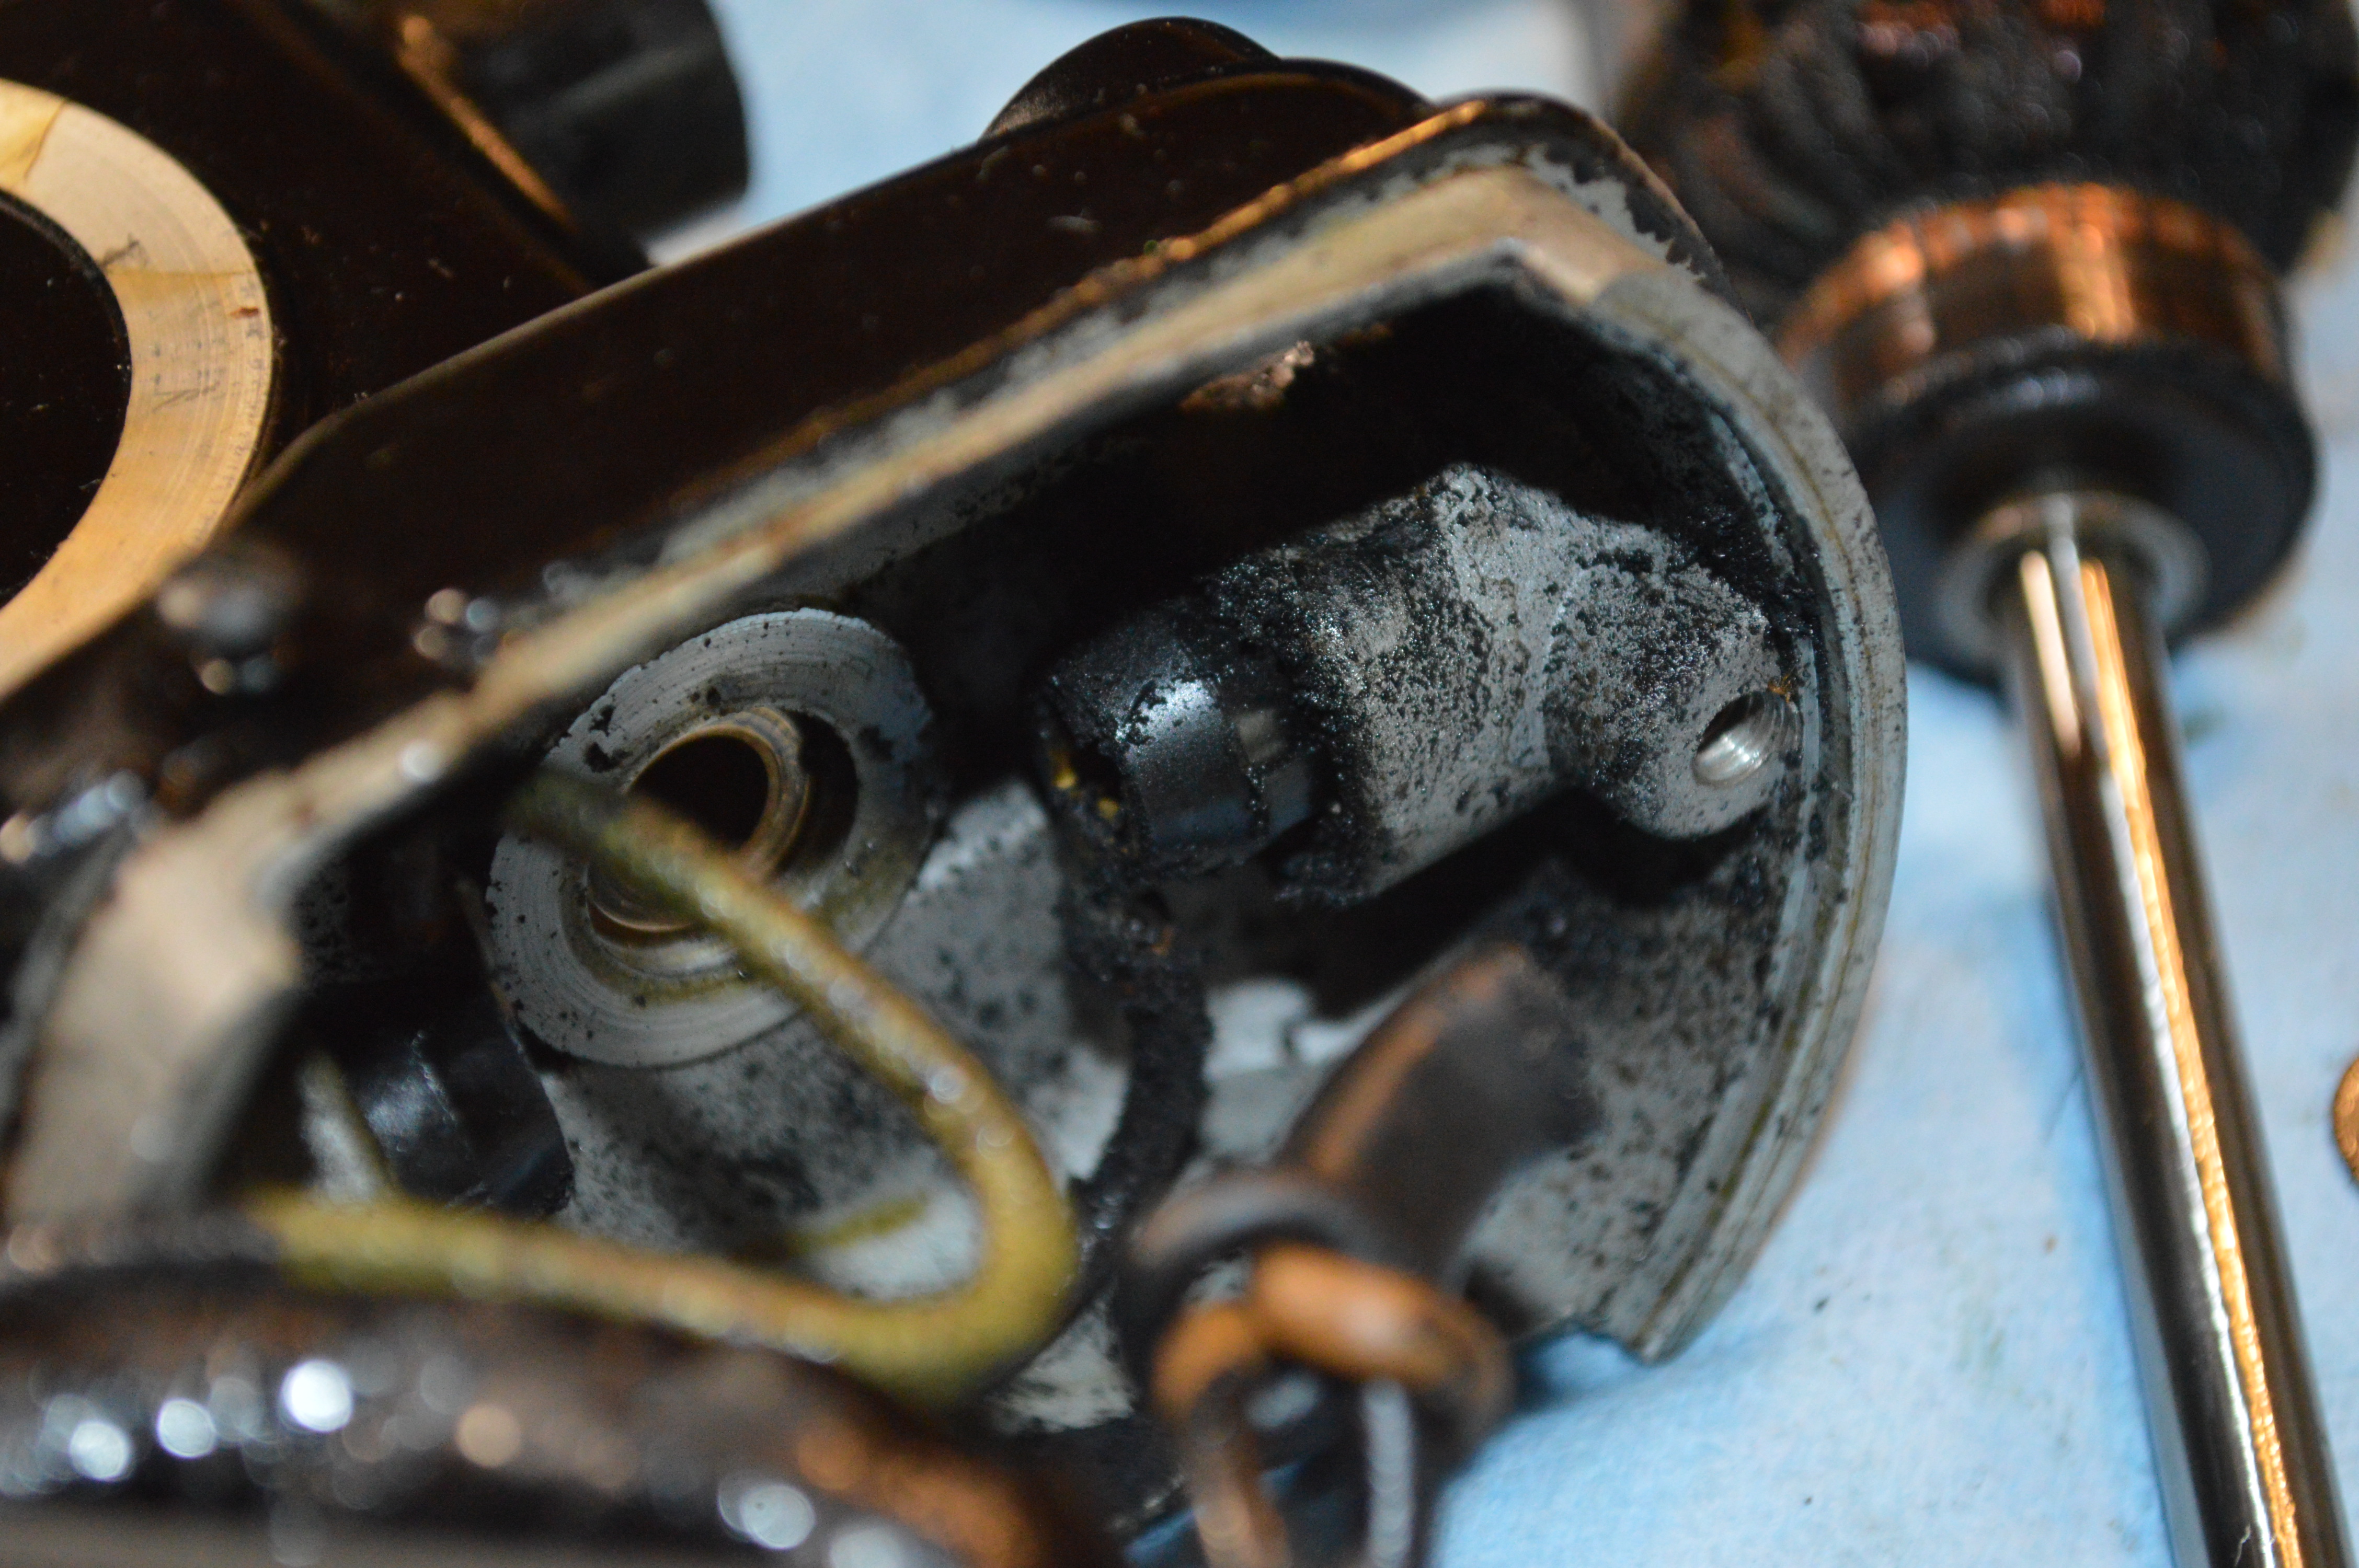
Now everything can be cleaned thoroughly, starting with motor housing and removing the old grease from the grease tubes… first by picking it out, then soaking the housing in kerosene, and finishing it up with compressed air

Old Grease 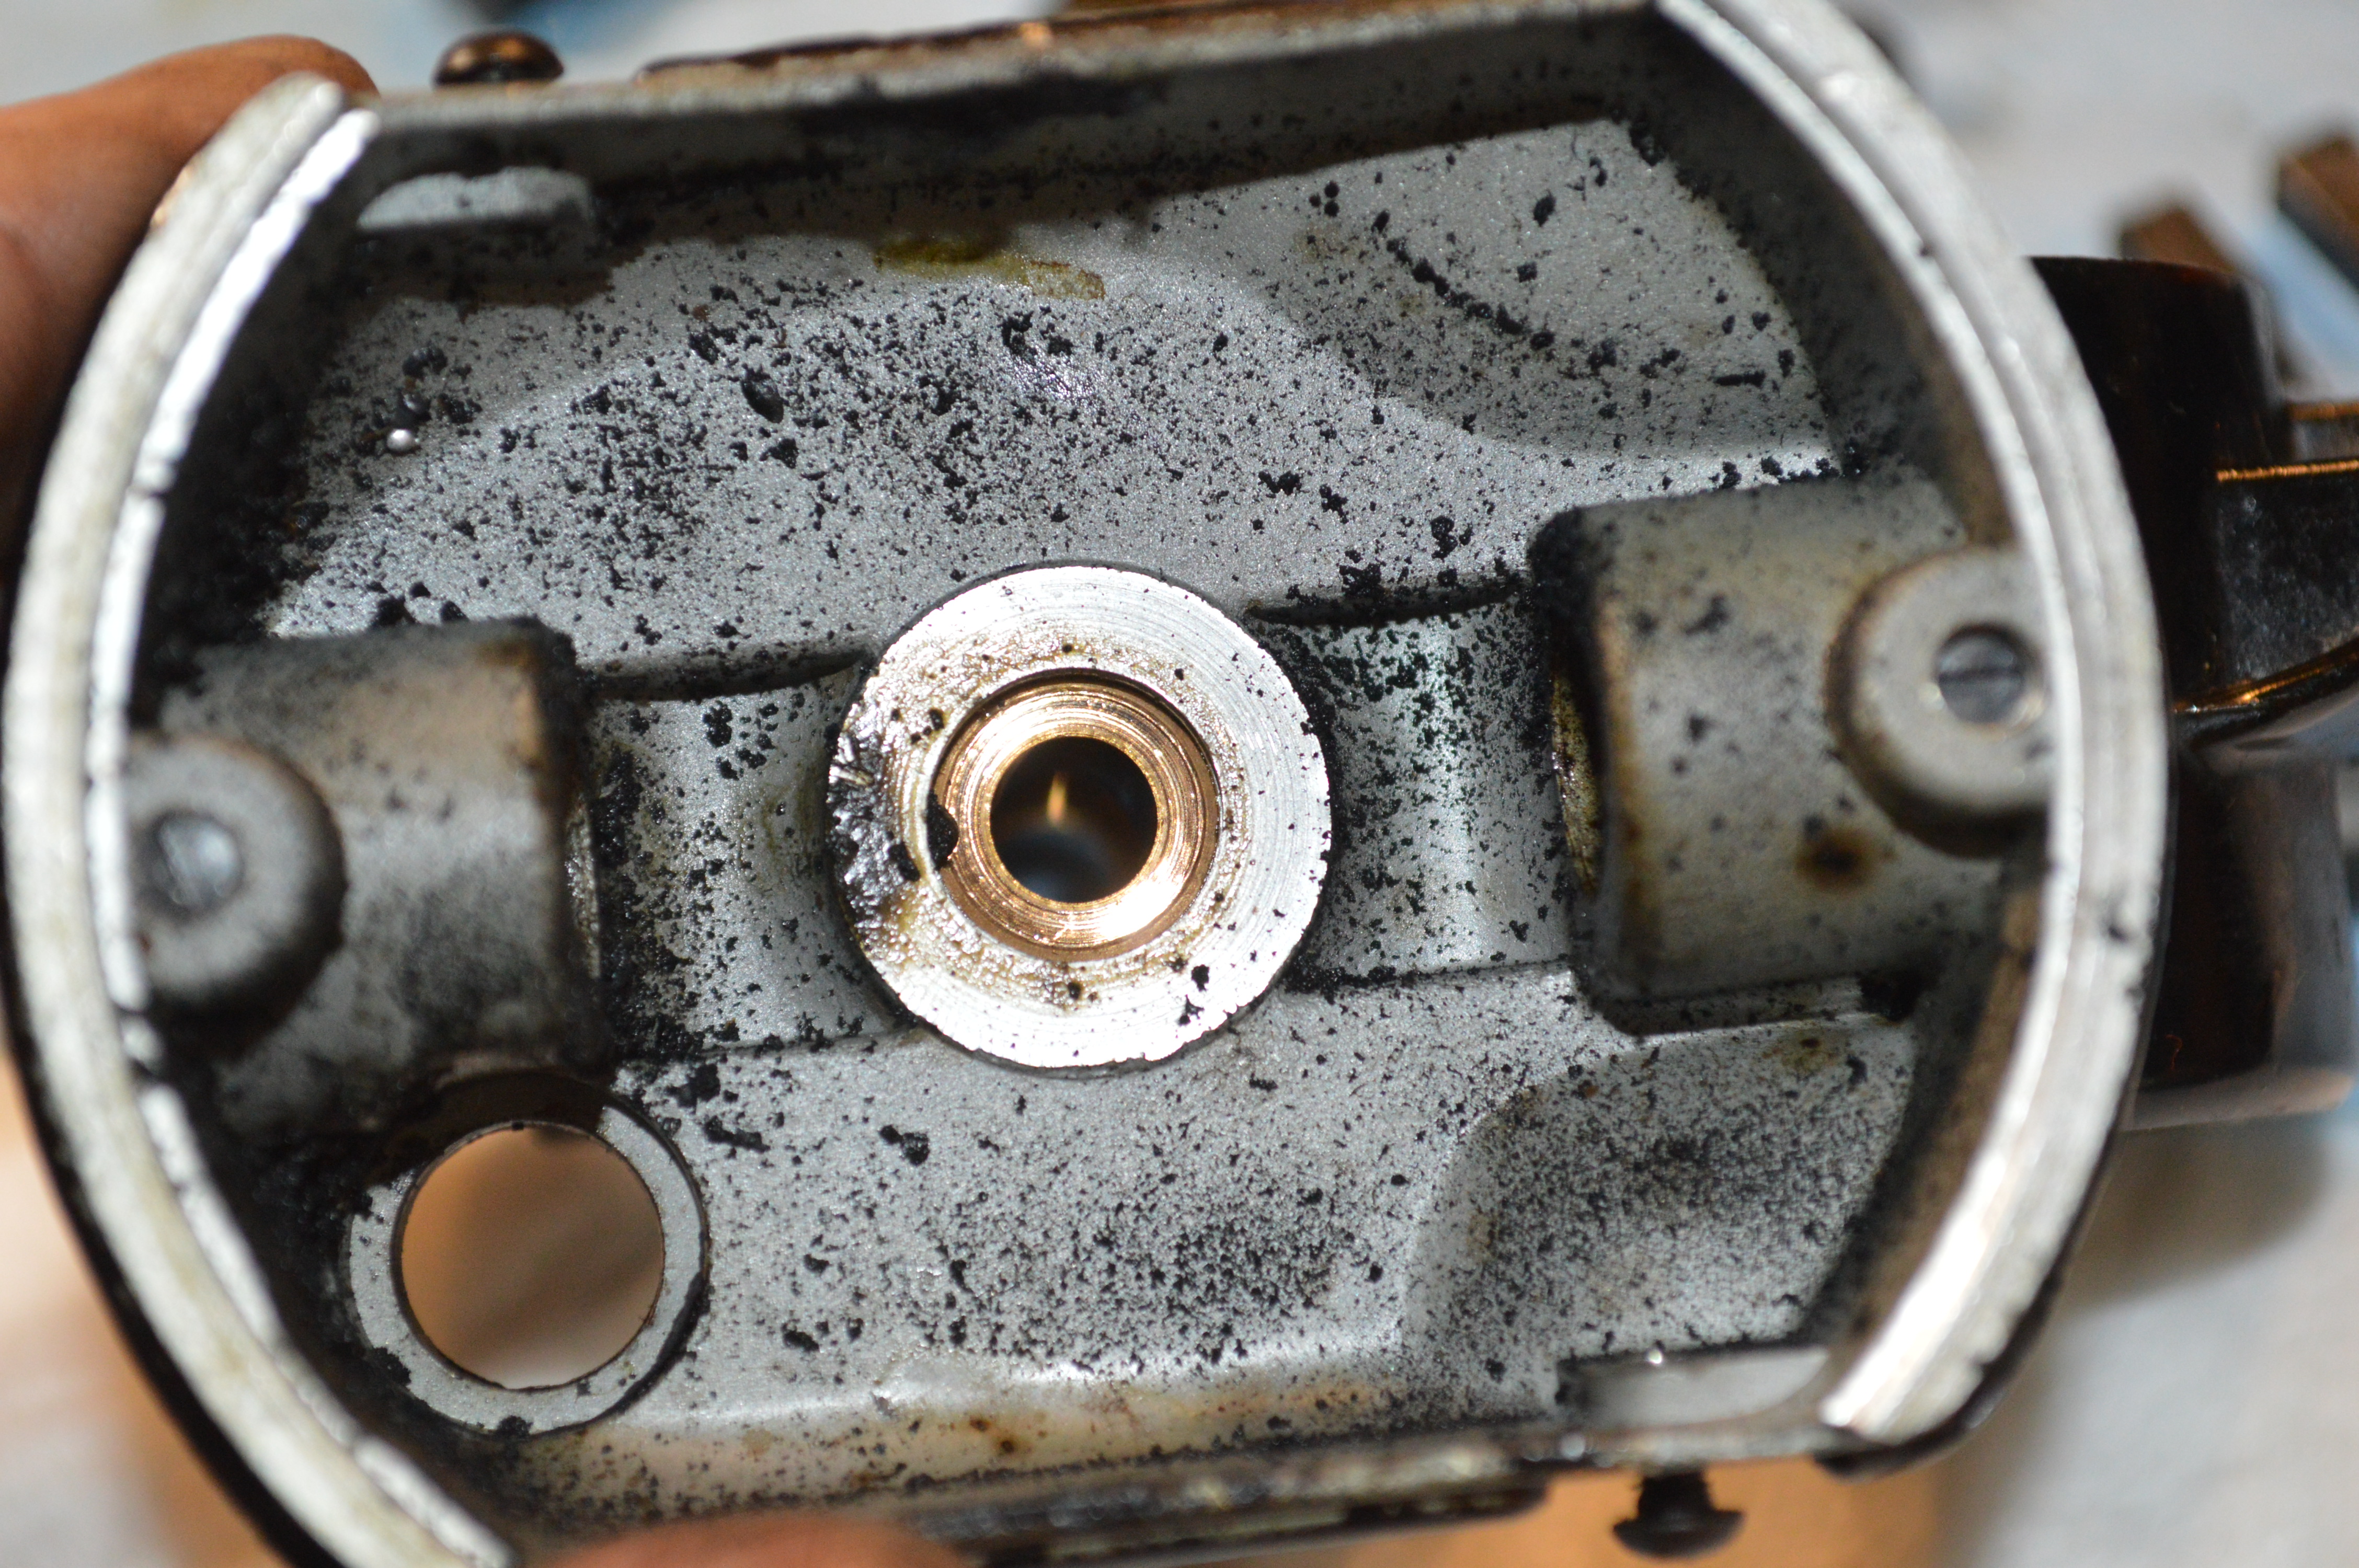
Debris inside of Housing
But first, I want to point your attention to the tip of the tooth pick in the next picture.

FYI… The tip of the tooth pick is touching a small hole in the bushing that is drilled thru to the grease tubes. This is almost always clogged and is cleaned out by pushing the toothpick thru the hole.
The motor housing is cleaned…


Next the motor armature is polished…
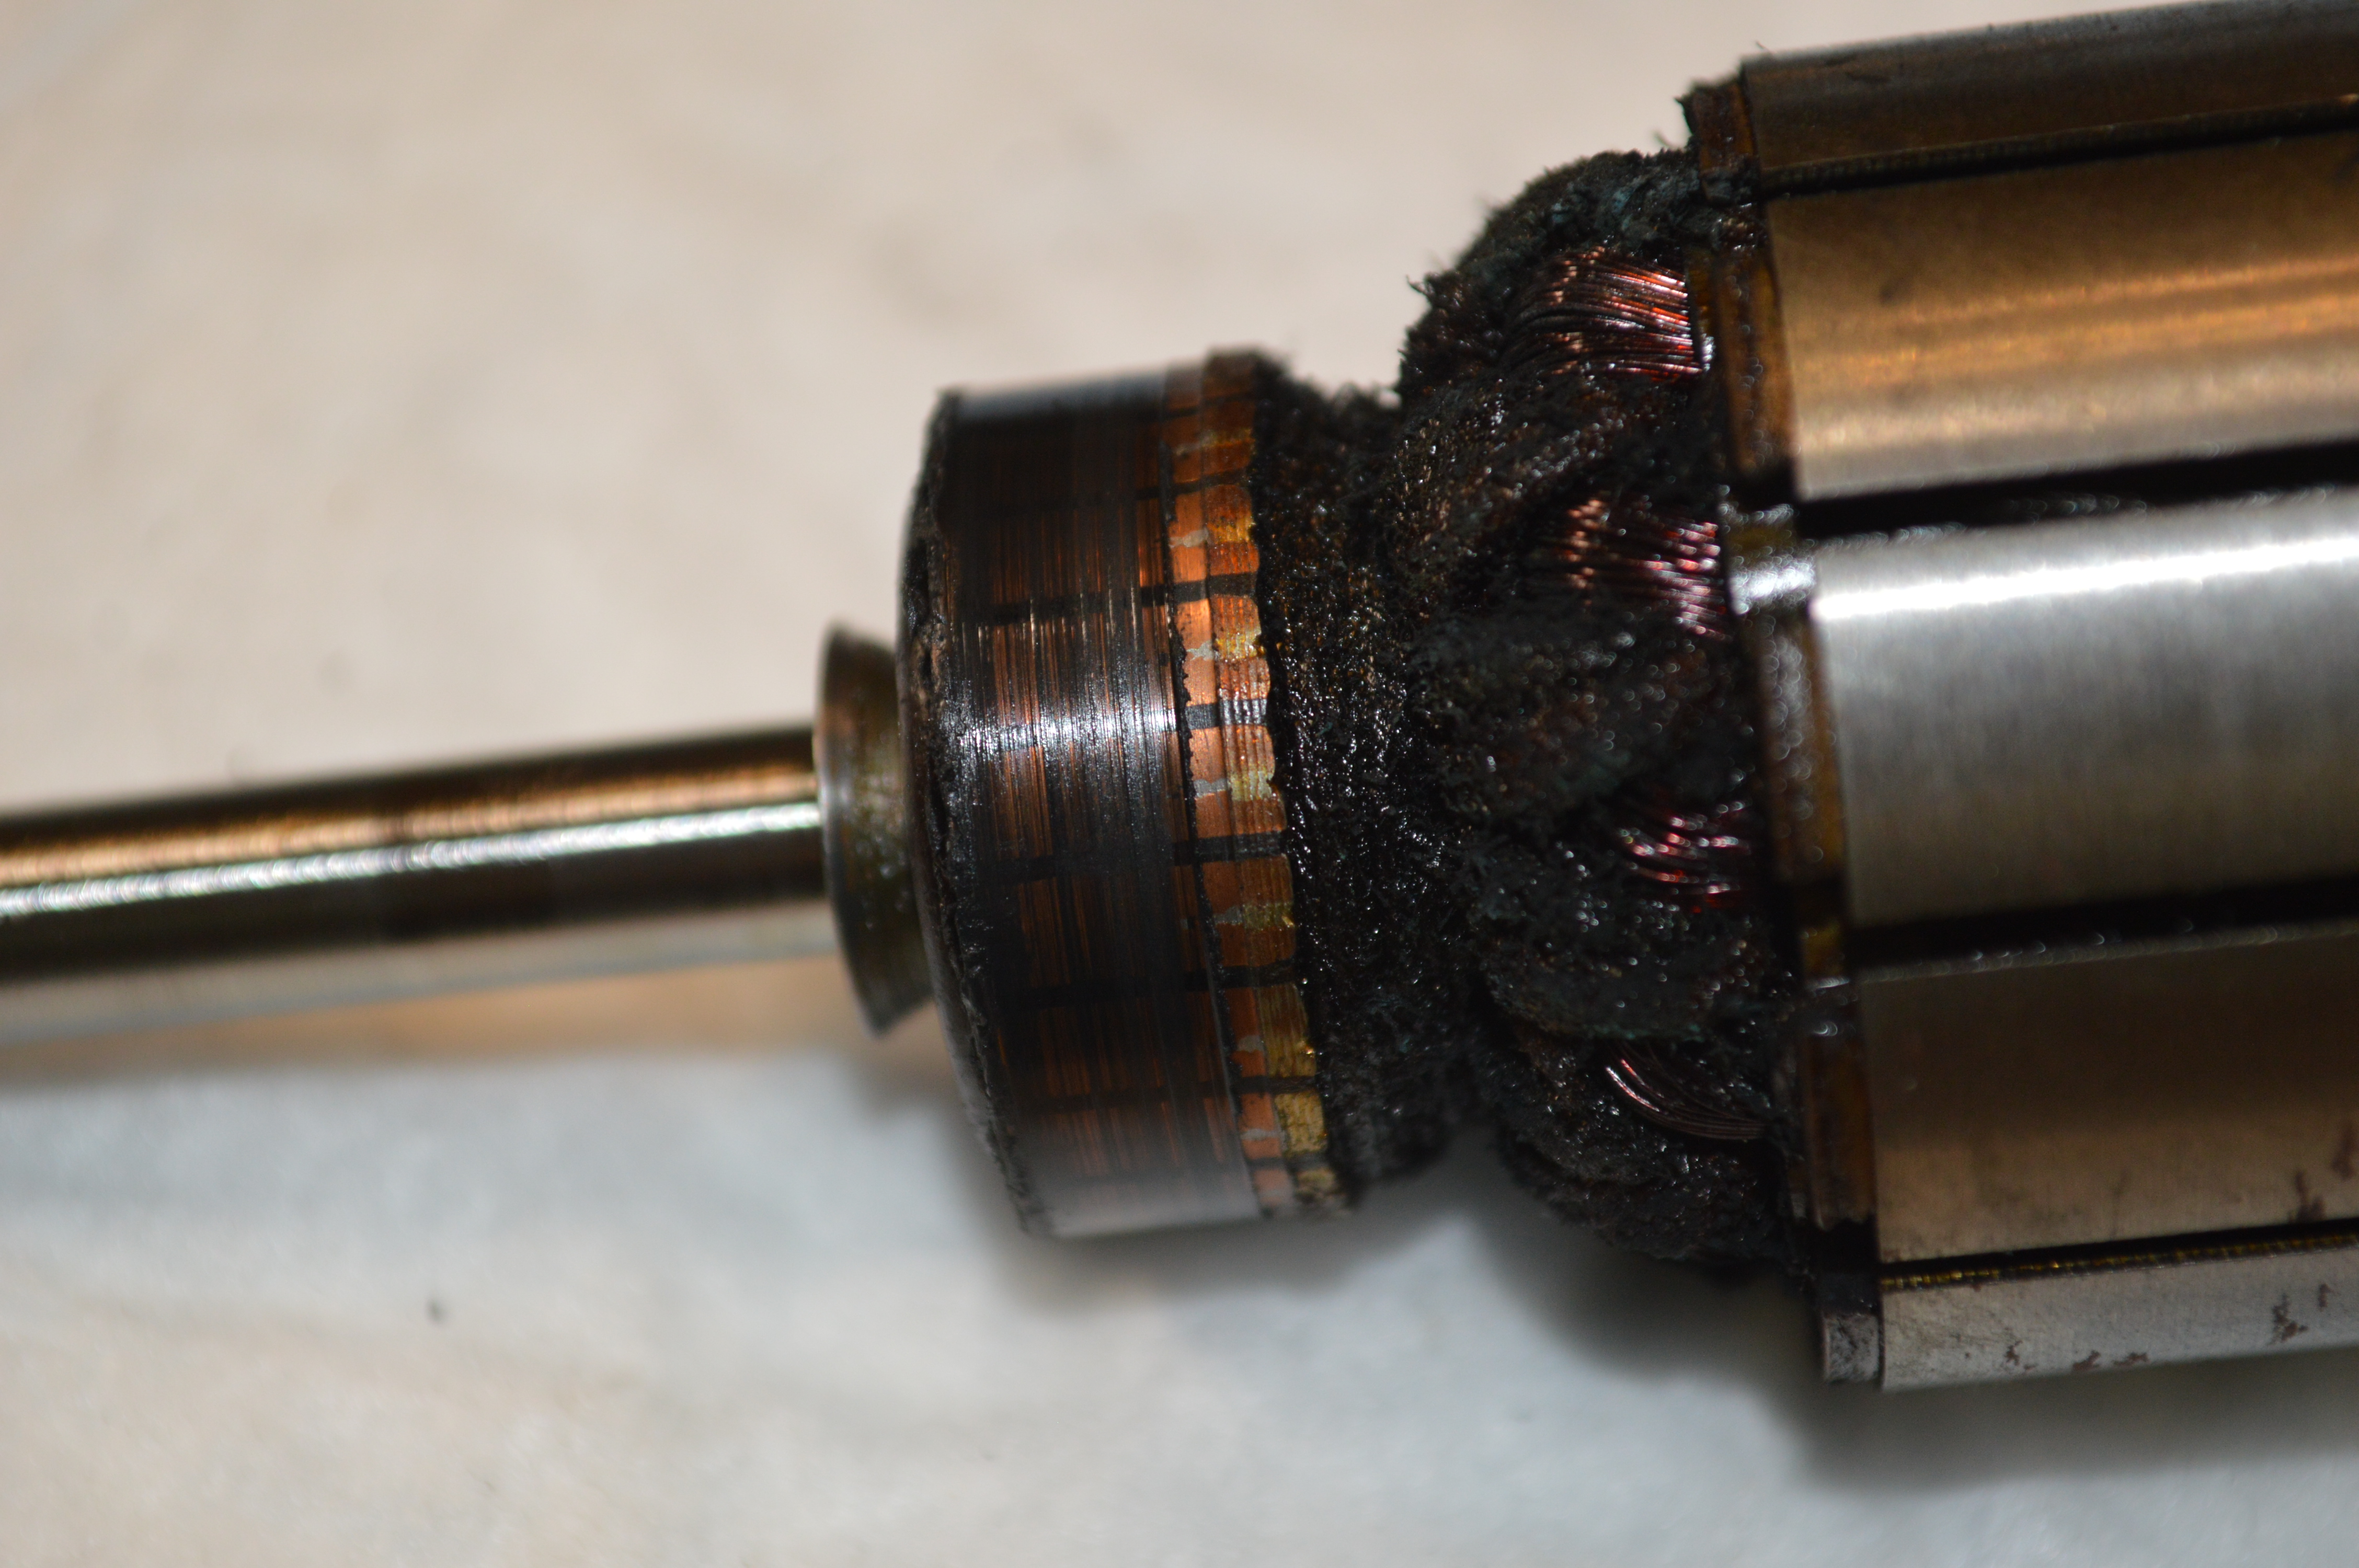
Before 
After
The stator coil (and the armature) is sprayed with an electronics component cleaning spray. All of the other parts are thoroughly cleaned, and the assembly begins.
The brush holders are reinstalled, and the stator wires are soldered to the brush holders. The primary wires are next, new wires are soldered to the stator wires, and heat shrink tubing is used to insulate the solder joint.

Shrink tubing 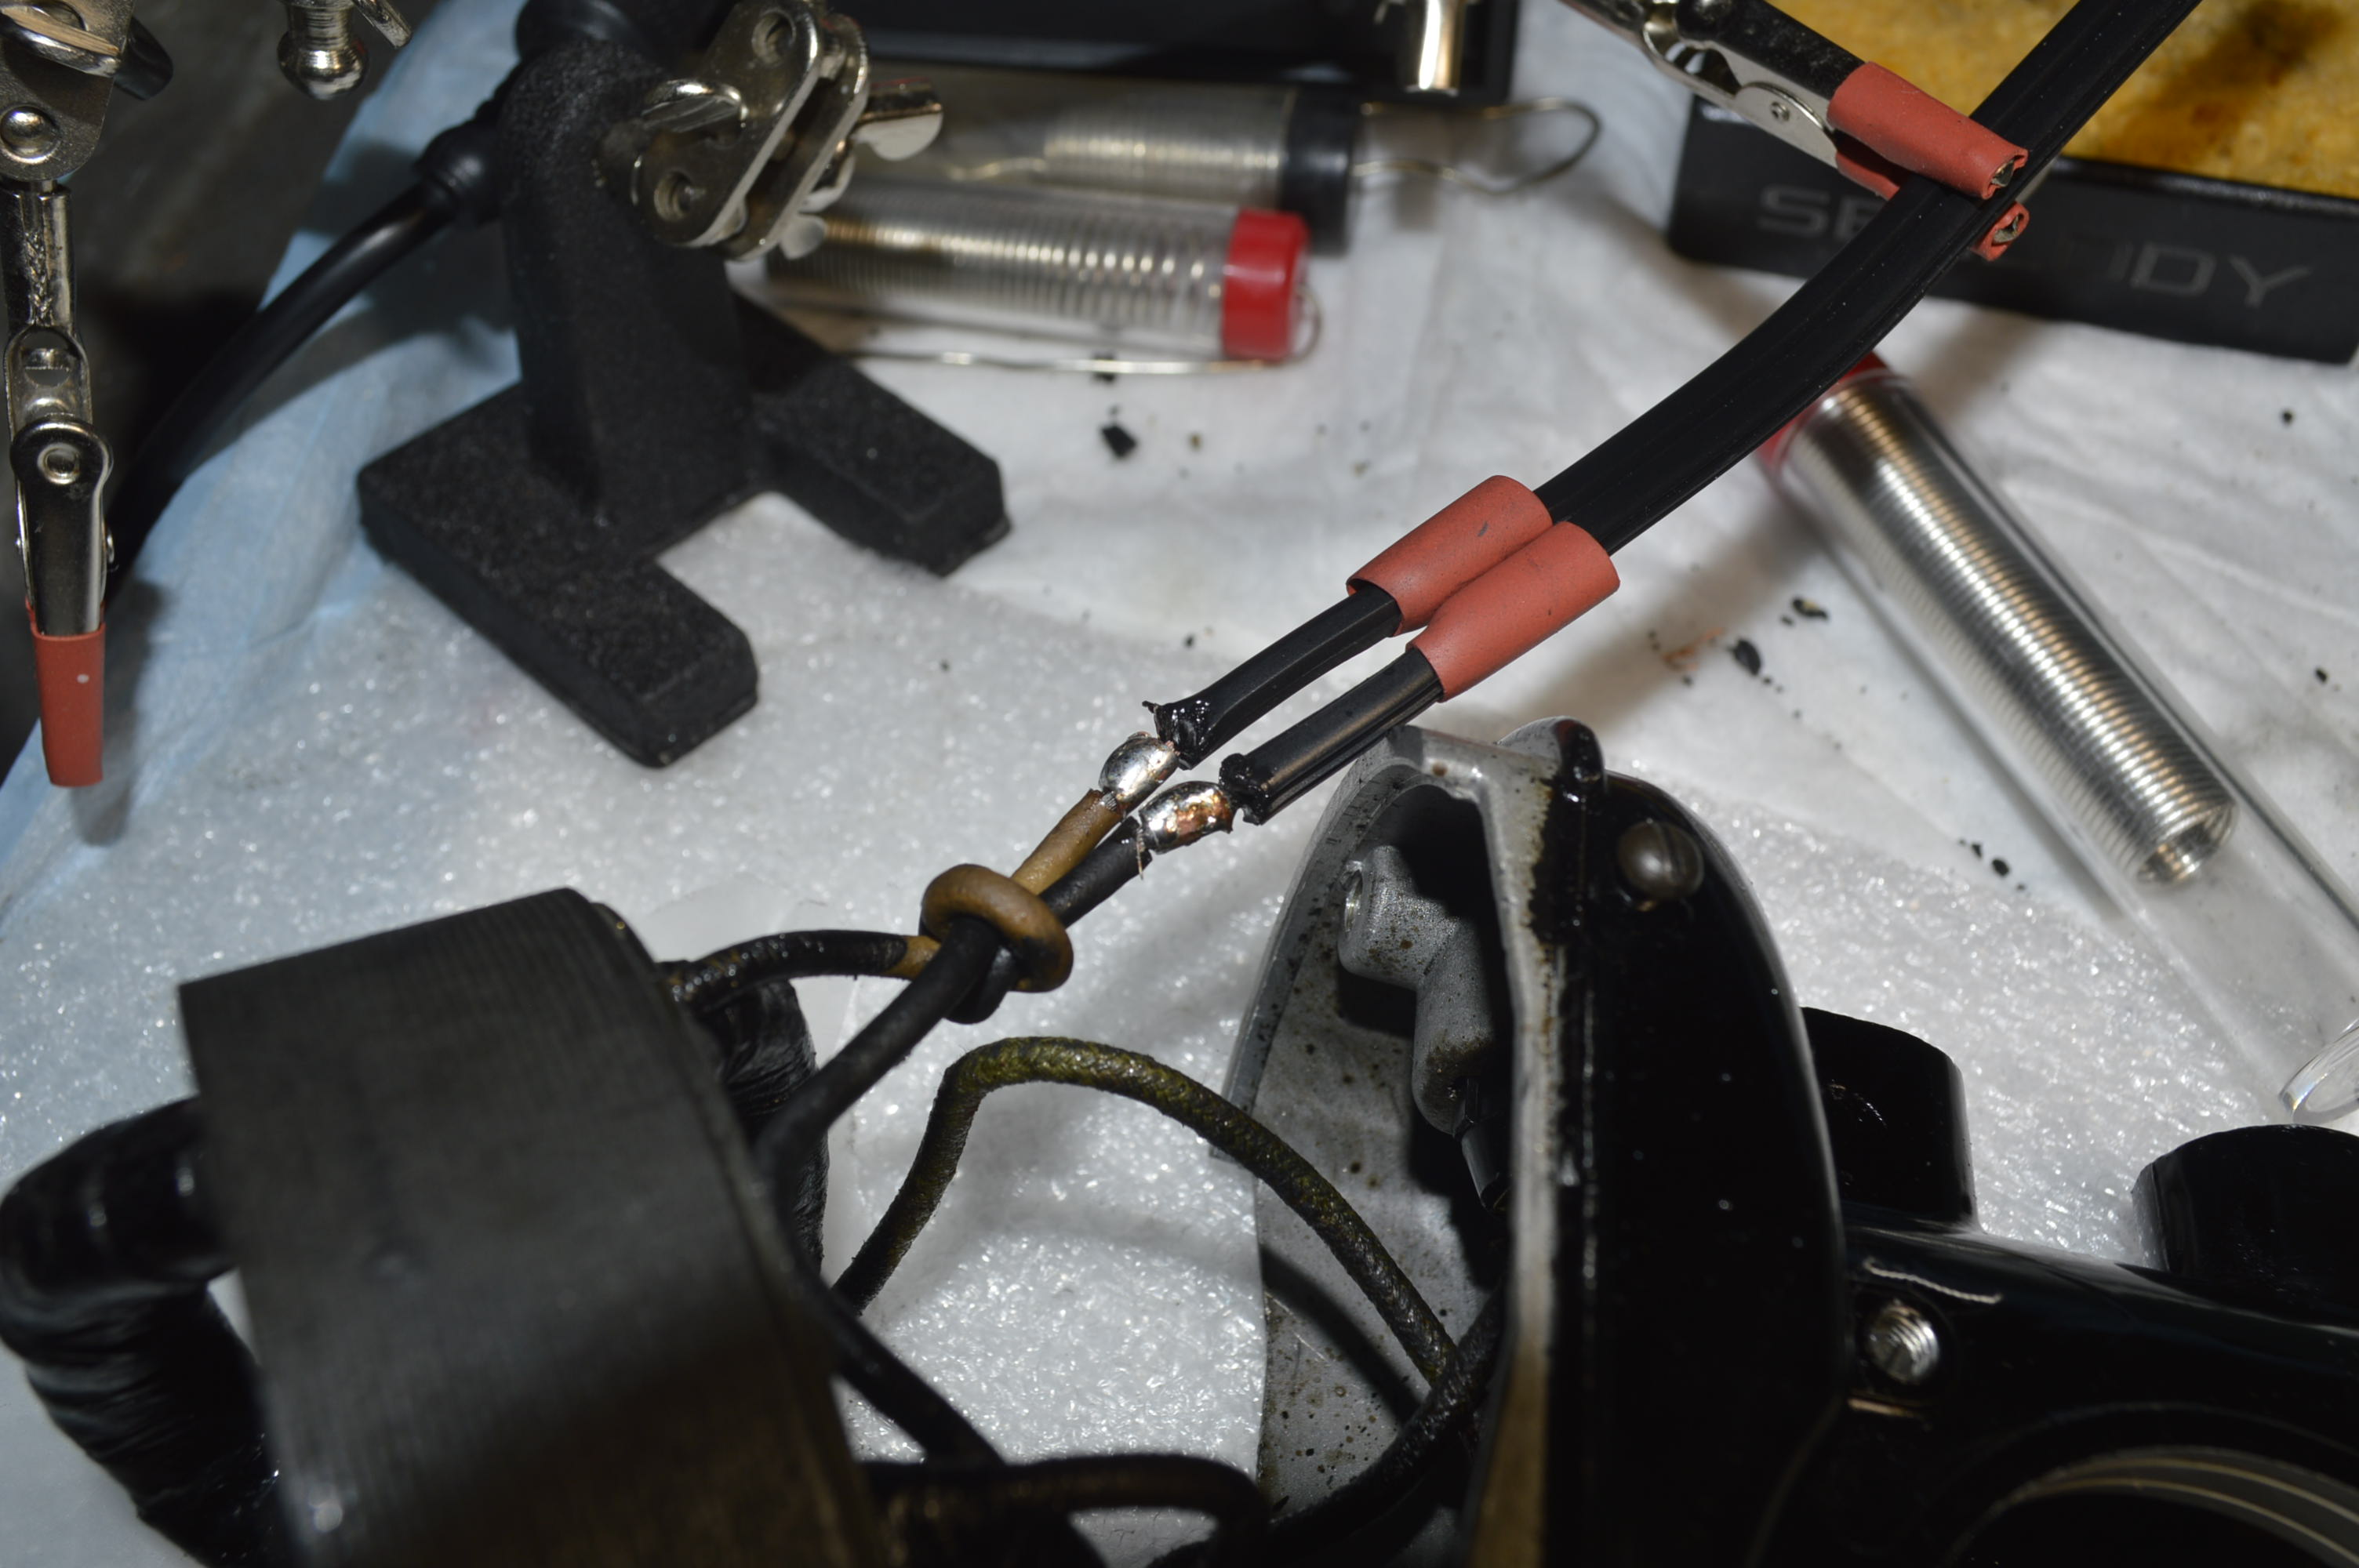
soldered 
Solder sleeves
For this connection, I use solder sleeves for a smooth strong joint.
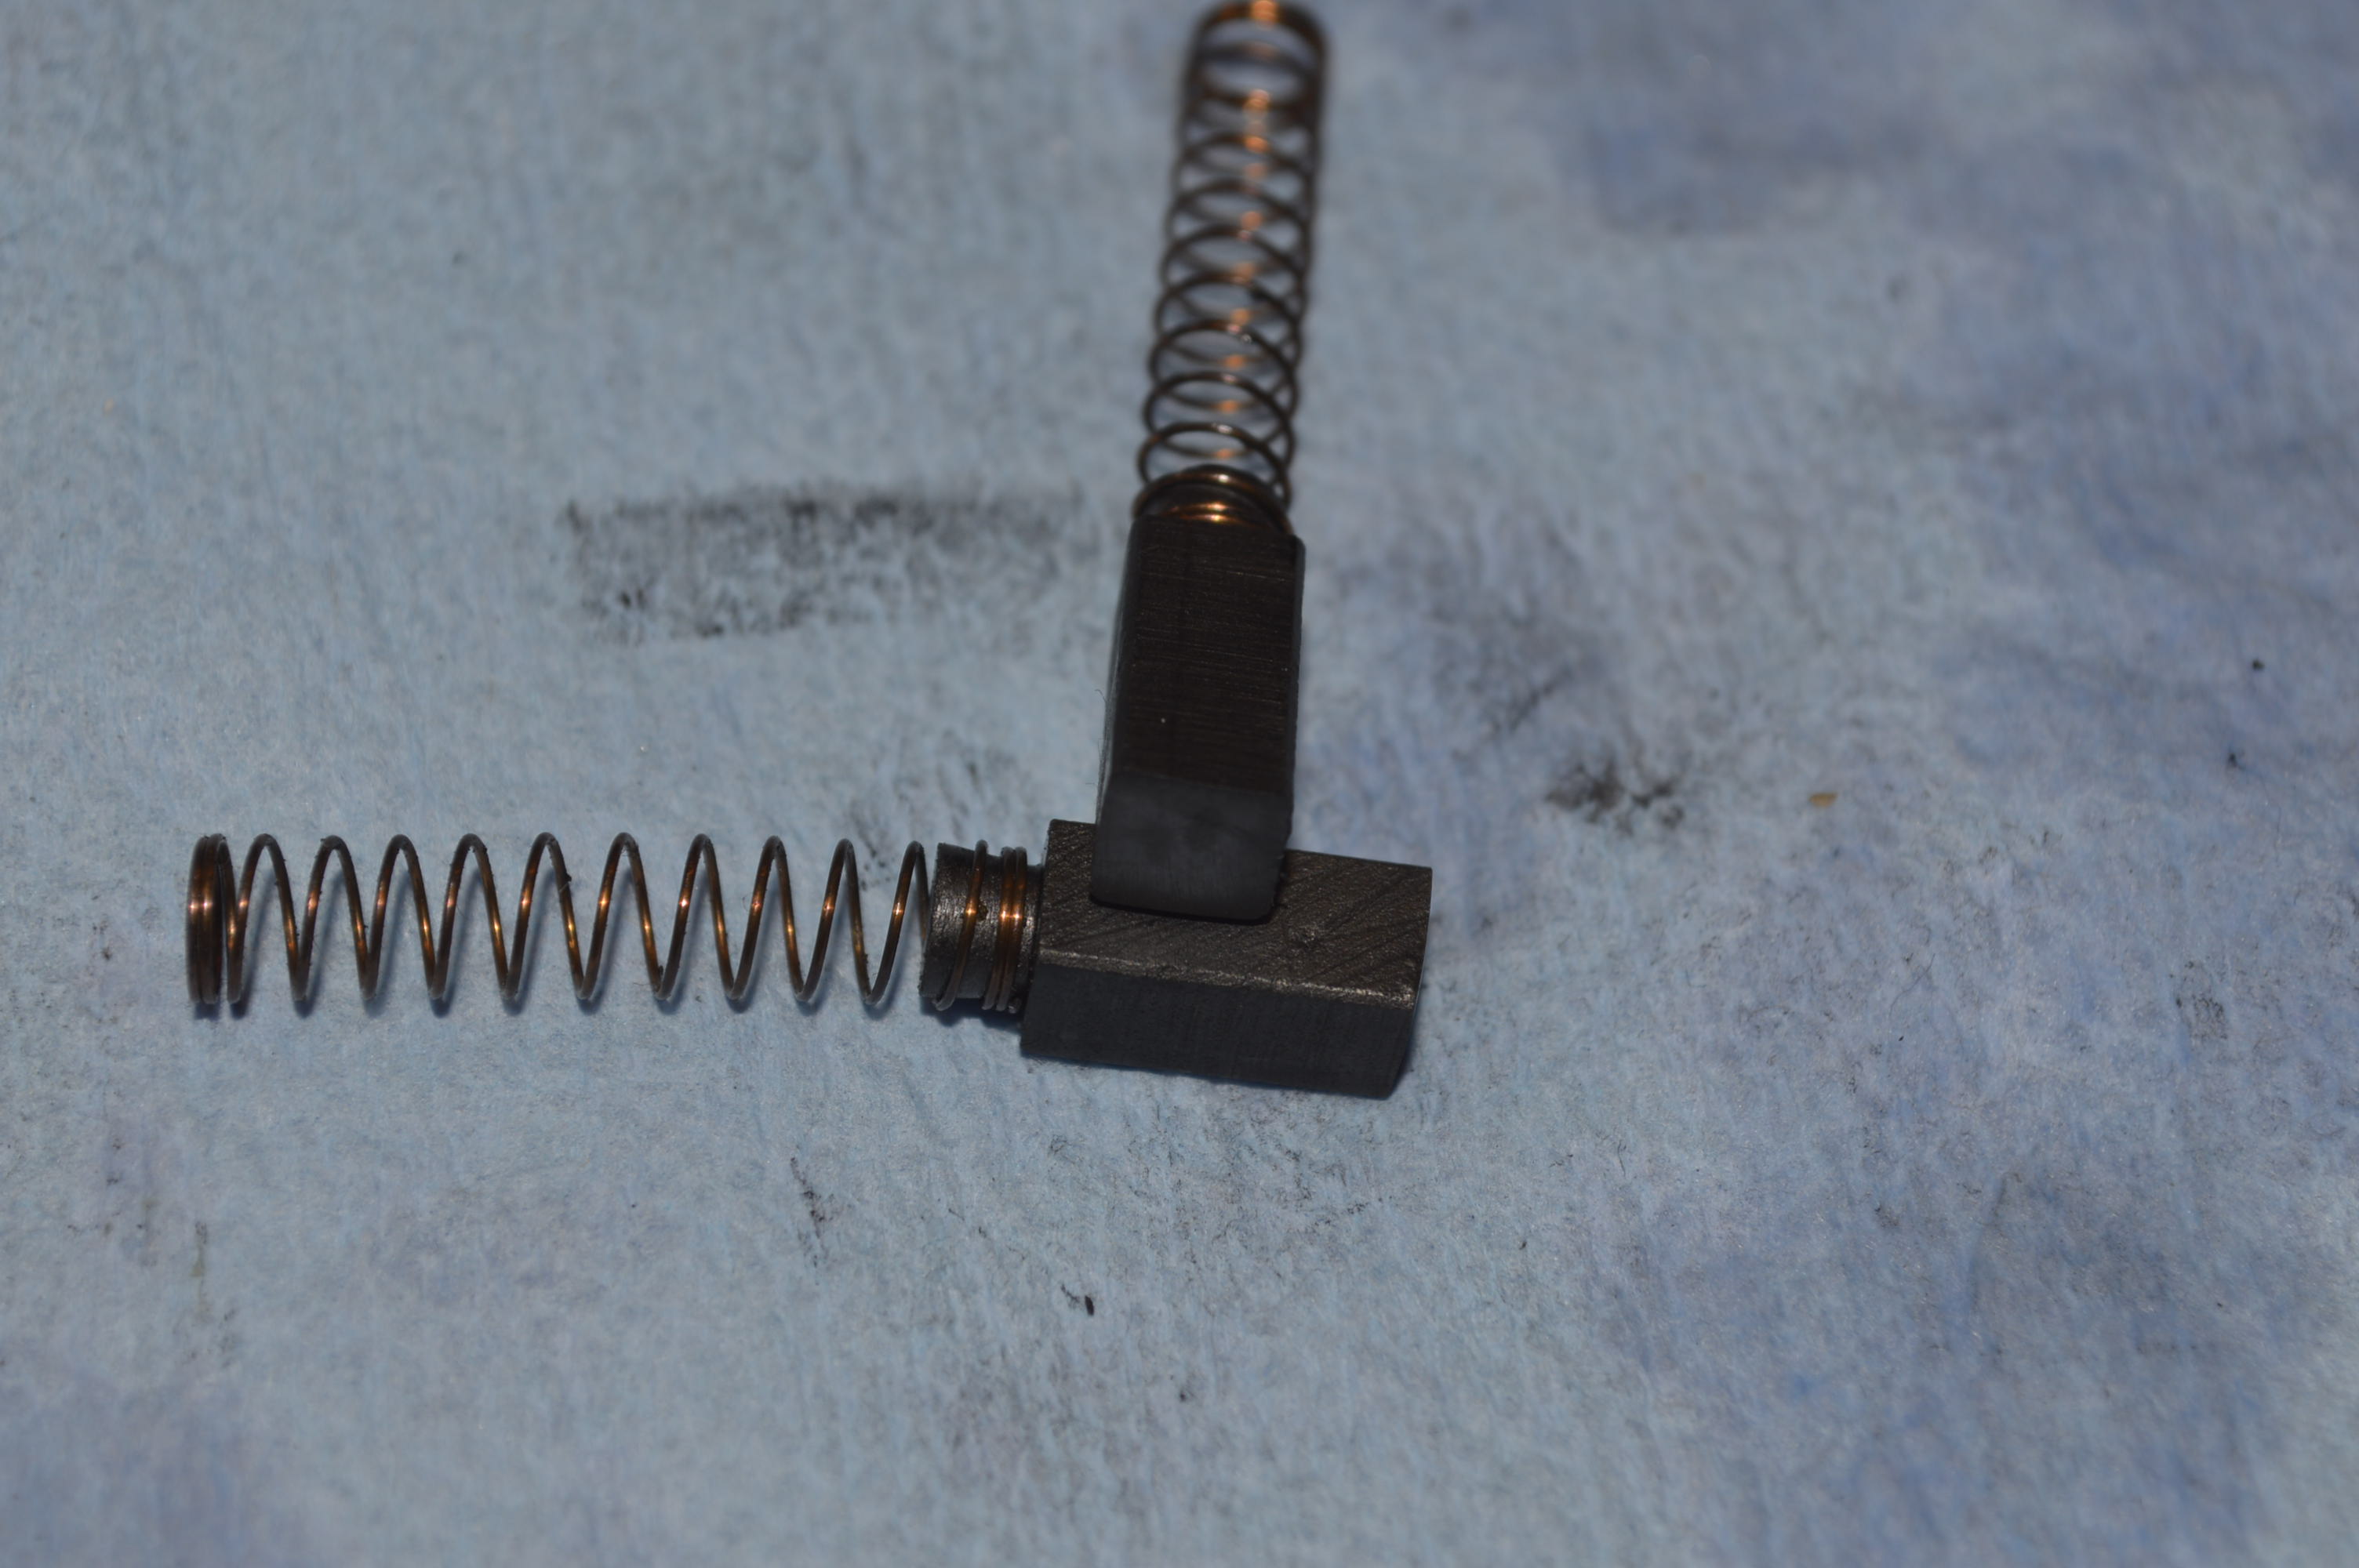
Now the motor brushes are reconditioned… they are still in good condition, but the brushes will be cleaned and then squared at the ends.
Before…

Cleaned…

And squared…
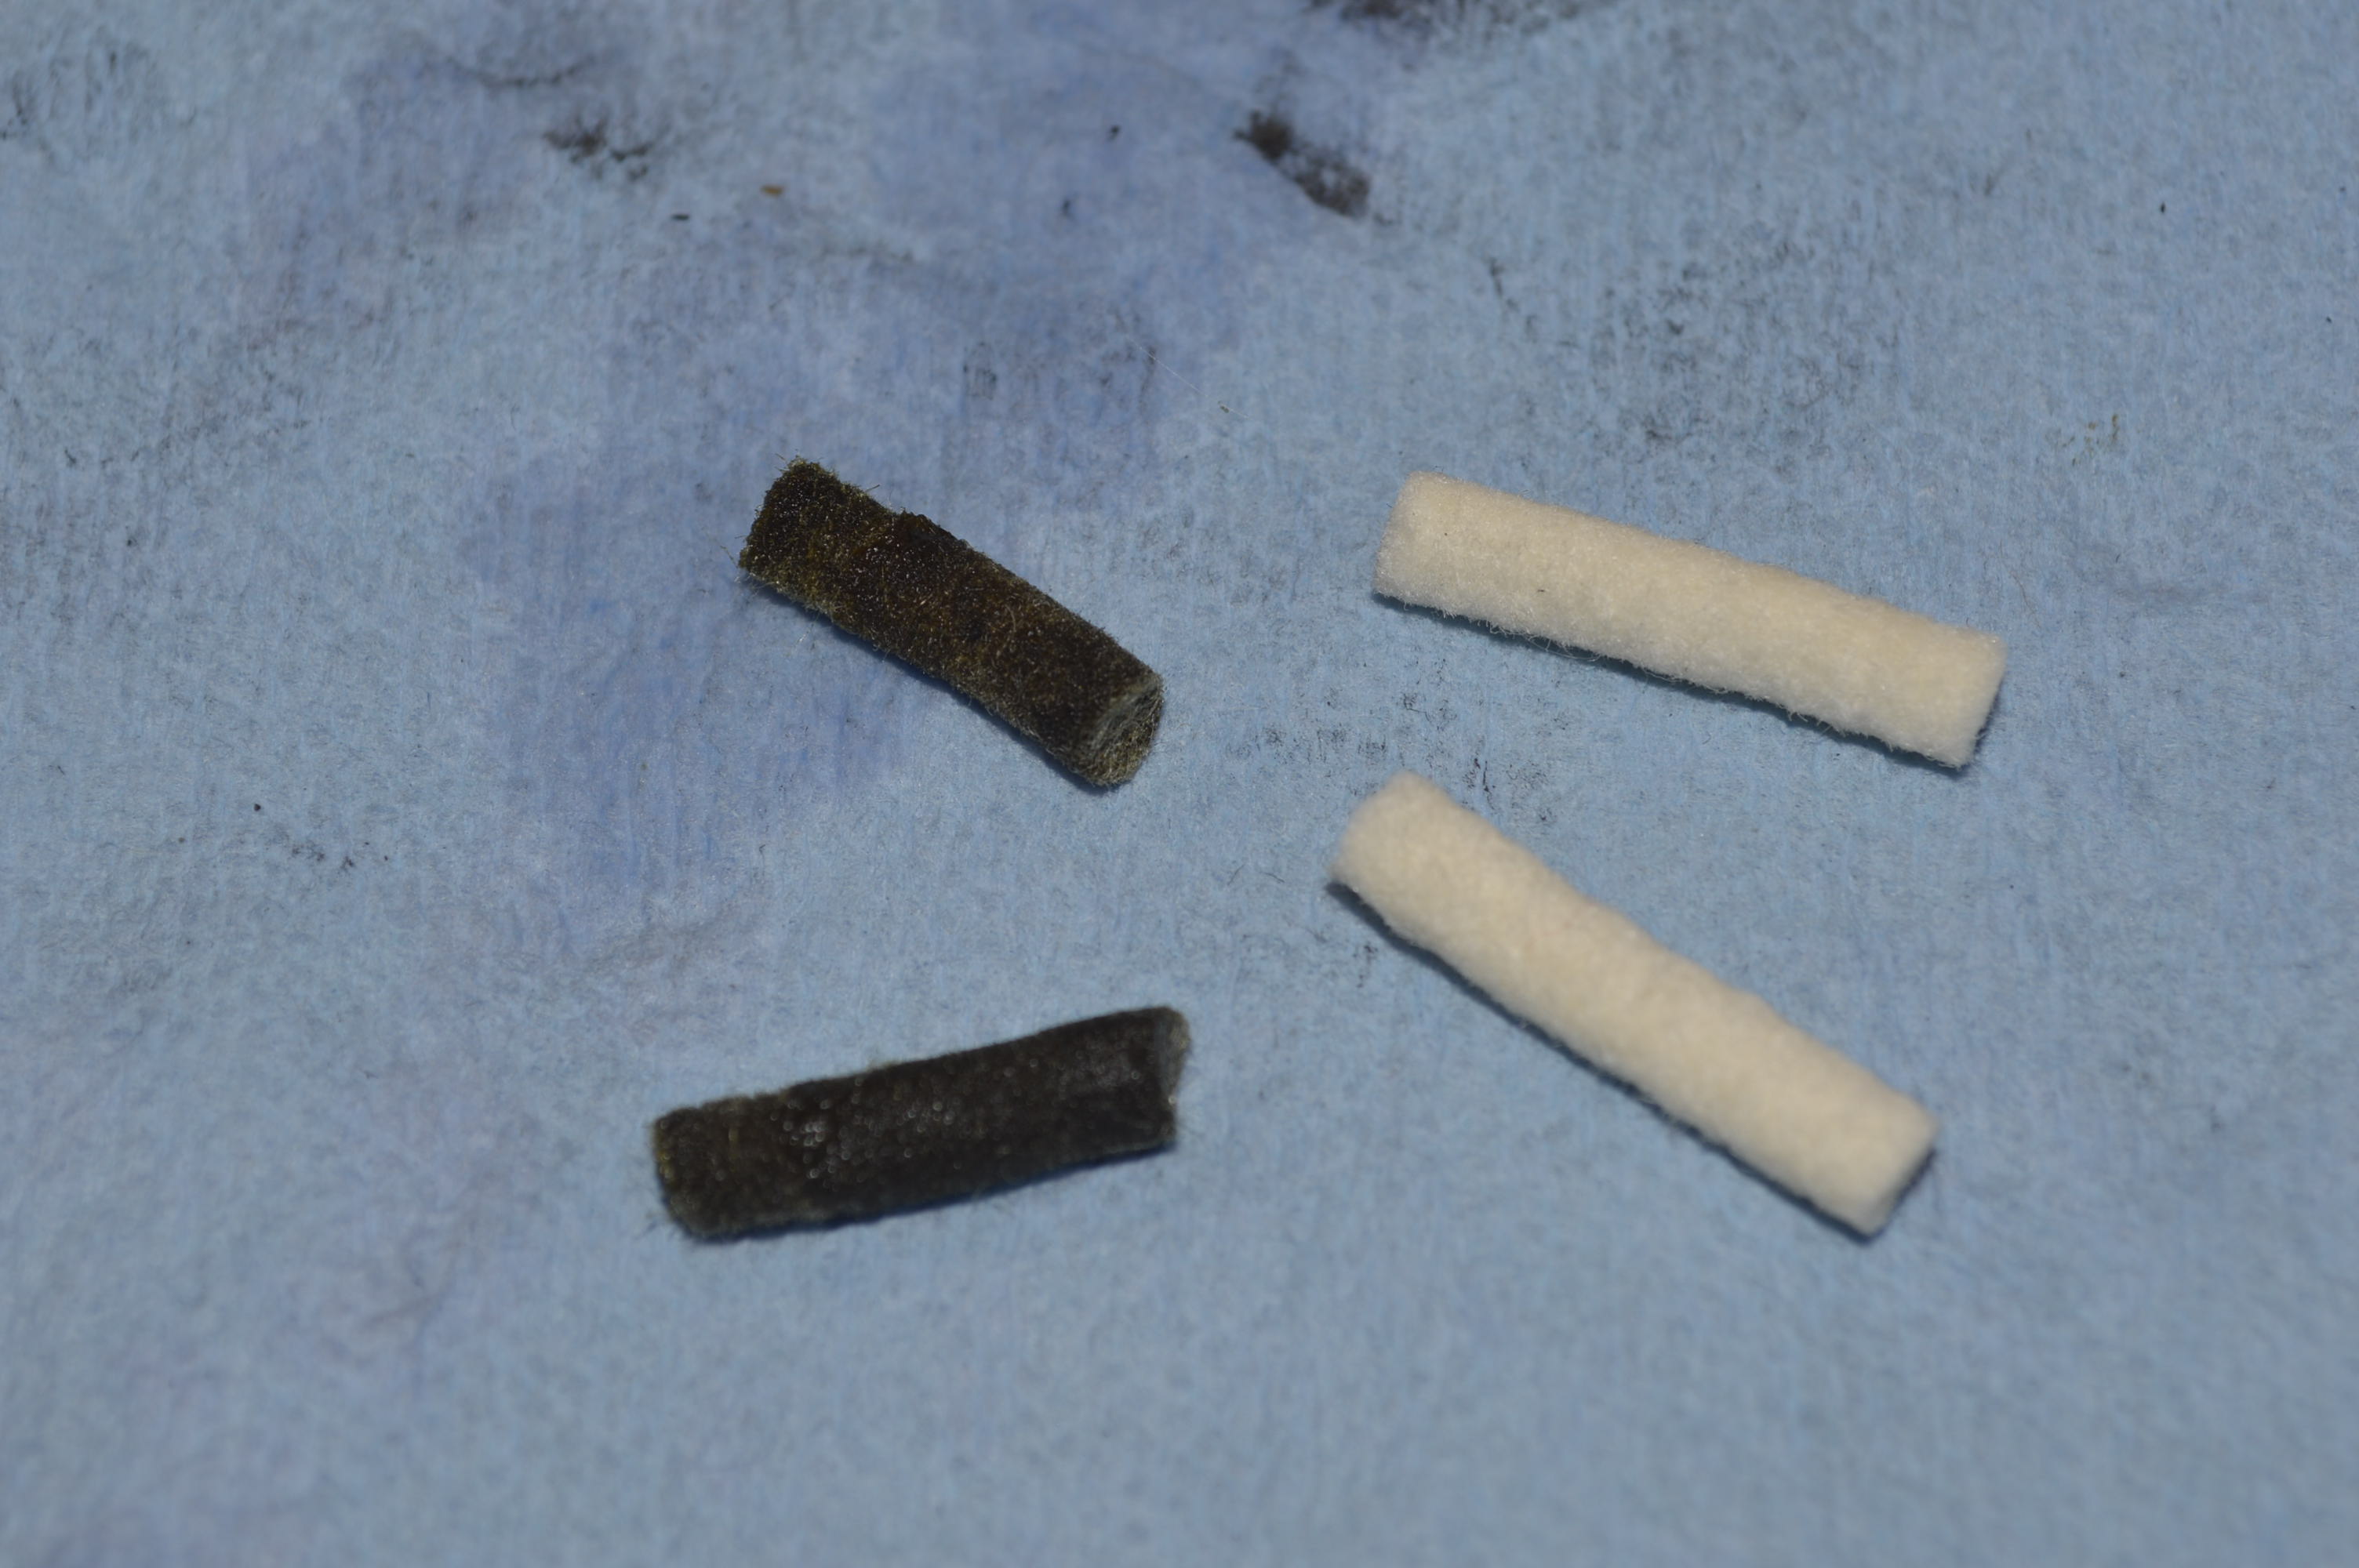
The grease wicks are replaced…
And the motor is reassembled, the wicks are lubricated with singer motor lube and the grease tubes are filled with singer motor lube as well.
The next step is cleaning the shock absorbing mechanism in the balance wheel. this is a pretty straight forward process. The balance wheel has a spring behind the gear and it is disassembled.
Before…
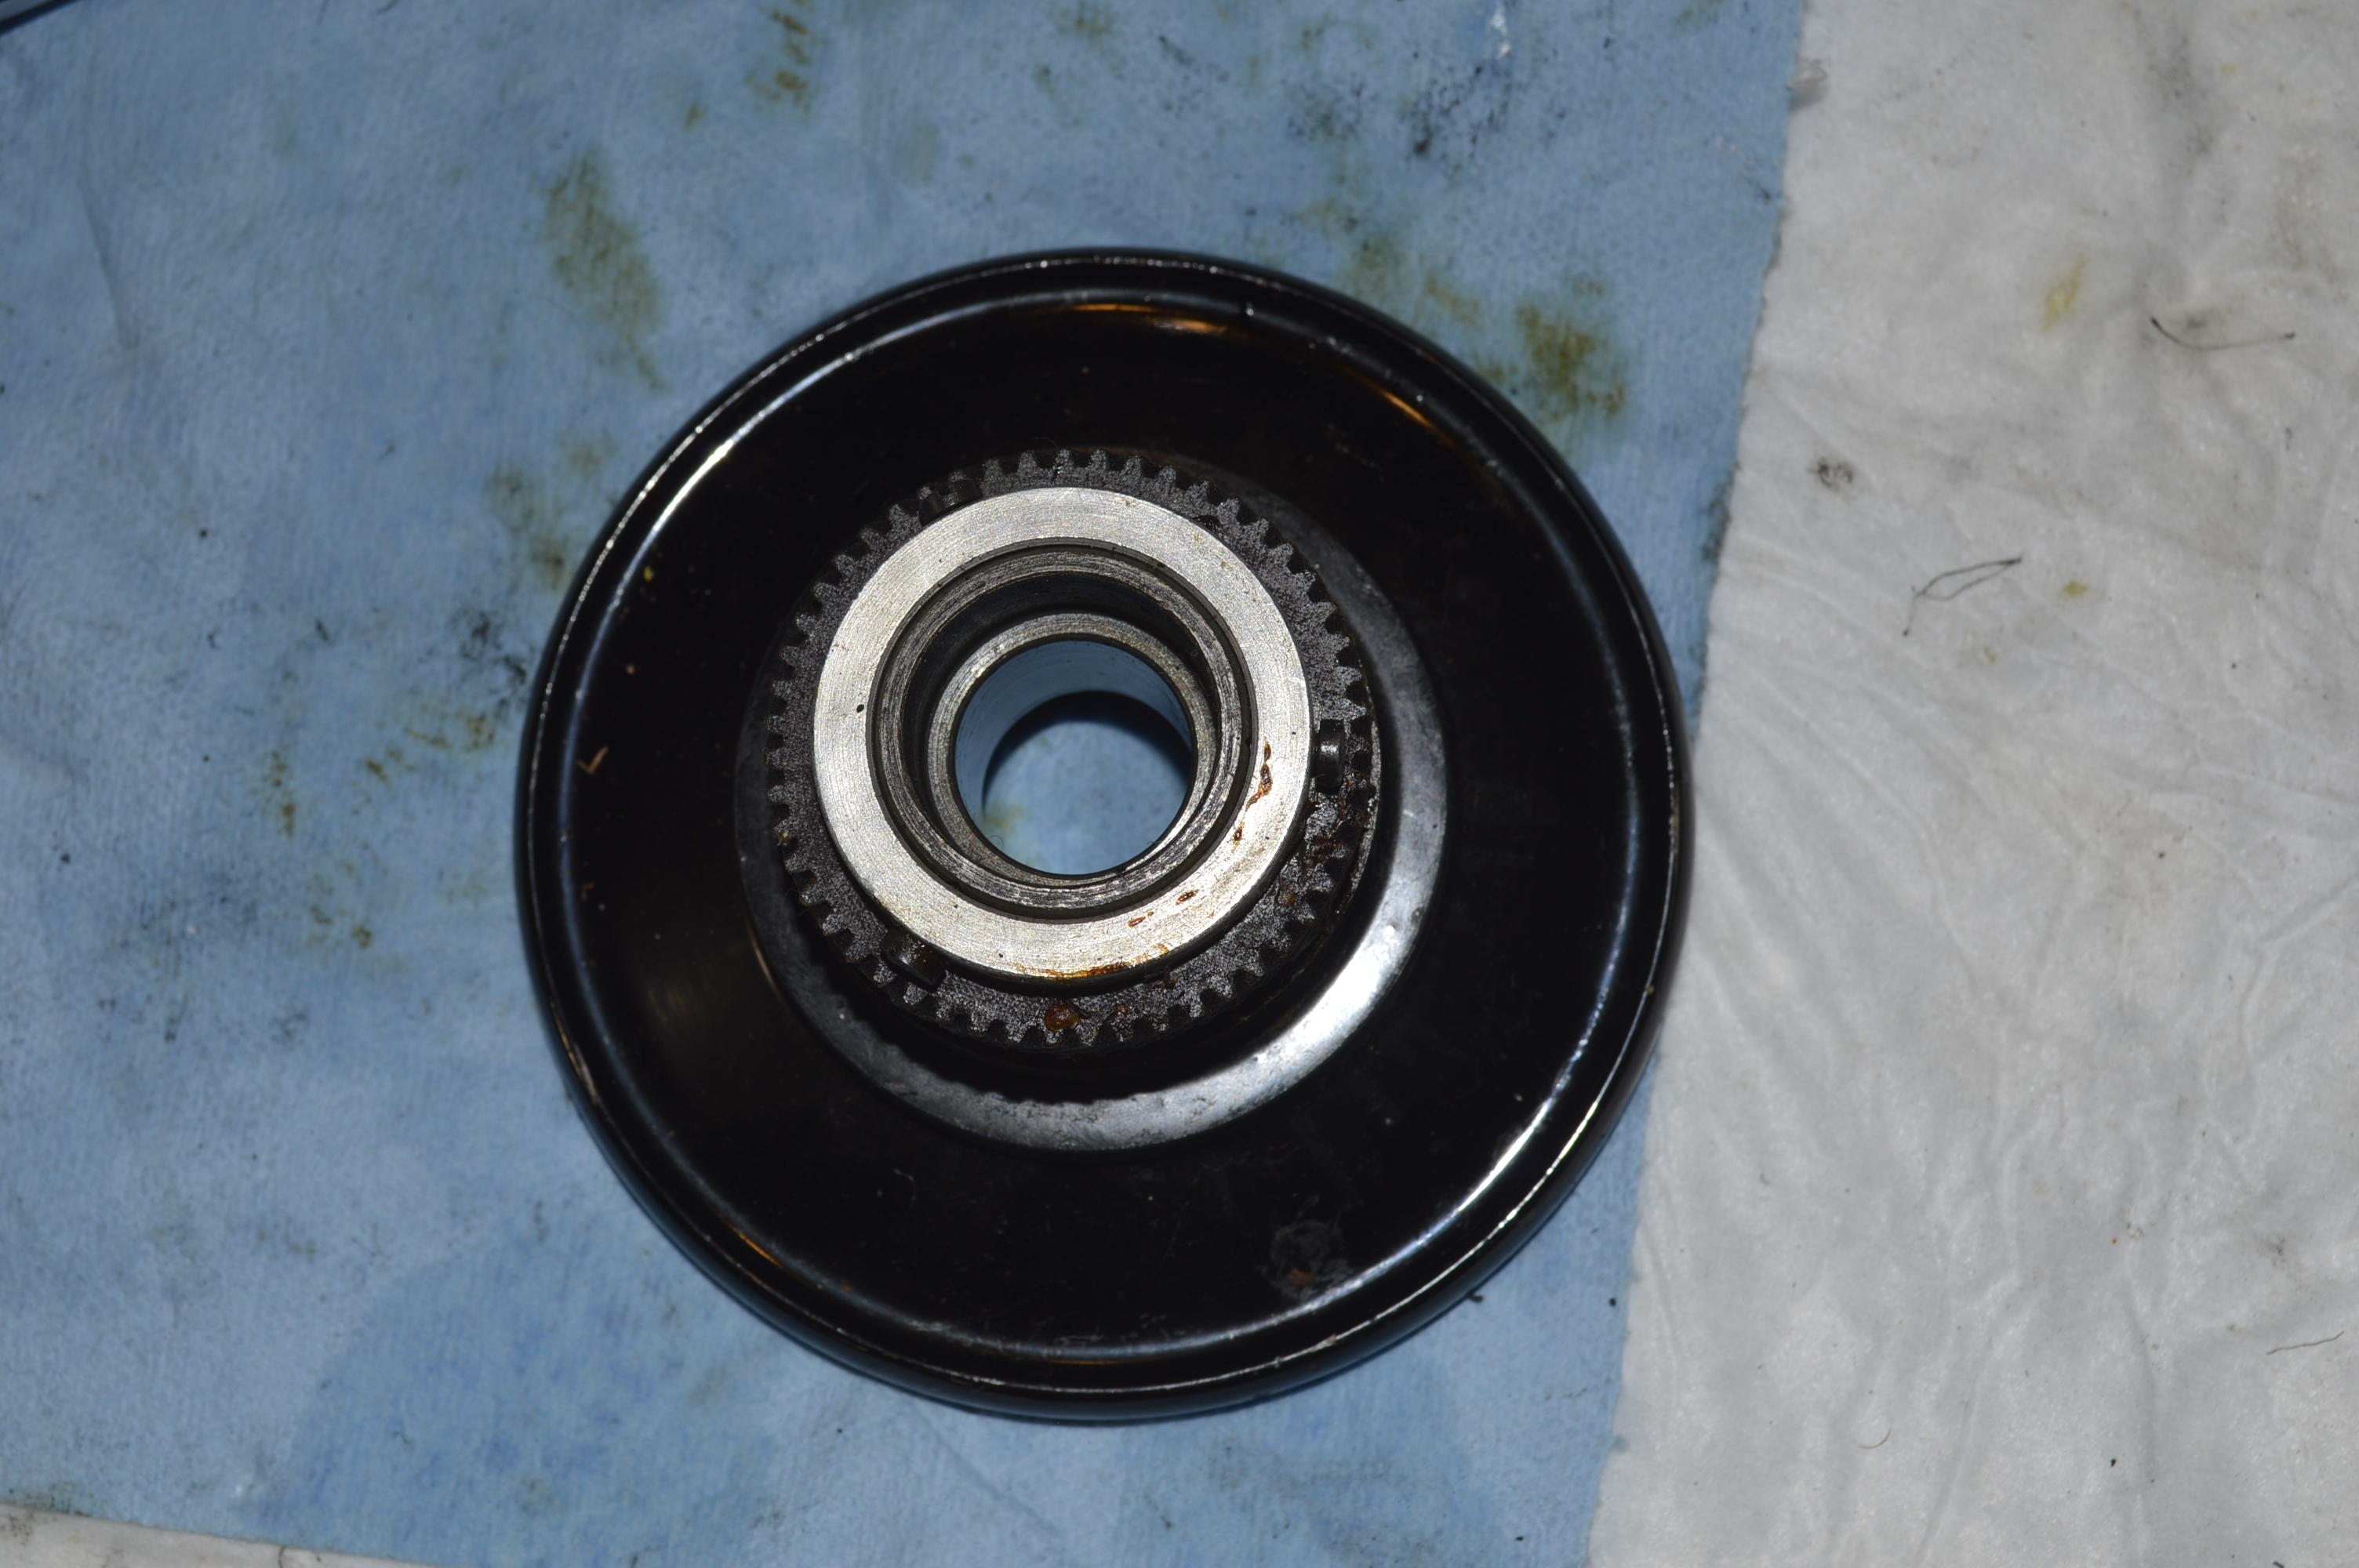
Before 
Disassembled for Cleaning…
After…

Cleaned 
Assembled
Similarly, the bobbin winding assembly is disassembled and cleaned… Please forgive my lack of pictures… they were lost!
Next comes assembly of the sewing head. The parts are laid out for ultrasonic cleaning.


After cleaning these parts, all of the old oil and varnish is gone. Unfortunately I lost the pictures of the cleaned parts as well, but the results are the same as the bottom parts. But, the needle bar and presser foot bar are taken another step and are polished.


The head is reassembled. The needle bar is adjusted, but the presser bar will be adjusted after the needle plate cover is back on the machine.


At this stage, all of the adjustments to the sewing mechanisms are made, these include the feed dog height, feed dog clearance side to side and front to back, the rocker assemblies are set and everything tightened.
Next comes the polishing. The whole purpose of reconditioning is to perform mechanical reconditioning to make the machine sew like it did when it was new, and to bring the original finish to the best condition possible. In other words, you still have an original machine. This means that regardless of how much work you do, or how much you want to make your machine look like new, it is not a reasonable expectation. The best you can do is make your machine look as good as it can. We only select machines in great cosmetic condition to start with. This will assure a beautiful finished reconditioned sewing machine in the end. Even then, all machines of this vintage will have some cosmetic defects… some scratches, some chips, some crazing… some something.
This machine has a great finish to start with, but the final polishing will bring out the best it can be. I have found that to realize this result, it actually takes two applications of glaze polish. The first is with a product called TR3, which is a show car glaze polish. This will bring out a beautiful deep shine in the black lacquer paint. The second application is with a product called Meguire’s Mirror Glaze. I have found that the Mequire’s is a finer cut polish, and when it is applied over the already fine polished finish achieved with the TR3, it really brings out the depth of the finish.


Tip of the Day… (yep, its a different day)… When polishing your beautiful black lacquered vintage Singer, Work on a small area at a time, use cotton balls, and a back and forth rubbing motion with the glaze polish. Change cotton balls frequently but don’t change direction… expect to use a LOT of cotton balls. Then, follow up with cotton rounds to remove the glaze left by the polish. Cotton rounds are easier to hold onto and buff a wider area than cotton balls.
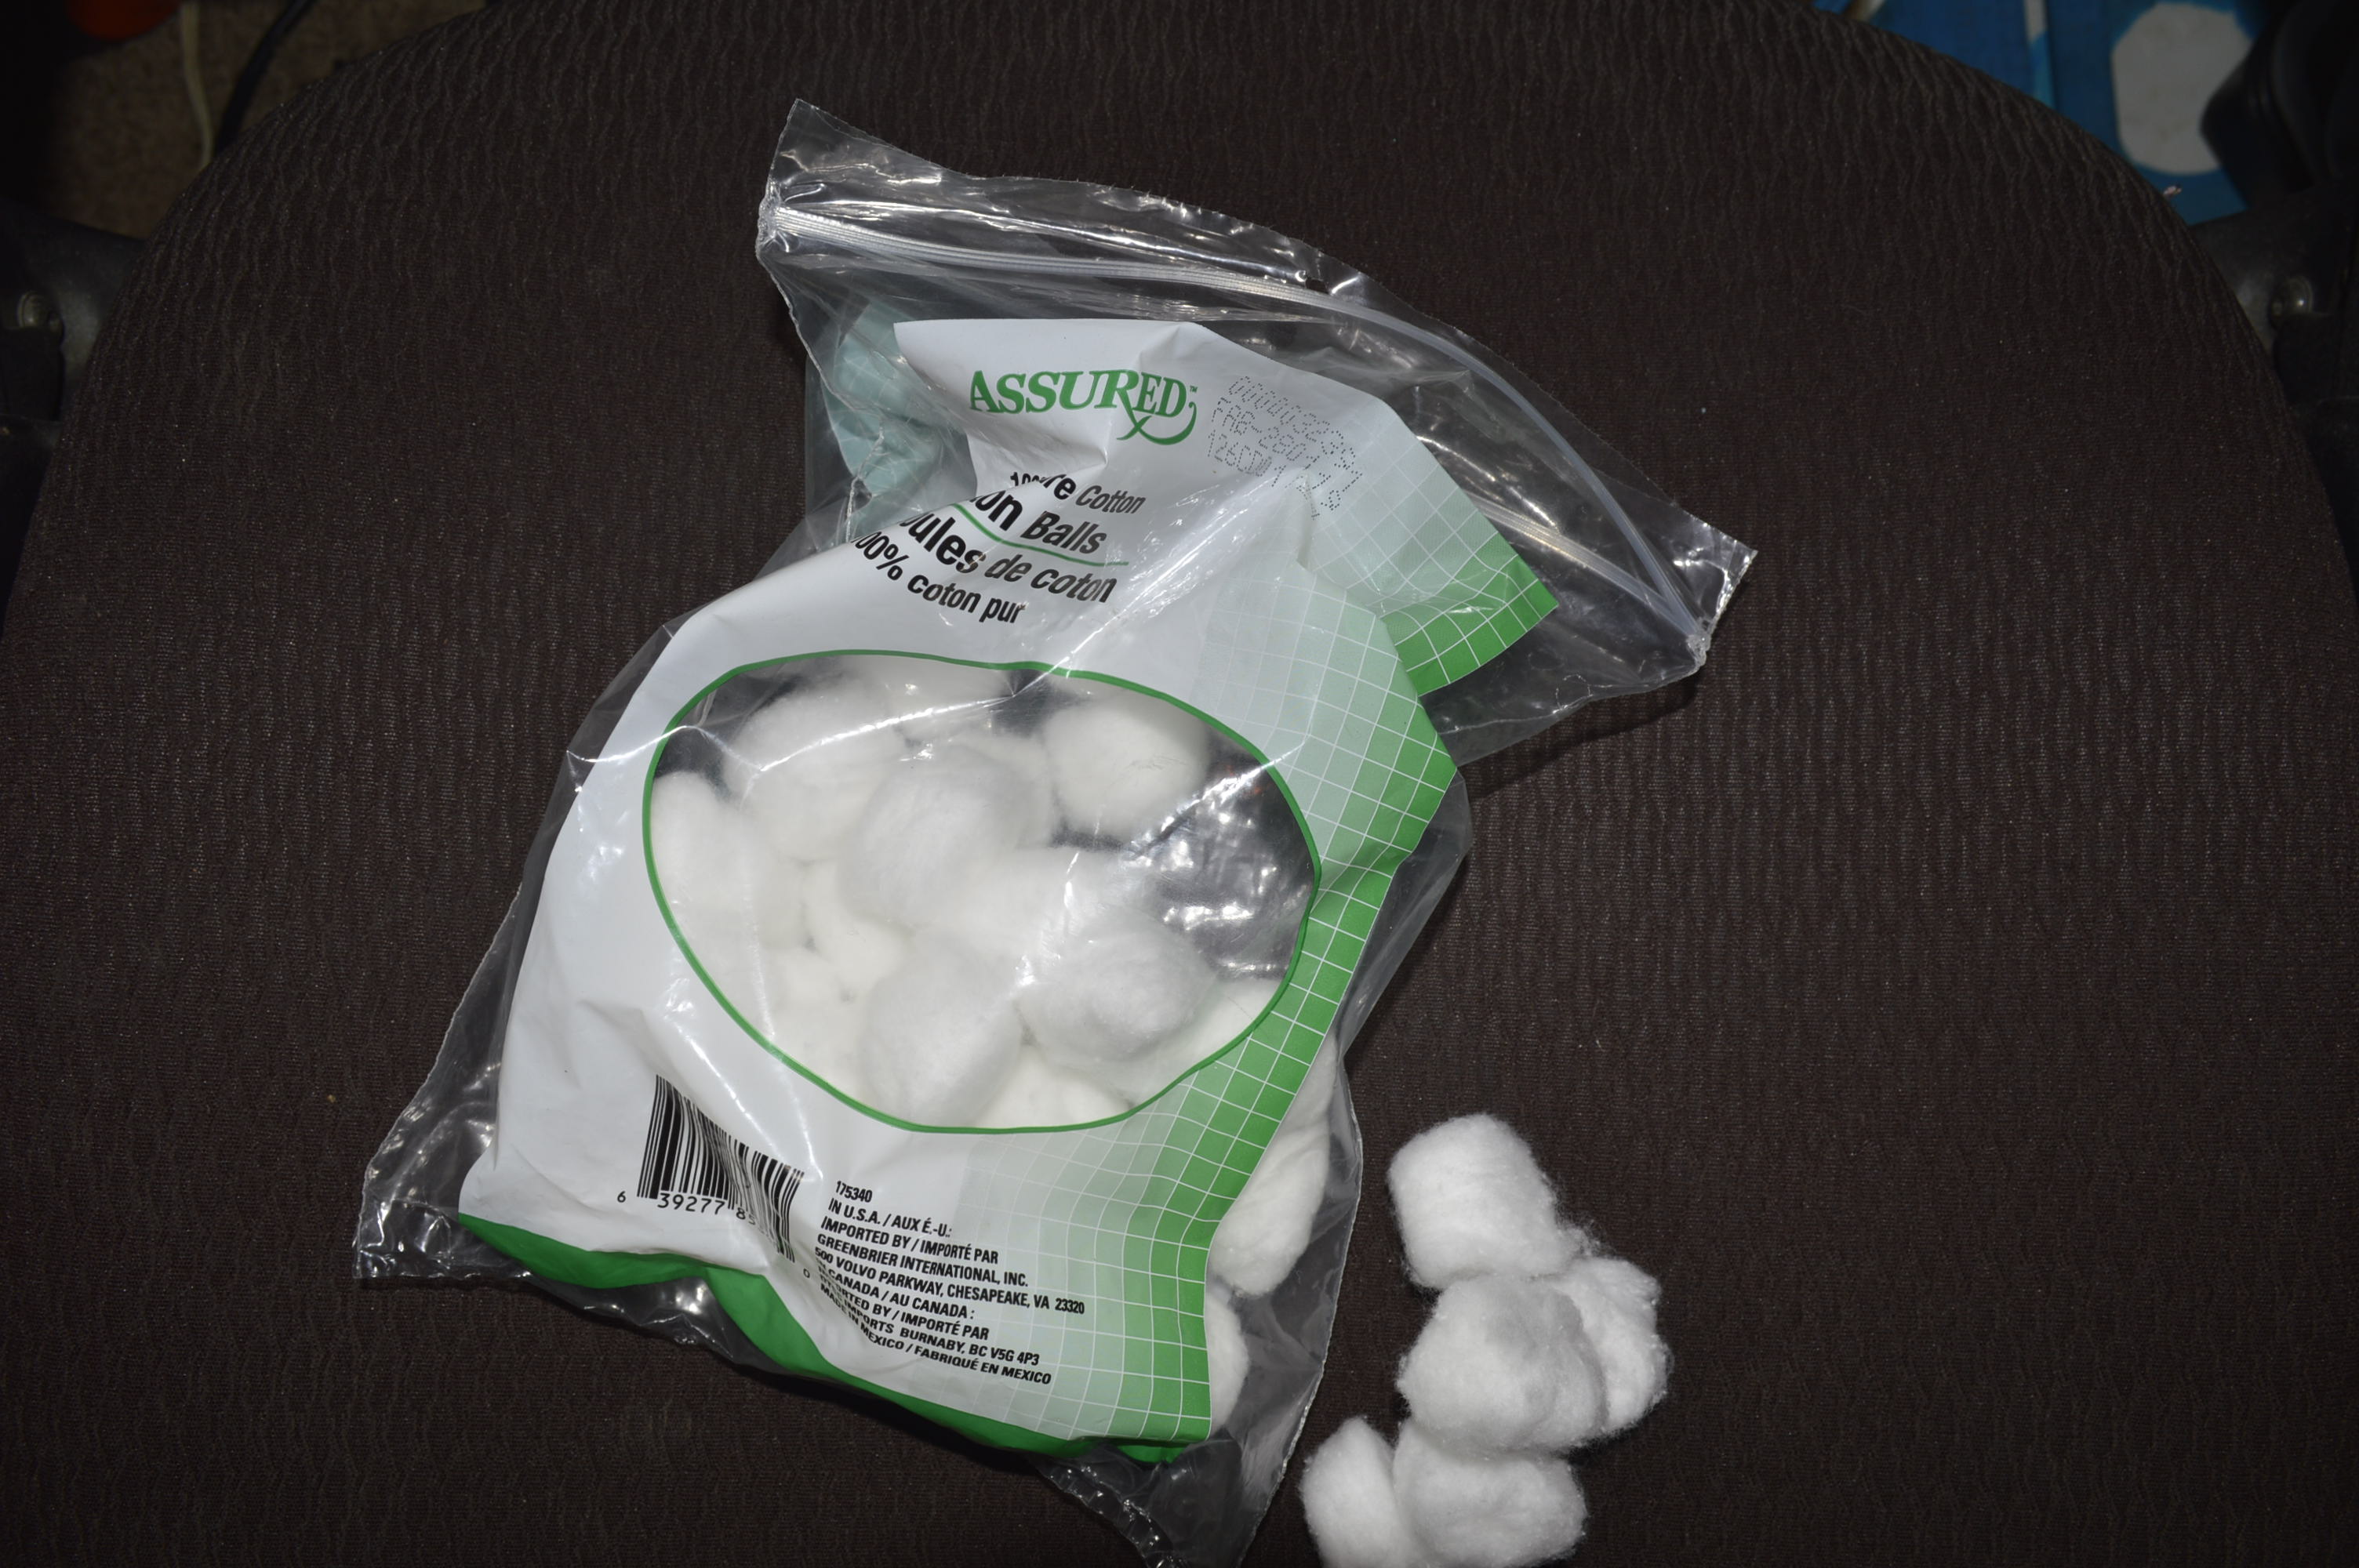
Come on… You know this is a cotton Ball! 
Cotton Rounds
Did you notice the green hue in one of the pictures? The camera flash picked this up and it tells me the machine is CLEAN.
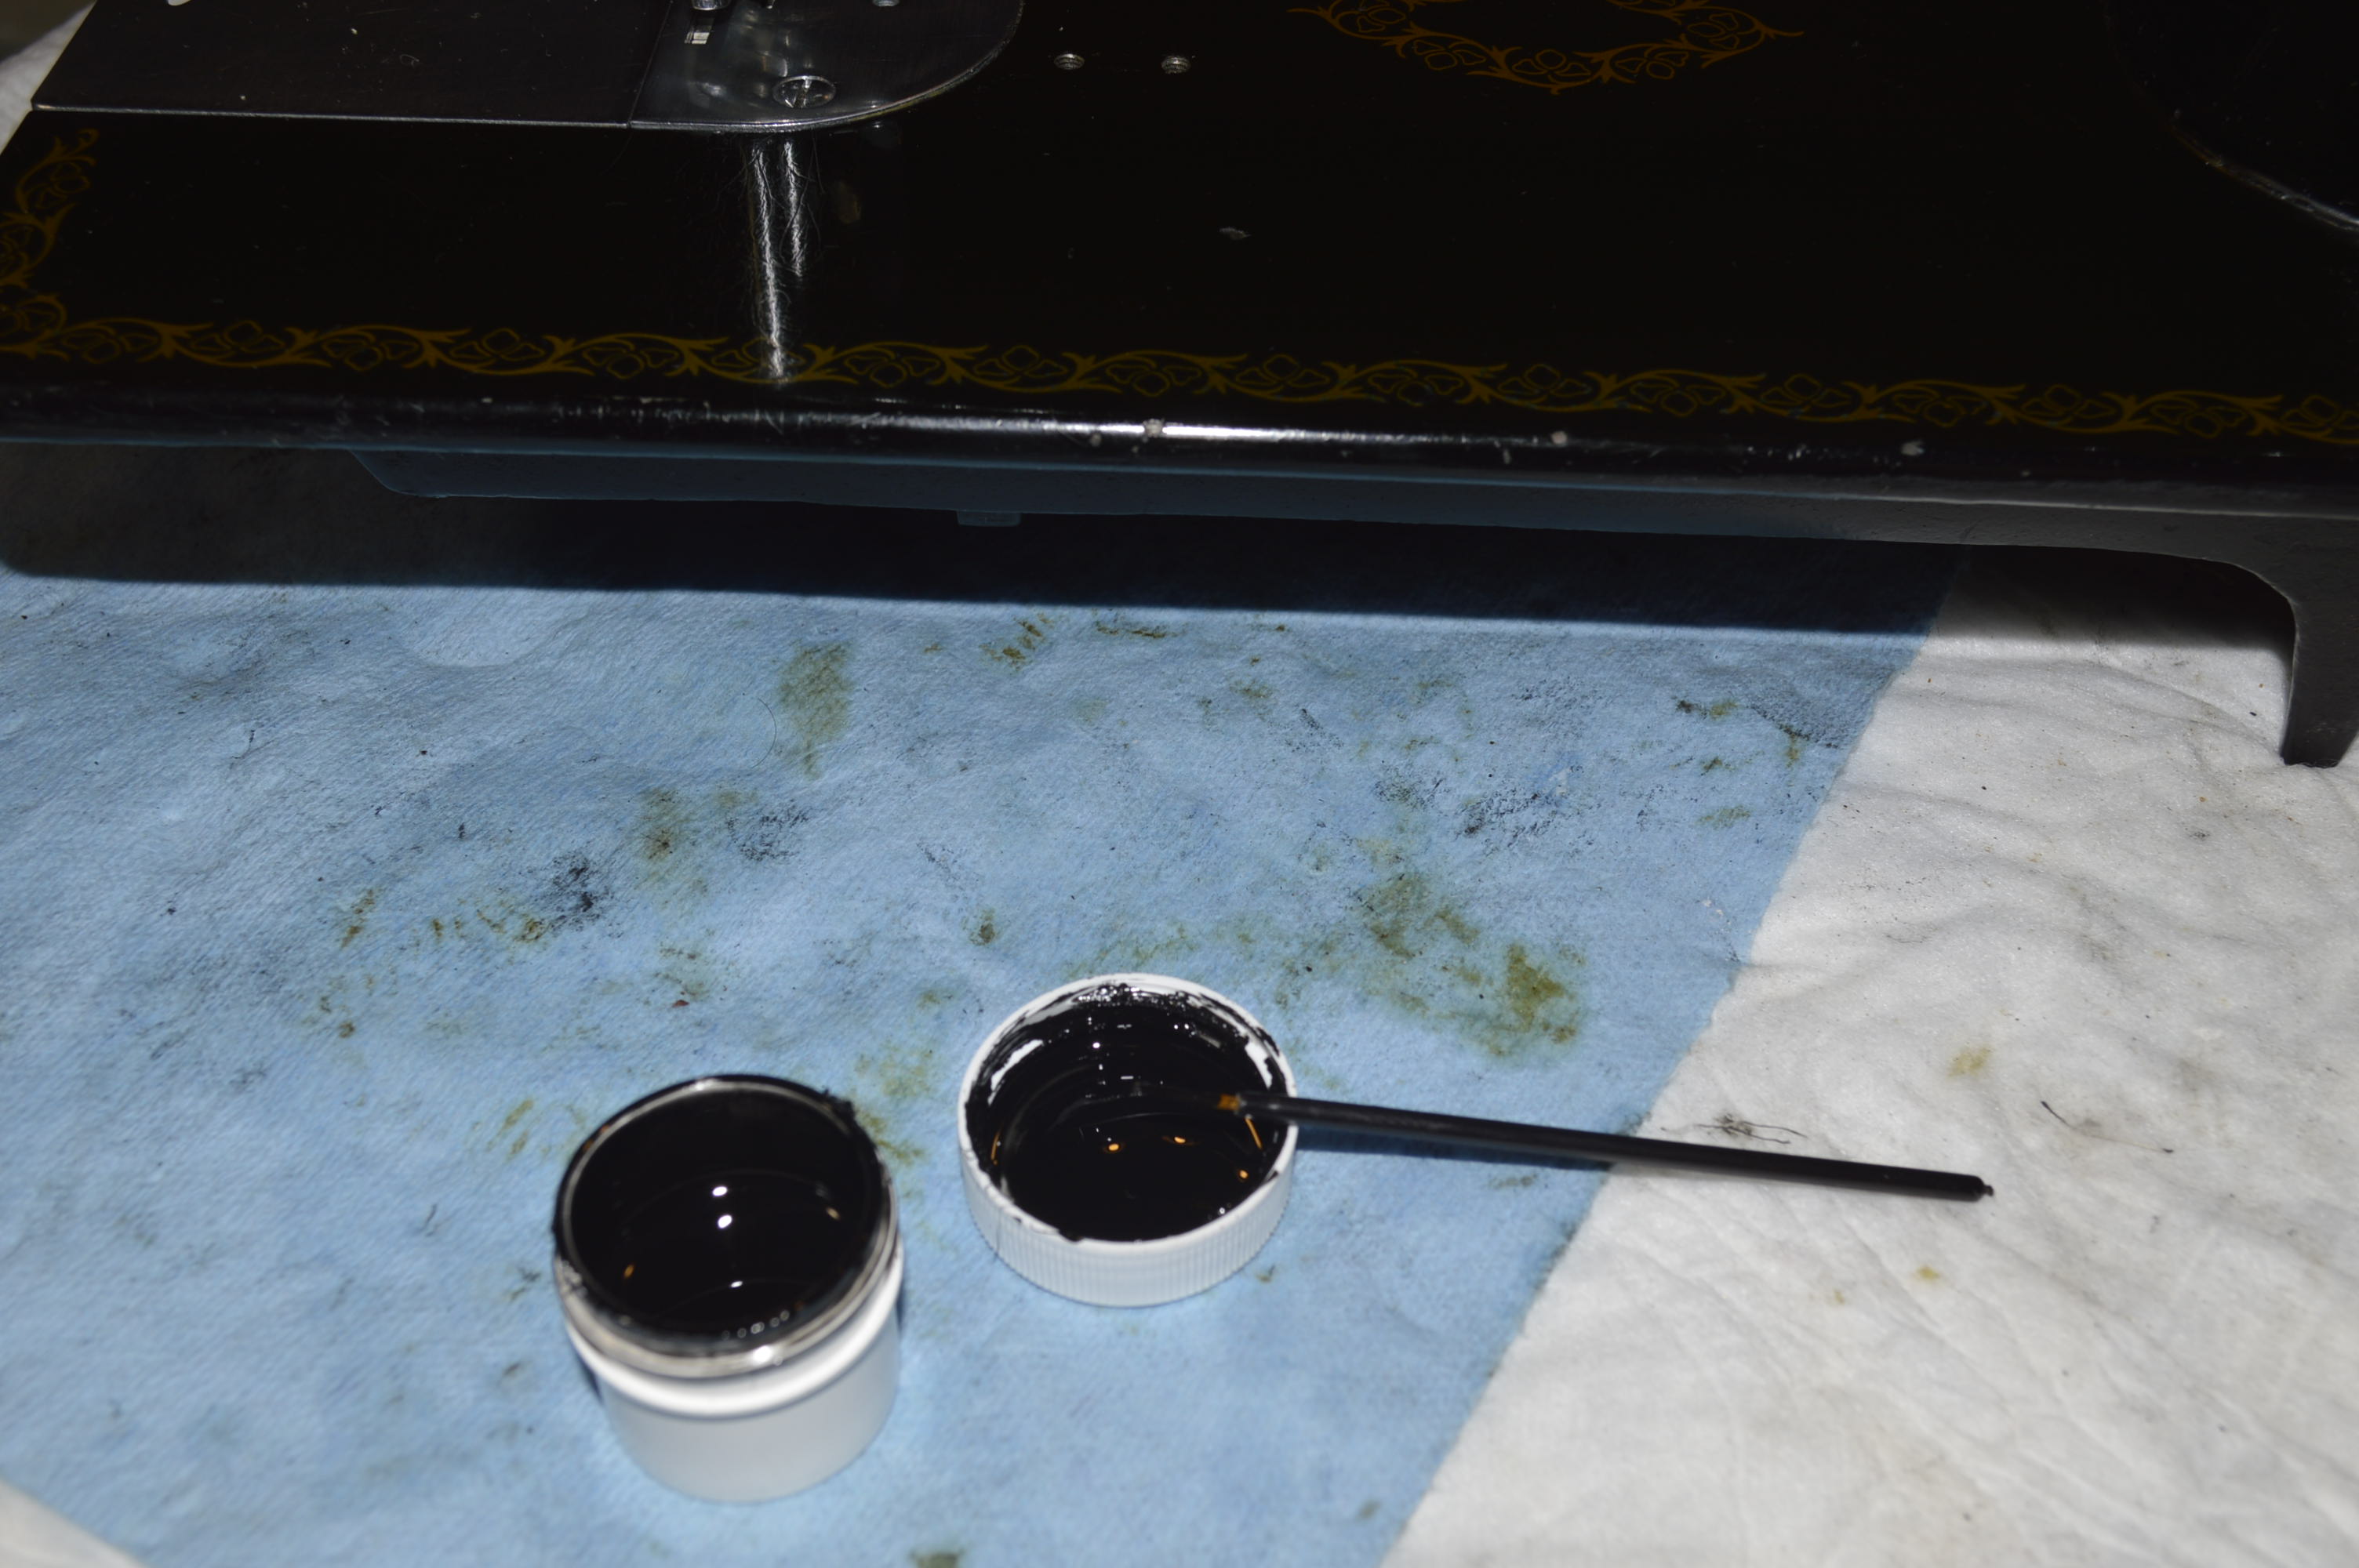
Next comes the paint matching, like most machines of this vintage, there are small “chips” in the paint. These will be corrected with “lamp black” paint. It’s detail work, but I think worth the effort.


Before
The process is simple, using a small brush, a flashlight to illuminate the chips, lamp black paint, and time, they are filled in one by one with a little dab of paint from the brush.
After a day or so, the body of the machine will be glaze polished again, and the chip repairs blended as well as they can be. While they can still be seen with close inspection, they look MUCH better.
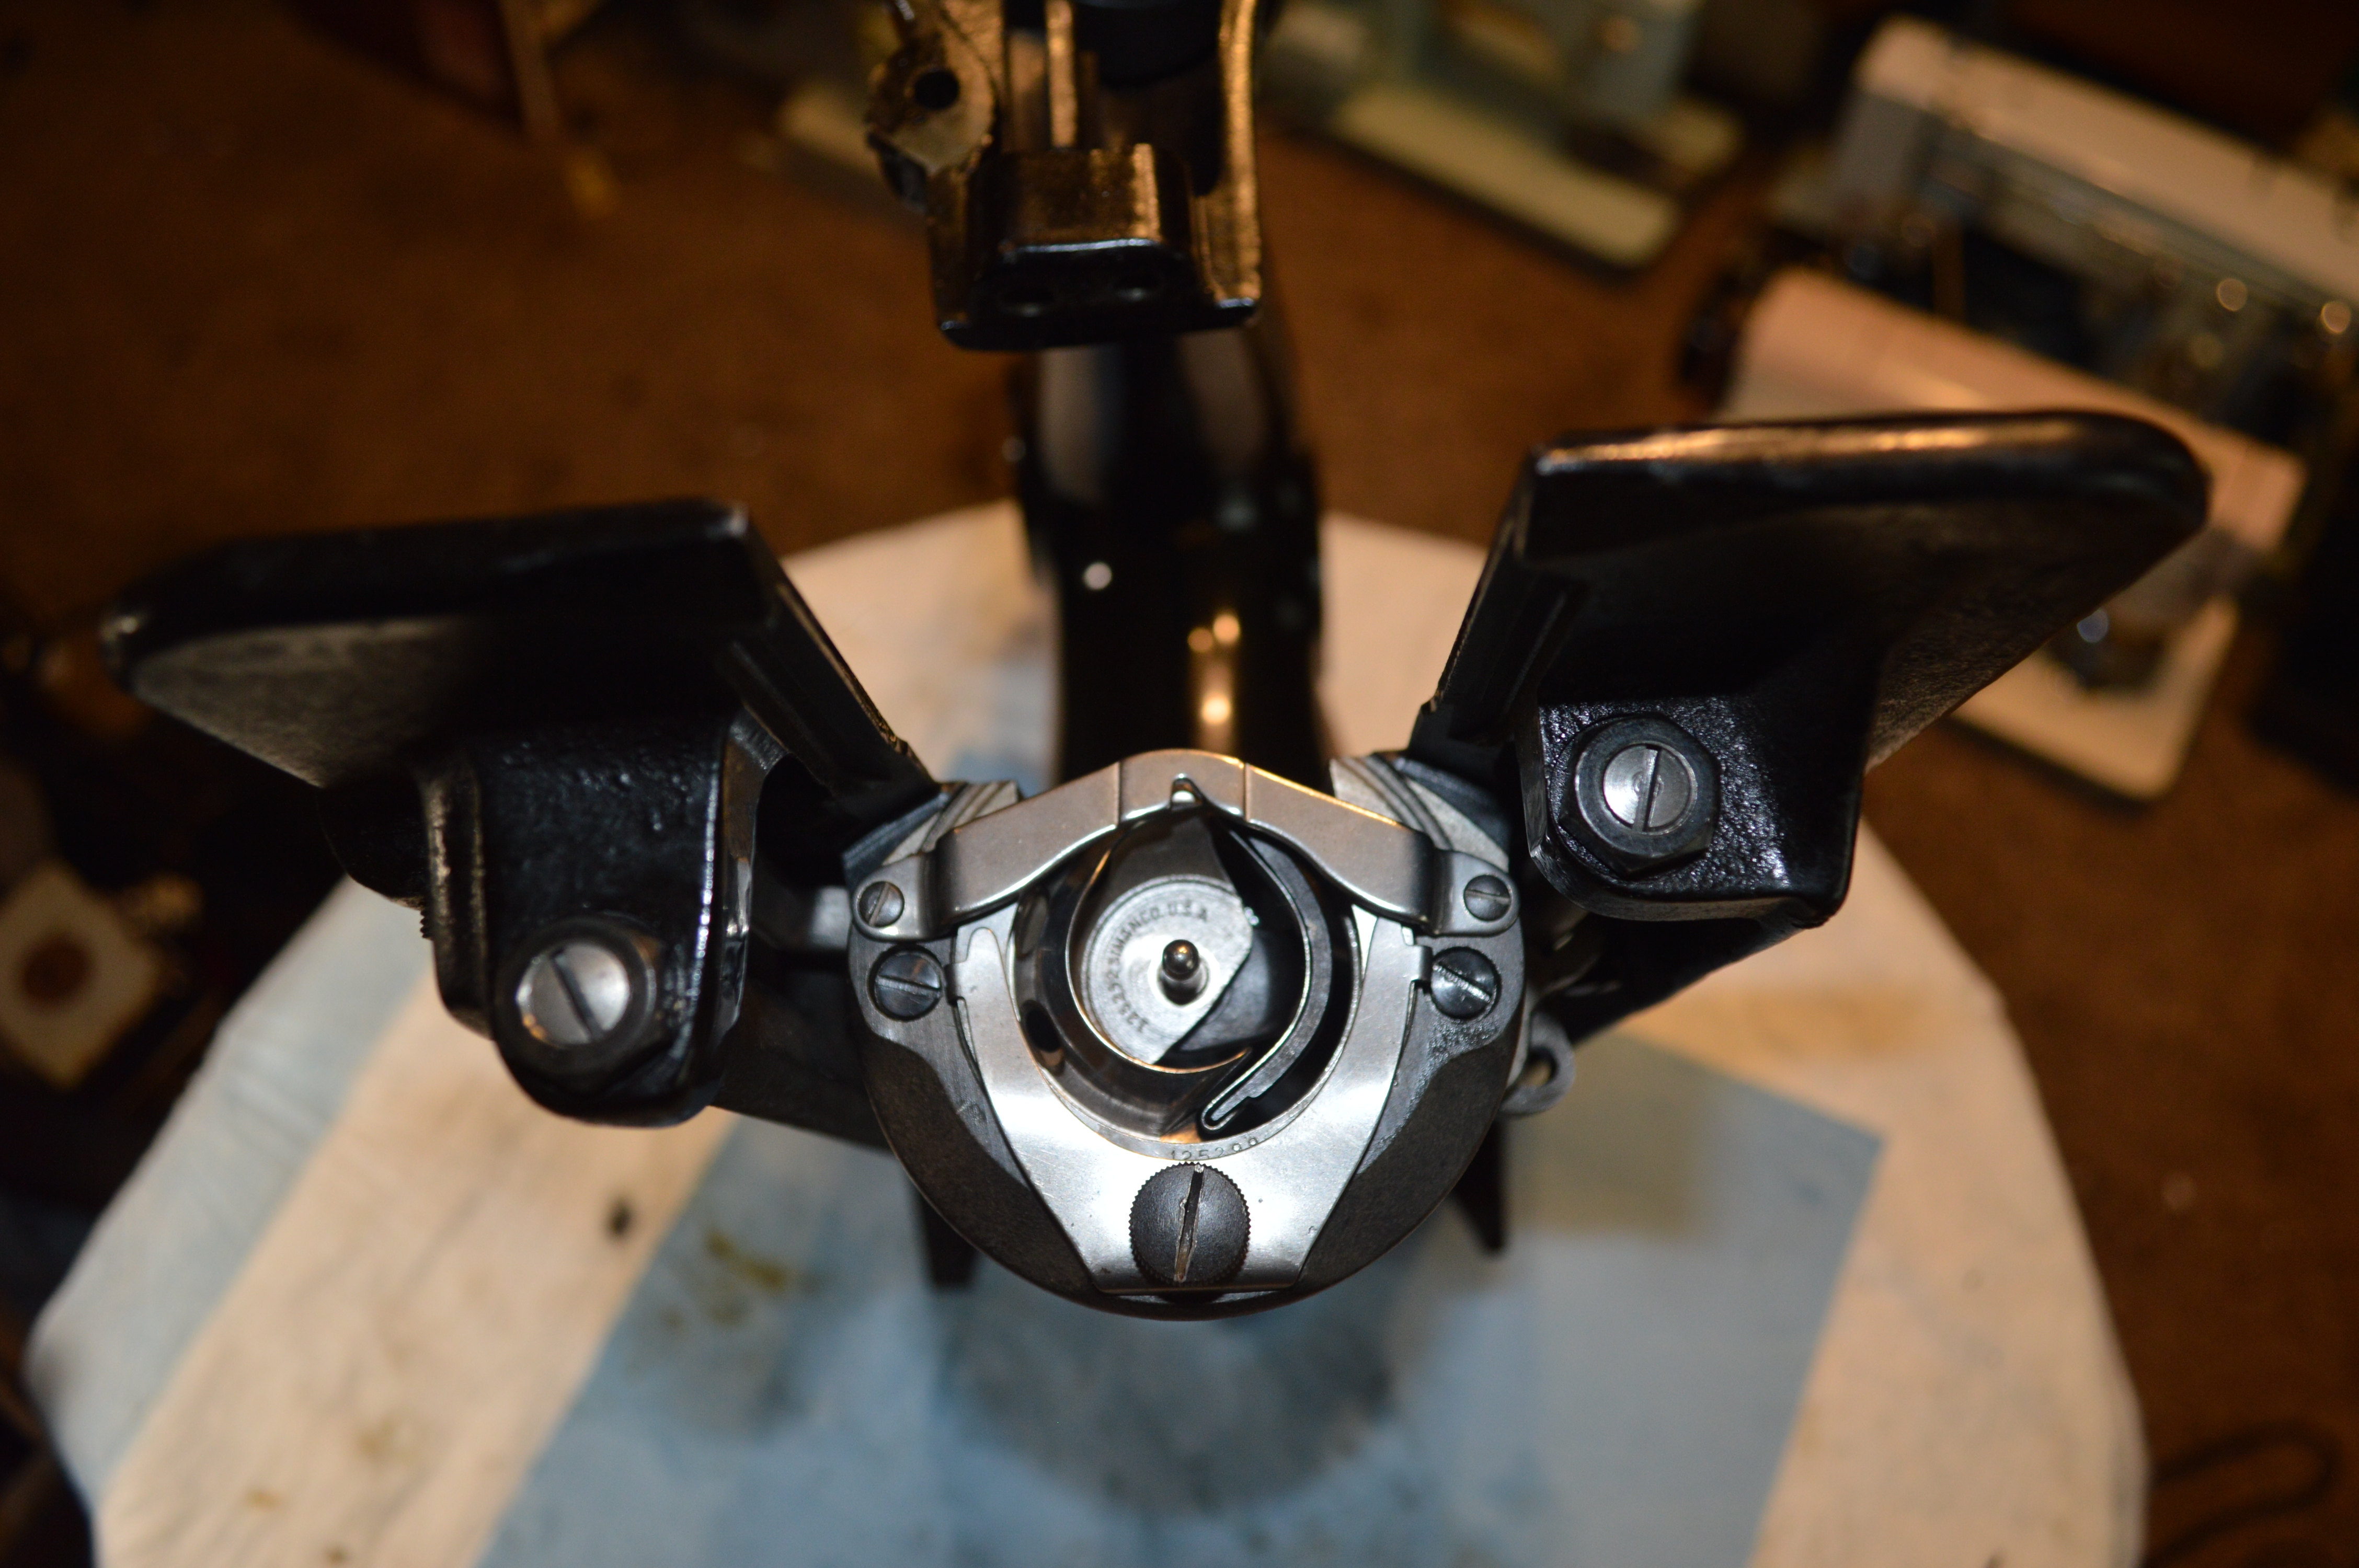
Meanwhile, the tension mechanisms are disassembled, ultrasonically cleaned, and reassembled…


Note that there are two pictures here. That is because a sewing machine has two tension assemblies. The top tension regulator that we are all familiar with, and a bobbin tension mechanism that many people don’t know about, and have never fooled with. While the top tension is important, a balanced stitch requires the bottom tension to be adjusted properly. In fact, the bobbin tension is very important, It is a simple assembly consisting of a small leaf spring that can be tightened against the bobbin case. This clamps the bobbin thread against the bobbin case, and voila! Tension is achieved… But, it is important to disassemble and clean this as well. A little gunk or bits of packed thread will adversely affect the bobbin thread tension and can cause a host of (often intermittent) tension problems.
Because these parts control thread tension and are therefore in the thread path, the tension dics, bobbin case, and leaf spring are soaked in alcohol to remove any trace of oil before reassembly.
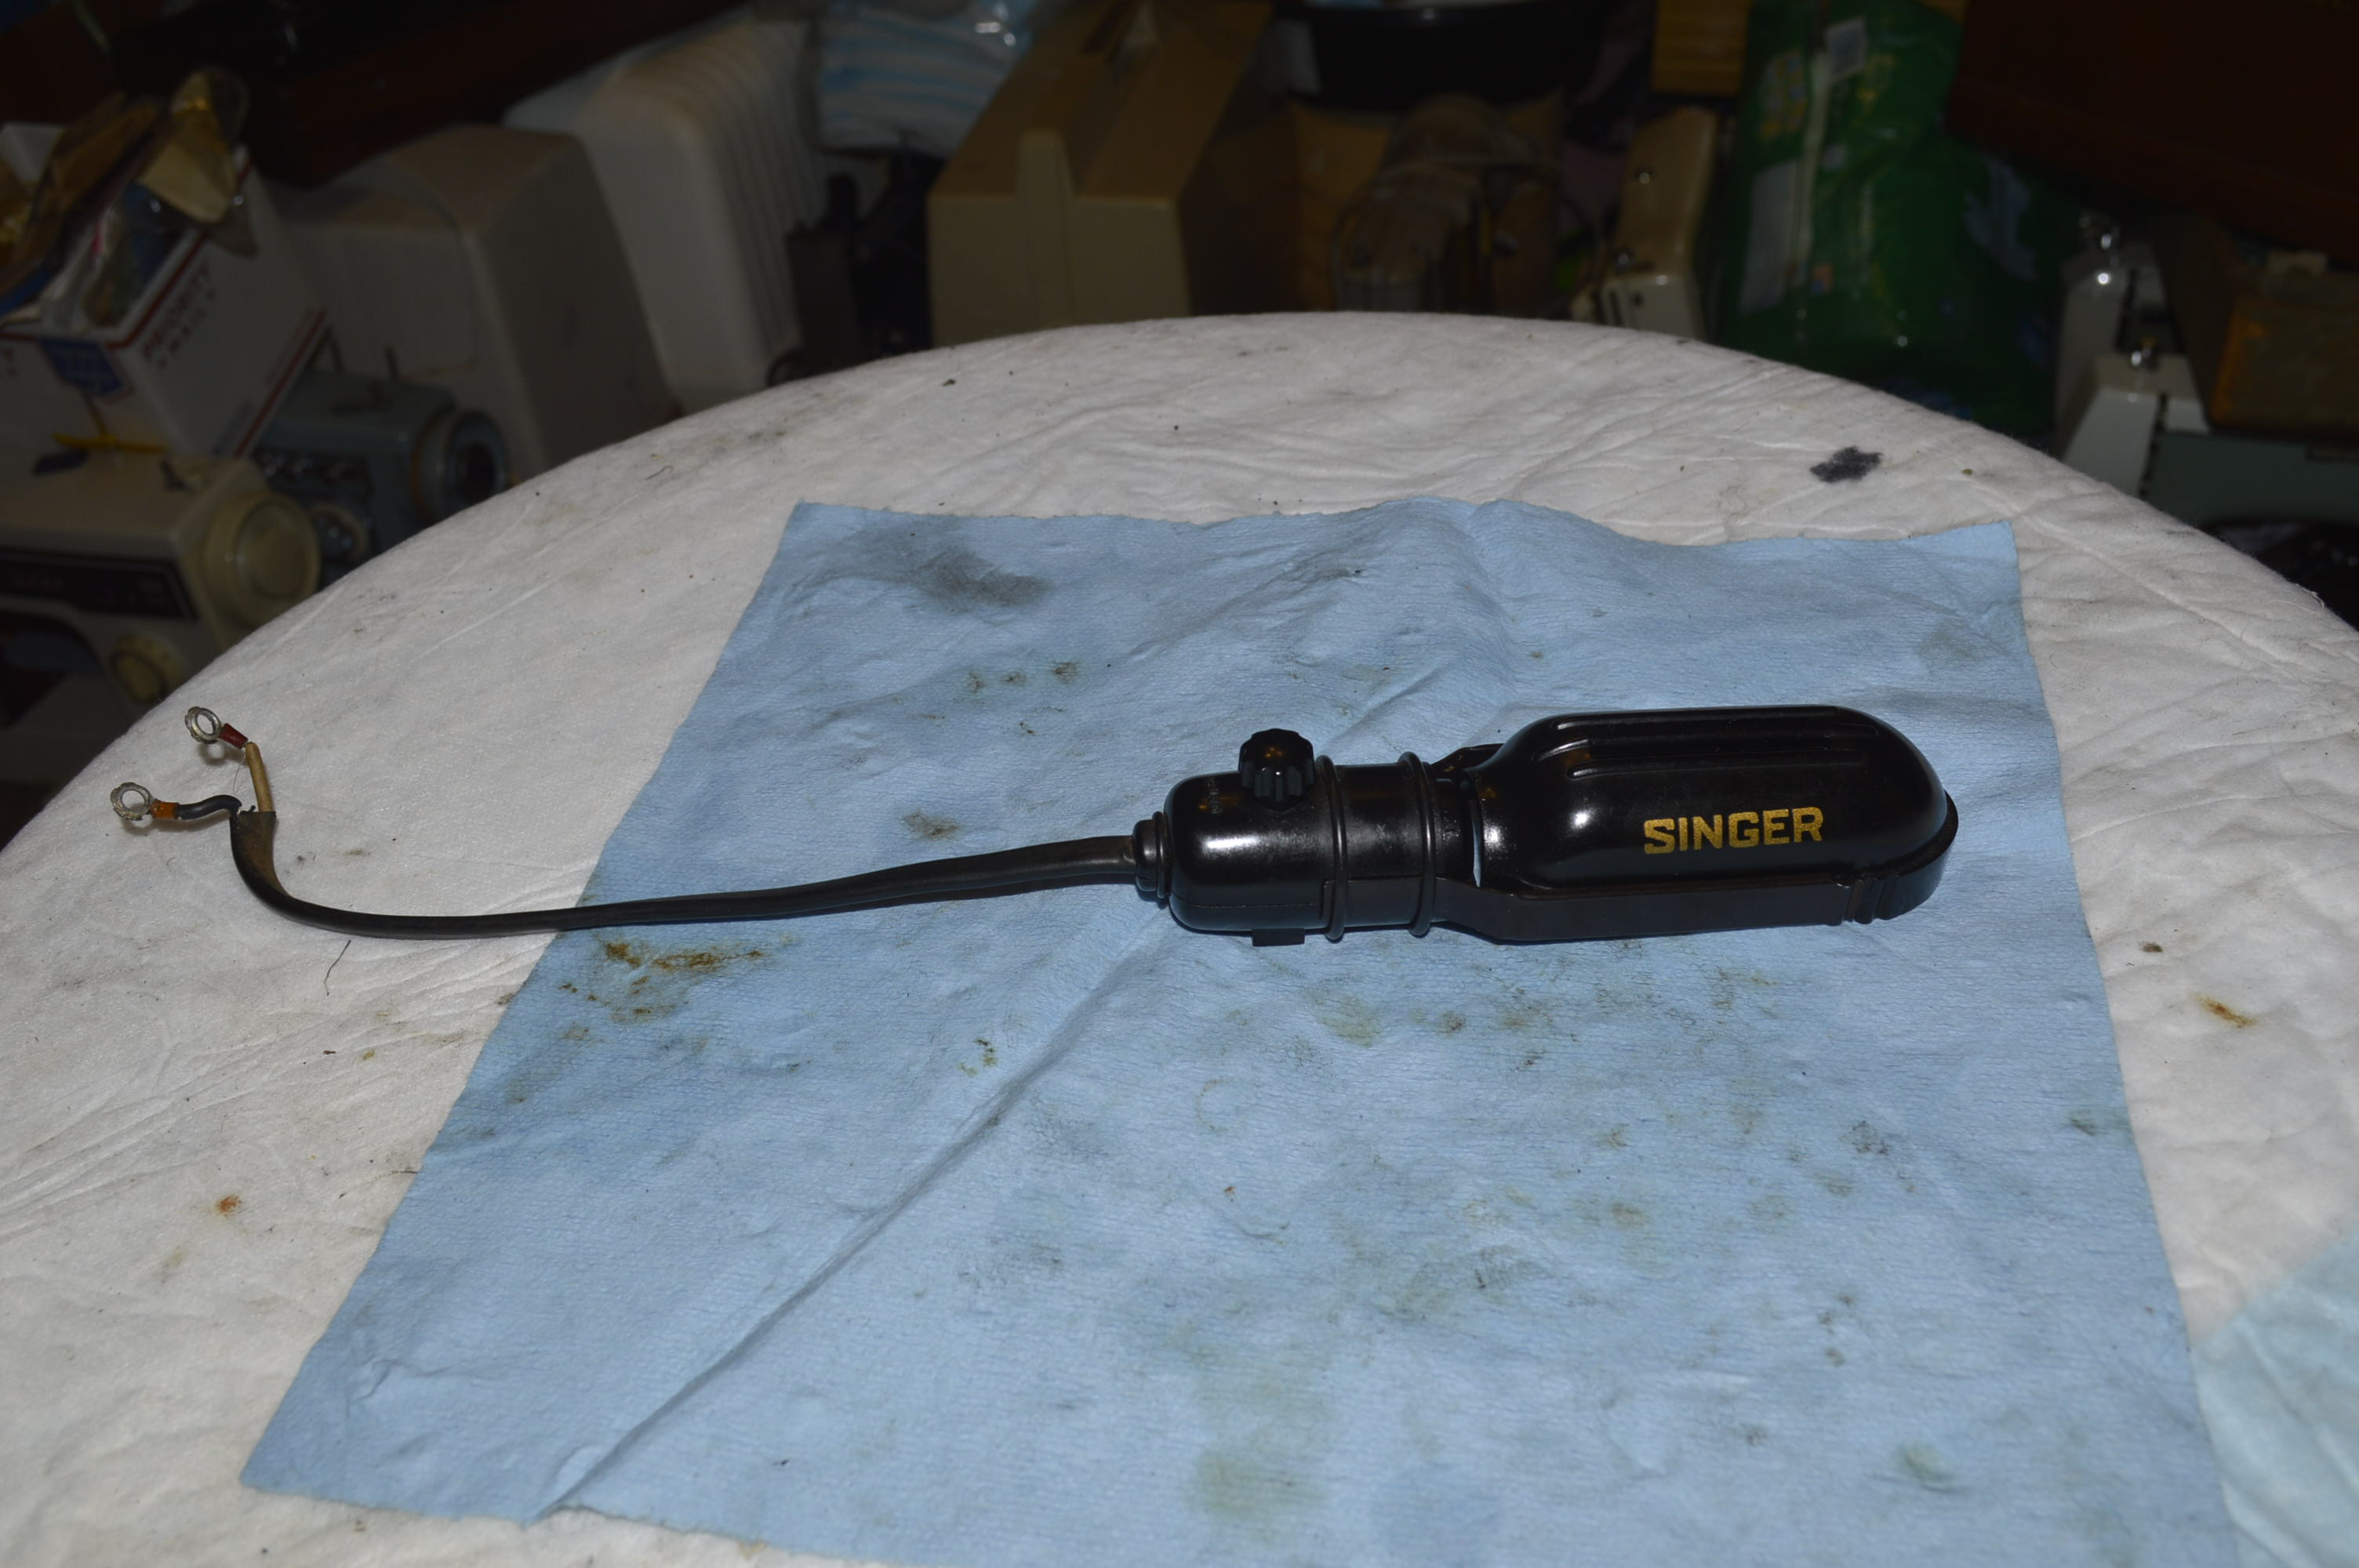
Then comes the light.
The light fixture wiring is brittle and must be replaced.
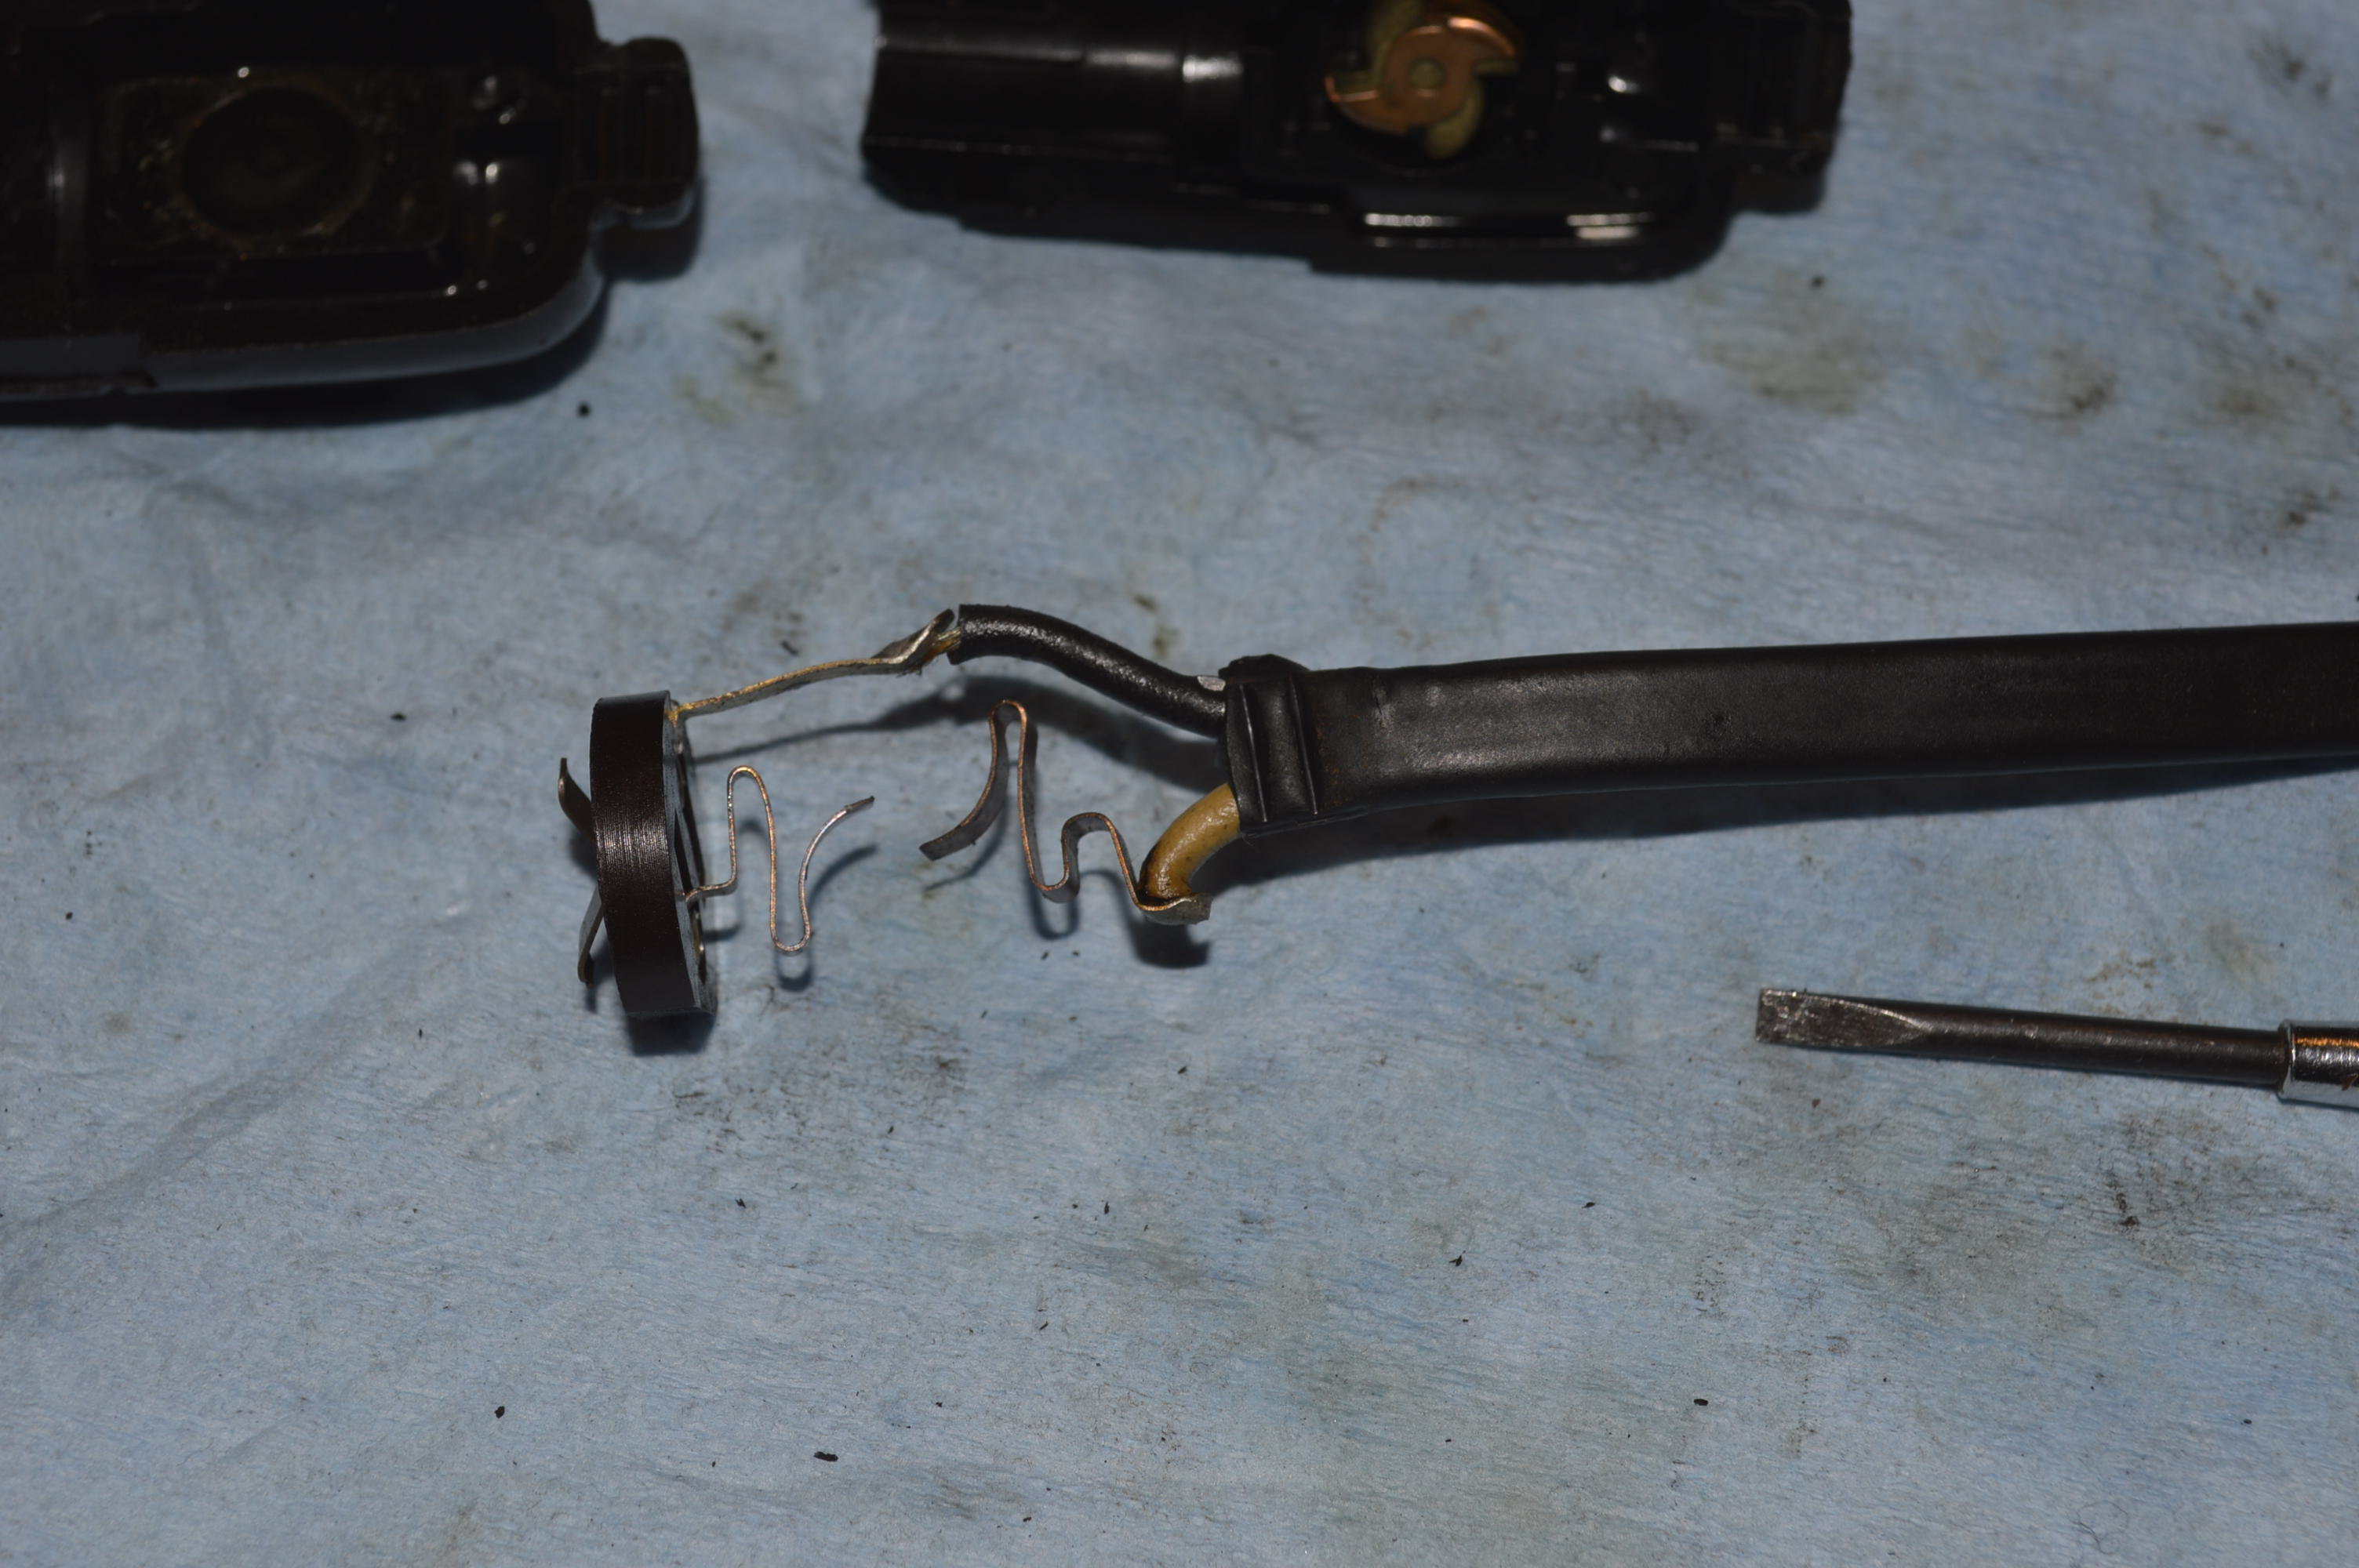
The light is disassembled…
Here the wires must be de soldered from the light switch terminals. The old wires are used as a template to cut the new wires. The fit is tight in the fixture and there is no room for excess wire length.

The new wire is soldered to the switch terminals and the fixture is reassembled and cleaned.
Now this is finished, the new wires have terminals soldered on the ends and heat shrink tubing over the soldered terminal shank.
The final step to install the light and the motor is to connect the wires to the terminal plug.
Finally, the plates and covers are polished with jewelers rouge and buffed on a 6″ buffing wheel and put back on the machine.
The machine is then adjusted for tension and proper feed.
Thats it! This completes the mechanical and cosmetic reconditioning of the sewing machine.
With the machine finished, I turn my attention to the case. I think that unless the case is damaged or the finish is severely compromised, the less you do, the better the result. Just like the wood work and furniture in your home, a bentwood case darkens and “mellows” with age. Stripping or refinishing removes years of character. Because the finish on this case is in very good condition, there isn’t a lot of work to do. I will limit the process to cleaning with Murphy’s oil soap, and rub it with two coats of linseed oil to re-nourish the finish. While a few small dents will remain in the case, it is not worth the risk and try to fix them. From my view, I think the repair would be more visible than before, and the finish would be disturbed. The final finish looks like this, and I think it looks great! The aged patina is still there and it is a beautiful contrast to the beautiful black sewing machine sitting in it.

Here is the result of all of the hard work, many hours, and attention to details.


Tell me what you think! Don’t hesitate to contact me if you have any questions, and please visit our Etsy store at https://www.etsy.com/shop/pungoliving, to see our restored fine high quality sewing machines.

I have been sewing on my mother’s gift from my father upon the birth of their firstborn son, a Centennial 15-91. Recently while researching the Singer Featherweights I came across several articles about the wonder of that particular model of machine so within these last few weeks have acquired another three of them, two of which are Centennials as well! One is in immaculate condition, looks better than my original, while the other two need great help after being stored in places not conducive to their “health.” This is a wonderful explanation of what is needed for the restoration and the steps involved. I am curious as to which ultrasonic cleaner you use and if there’s an inexpensive one since I am only needing it for two machines. Als, have you heard of the product Zymol and if so, do you think your products are better or more cost effective? Three of my machines need their outsides polished up to look their best. Thank you in advance for your wonderful encouraging post!
LikeLike
Hello Rosemary,
Thanks for reaching out to me! I’m glad that my blog was helpful to you. I had to read your post twice to see if you have three 15-91’s or three Featherweights. Regarding cleaning, the process would be the same for either, but for the 15-91 I have a couple other blogs that would be useful for those. A note of caution when cleaning a Singer Centennial badge, the border is blue paint. I would only attempt to clean these very gently.
As far as the ultrasonic cleaner I use, it is a Costway VGT 6250. I bought it based on other folks recommendations. The most important feature on this particular cleaner is that it has a heat option. While you would not want to heat a painted part, for cleaning parts and plates it make a big difference. I use Simple Green to add as a detergent, but other brands of detergents work well. I have also used a product called Krud Kutter. Simple Green is cheaper and both will work great but neither should be used on paint or decals.
For cleaning I use GoJo (regular formula… not the formula with pumice). It does a great job and is gentle on the finish. I have not used Zymol and I am not familiar with the product. I do use two different glaze polishes after cleaning and they work very well. The first is called TR3 and it leaves a very nice finish. I always do a second glaze polish with a product called Meguiar’s Mirror Glaze. It is a slightly finer cut than TR3, and when used after polishing with TR3 leaves an exceptional finish (at least the best you can obtain). But, before you use either, you need to make sure your decals are protected by the original shellac top coat. This is simple to do. Simply shine a flashlight close to the machine in a dimly lit room and you will see the shellac show as a green hue on the machine. Anyplace you see black instead of green shows that there is no shellac in that area. If the decals are exposed, any aggressive cleaning can damage them. Still, a good cleaning can still be done. I wrote a blog on cleaning a vintage machine with compromised shellac and you can read it at this link: https://pungoliving.home.blog/2019/12/08/a-tutorial-cleaning-an-vintage-singer-model-15-sewing-machine/. If the decals are protected you can get a great deep cleaning with GoJo and follow up with a good glaze polish.
Just remember, the shellac and black lacquer japanned finish on your sewing machines are not like the finish on an automobile. Glaze polishes do not leave a protected surface. That means it needs to be protected with sewing machine oil after cleaning. While I have used carnauba wax as a finish in the past, I no longer use wax on these vintage Singer’s, I find that sewing machine oil works better and it is 100% compatible with, and nourishes the original finish.
I don’t endorse or sponsor any product but I am very satisfied with the products I have been using, so much so I probably won’t try any others. There is a wealth of information on cleaning these machines, some good and some not so good. If you use what I have been using, I know the results will turn out well for you.
I hope this helps, and let me know if I can be of any other assistance as you bring these machines back to the fold!
Have a blessed evening,
Lee
LikeLike
Hi – this is so helpful! I’m just starting the process of overhauling my grandmothers 15-91. I’ve read too many differing opinions on what grease to use. One was that the grease now made by singer does not have the properties required for vintage singers. Can you tell me what grease is appropriate? Still the Singer? Vaseline?
Thanks!
LikeLike
Hello Carol,
I’m glad you found my post helpful! Thanks for contacting me, I’ll be glad to help if I can.
Your Grandmothers 15-91 has a potted motor… the same motor is found on the 201-2. The new Singer grease is not for lubricating motors. It all has to do with the melting temperature of the grease.
I posted a tutorial on restoring the potted motor that will answer all of your questions, Please read this post at:
https://pungoliving.home.blog/2019/12/31/a-tutorial-restoration-of-a-vintage-singer-potted-motor/
The short answer is 100% petroleum jelly… the cheap stuff. Vaseline may have additives that make it undesirable to use for lubrication. Look at the label.
Please let me know if you have any other questions.
Have a great day,
Lee
LikeLike
Hello,
I’m restoring a Singer 15-91. I need to rewire the light and can’t figure out how to disassemble it. It’s the type that has side brackets with two very sturdy rings that look like they’re holding the brackets to the body of the light. Would you be able to give me some insight on how to remove those rings as well as how to replace them afterward?
Thank you,
De
LikeLike
Good afternoon De,
Disassembling this type of fixture is my least favorite thing to do. The process poses a real risk of cracking the light fixture or worse, severely injuring your hands. I hope you decide not to attempt this after reading how it is done.
Removing the rings requires spreading then where the ends of the rings meet. I’m sure Singer had a special tool for this, but I don’t have a tool sufficient to spread the rings in my tool collection. I use a thin blade screw driver to spread the rings where the ends meet. There is very little clearance at the ring ends and the screw driver must be twisted as you are attempting to spread the ring. This requires a lot of force and you need to be very careful that the fixture is planted securely on a table. Under no circumstance would you try this by holding the fixture in your hand. The force required would injure your hand badly if the screw driver slips. There is a good chance it will slip a few times before you get it properly wedged between the ends of the ring.
Once the ring is spread, and while keeping the screw driver in place with the ring ends spread, you will need to wedge a second small screw driver under the ring. If you get this far, it is a simple matter of turning the fixture and gently prying the ring off of the end of the fixture in a “cork screw” fashion out of the groove towards the front of the fixture.
The same procedure is used to remove the small ring at the end of the fixture. Because the ring is much smaller, it is much stiffer and much more difficult to remove. The process is the same, but “cork screw” the ring out of the groove towards the rear of the fixture.
Once the rings are removed, the two halves of the fixture separate easily.
The wires must be the same gauge and the same length as the original wires. There is no room for excess or too short a wire in the fixture. Once the wires are replaced, and the fixture is seated together, the rings are re-installed on the fixture. The small ring must be pre-spread (bent) slightly with pliers to get the small ring back on the fixture. Start by placing one end of the ring in the groove on the fixture, and using a small screw driver in the groove against the ring, gently spread the ring around the fixture to “cork screw” it back in place. It is difficult to replace the rear ring… very difficult. The front ring is put back on the same way and if you get the rear ring on it is much easier.
After telling you this, I would advise you not to attempt it. As an alternative, I would look at the fixture and see if the wire near the fixture is still pliable and un-cracked. If so, you can solder new wires to the old wires. Use a small piece of shrink tubing on each wire, and a longer and larger piece of shrink tube over the small shrink tubing. This is not a bad looking repair and unless you must replace the wires and disassembly is the only option, I would not consider it… I only do it because I am committed to a complete restoration to as new a condition as possible and I have experience doing it.
Another option is to replace the fixture with a vintage correct fixture. This “bug eye” fixture was standard on Model 99’s, but (to my knowledge) it was not used on the Model 15’s, including the 15-91.
I hope this helps you getting your fixture rewired and please don’t hesitate to contact me if you have any questions or if I can be of assistance.
Have a blessed evening!
Lee
LikeLike
re: the Singer 15-91 light
I’m getting ready to dive into restoring an incredibly filthy 15-91 (1949) and everything including the light is encased in grime (the bobbin case appears black its so dirty!). The light fixture wiring is brittle and appears to have been shortened at some point in its life as its very tight to the connector plug thingy and the power cord has some ancient electrical tape on a section. . . . I’m wondering if we might be able to use snap ring pliers or retaining ring pliers to manage those rings you refer to as being very difficult . My husband is a farmer (Ag engineering degree) so he has a lot of experience with fixing, etc. You mentioned Singer guys likely having a specific tool and as I’m looking at my light I wonder if we might have a tool that would work. No matter what the light is not safe to use as is.
Thank you for all the detail you provide- it is so complete!
Annie
LikeLike
Hello Annie,
I think it is great that you are going to tackle a restoration on your 15-91. It will breathe new life into the machine for a long time to come!
The light is no fun to disassemble, and maybe I was just letting my frustration out a bit. I have no doubt that you or your husband can rewire it if you are patient. They can be challenging! If you have a pair of snap ring pliers or a retaining ring plier that will expand the ring and work just fine. Be careful with the light housing, it is bakelite and can be brittle.
There are only a few things to look out for. Before you remove the old wire take some pictures so you can see how it goes to the switch and get it back together. You need to use the old wire as a template for the new wire because the ends are not the same length. Solder on the same side of the wire as the original. I would recommend using wire no larger than 14 gage because it is a tight fit in the housing.
Also, on a side note, inspect the power wires to the motor. Potted motors very often have cracked insulation. I have tutorials on how to clean your machine, how to restore the motor, and how to restore the balance wheel and I invite you to read and follow them if it will help. Also, please let me know if I can be of any assistance or answer any questions you may have.
Have a wonderful night!
Lee
LikeLike