

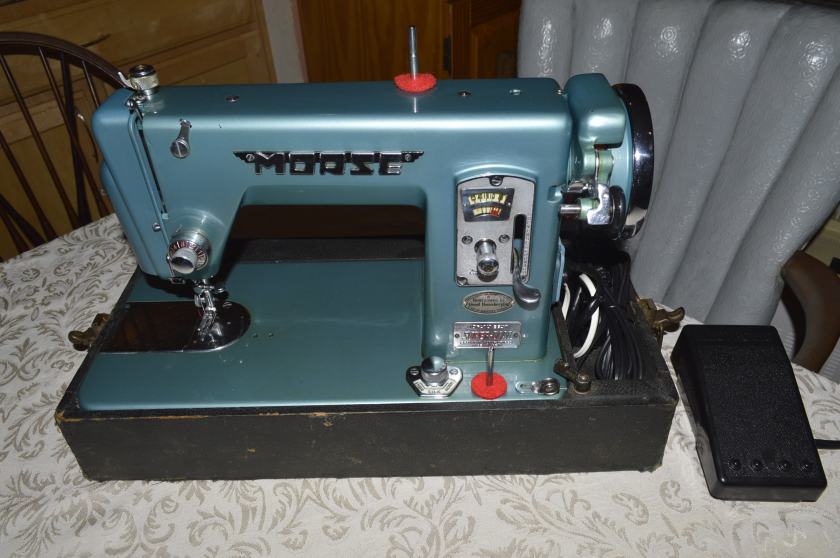
The Morse R5L “Super Dial” is a precision all metal straight stitch sewing machine manufactured in the late 1950’s to early 1960’s. The body is made of cast iron, and every other part on the machine is made of metal. It is heavy and it is sturdy. The fact that it is in this fine condition some 60+ years after it was manufactured testifies to its durability.
This Morse machine was manufactured by Toyota. It is not well known today, but Toyota manufactured a number of different model sewing machines badged as Morse, Hamilton, Dressmaker, Household, Fleetwood, and others. It seems that there are any number of vintage all metal Japanese manufactured sewing machines that are passed over or marginalized because they lack name recognition. In fact, many are made by Soryu, Maruzen, Brother, White, and Janome and are very high quality sewing machines that are worth a second glance.
Toyota produced their first sewing machine, the type HA-1 in 1946, by 1999, they gad produced 10,000,000 sewing machines! Toyota sewing machines are still in production today. So, we don’t know the exact date, but we do know the quality of manufacture, so lets get started on the reconditioning.
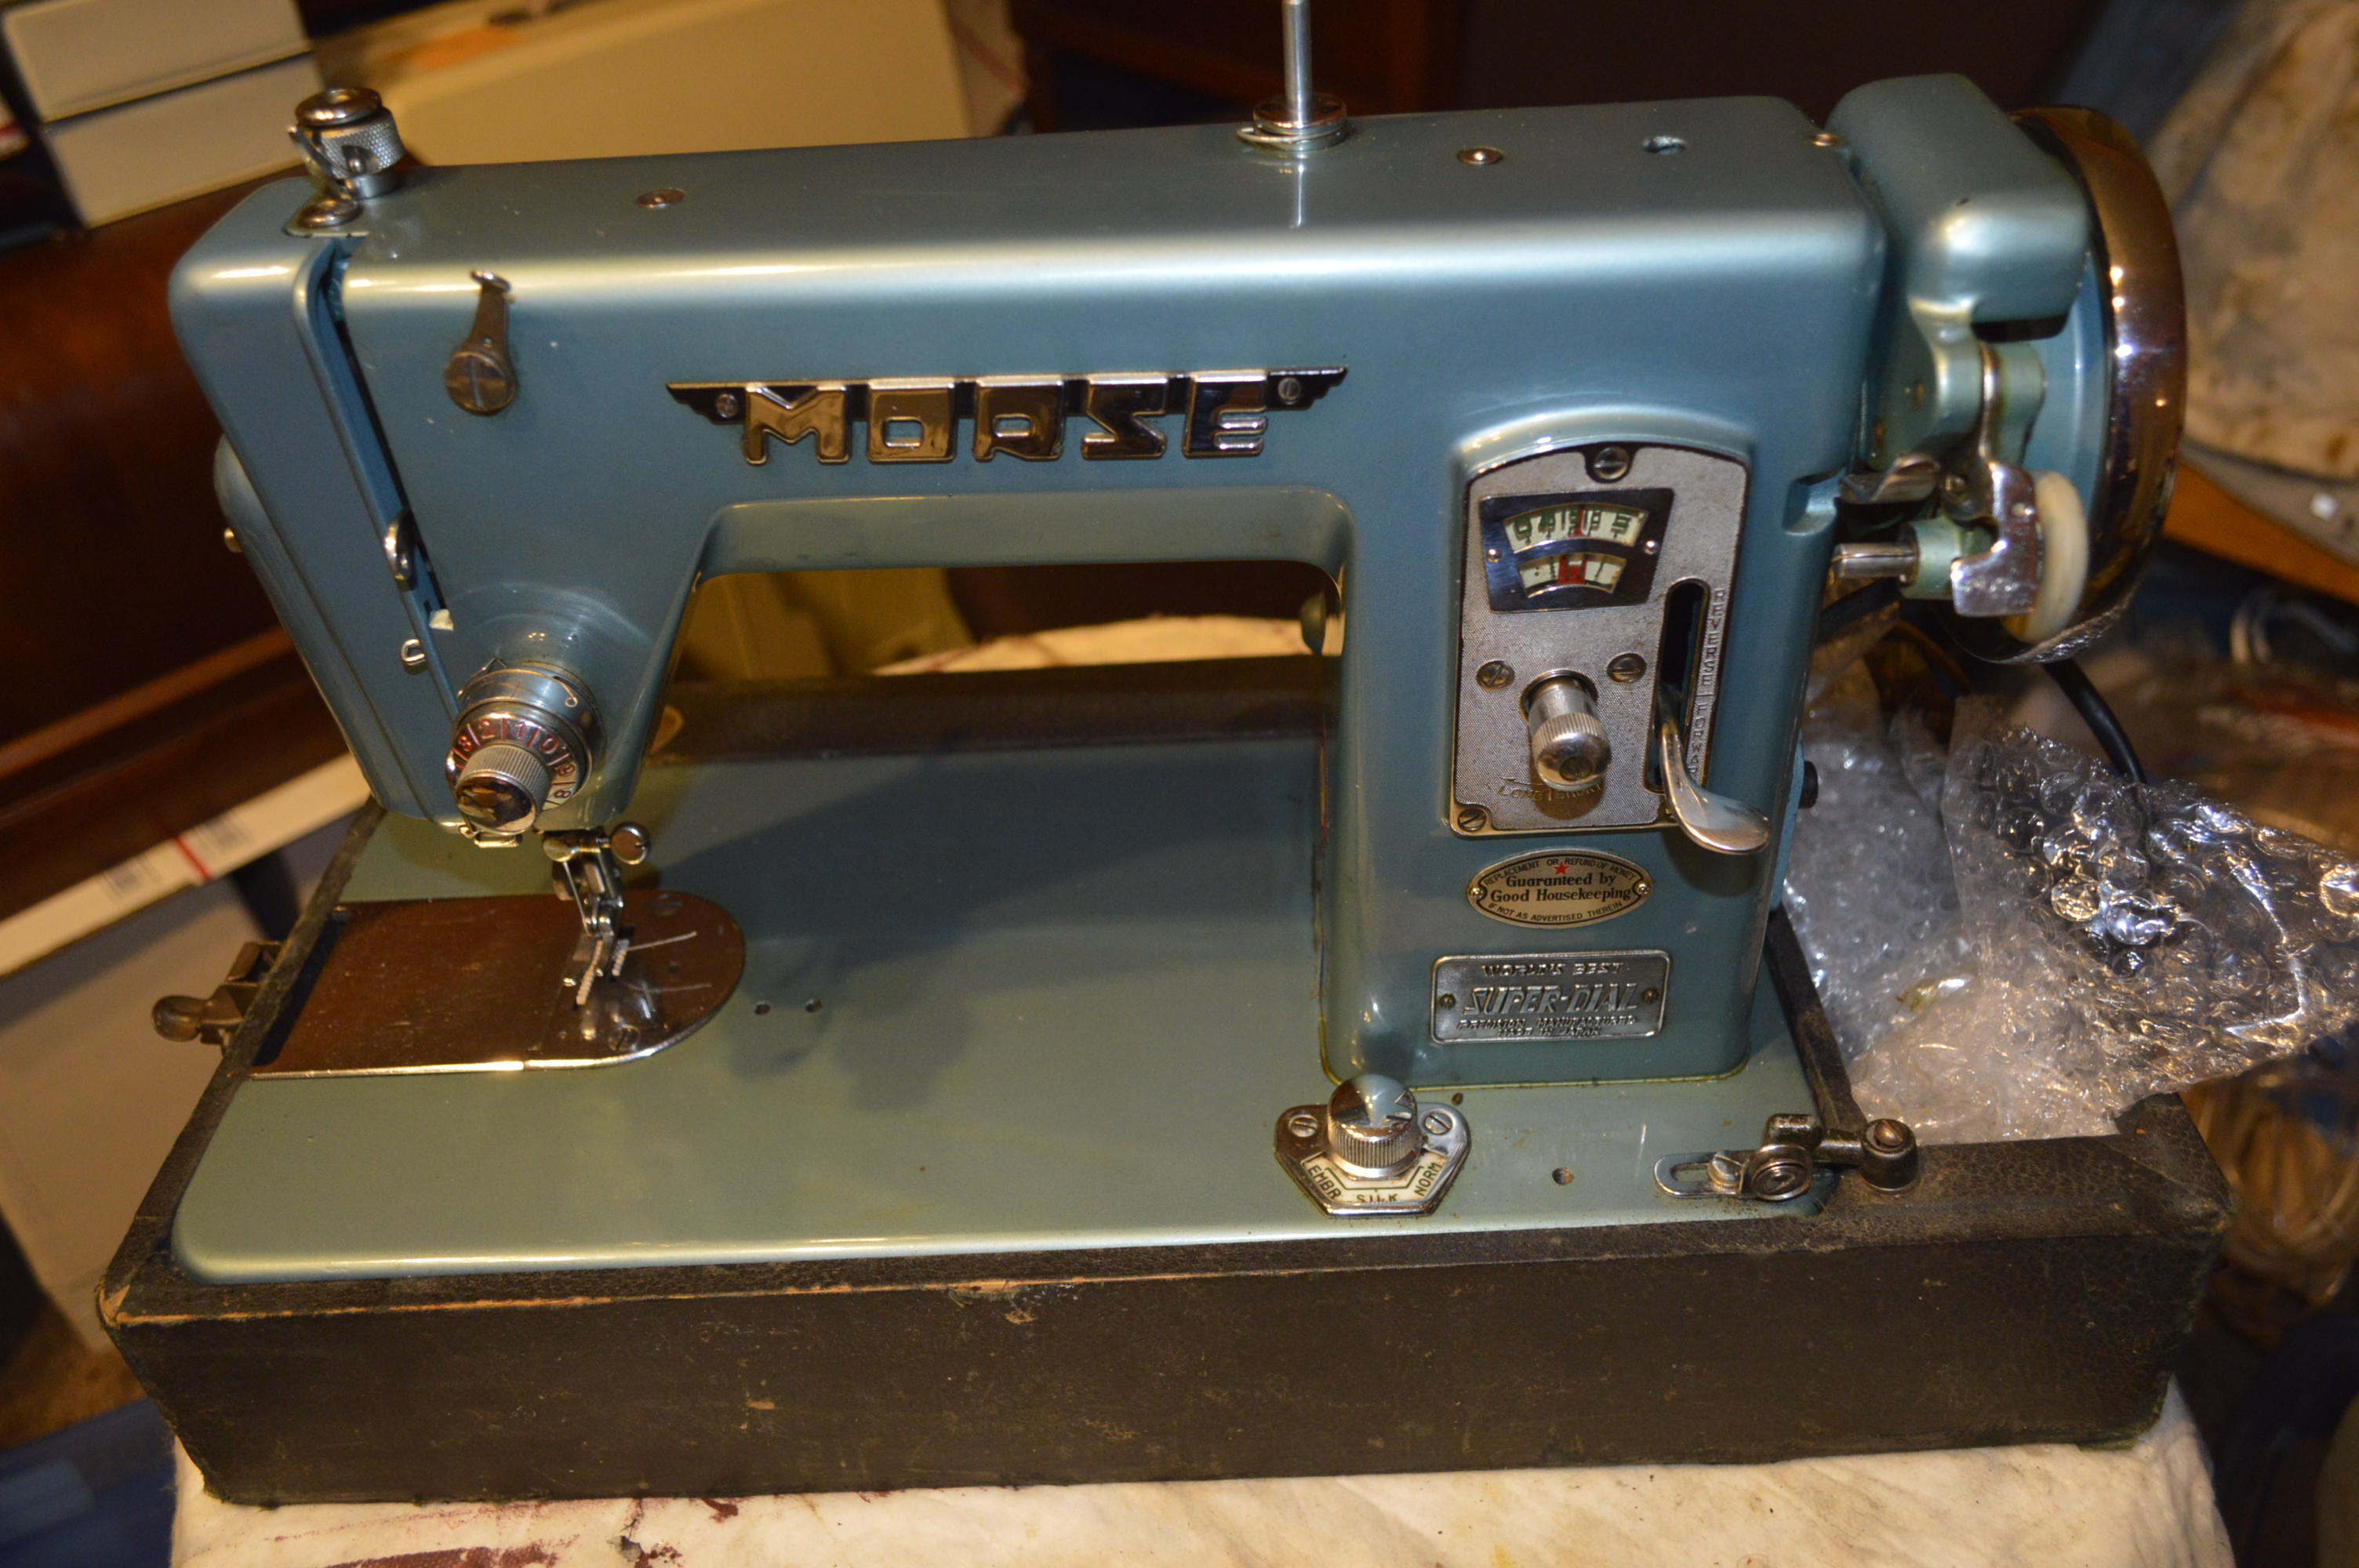
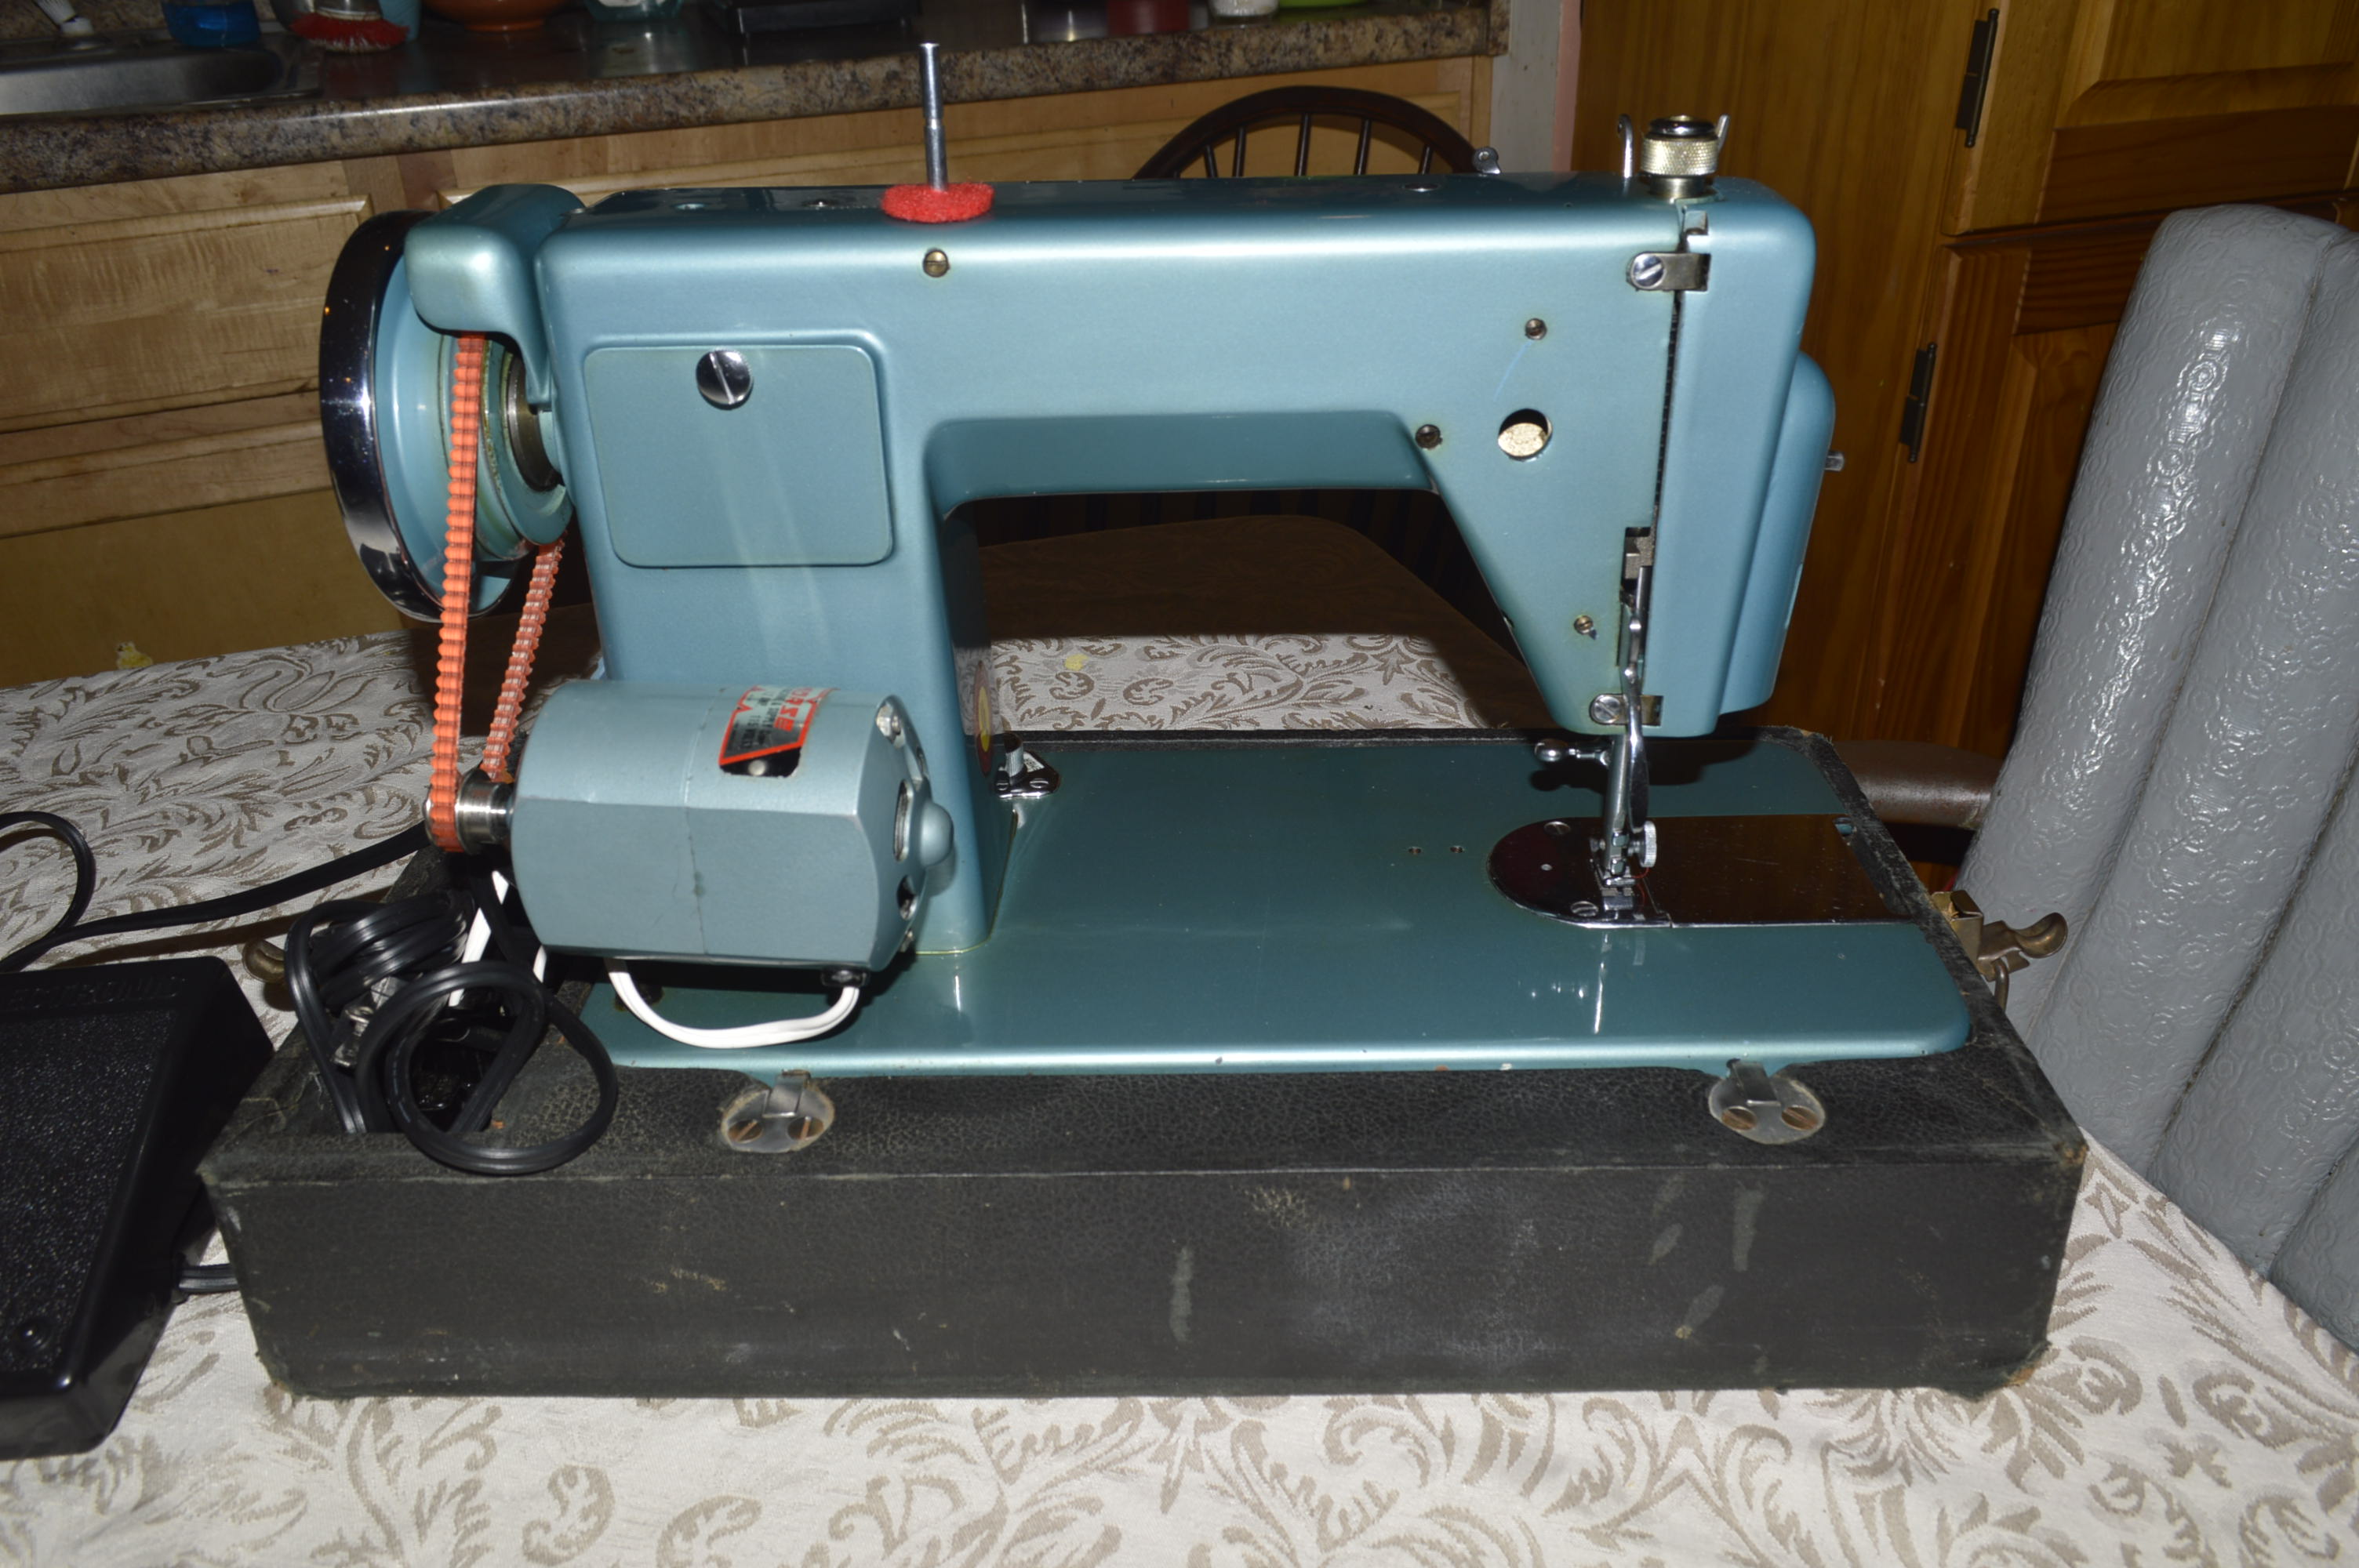
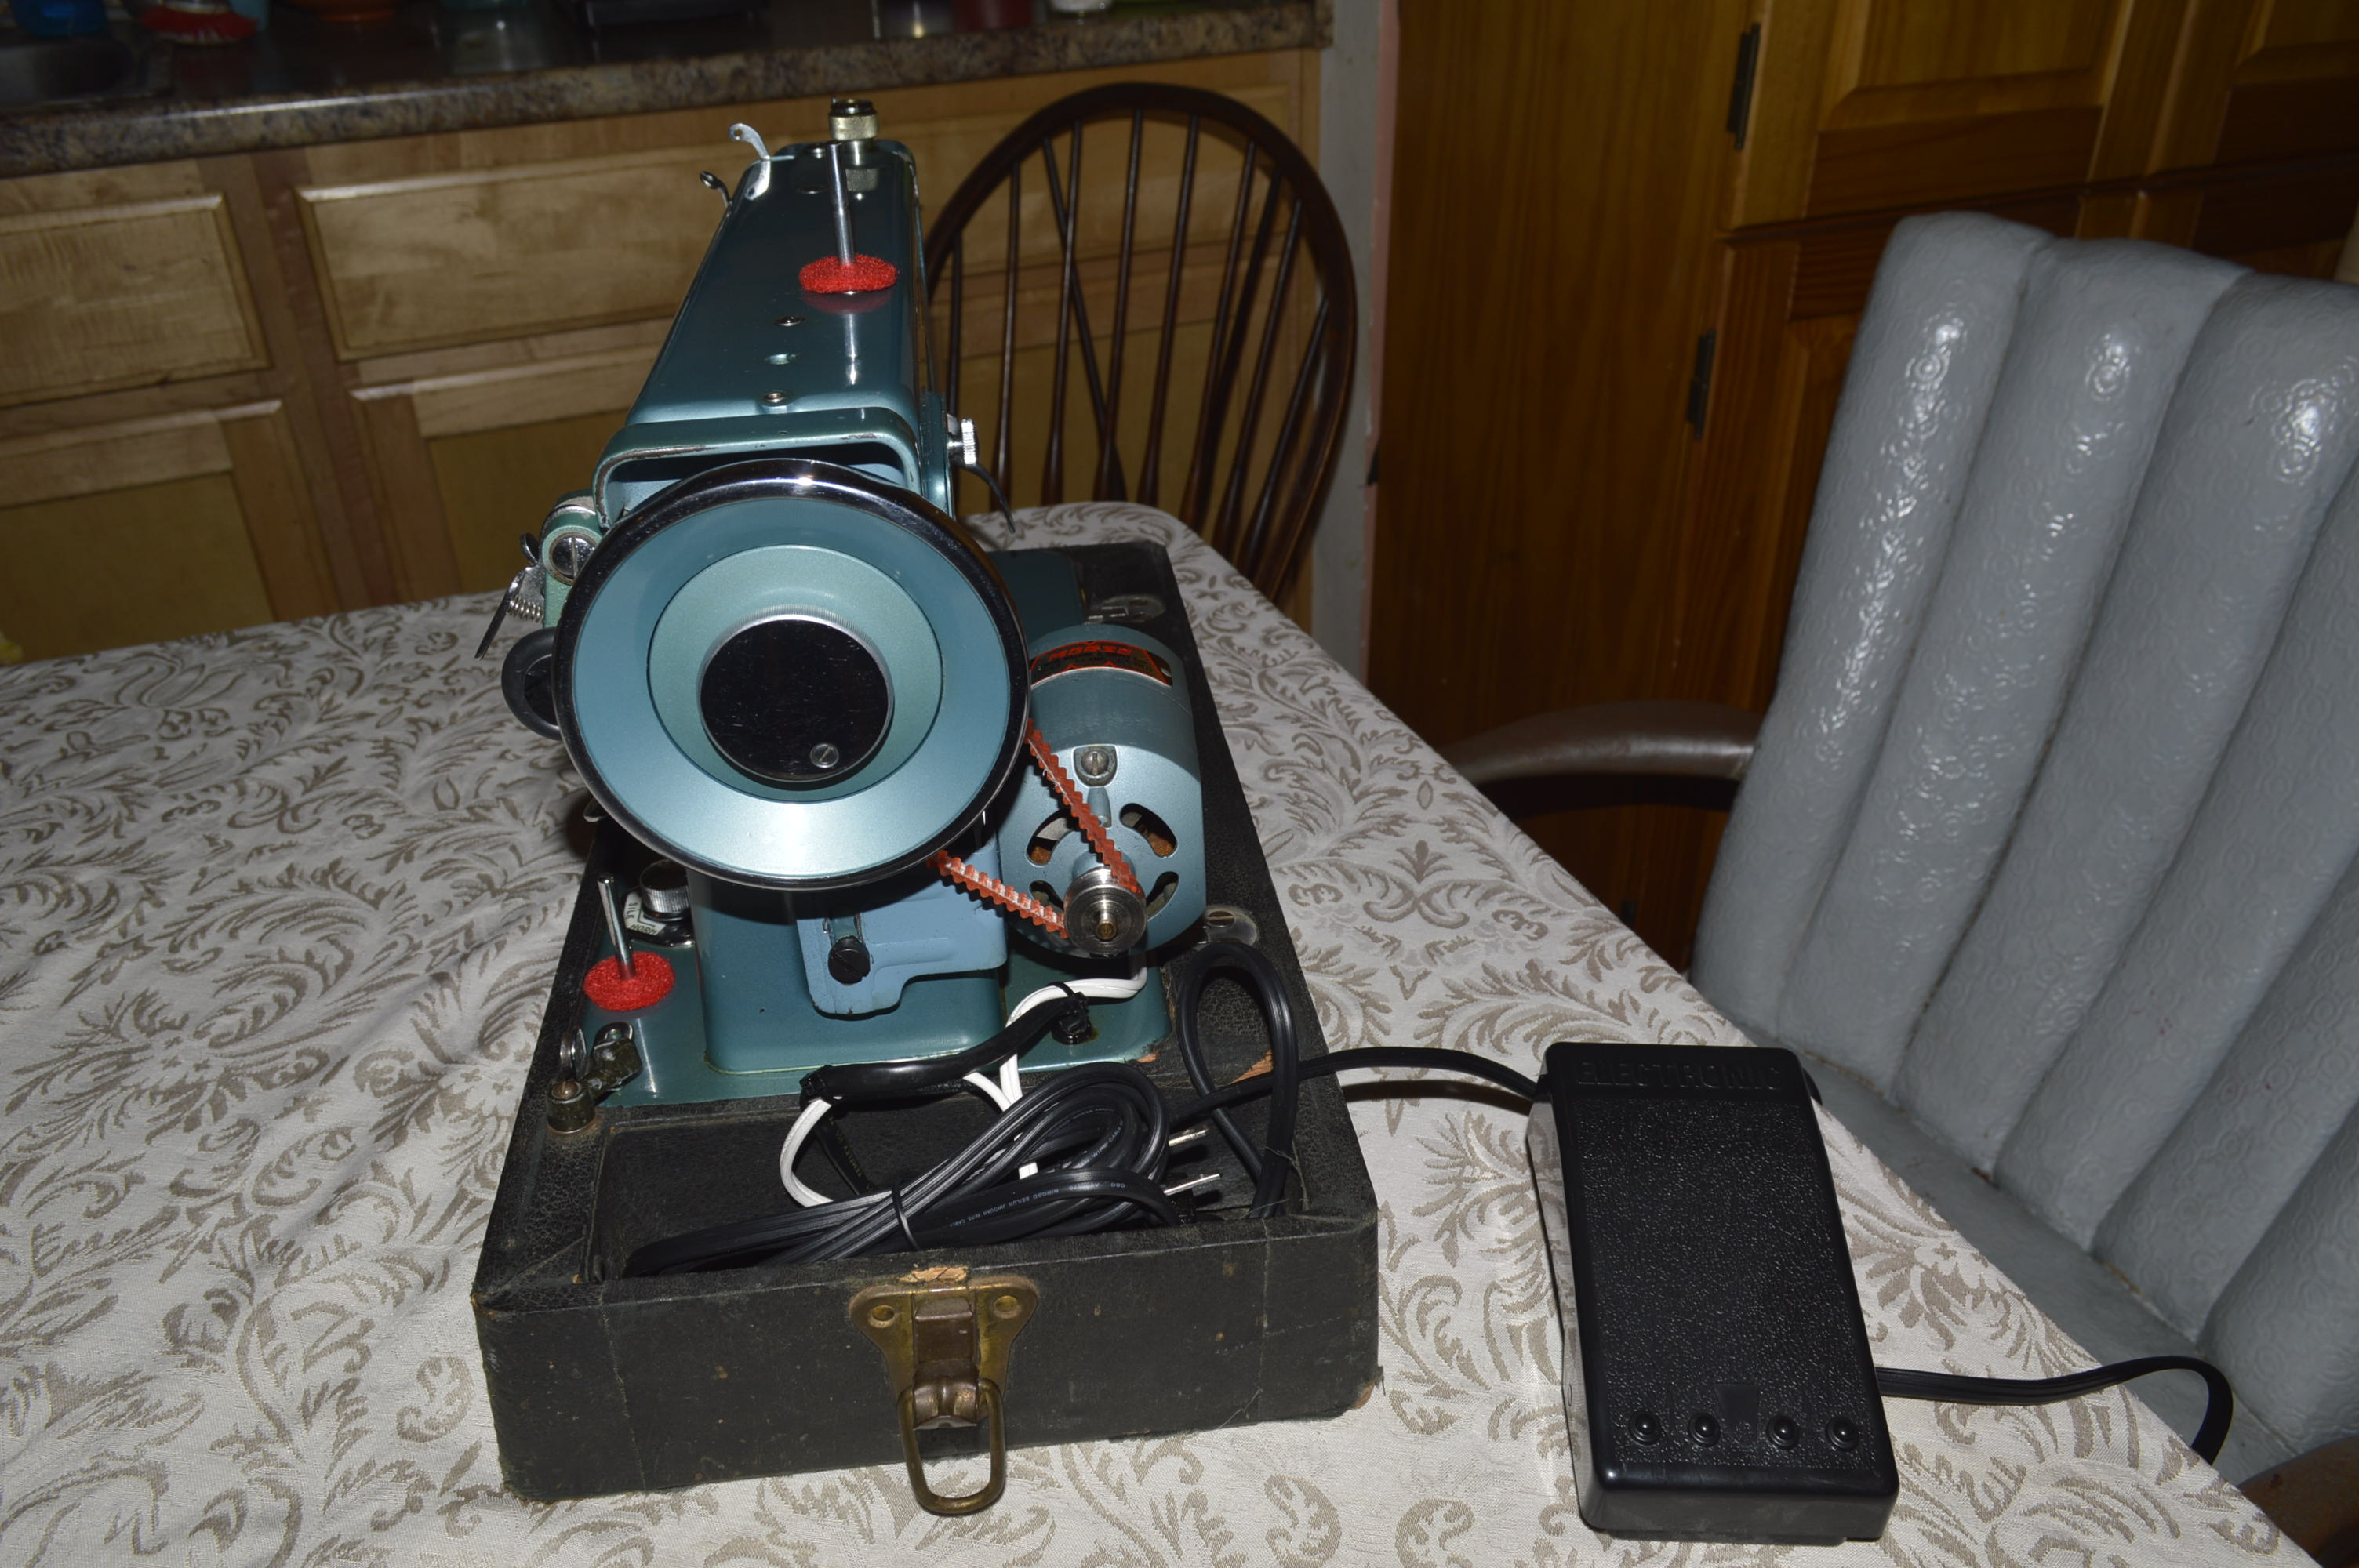
This Morse “Super Dial” is a very nice example of a 50’s-60’s vintage Japanese manufactured sewing machine. The color is a dark Teal (Blue?) and it is a micro metal flake finish. Except for a very few, very small paint chips, the machine is in great cosmetic condition. This machine is a custom order, so the final package will include an electronic foot control at the Customer’s request.
So, here is the machine in the condition it was delivered in.

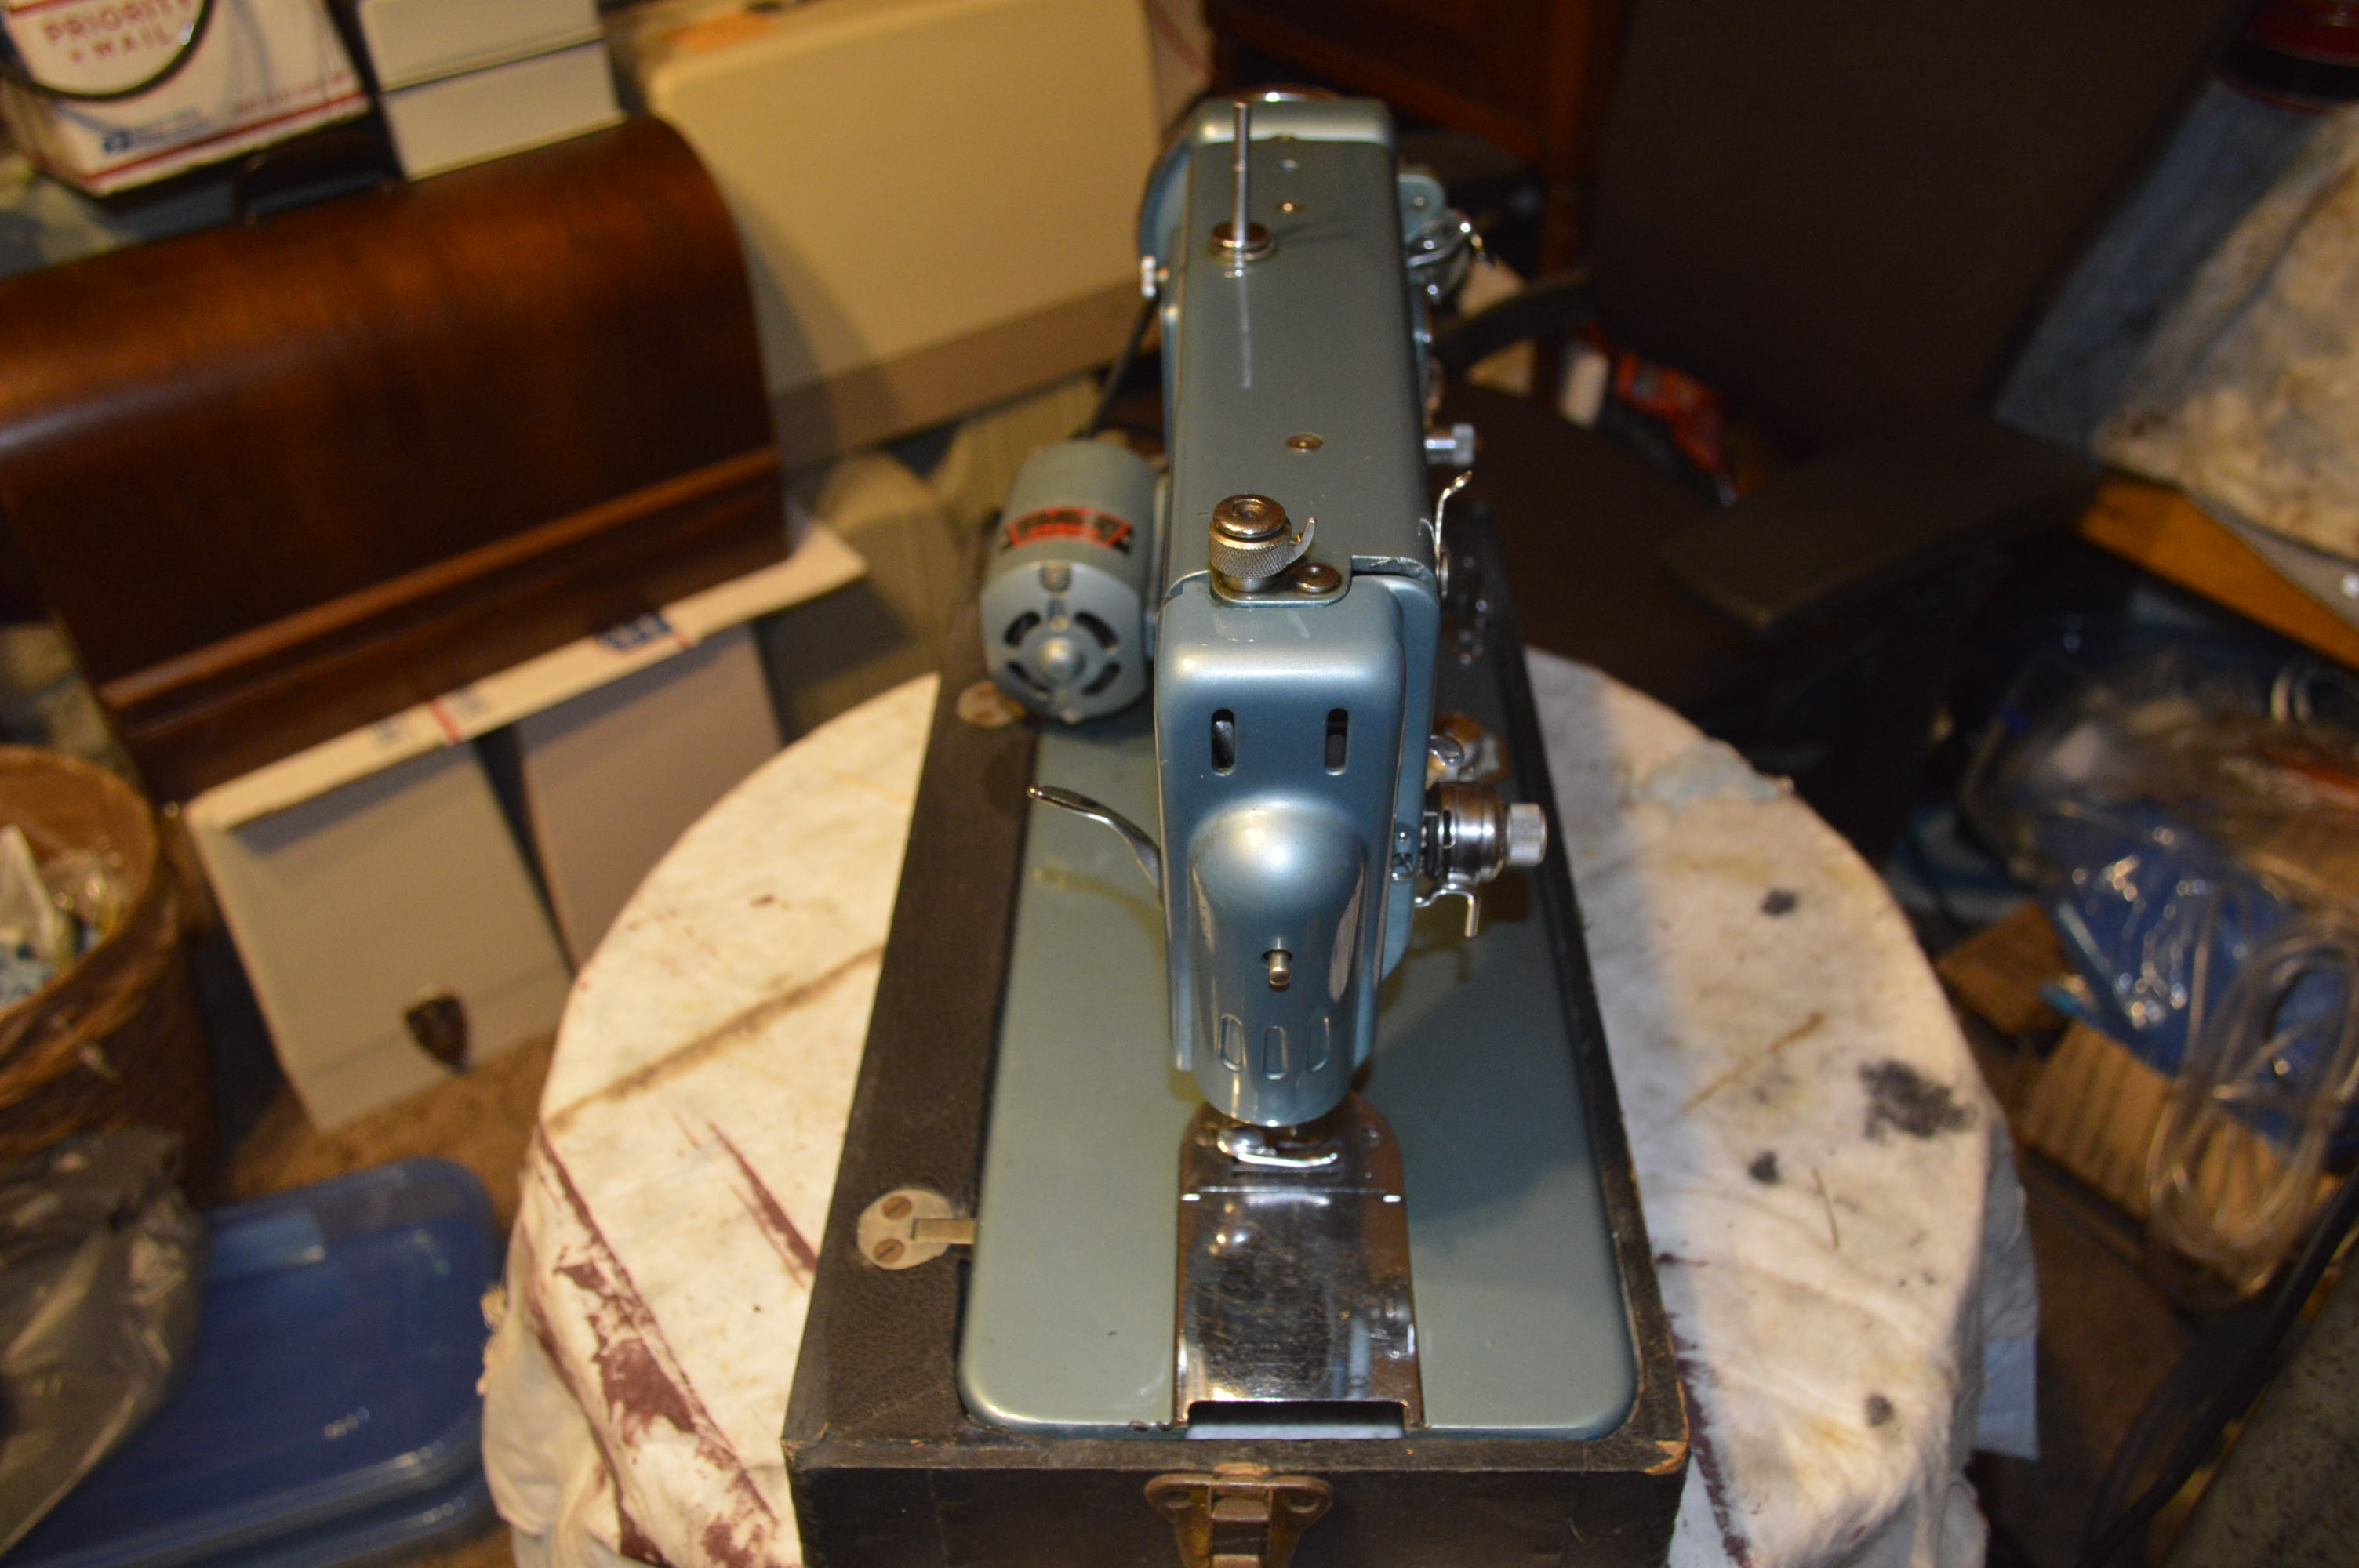
The machine looks pretty good. The chrome is shiny and the paint looks good. On close inspection, it is revealed that the finish is hiding a lot of oil varnish and dirt. I can’t wait to see how good she looks when the deep cleaning and polishing is complete!
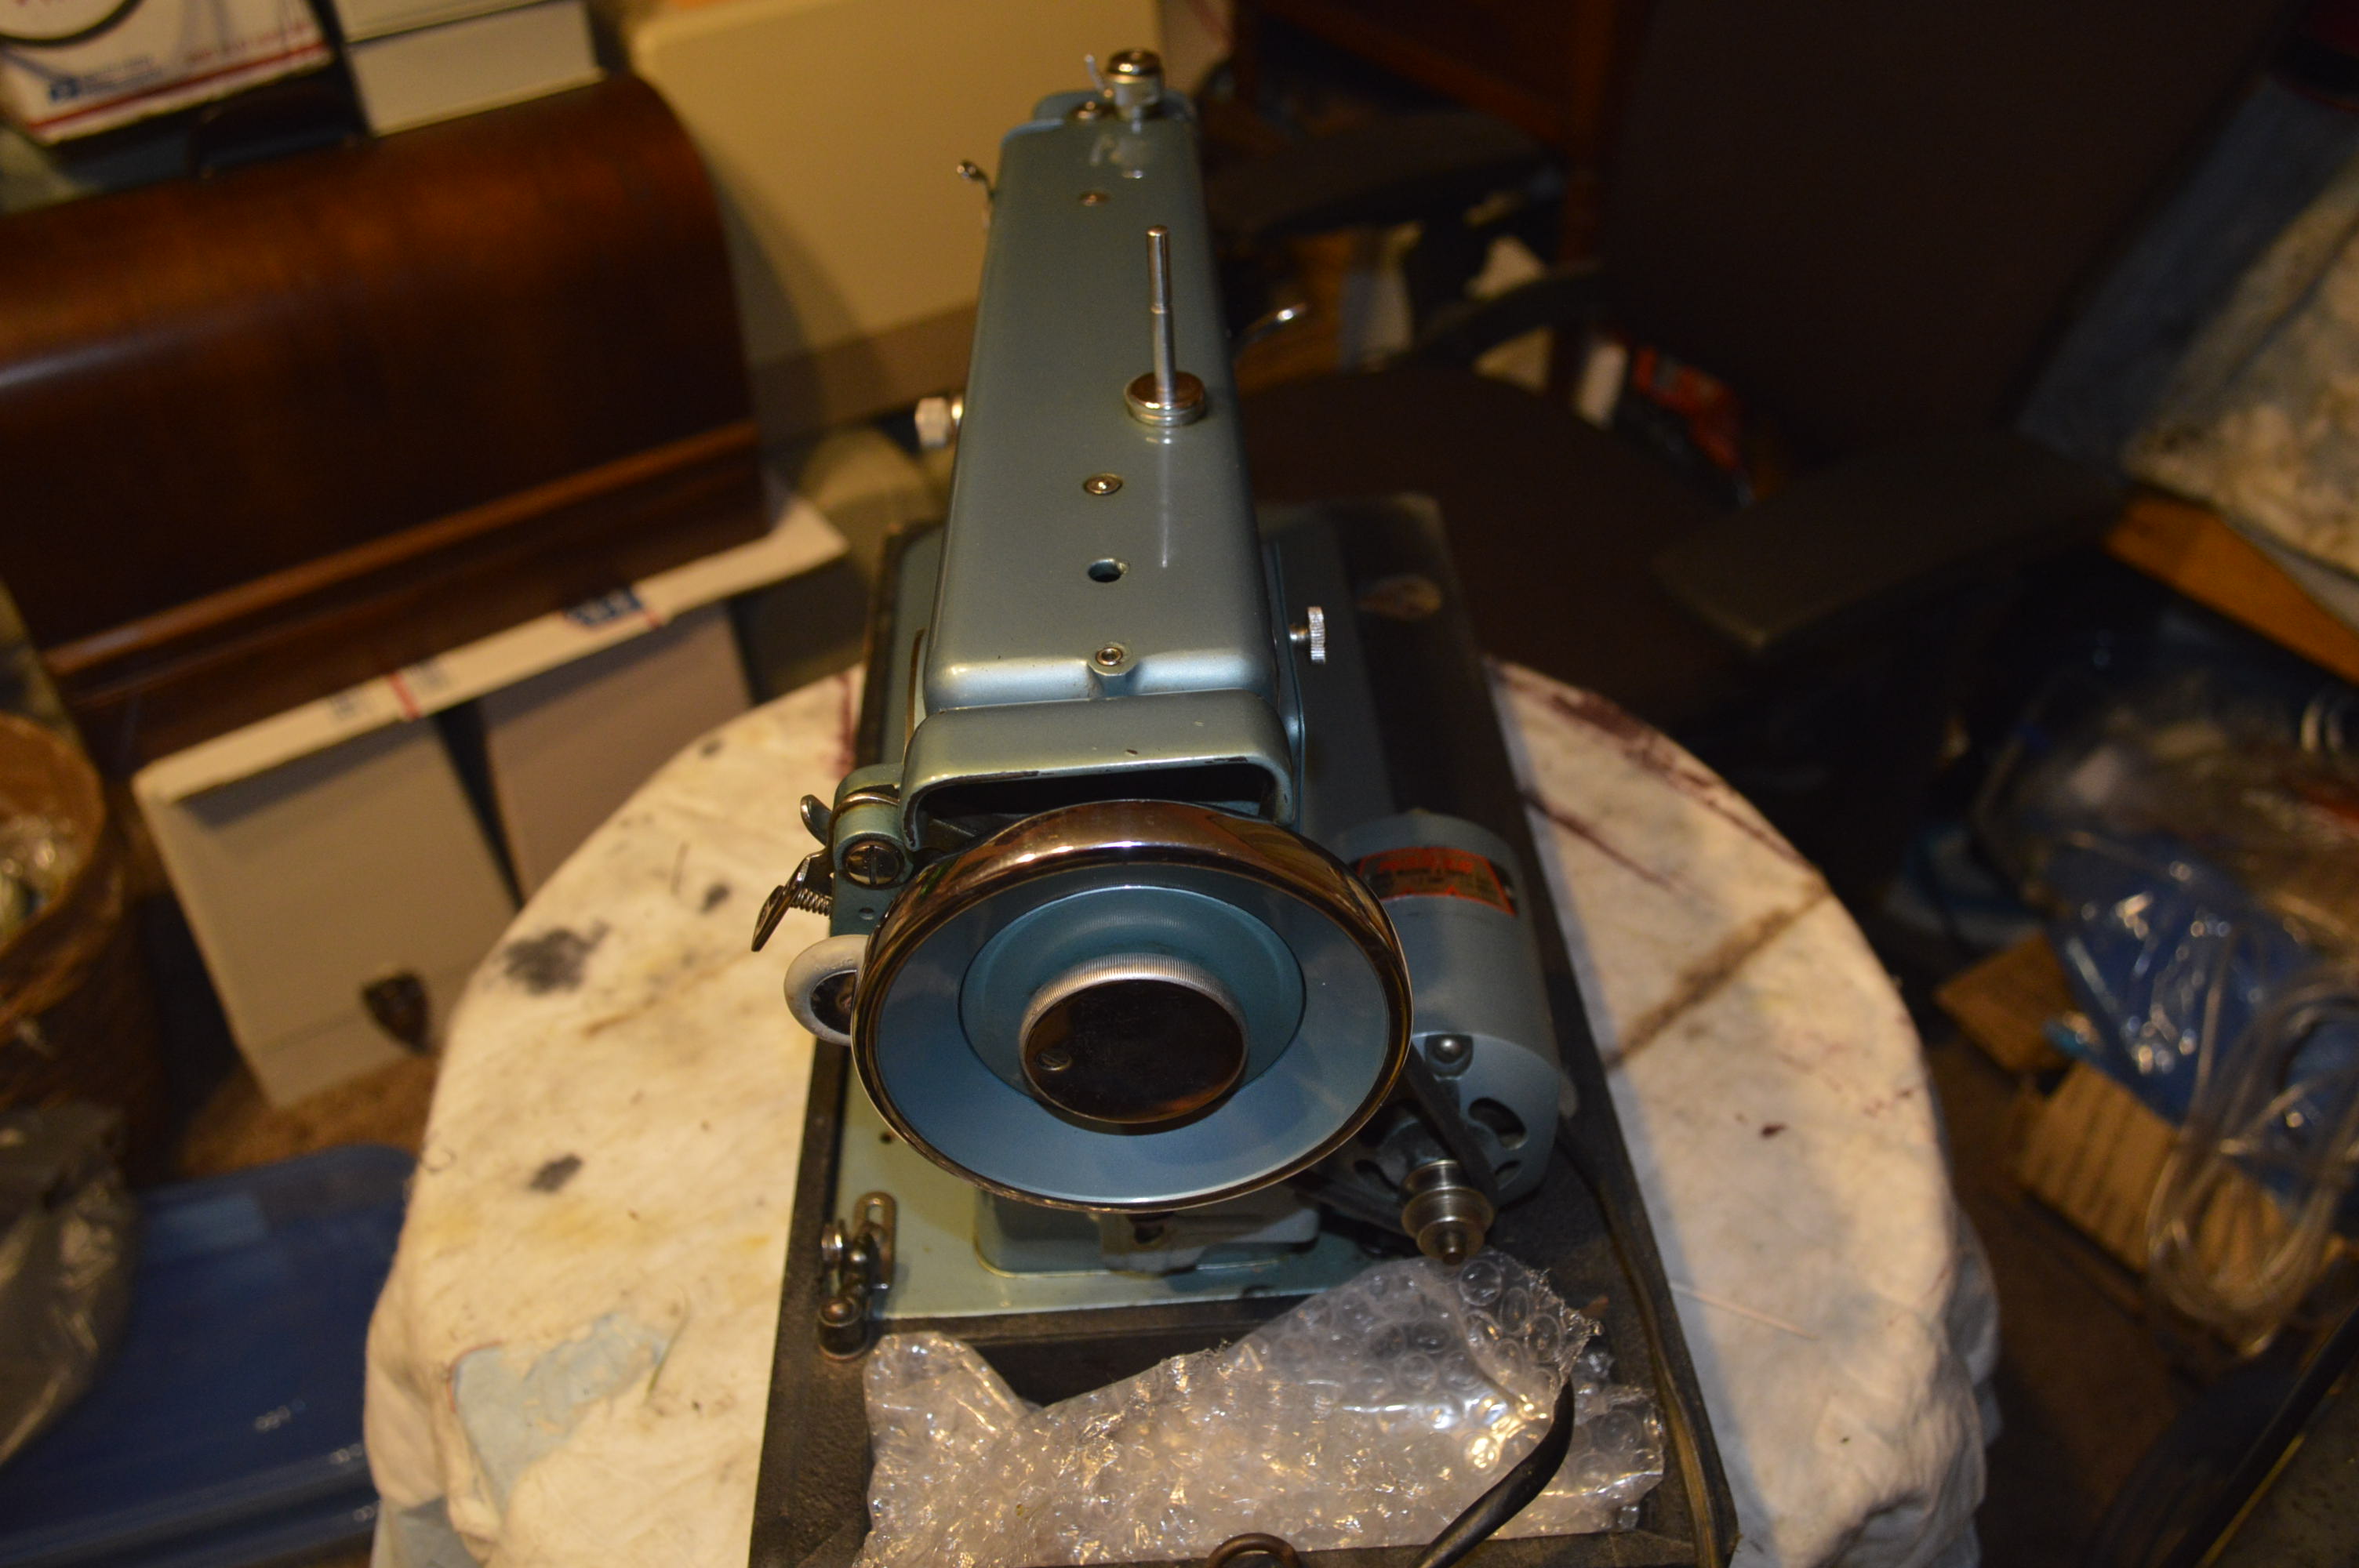
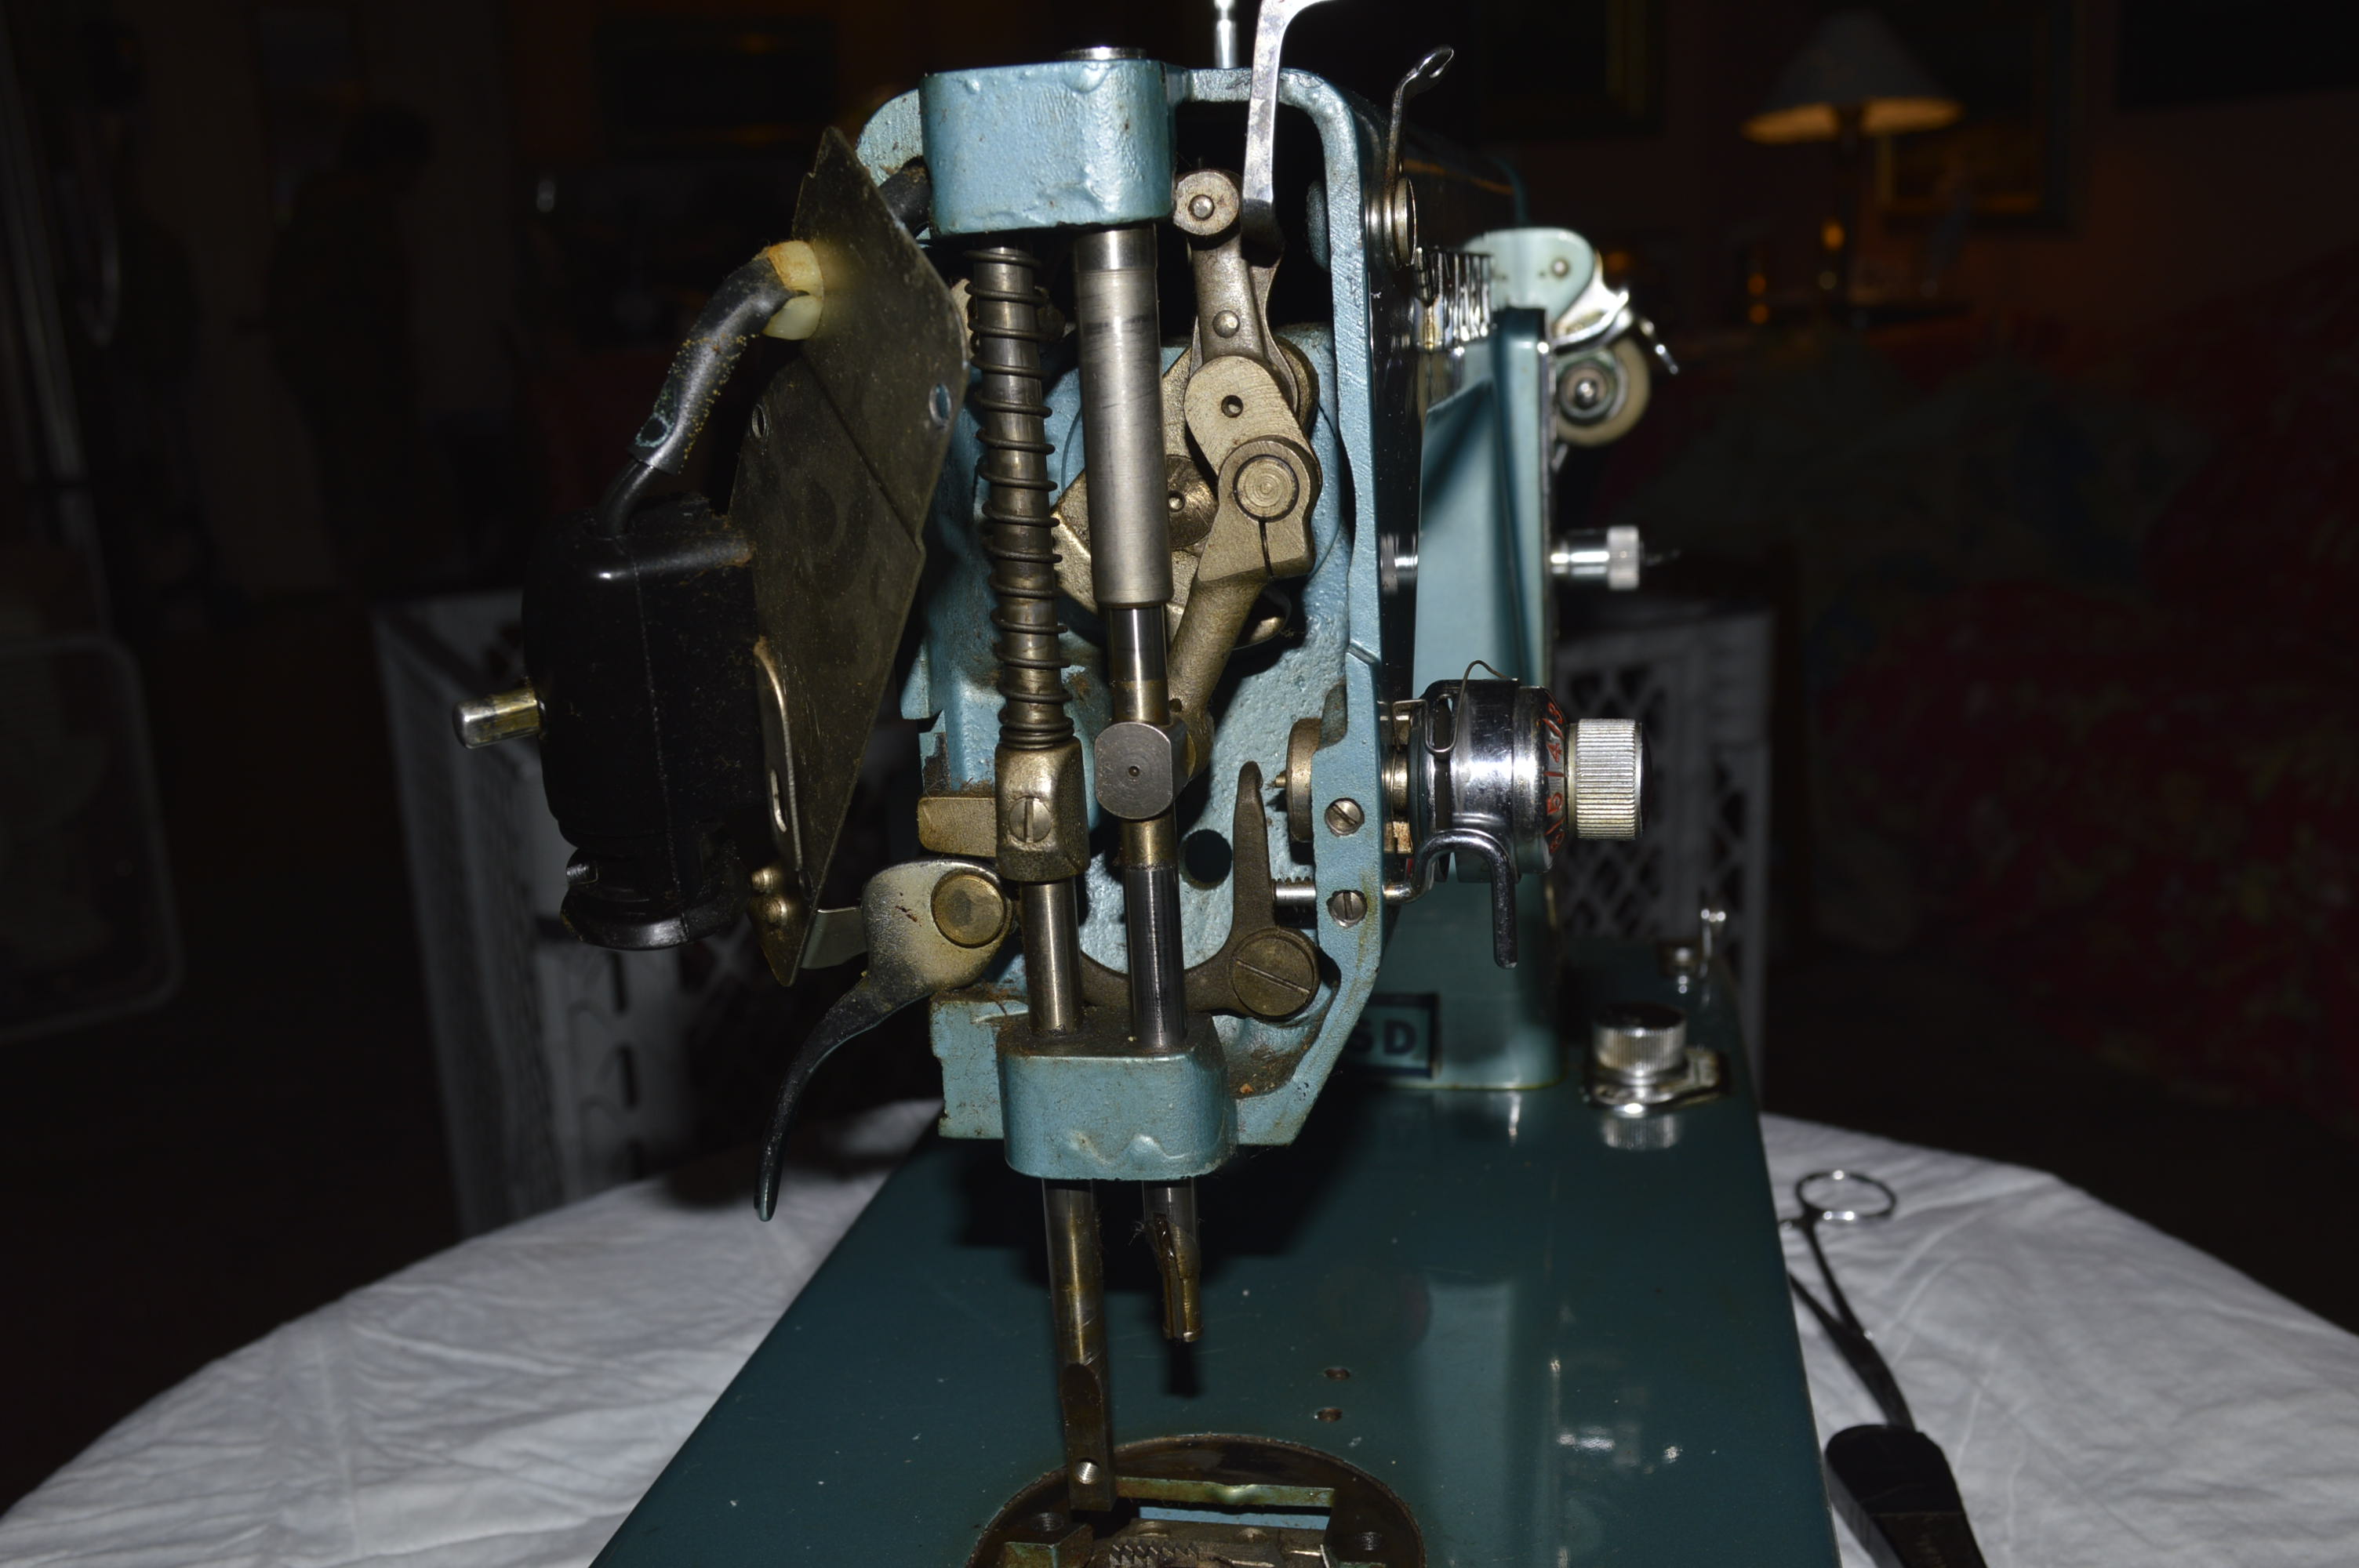
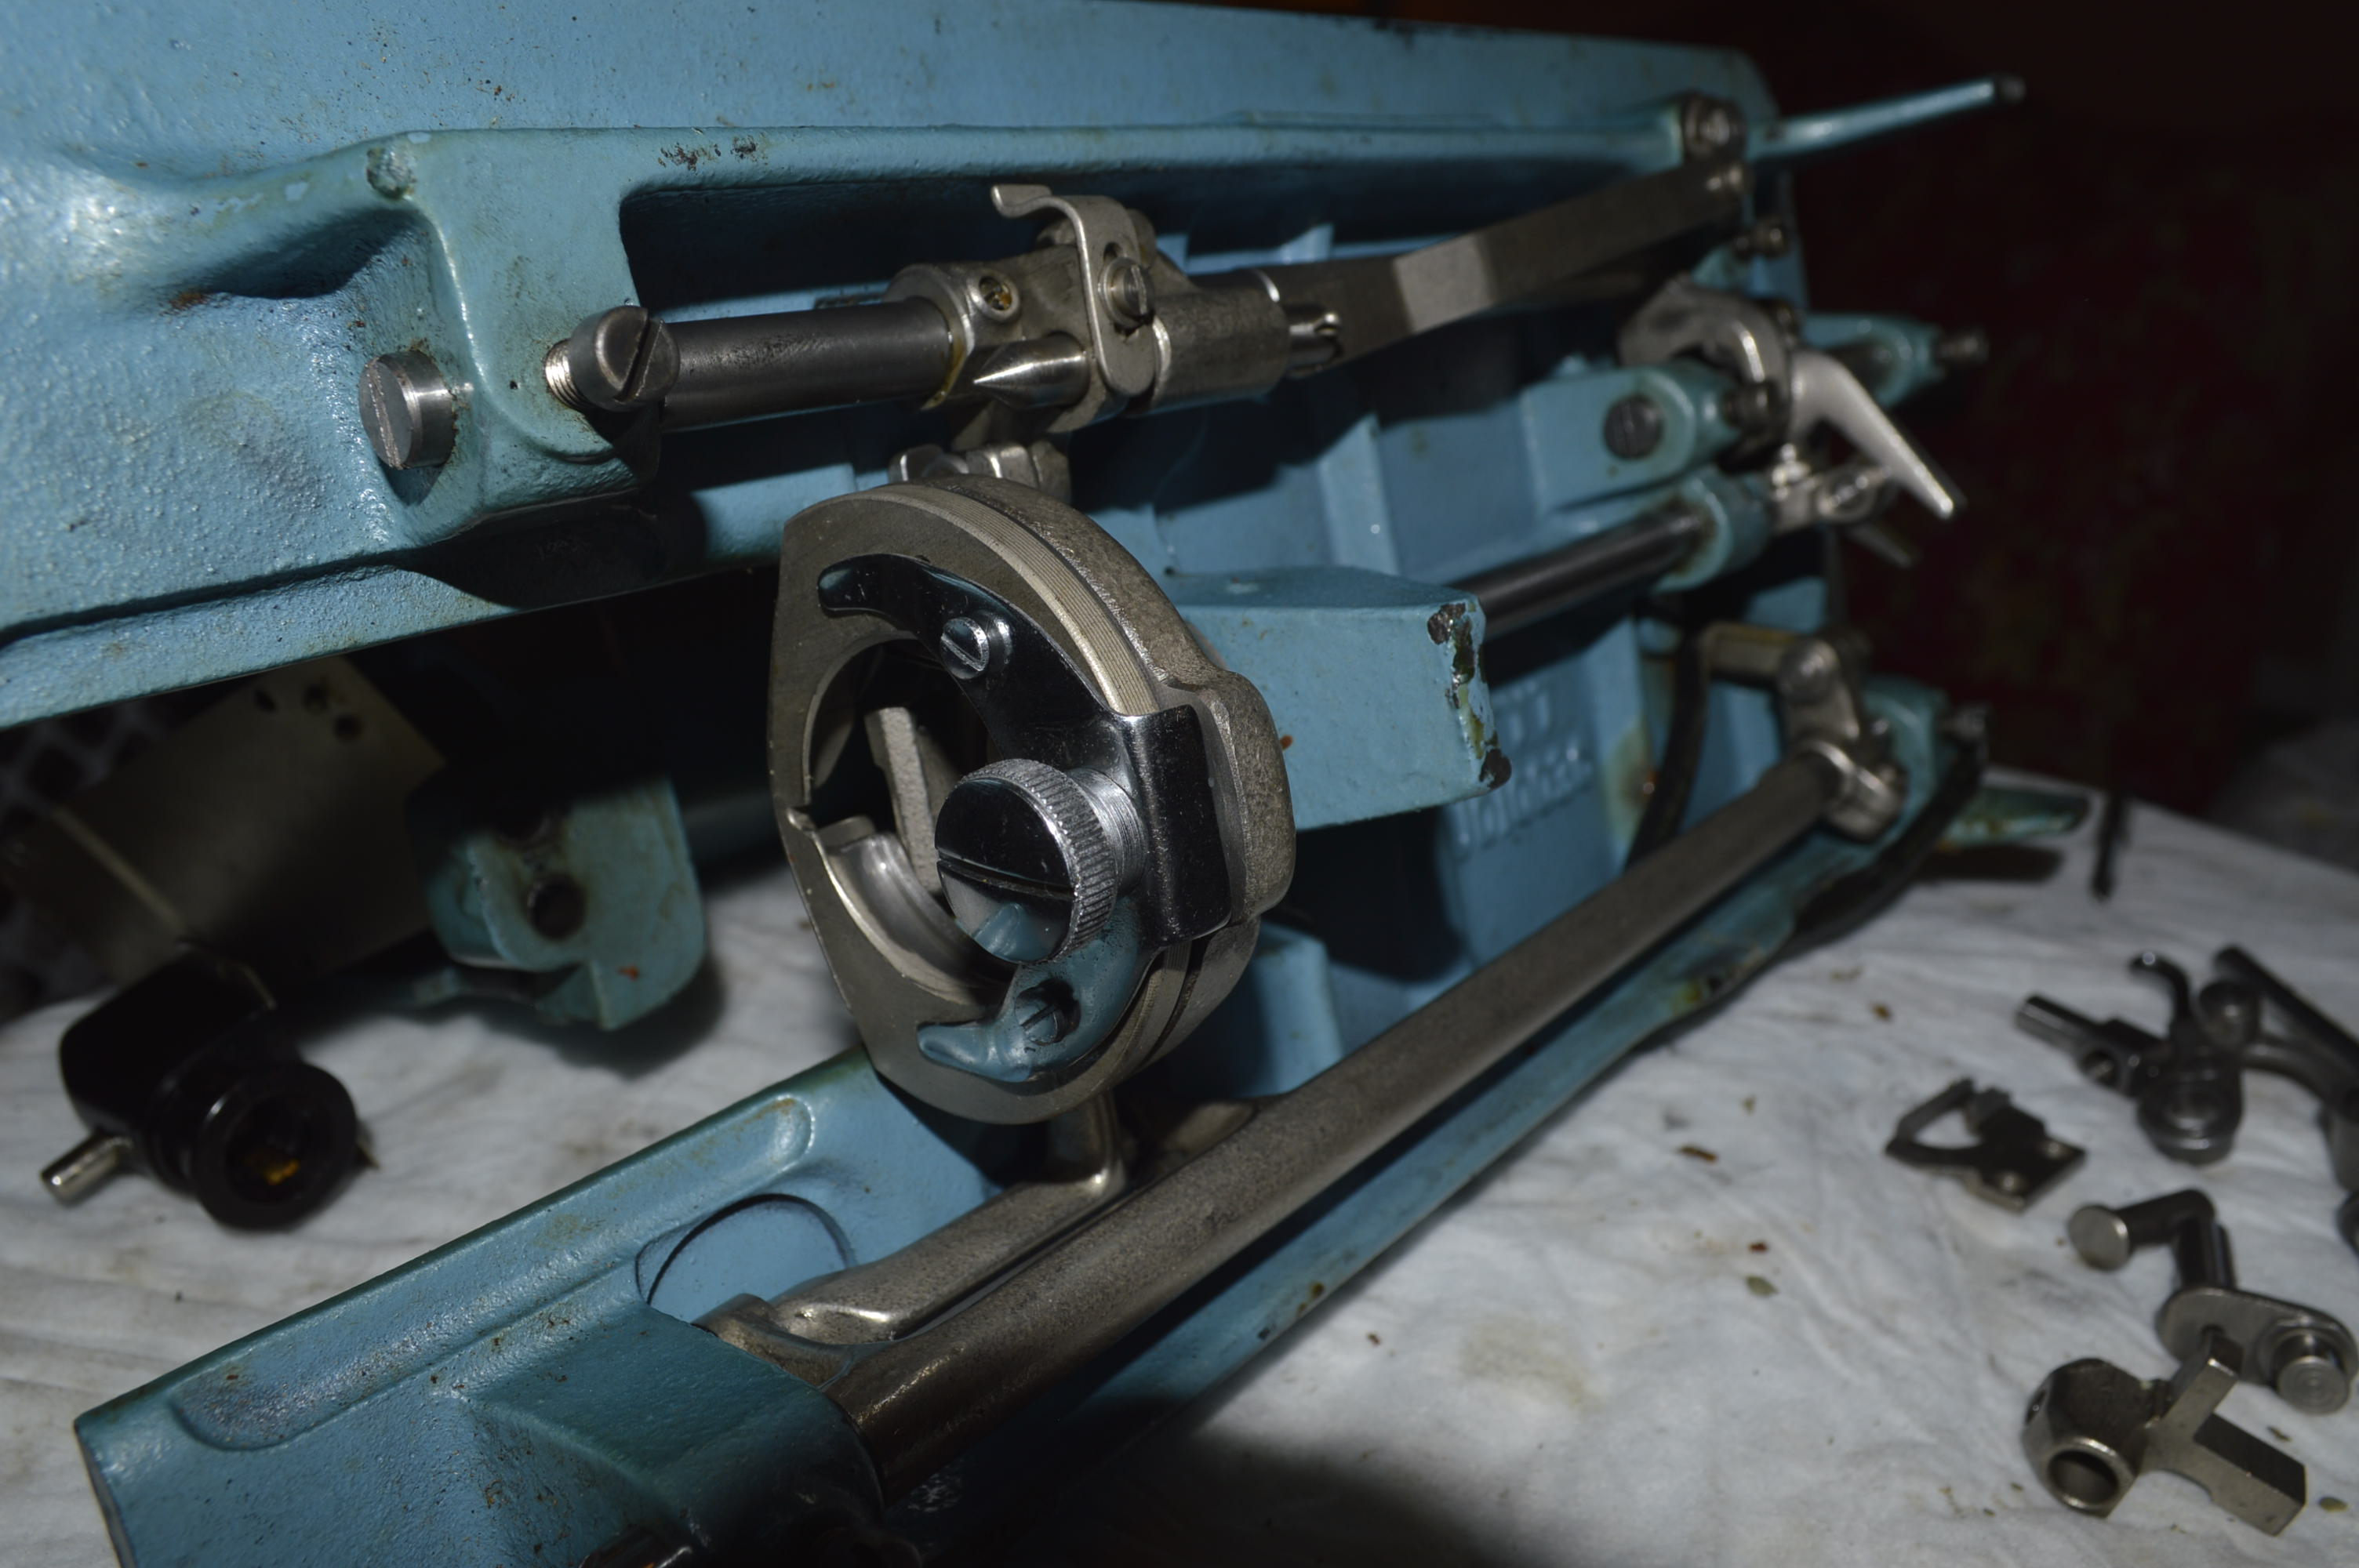
This machine is going thru the same reconditioning that all of our machines do. This starts with complete disassembly of all mechanisms located in the sewing machine needle bar head, under the bed, and in the pillar. The condition of these parts shows quite a bit of oil varnish coating the outside. Although the machine turns smoothly, this oil varnish is coating the insides of these parts, and when cleaned, the difference in smoothness will be night and day.
Disassembly starts by removing all of the parts in the needle bar head…
Before 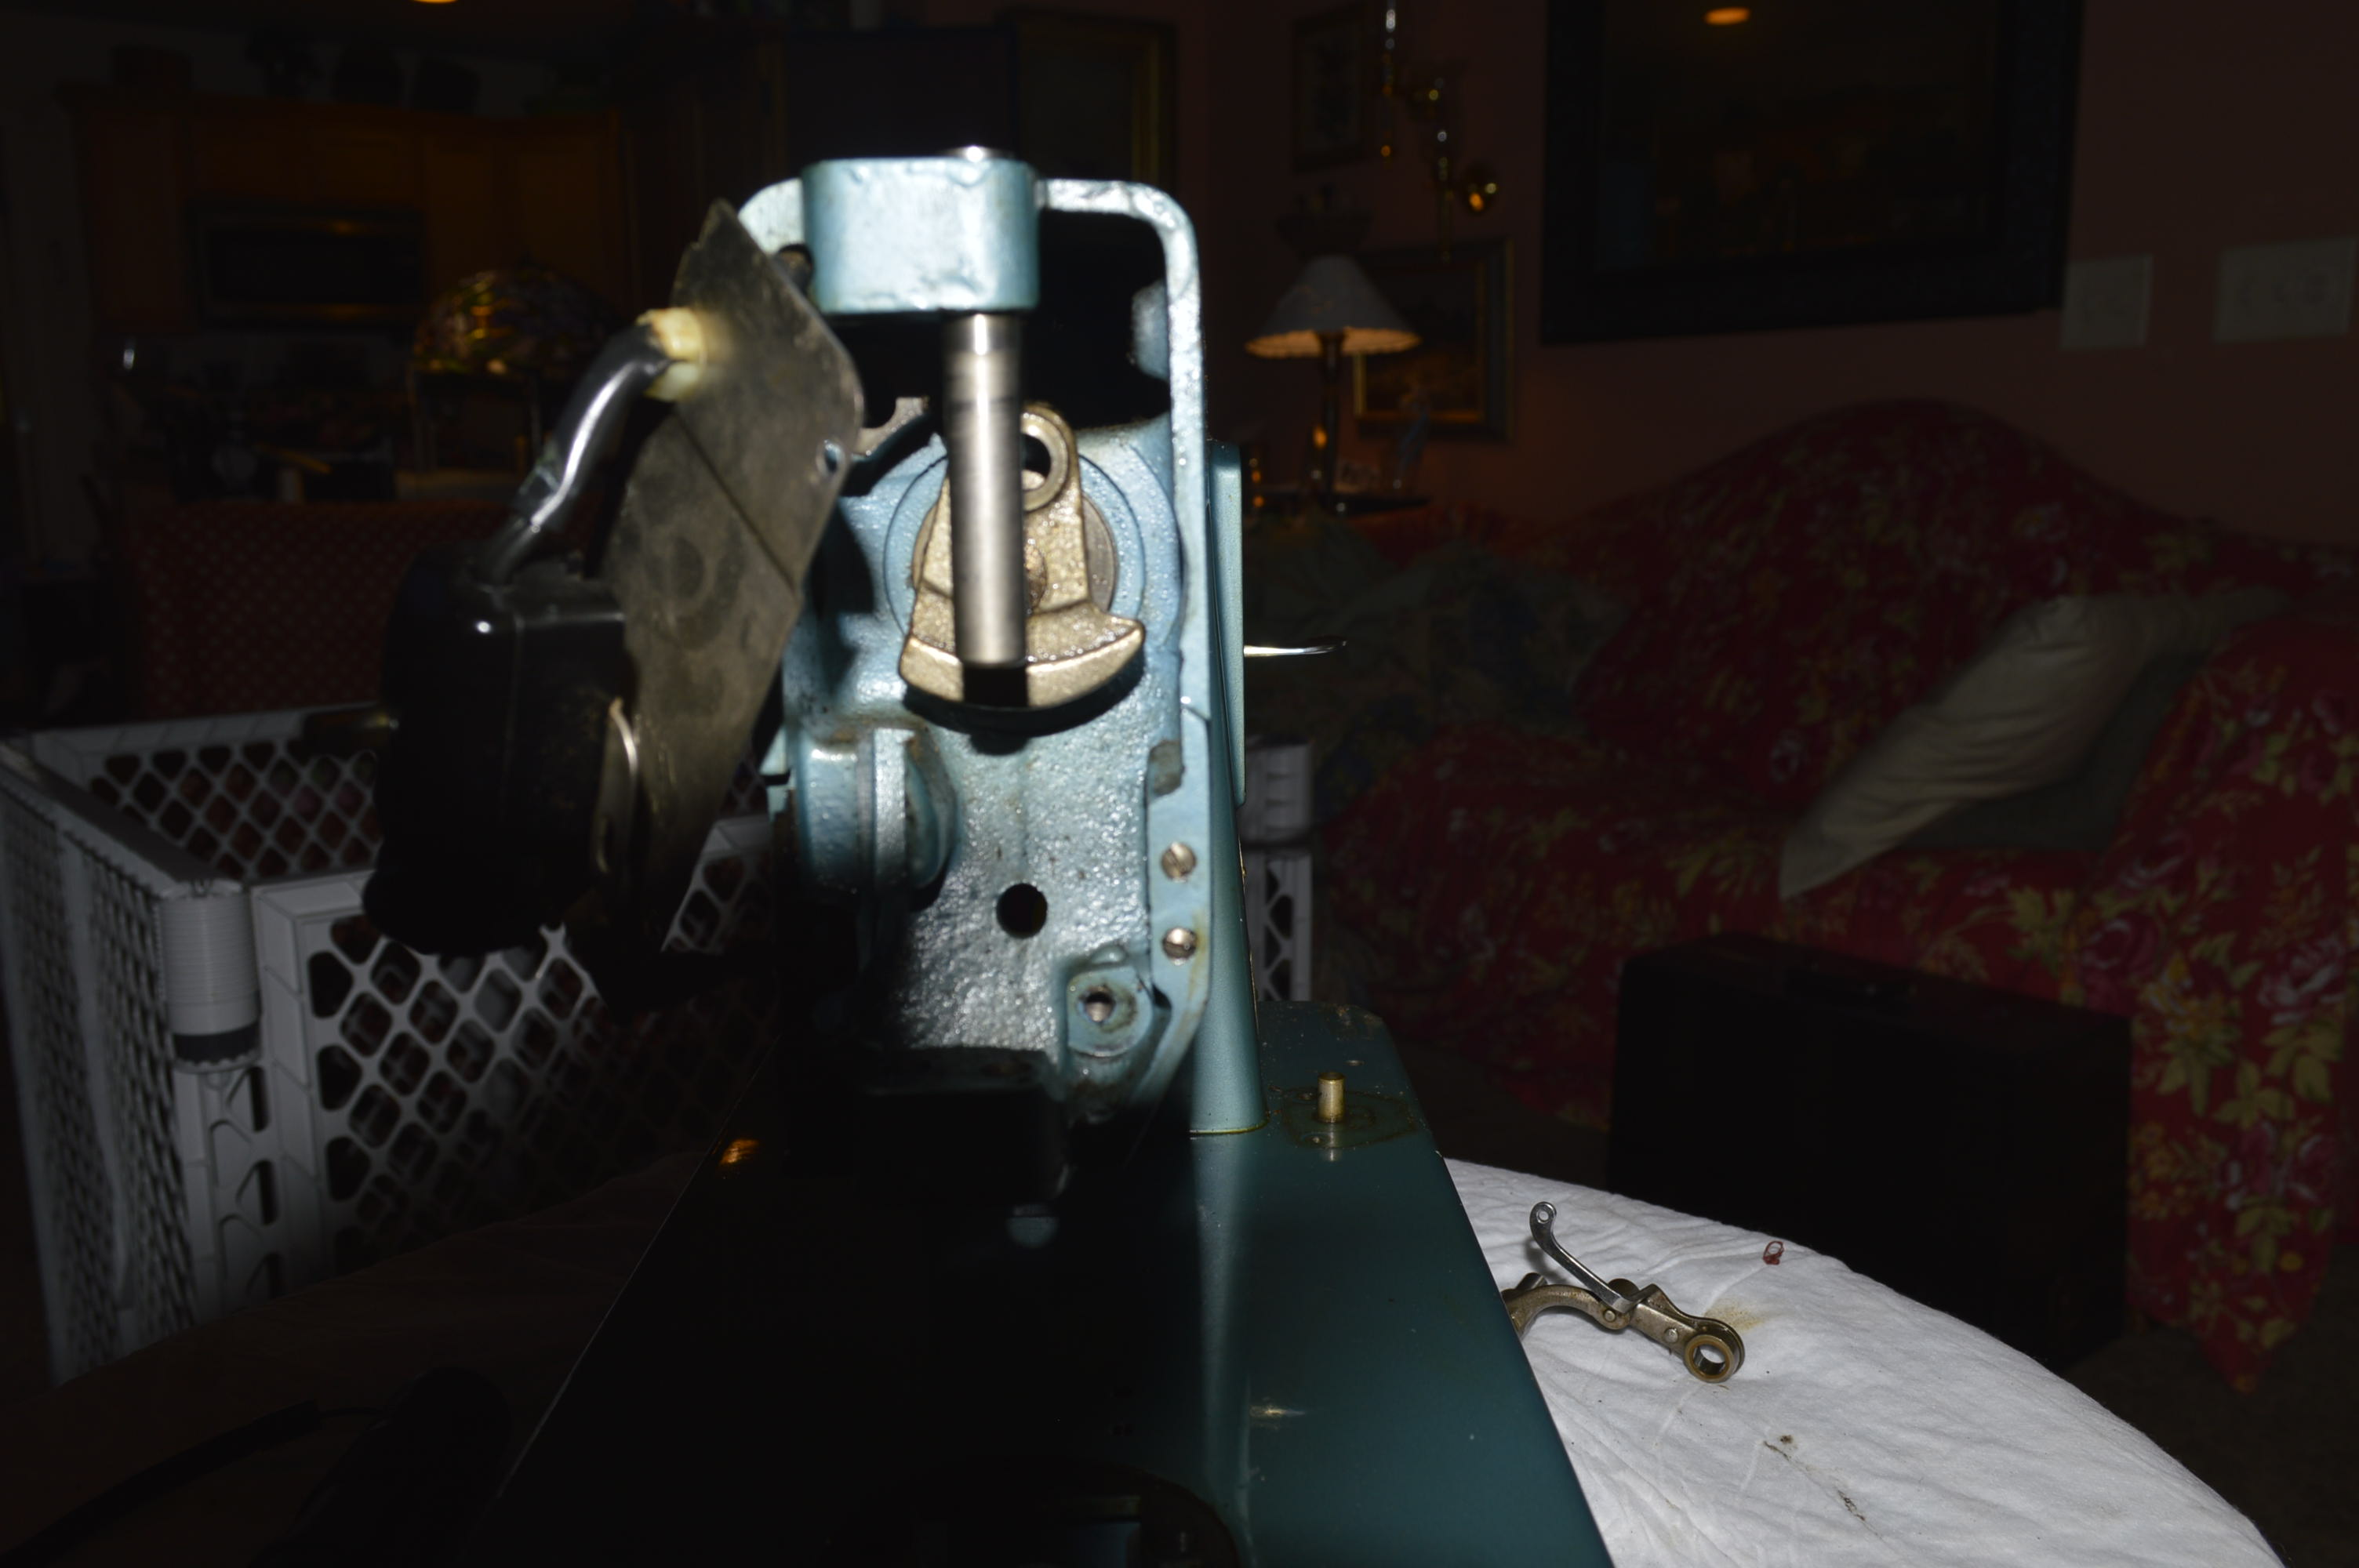
After
The parts here are coated with oil varnish, and after removal, several of the rotating parts were very stiff in rotation… buts that will be corrected in the reconditioning.
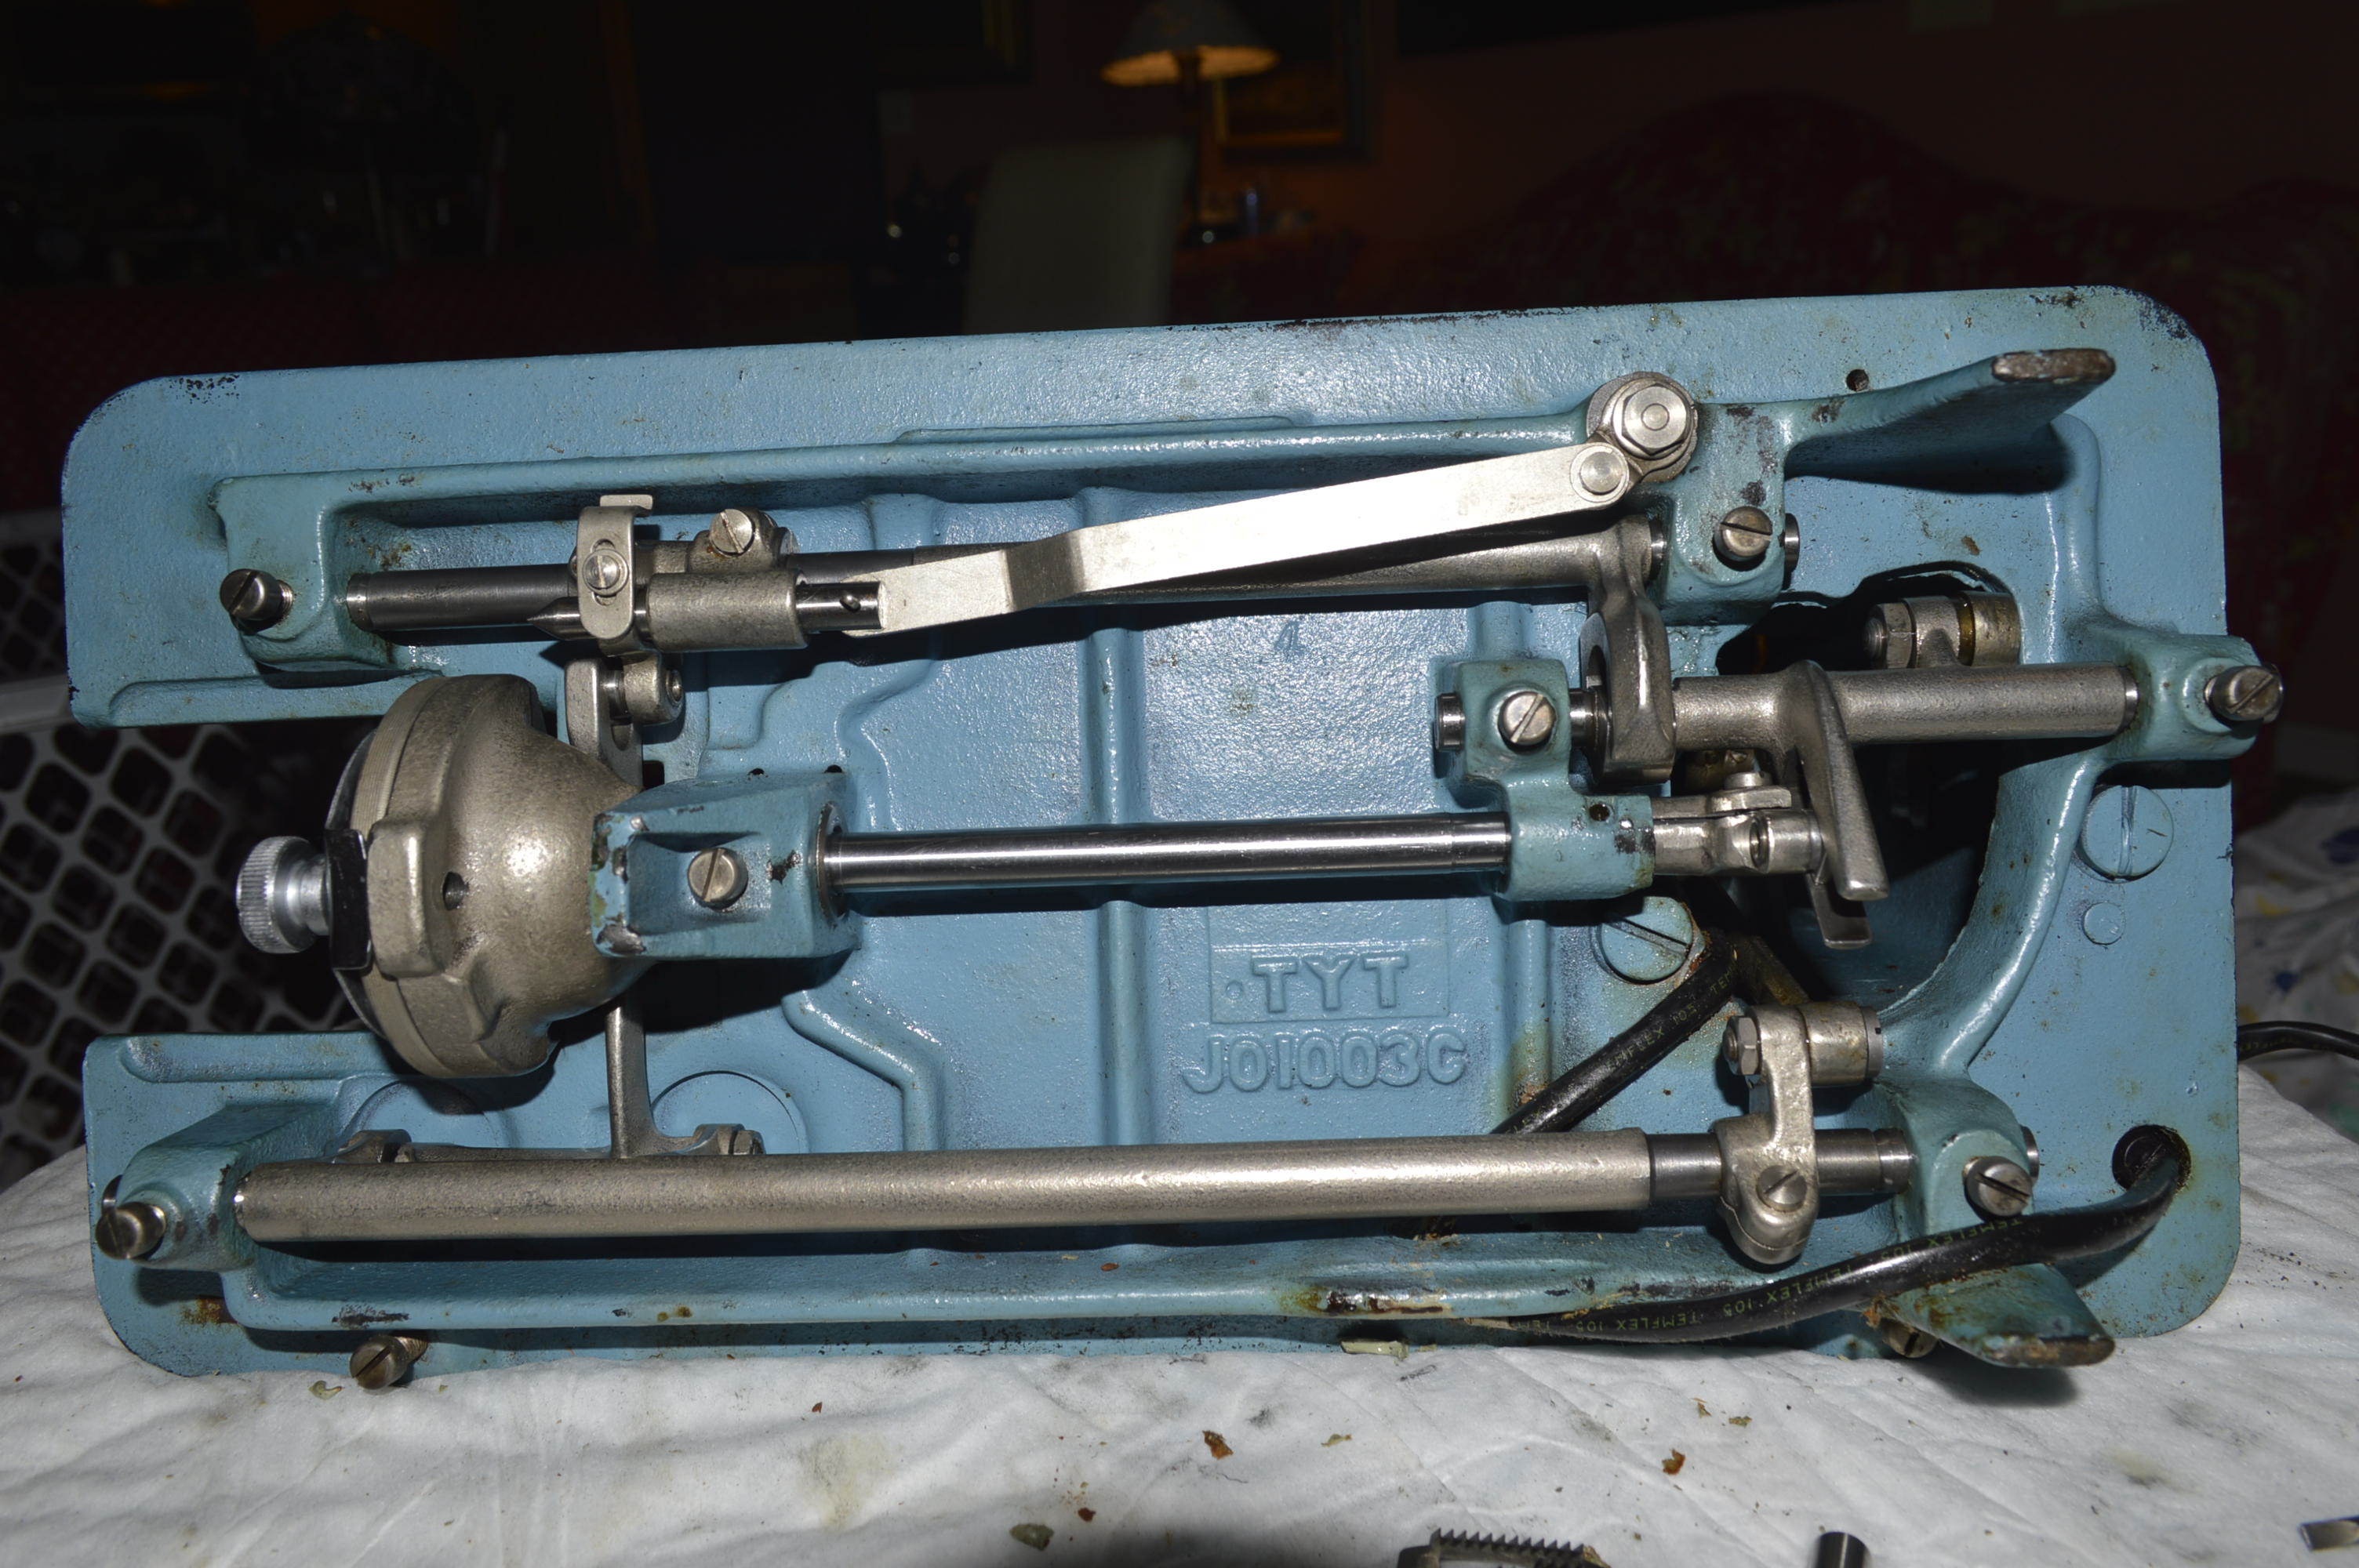
The next step is to remove all of the parts under the sewing bed…

Before 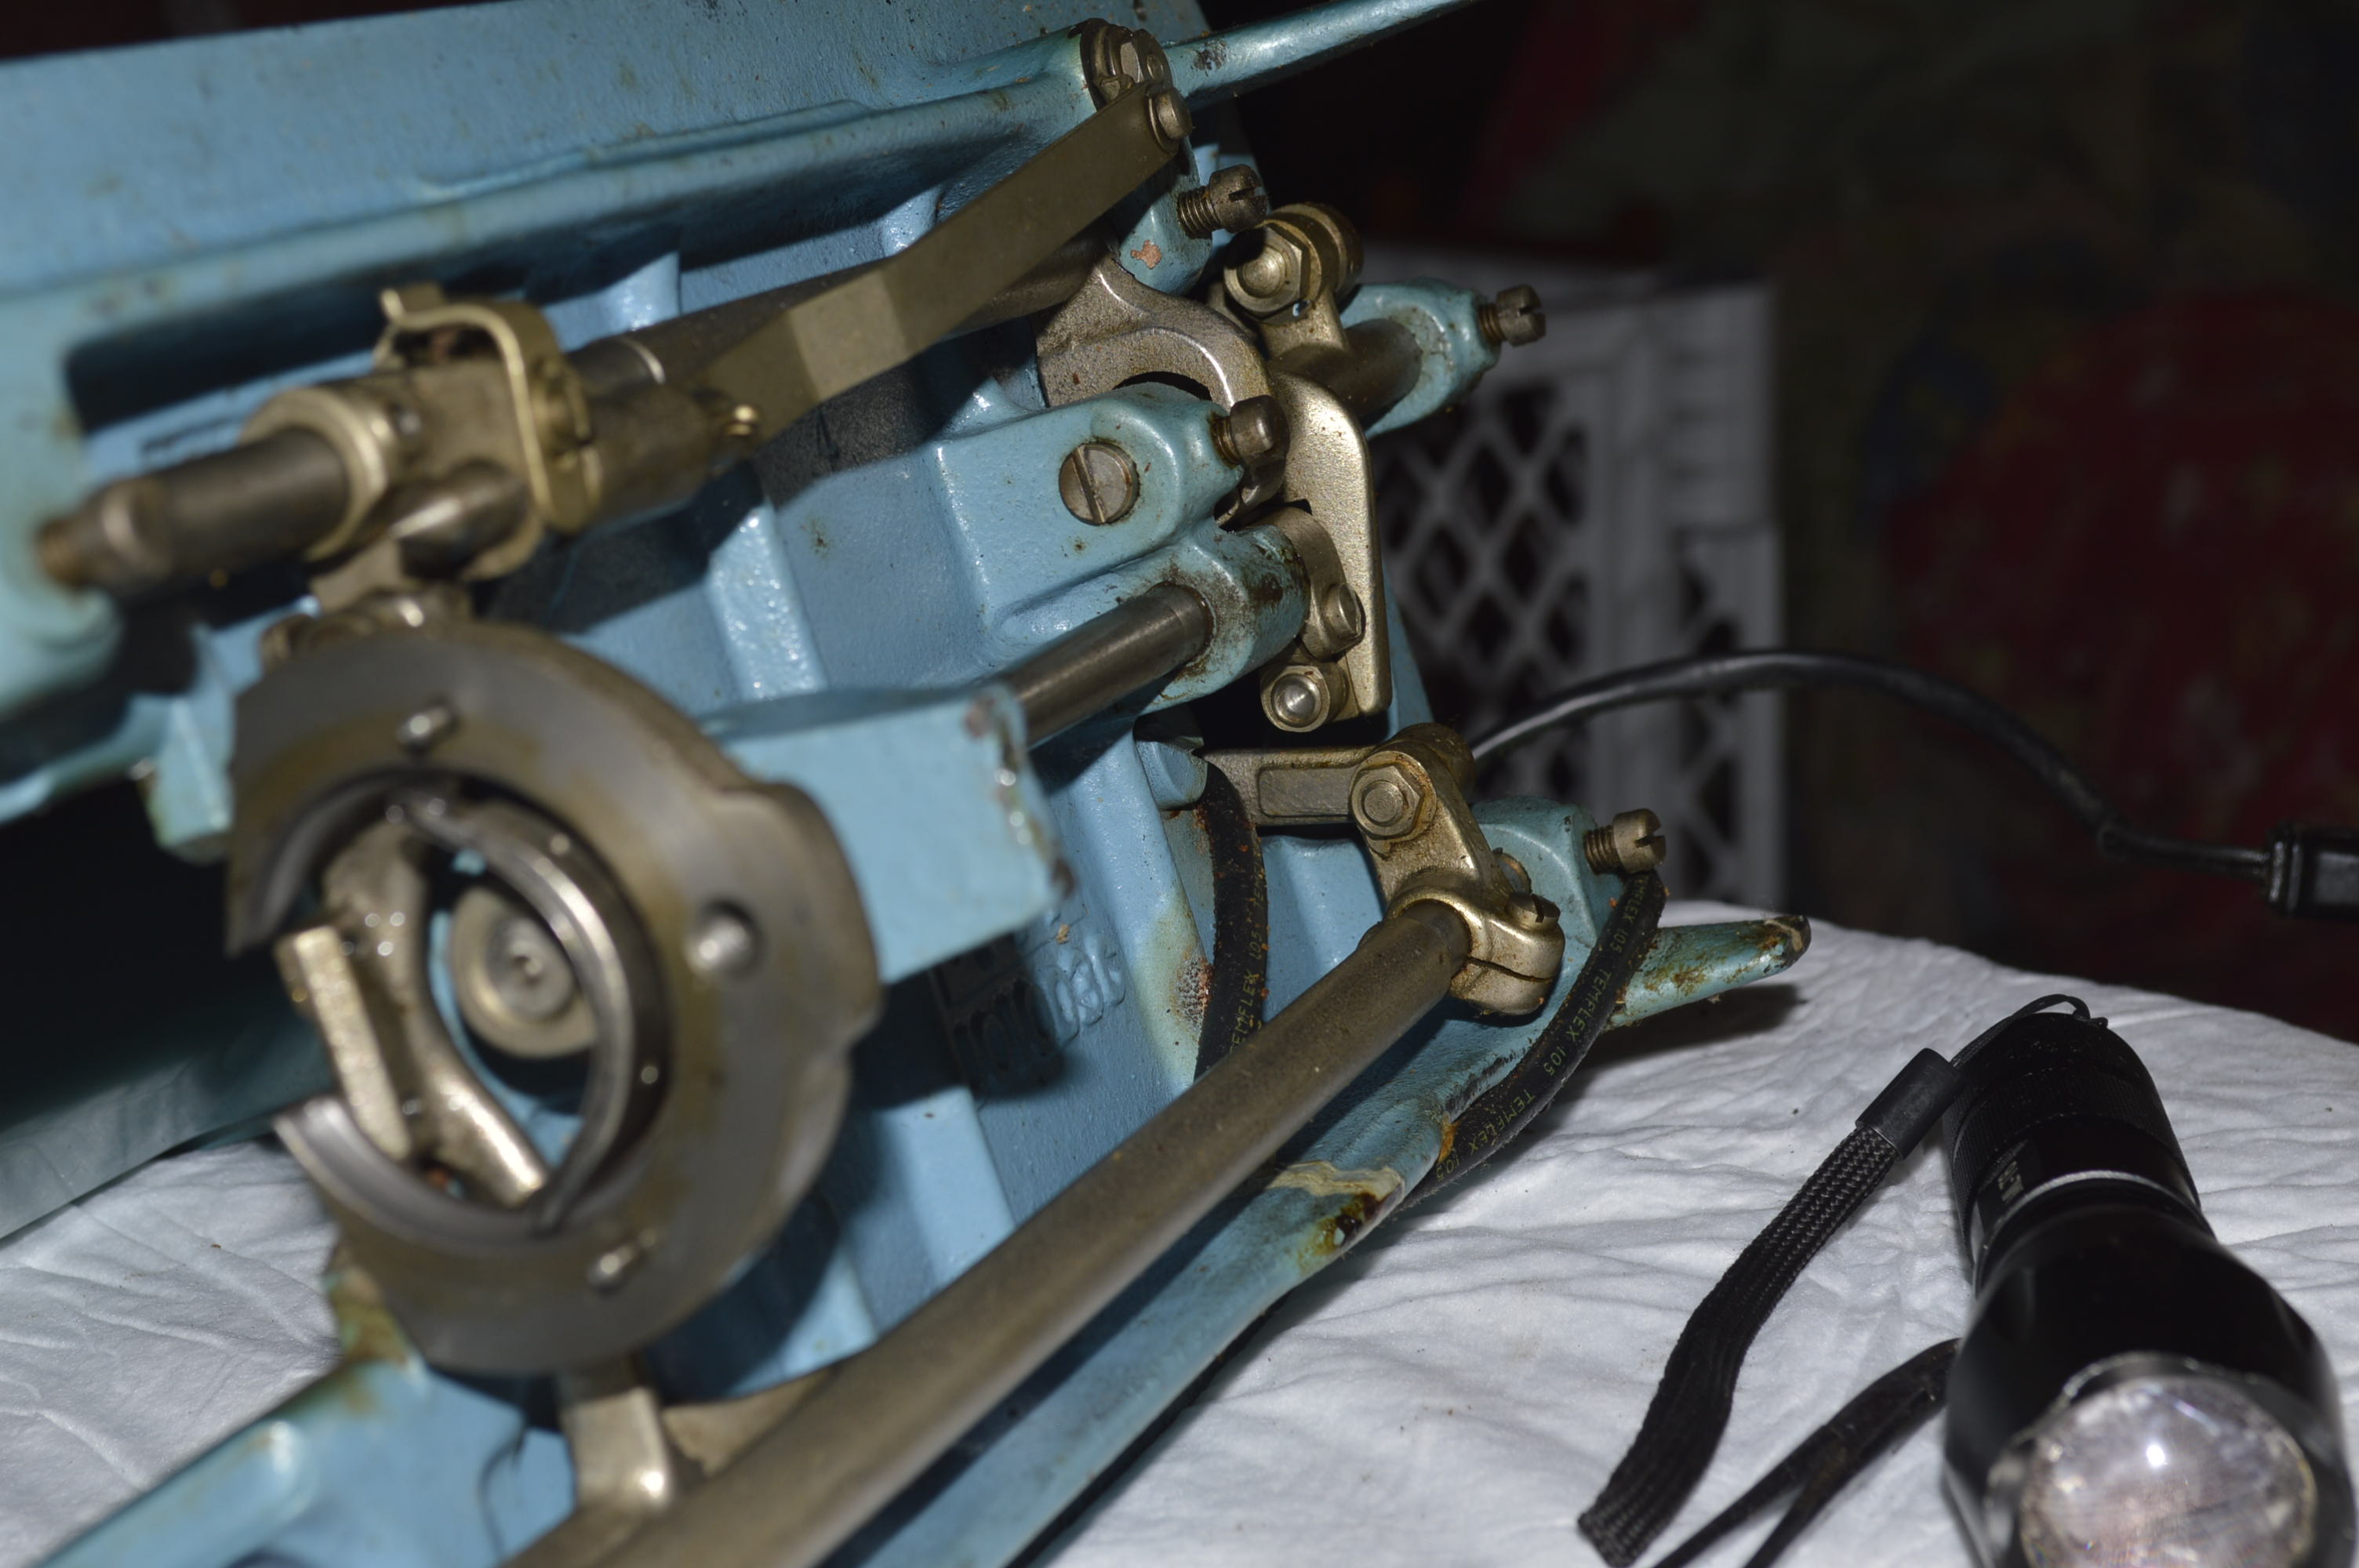
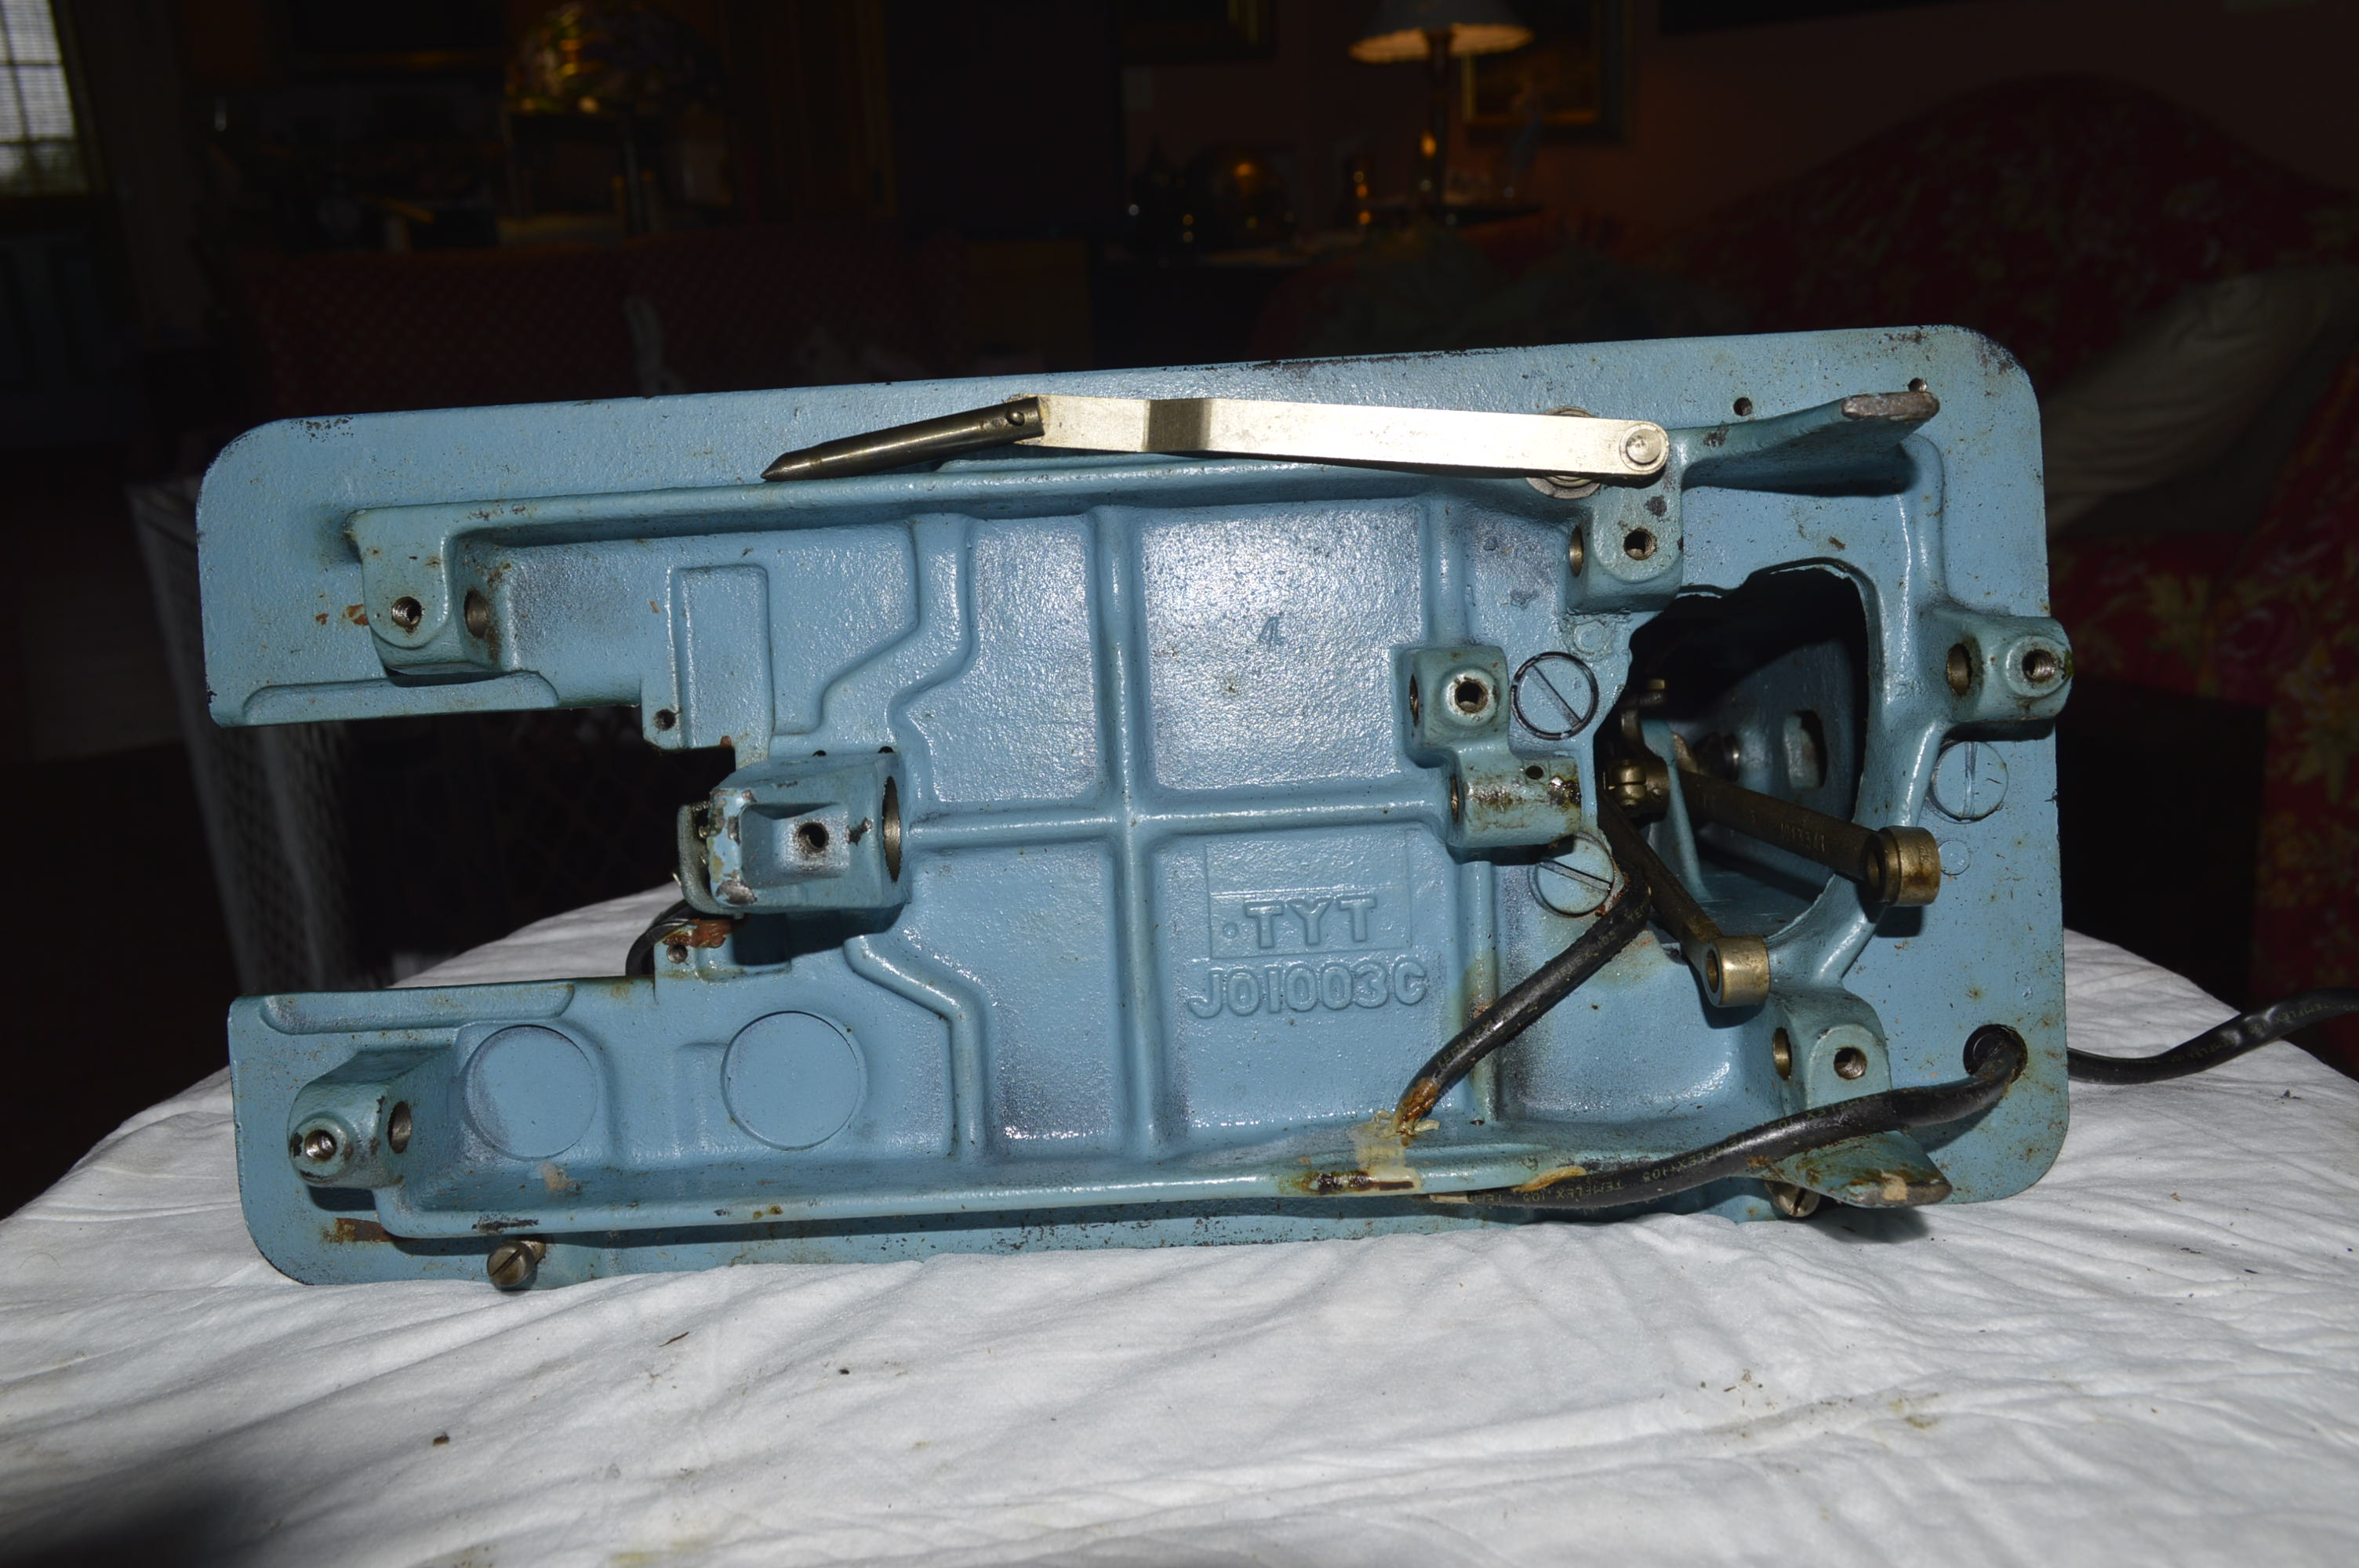
After
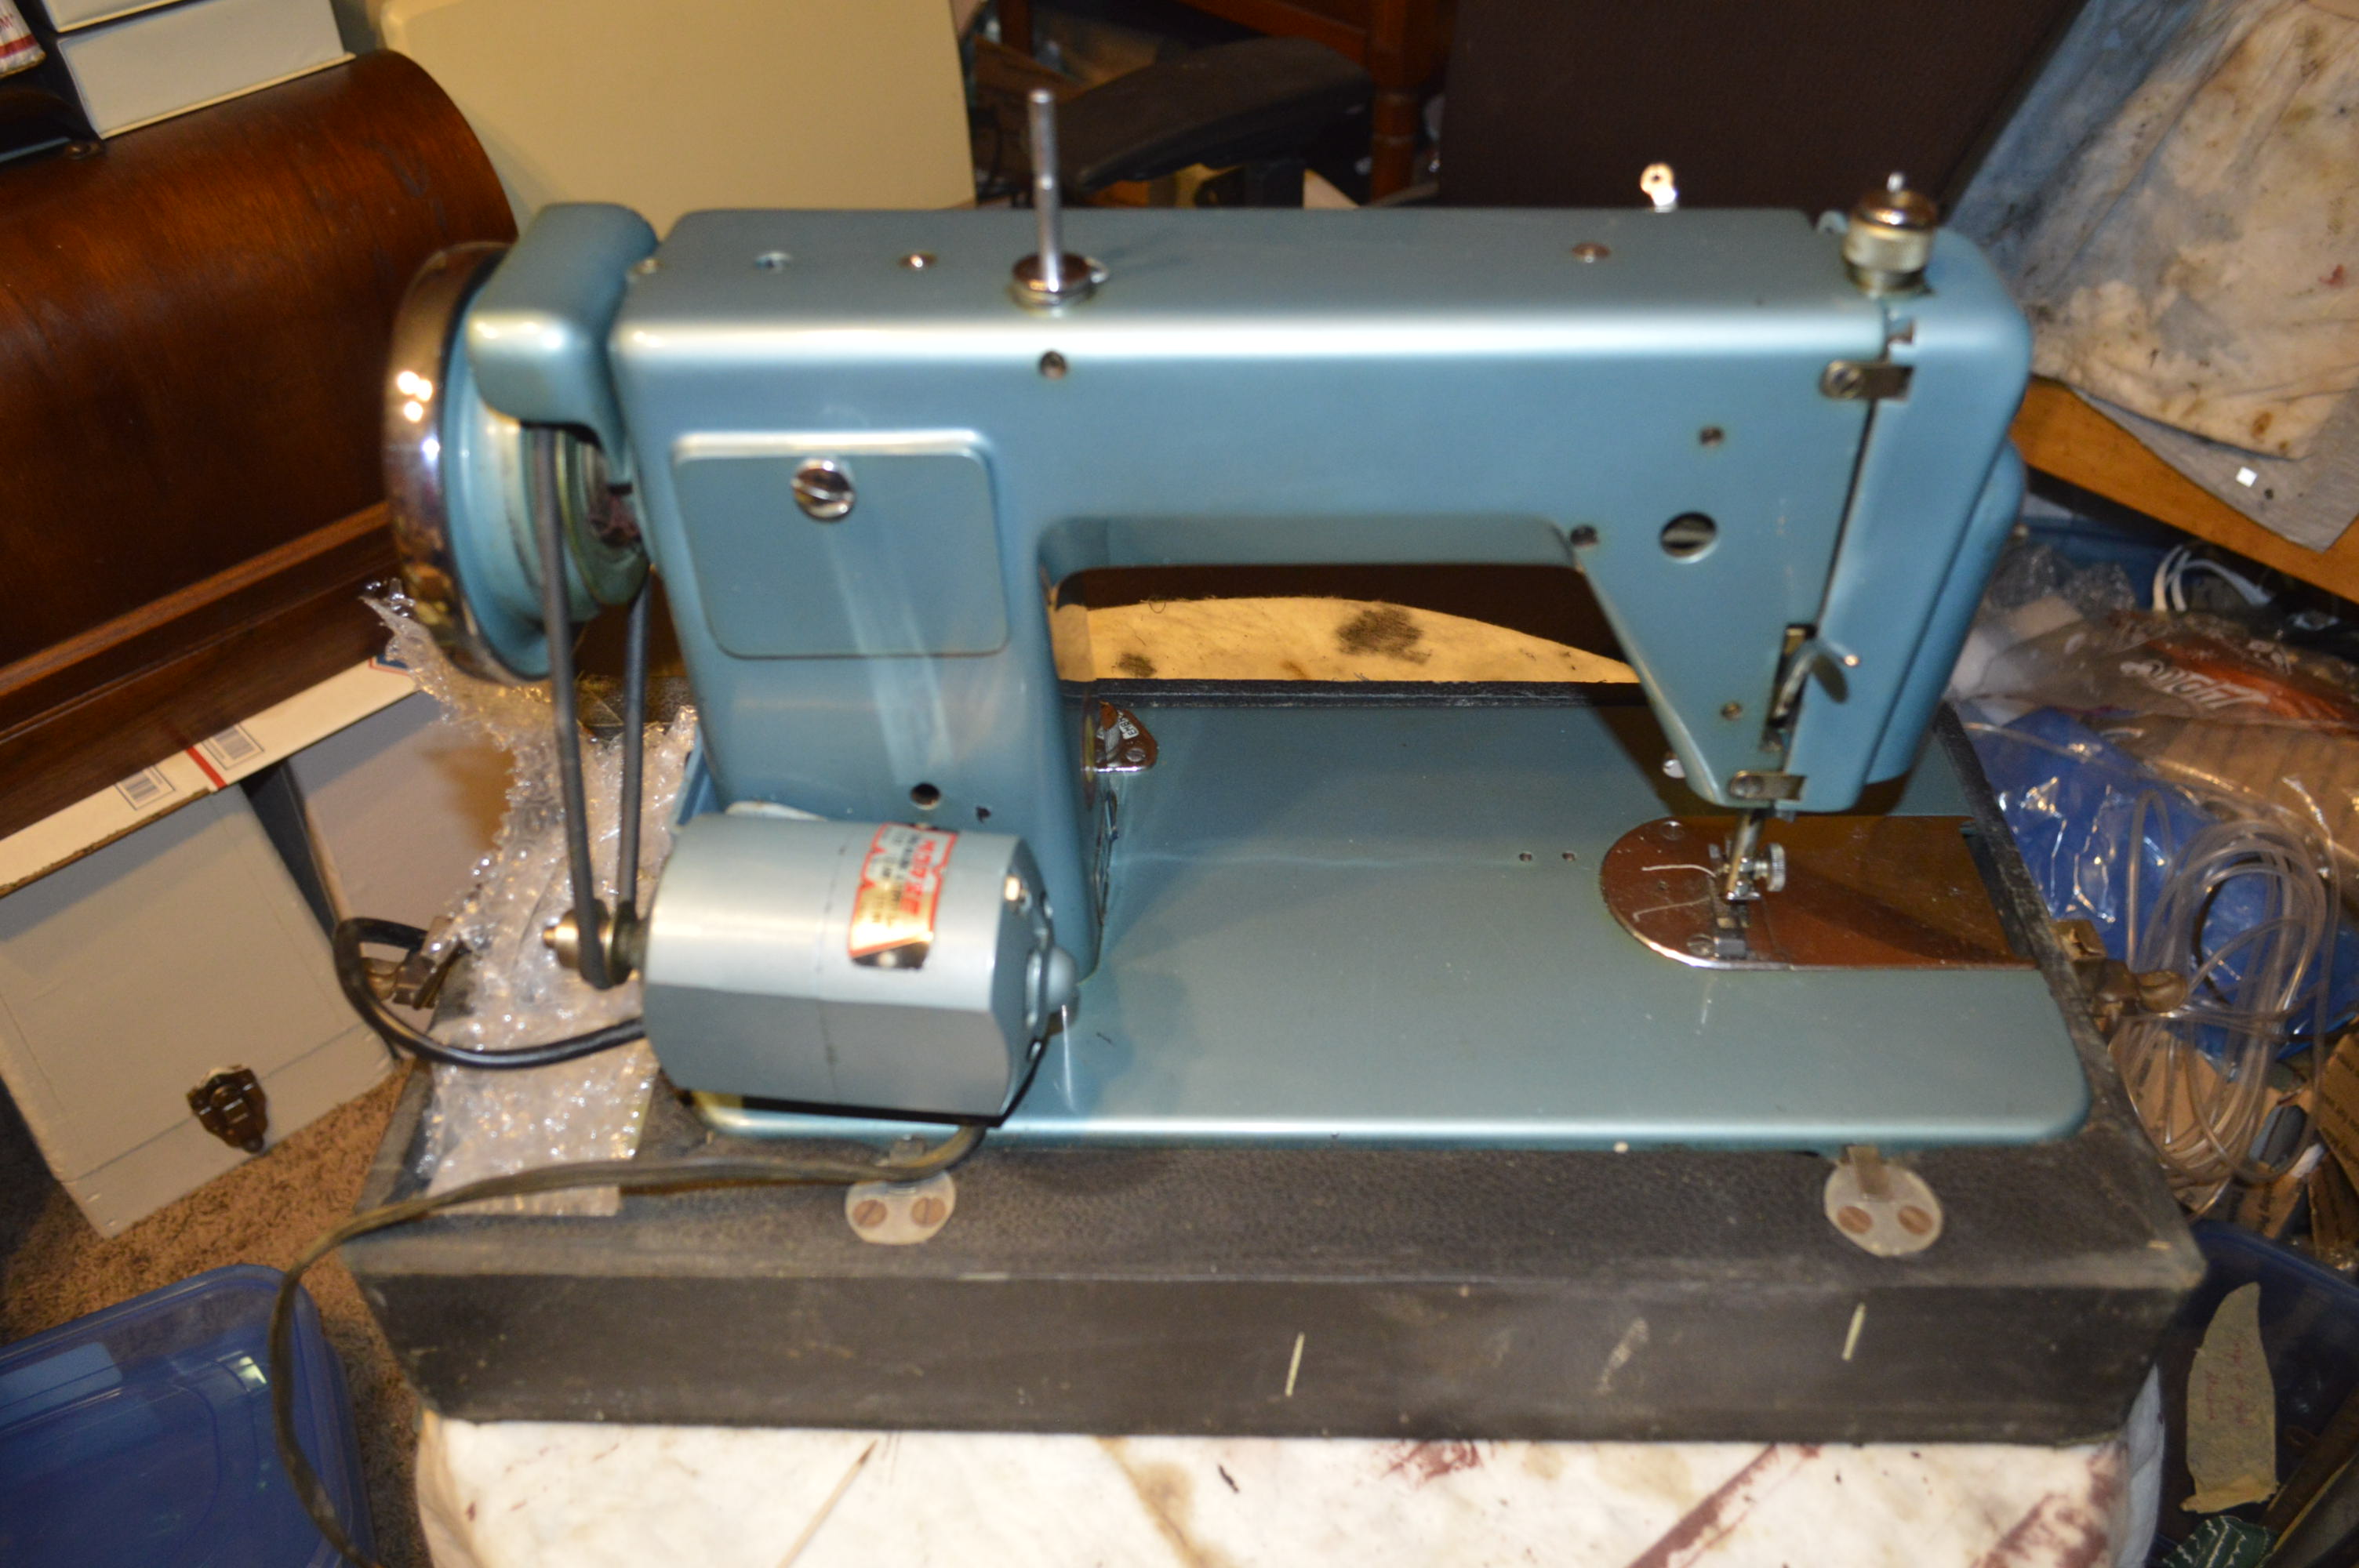
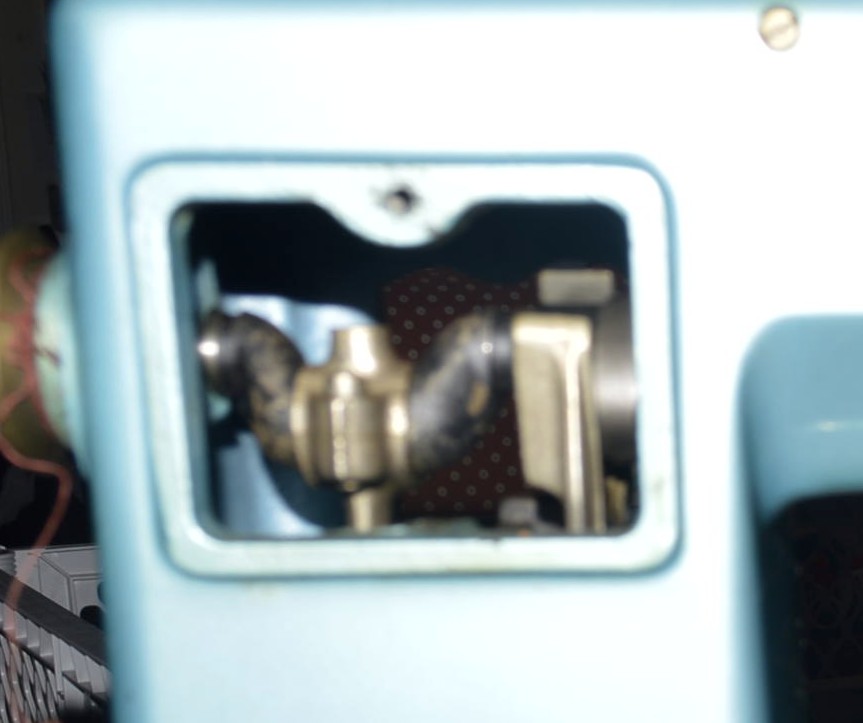
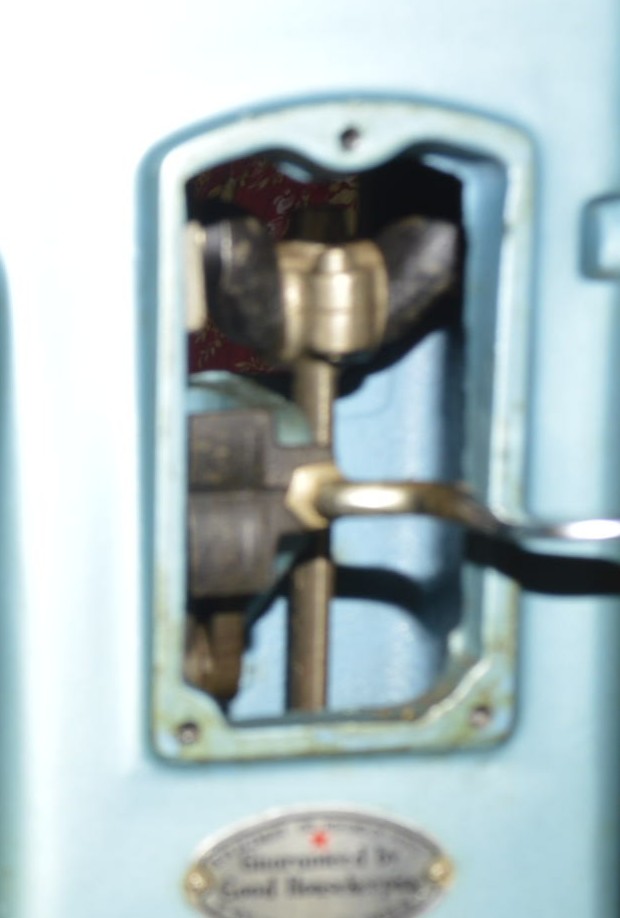
This machine is a solid top cast with the body of the machine. The connecting rod and the stitch length lever mechanism shown below is not removed. Access to these parts is difficult. Removing them is possible, as is reassembling them, but I am leaving them in place because it would be very difficult to properly tighten the parts when reassembled. These parts operate freely, and there are no rotating or moving parts to be concerned about cleaning. They will be cleaned by hand in place.
Although the machine is a straight stitcher, there are many parts to be cleaned before reassembly. These are the parts laid out inspection. Note that these do not include any the, balance wheel, bobbin winder bracket, or motor. These are cleaned separately. After all of these parts are cleaned and reassembled, the machine will run like new.
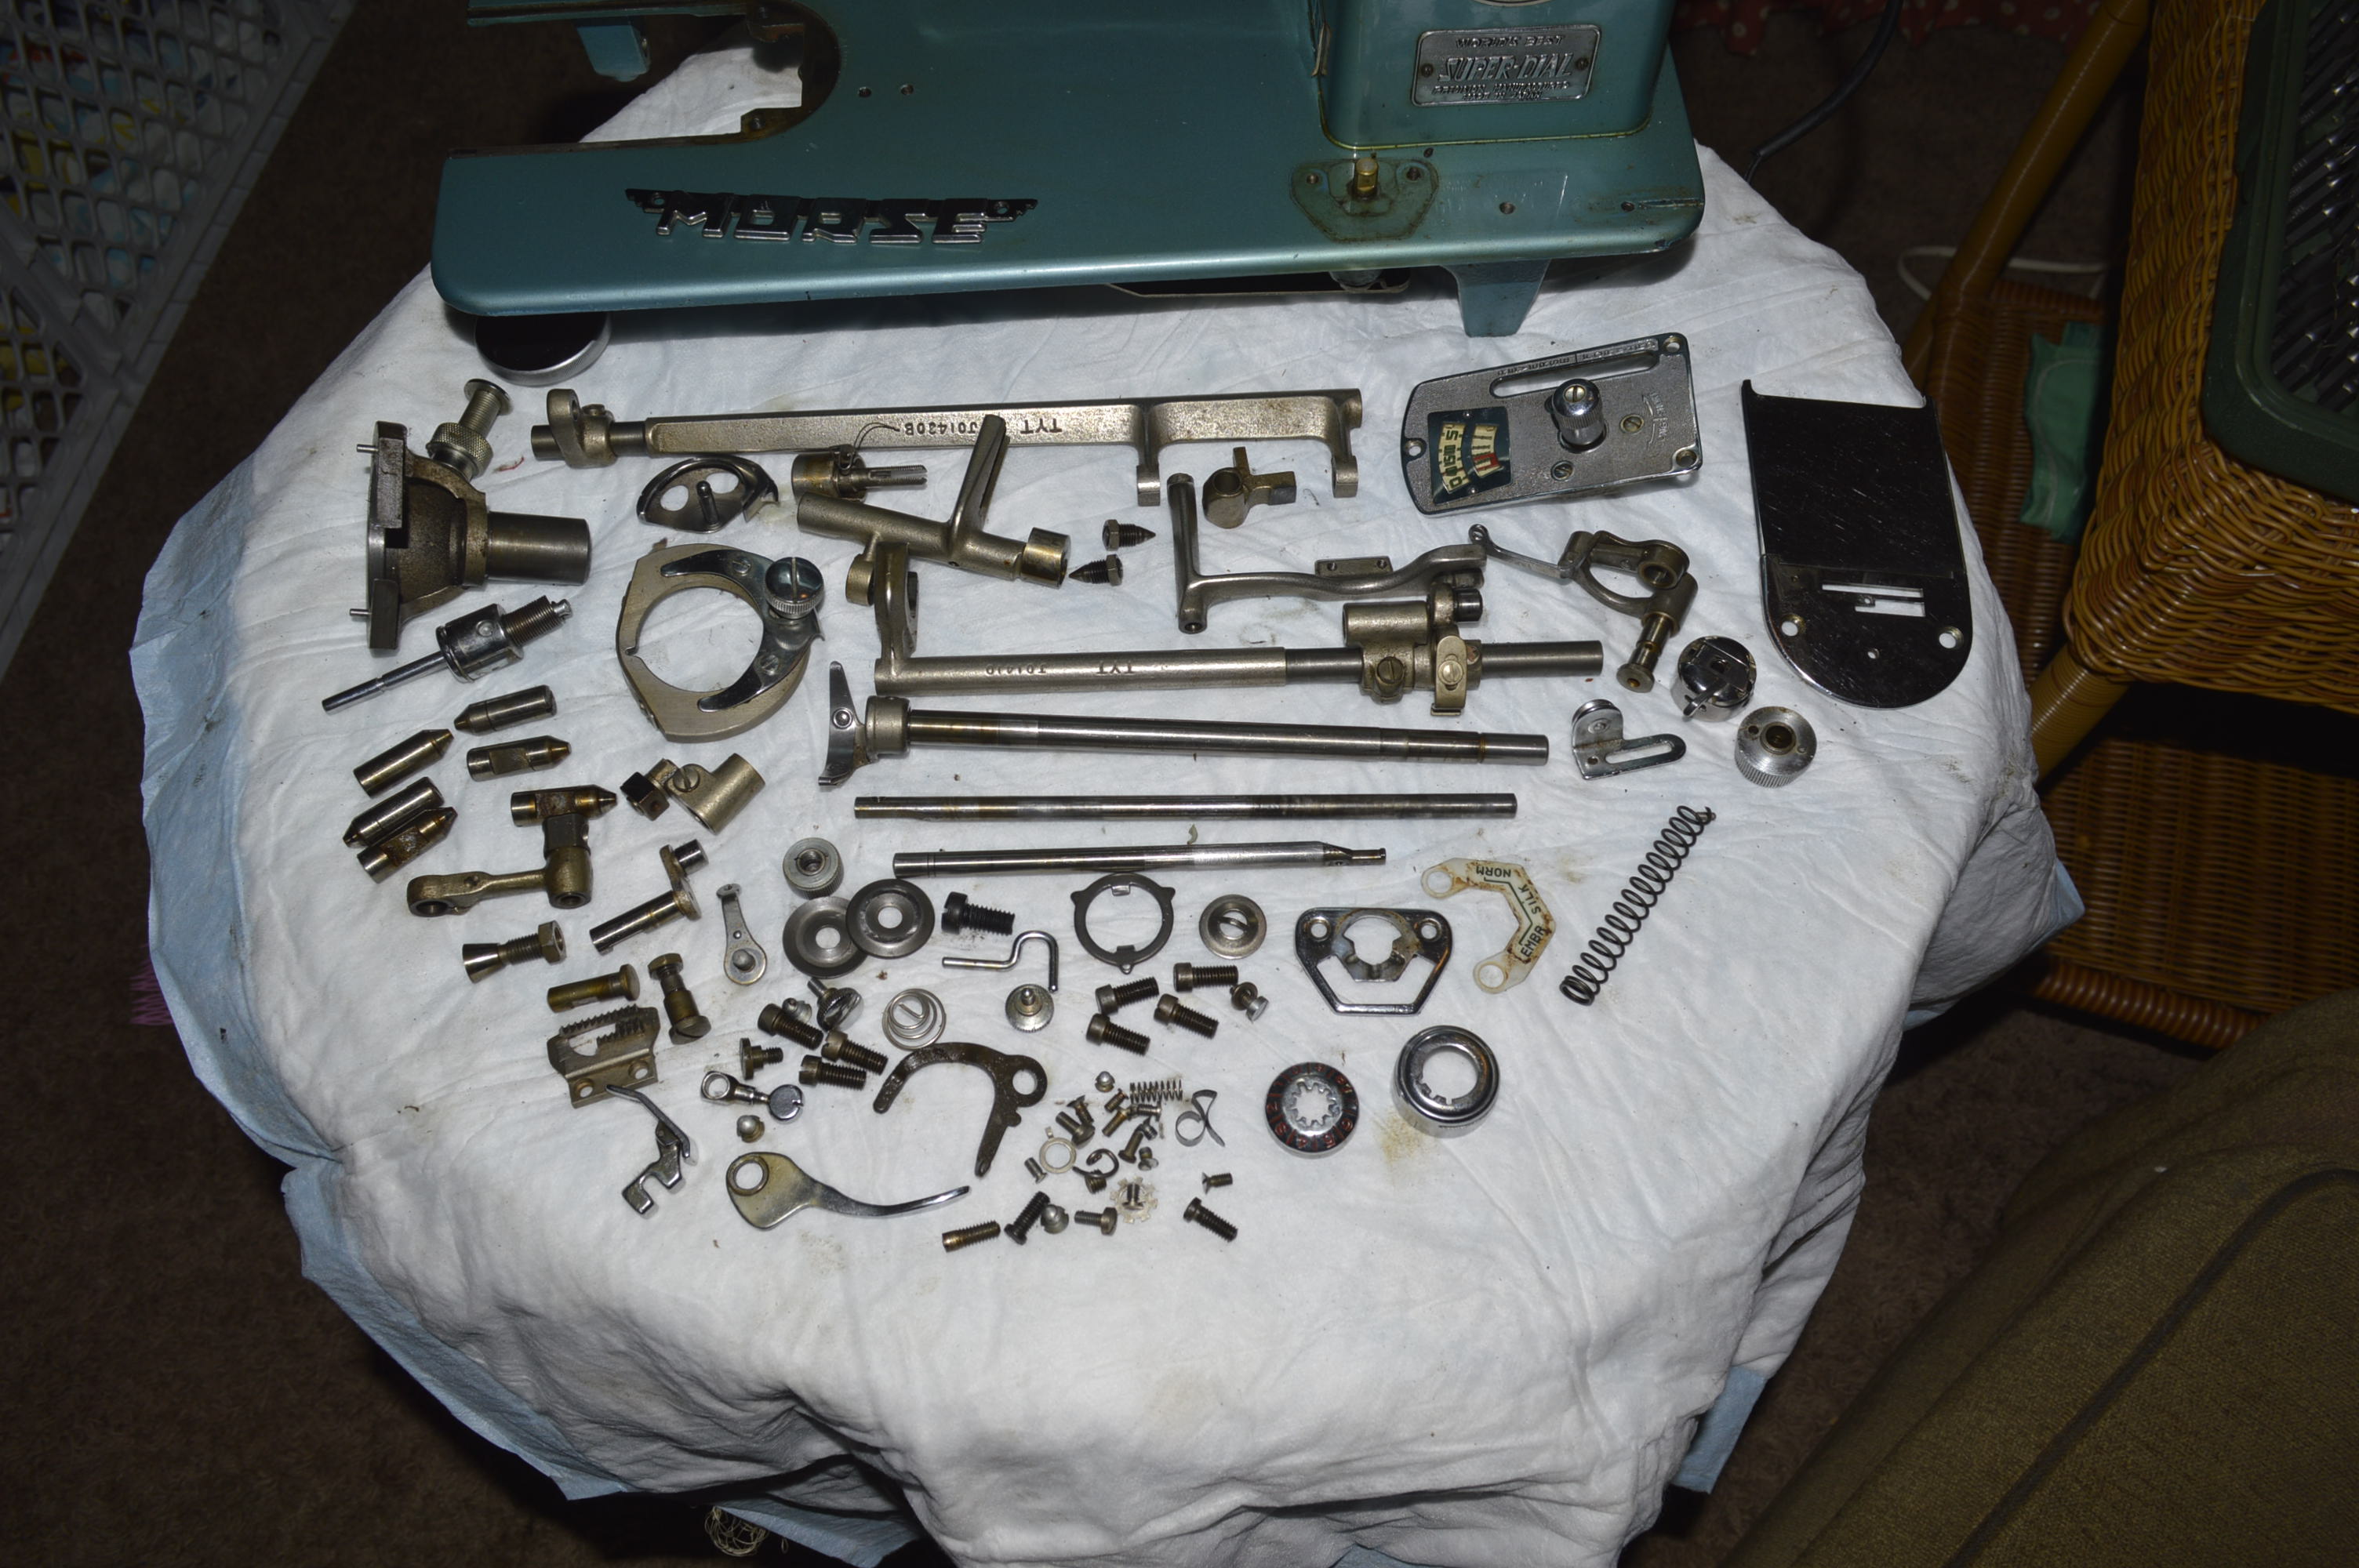
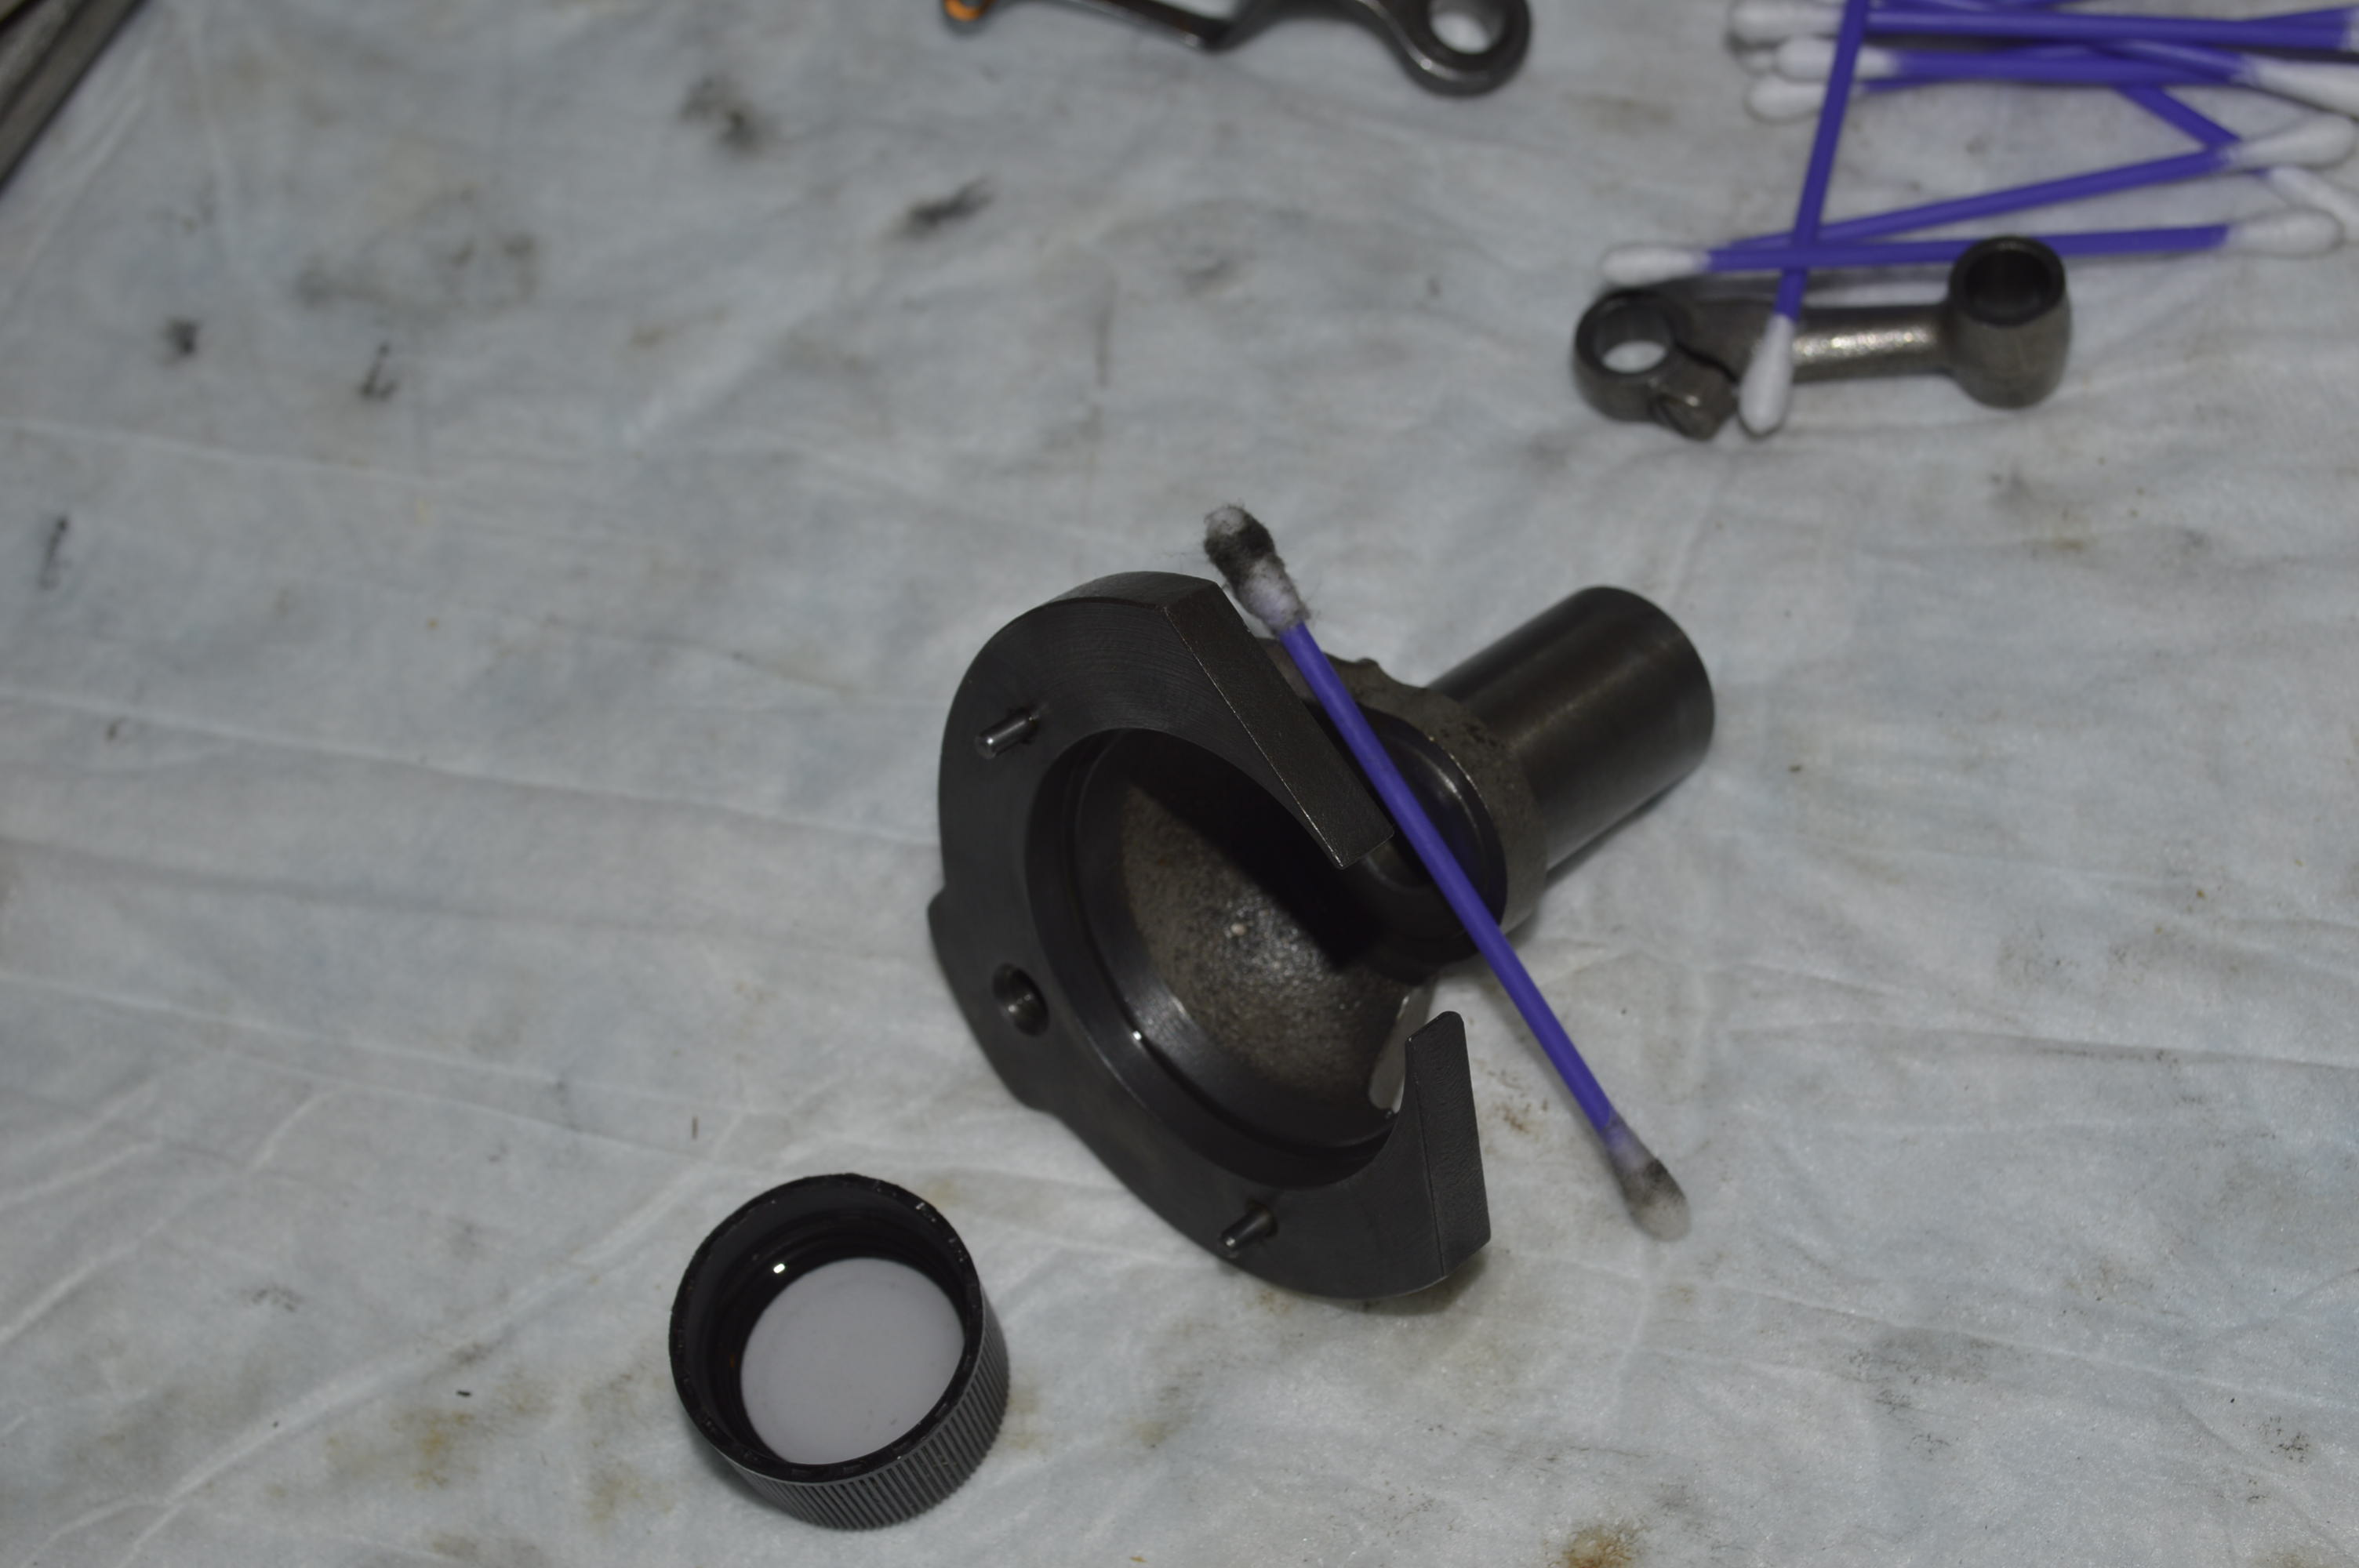
Notice the oil varnish on the parts that are in contact with another?
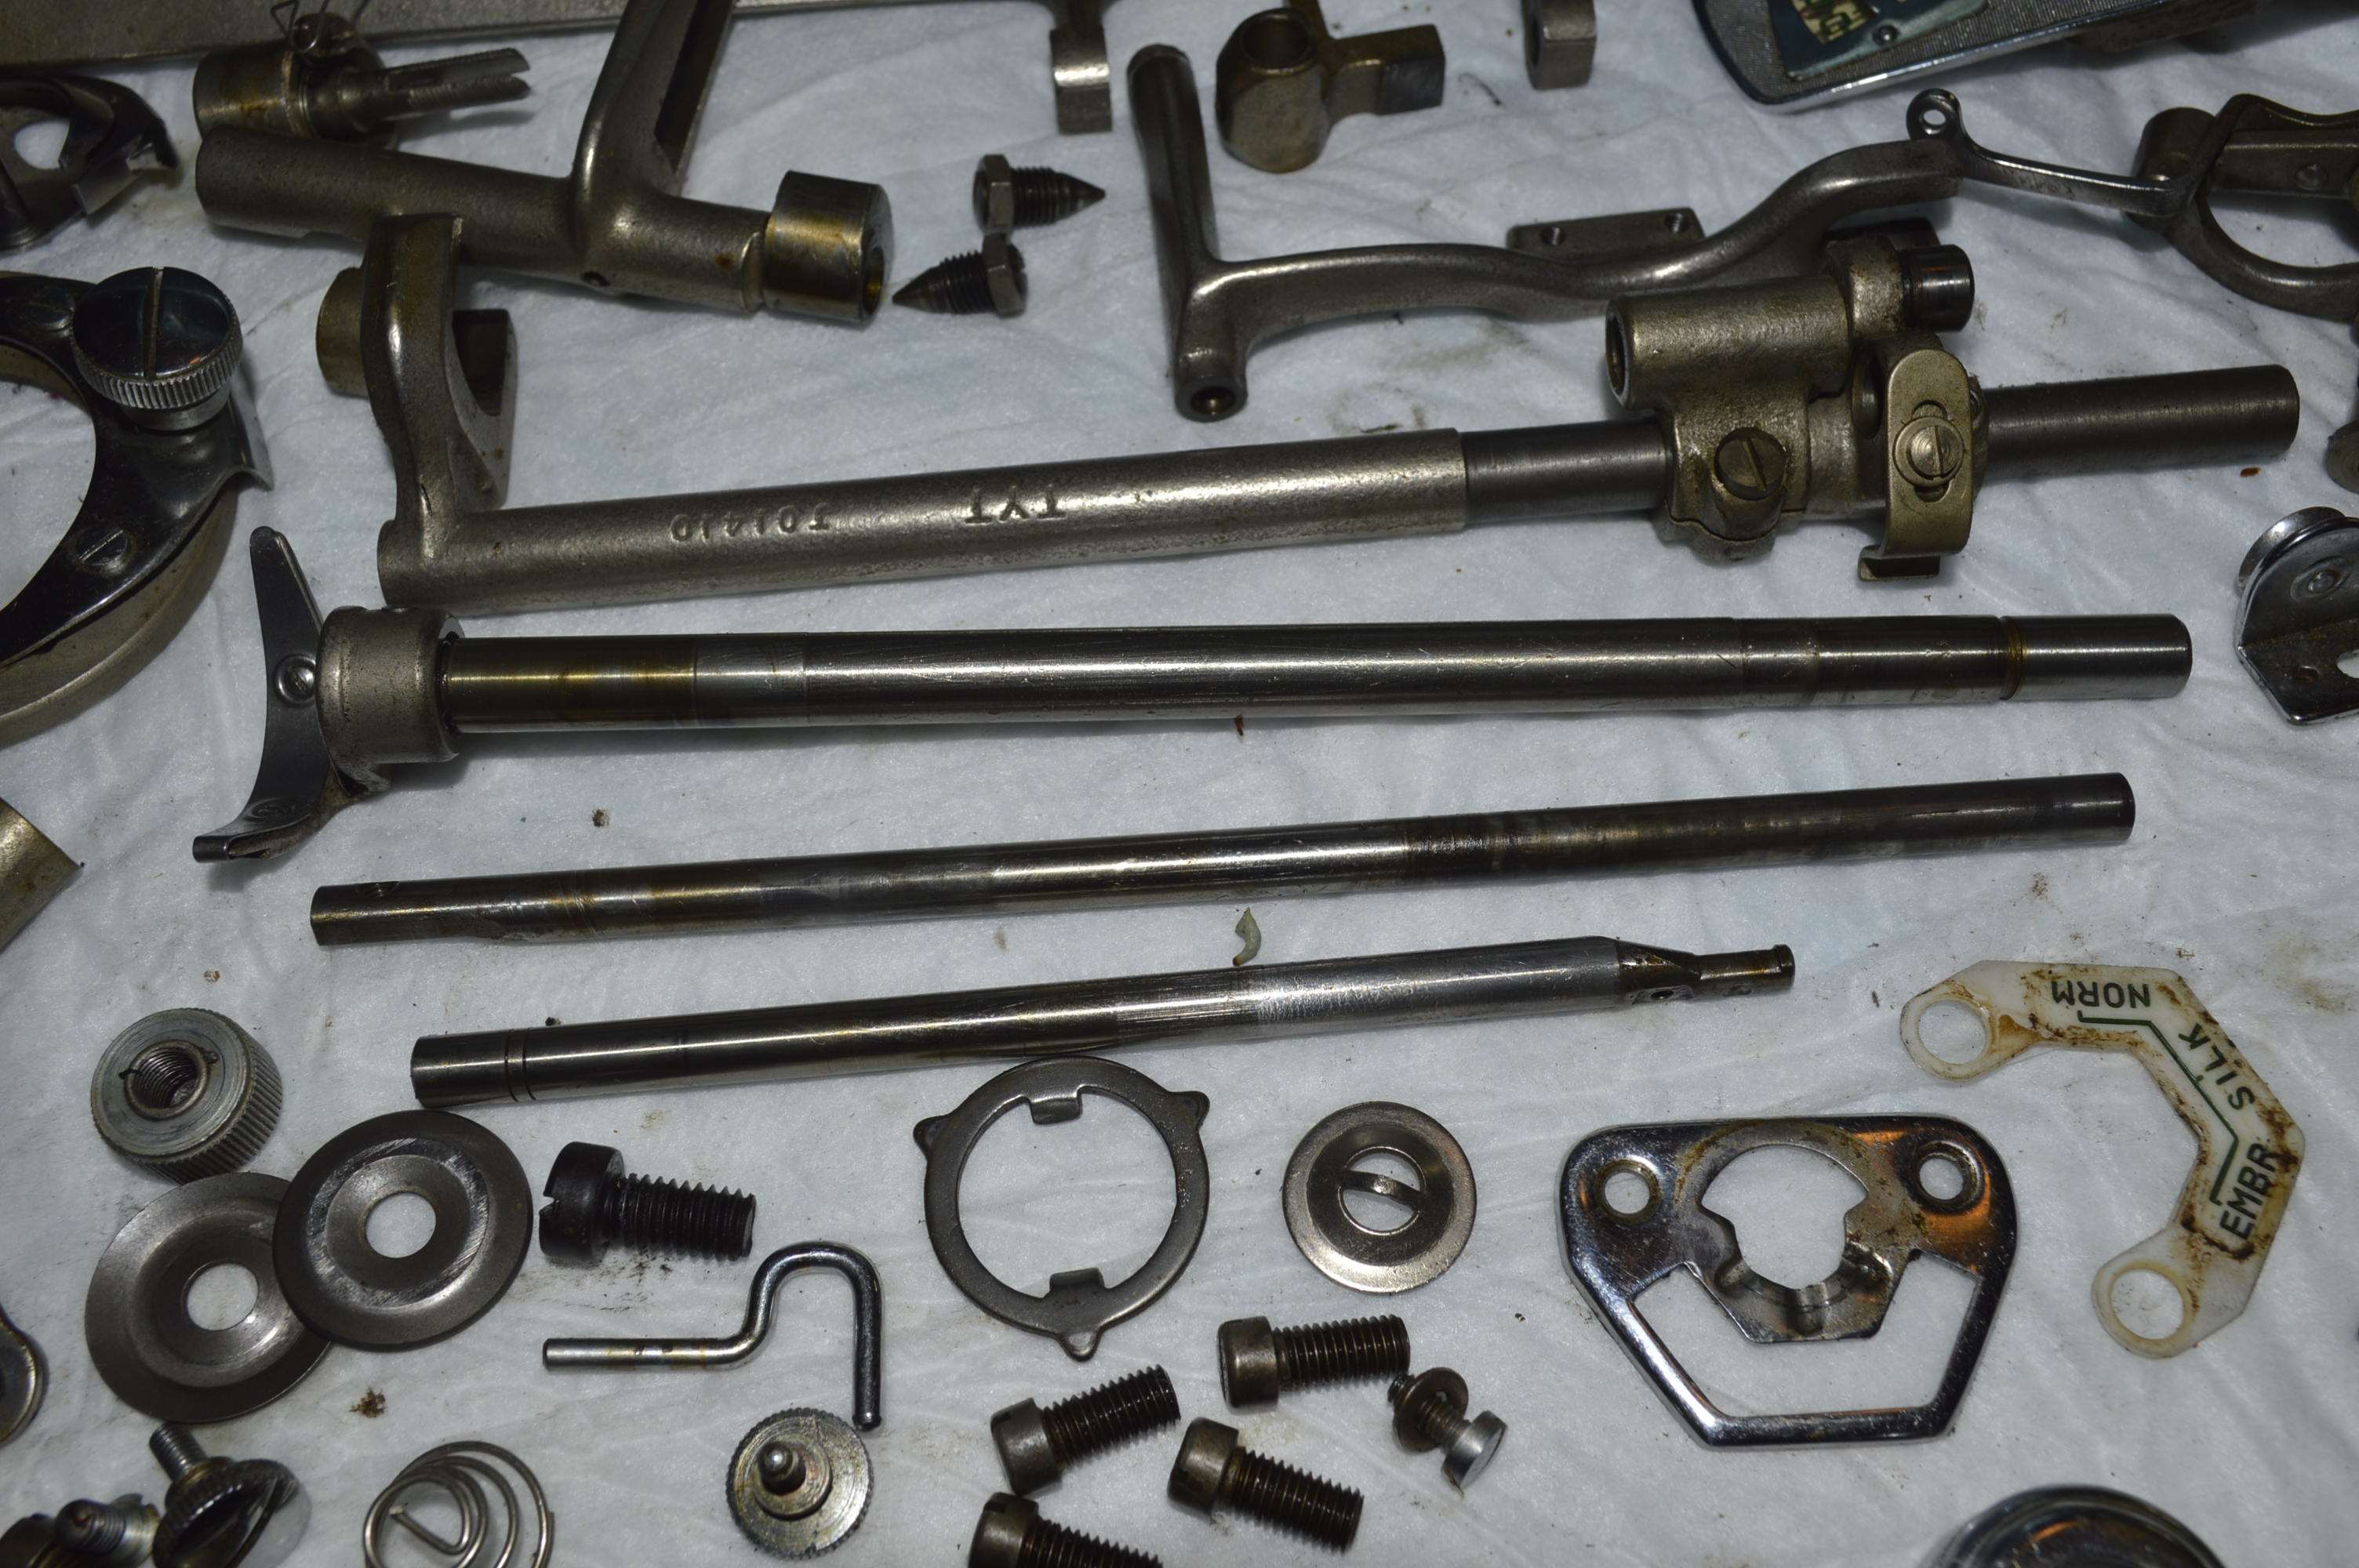


These parts need special attention. Ultrasonic cleaning does a great job cleaning the oil varnish. Parts that rotate inside of one another will be wire brushed using a soft steel wire wheel on a dremel tool. This will assure that they are completely smooth.
These parts are wire brushed…

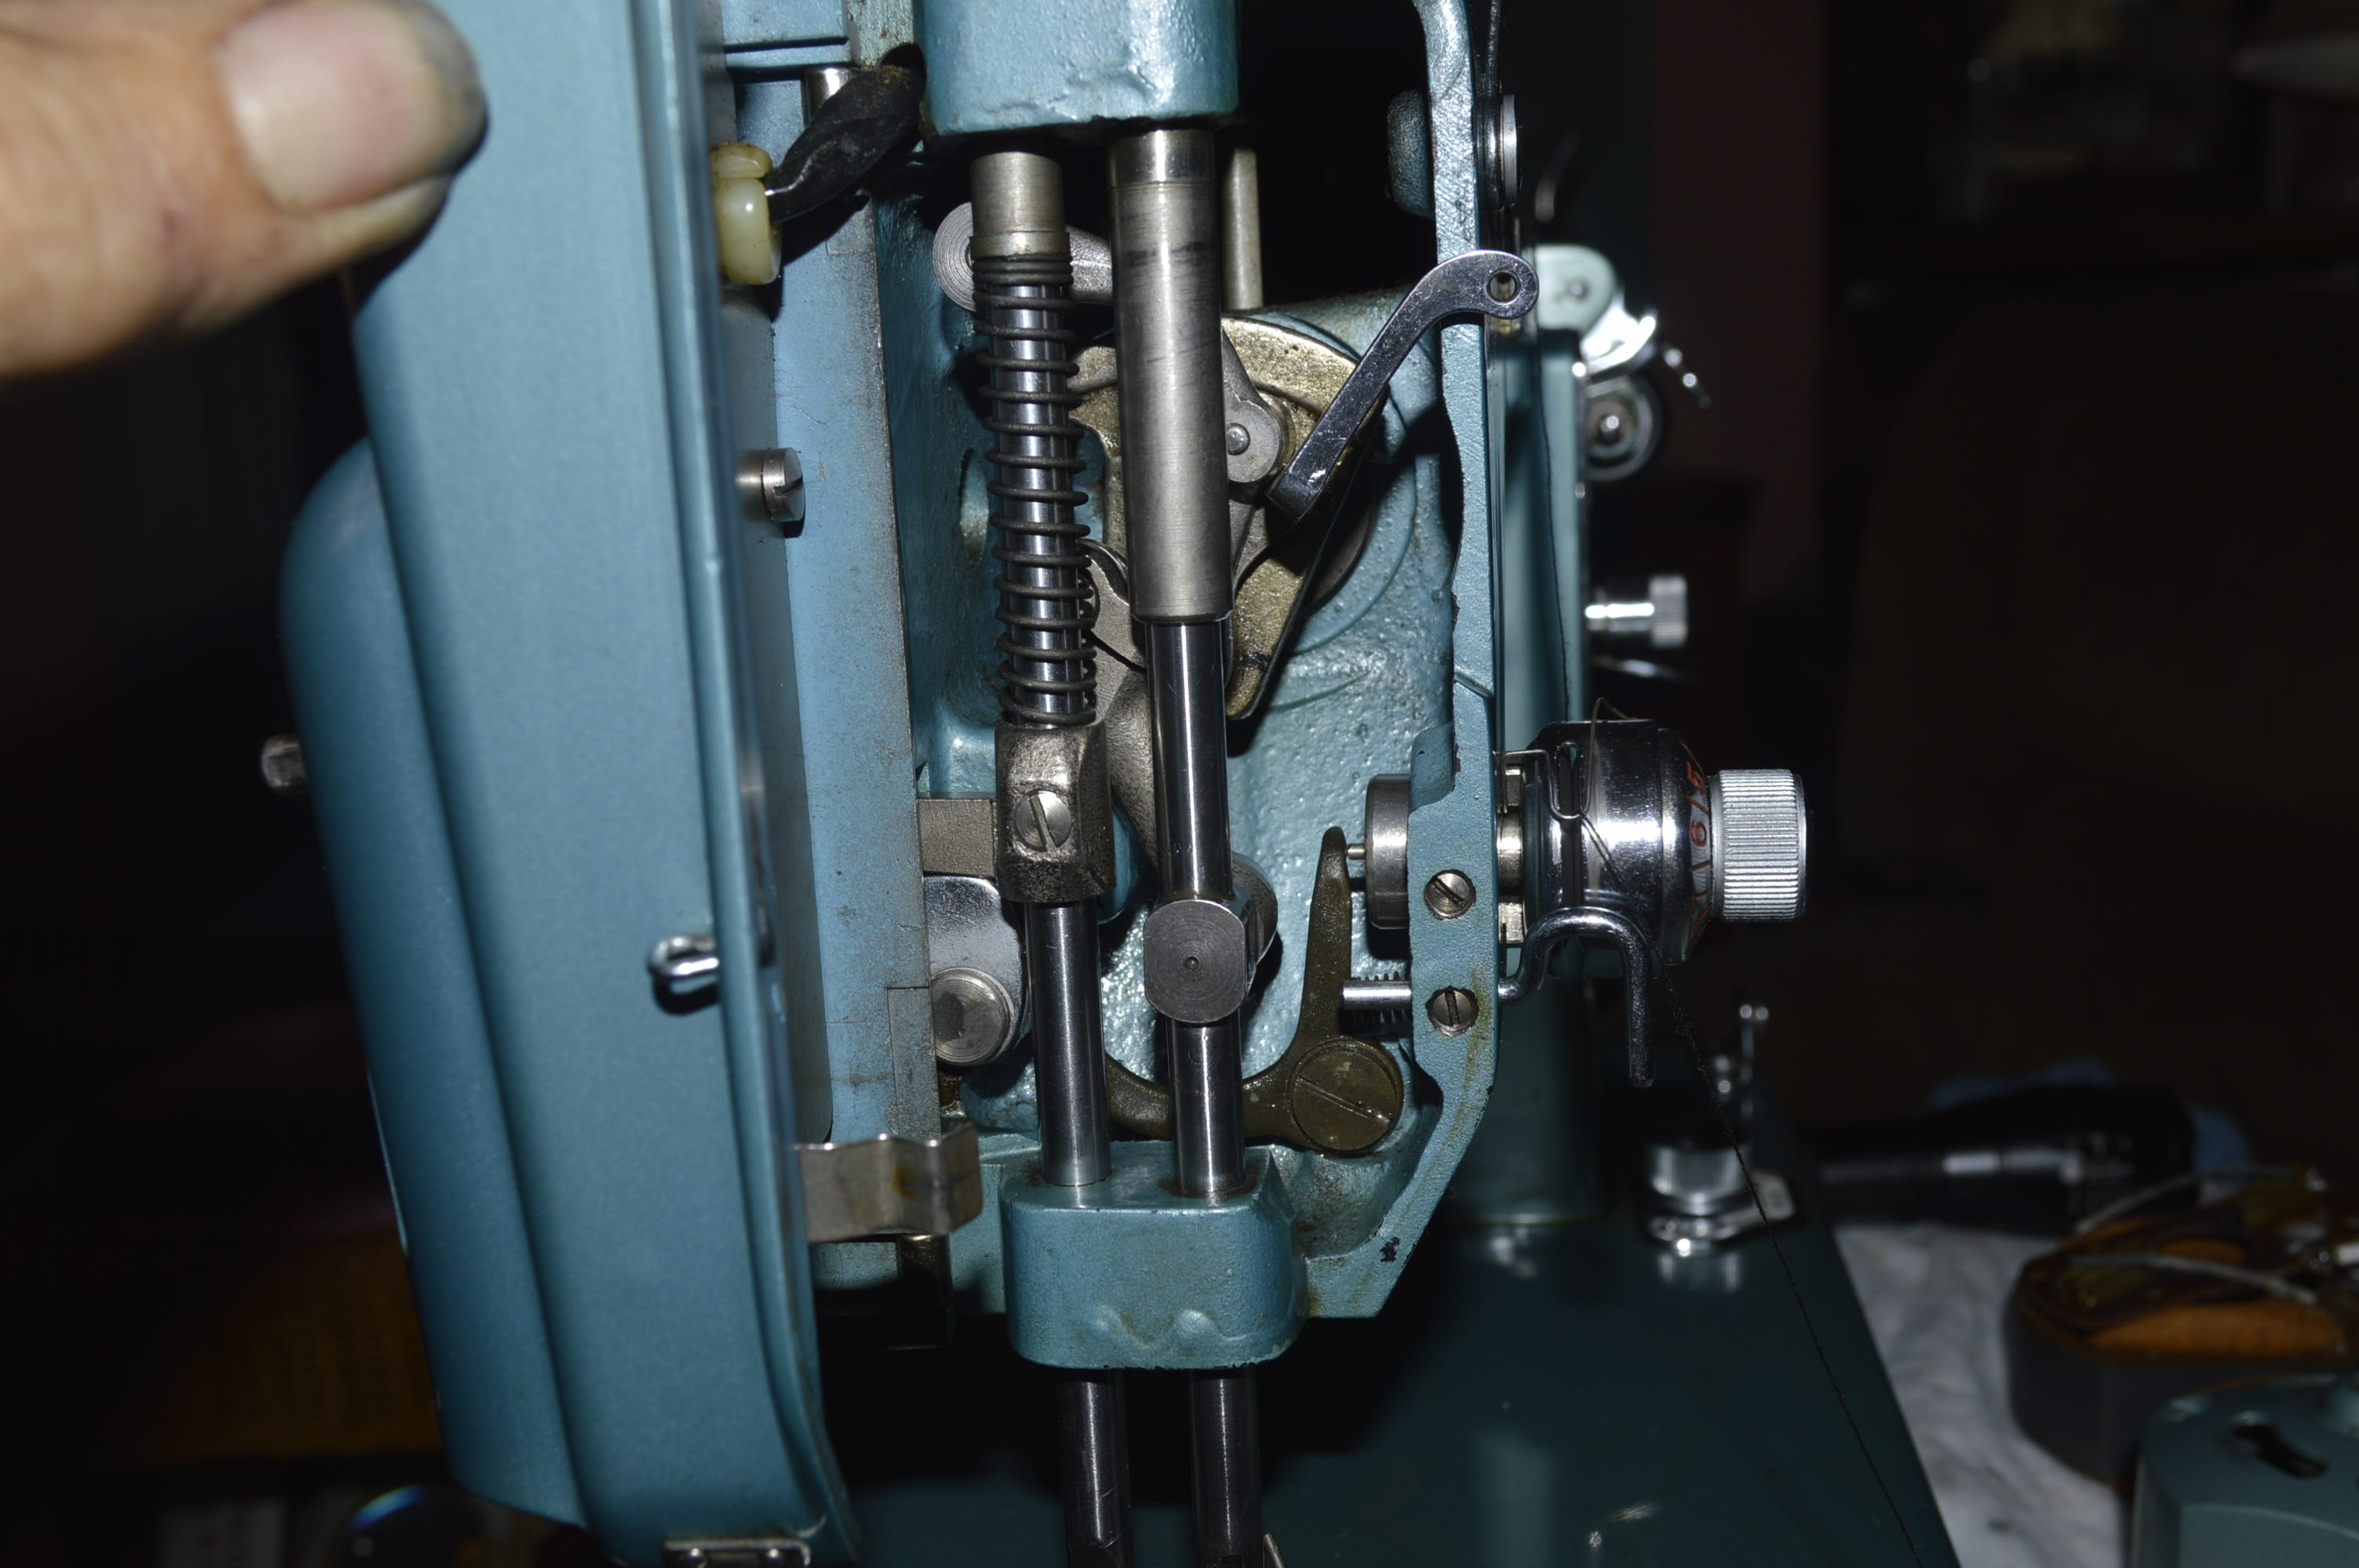
The needle bar, presser foot bar, and the shuttle hook shaft is polished…

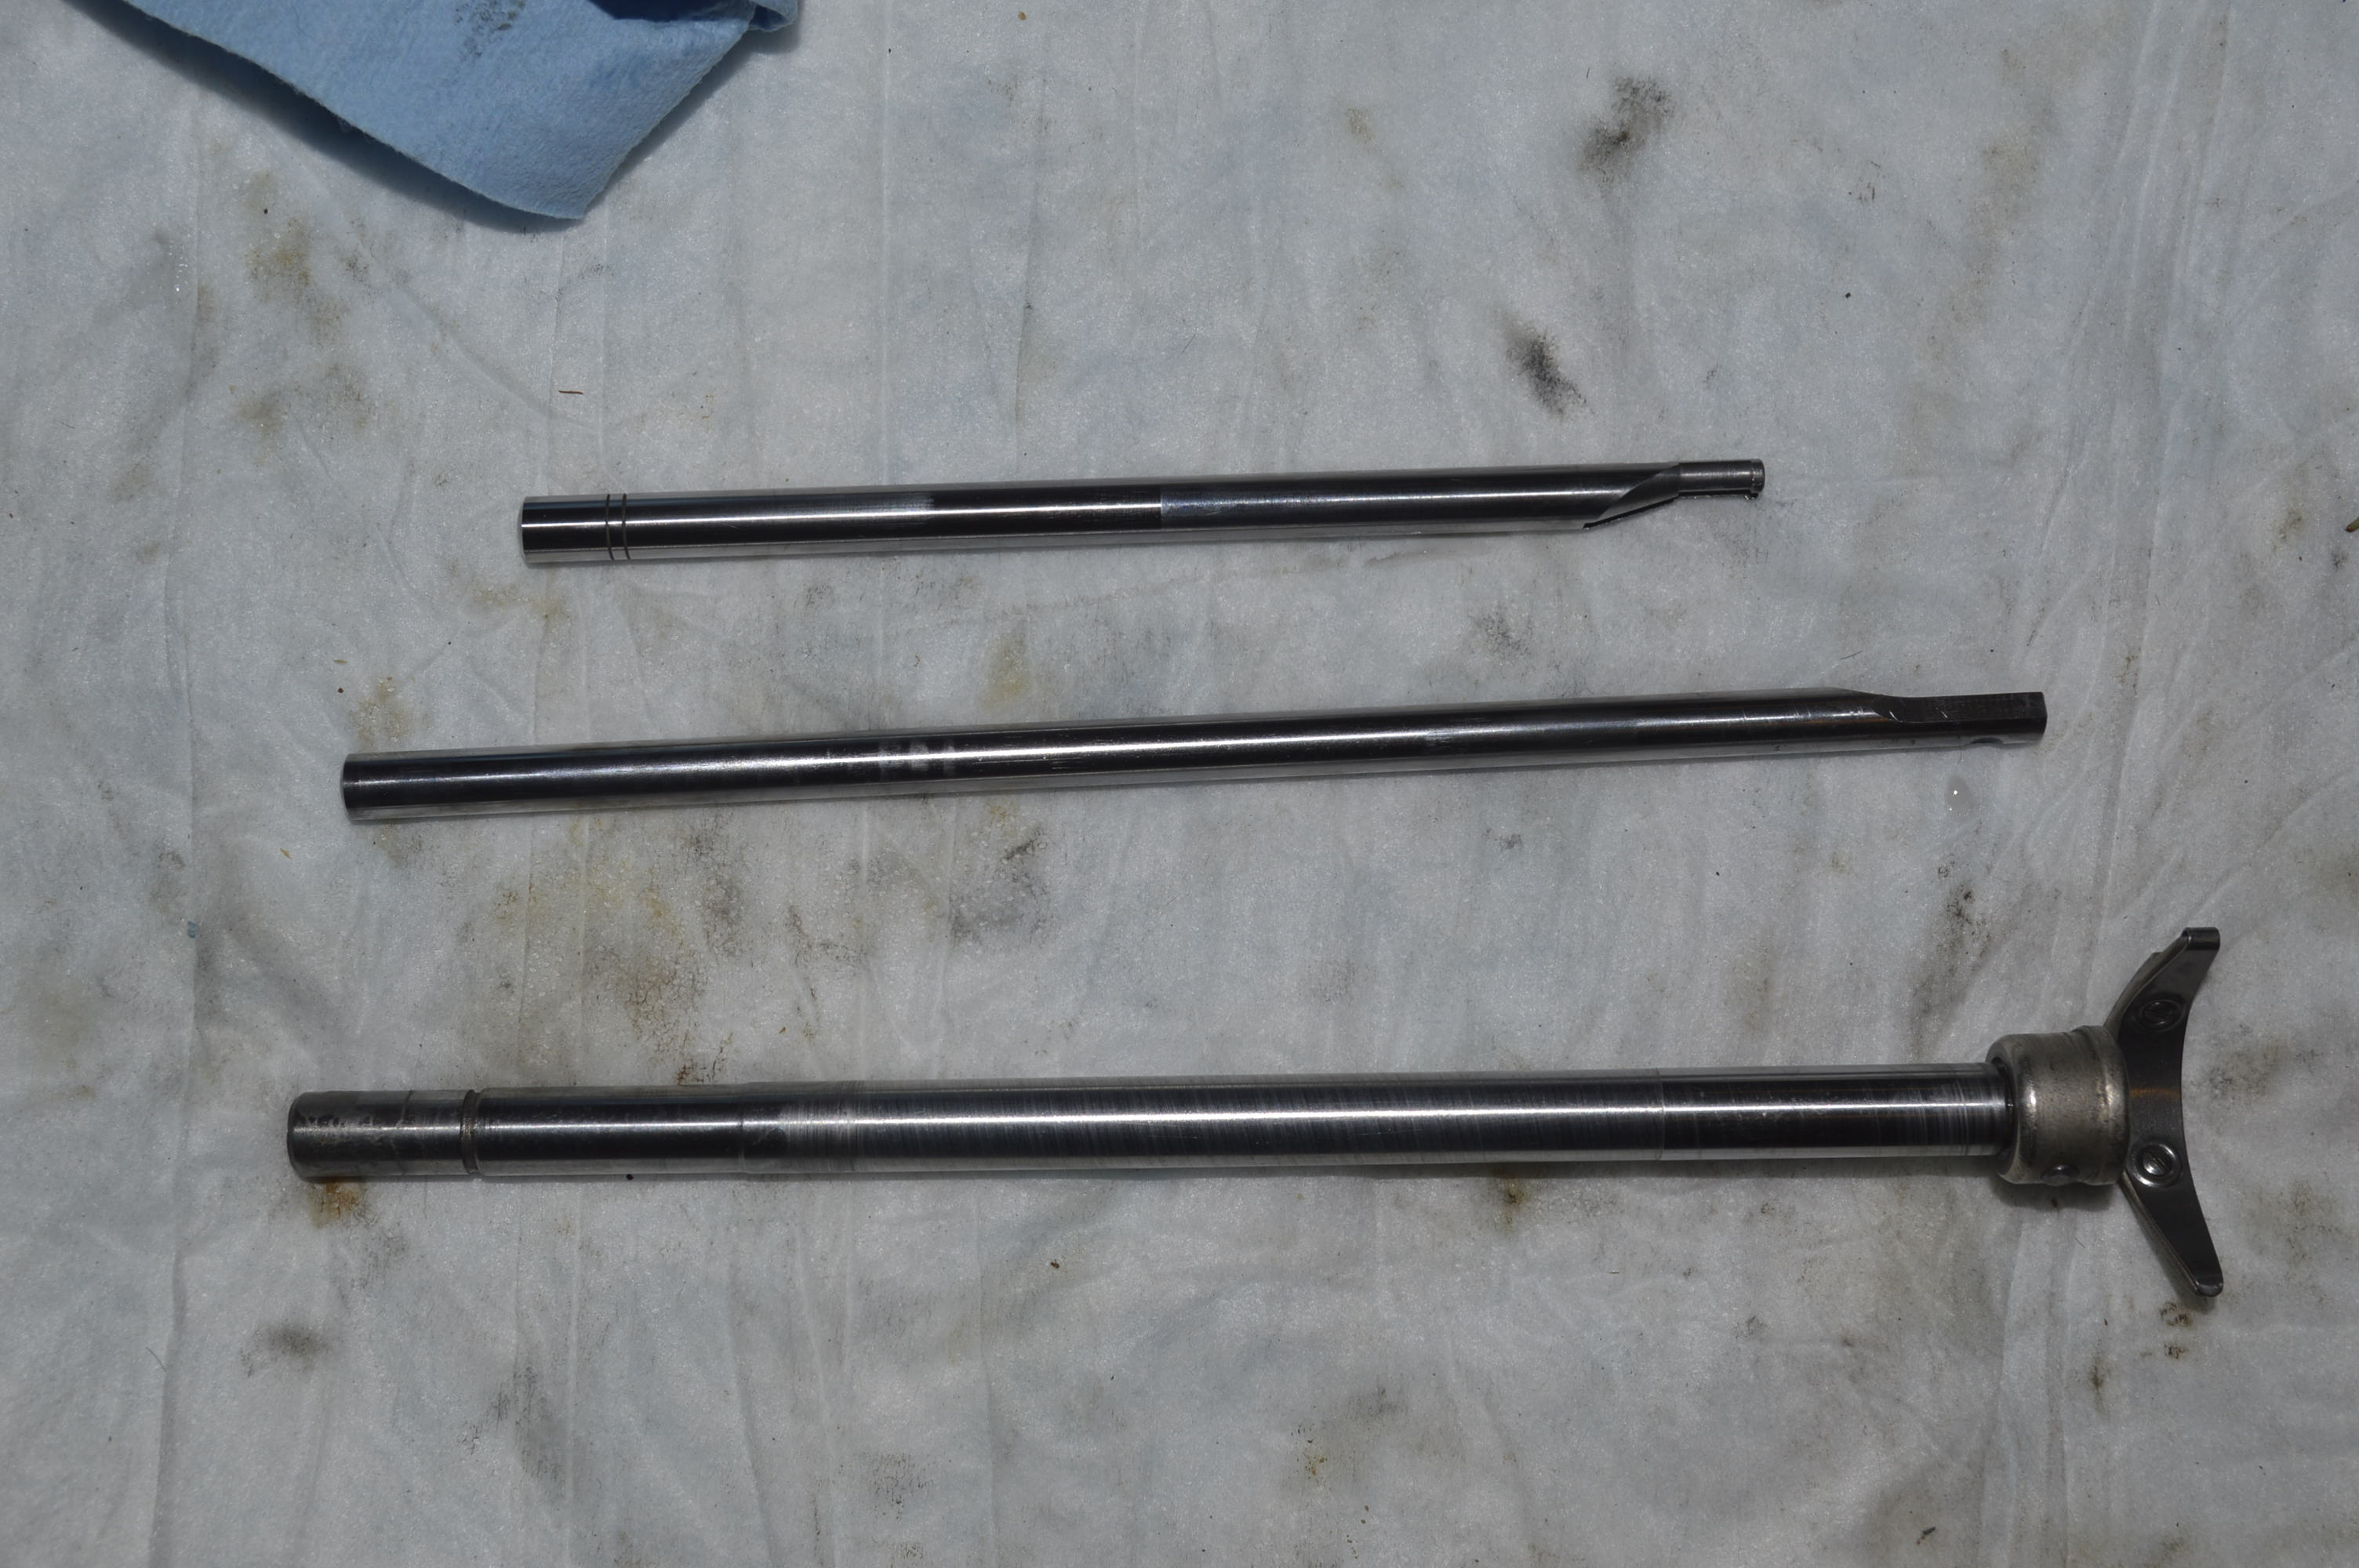
You may not see much difference… but you can feel it. Next, the bushing bores are cleaned with acetone to remove any varnish remaining.

The bobbin race cover spring is removed and cleaned underneath.
The cleaned parts are reinstalled in the machine…
The bobbin winding mechanism is disassembled and ultrasonically cleaned…
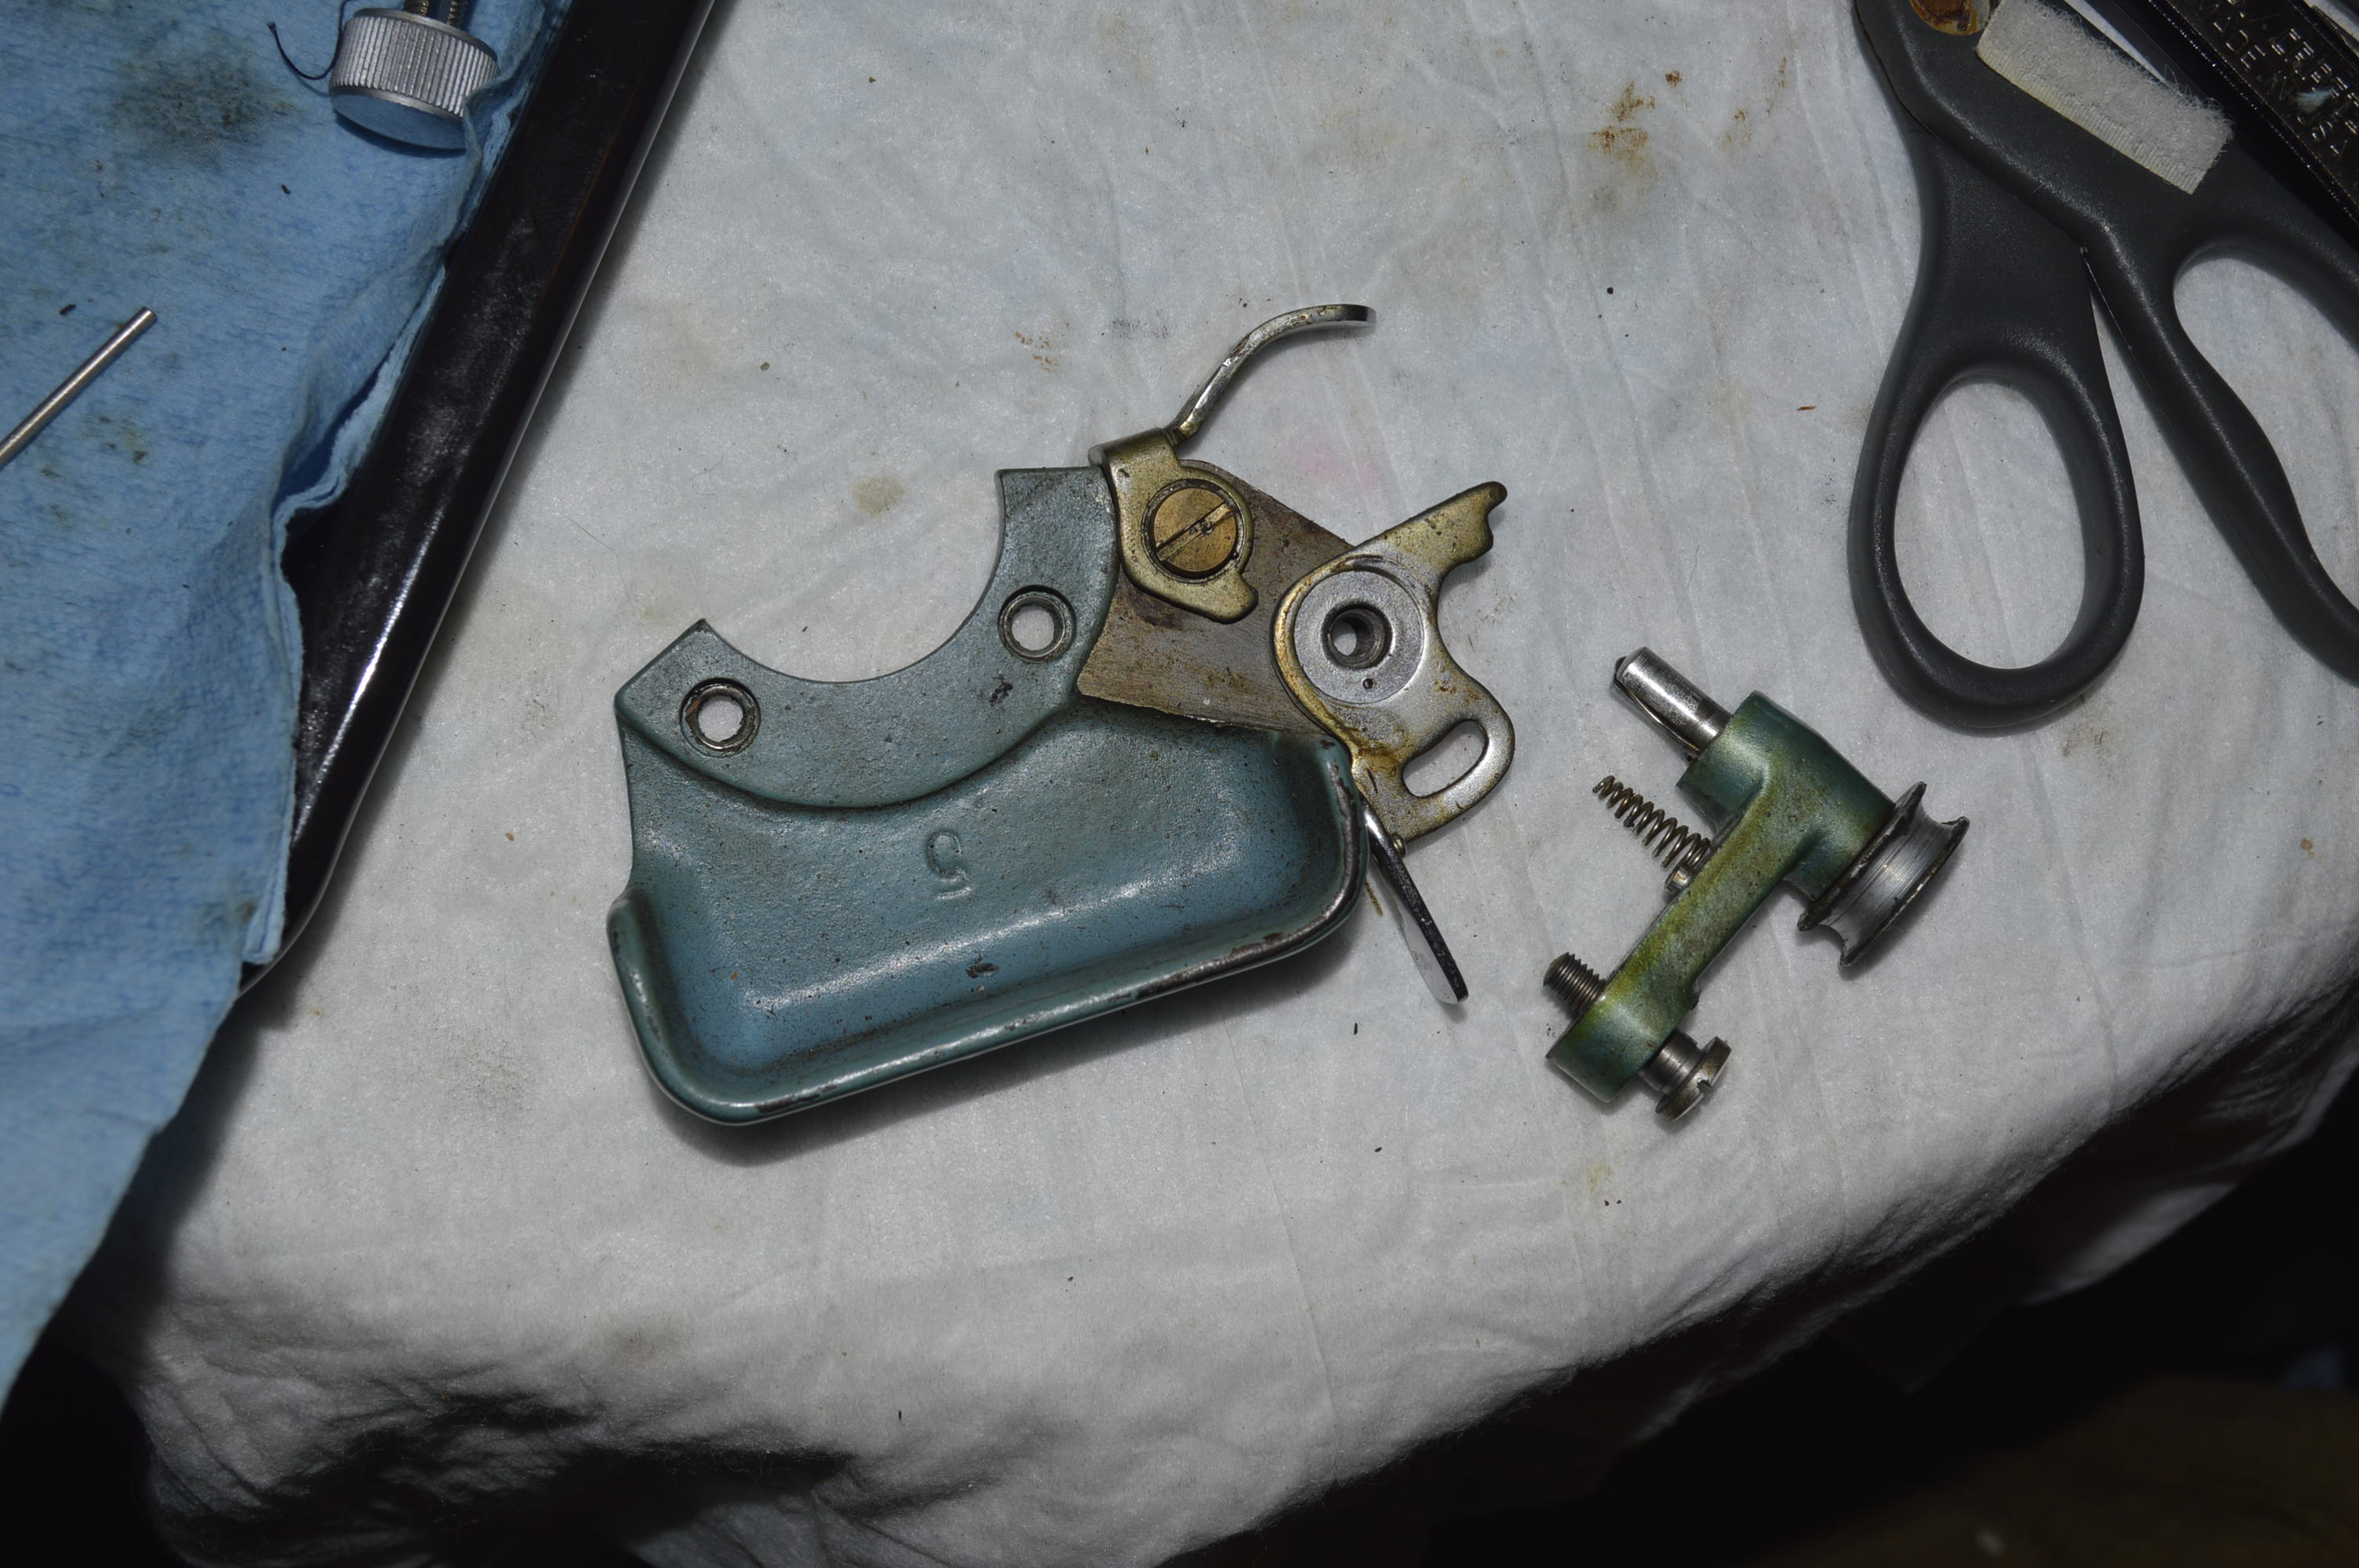
Before… 
After…
The bobbin case is disassembled and cleaned…
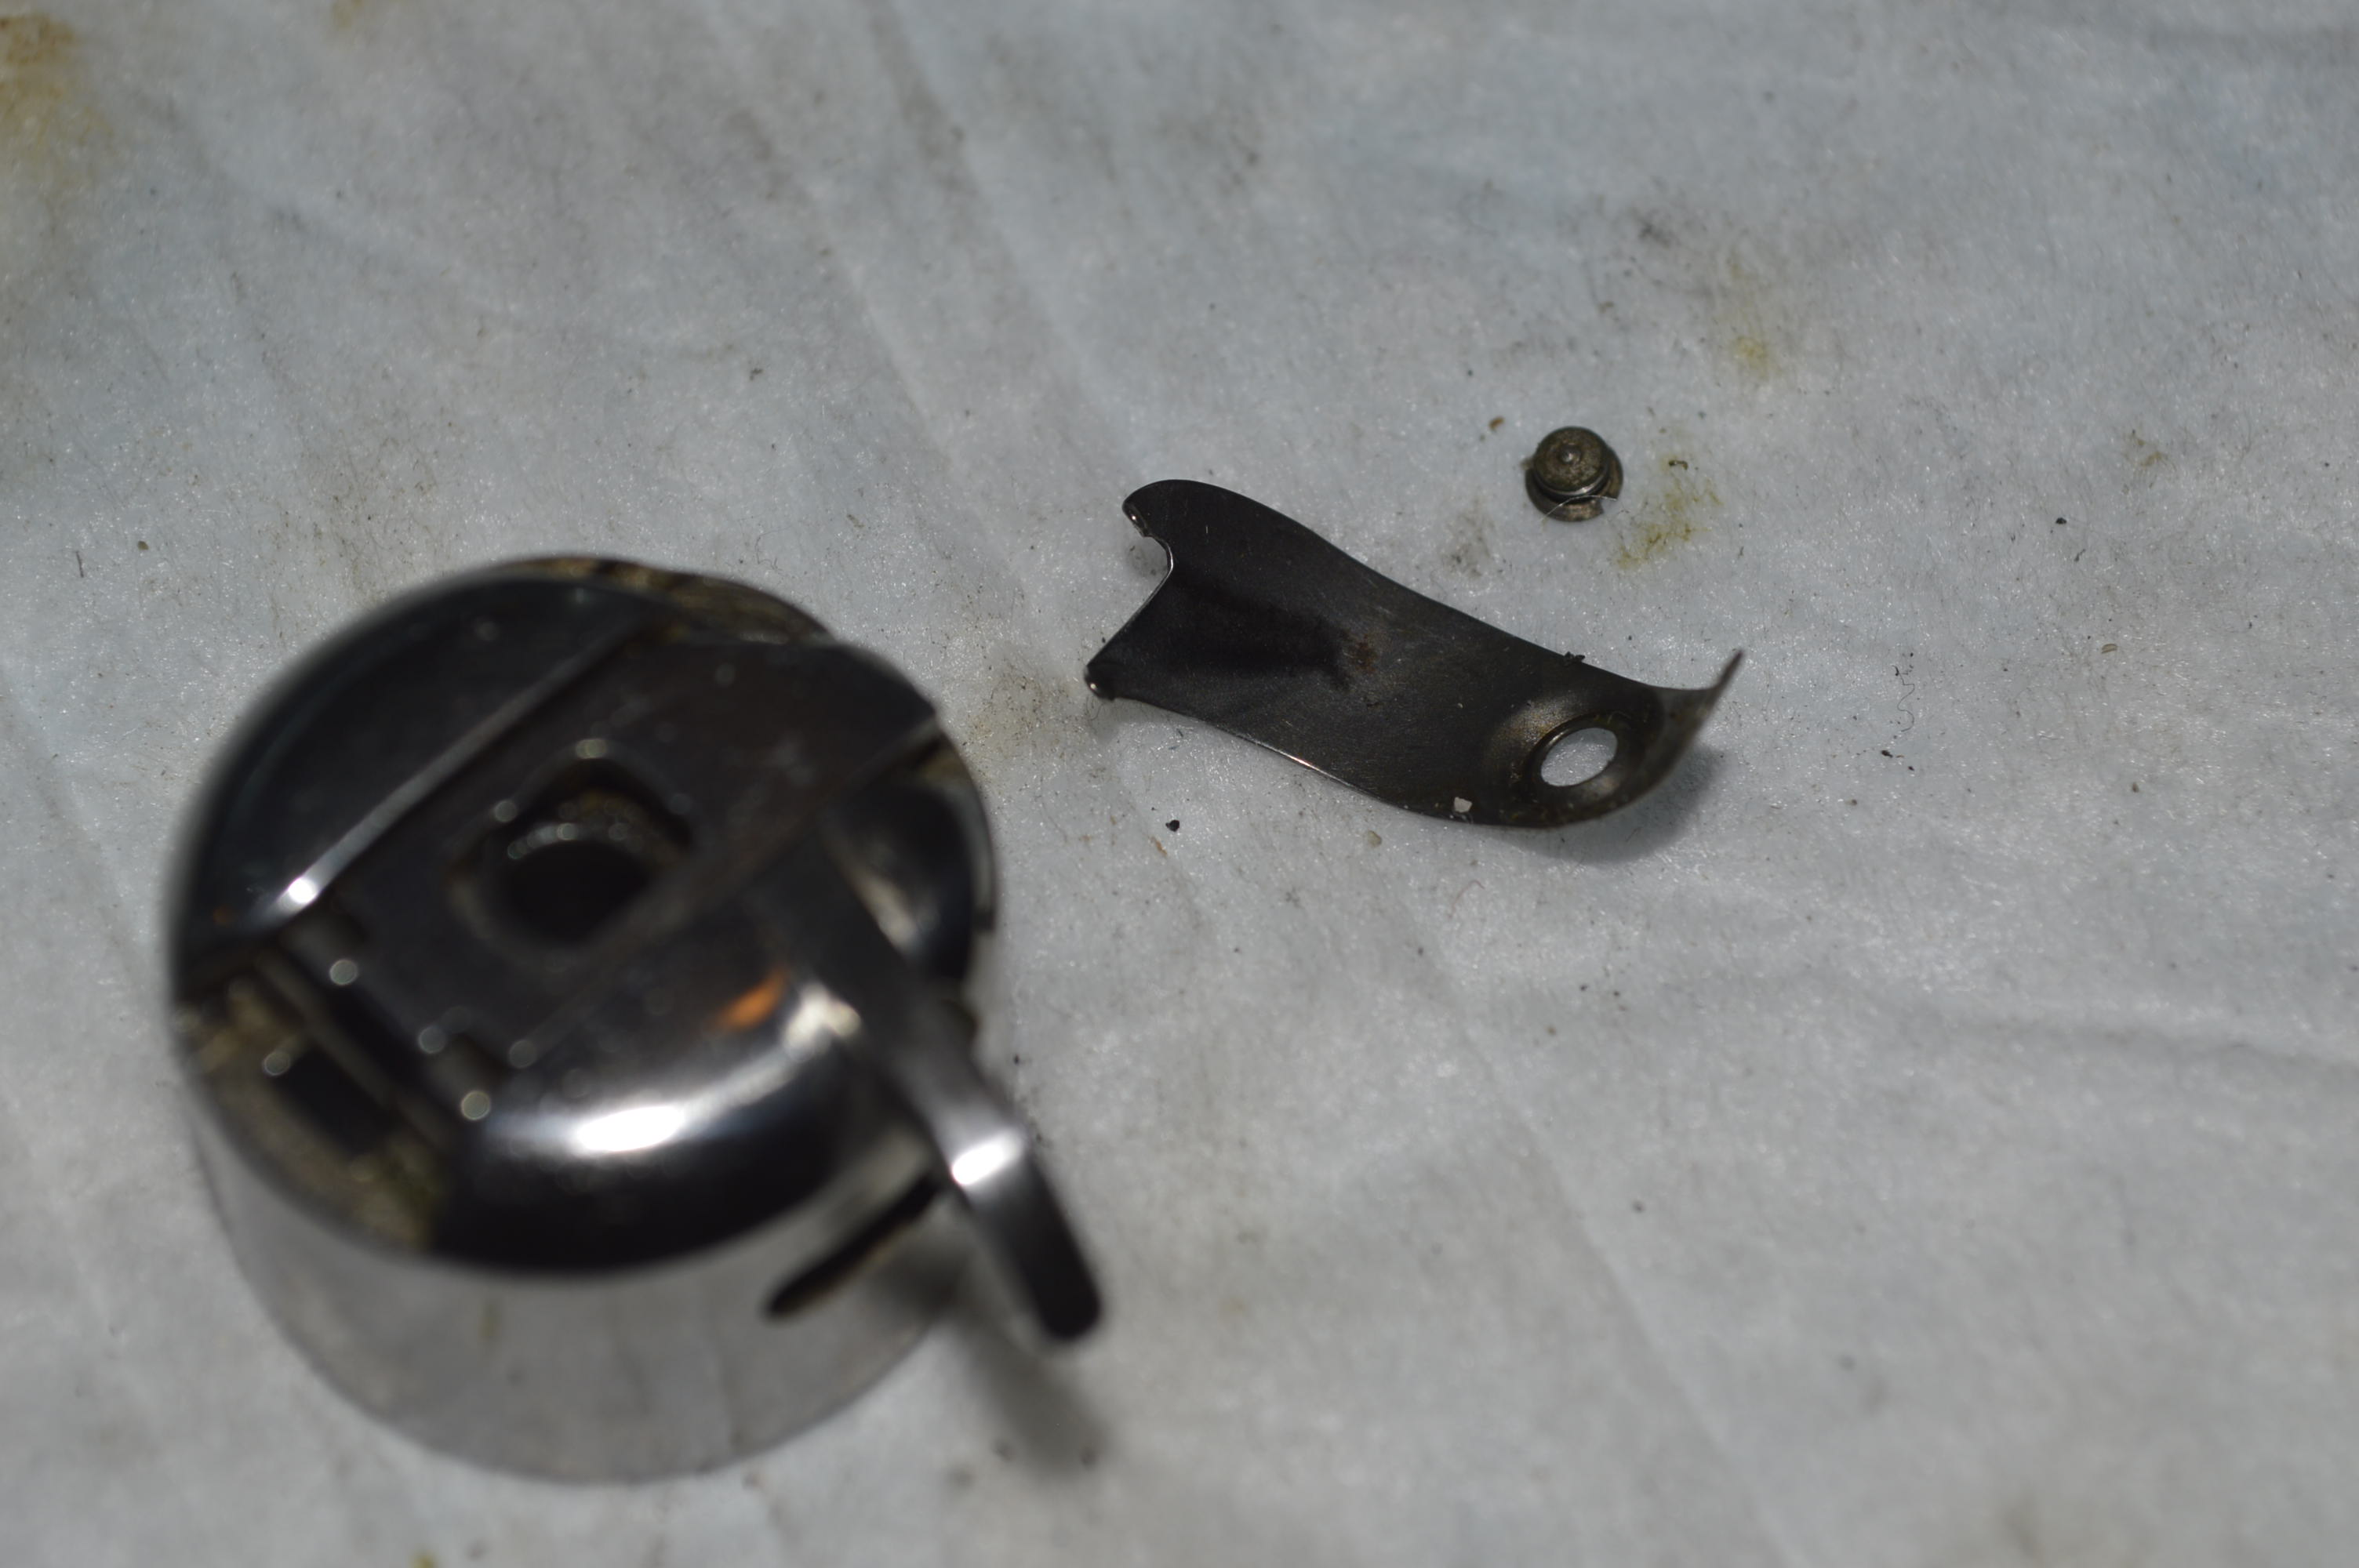
The debris under the leaf spring is commonly found, and it could affect a consistent bobbin thread tension. It is very important to disassemble and clean this often overlooked part.
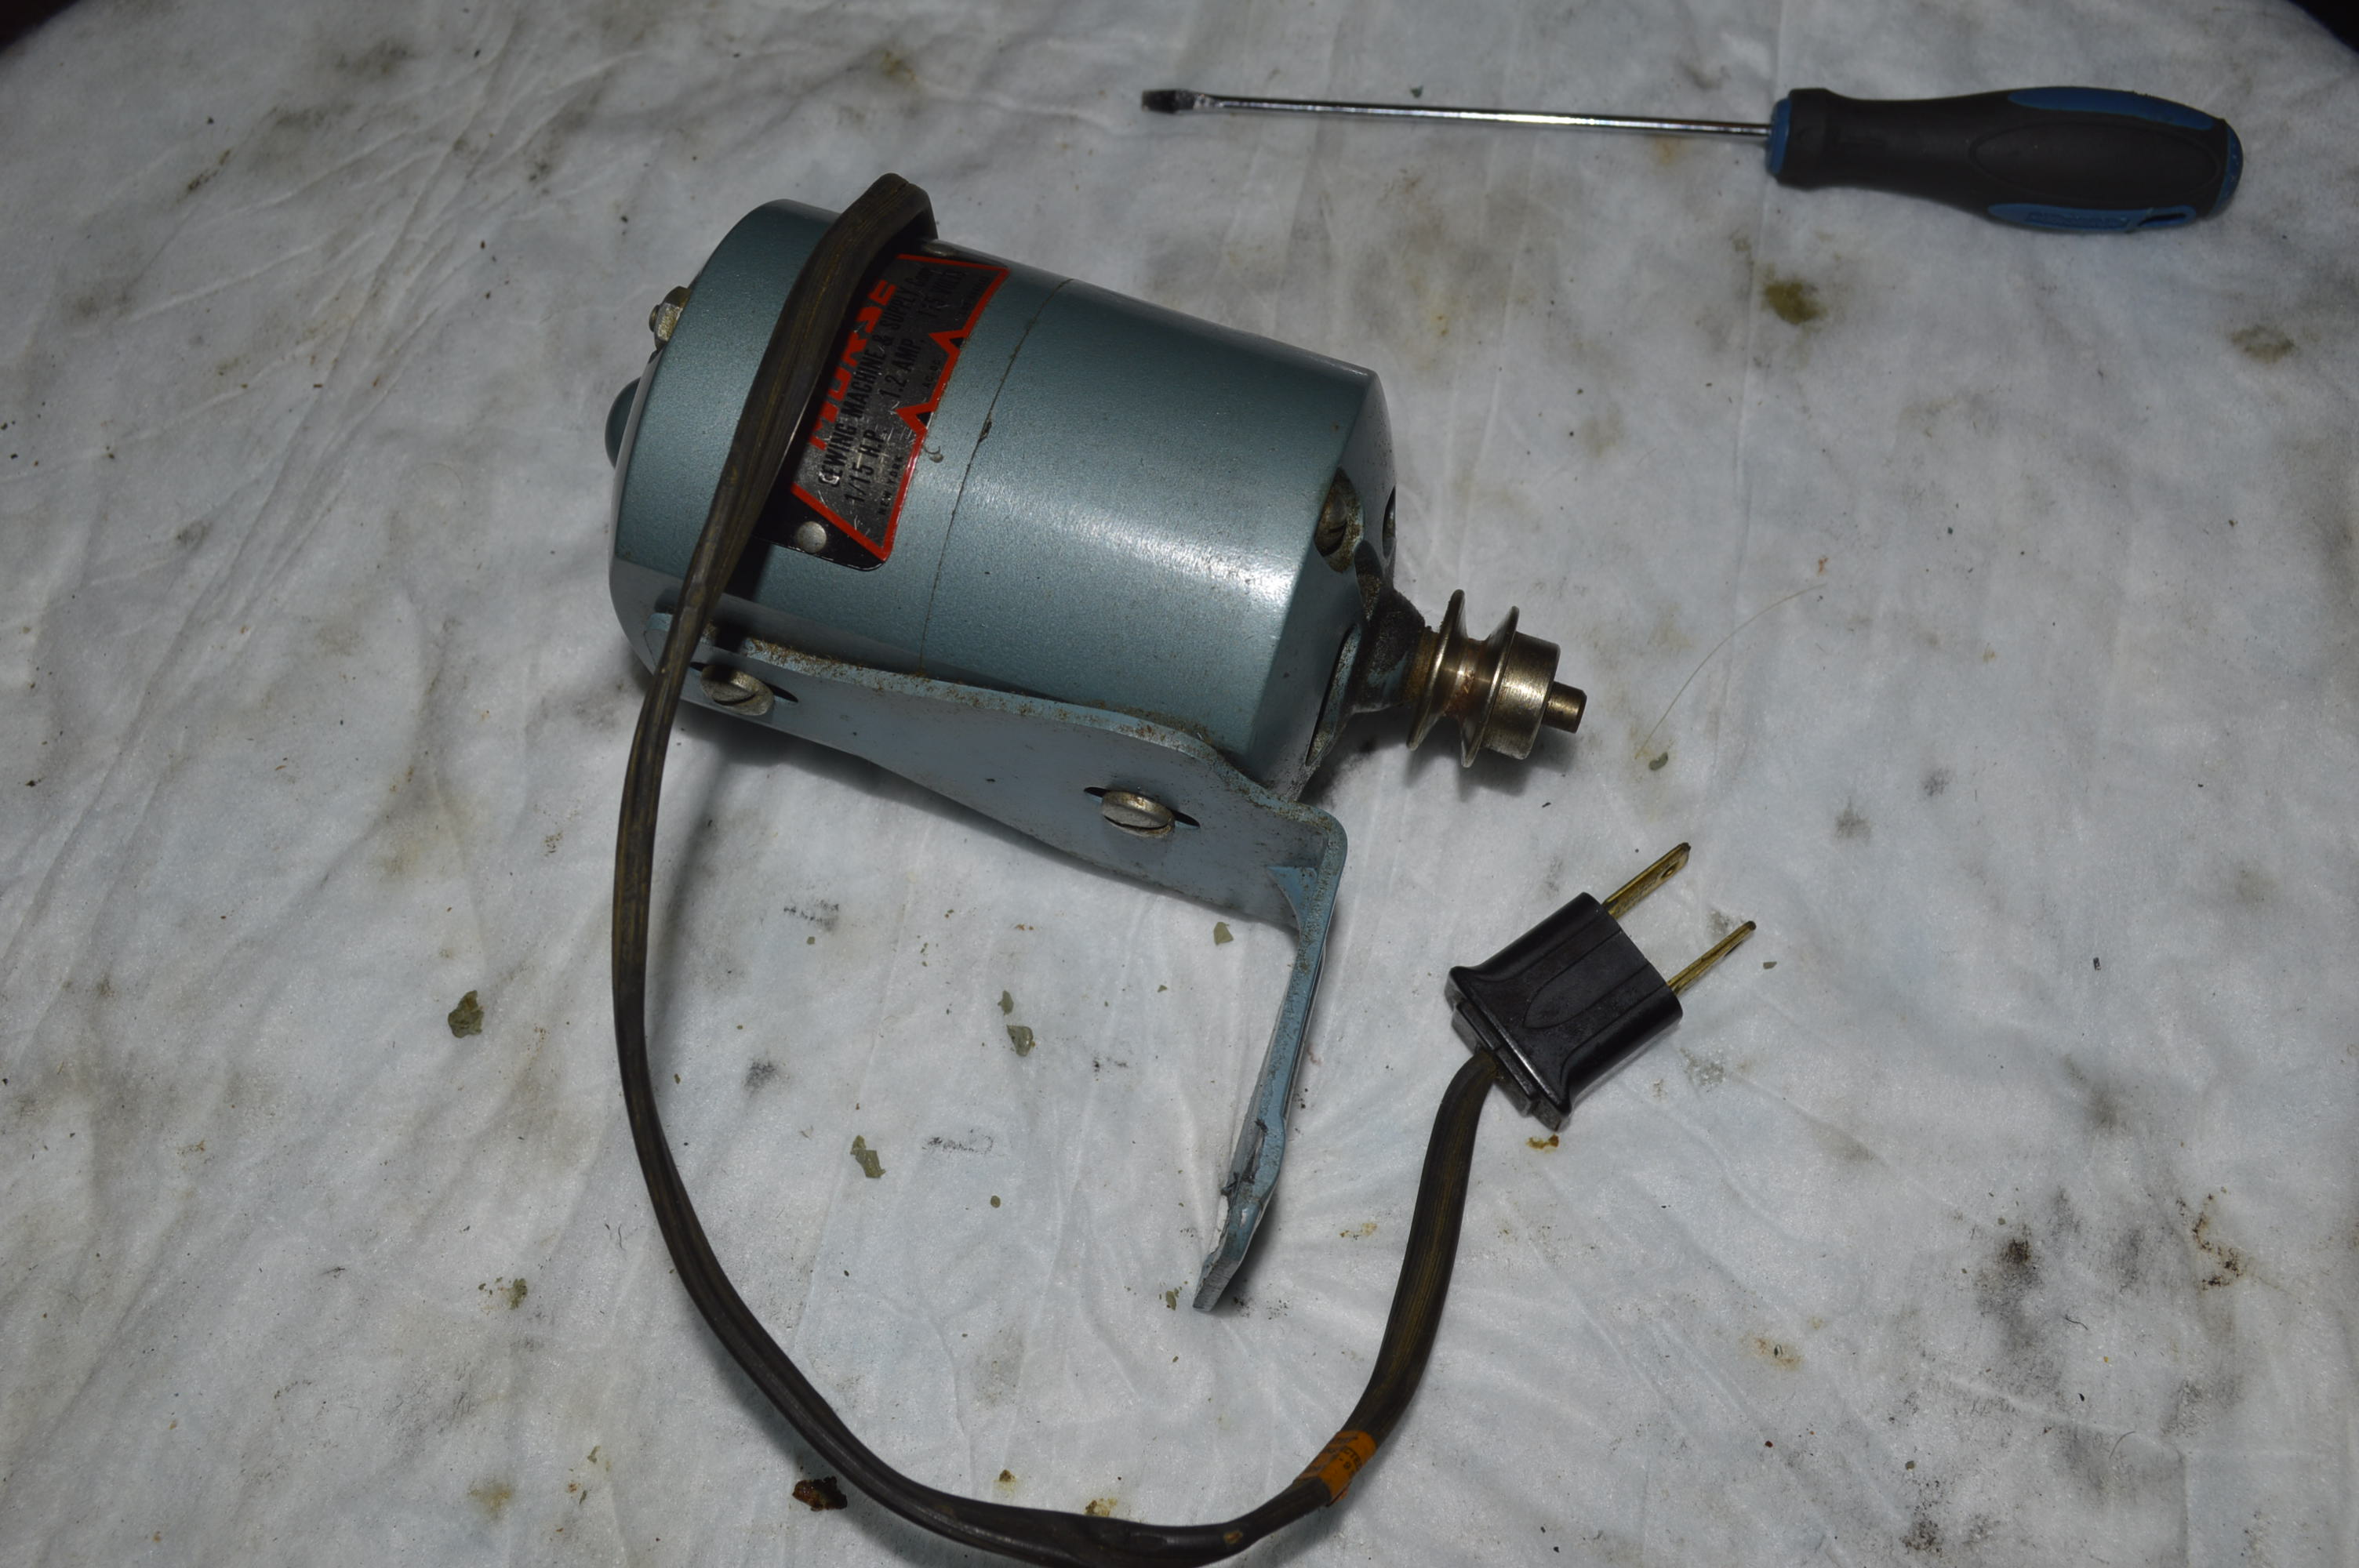
Now attention is turned to the motor. The motor wire is cracked and must be replaced. The motor is completely disassembled.

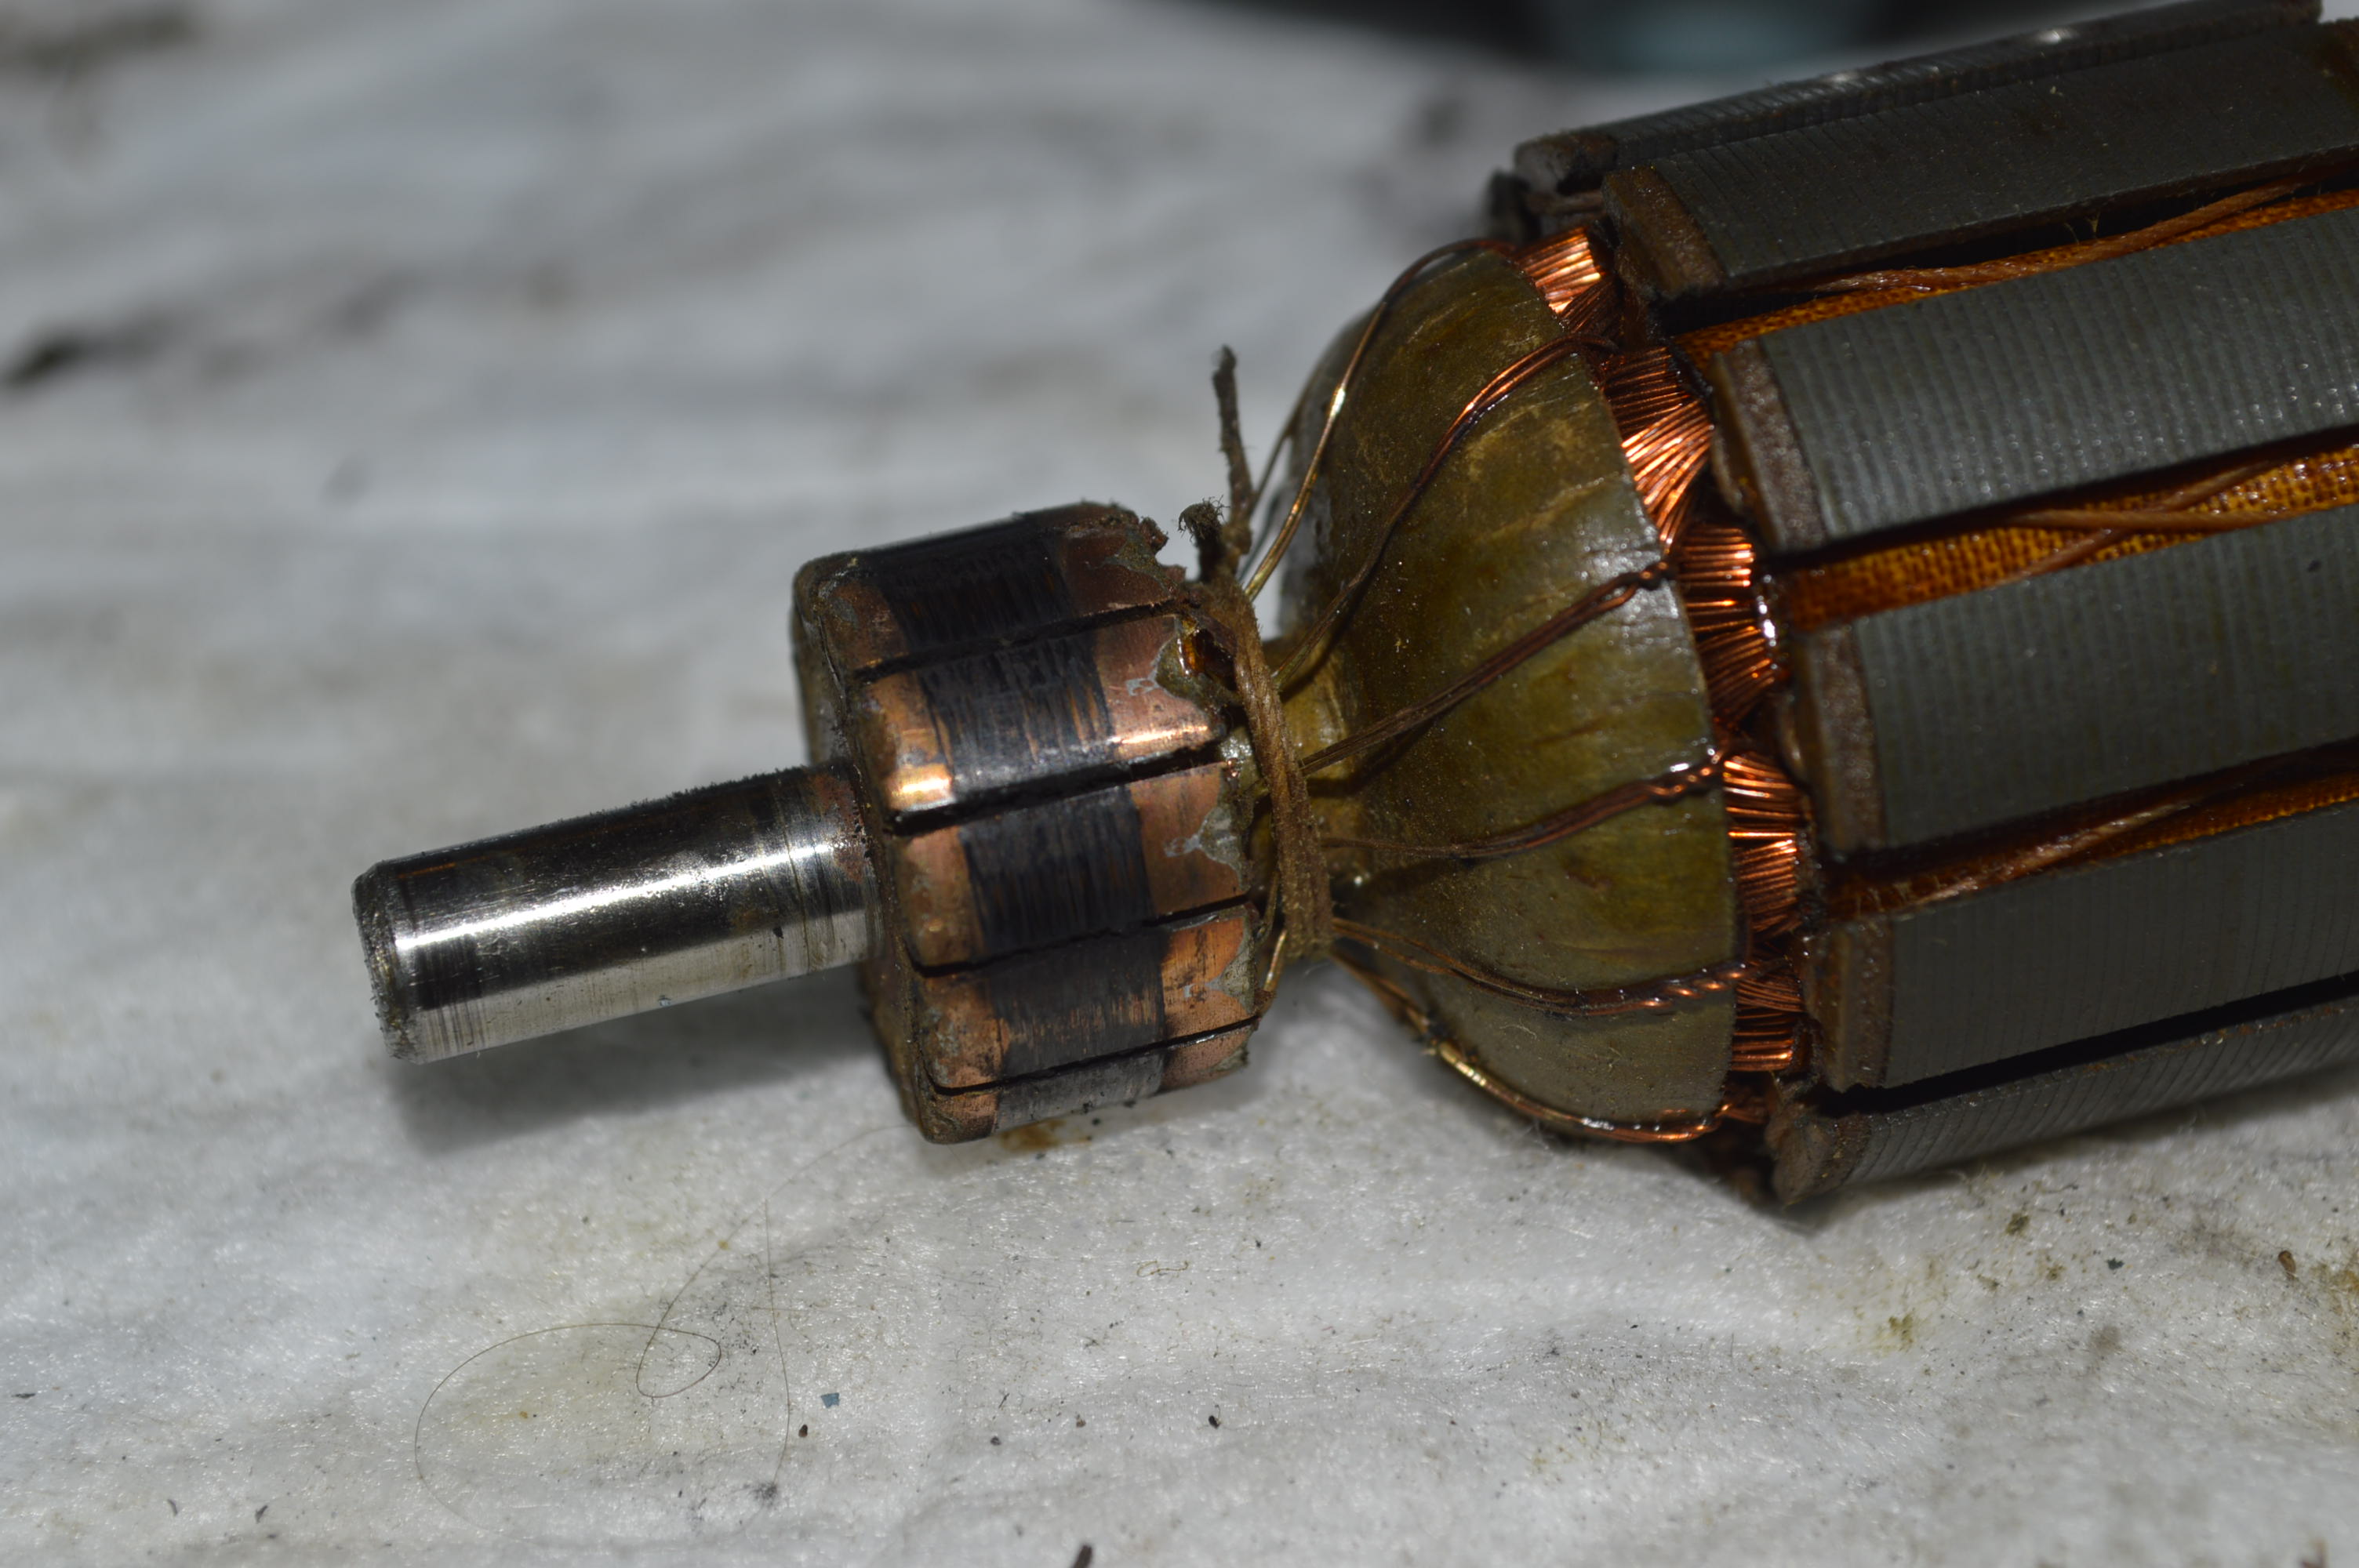
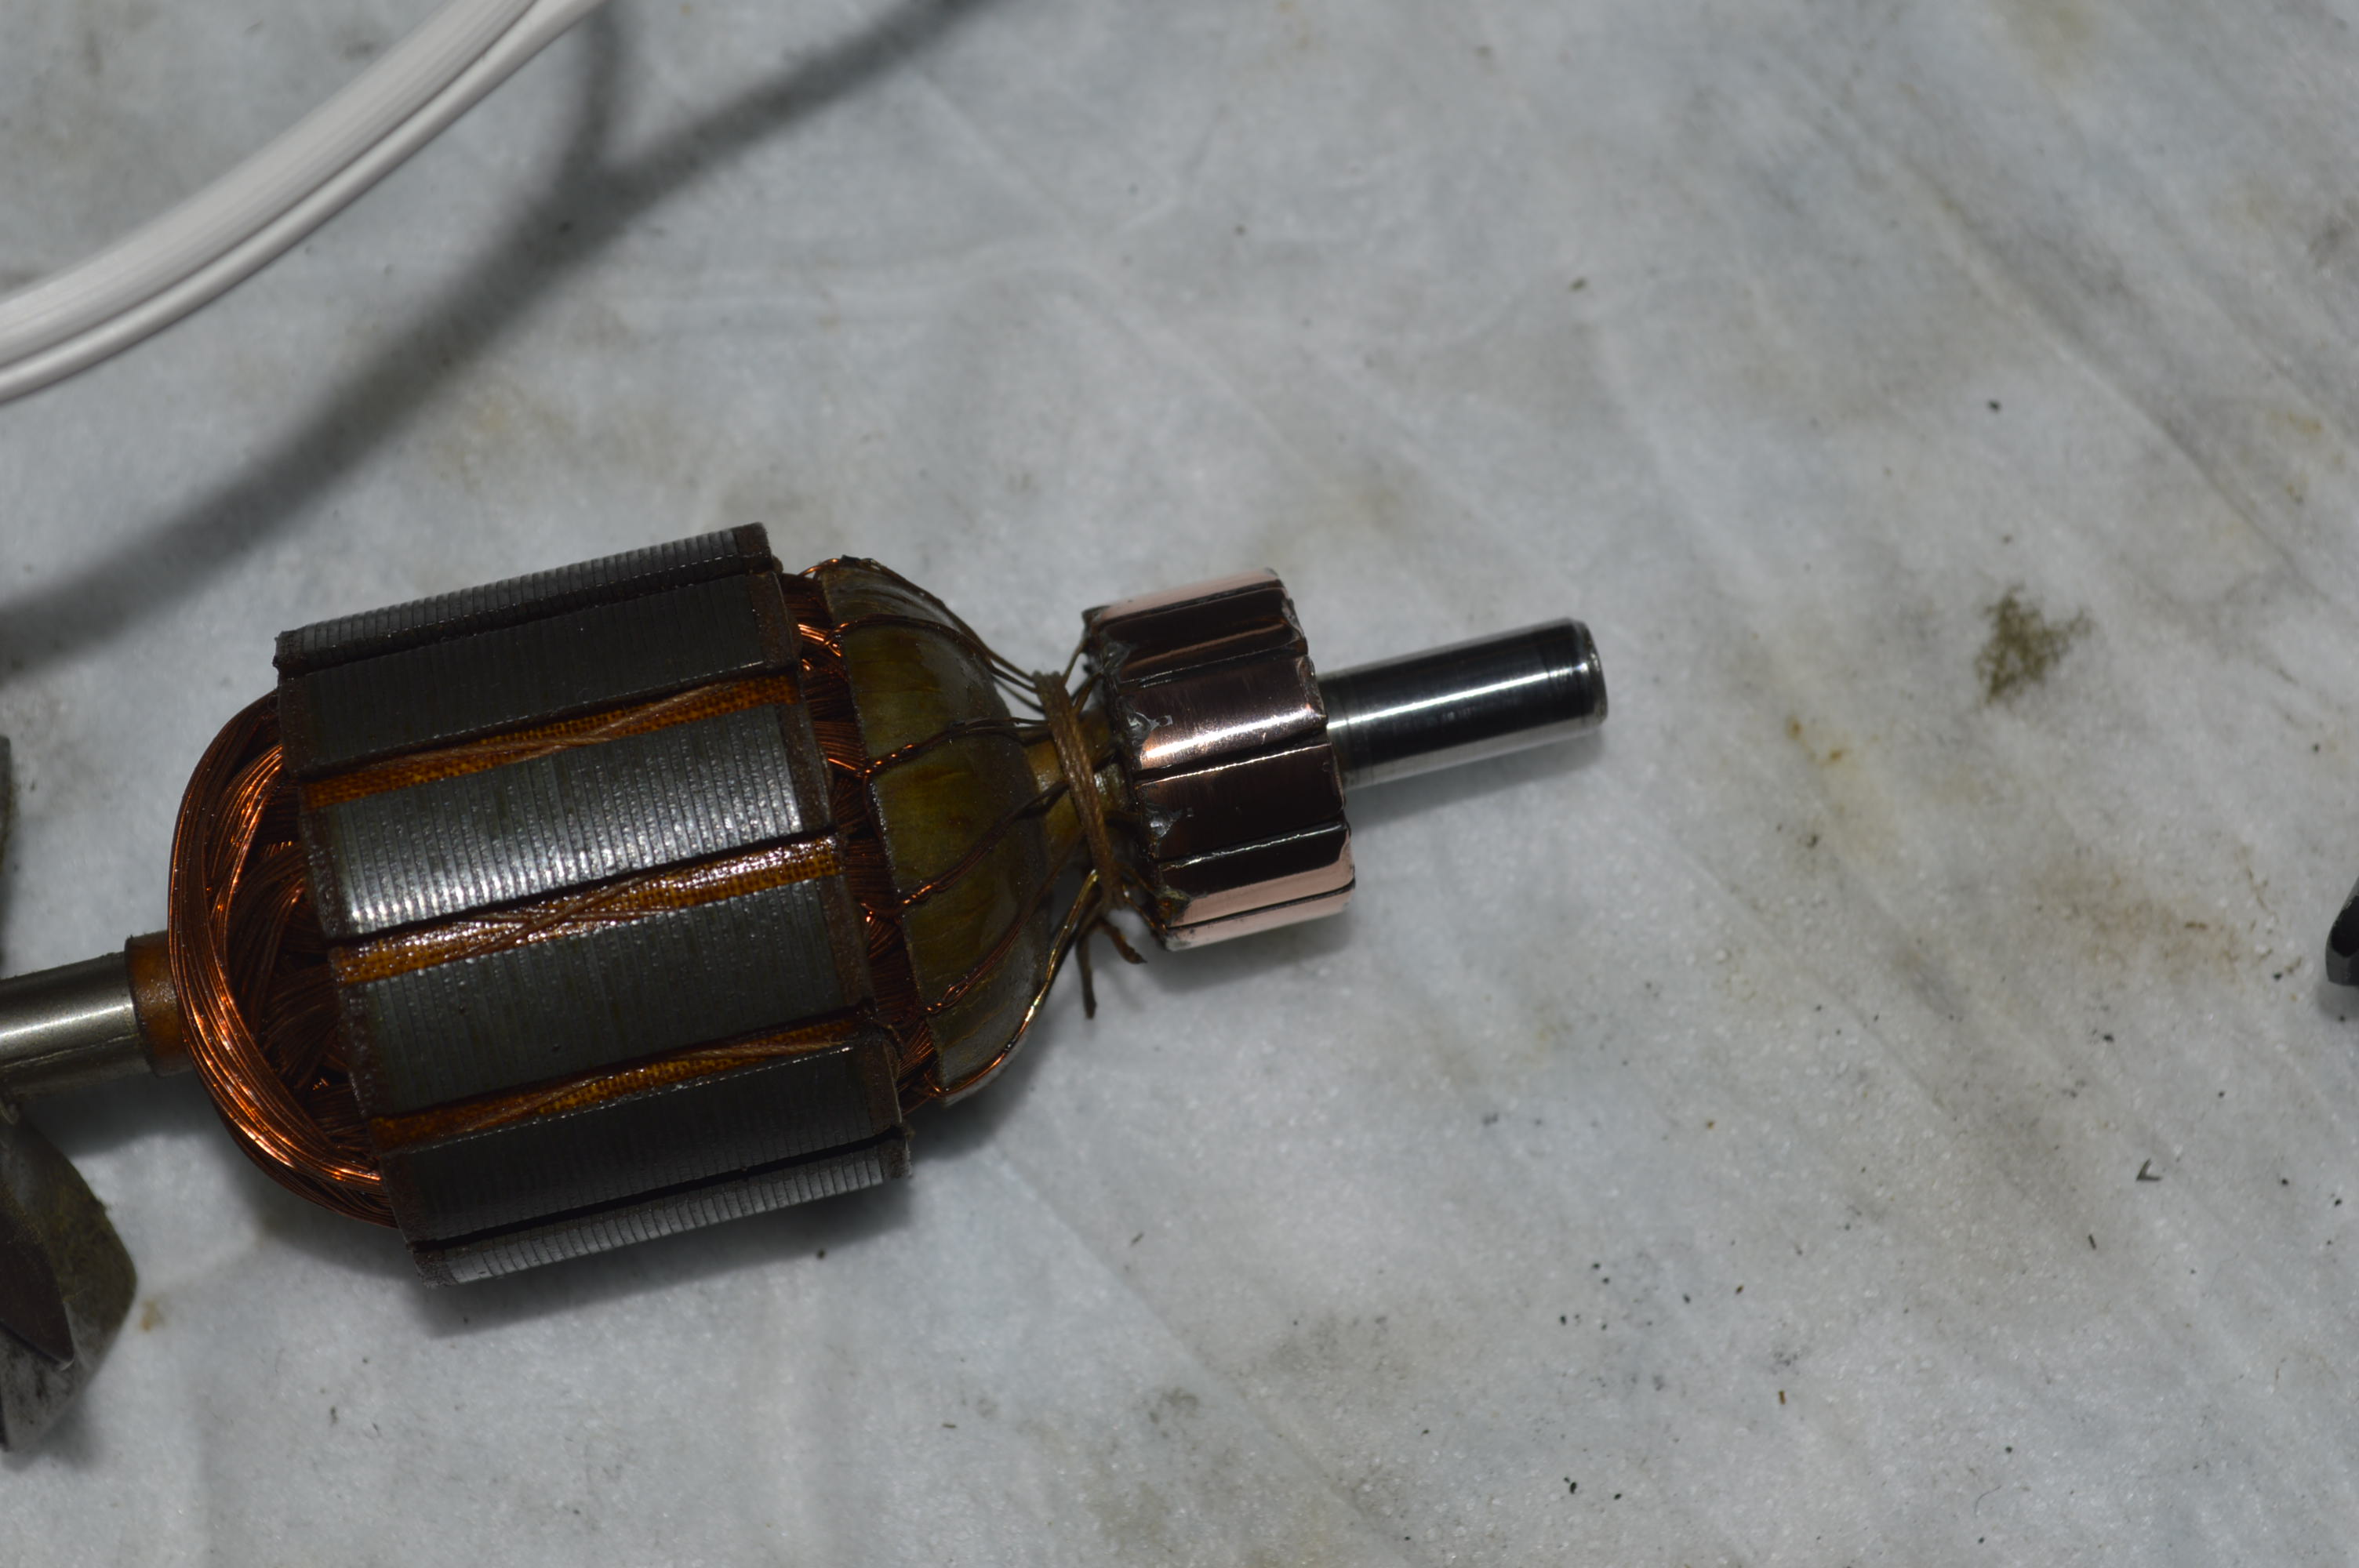
The armature is carbon coated but will be cleaned and polished. The brushes are in good condition but they too will be cleaned before re-assembly.
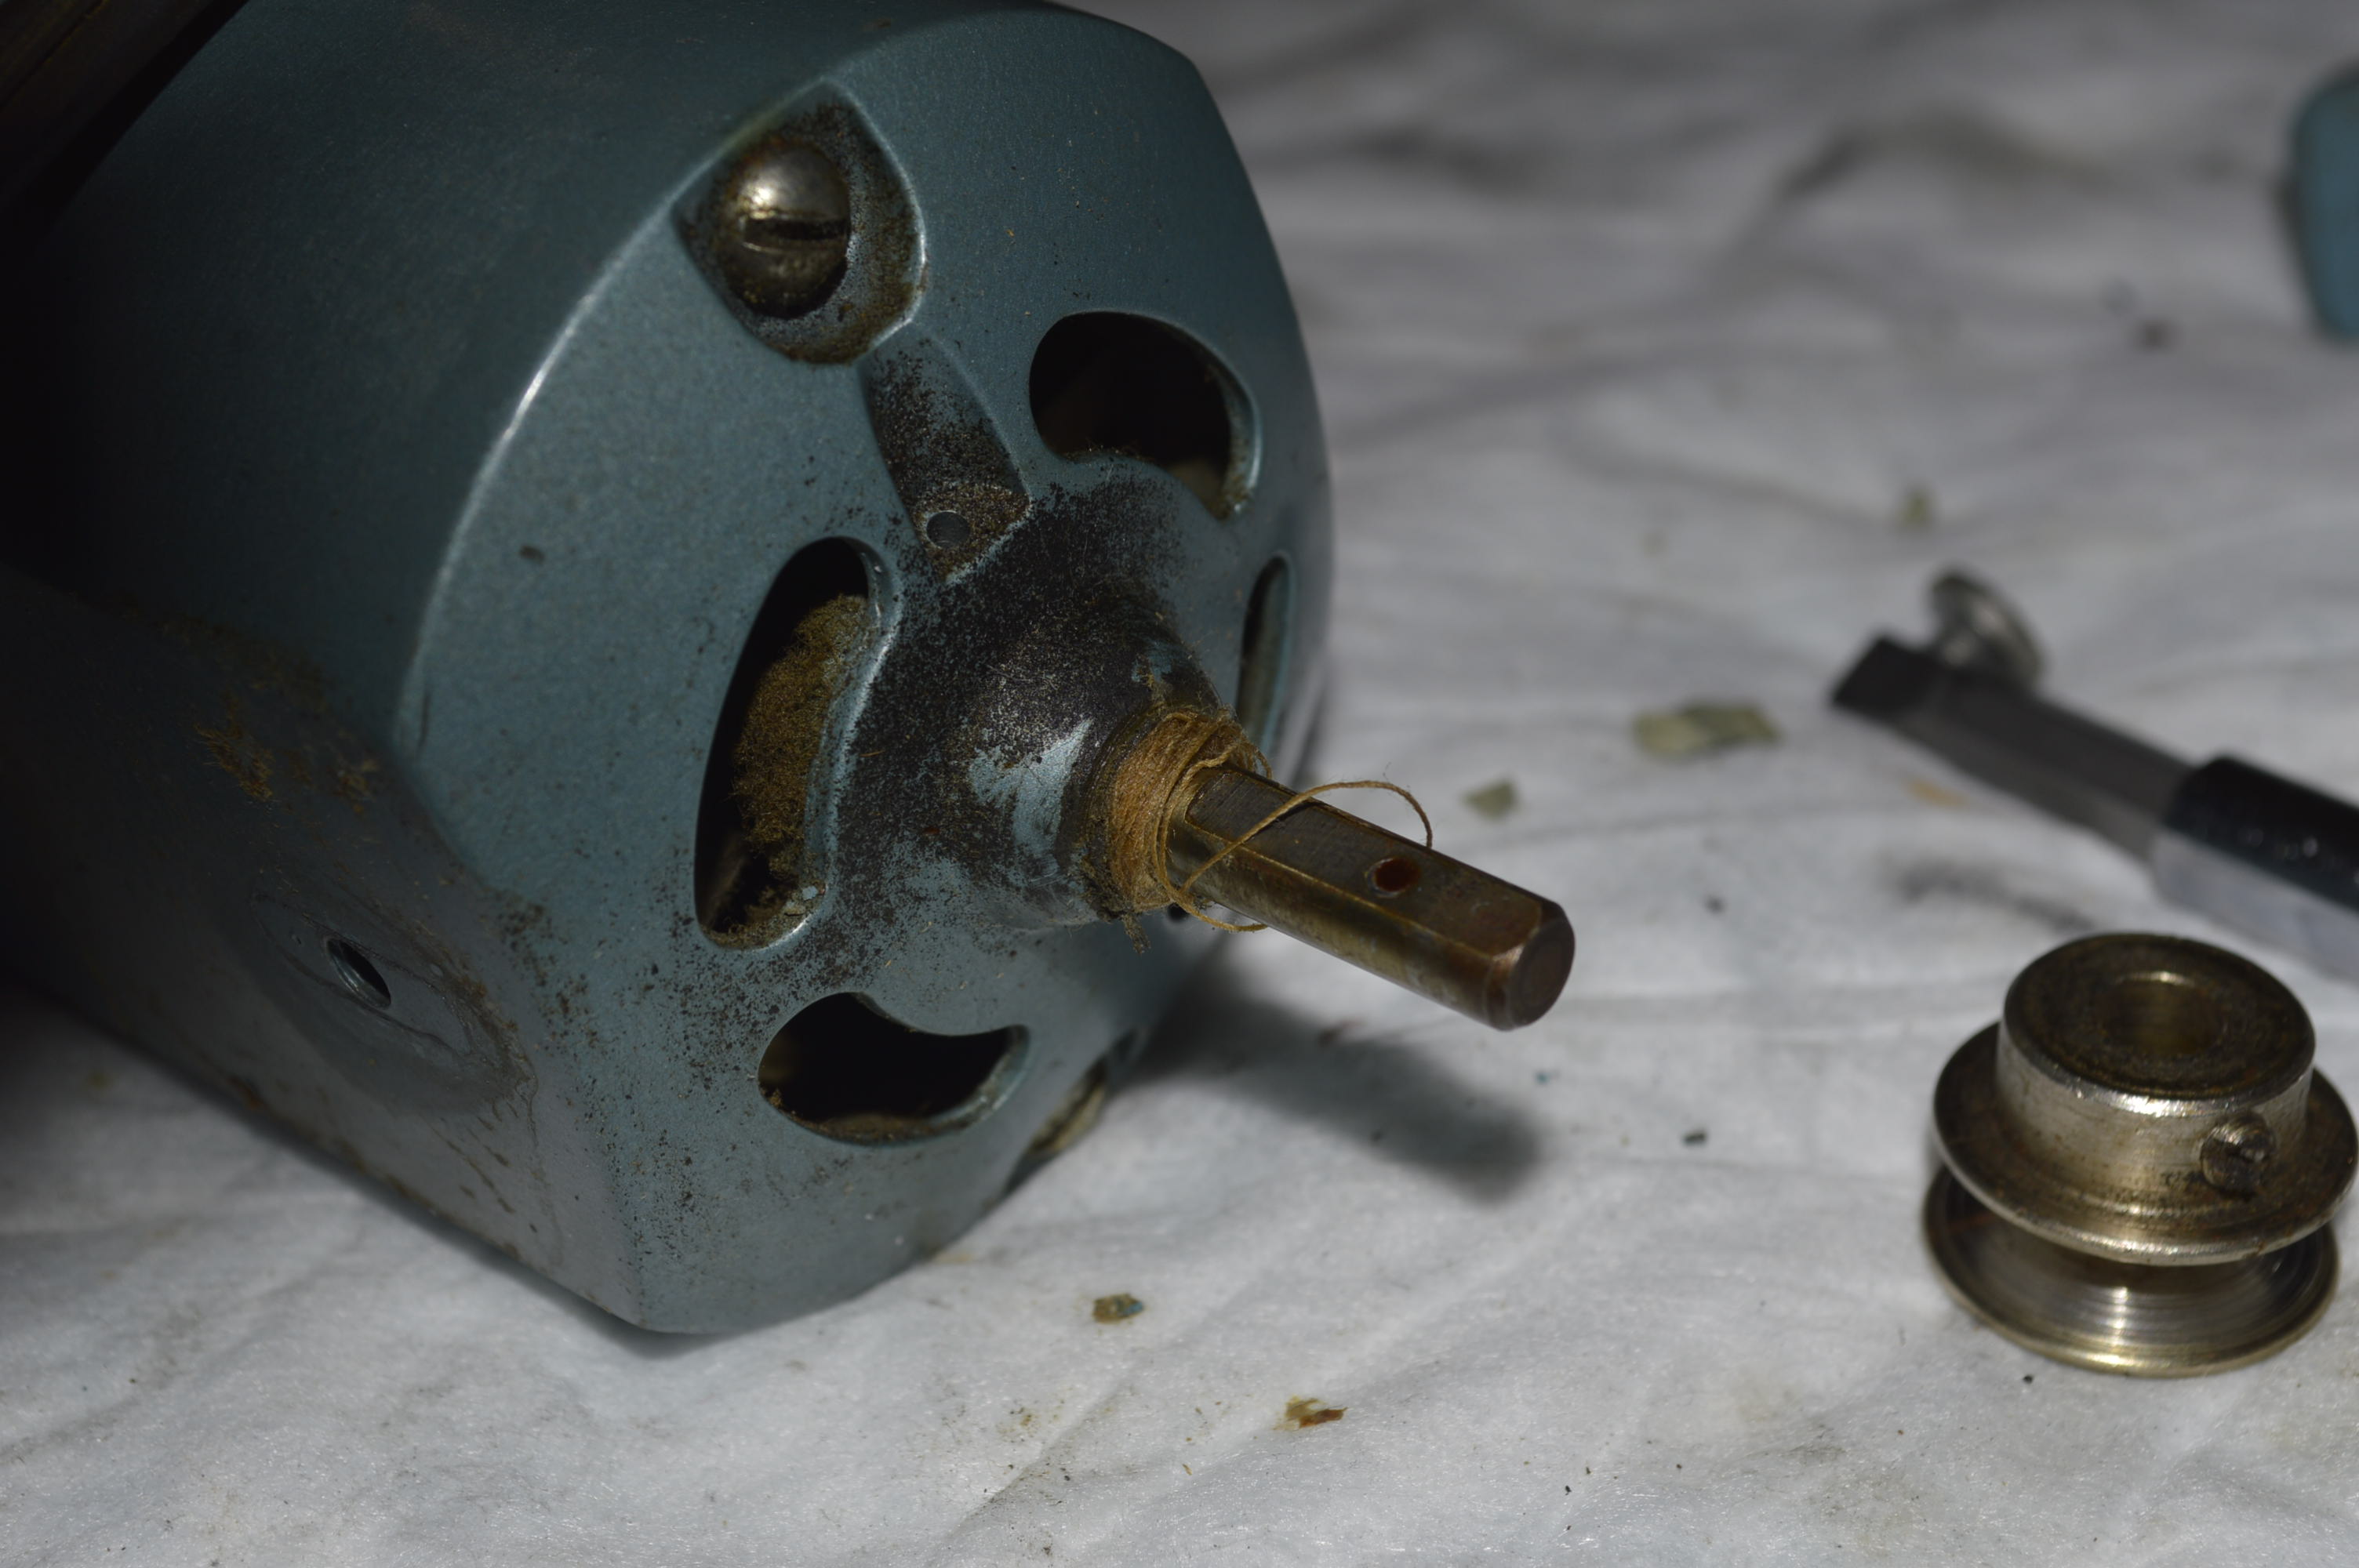
Sewing machine motors are pretty tough… they have to be. Notice the thread wrapped around the motor shaft. It was tightly wrapped, but the motor still ran with good speed and power. After it is reconditioned, it will run much better.
Motor cleaned and wires replaced…
Armature is polished 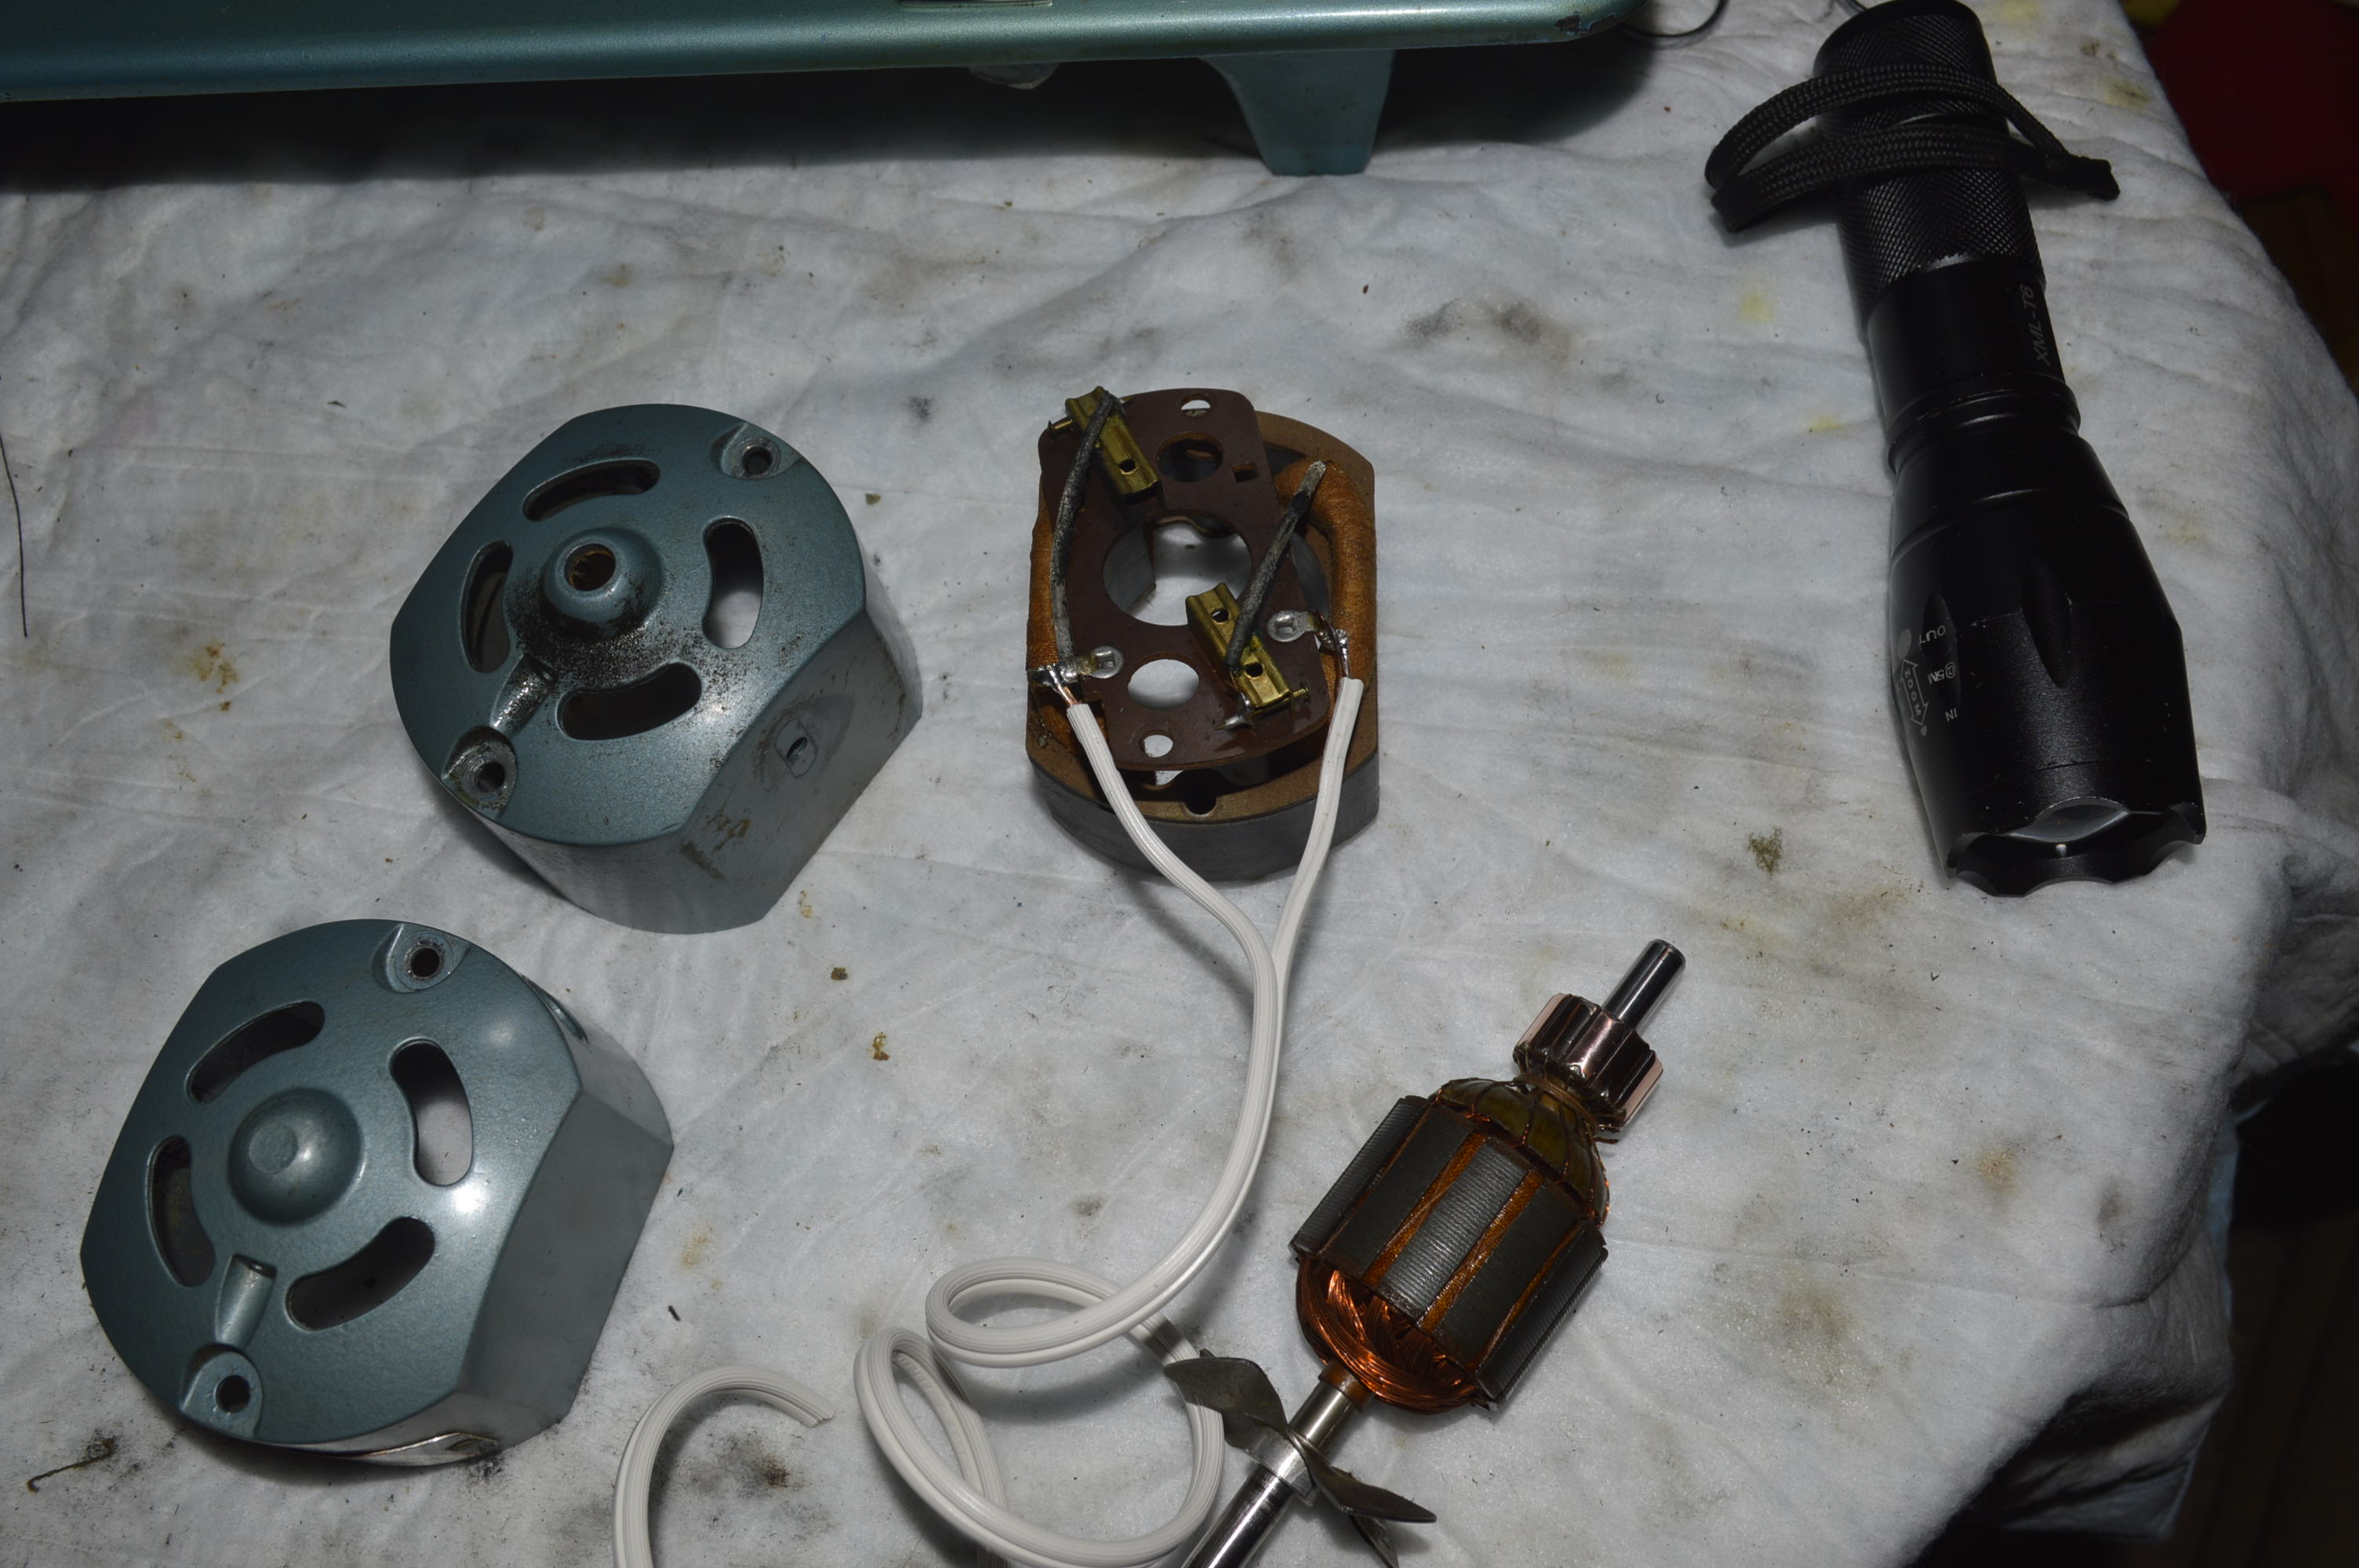
Wires are Replaced
After the motor is reassembled it is “run-in”. As expected, the motor runs smoothly and, rated at 1.2 amps, is very powerful.
The machine is completely reassembled, given a final coat of carnauba wax, At this point the reconditioning is done. The machine turns very smoothly, virtually all parts have been disassembled and cleaned. The body of the machine has been waxed and cosmetically the machine looks great.
Here is the final product…

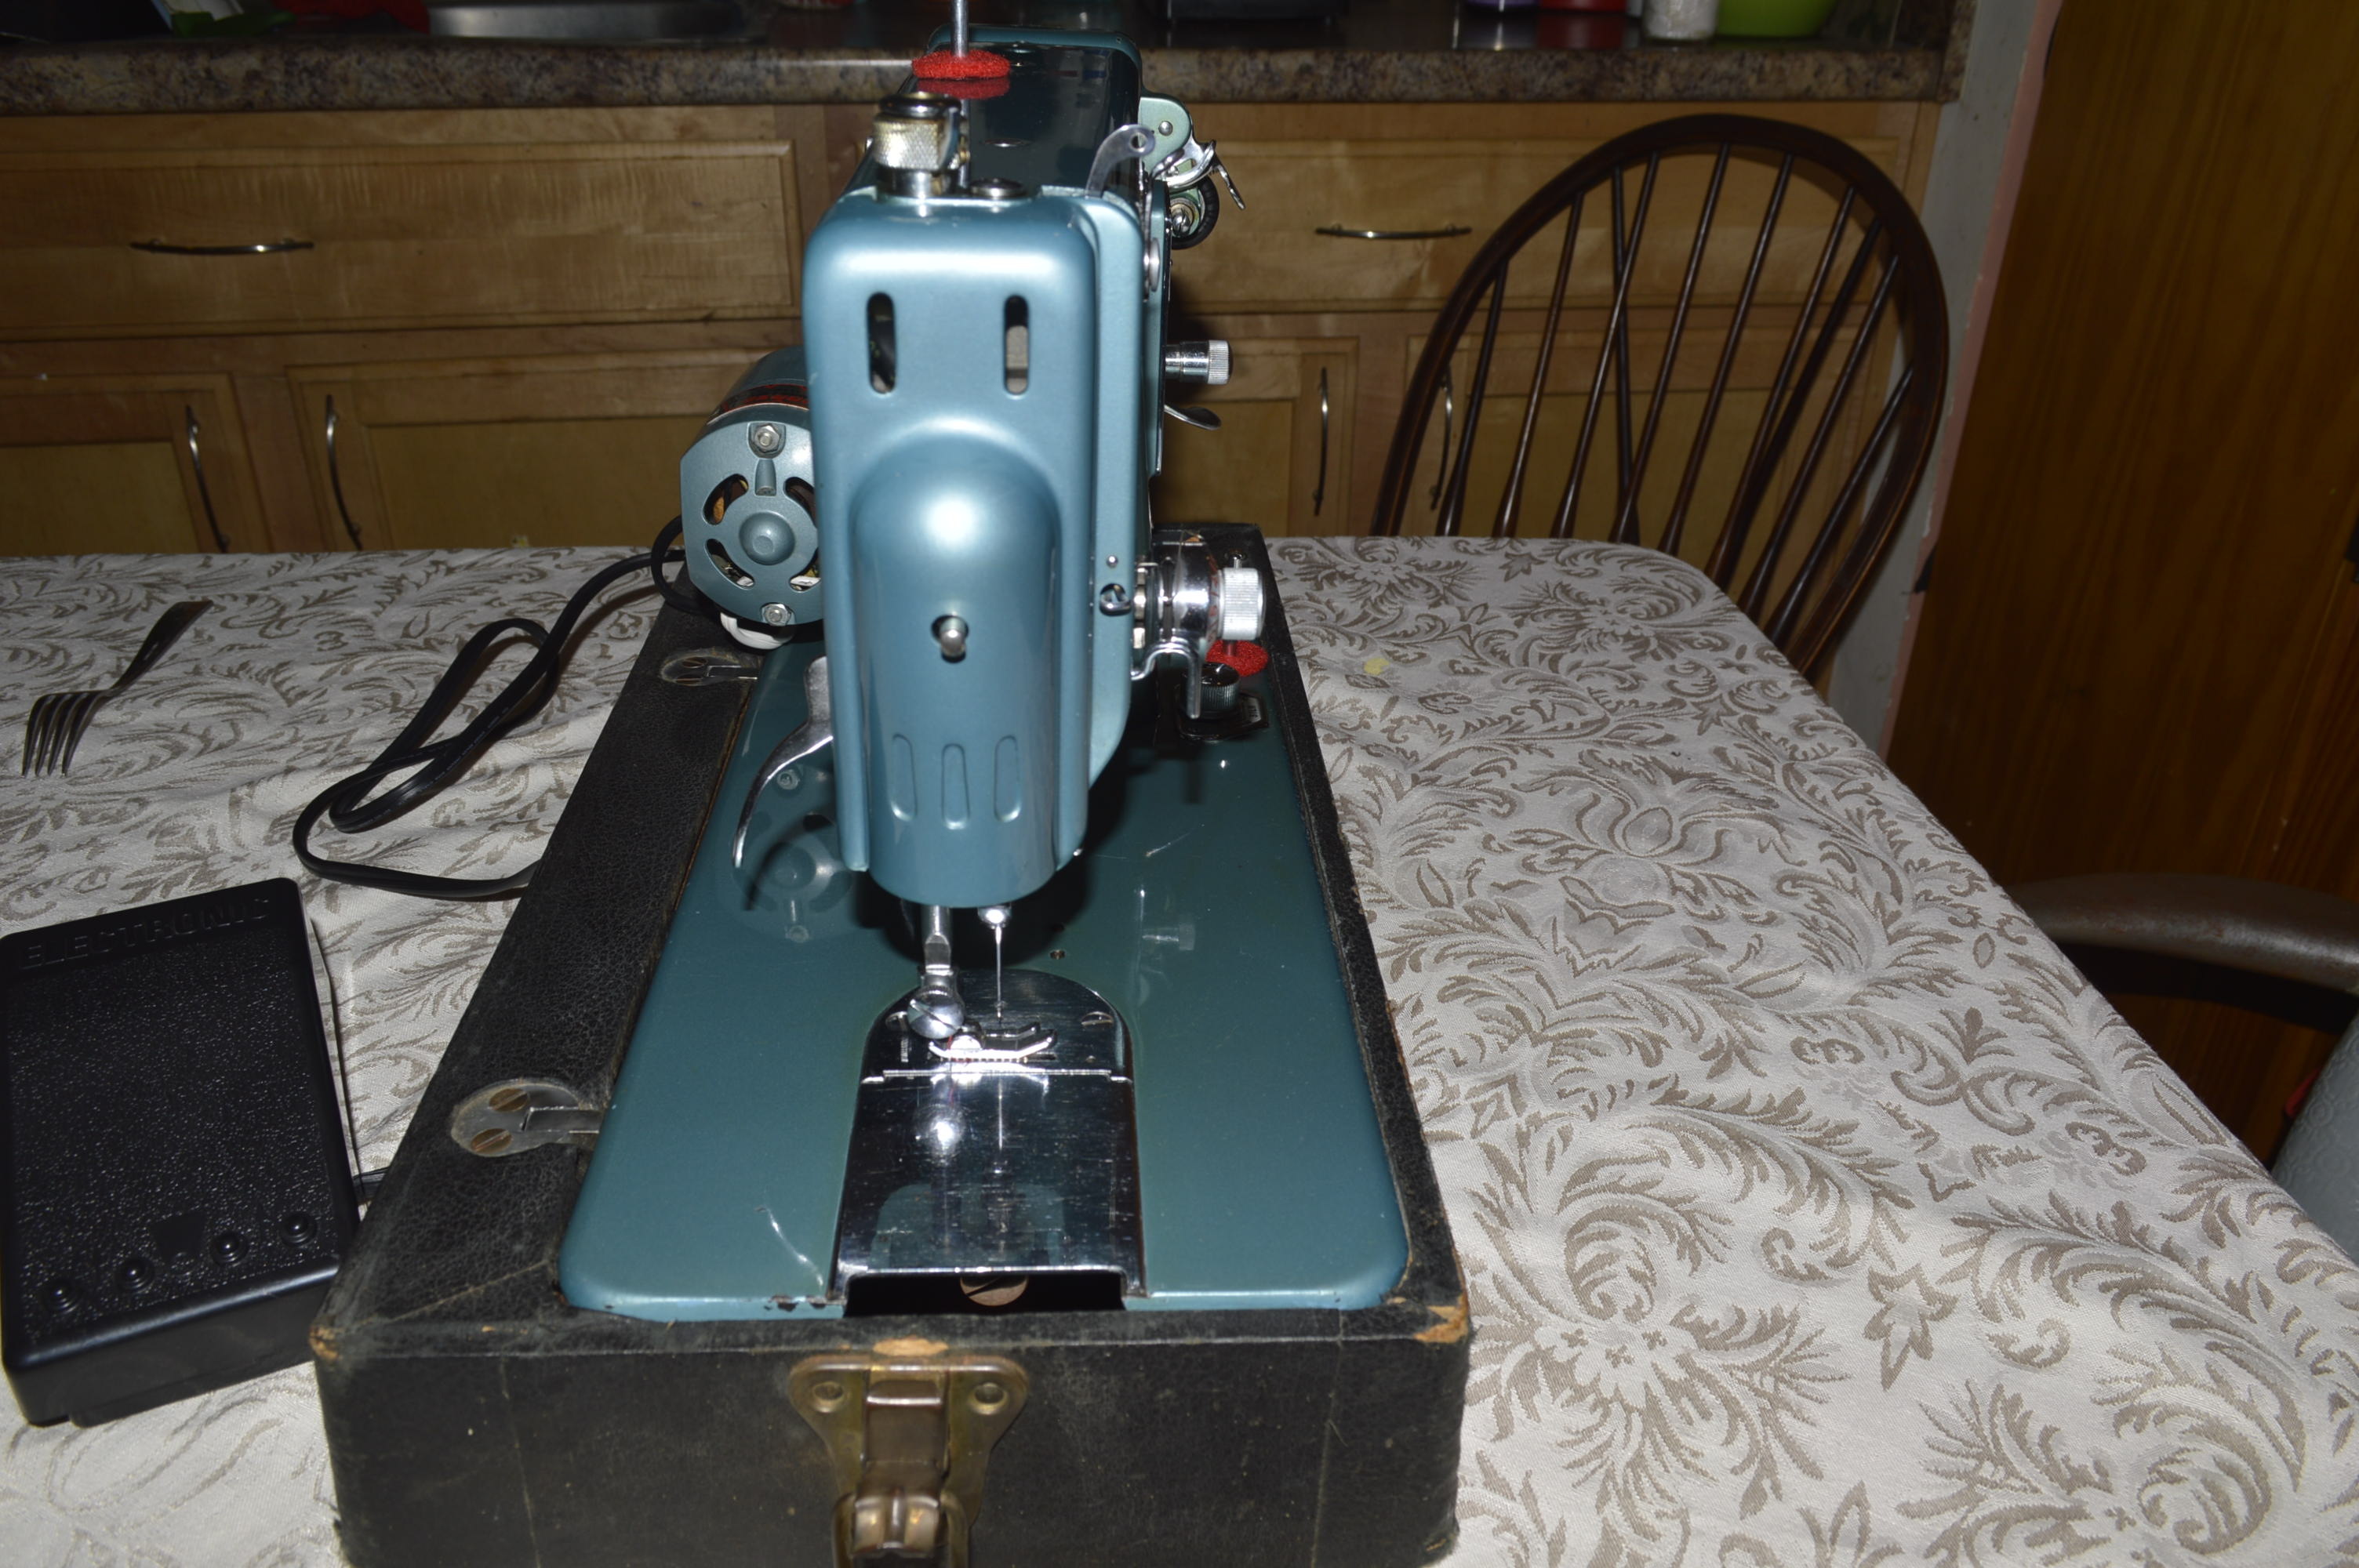
I love projects that turn out like this… What do you think?


Love that you took the time and detail to post your experience restoring such a work of art. I just inherited a pristine pink Super-Dial housed in a Parsons cabinet from a very good friend (aircraft upholsterer) and cannot wait to learn how to sew.
LikeLike
I’m glad you enjoyed my post. I enjoy restoring these old Morse and Atlas straight stitch sewing machines. When properly tuned, they make a great straight stitch and are a pleasure to use. I know you will enjoy using yours!
LikeLike
I just received a beautiful gift of a model very similar to this. I would like to have it tuned up like this and am wondering if you can give me an idea of how much someone in the business will charge? I don’t want to be taken advantage of and have no idea what a fair price is.
I would love to restore it and put it to good use.
LikeLike
Hello Lila,
Your machine is top notch quality. Did you know that it was made by Toyota? If it is in good condition but just needs a cleaning and servicing, it probably costs between $100 and $125. At least here in Virginia Beach. Rates in your area probably vary.
I don’t know anybody that will do what we do, at least I have not found a comparison. I restore machines for a different purpose. My goal in complete disassembly and the depth of cleaning and restoration I do is with the goal of making the machine like new again, and then offer it for sale to someone to use for a long time. Because it is how I spend my time in retirement, and I enjoy it, I will put 40+ hours in a restoration and if the work was based on this, it would not be worth the cost simply for its purpose.
Then again, I don’t think your machine needs this. If it is cleaned and properly oiled, it will sew fine. It was a big deal for Toyota to put their name behind anything in those days, and it shows in the durability today. I actually have another one that I am looking forward to restoring, and it runs and looks good now!
My advice is to reach out to your local sewing community. There are many sewing forums and the folks really do try to offer their best adice and experience. See if there is a recommended shop in your area. When you find one, ask them what a tune-up service includes. As a minimum, it should include a thorough cleaning of all of the machine assemblies, and the tension controls. They will evaluate your motor and belt and make sure all of the adjustment are made. This should includes needle depth, needle timing, and presser foot height. They should also clean the bobbin winder assembly and adjust as needed.
All in all it is basic stuff, but a properly tuned machine sews much better than one where even a small adjustment is needed.
I hope this helps answer your question, and please don’t hesitate to contact me if I can be of assistance.
Have a blessed evening,
Lee
LikeLike
Dear Lee,
Thank you so much for your prompt and informative reply.
I really do appreciate it!!
I have sent an email to a well established sewing center near me and asked for an estimate for tune up. I think it will be a good investment. Thank you for letting me know what I should expect from that kind of service.
I am really excited to be given this machine!
I’m the type of person that appreciates well built, long lasting products and equipment. They just don’t make things like this anymore!
I sure it will continue to work well if I can have someone with a little more expertise than me, help me bring it up to good working order. It is very clean and everything still turns. The light even works. It’s not been used in over a decade but was stored well and definitely needs a good cleaning and oiling. It has a knee lever rather than a foot pedal…and I’d like to change that, as my knee will never tolerate that for long… Haha.
I just don’t know enough (yet) to feel confident to pull it all apart and attempt it on my own, before getting to know the machine better and feeling it work in good condition.
I am eager to learn though, so I found your tutorial to be incredibly helpful. You really gave much more detail about these parts and the inner workings of the machine… than anything else I’ve found. It’s really great information!
You clearly have a knack and passion for this and I am so glad to have found your blog.
Thank you for sharing your time and energy with the world … so novices like myself can learn from your experience.
I will definitely reach out if I have questions as I progress.
Stay well and thanks again!
~ Lila
LikeLike
Hello!
I purchased a Super Dial just like this housed in a sewing table for $25 at an estate sale, but it is pink! I am in love. It needs some work and I am taking it to a sewing machine repairman well known in the area. I am going to discuss replacing the wiring as well. Mine also did not come with a foot pedal and I may have to replace some small parts, I am unsure. He said he had experience with these machines and knew exactly which one I was speaking of when I called today. I also inherited a Singer electric sewing machine that was my great grandmothers. I will frequent this blog for information. Thank you for taking the time to share with us!
LikeLike
You were very fortunate to find this machine in pink! They were made but in much less numbers and harder to find… I would love to find one. They are great machines and after servicing you will enjoy the way your machine runs and sews. Good luck and good find!
I have another super dial I am preparing to restore. I like these machines but they are finicky about adjustments and care needs to be taken in disassembly to get them in perfect adjustment. But when they are, they sew wonderfully!
Lee
LikeLike
Very nice restoration!! I have the pink super dial straight stitch one. My motor belt is finished does anyone would know what size the belt is, I’m trying to find a replacement for it. Thank you!
LikeLike
Hello Chantal,
Sewing machine belts come in so many different sizes, and the slightest difference in size makes a big difference.
You can measure your belt to find the size. If is not broken, put a mark on the side of the belt, put the mark on the belt on a ruler, then roll the belt along the ruler until the mark is again on the ruler. If your belt is broken, simply measure the length. This is the size of your belt. I hope this helps!
Lee
LikeLike
Hello, I have this model. Thank you for sharing your experience rebuilding it! Mine is pretty clean, as well. I just glued up the bottom of the case and it is in clamps to cure. I also plan to rewire the power cords because they are in bad repair and brittle (one section has about an inch of copper wire completely out of the jacketing!). I was wondering where I can go to replace the rubber drive band and the rubber around the smaller wheel that rides on the hand wheel for filling bobbins. Thank you!
LikeLike
Hello Jon,
The Super Dial’s are great machines and most likely manufactured by Toyota!
Belts and bobbin tires are readily available online. To get the size of your belt, put a mark on the side of the belt, lay yardstick on the table, place the mark on the belt on “zero”, and like the track on a bull dozer, roll the belt along the ruler until the mark touches on the ruler again. The distance on the ruler is the belt size you need. The bobbin winder tire is standard and the same as on any Singer machine (pretty much any except kenmores and tires that are “hidden” under the top cover.
I hope this helps and please let me know if I can be of any further assistance!
Lee
LikeLike
Thank you, very much, Lee! My belt is barely holding on, so I’ll just measure it straight away. I really appreciate the help. This is a really cool machine, and maybe some day I’ll tackle the internal cleanings. I pulled the foot pedal apart today and found that the weighted piece inside, that has the speed control contacts, is cracked in half. I considered brazing it, but I’m not sure what it’s made of, so will epoxy it, instead, and replace the screw that it’s missing in the lower corner. This is fun stuff!
Cheers!
Jon
LikeLike
Hi I’m working on same machine in hot pink. Question I was cleaning near tension assembly inside near needle bar and a tiny spring came loose. I see where it goes on but my hands aren’t tiny enough to put the spring back on. MIT hooks onto the bottom of the lever. Also I dissembled the stitch length plate and again some tiny tiny spring came off. It still works but without the spring I can’t see the length selection from the window. I tried to put it back on the tiny hook and it seemed to stretch out too much and I left it alone.
LikeLike
Hello Linda,
The small spring under the tension assembly ensures the lever pushed down away from the tension release pin in the tension assembly. This lever is generally loose to move in the machine. Aside from a chance of rattling, the tension assembly will push the tension release pin away from the tension discs and it is not likely to affect tension in the machine. If you want to try and reinstall this spring, you can hook the top of the spring on the end of the lever and then gently pry the bottom of the spring to compress it and then gently push the bottom of the spring to set it in place.
The small spring in the stitch length lever is there to put compression on the stitch length lever screw threads. This prevents it from loosening (or tightening) under the vibration of running the machine. Again, the machine will run fine without this spring, and so long as you are not experiencing any change in stitch length when sewing. The reason you can’t see the stitch length in the window is because the pointer is not indexed to the lever.
To fix this:
1. Remove the stitch length lever knob screw and remove the knob.
2. Screw the stitch length screw (revealed with the knob removed) in with the stitch length lever a the “zero stitch length” position. This is the screw that would have the spring on it. You will know when you have reached this when the stitch length knob won’t turn anymore and the stitch length lever won’t move up or down.
3. Now remove the stitch length screw.
4. Remove the small collar under the stitch length lever knob.
5. Look at the end of the small collar and you will see a series of small “teeth”. These engage in the mechanism and move the pointer when the stitch length knob is turned.
6. Place the collar back on the machine with the slot in the collar at the 6 o’clock position and engages the mating “teeth” in the pointer mechanism. If you turn the collar now, you will see it ratchets the pointer. Position the collar so that it has engaged the pointer mechanism and the pointer is reading zero. This is the indexed position. Keep your hand on it so it does not move as you reassemble the stitch length screw.
7. Screw in the stitch length screw (with the spring if you have it) until it is snug in the machine. Make sure the collar has not disengaged from the pointer in it’s “indexed” position.
8. If you look closely, you will see a small pin inside the bottom of the stitch length knob, This ping engages two slots… one in the stitch length screw and the other on the collar. They may not be in the same place, so as you are putting the knob back on, you will need to rotate the knob until you feel it engage the slot in the screw, and then the slot in the collar.
9. Replace the screw in the stitch length knob.
The pointer should now read properly when you turn the knob.
I hope this helps and please let me know if you can be of any further assistance.
Have a blessed and wonderful day,
Lee
LikeLike
Thanks so much Lee. I did buy a cheap box of 20 assorted size springs from Home Depot and was able to replace the one on my stitch length selector as it was stretched out and about to break, plus I couldn’t attach the tiny loop end. This one was just a bit bigger but worked well. The spring near the tension assembly is more of a challenge. I see where it is located it appears to go on the bottom black lever with there is a little tiny hook. I tried to compress the spring to get it on but again it’s like going in blind because you can’t see and unless you have tiny hands makes it hard lol. I will try and see like you said may not affect anything. I’m almost done I have all pieces for my tension assembly now and will try to do that next and then I am done. If I have any other questions I will let you know.
LikeLike
Lee,
The pulley on the motor my machine(same as the machine you restored) came with does not turn at all. What are the steps in disassembling, cleaning the inside of the motor so no spark could be seen and the pulley is made to turn again?
Do the pedal and motor amperage have to be the same? Motor is 1.5 amp. Most pedals are rated 1 amp.
LikeLike
Hello Ahmed,
I have not done a tutorial on vintage Japanese sewing machines… I think that it would be a good topic to write a blog on a restoration because there are some differences in these motors compared to a Singer motor. There are many variations in the Japanese made motors that may require some thought in disassembly and reassembly, but folks that undertake this type of work can easily work around any of these differences… Unless something is physically preventing your motor from turning, it may be old oil varnish sticking the shaft in the bearing. Add a drop of oil on the front shaft, and put about 10 drops of oil in the front and rear oil holes (on the motor housing). Turn the shaft by hand until it frees up enough where it turns with little resistance. You can now run the motor and it will probably run slow at first, then it will speed up. Keep in mind, if it does run, you will still not know anything about the condition of the motor.
You asked a great question about controller ratings. The foot controller is typically rated for the motor and it can make a difference in using a lightly rated controller on a high amp motor. There are very few vintage machines that came with a 1.5 amp motor, with many hovering around 0.9 to 1.0 amps. Kenmore fitted many machines with 1.2 and 1.3 amp motors. Some of the heavy vintage White sewing machines have 1.4 amp motors. The controllers for these machines is rated for these high amperage motors.
I am not an electrical engineer, but my understanding is this… Under certain running conditions, a controller rated at 1.0 amps running a 1.5 amp motor will generate more heat and likely wear out much sooner than it would with a smaller (1 amp and less) motor.
Resistance controllers generate more heat when the motor is run slowly because the amperage is absorbed in the controller (not technically true, but a good way to illustrate what is happening). When the motor is running full speed, the amperage is absorbed in the motor and essentially passed through the controller. In this case, the motor generates heat in the windings and the controller does not heat up as much. Most sewing is done somewhere in the middle where an under rated foot controller will still run the motor without generating excessive heat in the controller (the controller is not feeling the resistance of 1.5 amps) but I wouldn’t expect it to run as cool or as long as a properly rated controller.
It is a good topic and I would hope it would generate some discussion!
Let me know how it goes and have a great holiday!
Lee
LikeLike
good night I just discovered your blog, looking for information about a machine with a special meaning for me.
I am new to sewing and they inherited a machine exactly the same.
MORSE Toyota R-5L.
does not have a pedal to function?
I would like to know about your work and cost please.
I appreciate it a lot.
I live in texas
LikeLike
Hello Yuliana,
Your machine looks like it is in great condition! I have seen these in blue and red, but yours is the first green machine I have seen. Your machine does use a pedal and it is attached to a “motor terminal block”. This is a wiring set that looks kind of like an extension cord with a plug that has space to plug in two plugs… one for the motor and one for the light. The foot controller is attached to one wire to the plug, and the other wire attached to the plug that goes to the wall receptacle.
I only do restoration work for machines that are local and I can pick up… the cost of shipping 2 ways and the potential for damage in shipping is too much of a risk for me. So long as the motor and light wires are good, your machine looks like all it really needs is a good cleaning and oiling.
I hope this helps and if you have any trouble finding the motor terminal block, I can lead you to an online store that sells them at a reasonable price. Any vintage foot controller (except solid state) will work with your machine and they are easily found on eBay.
Have a blessed evening!
Lee
LikeLike
I need a Morse r5L sewing machine for parts if anyone has one for sale. Working or not. Mainly the bobbin case and assembly which is called the hook and race assembly.
LikeLike
Hello Vernon,
The parts you need are readily available and you won’t need a parts machine for these parts. The bobbin hook is a “JG-1” and the bobbin case is a “HA-2”. Look for these online and I think you can find them fairly inexpensive.
Let me know if I can be of any further assistance and have a great day!
Lee
LikeLike
I just found your blog while trying to find a replacement tension spring for my mom’s Morse 600 which she has been using for about 65 years. I could probably just try to find something close but I’m hoping you have a better suggestion.
LikeLike
I also just picked one up at an estate sale and it is also pink. I am not sure if I plan to use it or just sit and stare at it all day. Wondering if you know where I might find a manual online. I might be more inclined to give it a whirl if I knew how it functioned LOL
LikeLike
Hello Elizabeth,
By all means use it!
Send me an email to pungoliving@gmail.com and I’ll send you the user manual.
Have a great day!
Lee
LikeLike
Just purchased Morse r5l grey body straight stitch.
It’s not picking up the bobbin. Do you have a tutorial for adjusting that since this article was not about detailed assembly. I ve done the new needle,lint free and tension dial route and it’s just not grabbing. It lay down the top stitches.
LikeLike
Hello Shannon,
The most common cause of a straight stitch machine like your Morse not picking up thread is… believe it or not… inserting the needle backwards. It happens.
Another thing to check is how the bobbin is inserted in the bobbin case. Here, the thread should come off of the back of the bobbin when it is passed thru the leaf spring on the bobbin case.
Though unlikely on these class 15 machines, the hook timing could be way off. This is not likely because the hook timing is set by the shuttle and it would be difficult to change. To check this, remove the bobbin case and look at where the hook is on the bobbin shuttle. Bring the needle down to the lowest position and look where the hook is. It should be behind the needle. Raise the needle up about 3/16″ of an inch. At this position, the tip of the hook should be directly behind the needle.
Because you don’t know the history of the machine, you can’t know how much it was noodled with. Check the needle and the bobbin and see if the machine picks up the thread.
Do you have a user manual for your machine? If not let me know and I will send you a copy.
I hope this helps!
Lee
Another cause could be the needle depth is not set properly. Both of these causes would have had to be done on purpose. These settings just don’t change unless they are noodled with.
LikeLike
I would love copy. And I’ll try all the hints today.
LikeLike
Hi Shannon,
Send me an email to pungoliving@gmail.com and I will send you a manual that works with your machine!
LikeLike
I grew up in Virginia Beach, Va in the 70s & there was an intersection with a blinking red light & about 4 buildings that was called Pungo, Va. I’m guessing it’s built up quite a bit since then, lol.
LikeLike
Hello Joseph,
It has grown up some, but it is still a pretty compact place… I like it a lot!
LikeLike