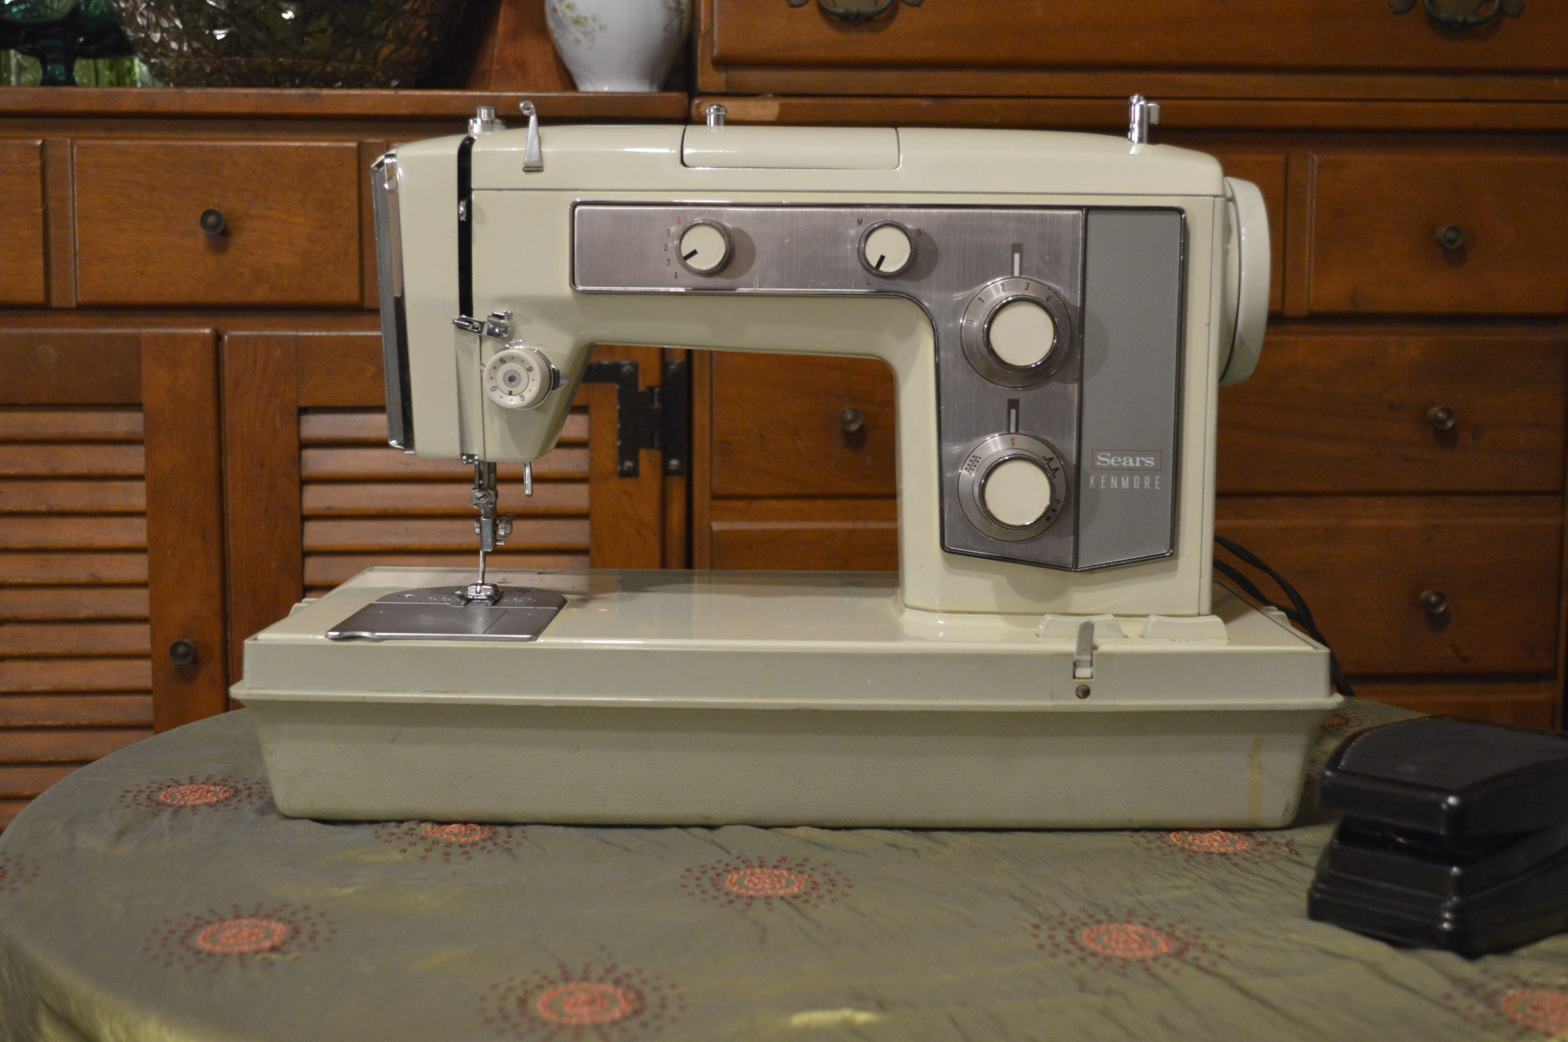
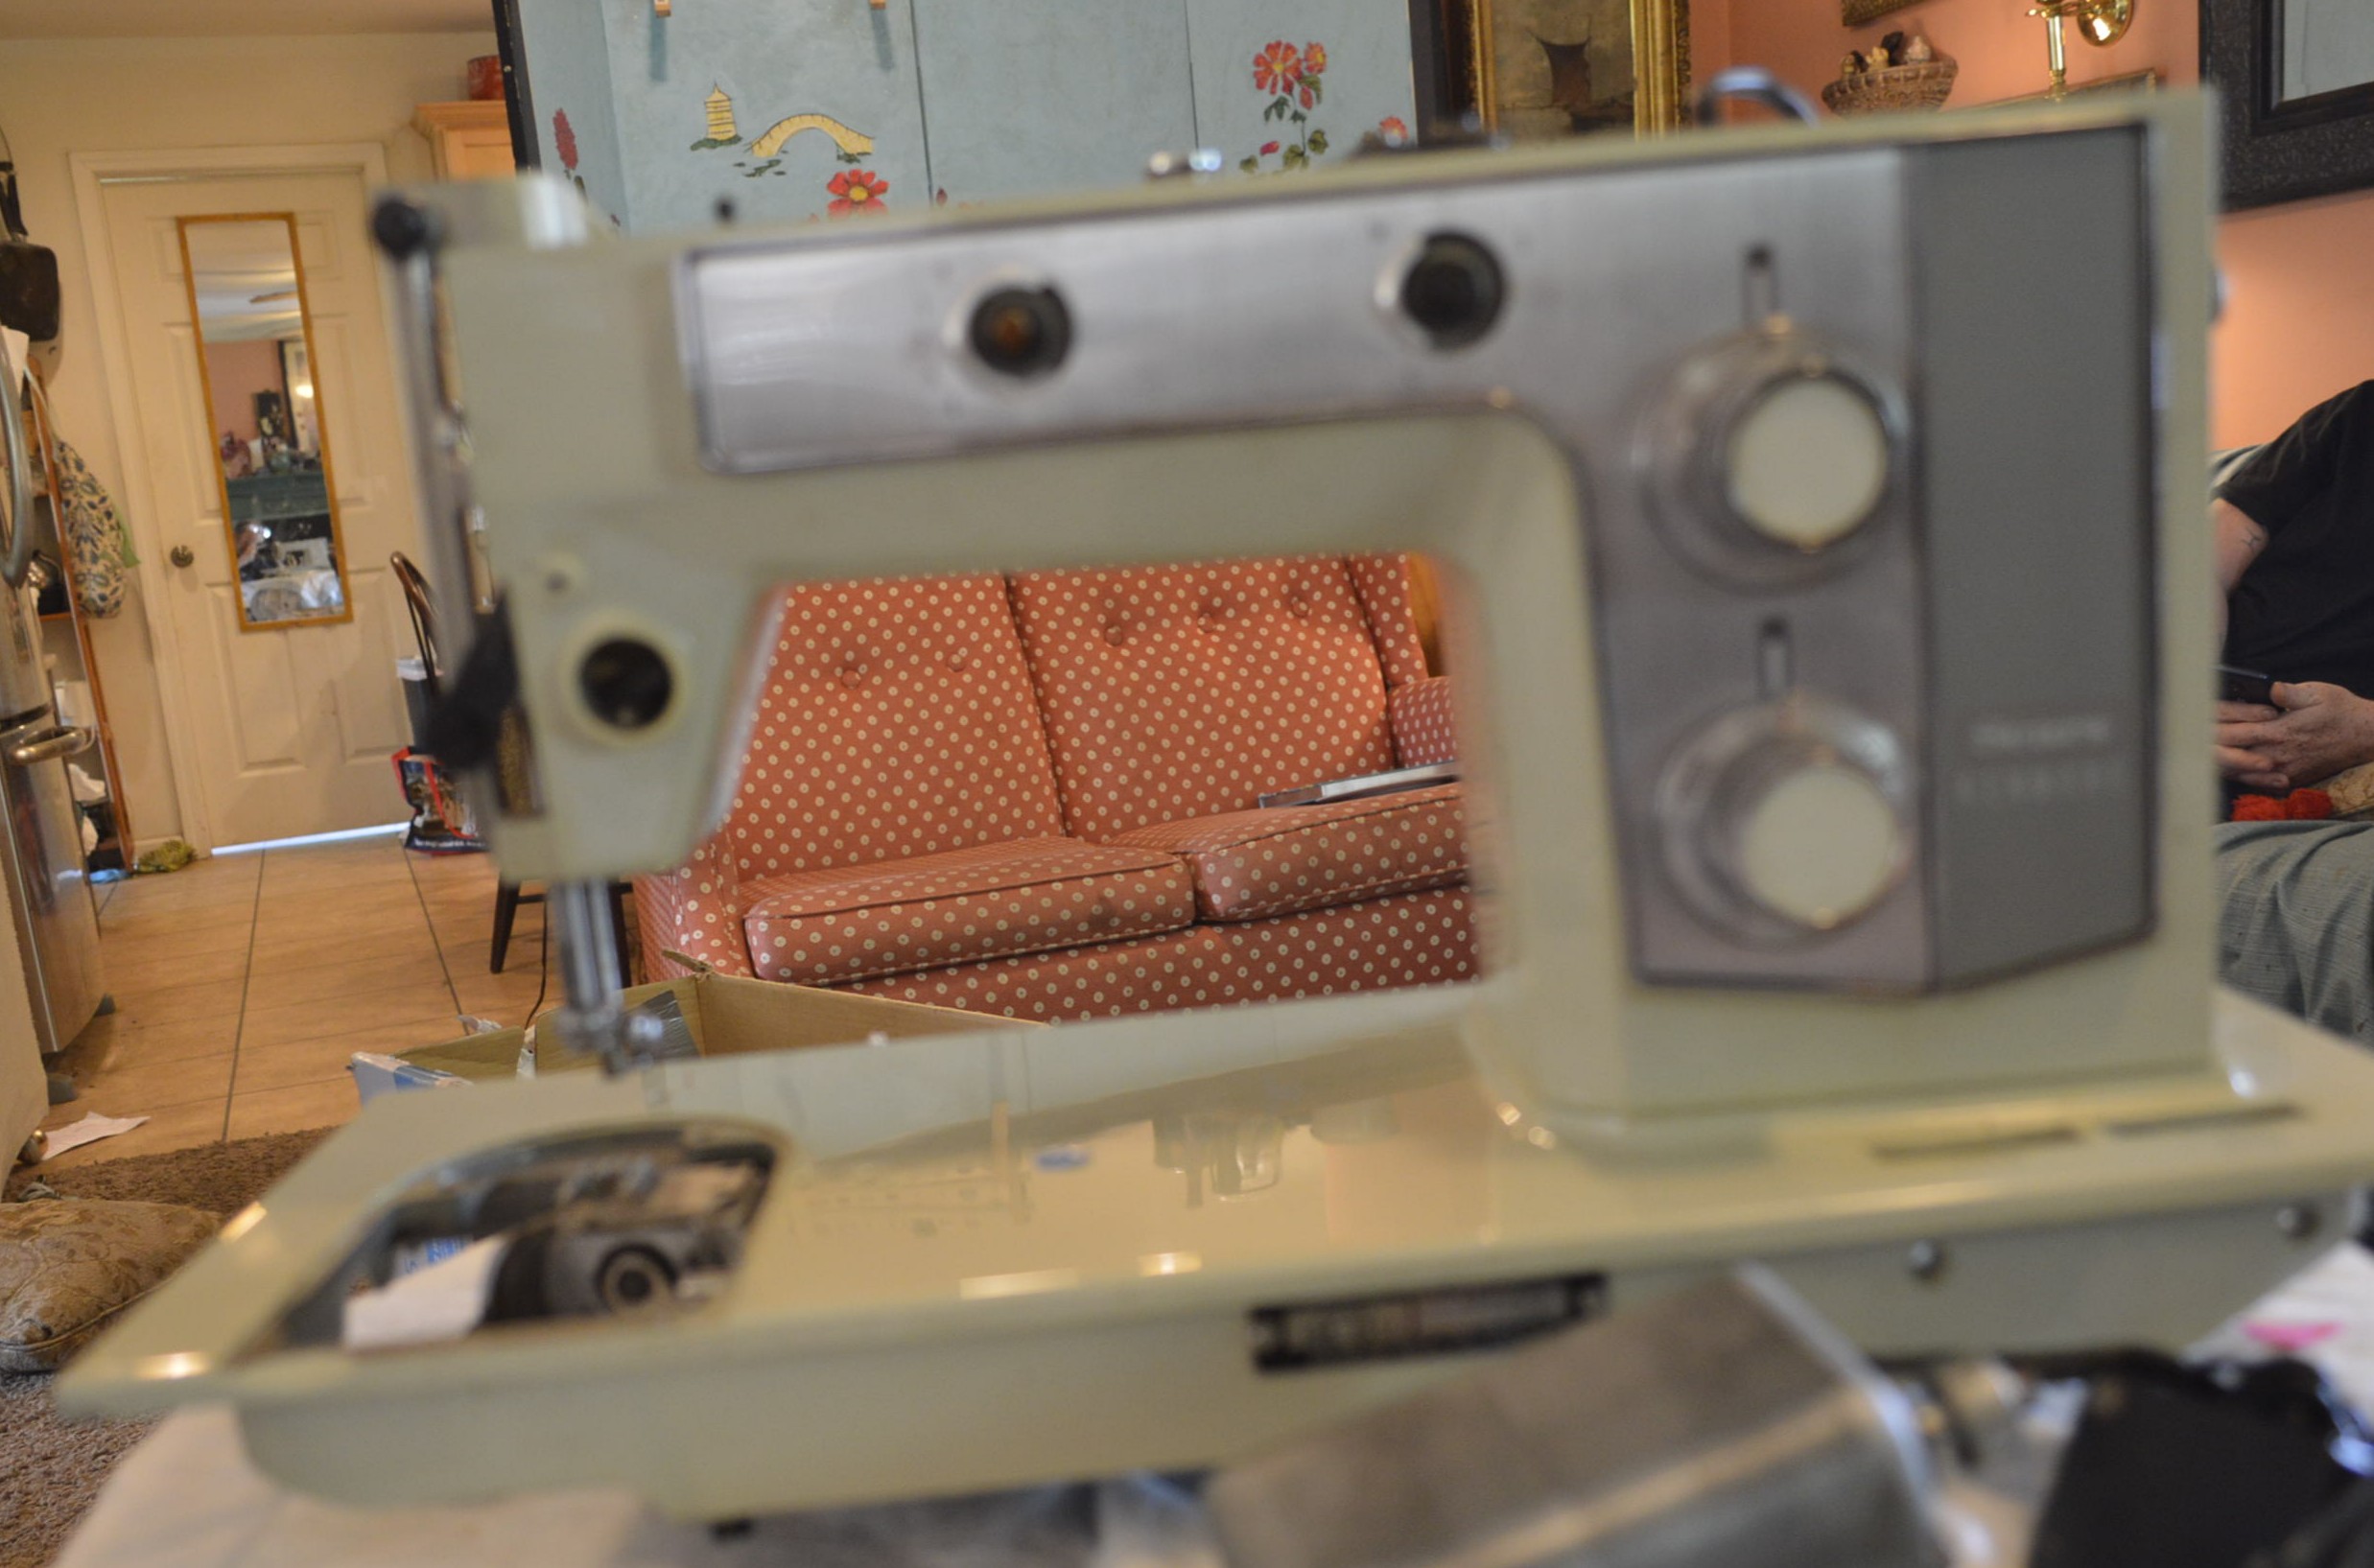
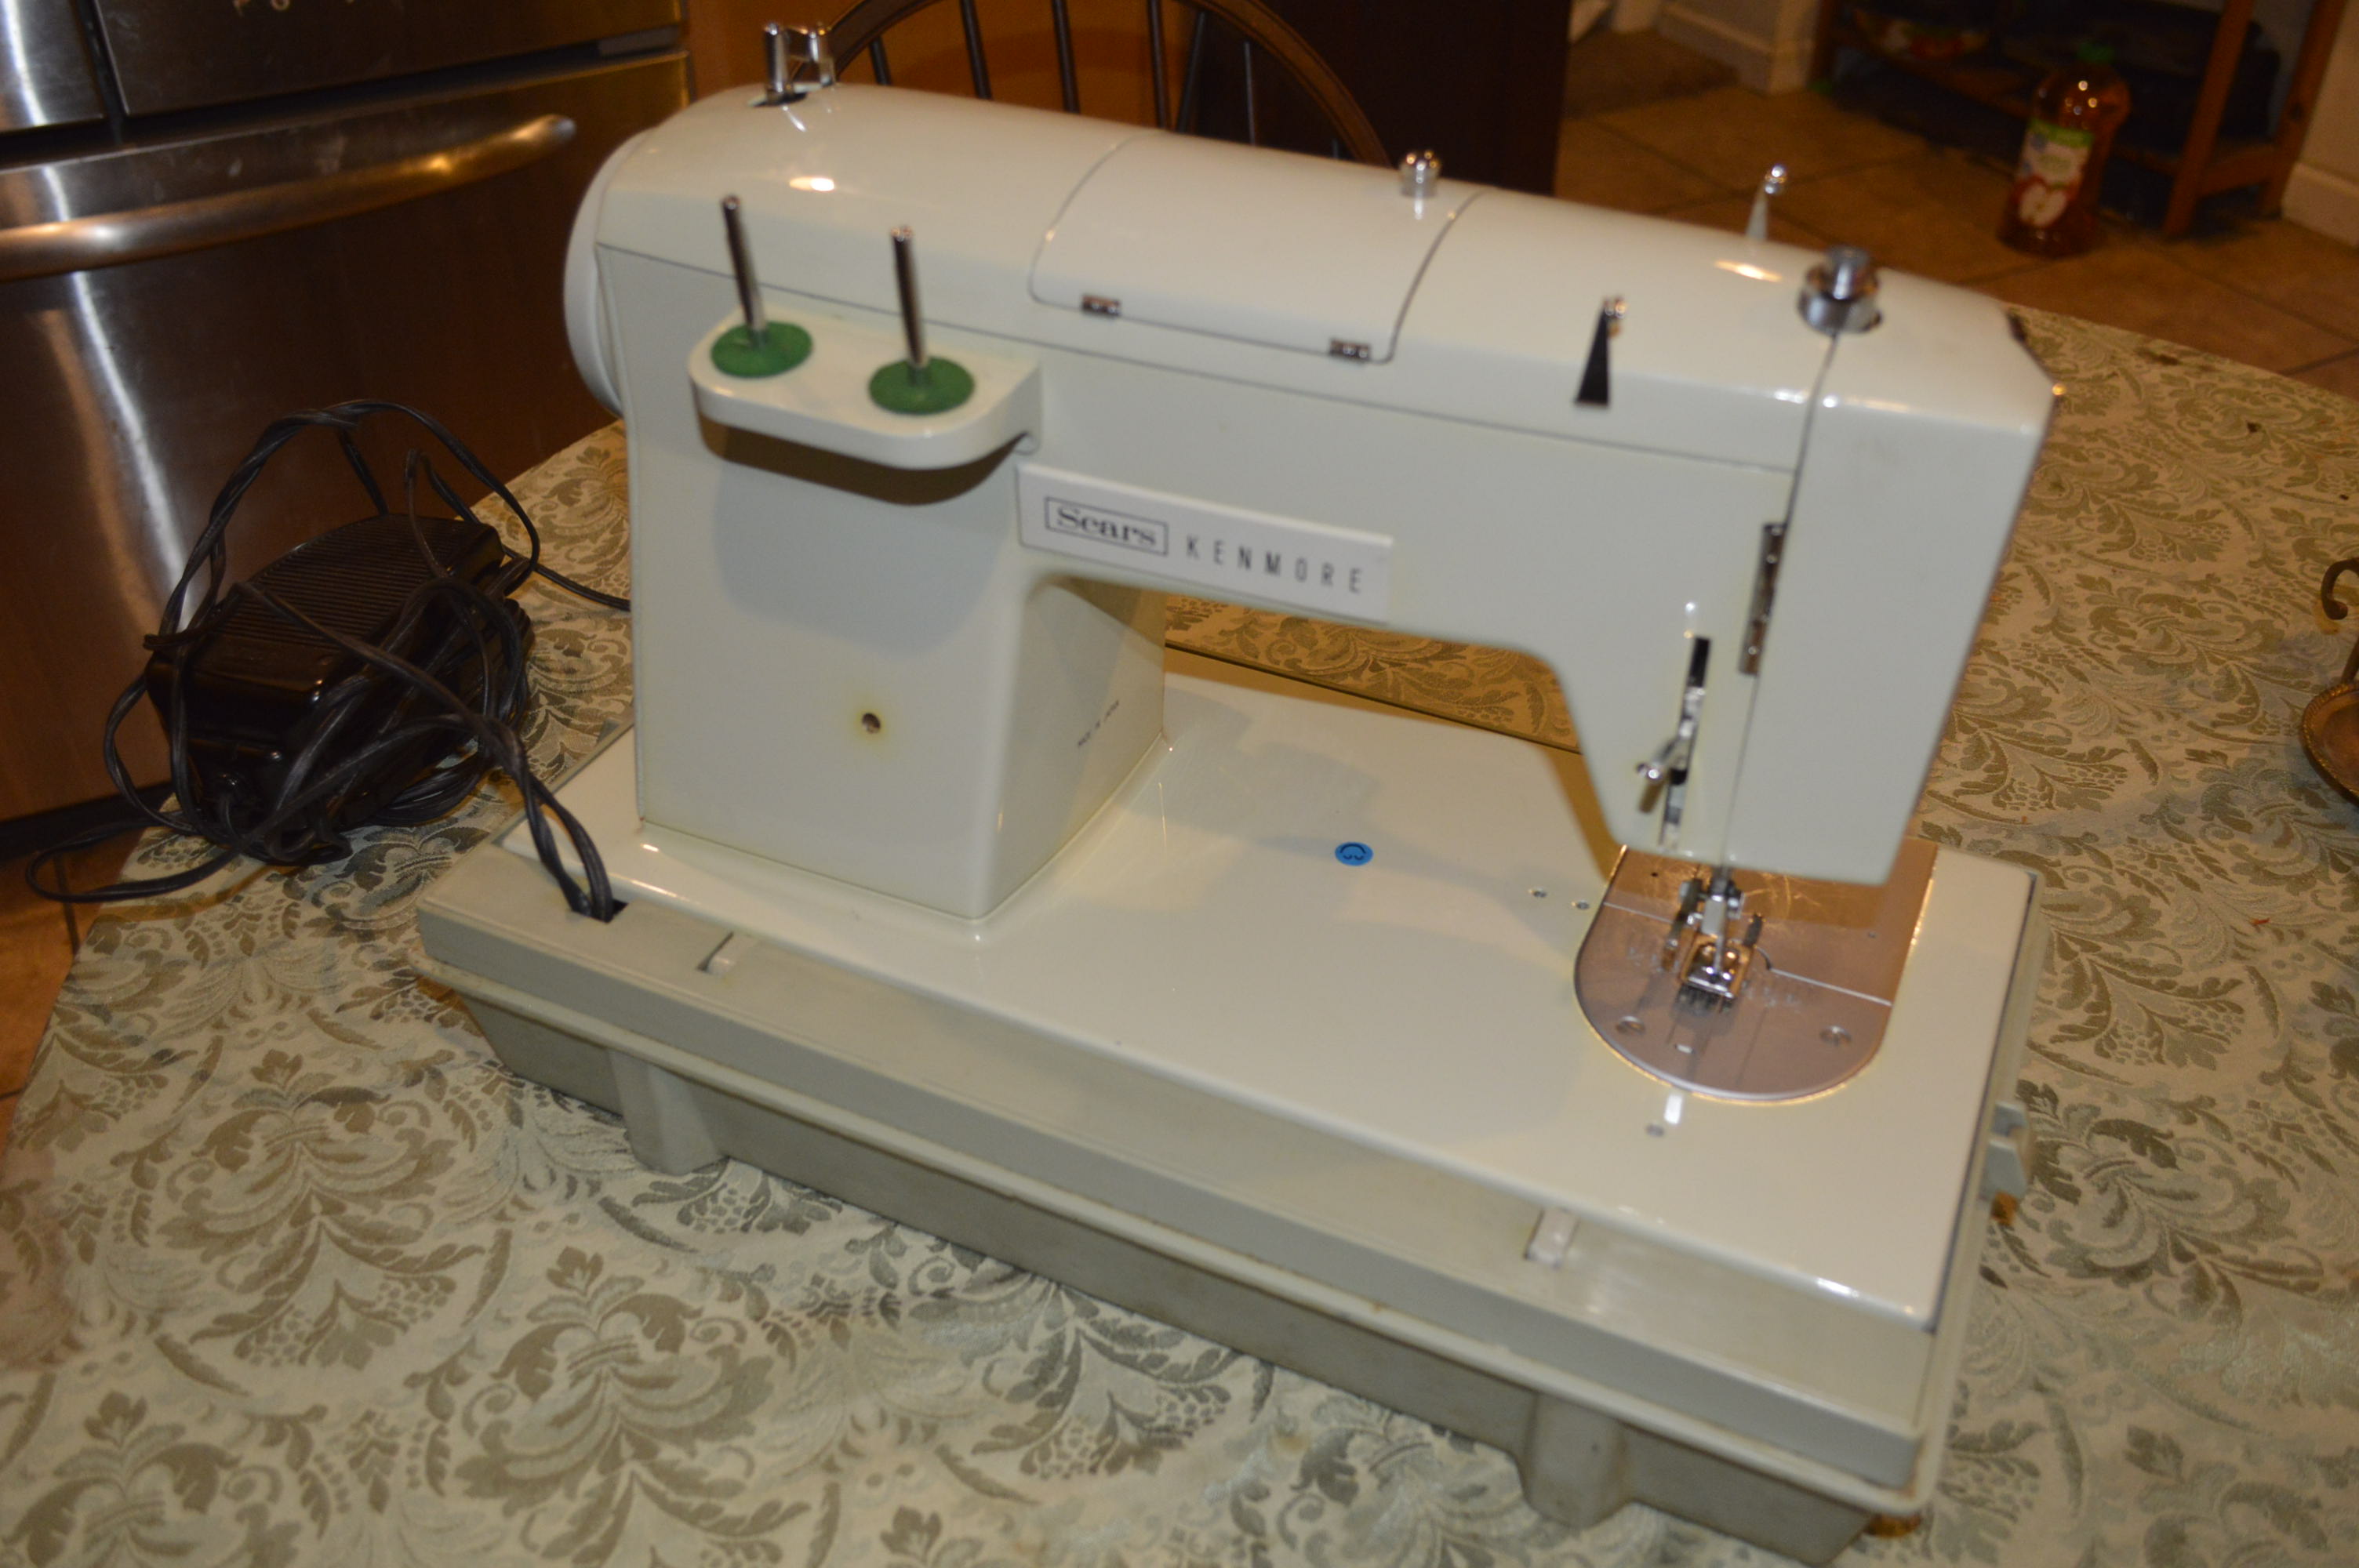
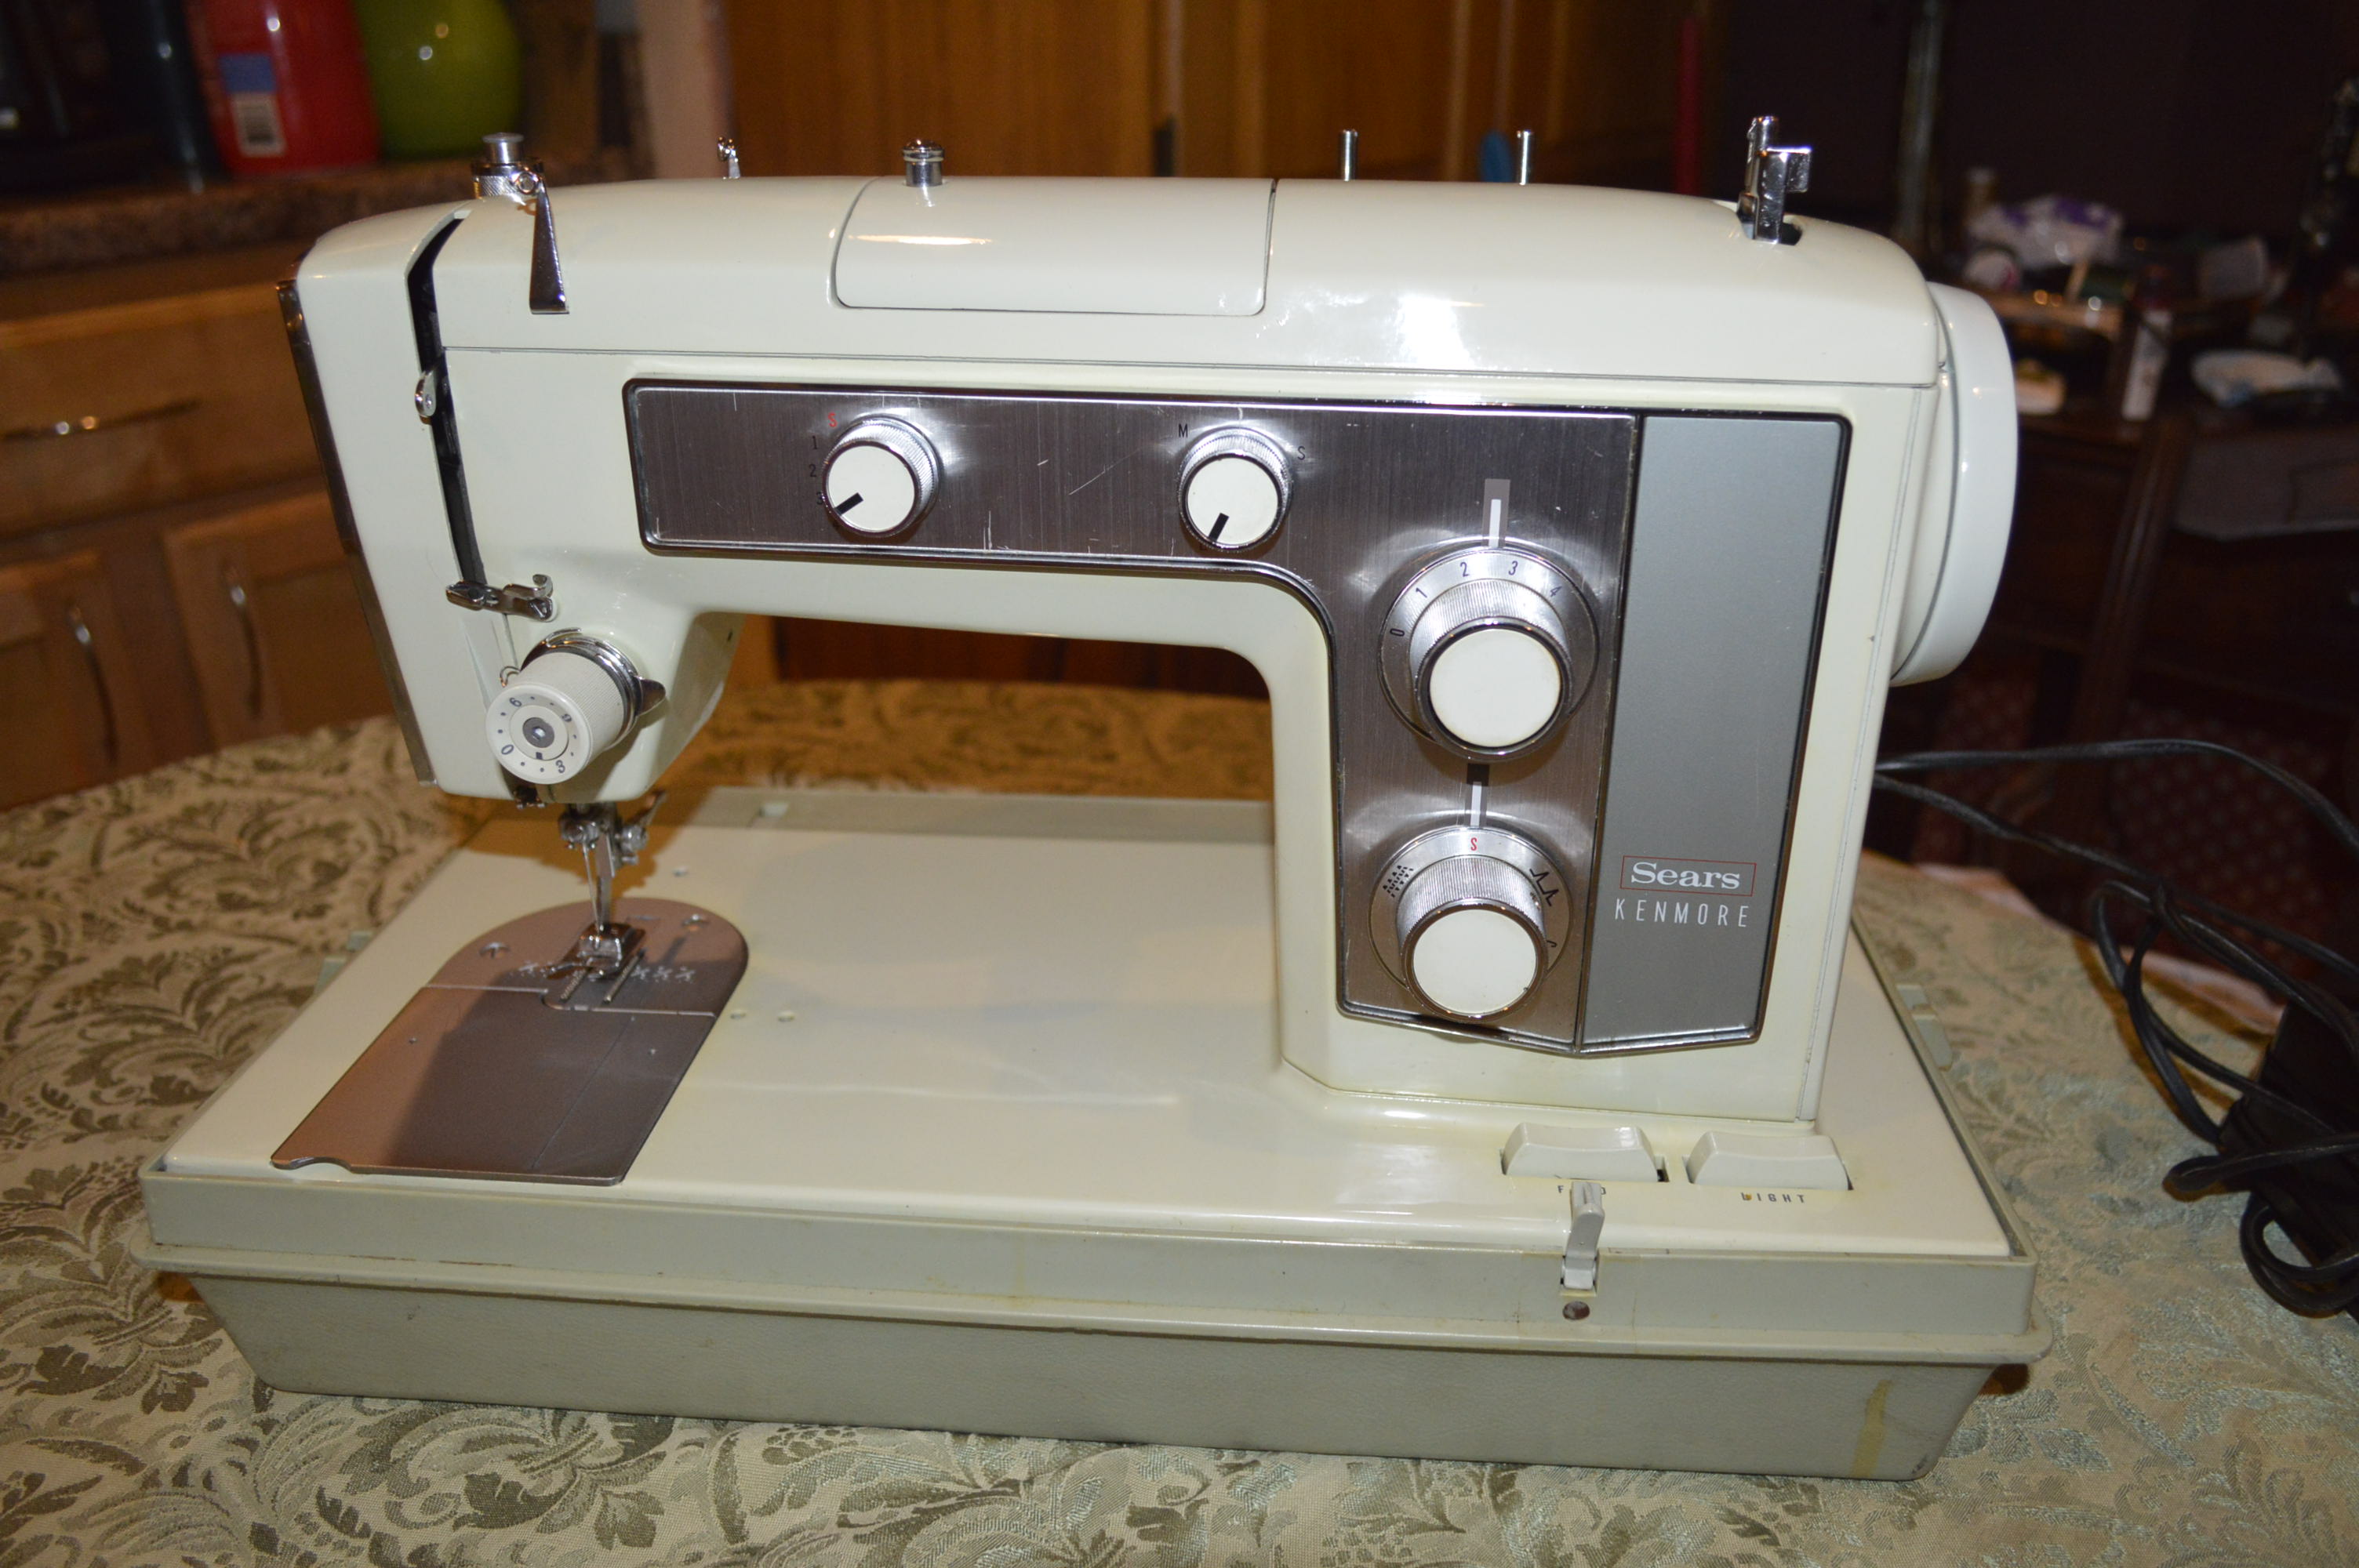
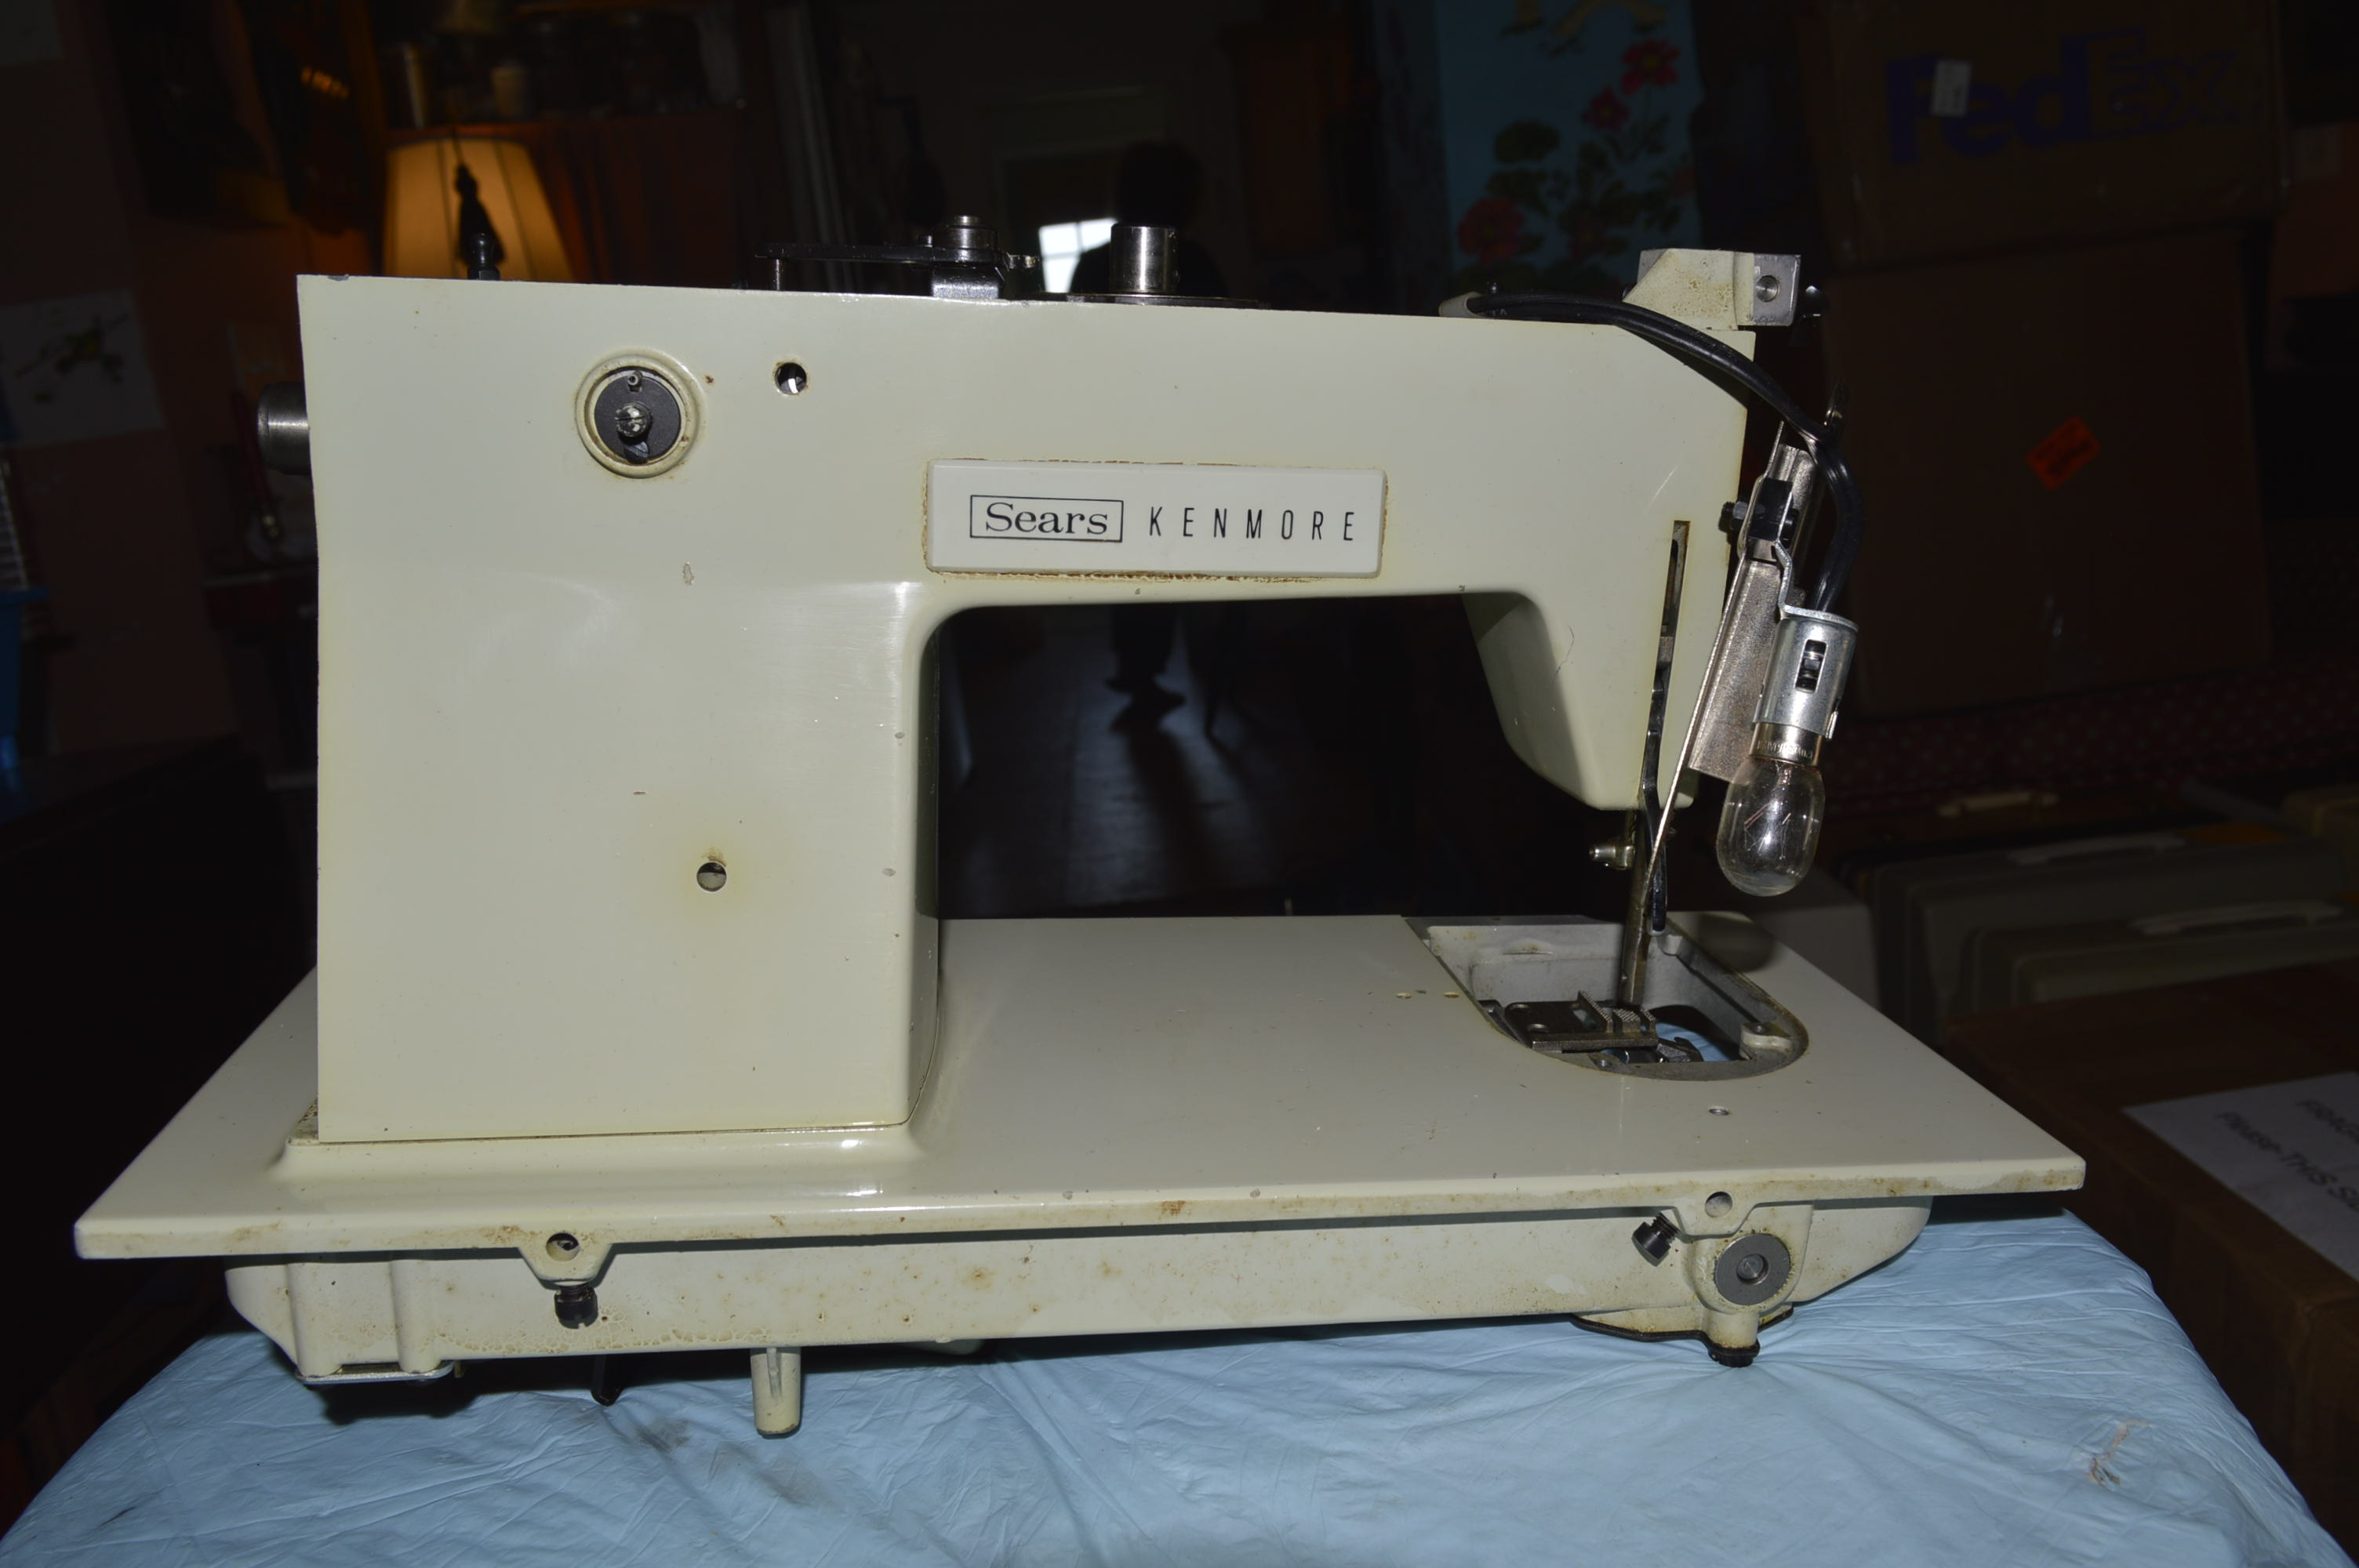
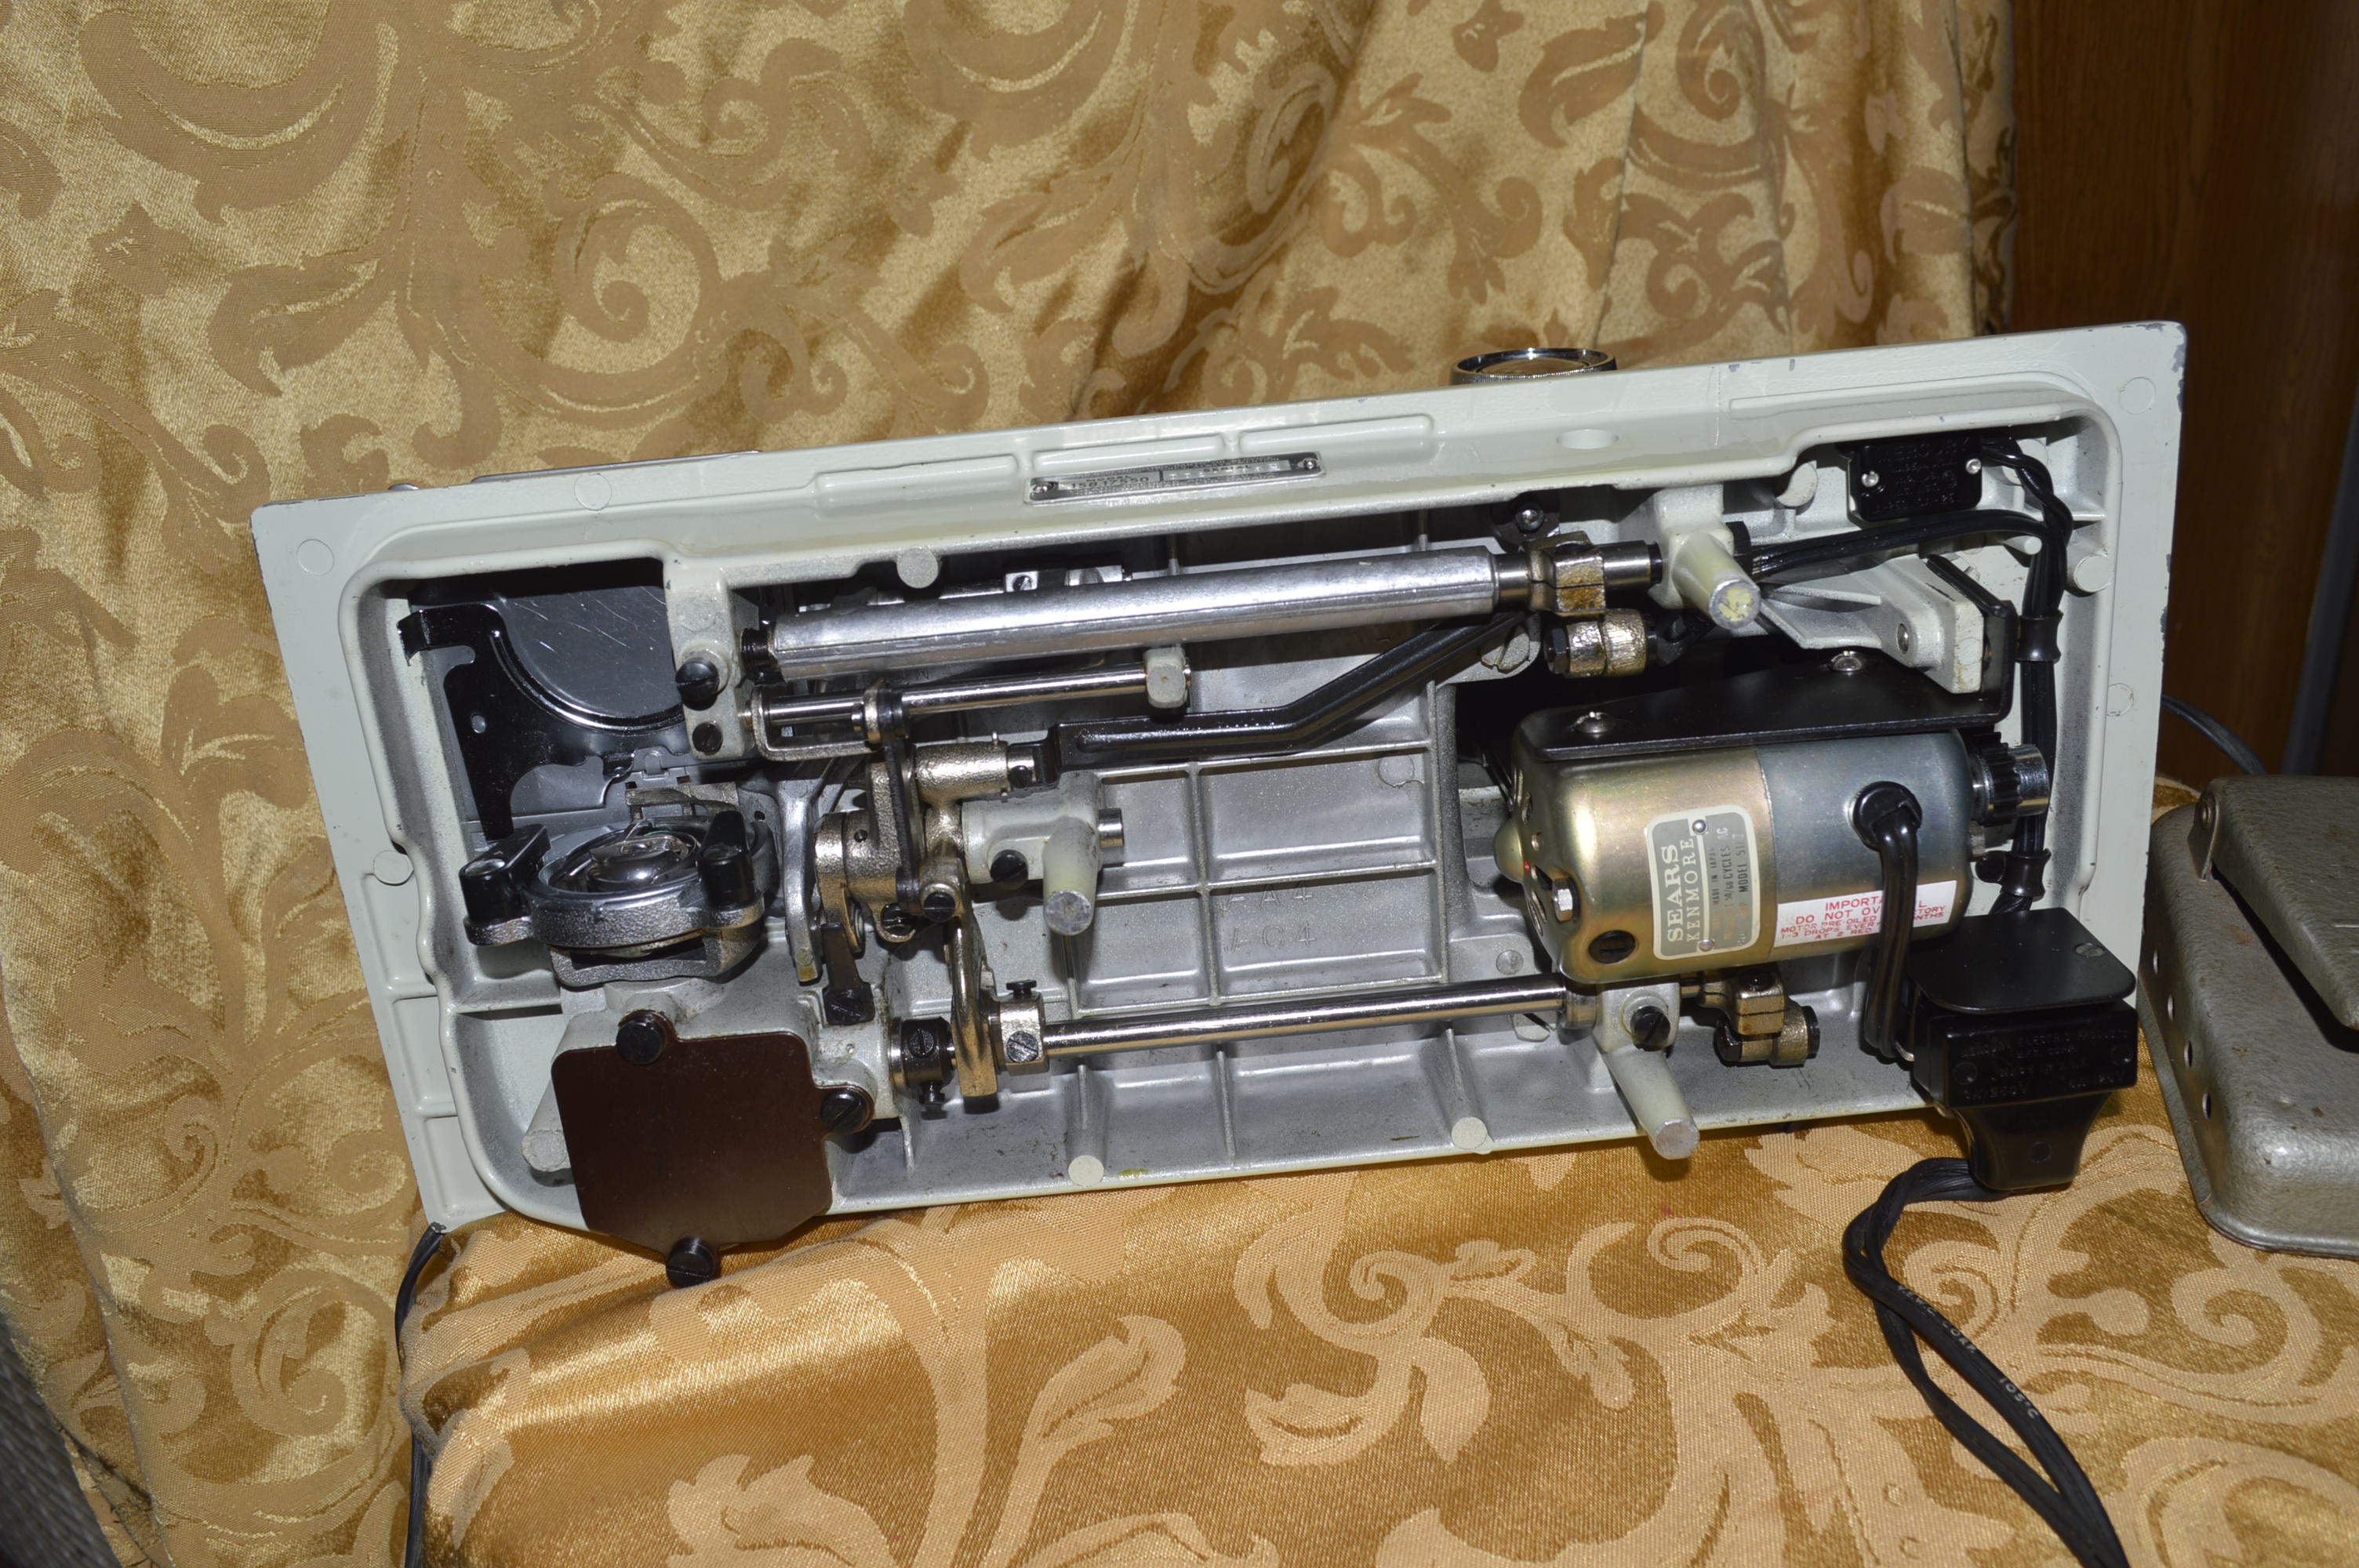
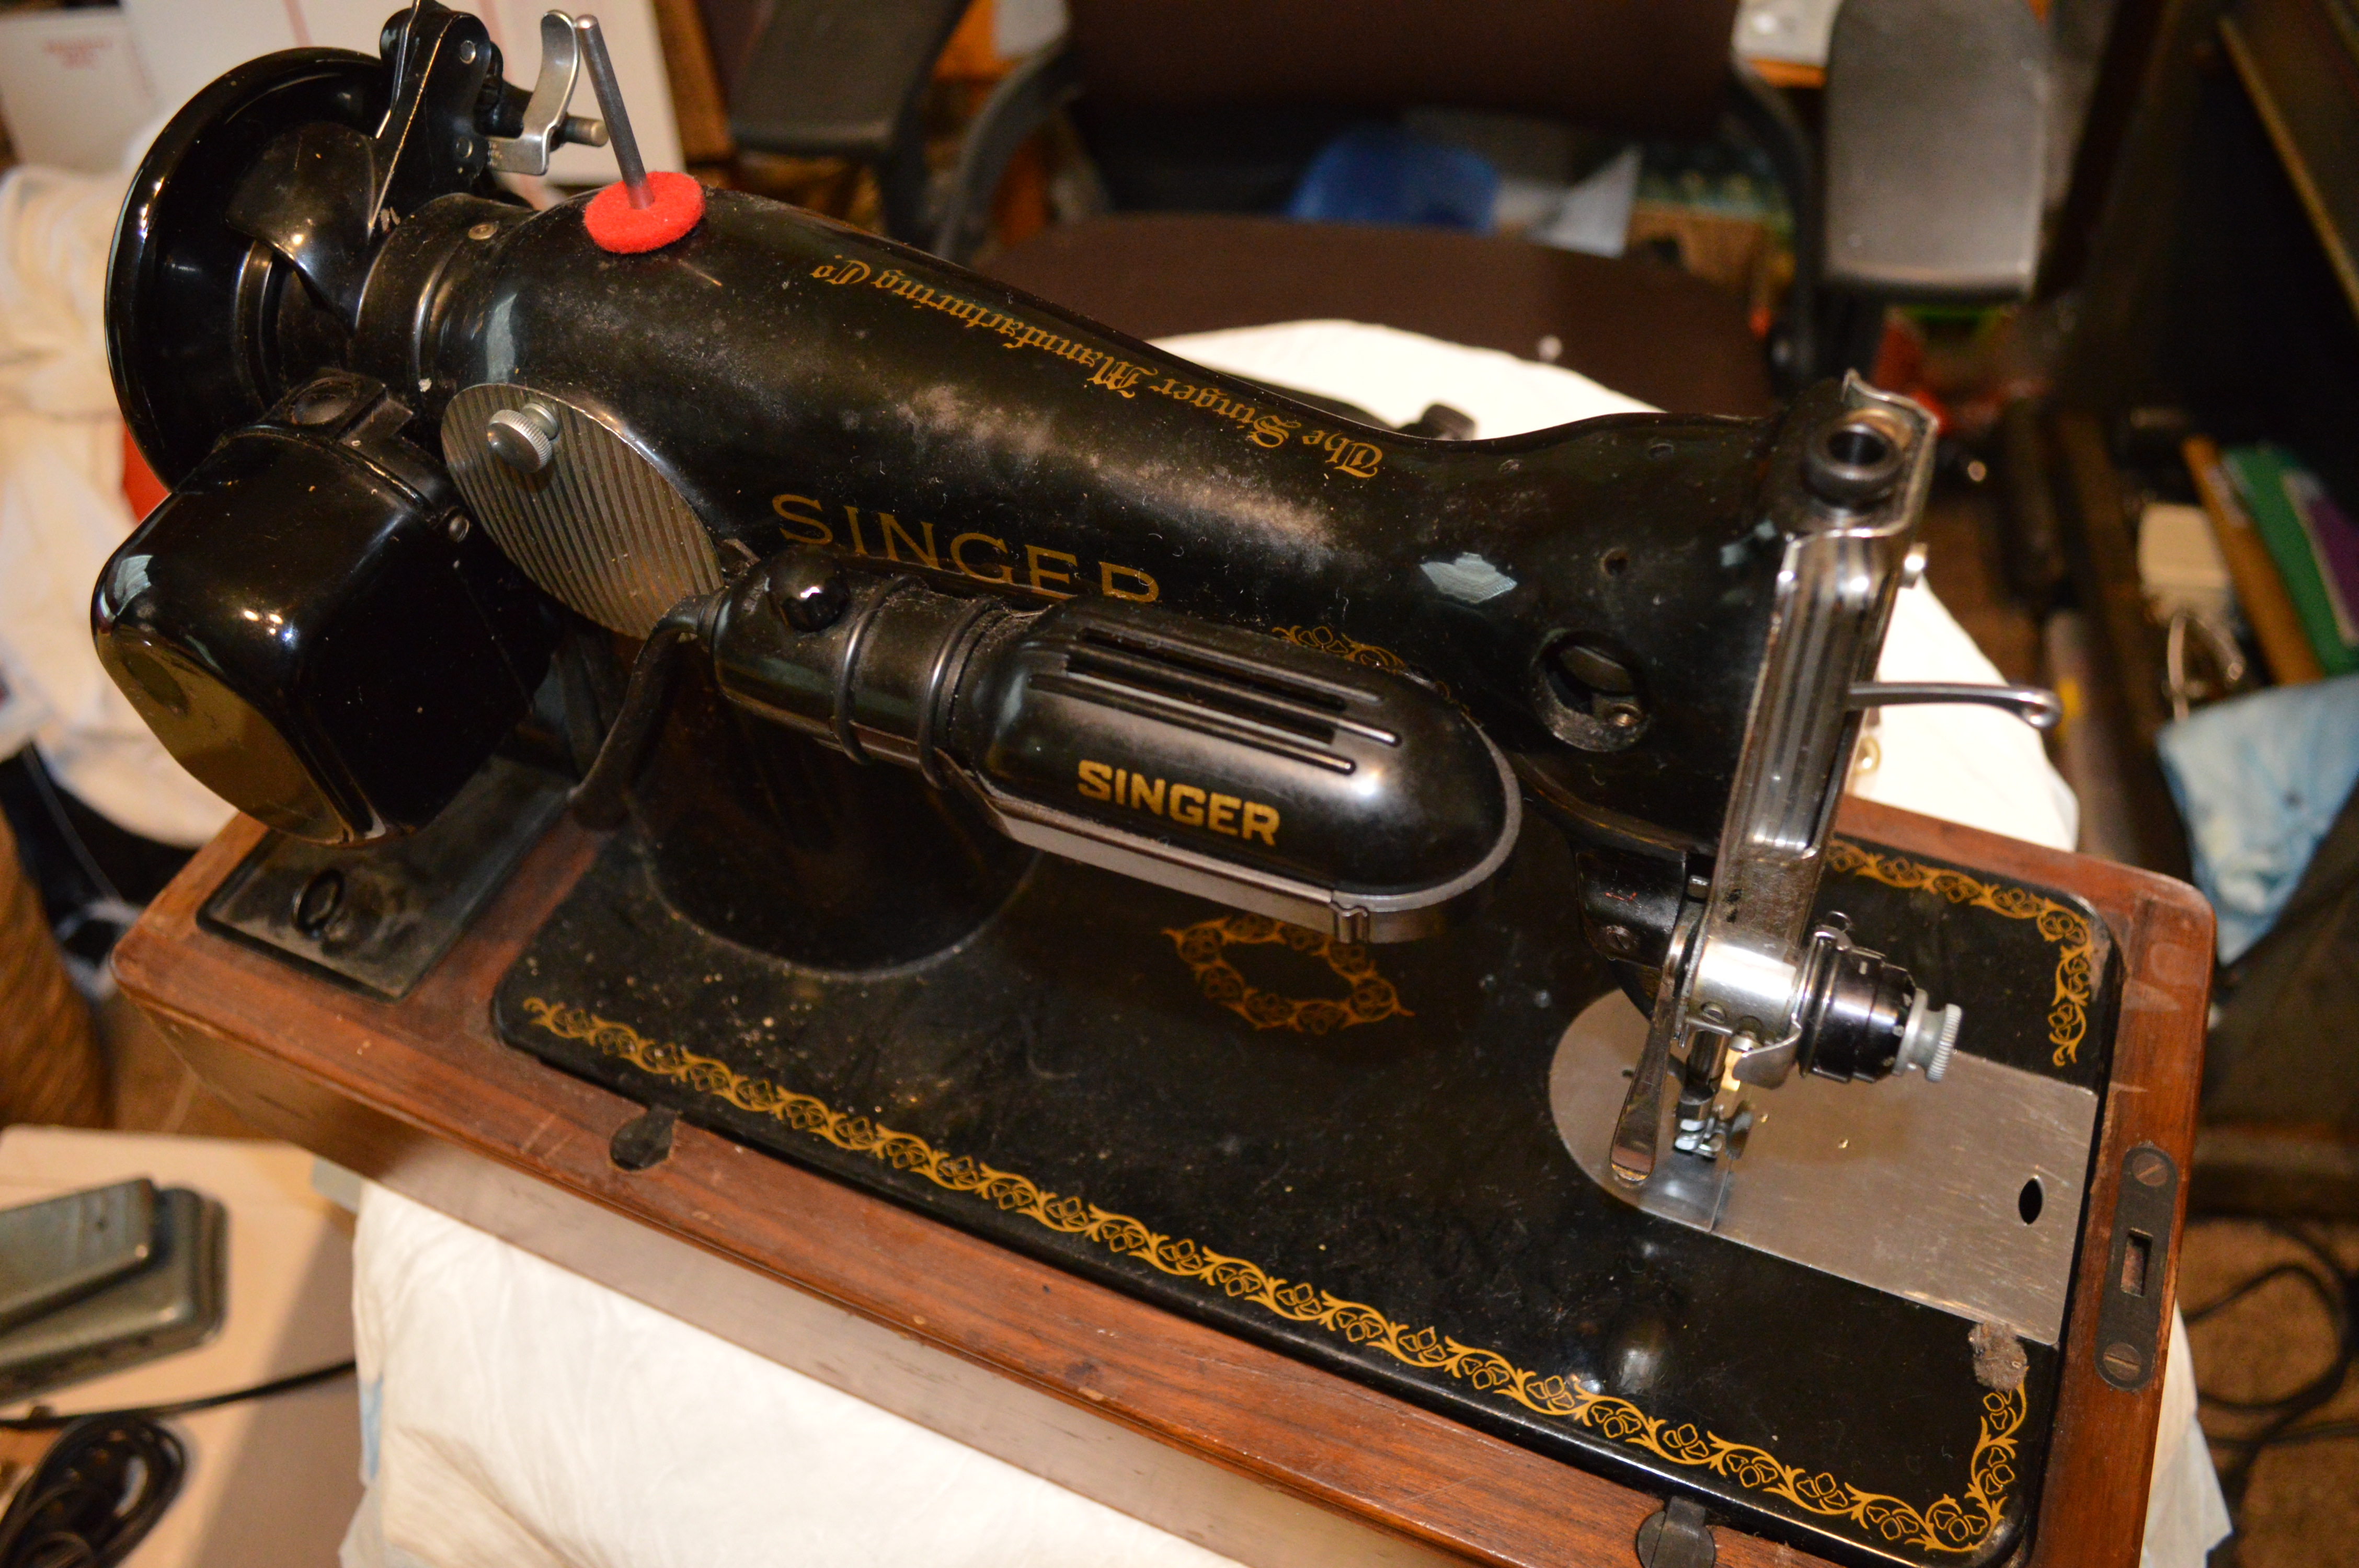
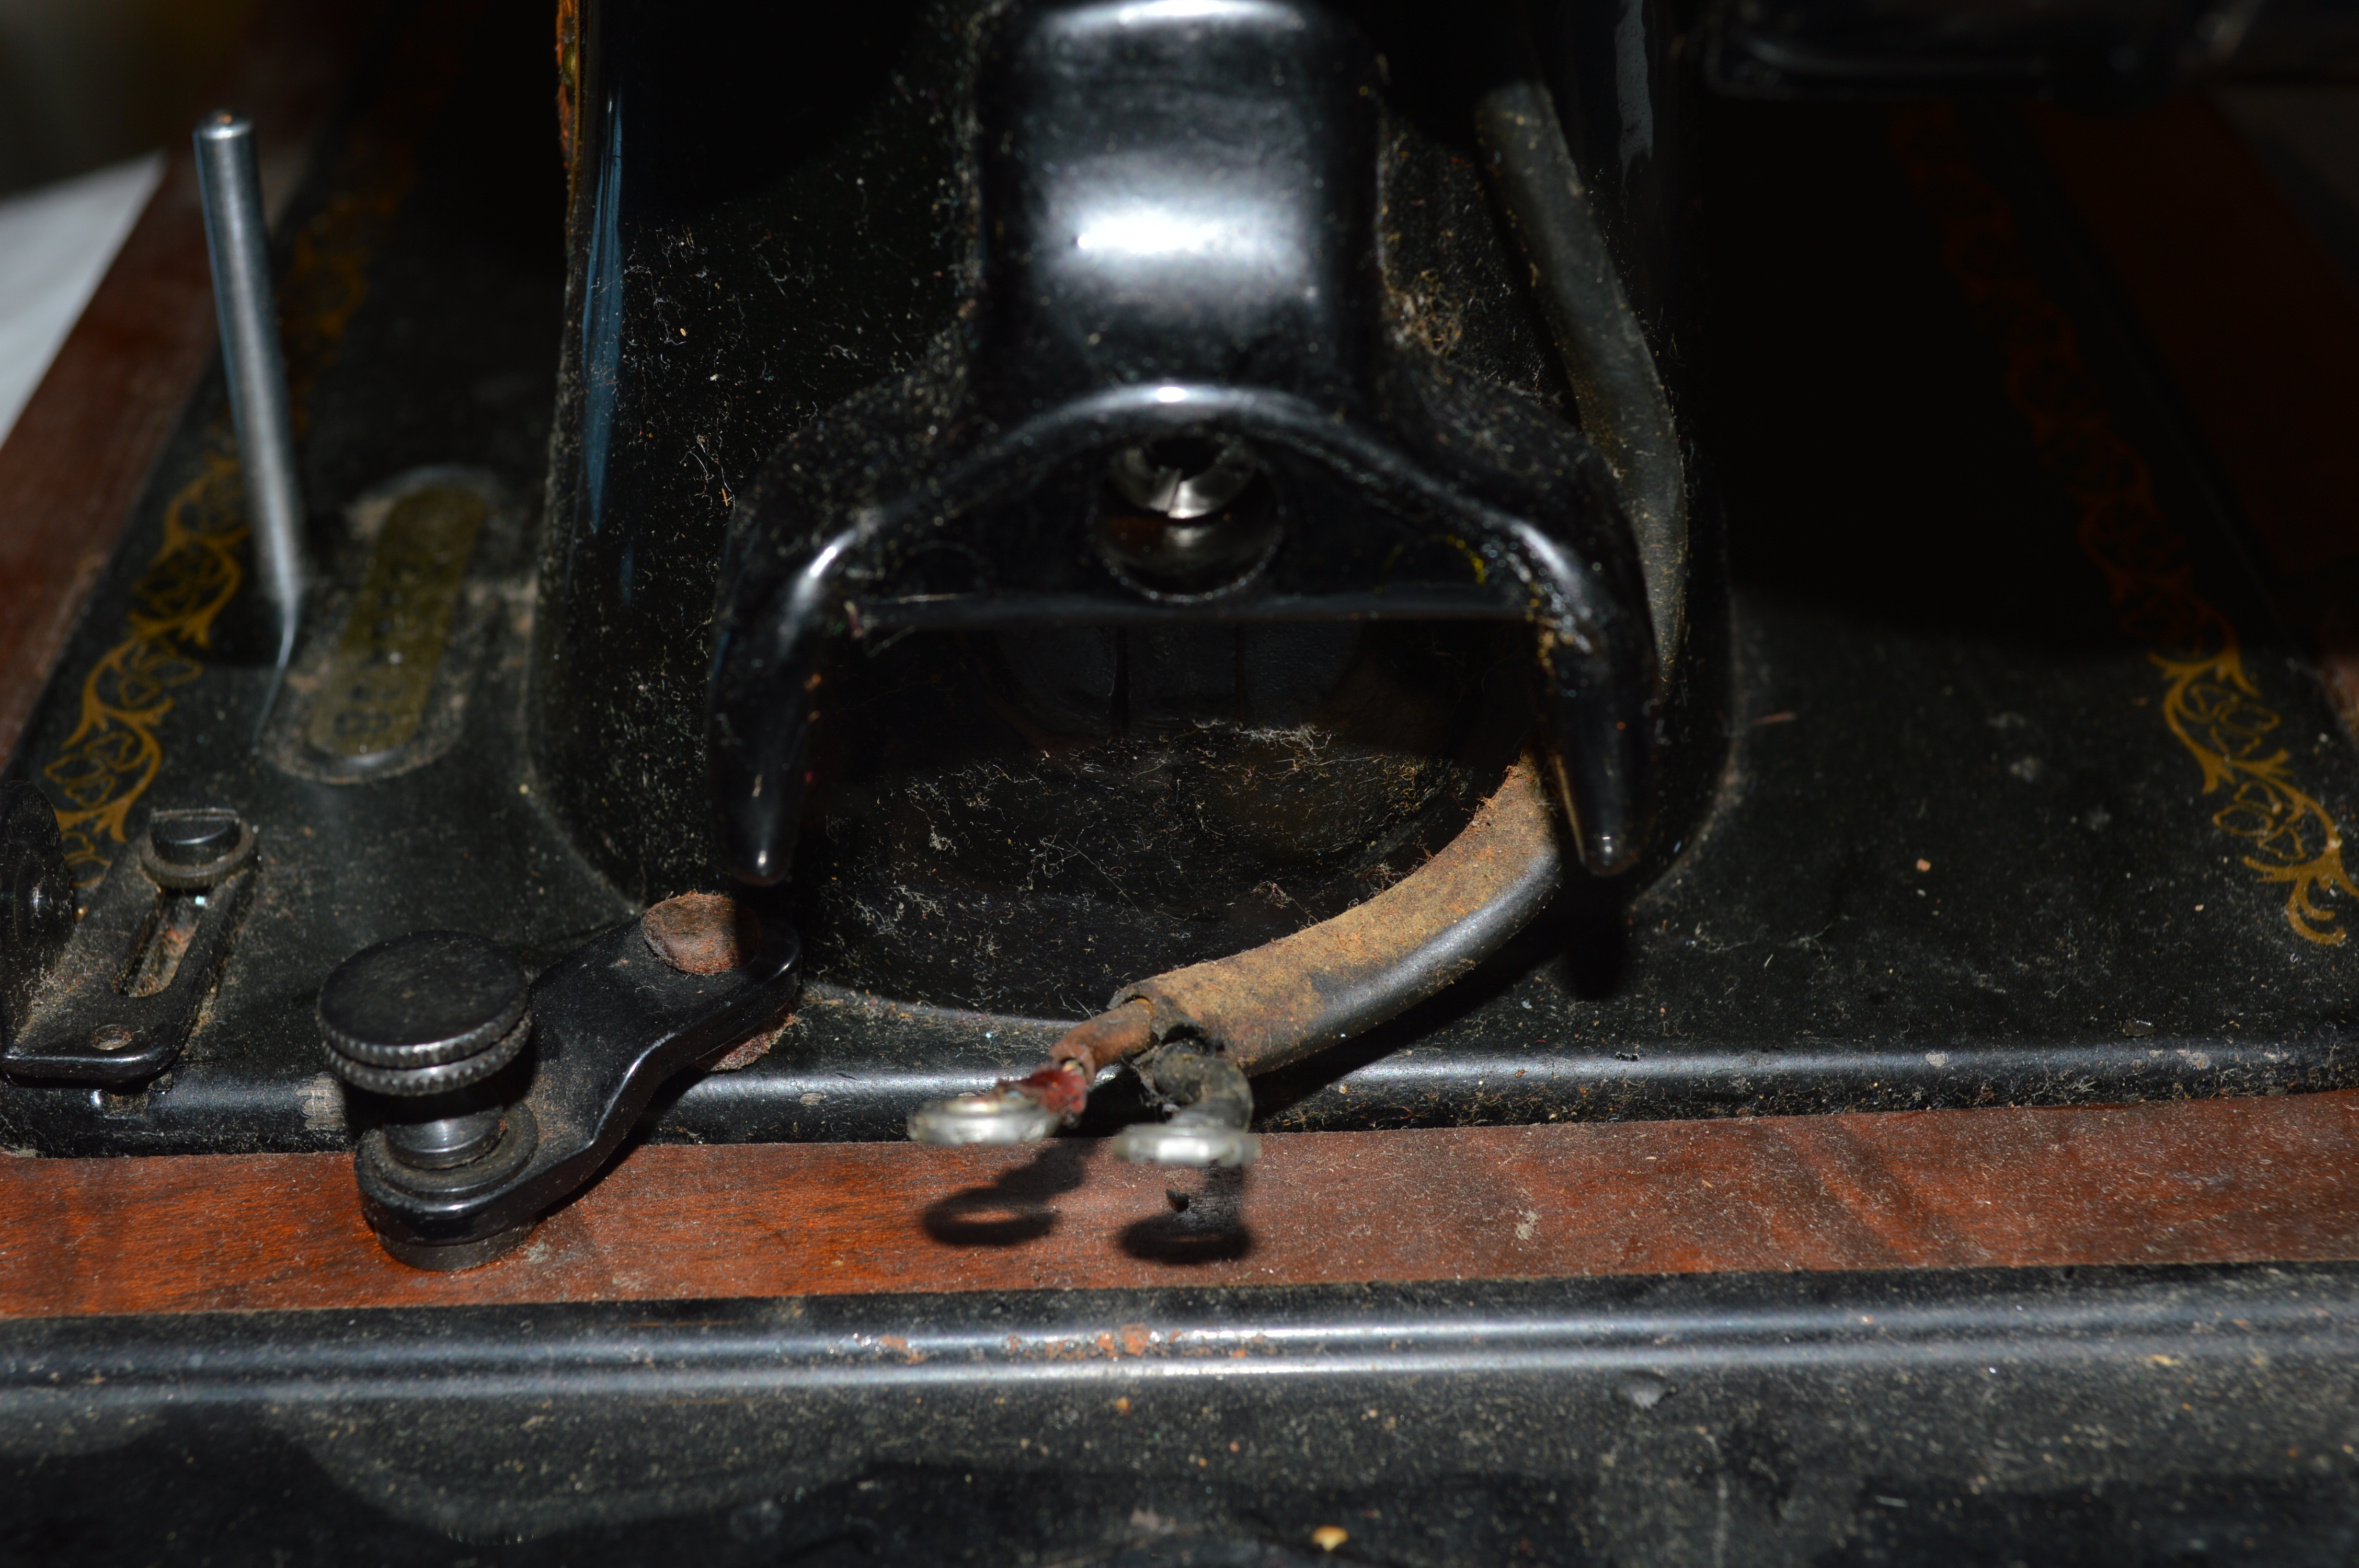
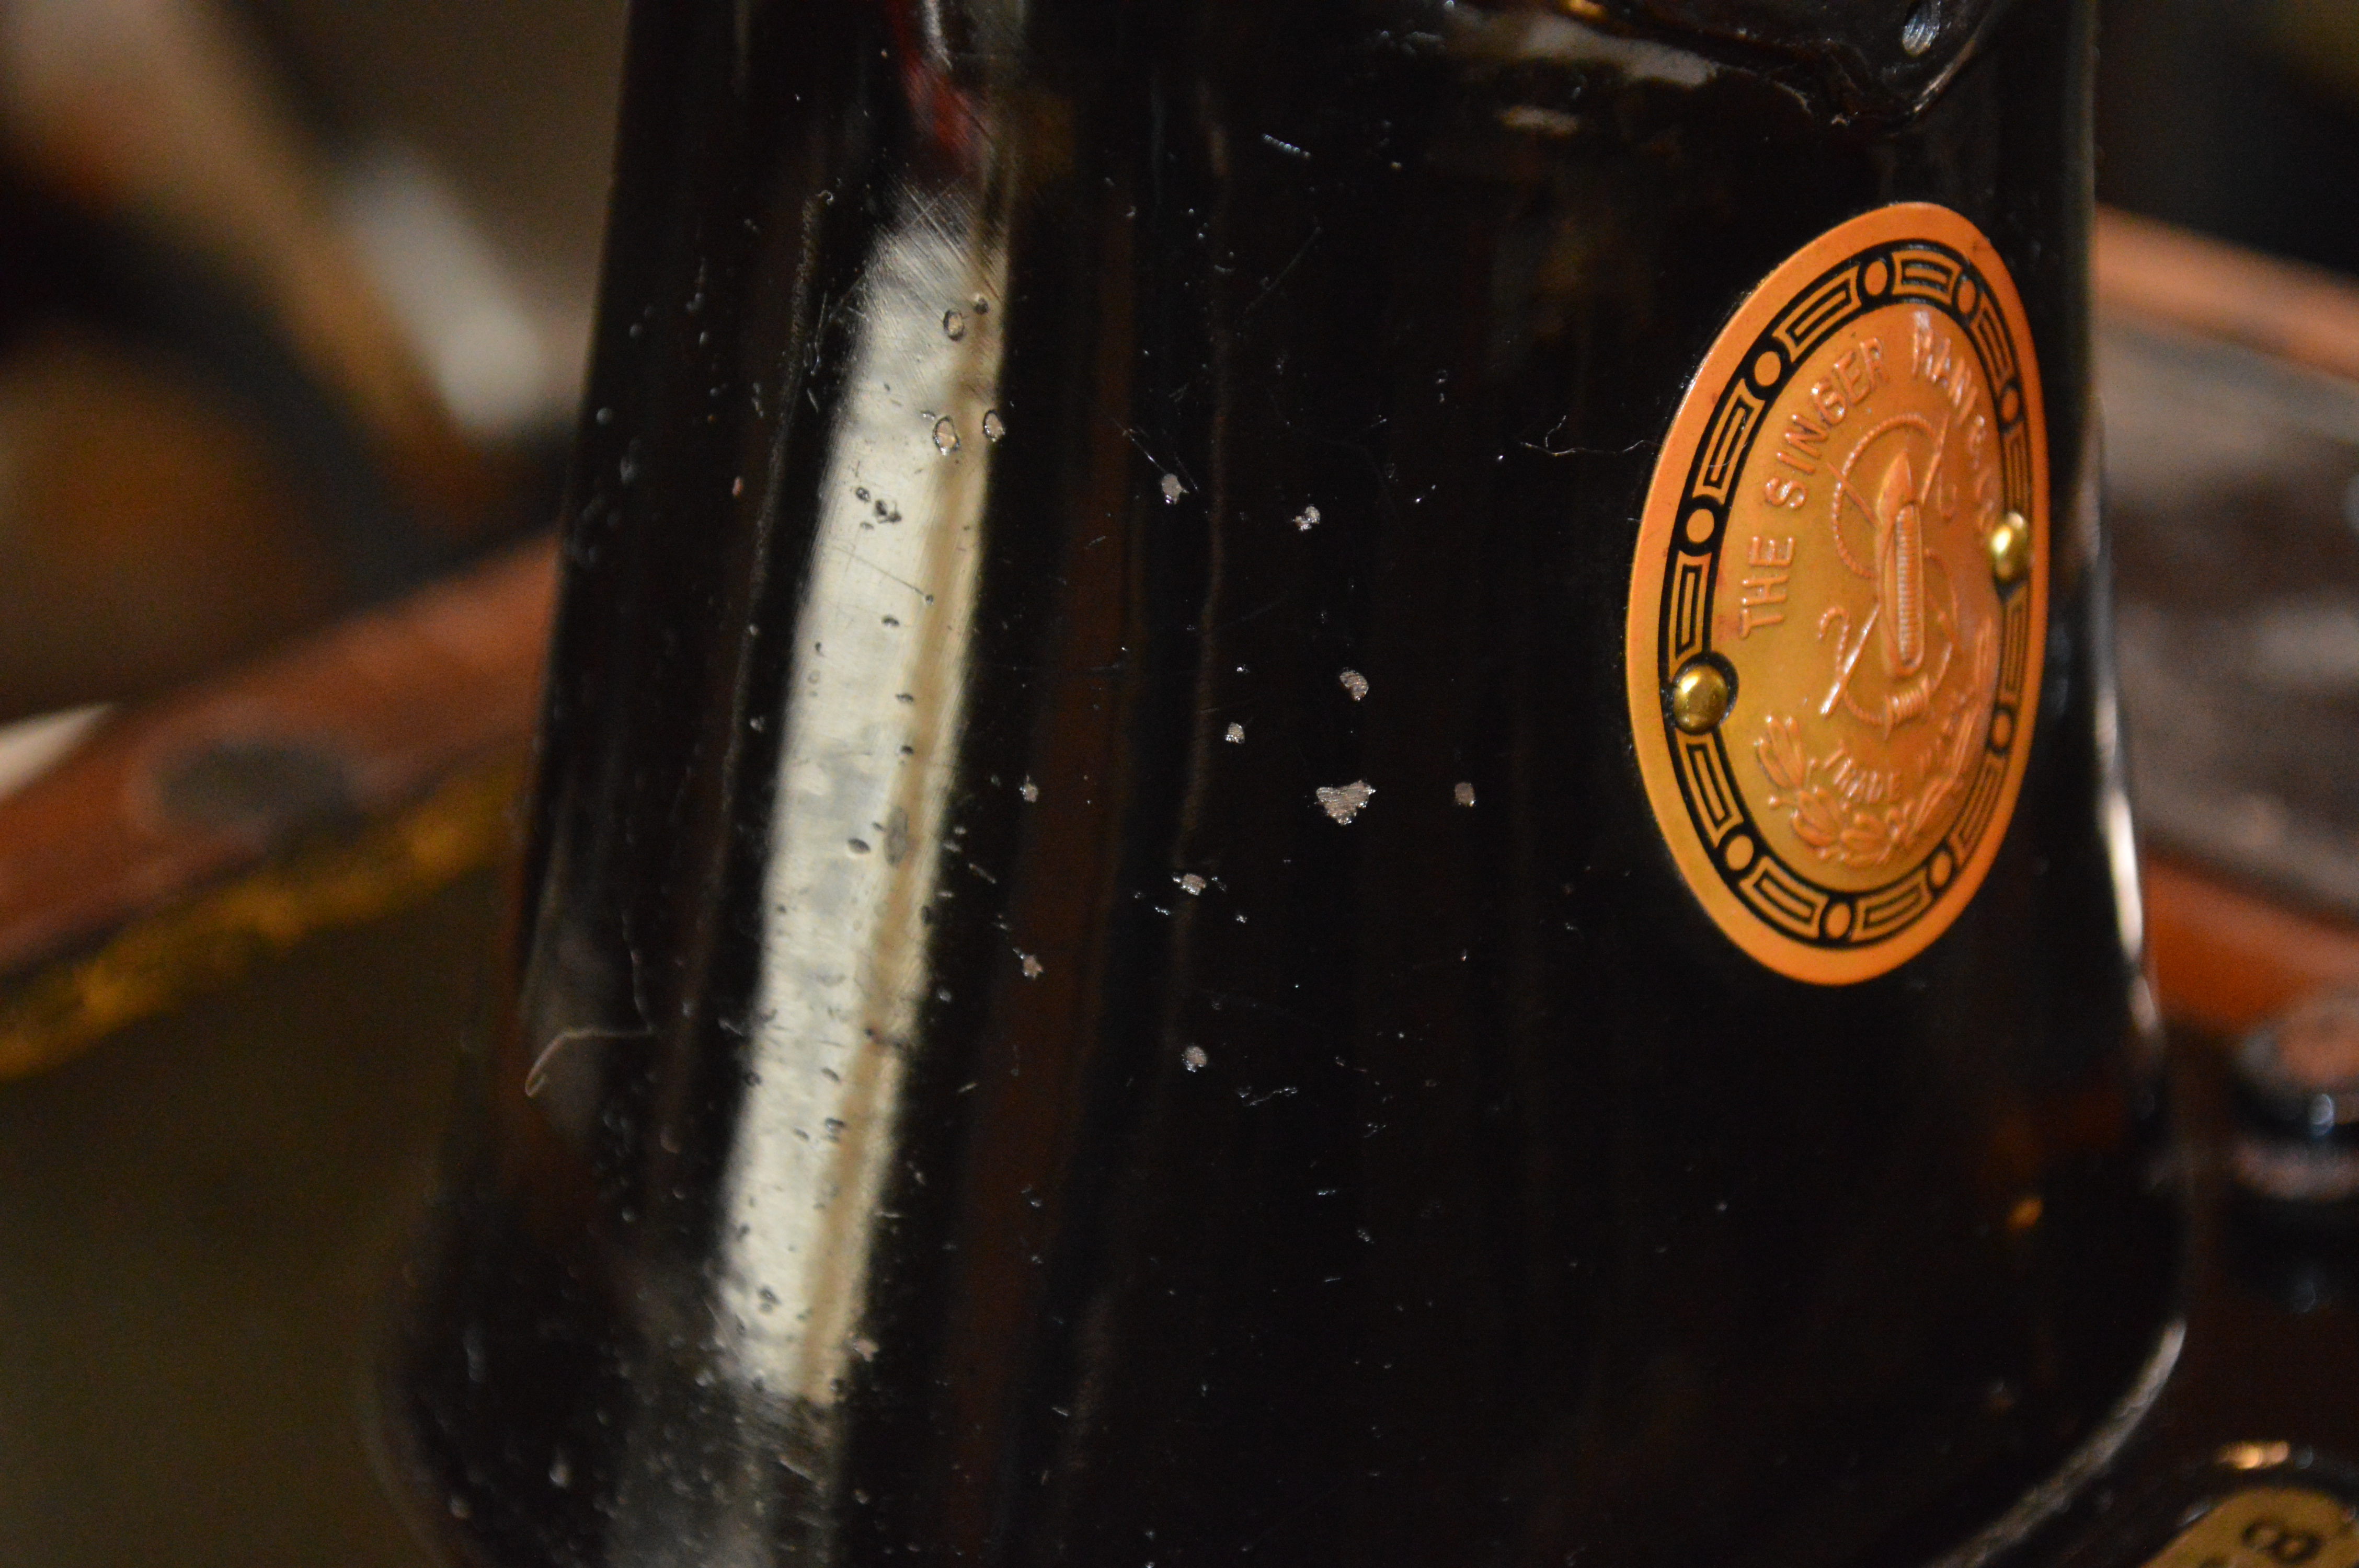
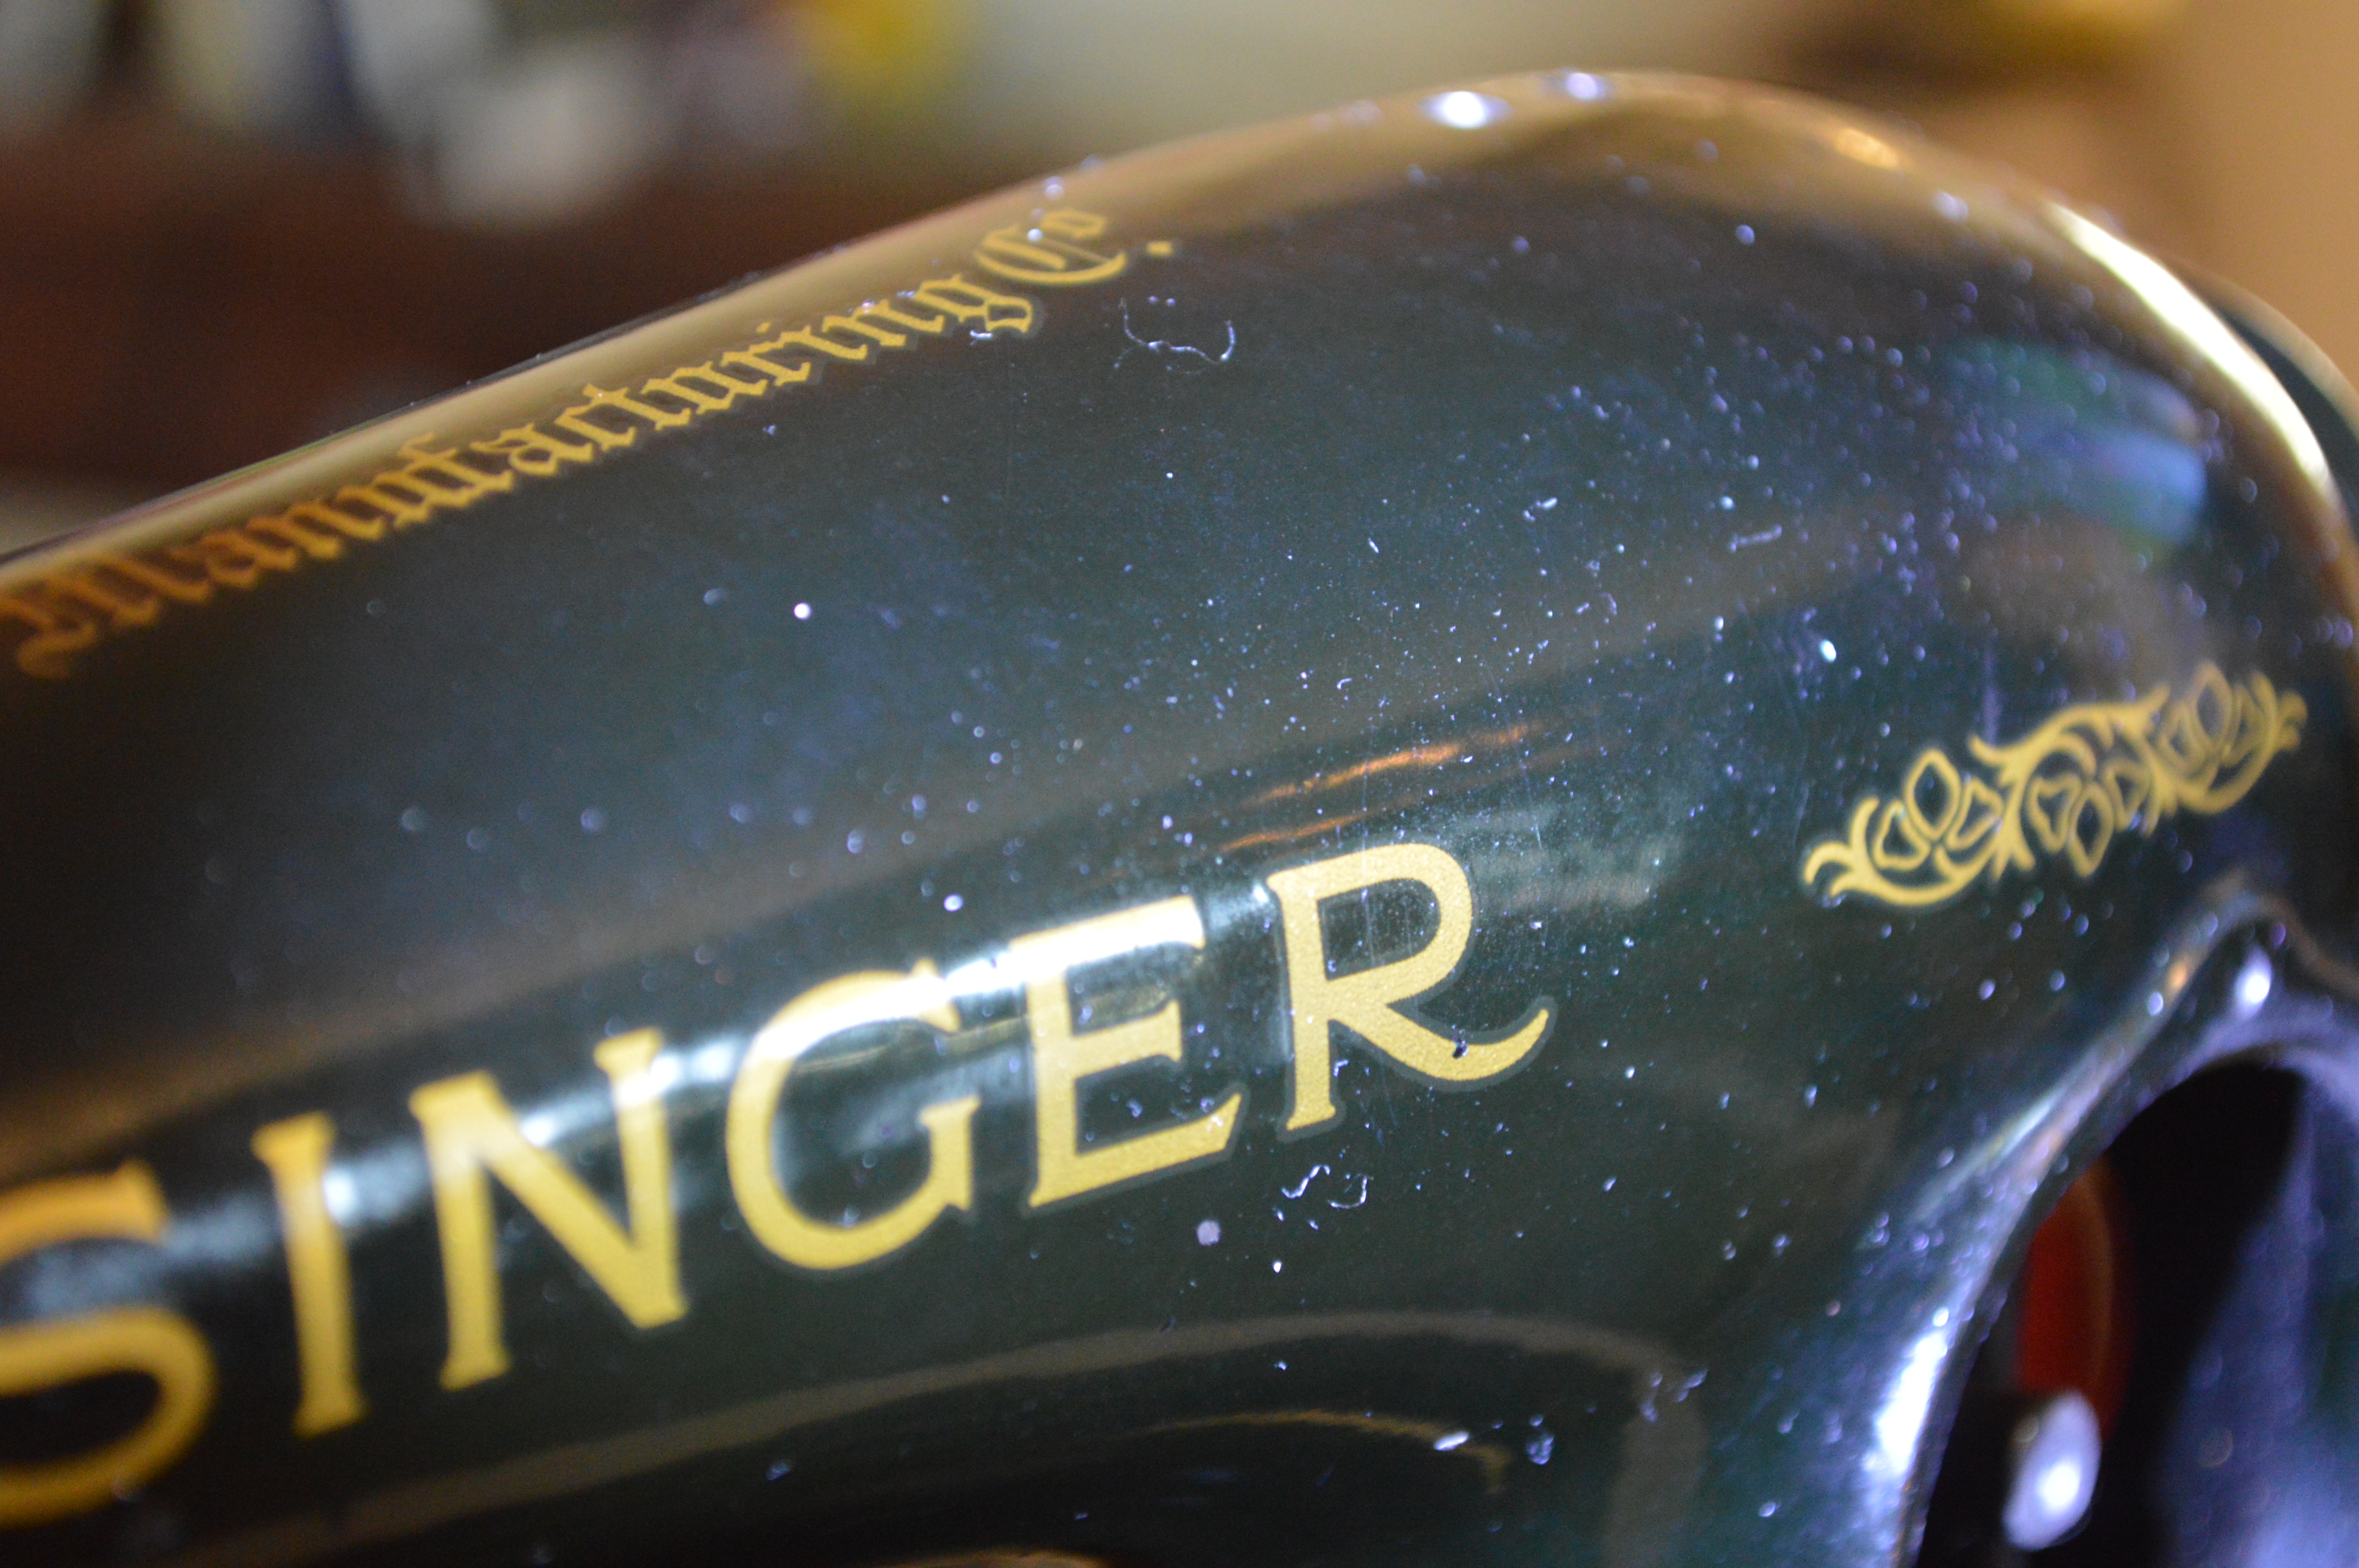
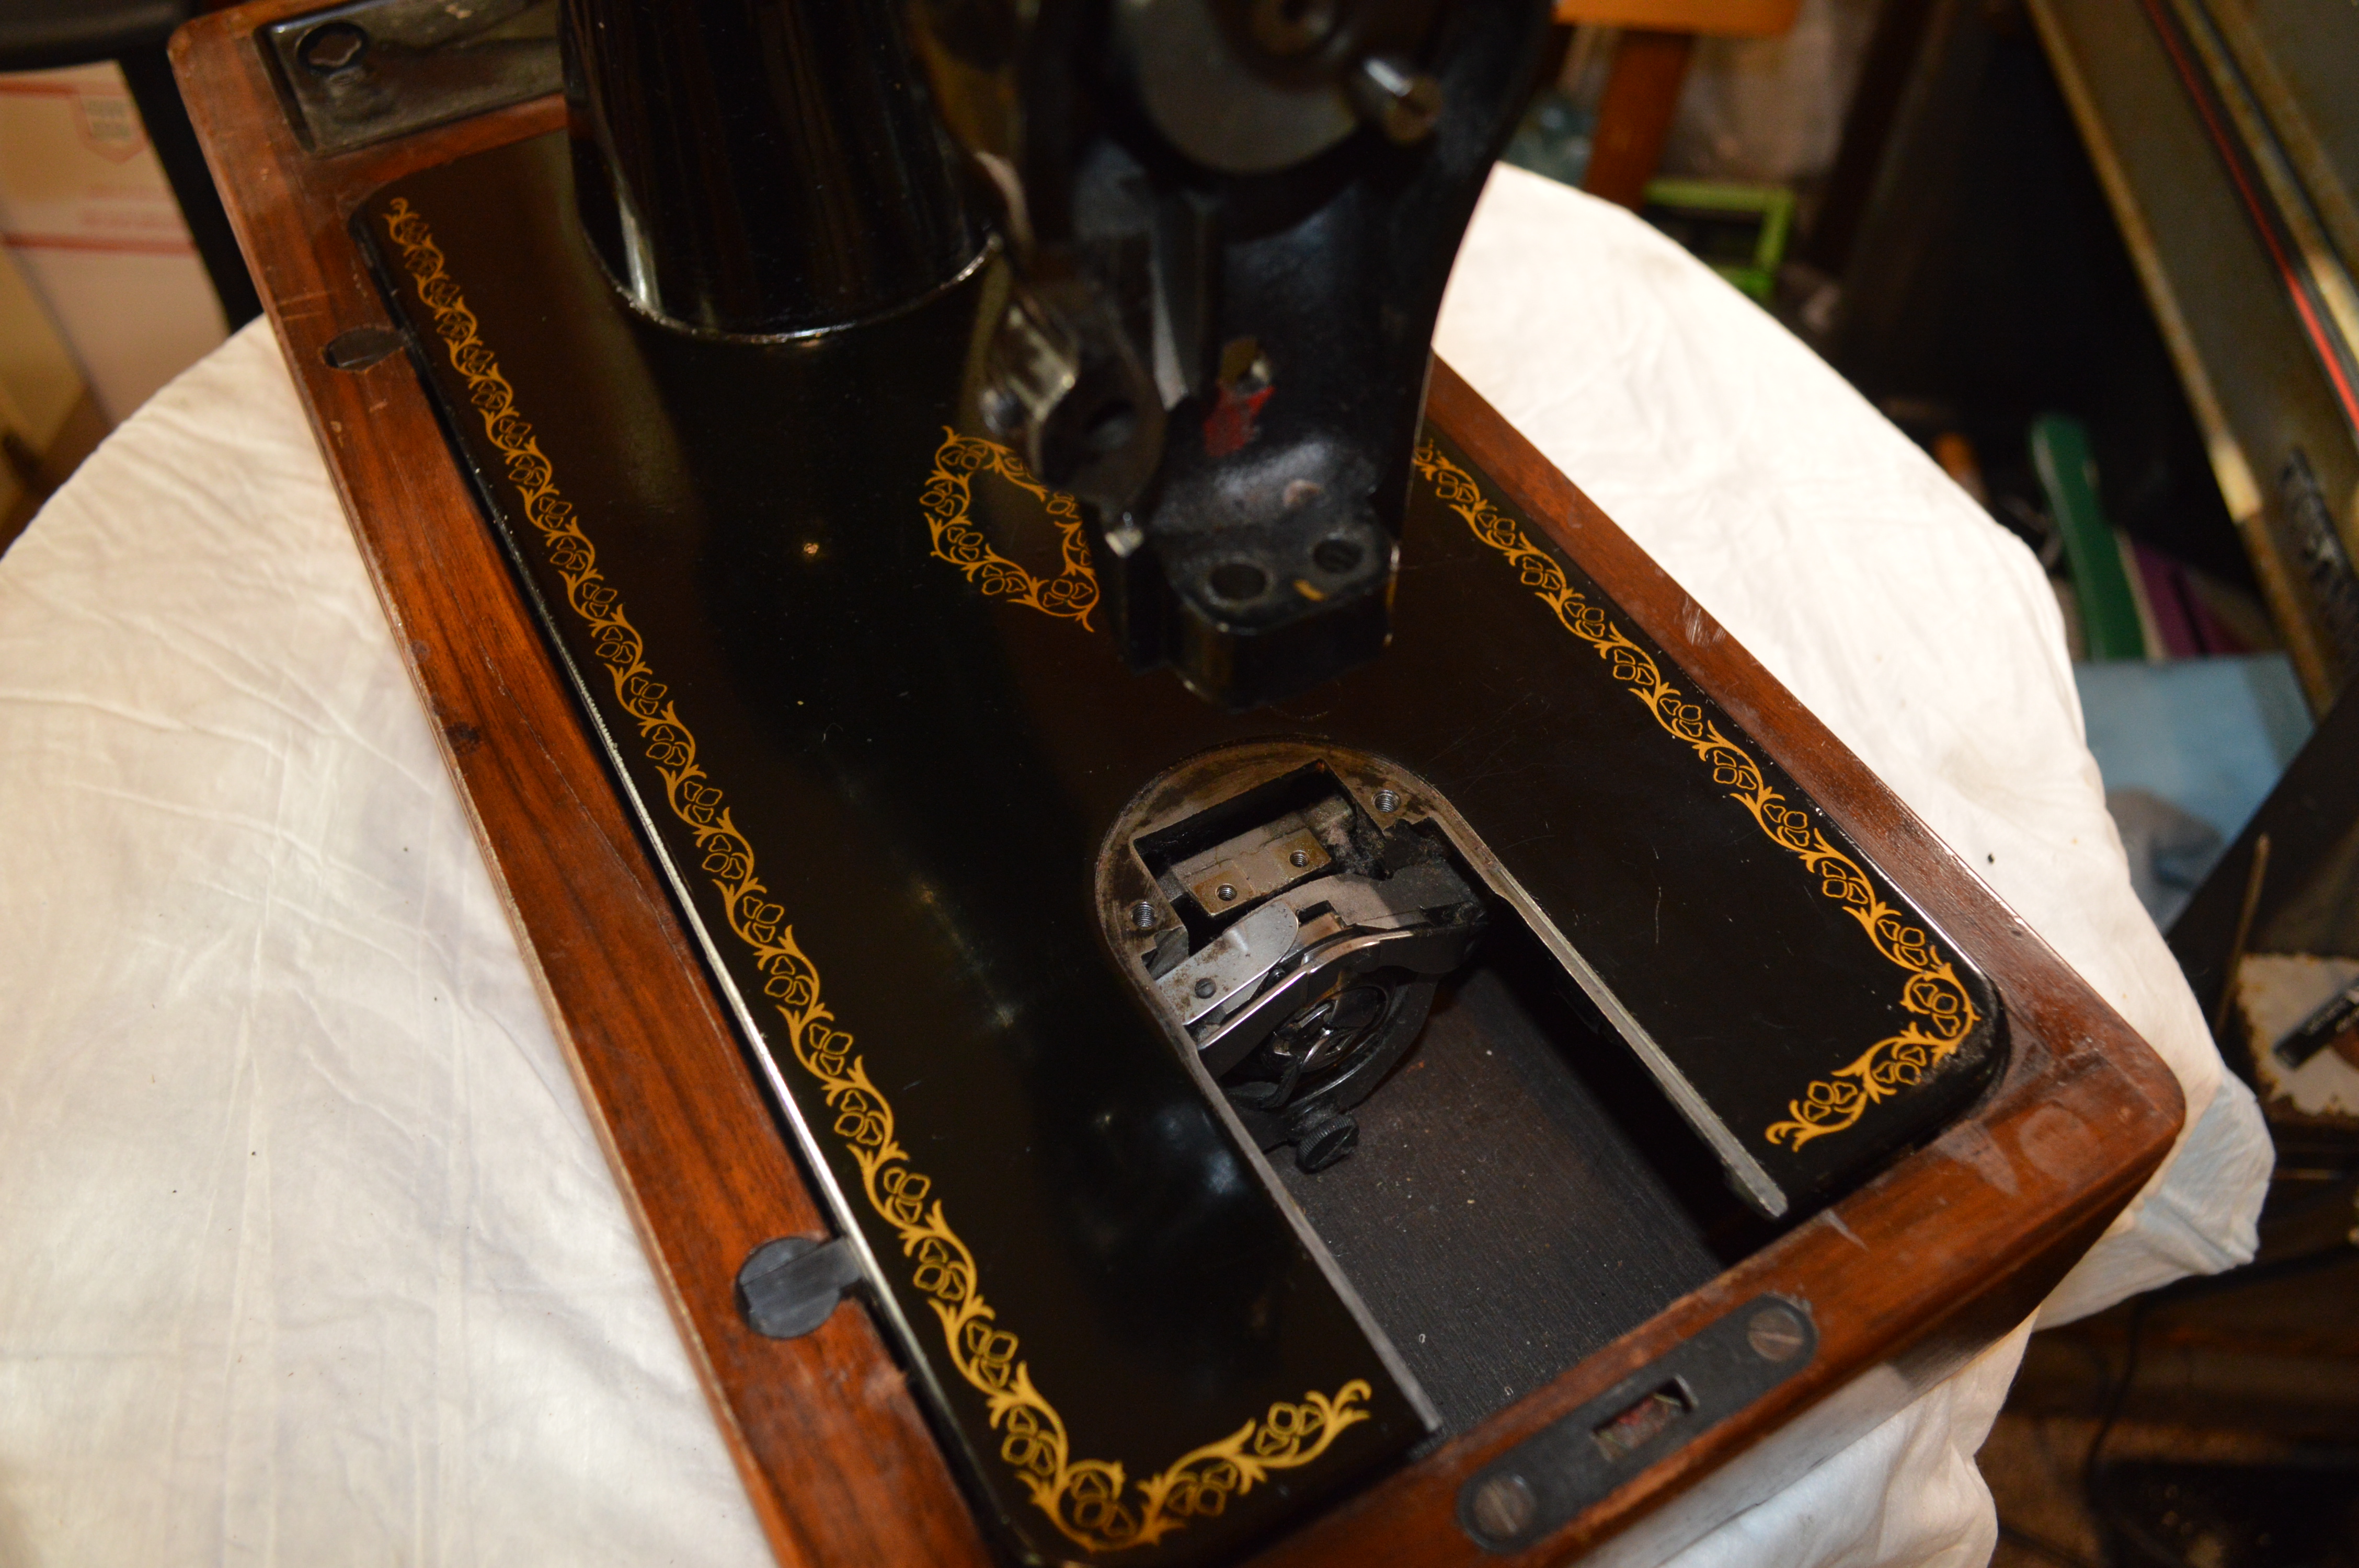
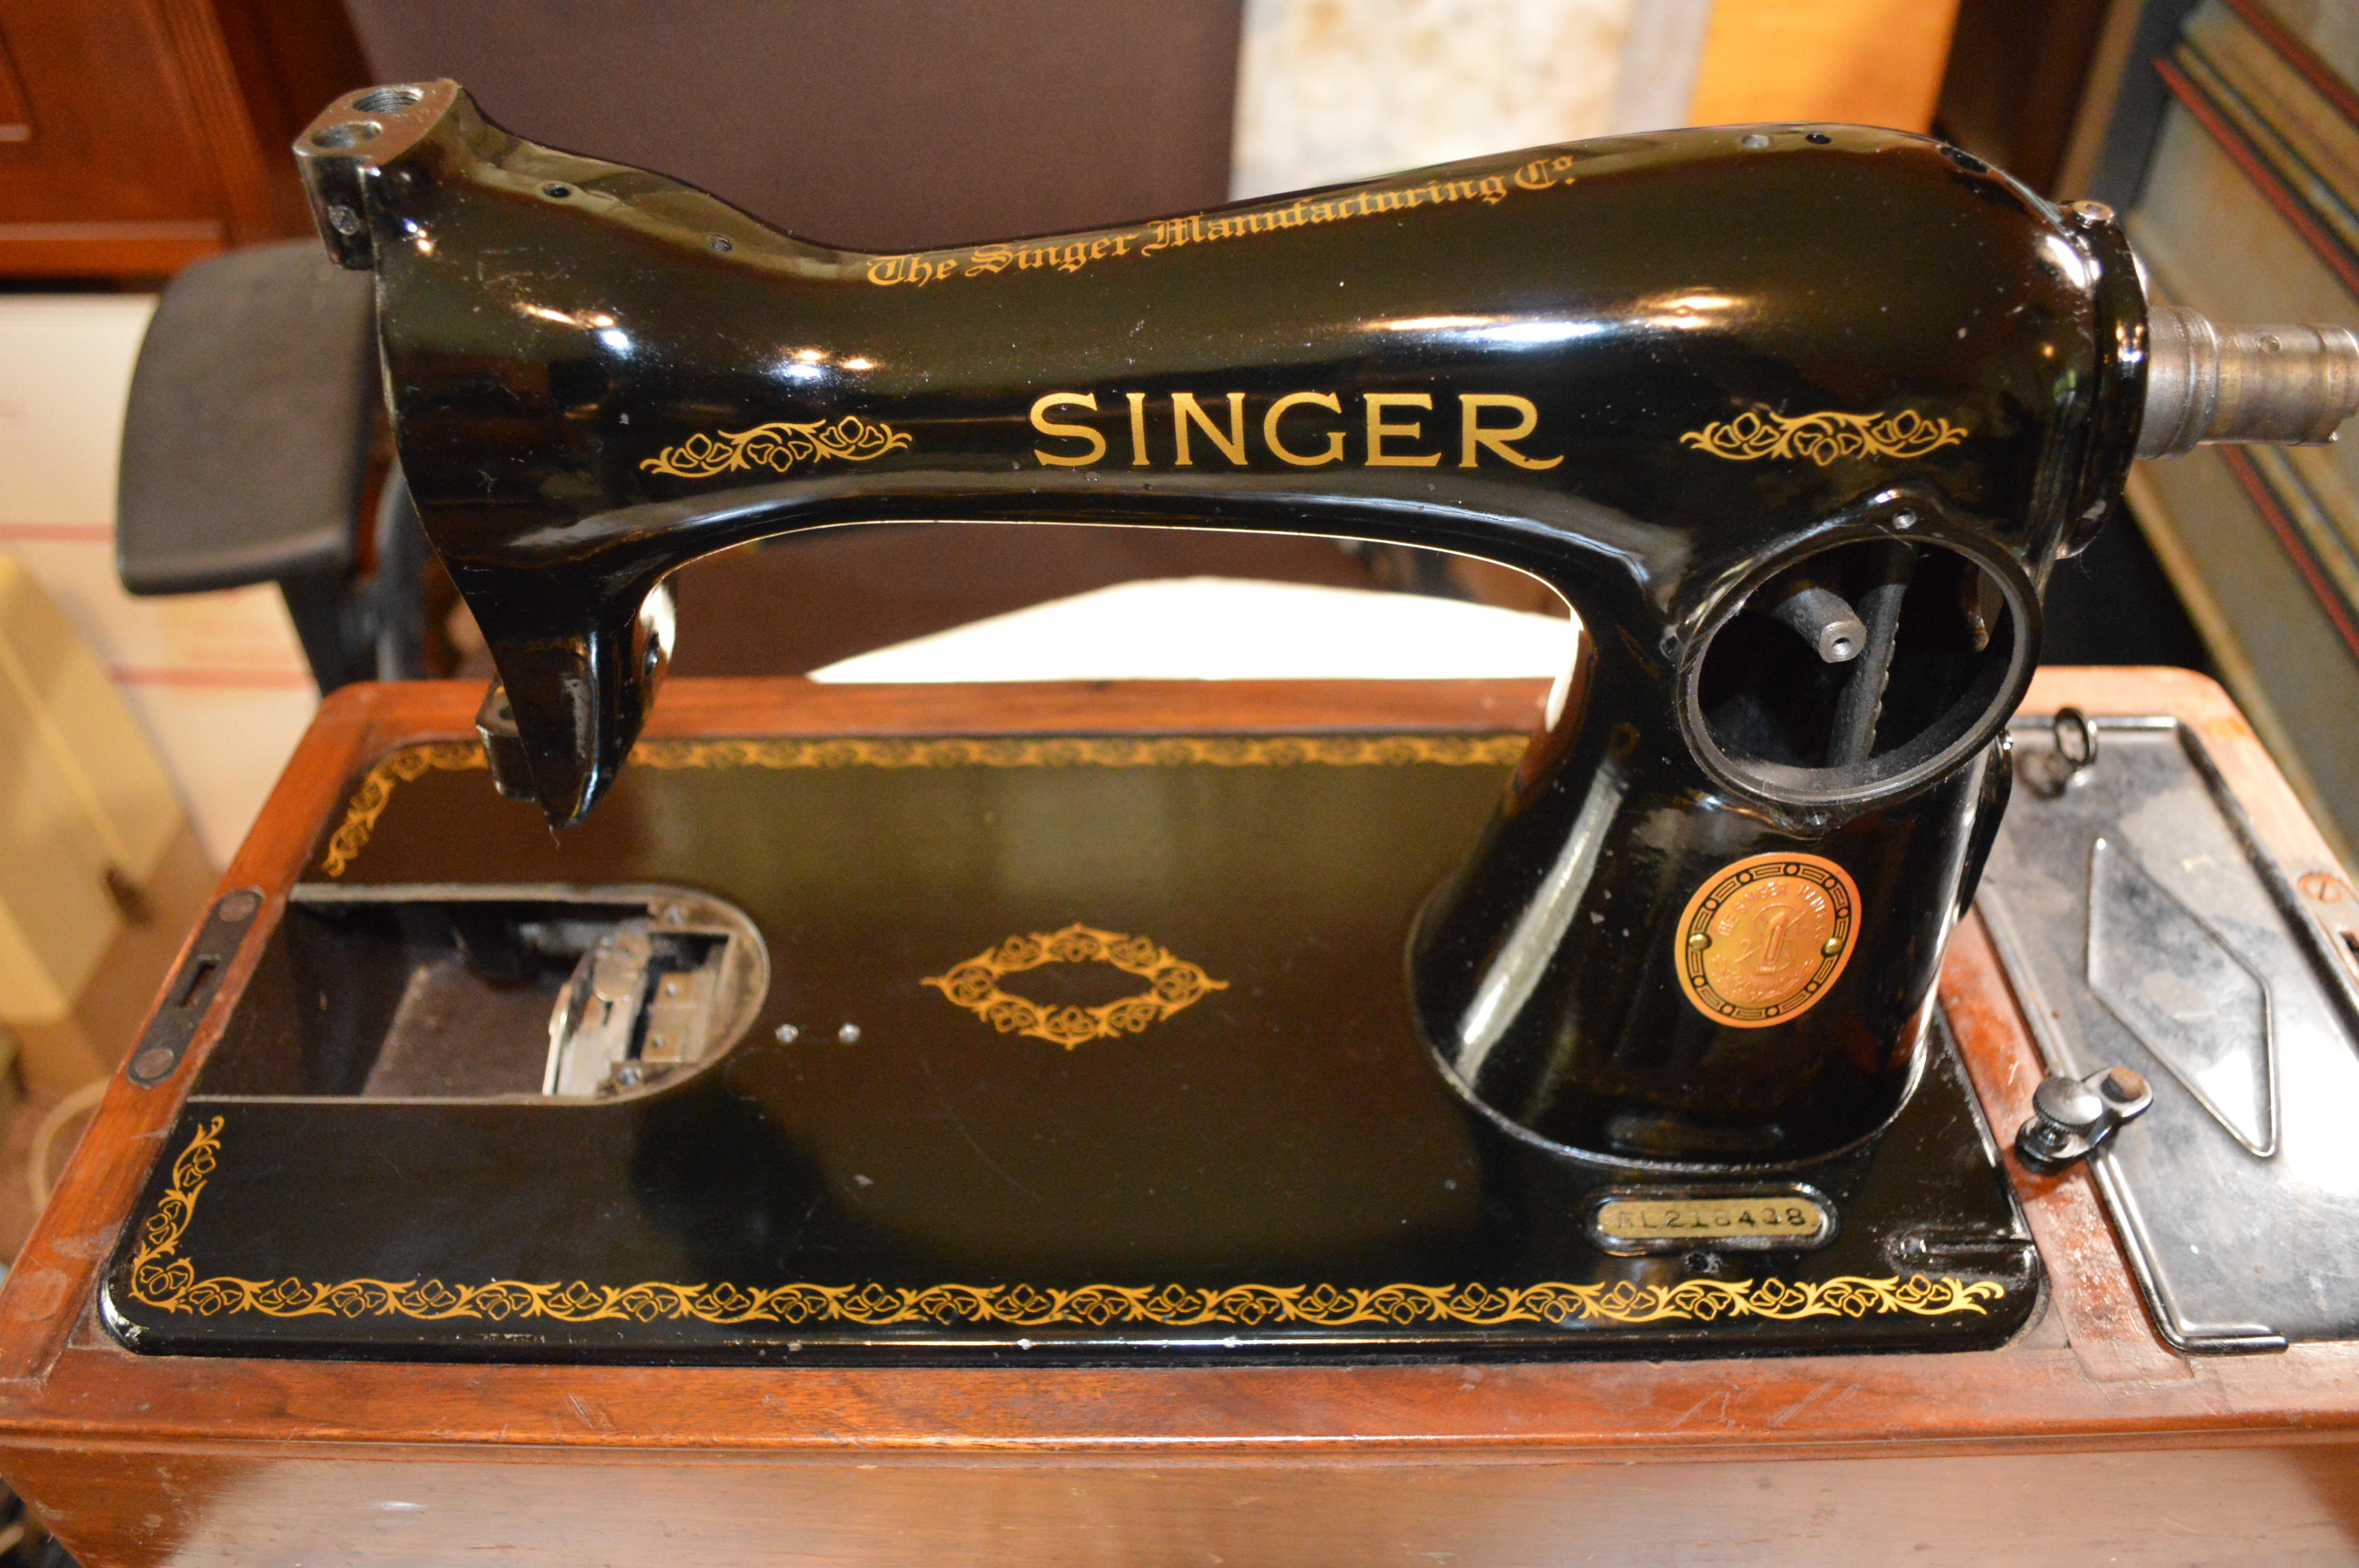
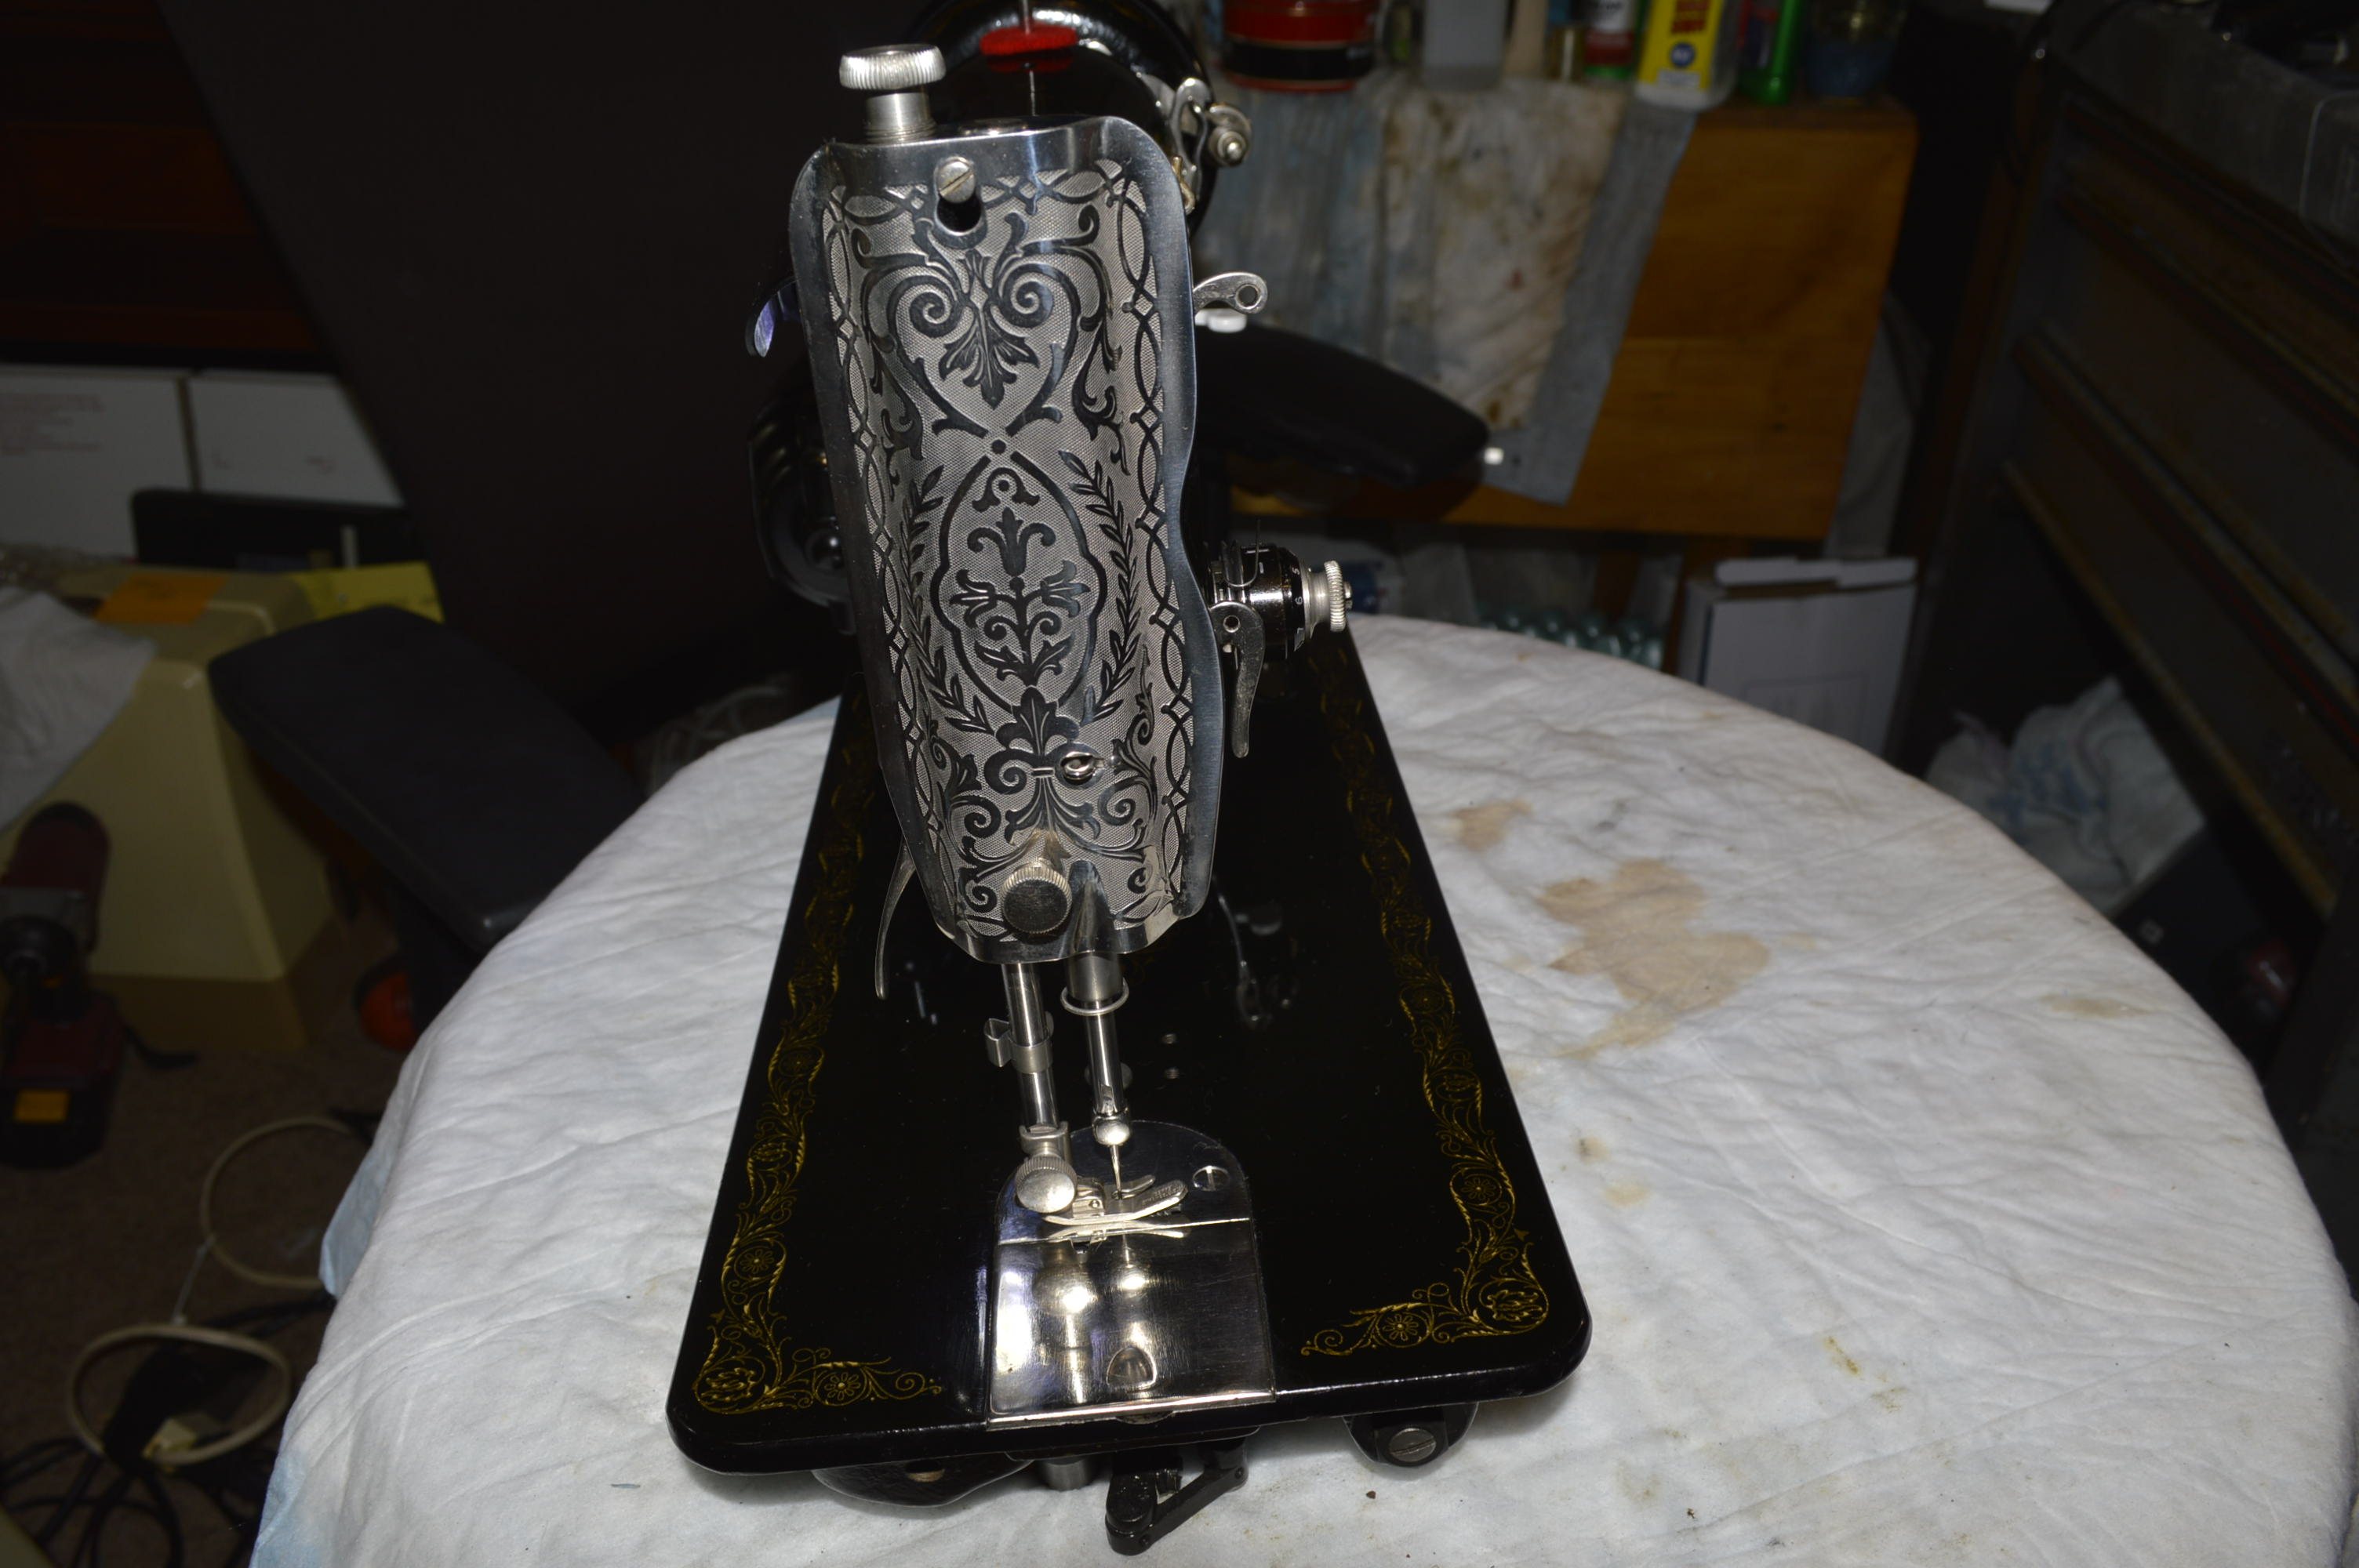
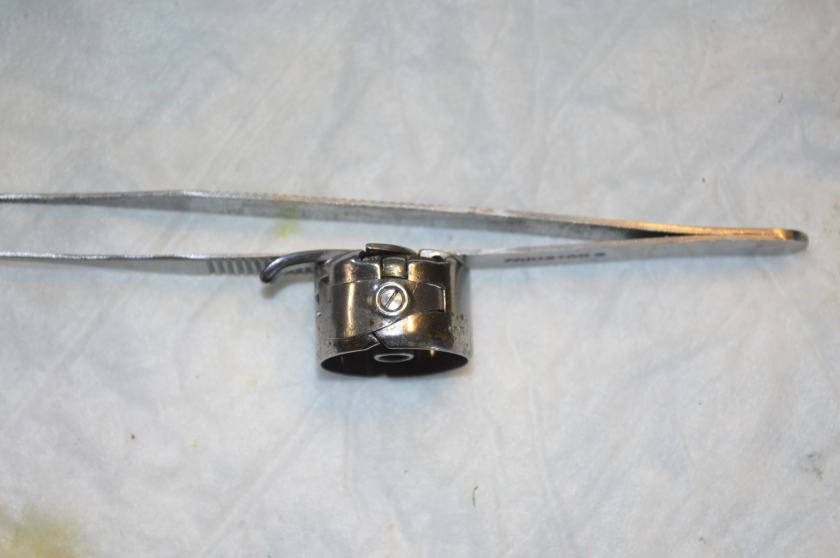
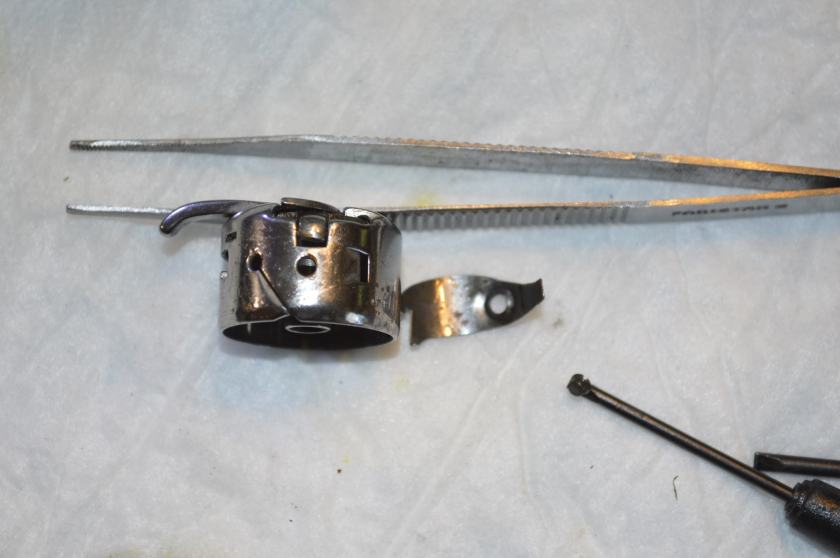
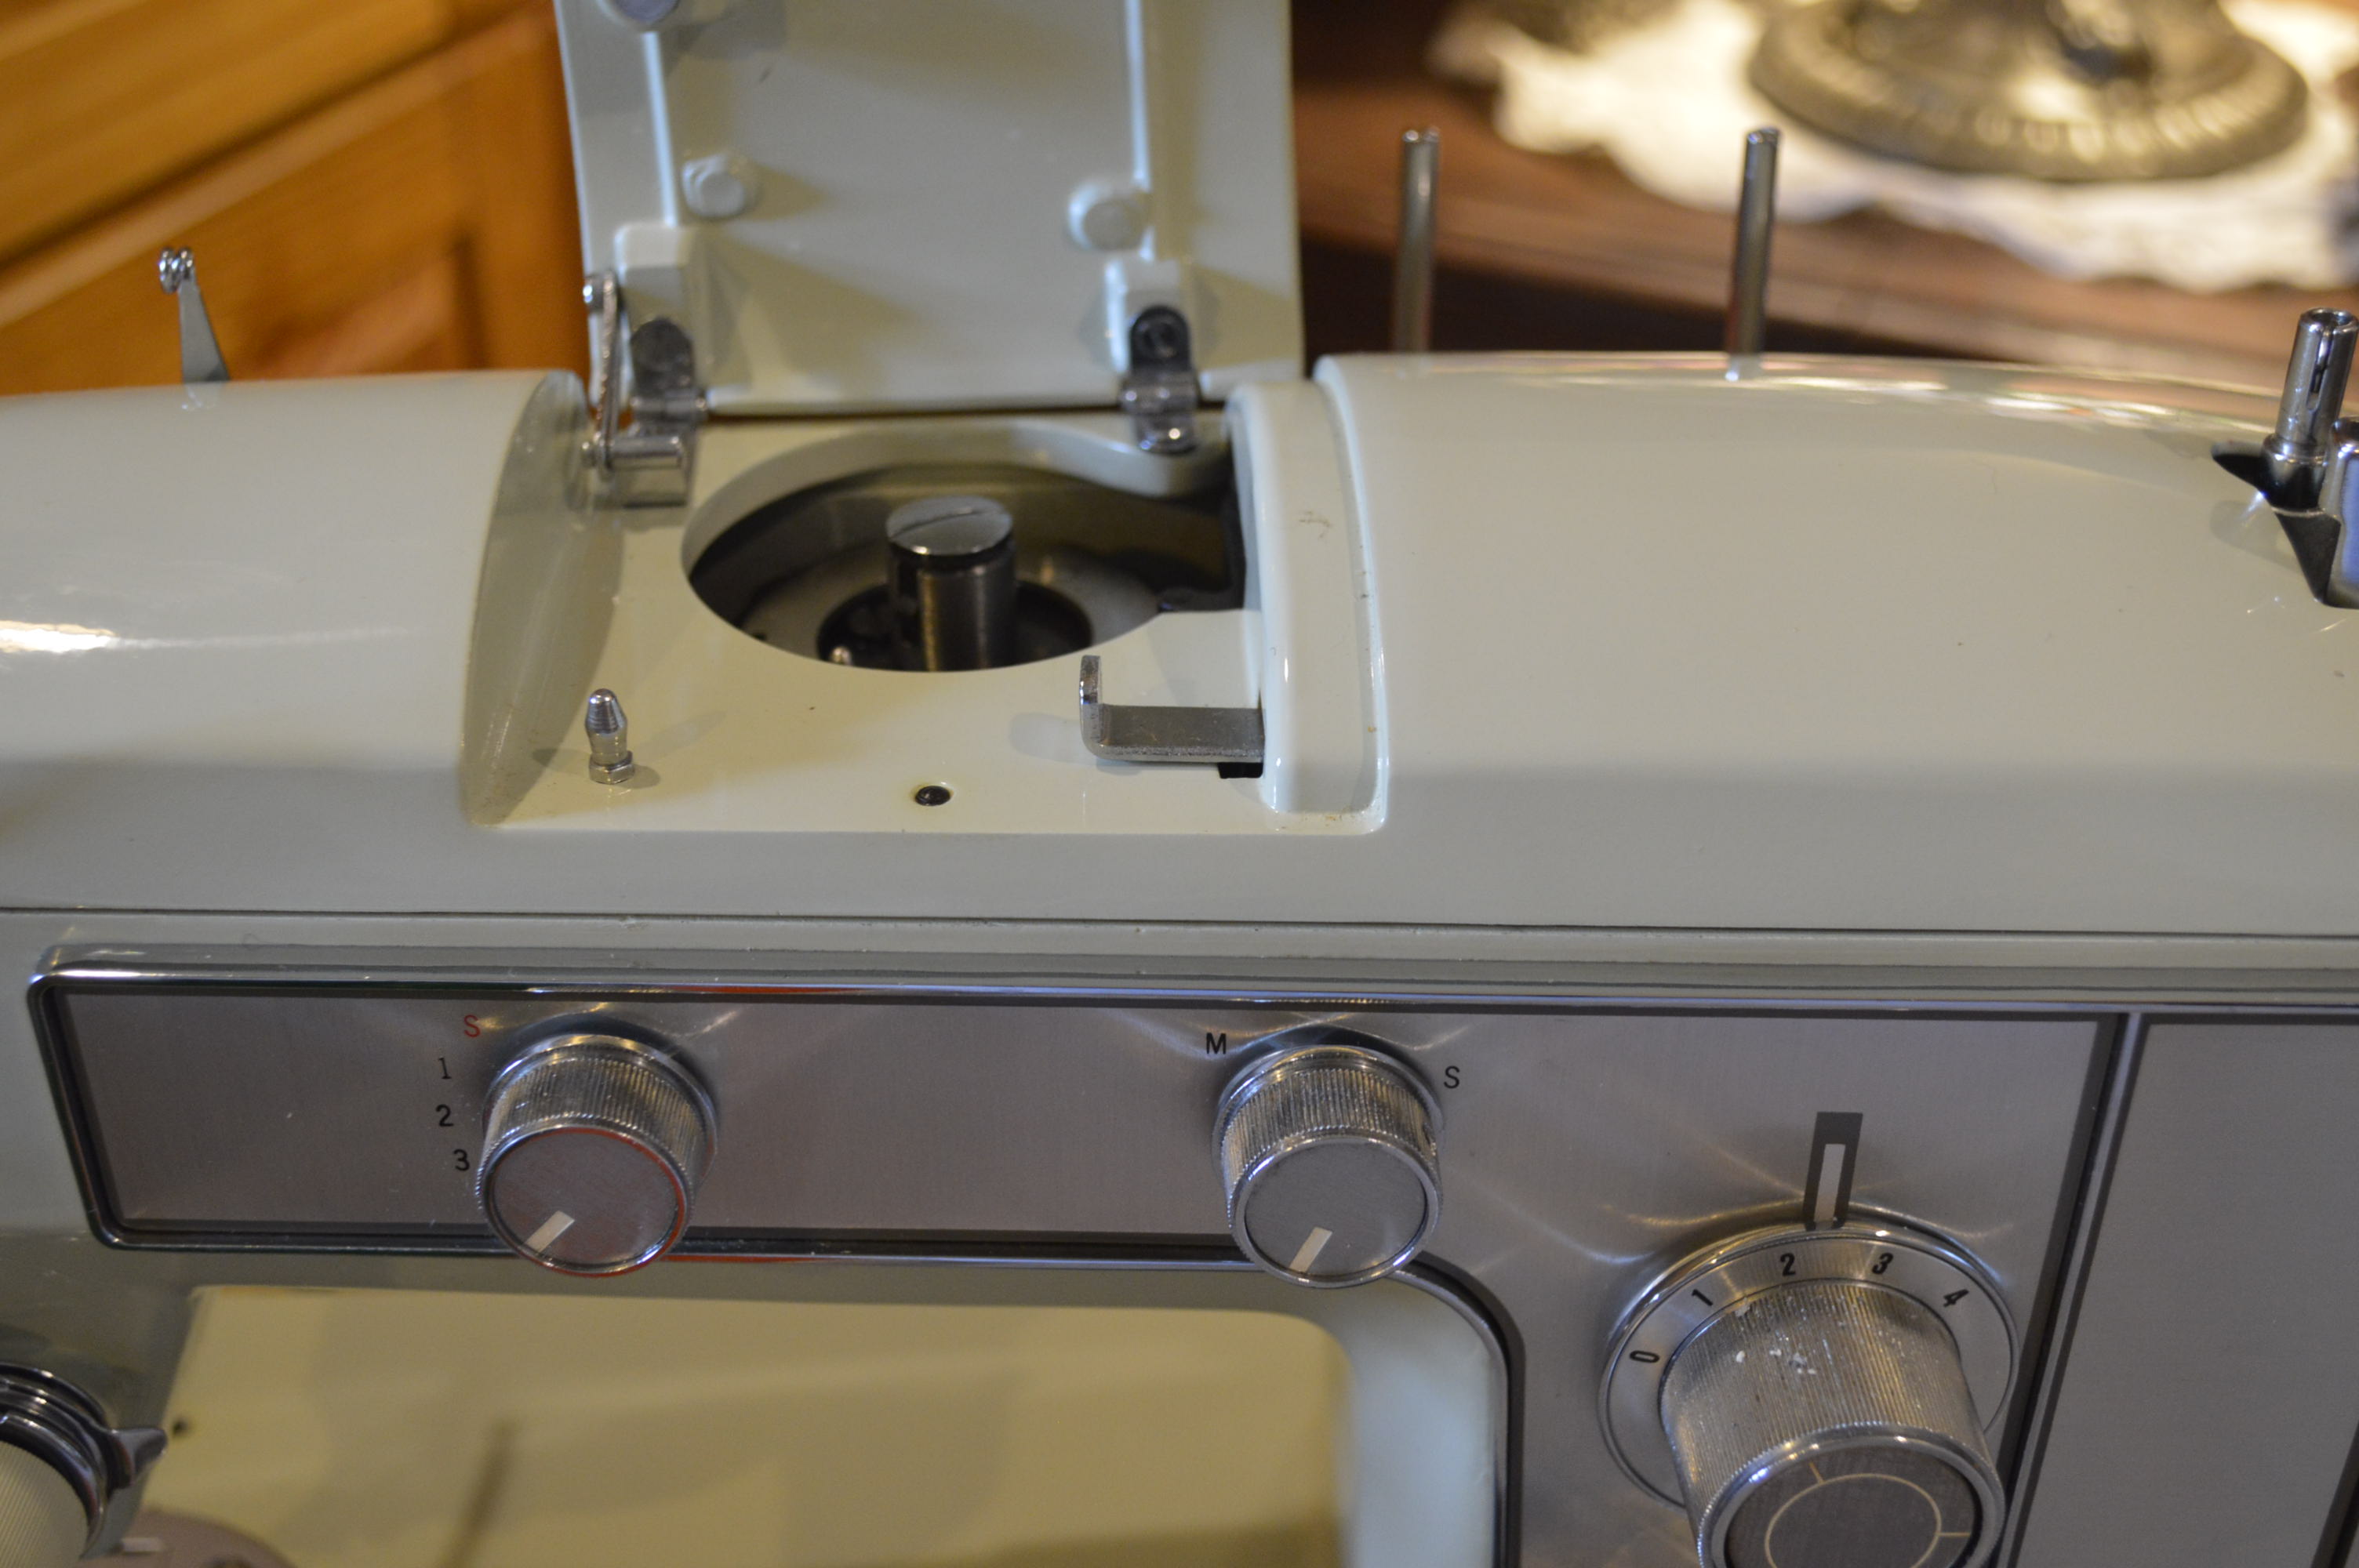
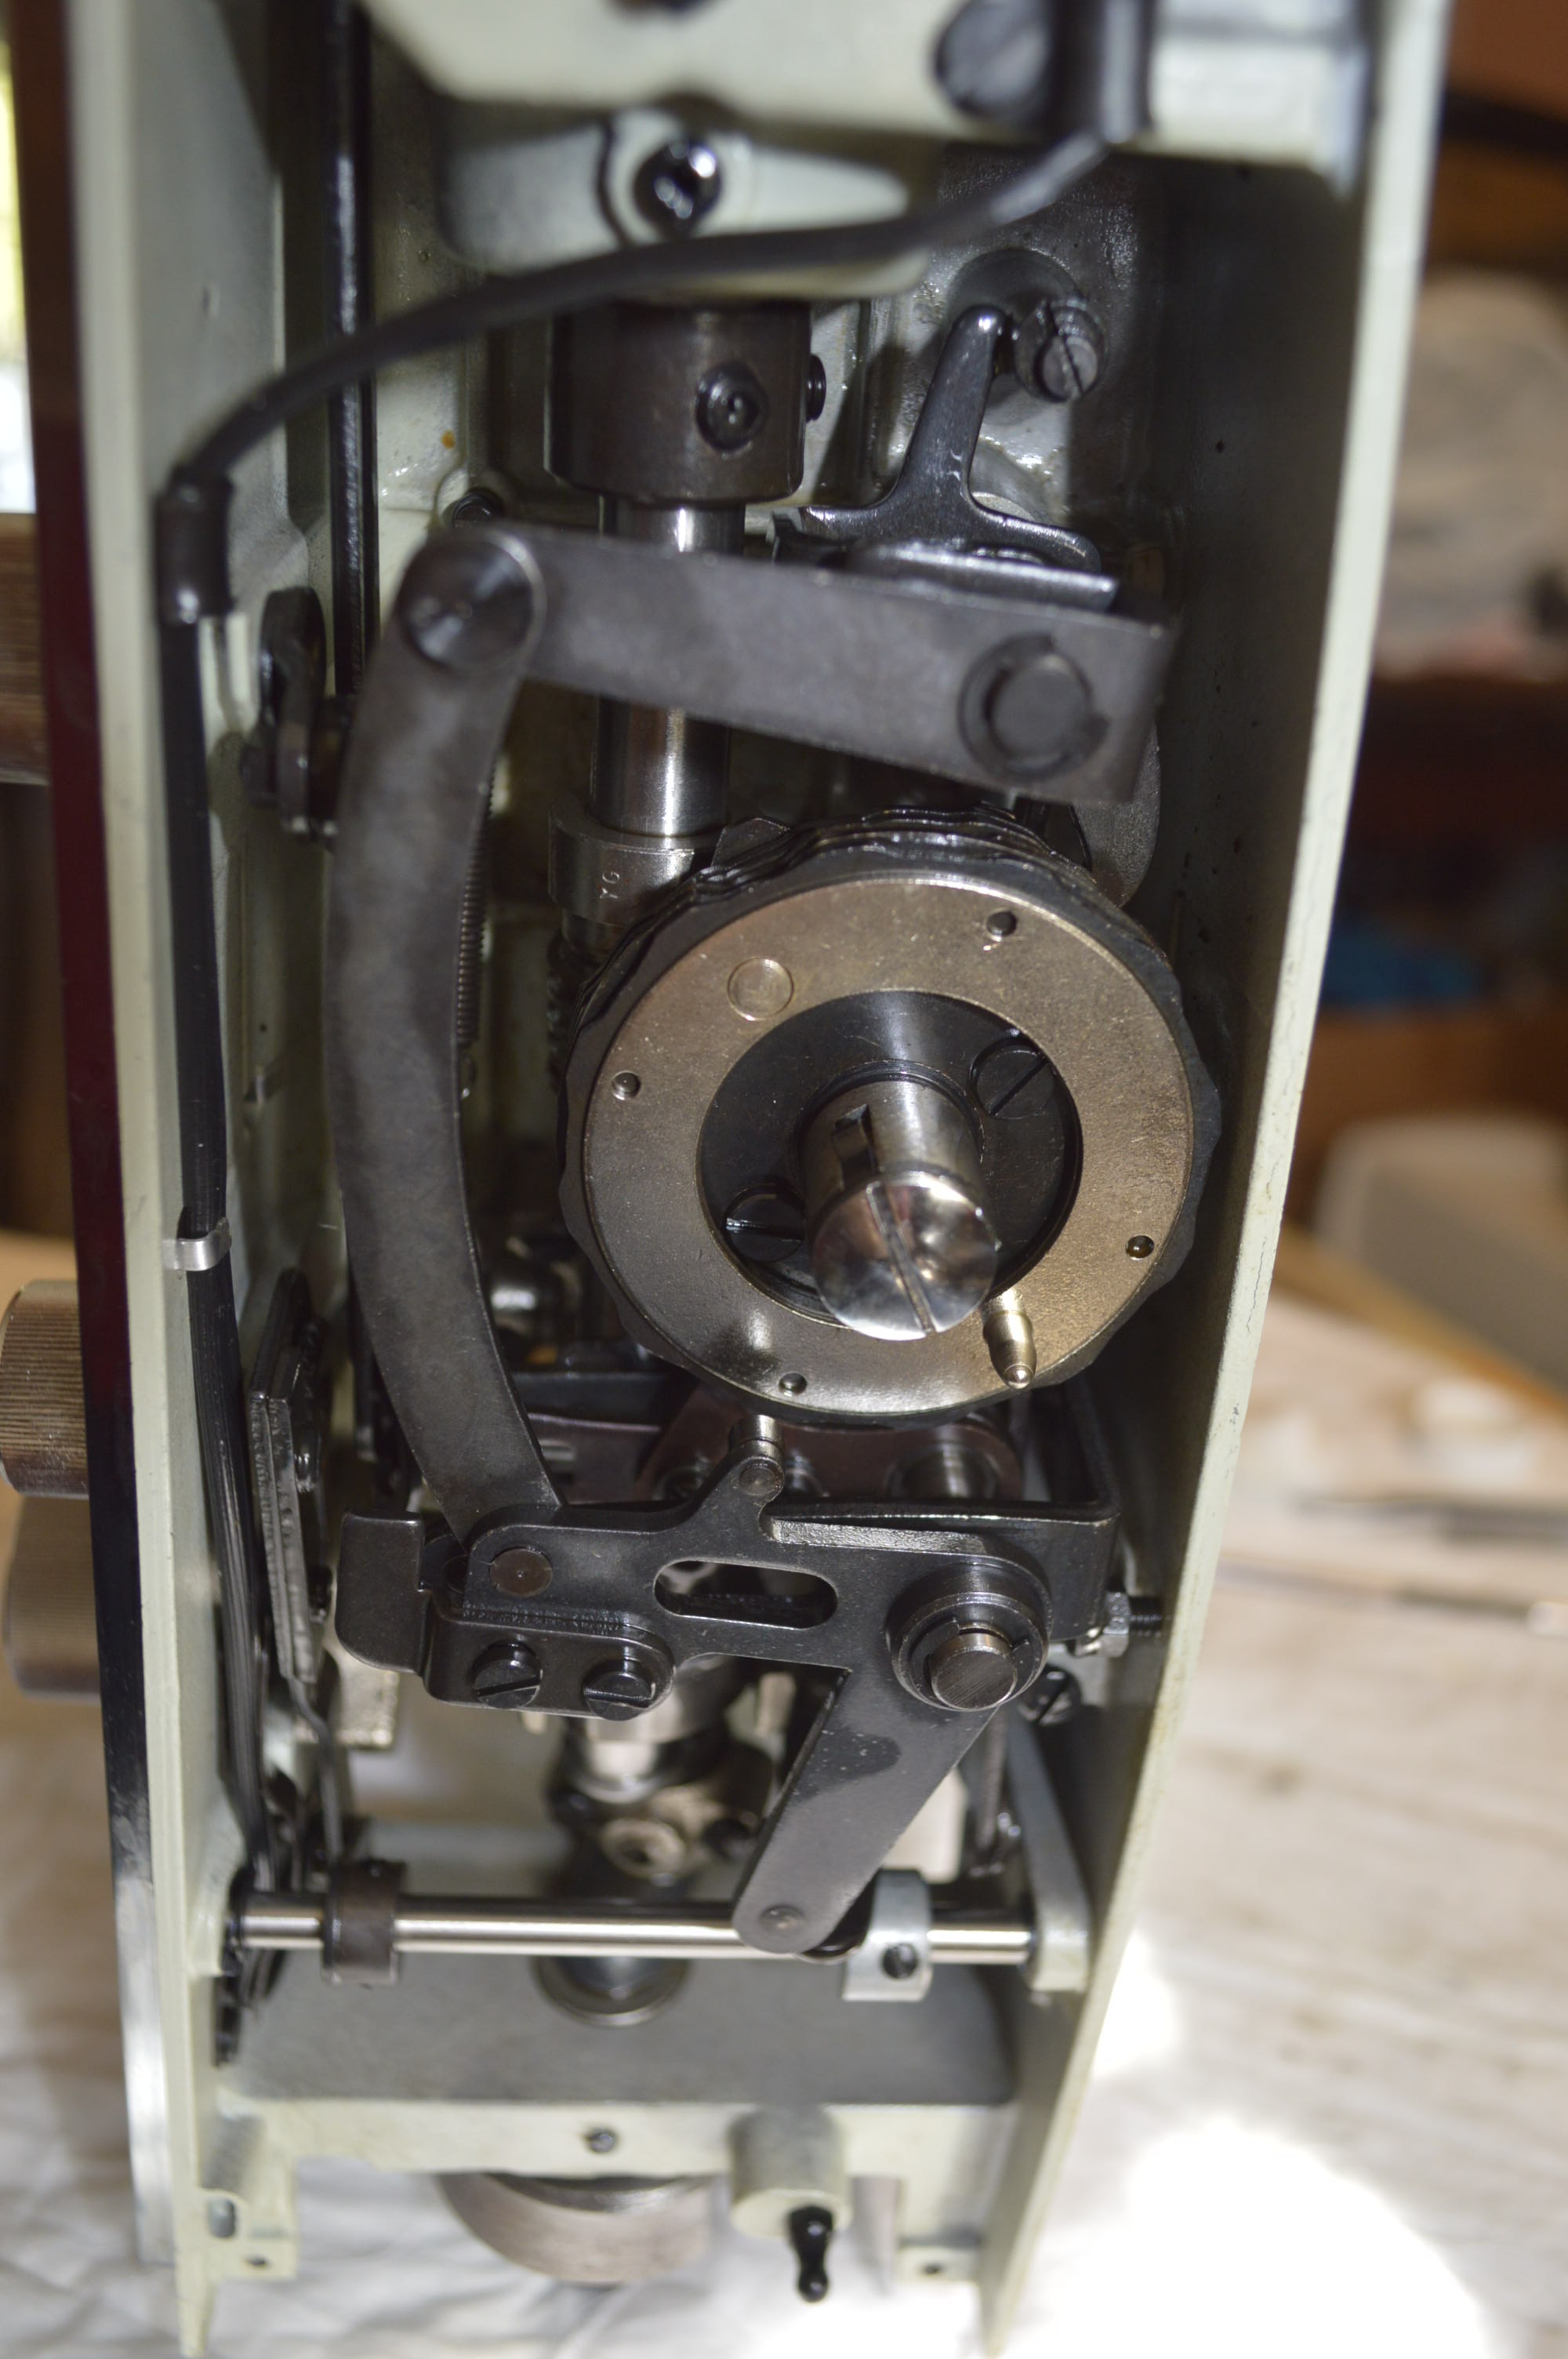
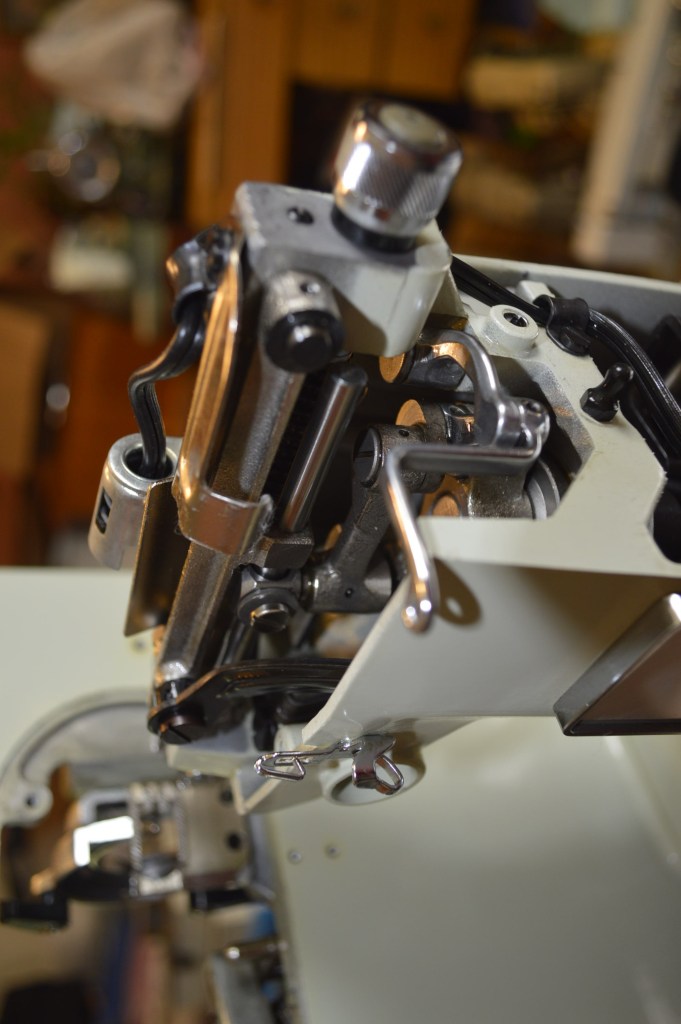
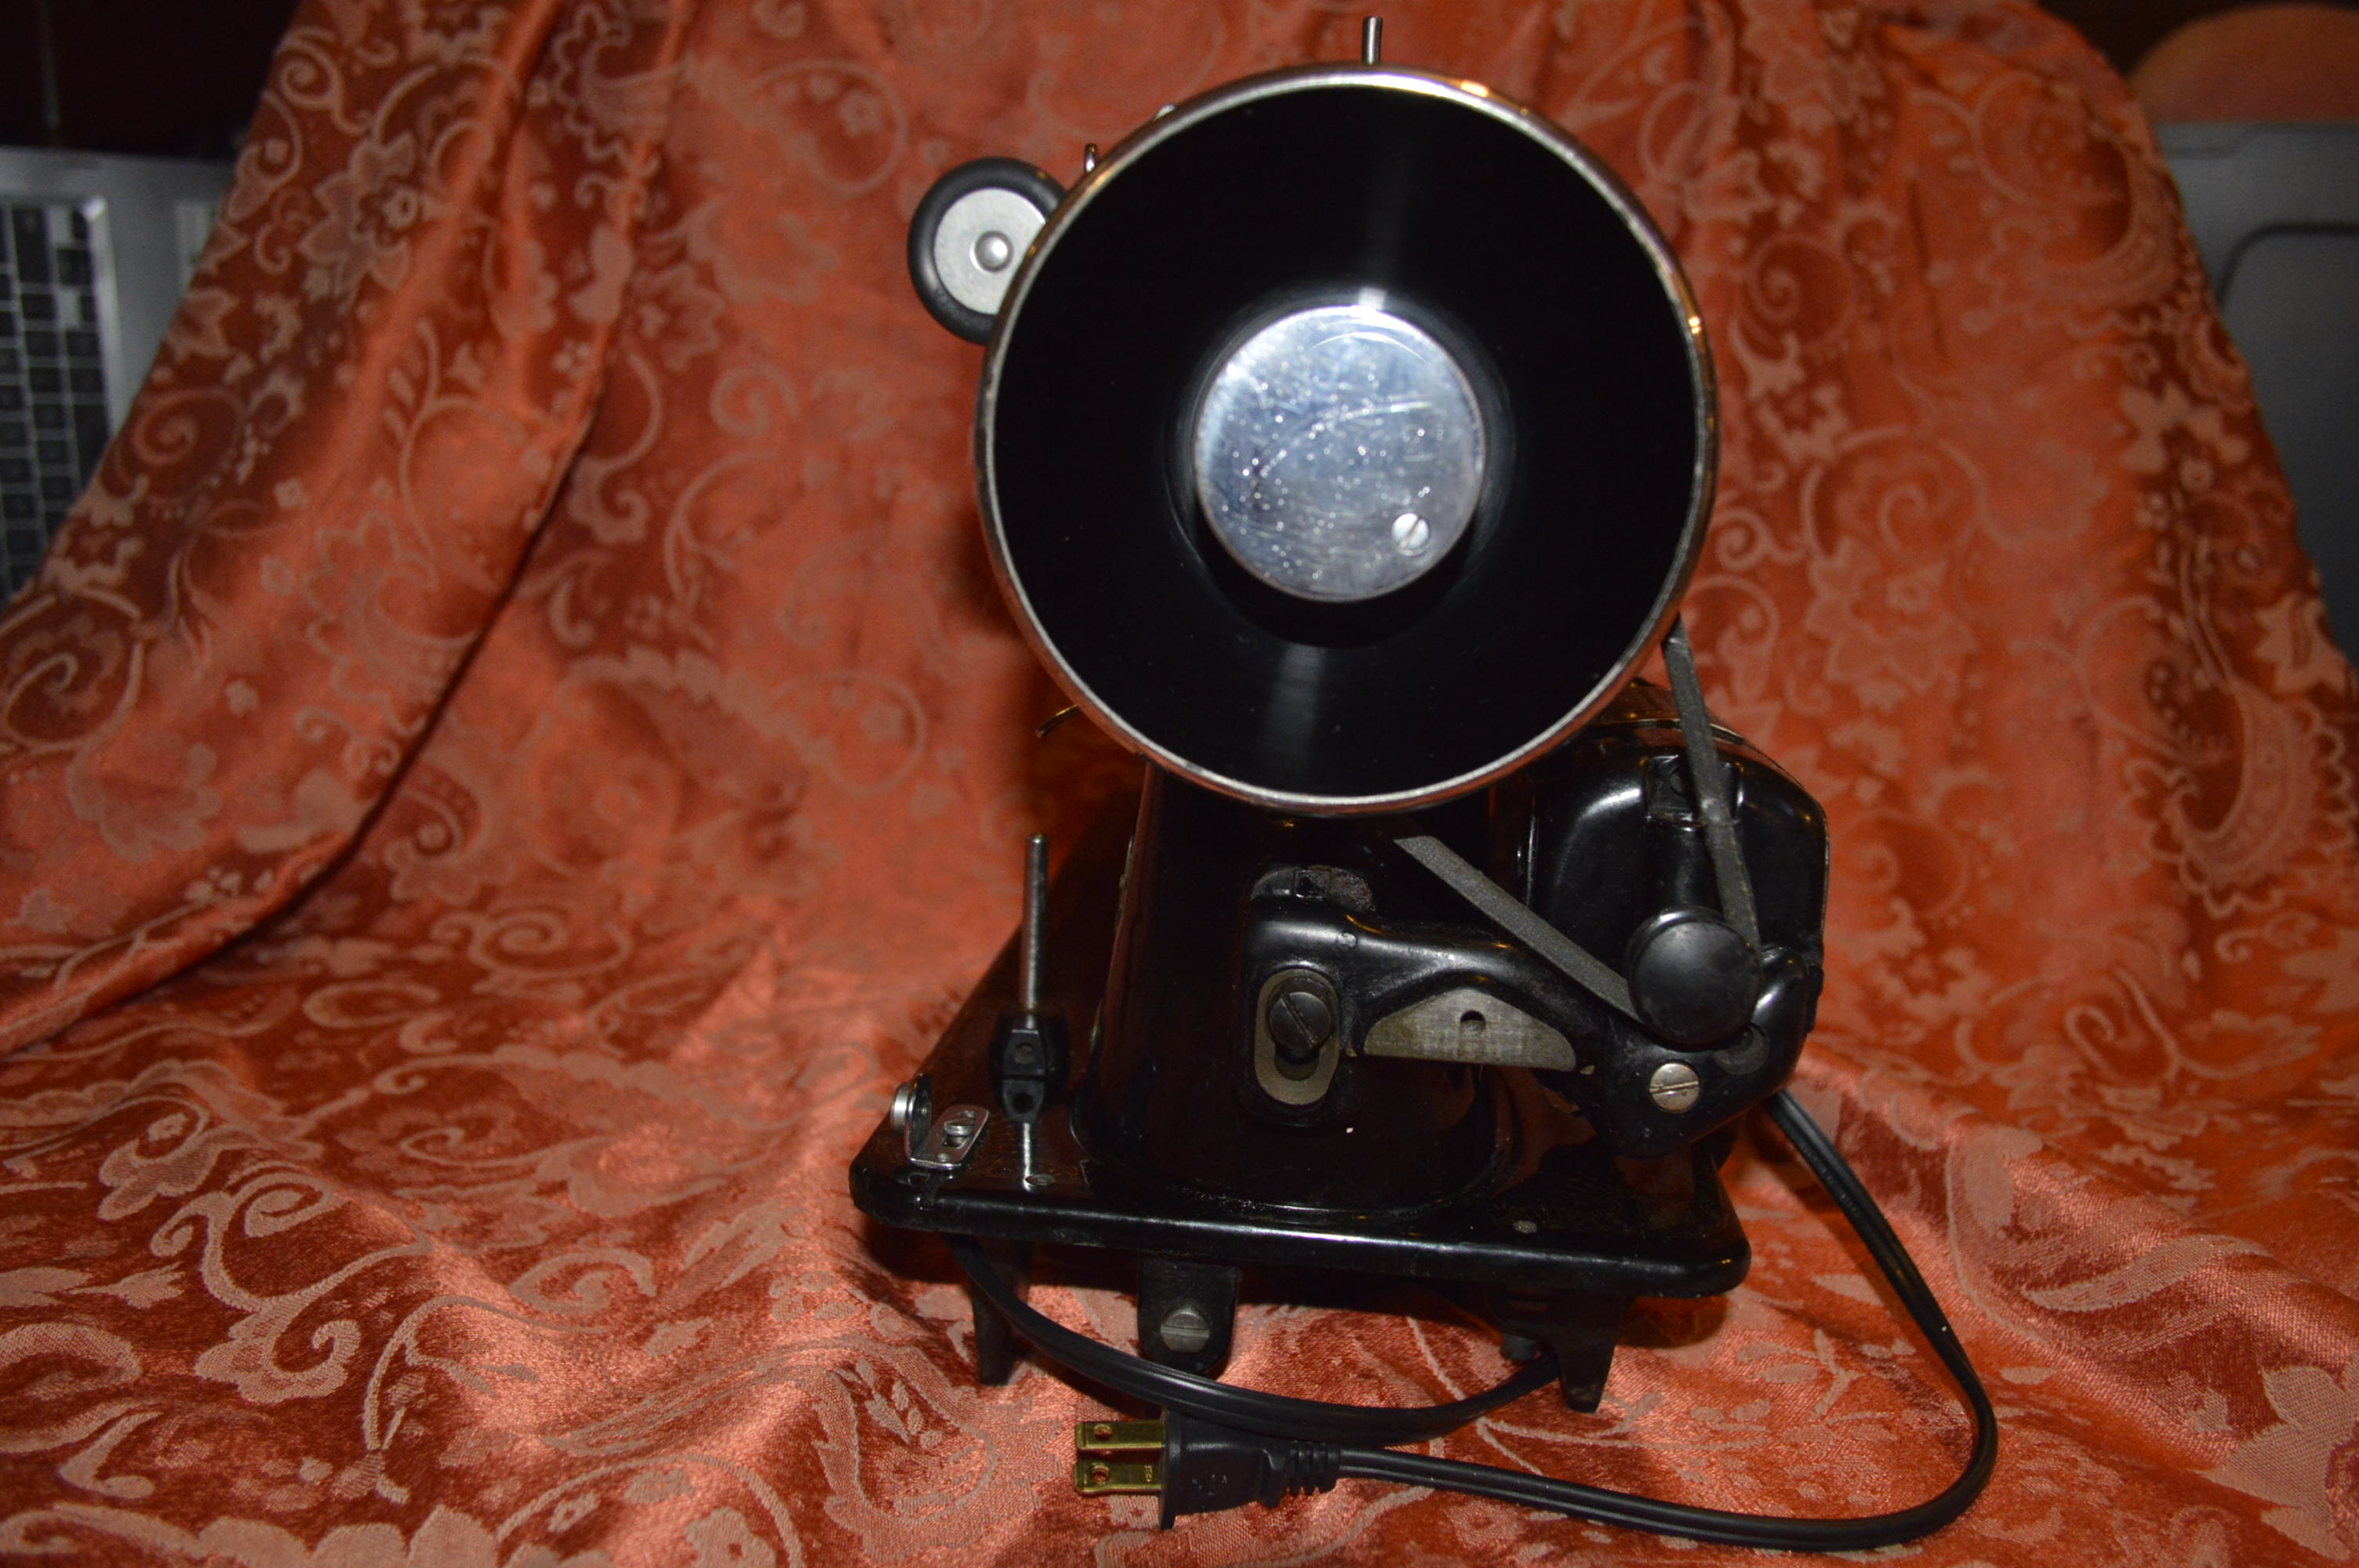
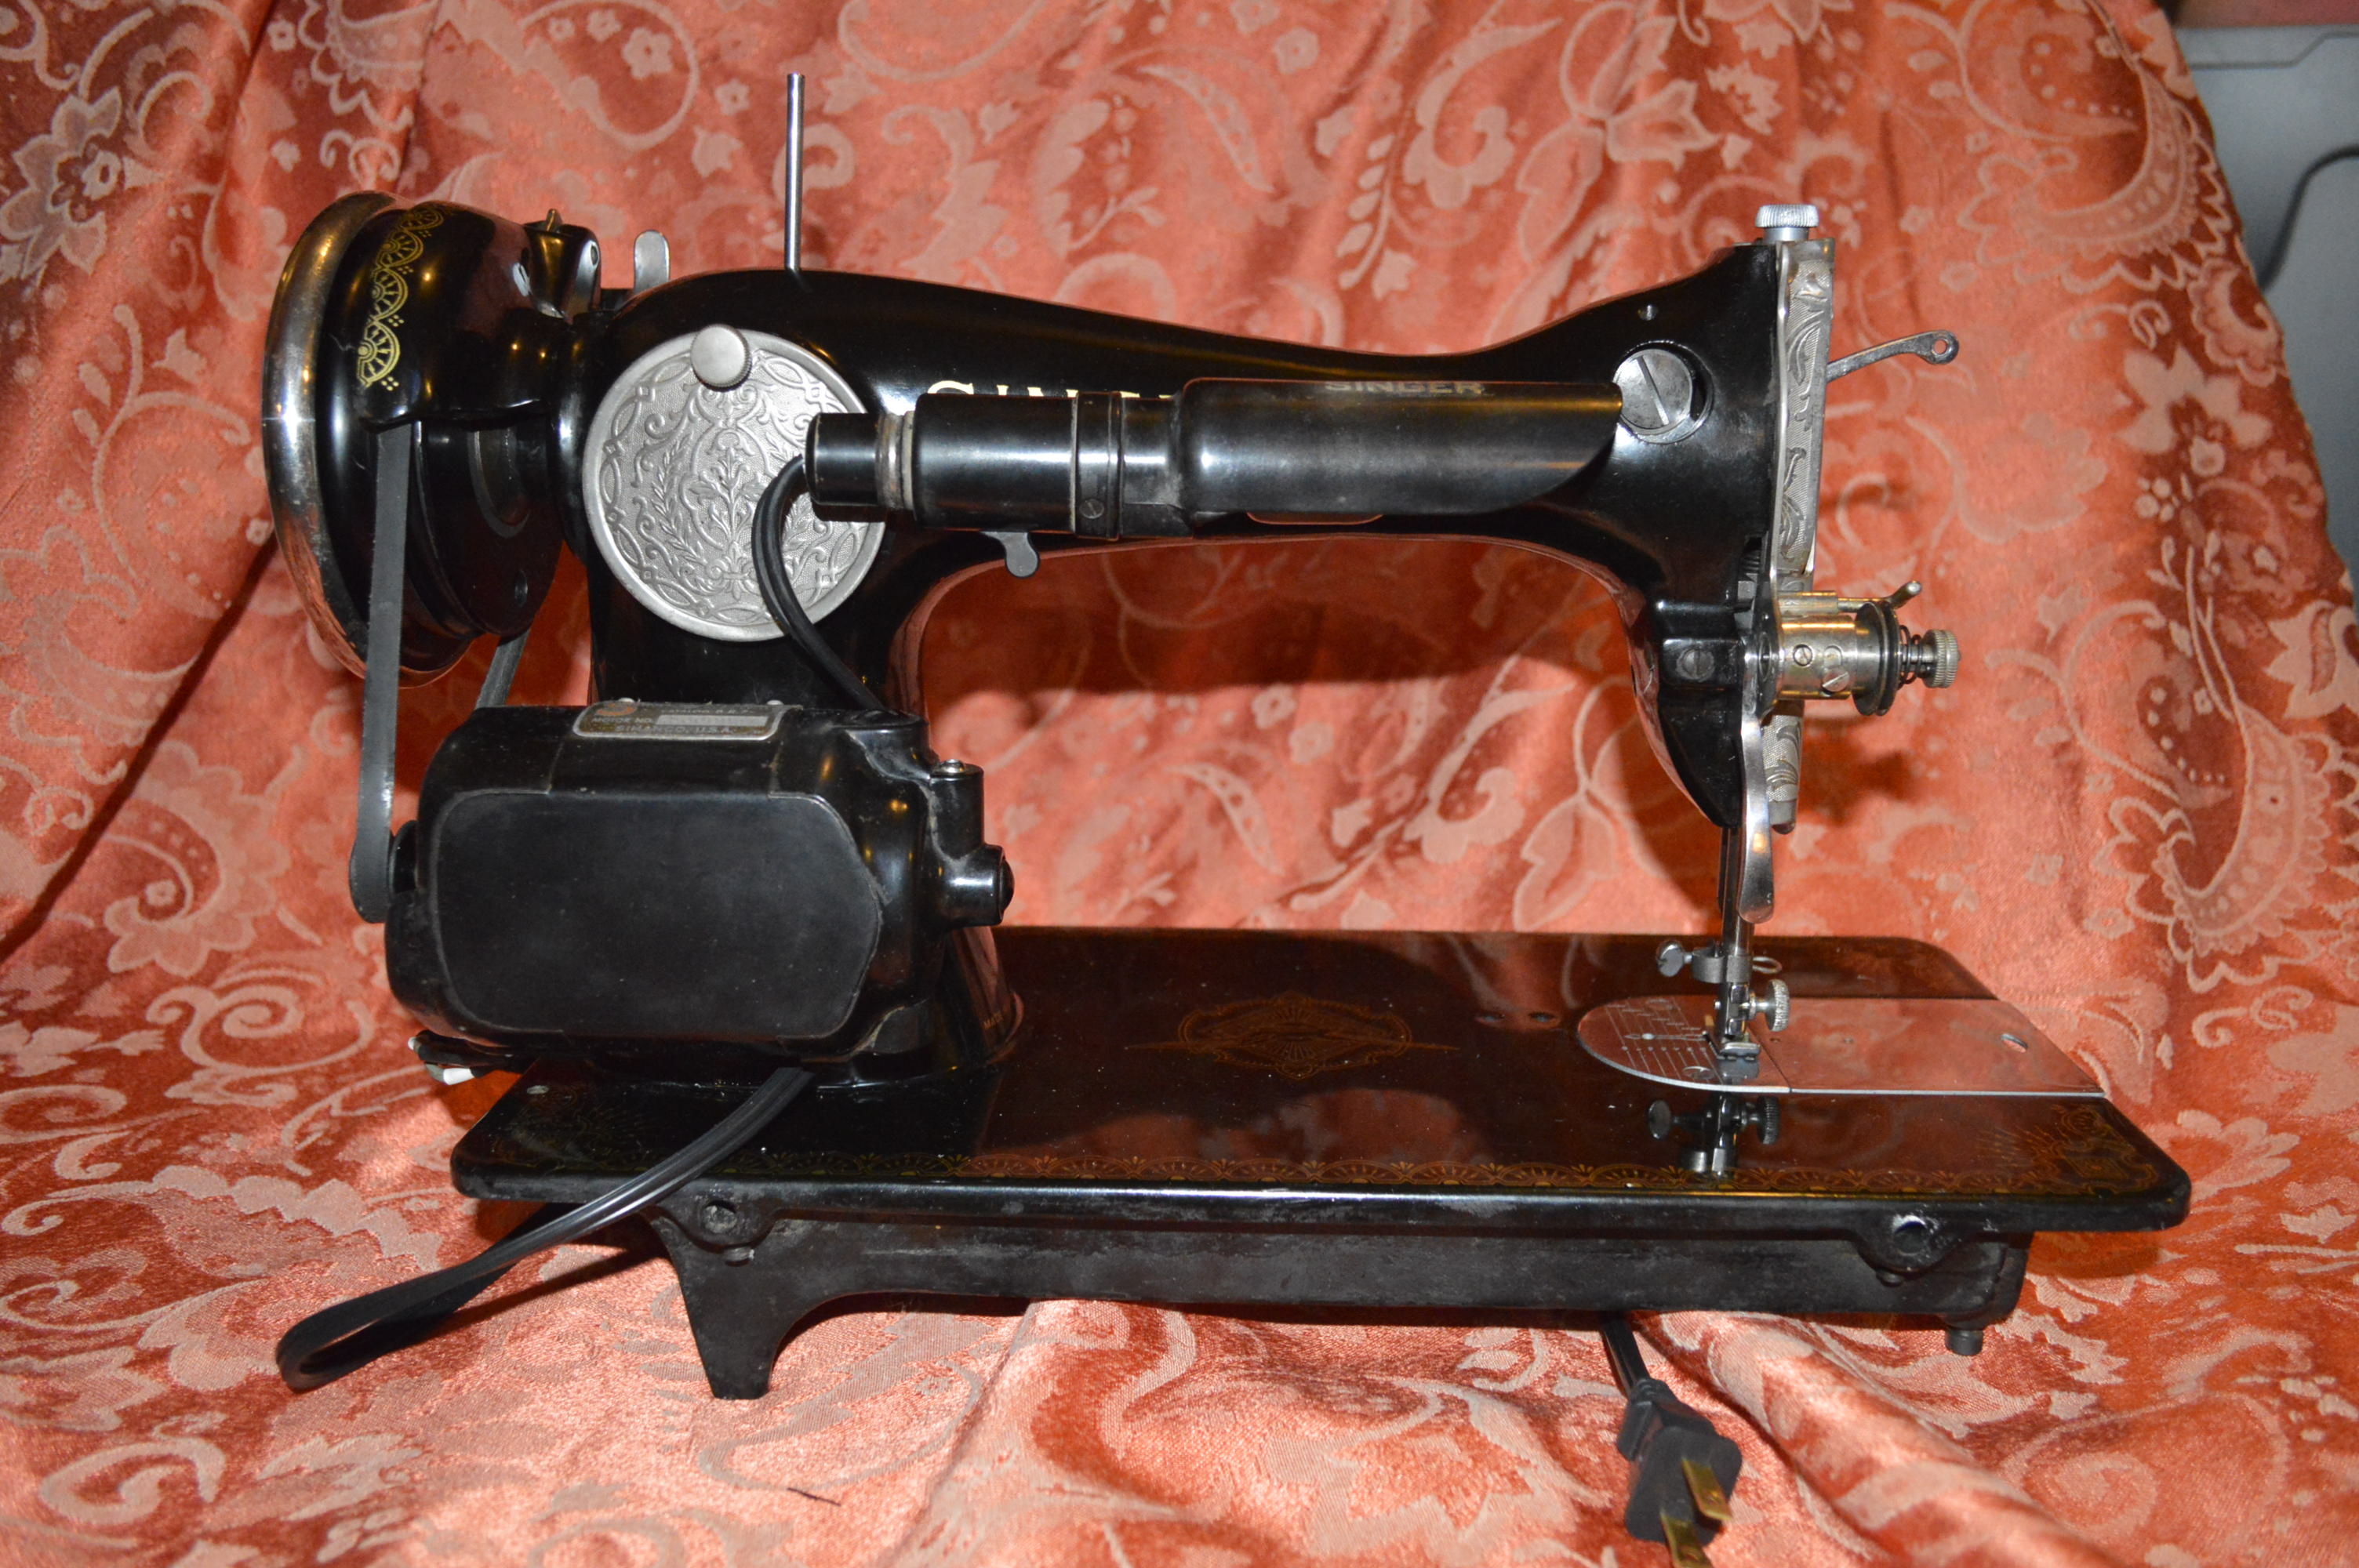
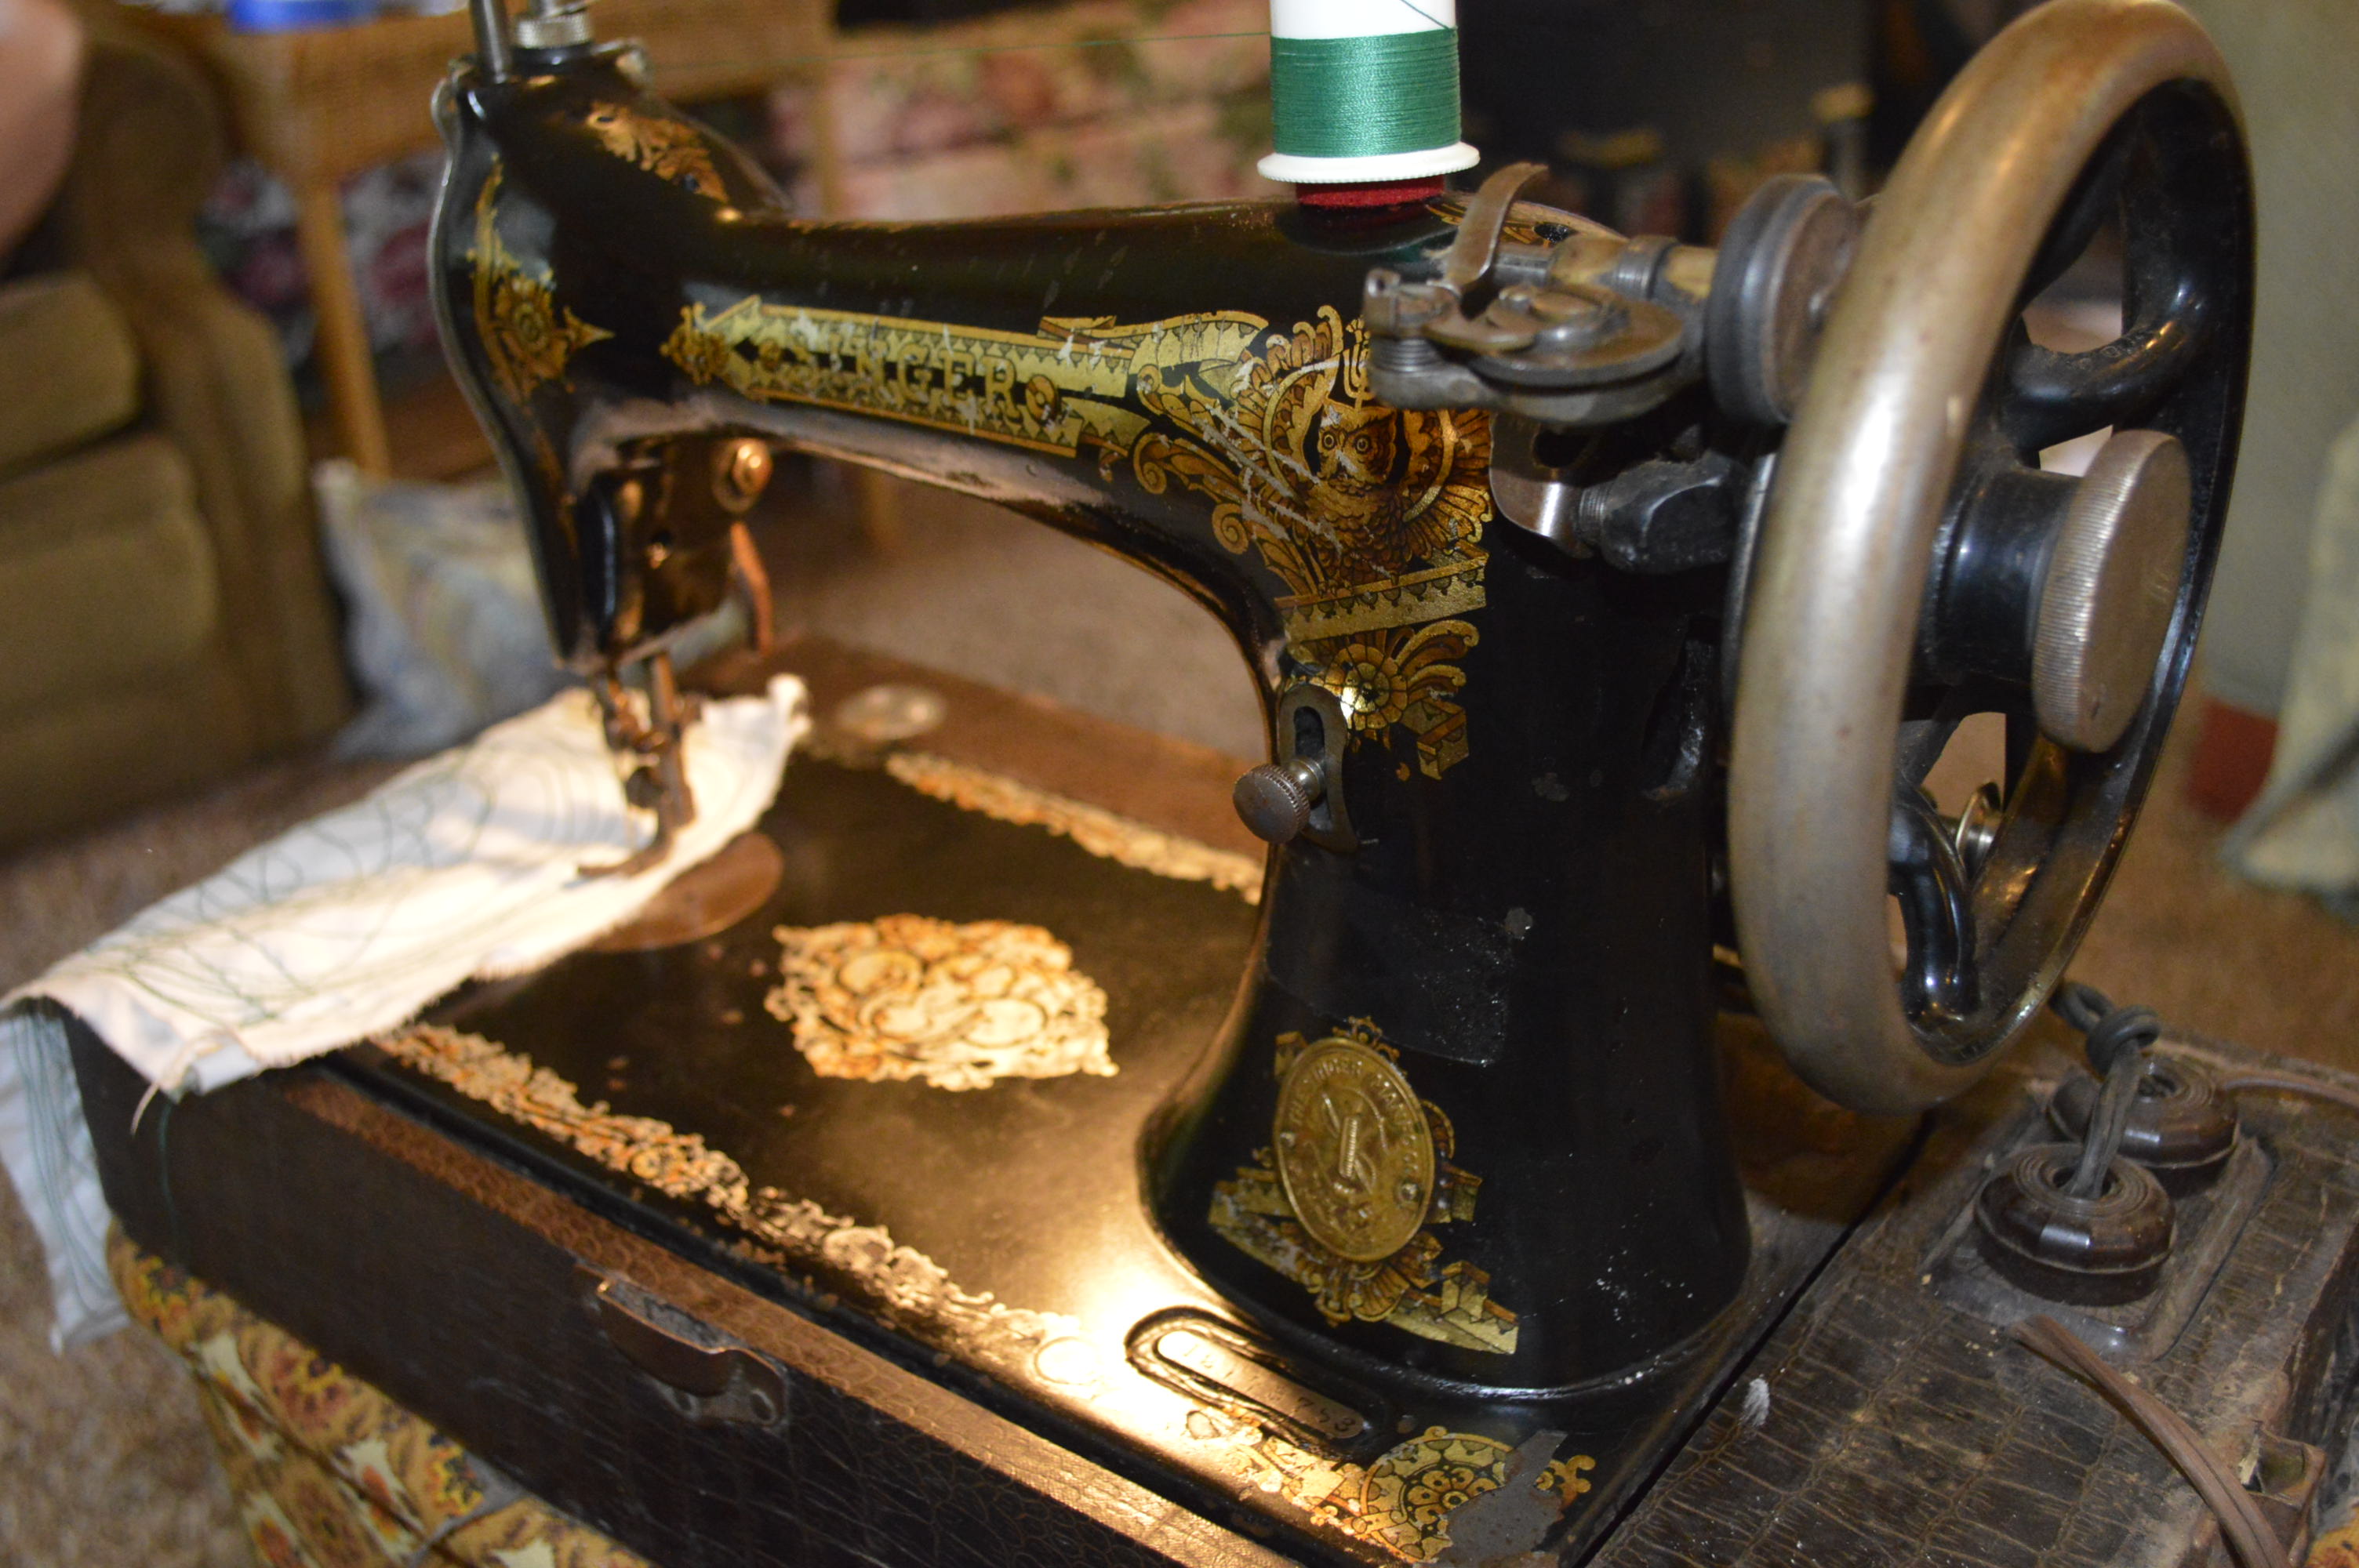
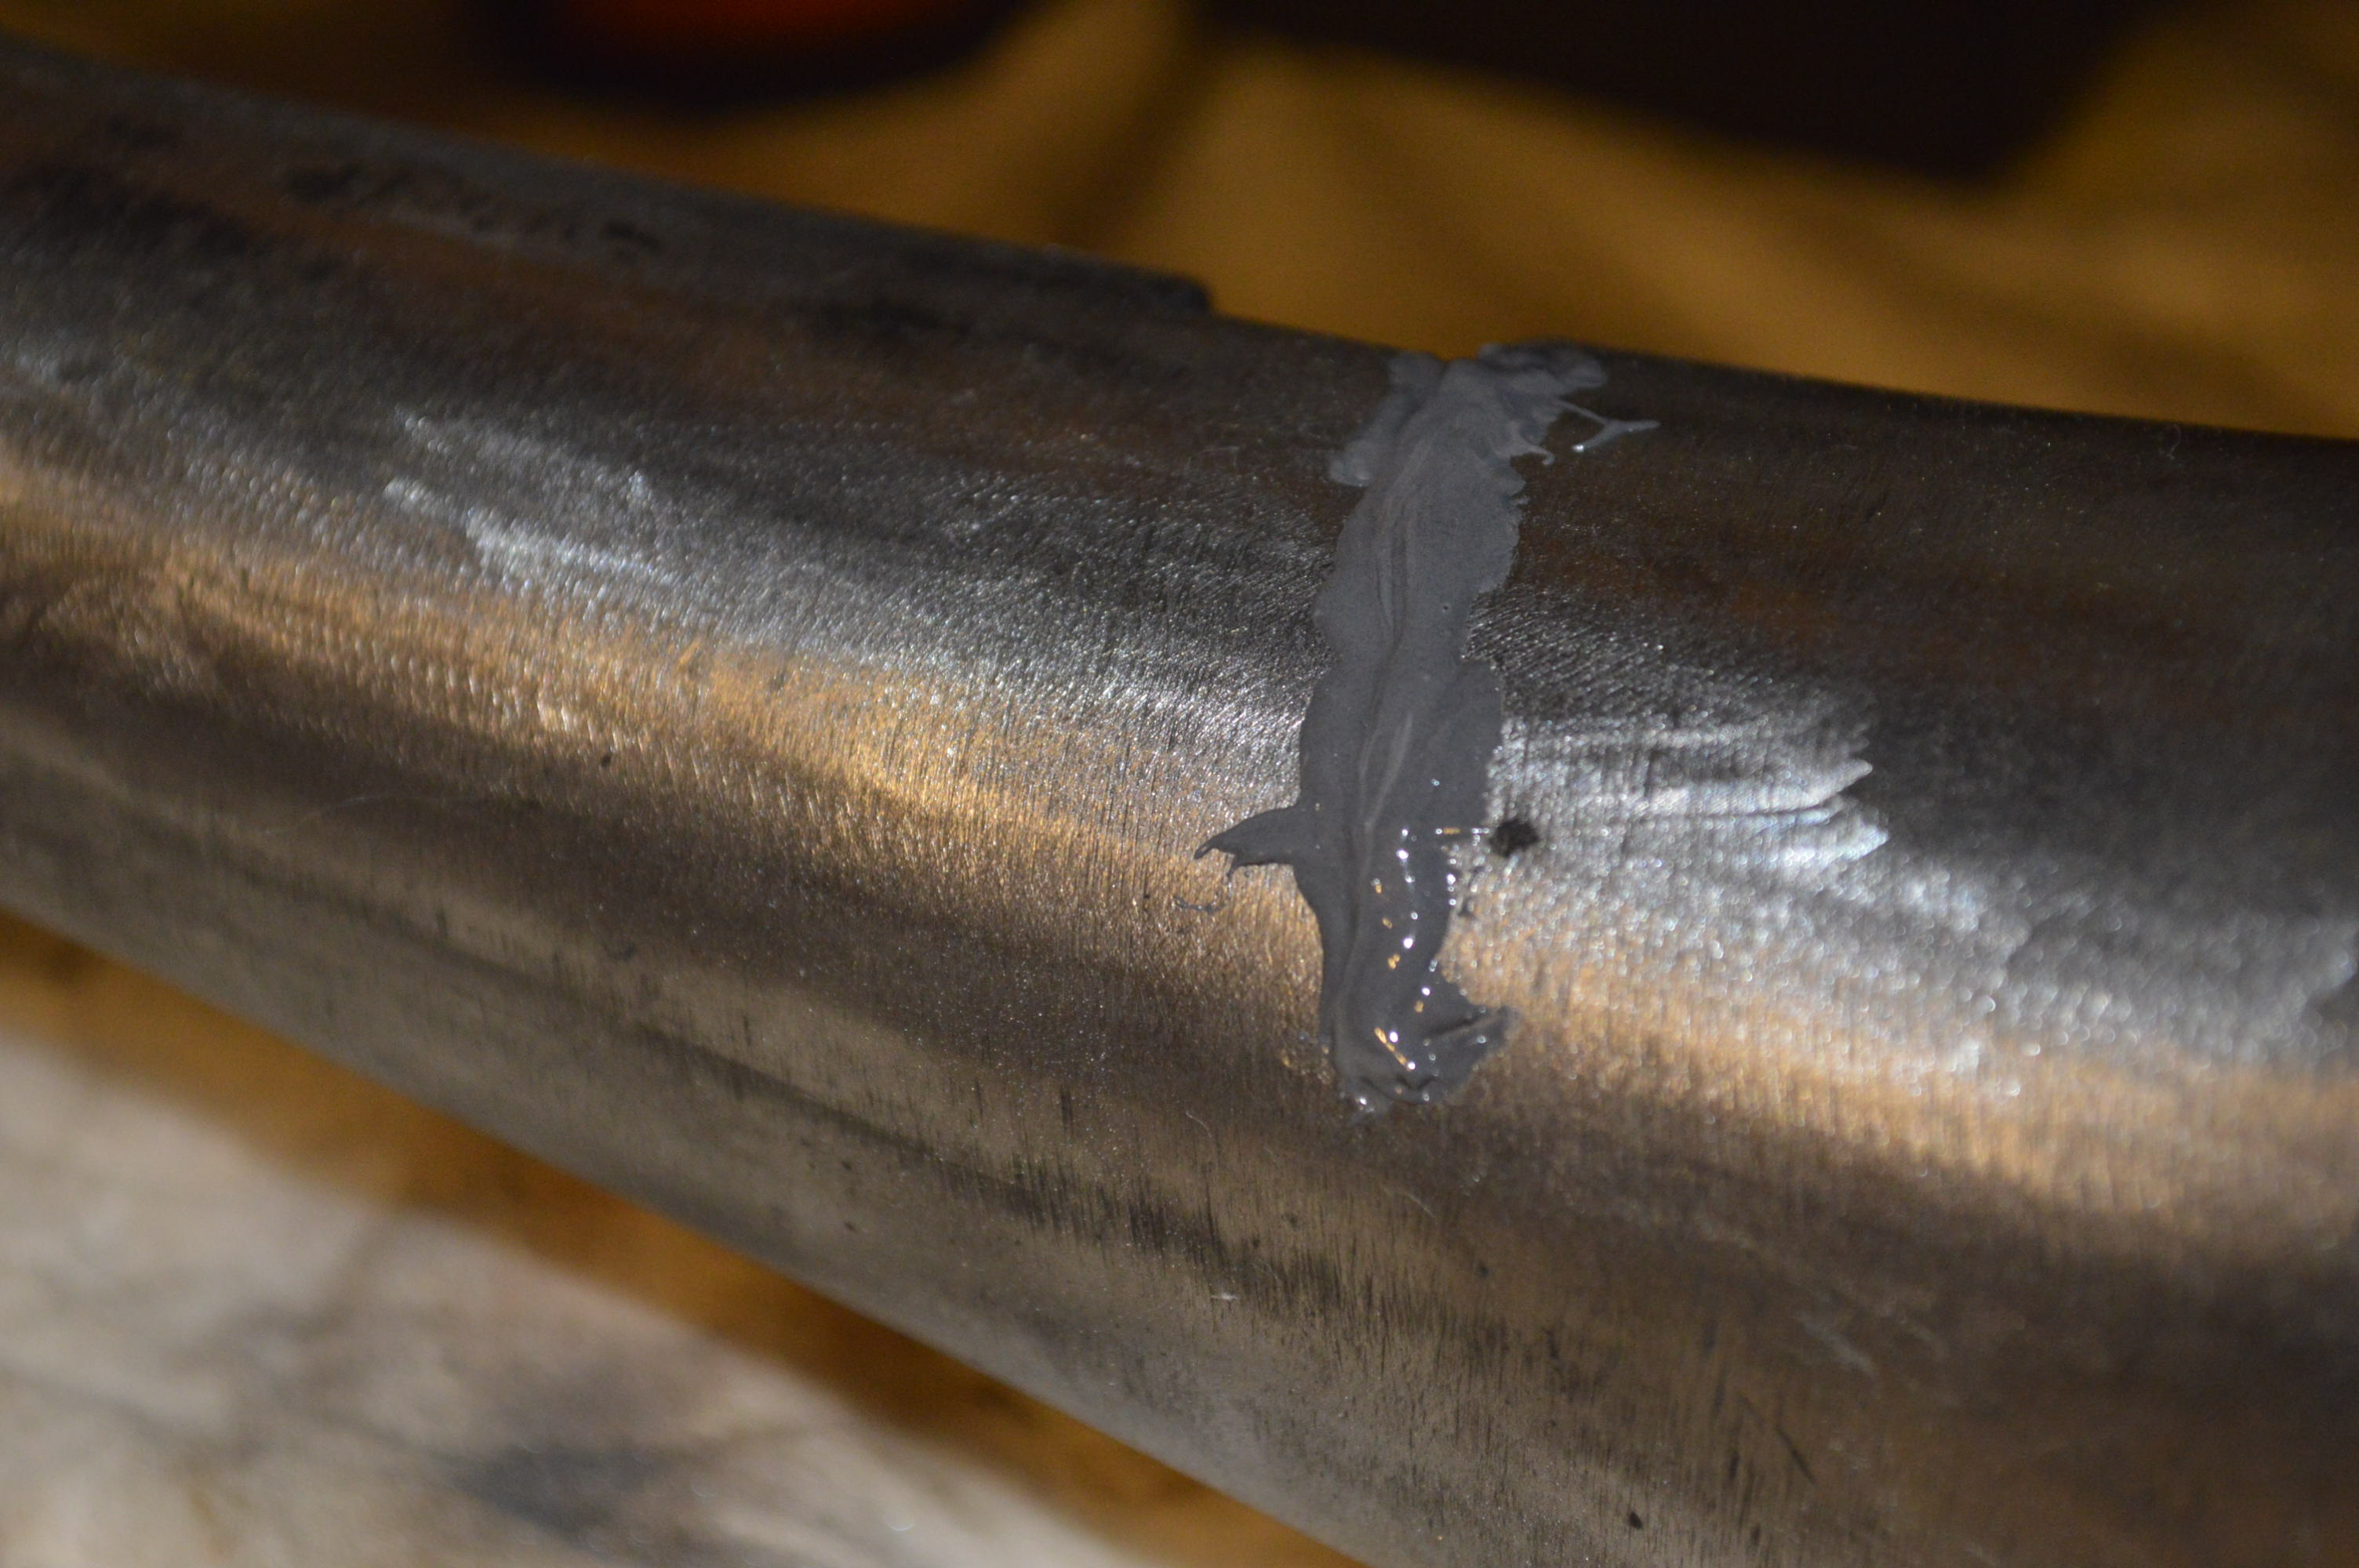
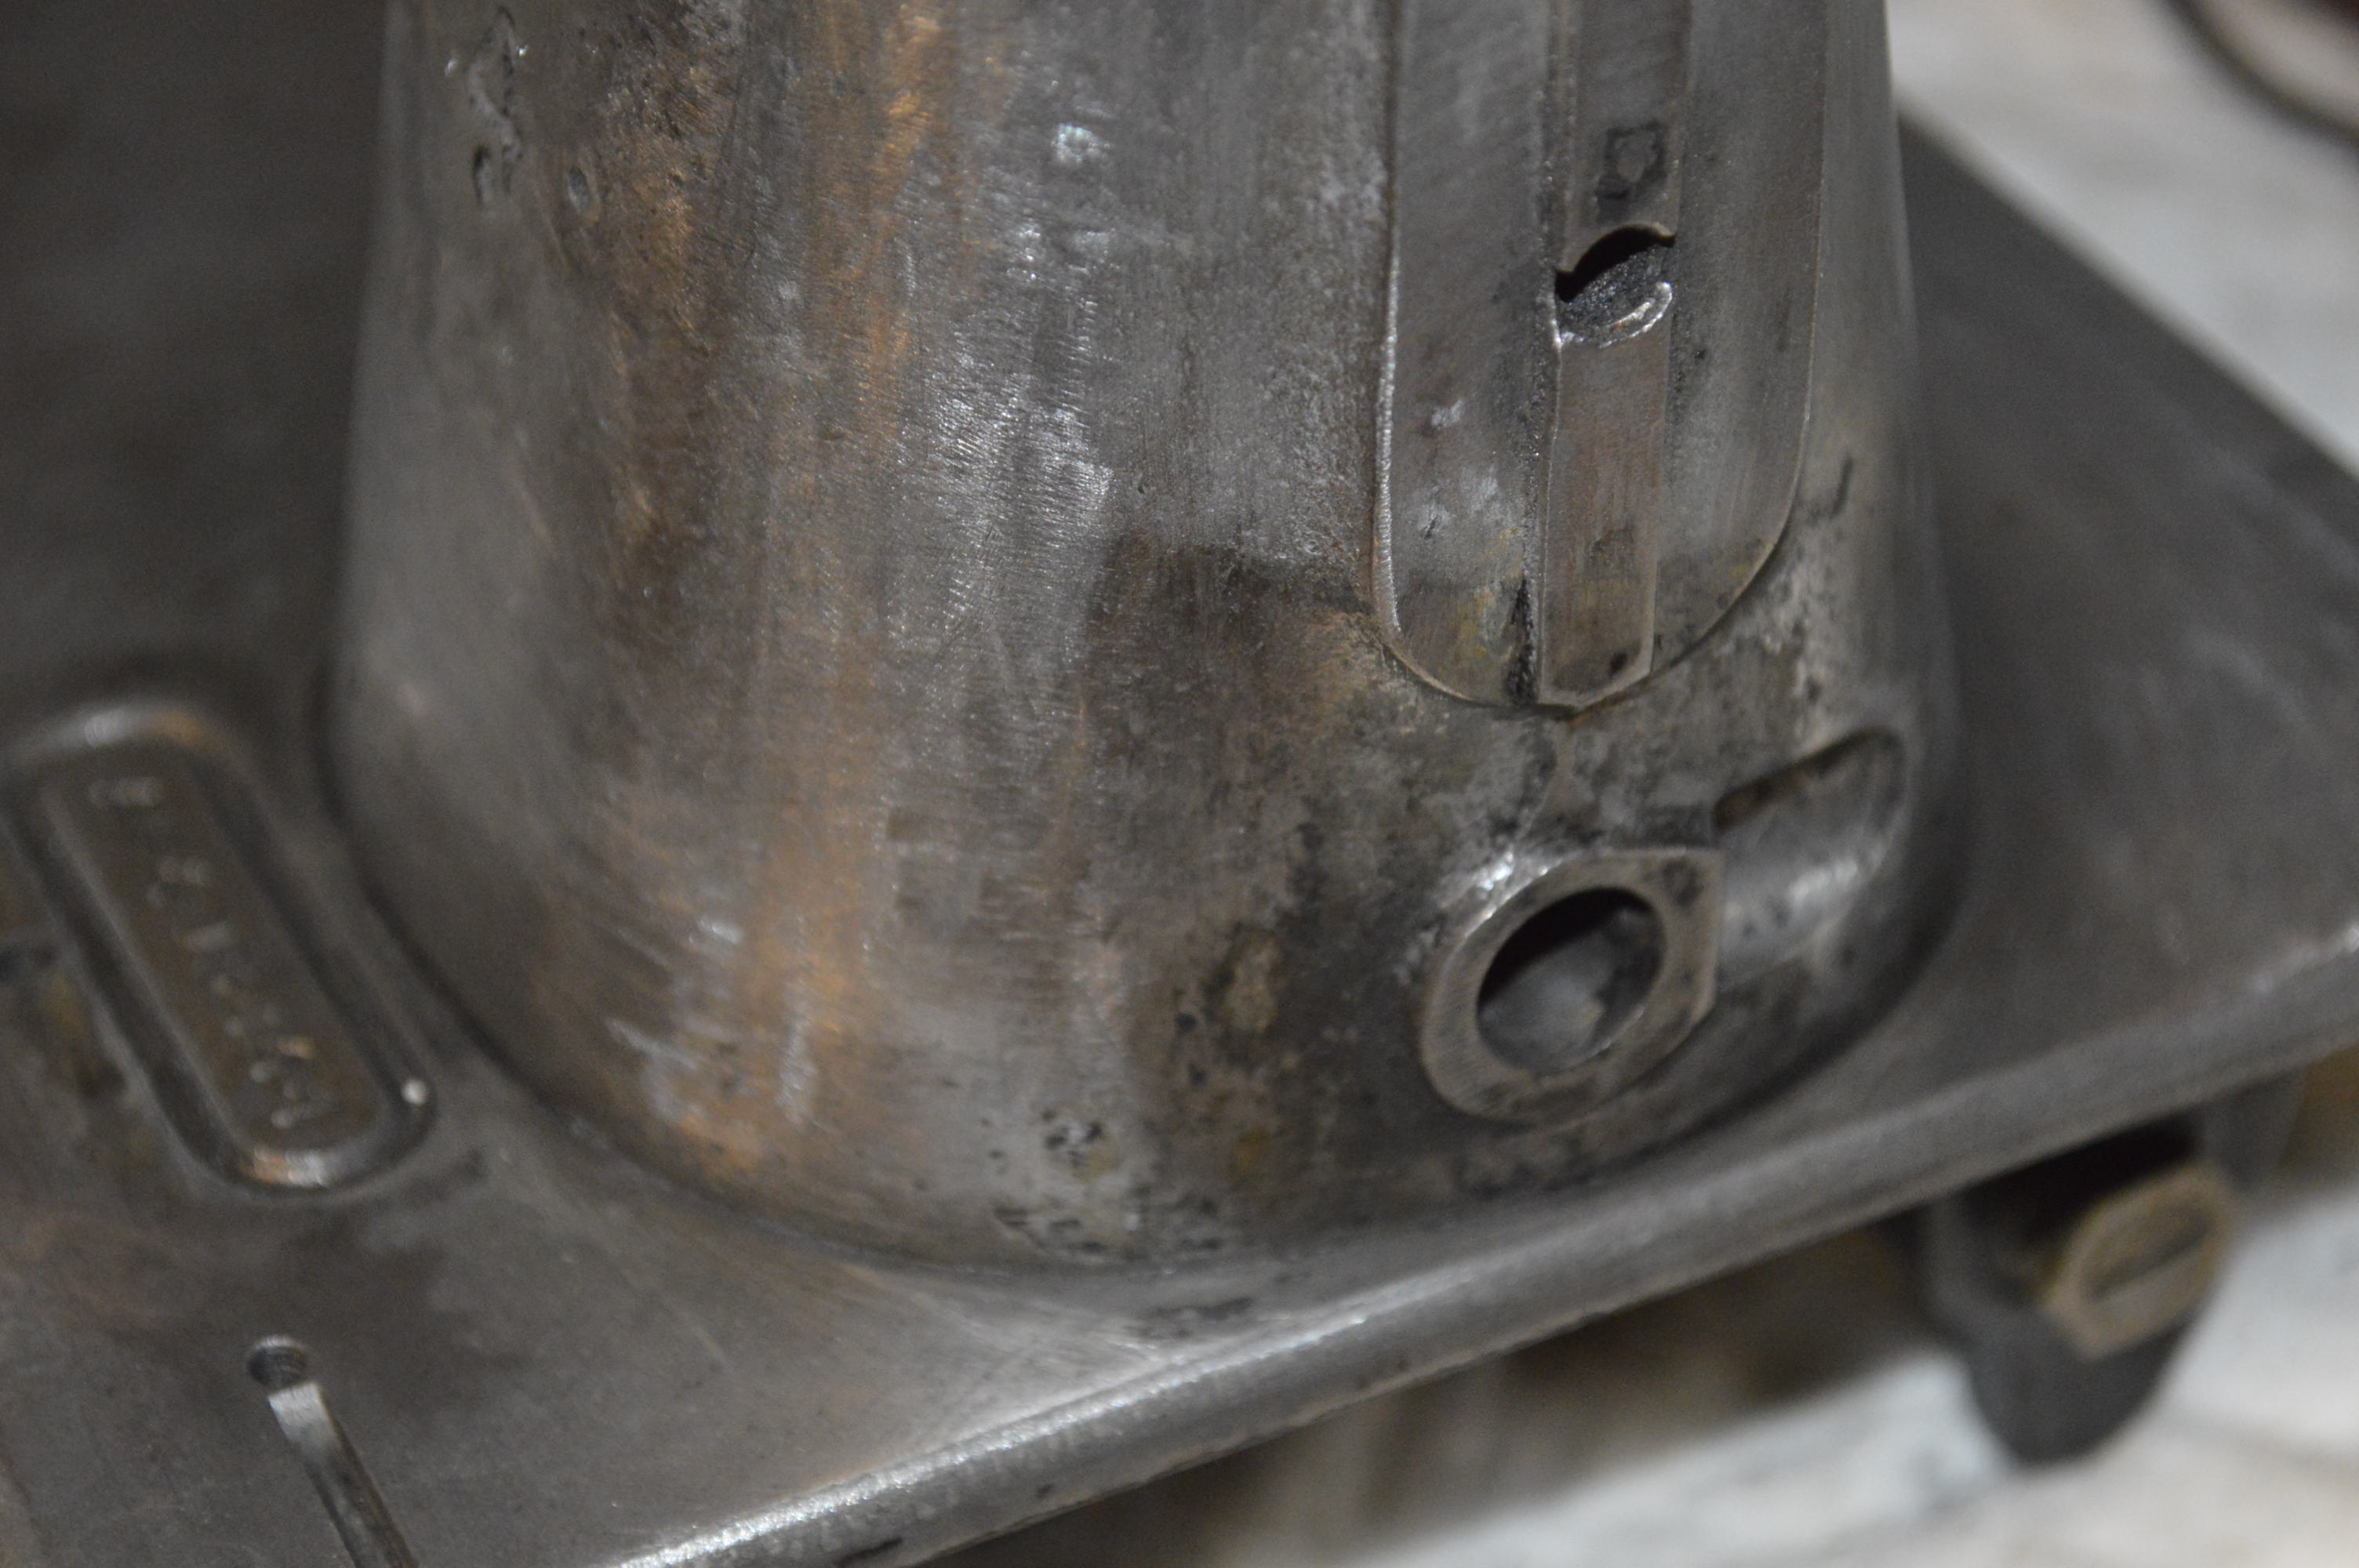
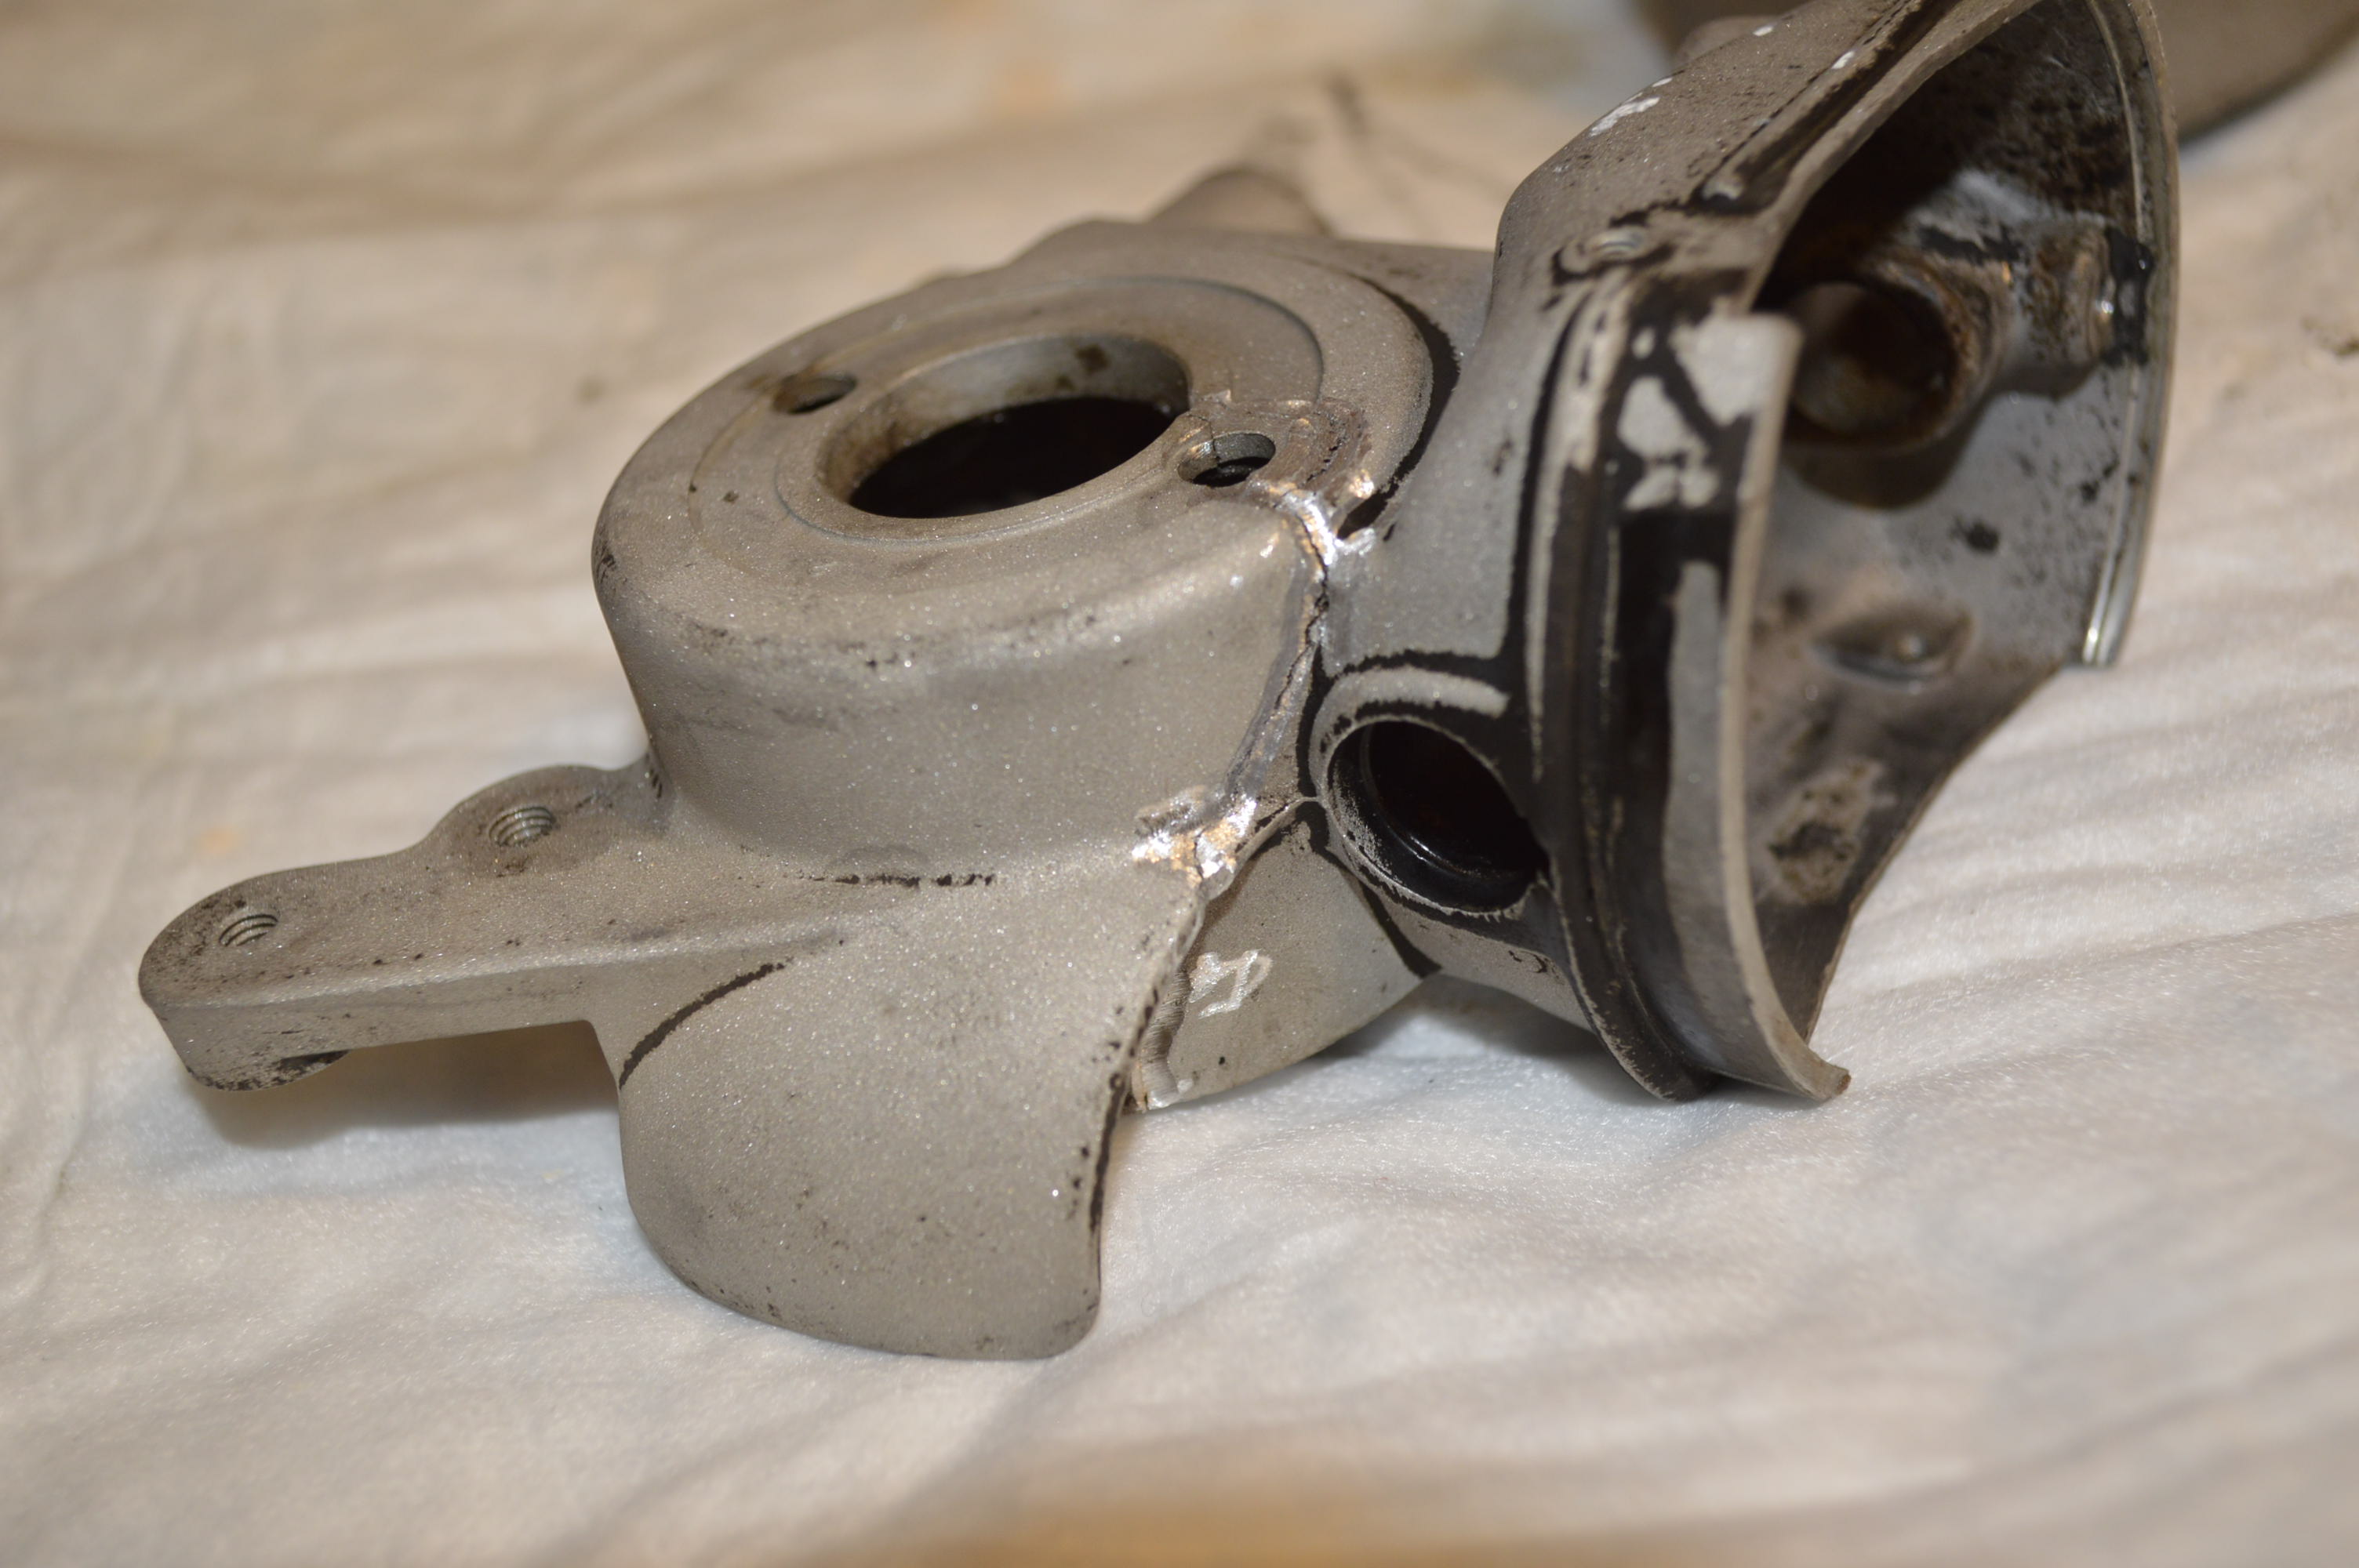
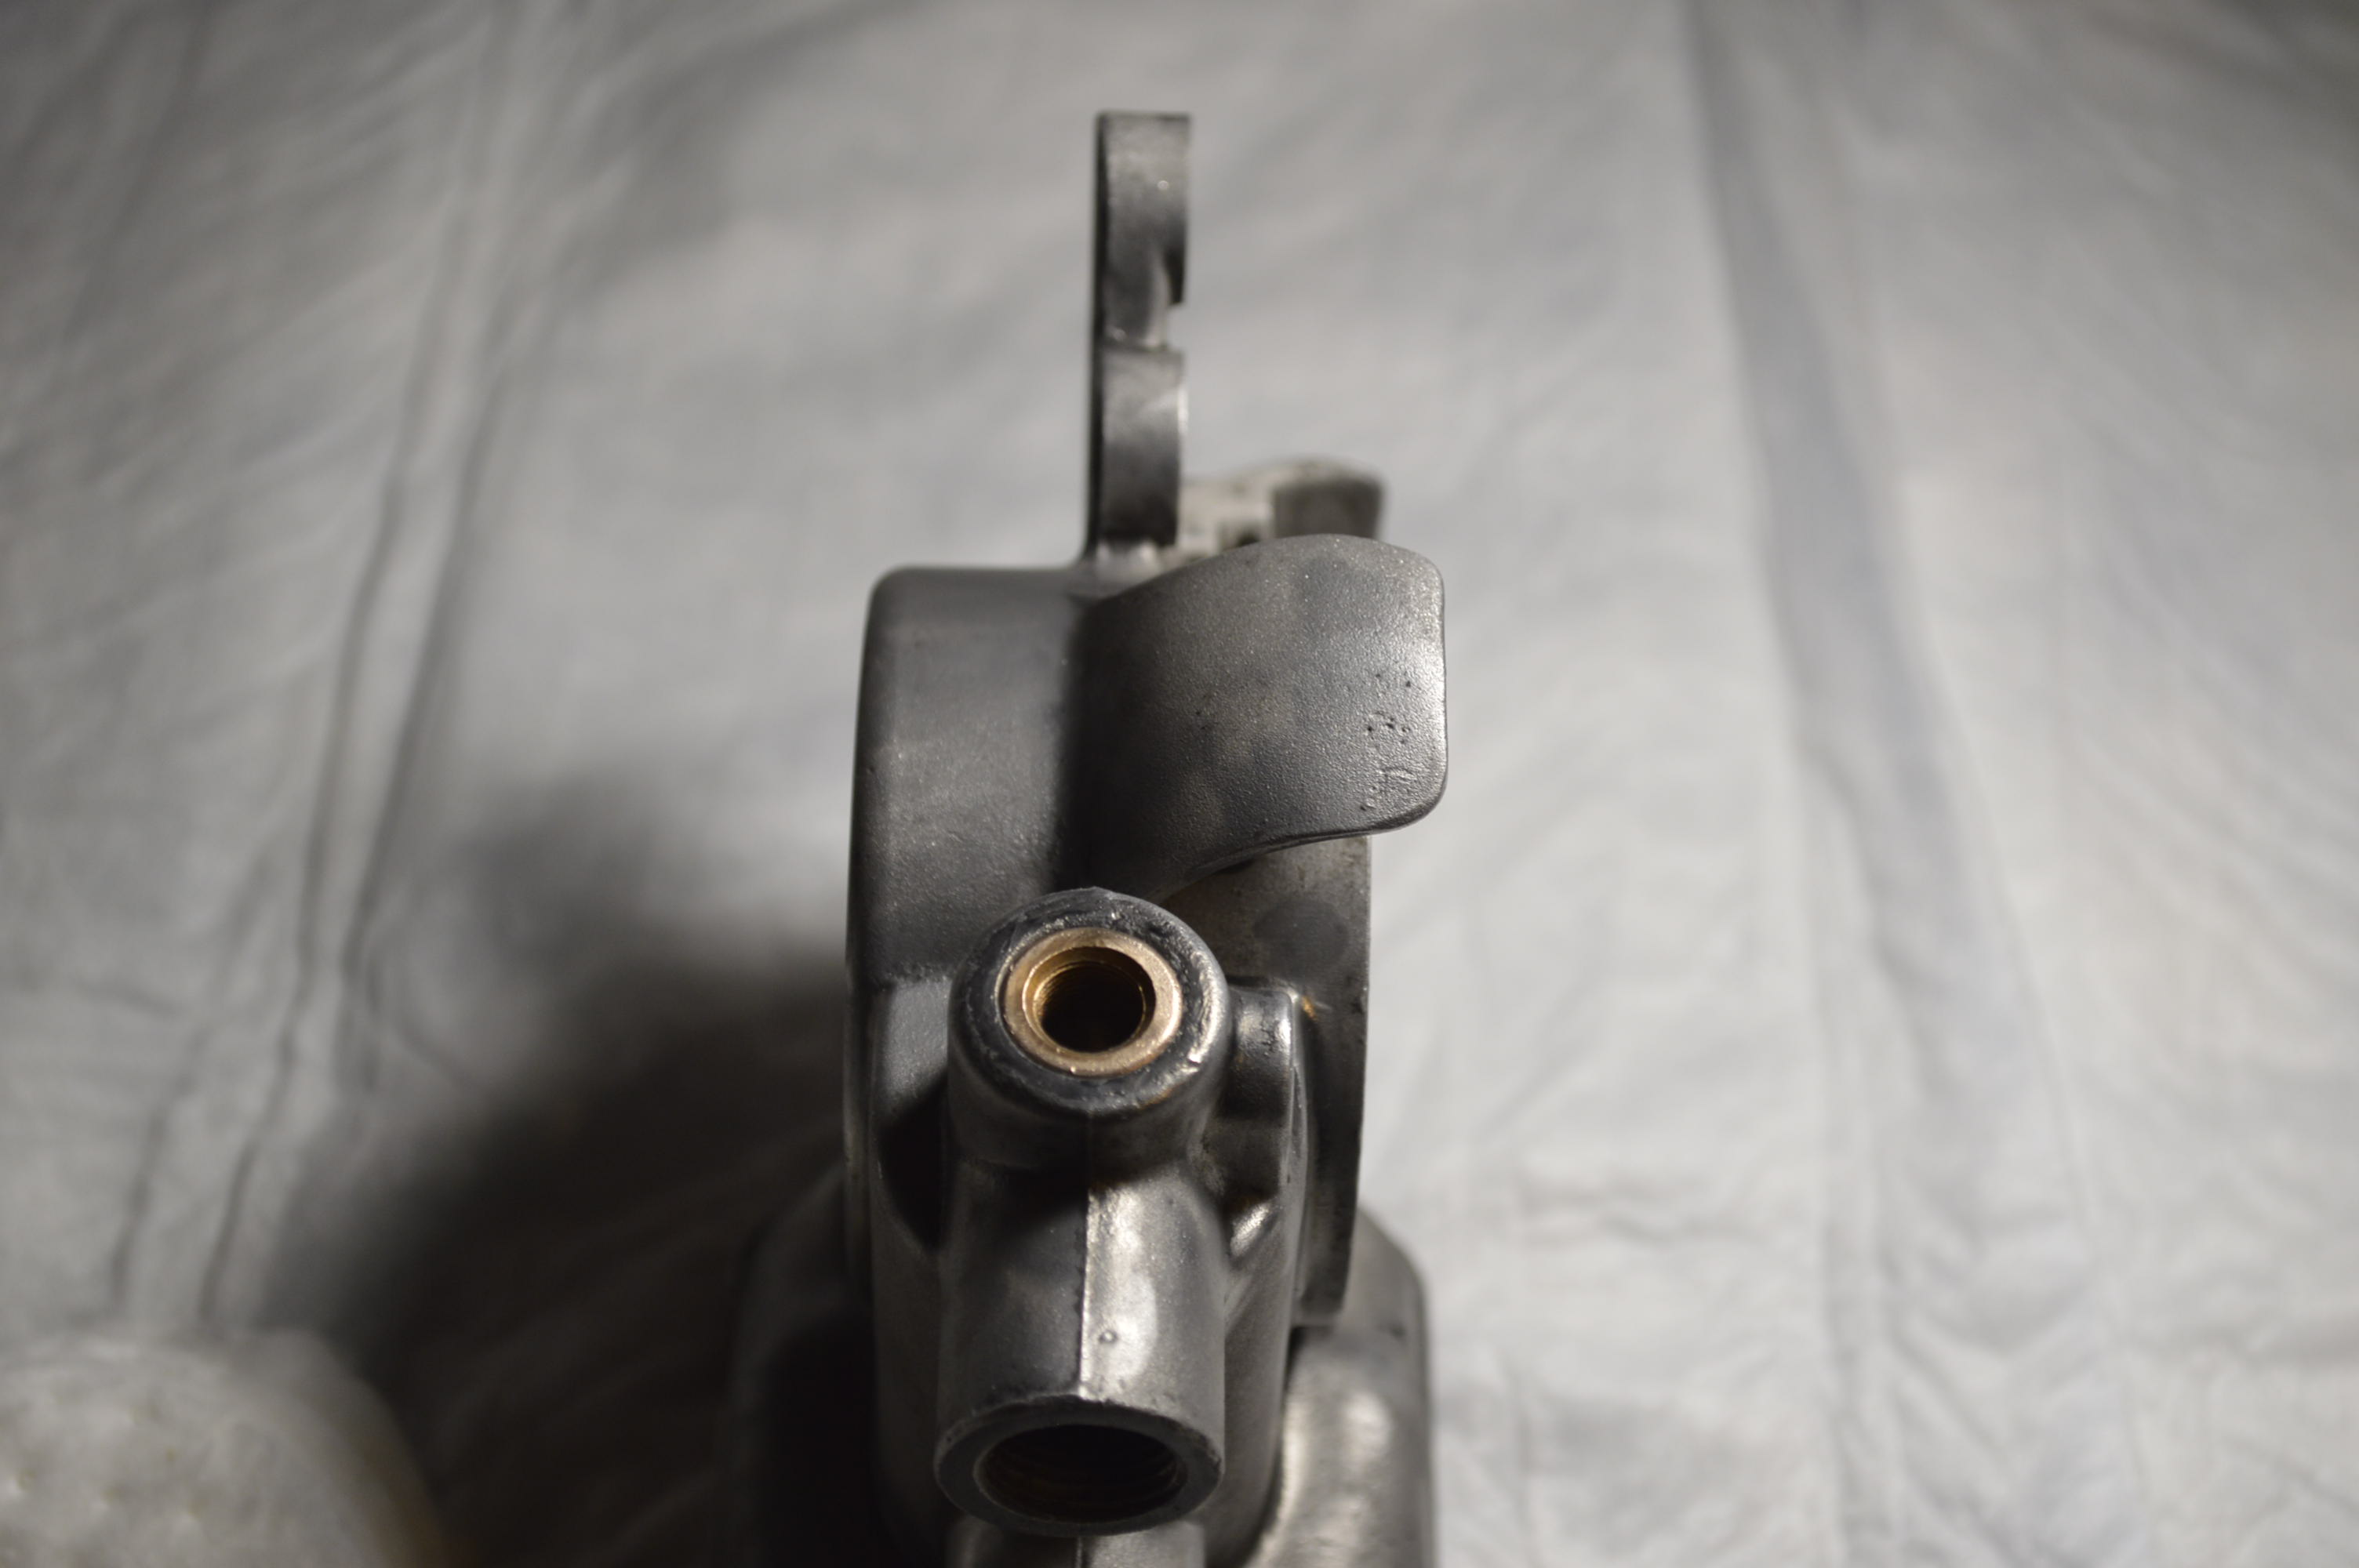
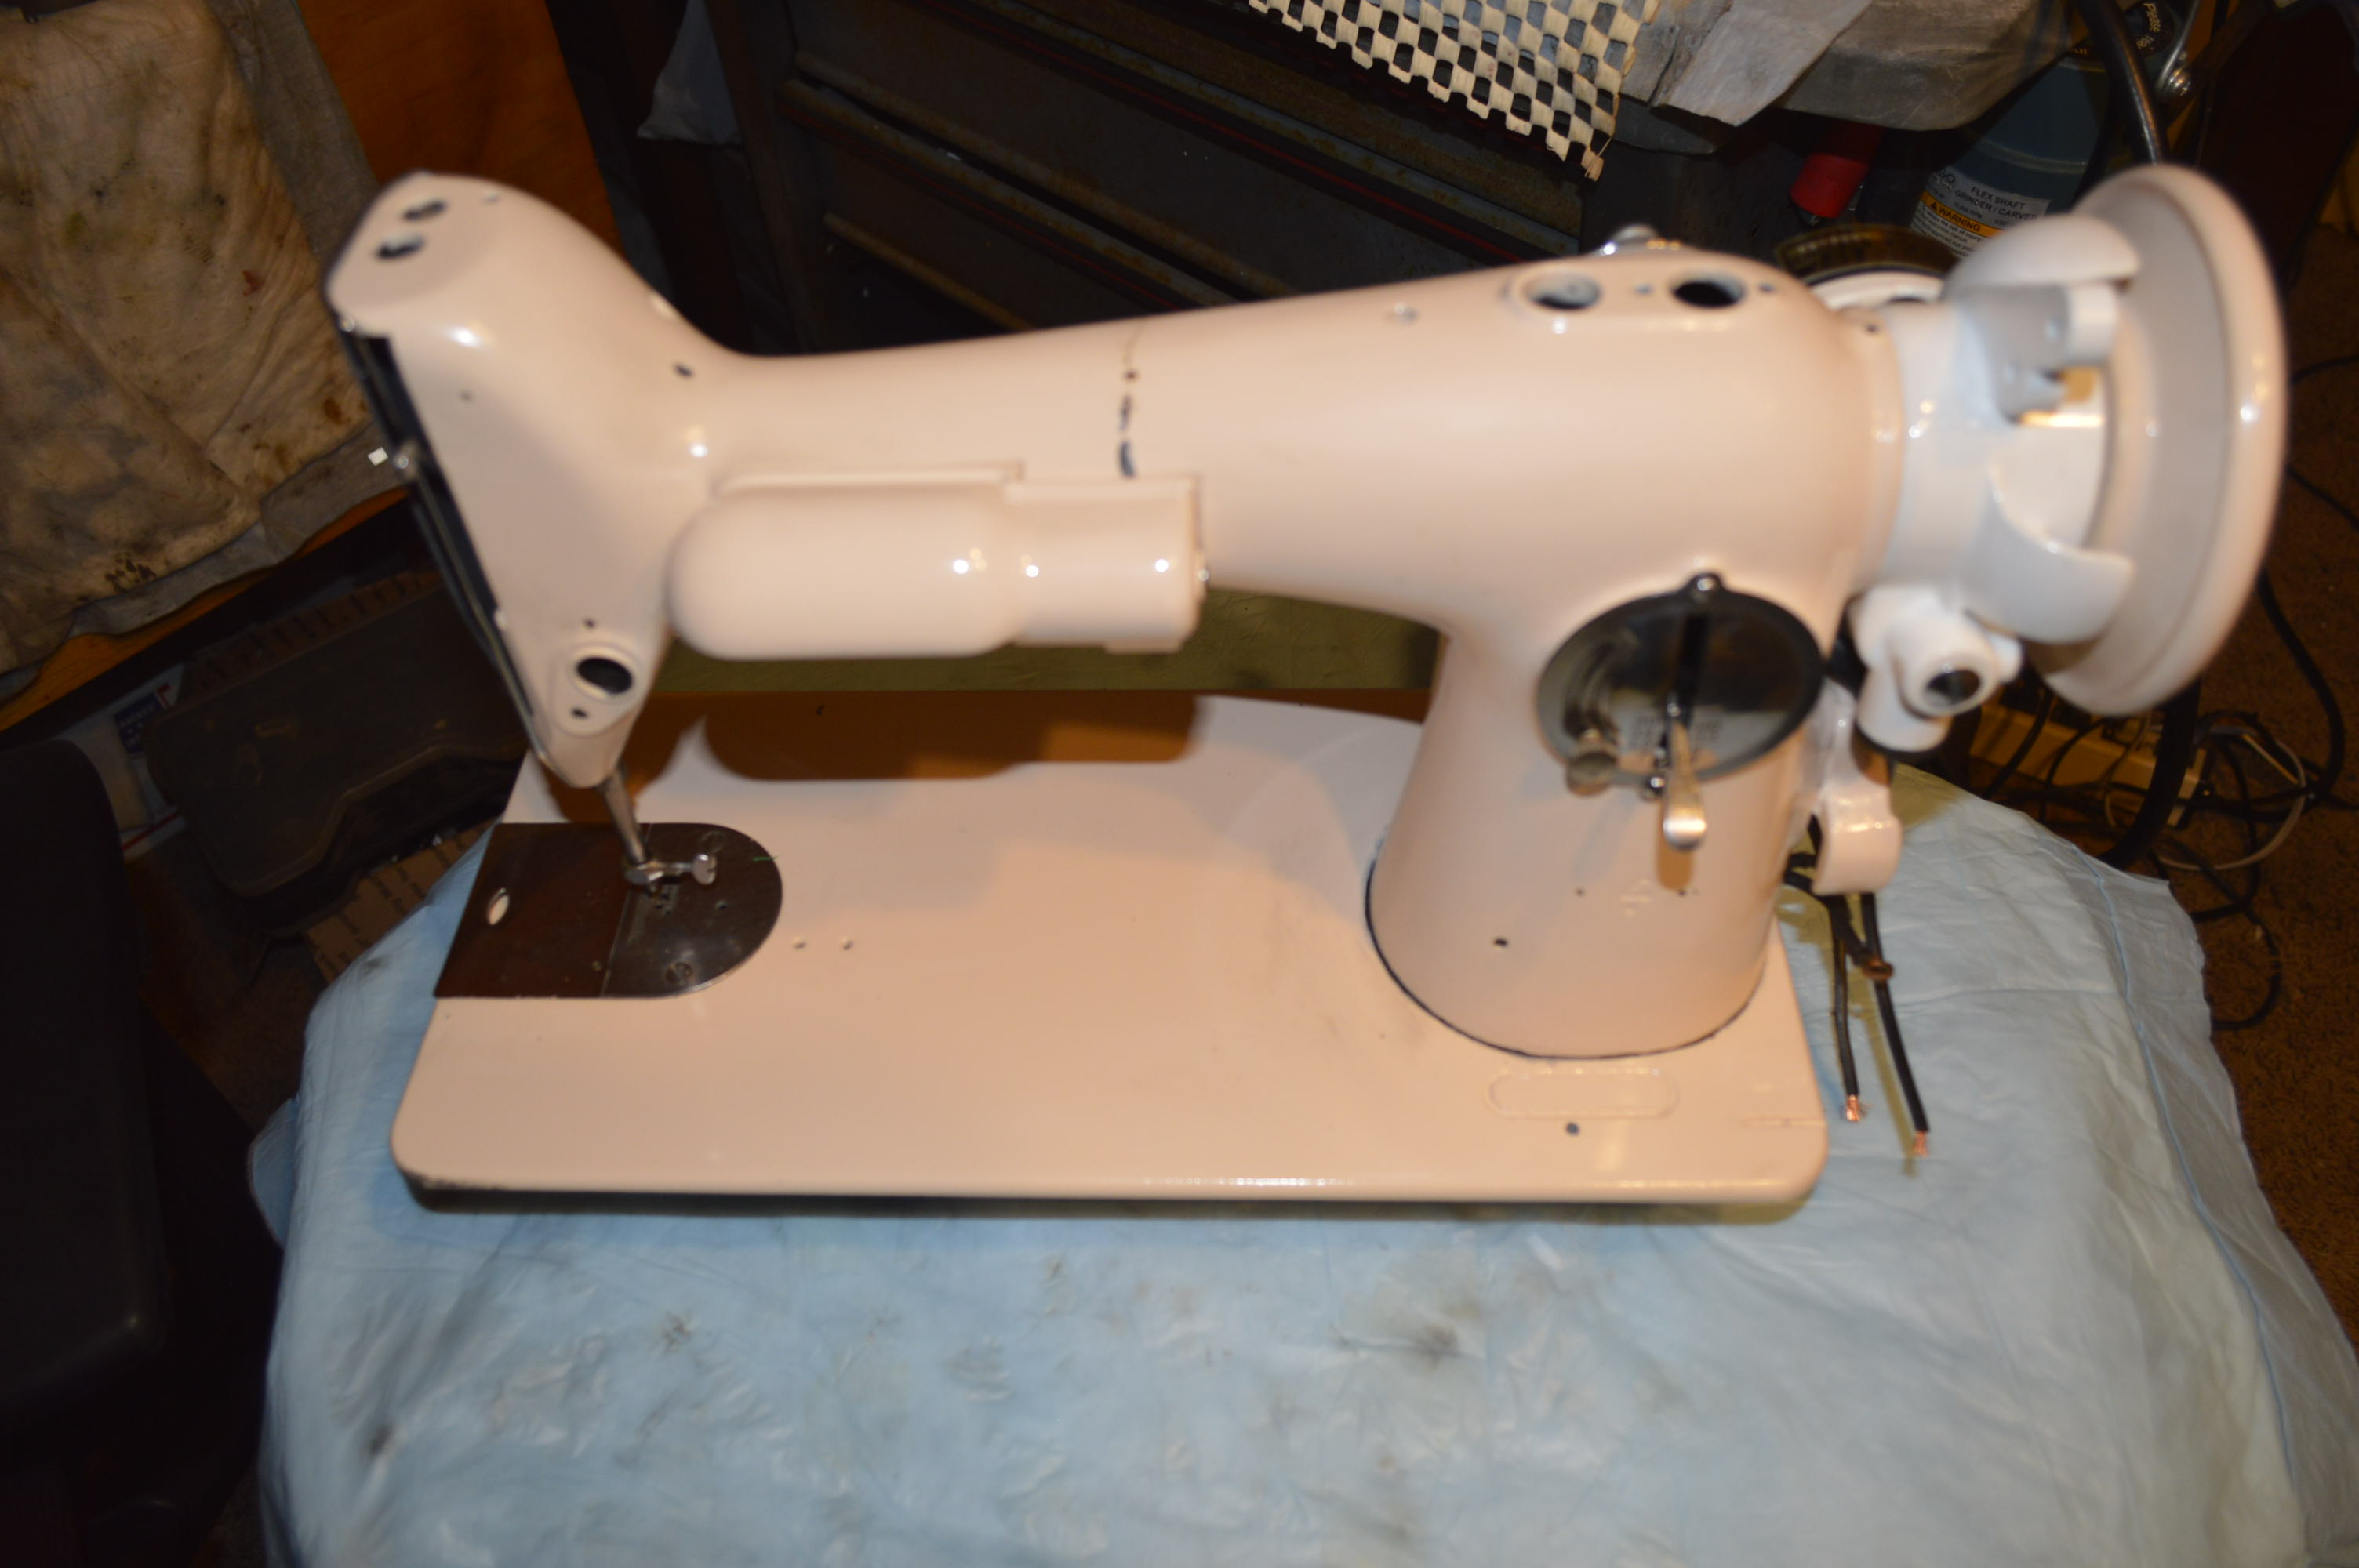
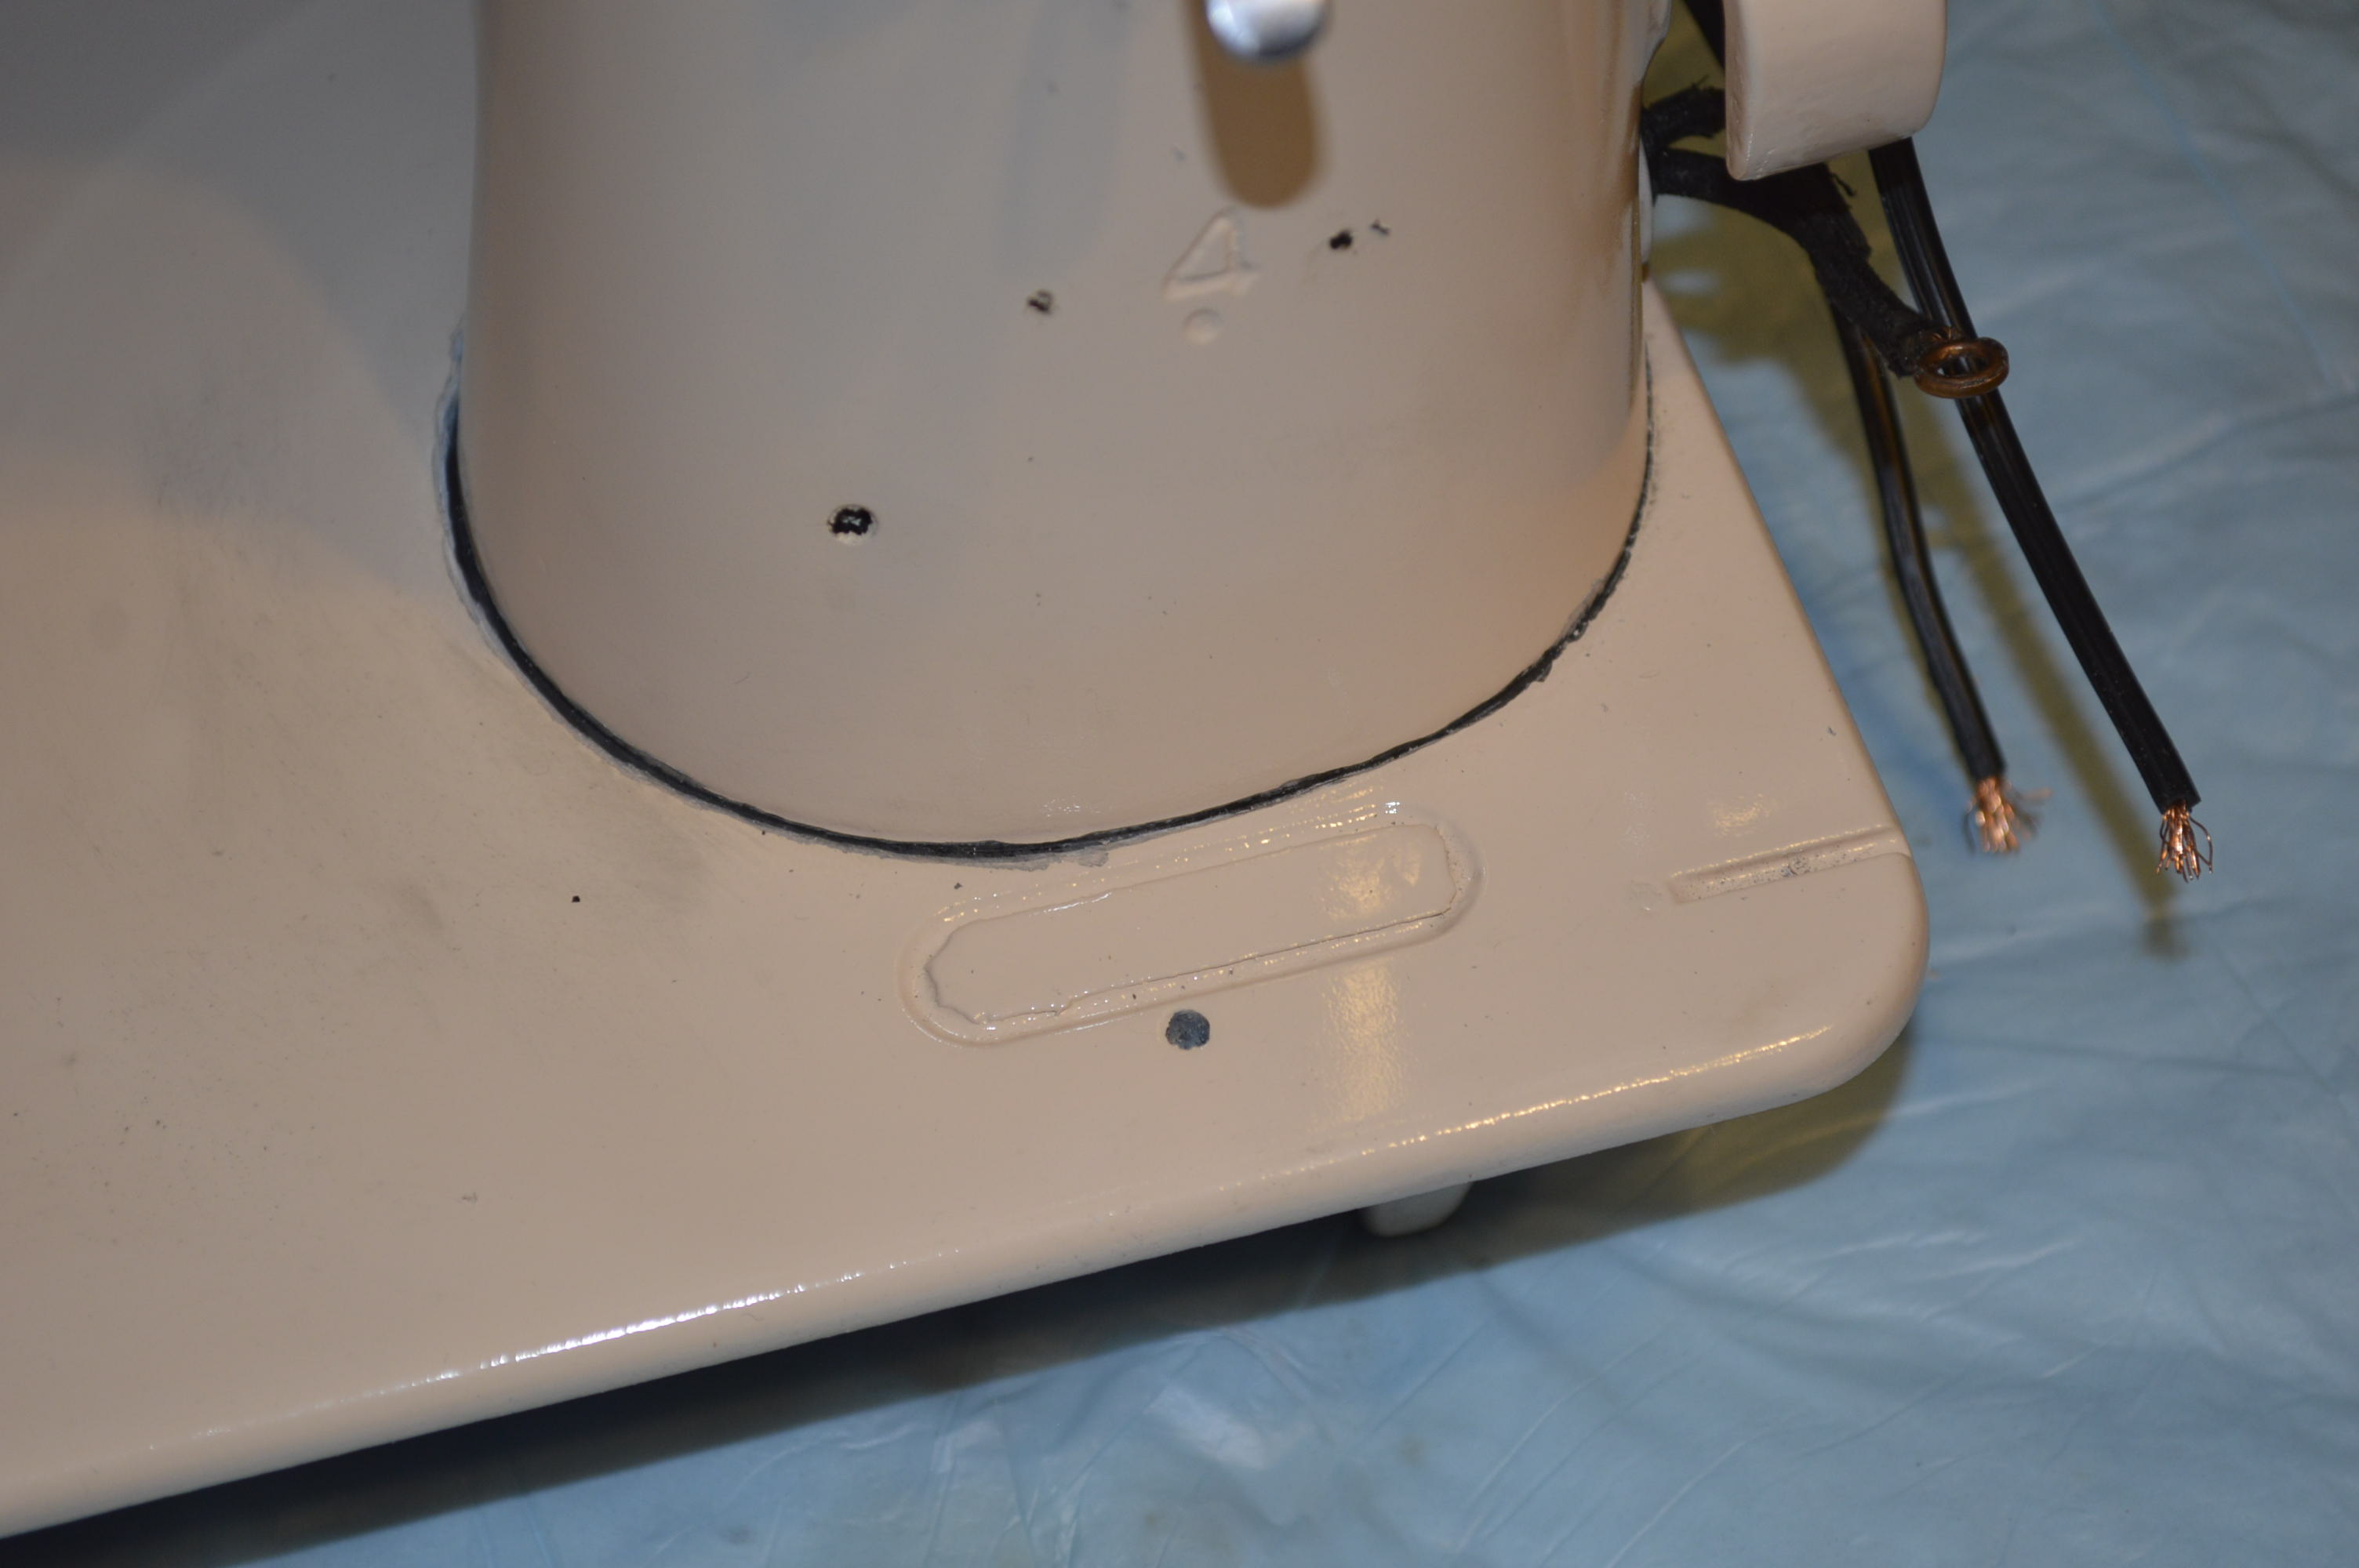
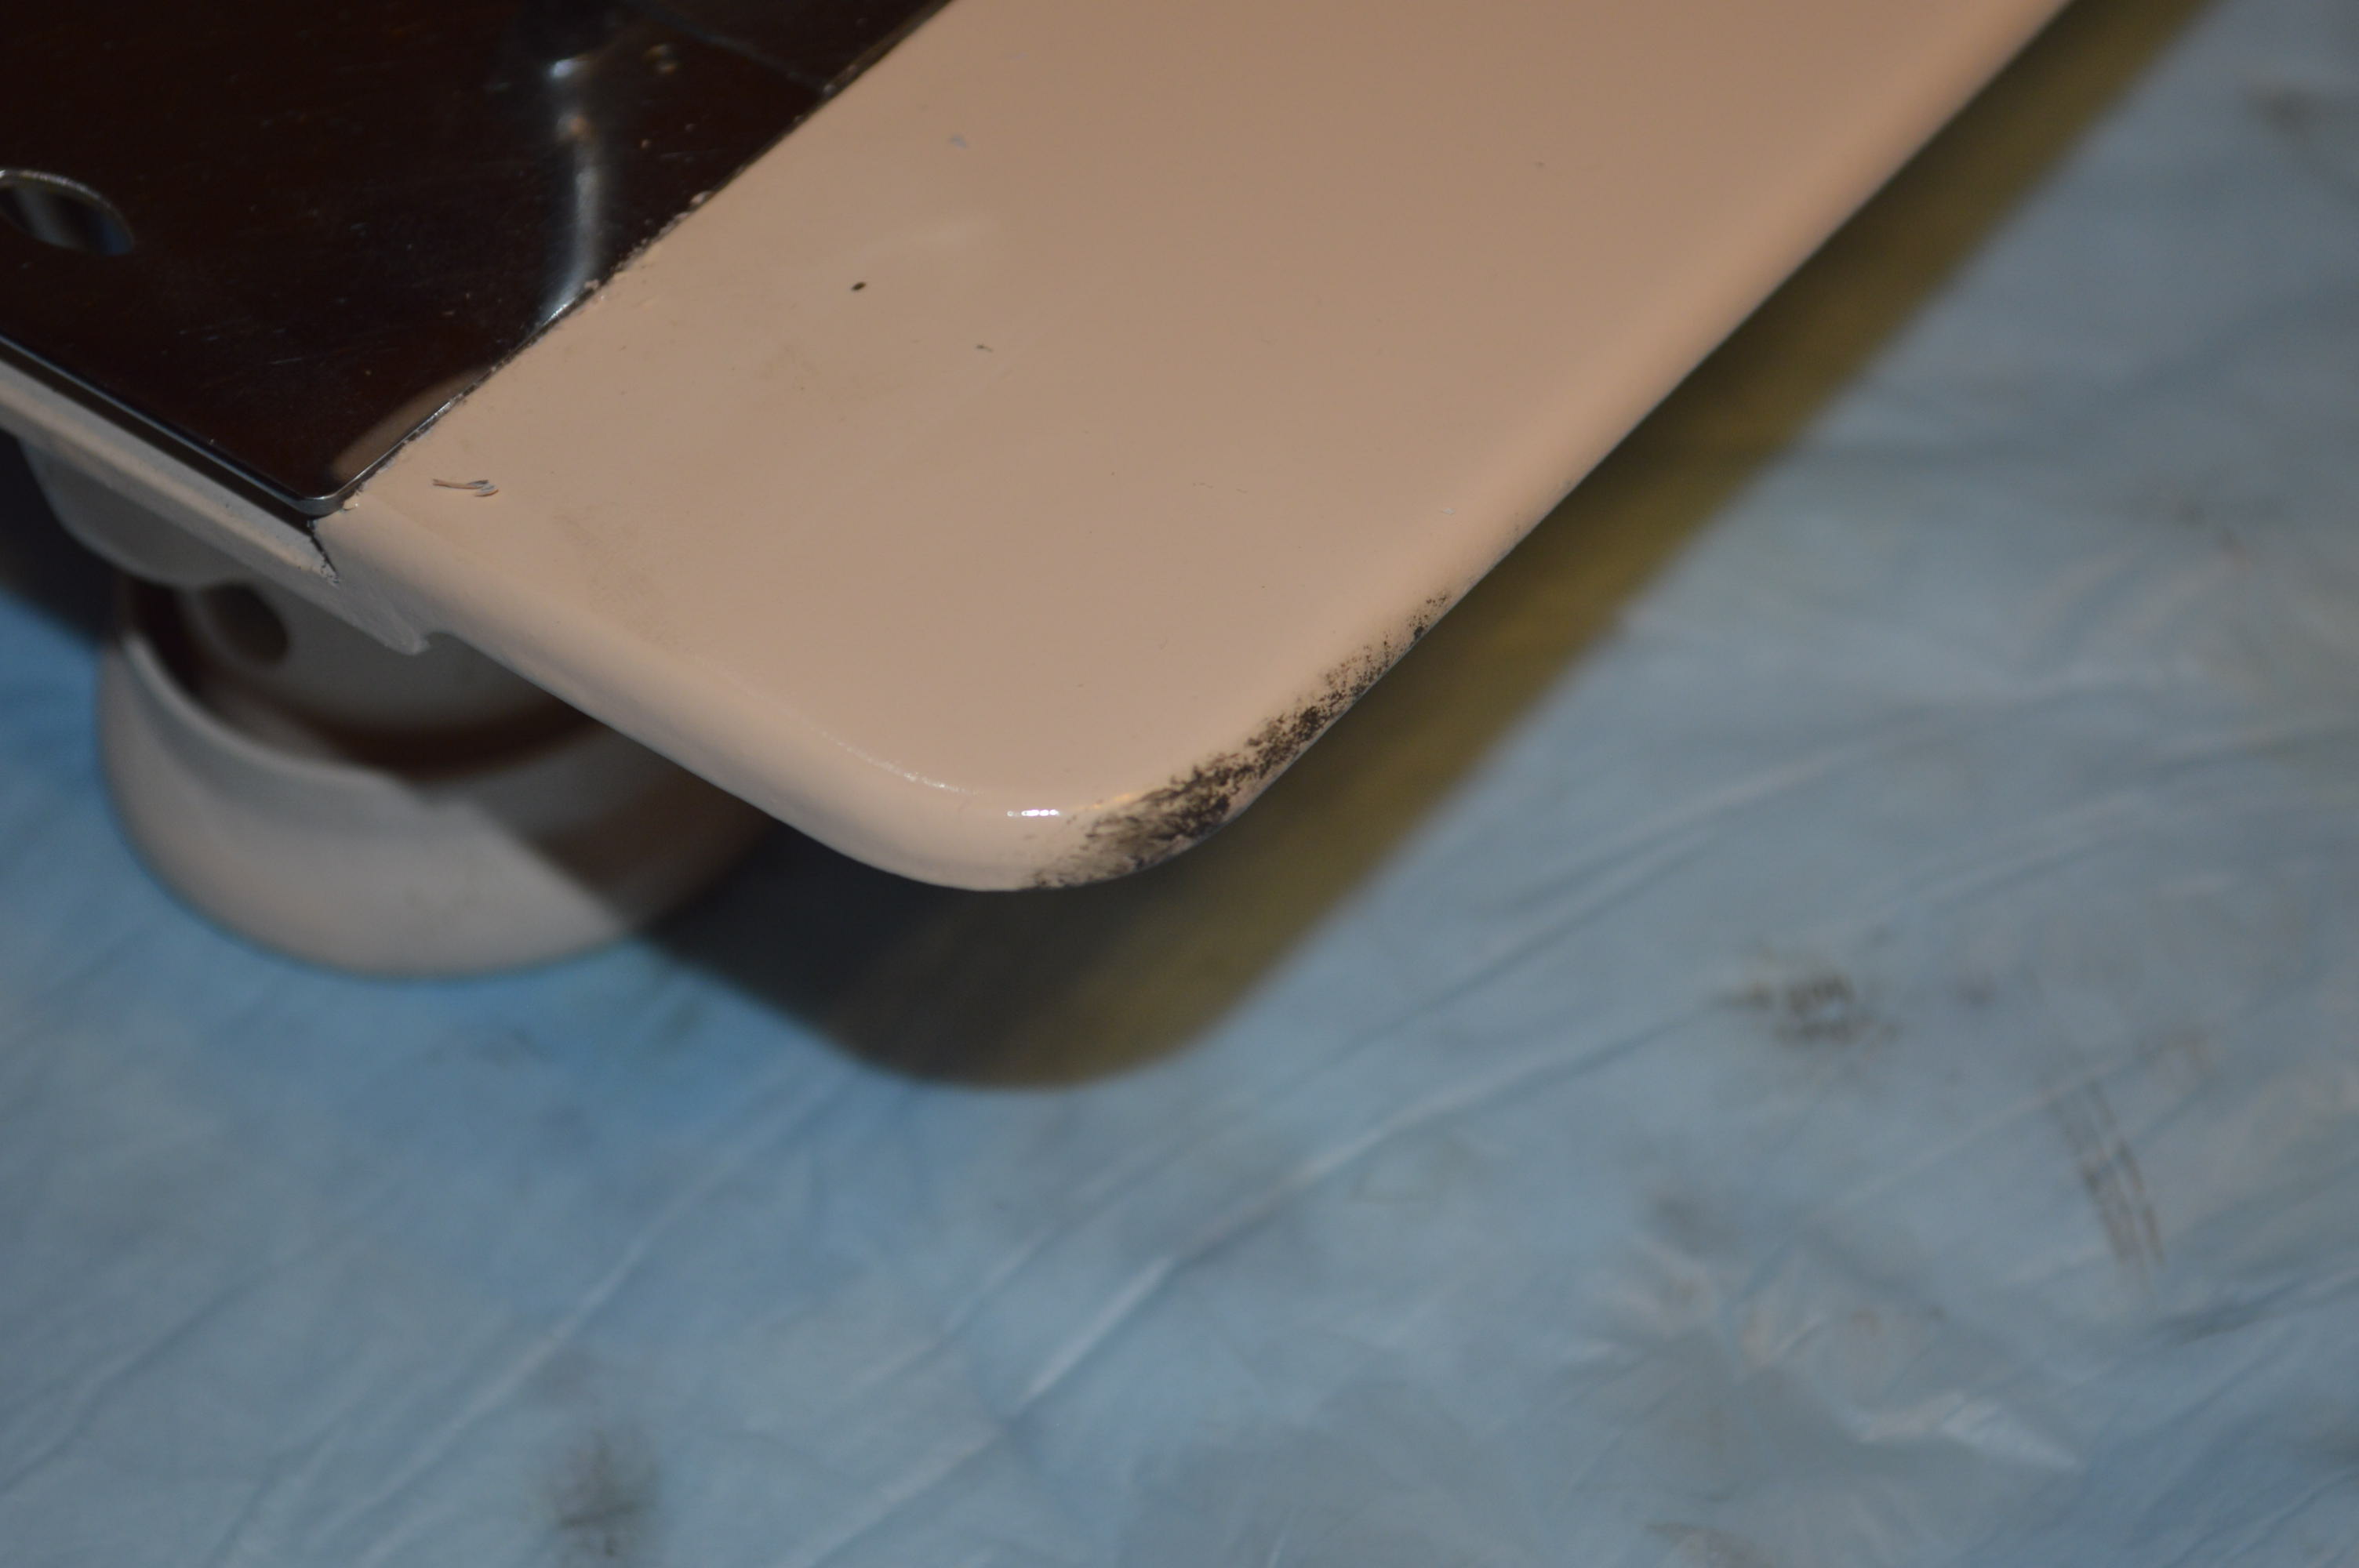
This project is a Kenmore model 158.16011. Funny how things work, I did not intend on buying this machine… in fact, I thought I was buying a Kenmore model 158.1802! That’s the problem with trying to find the right machines to offer you in our Etsy Shop. I have a list of machines I try to keep in stock… machines like the 1802. I have so many sources for acquiring machines that I don’t always have the luxury of seeing a machine in person, as was the case here. From all outward appearances, this machine is an almost identical twin to the 1802. They are both super high shank cam compatible machines, they both have the same presser foot quick detach and needle clamp screw, they both share the same stainless steel needle plate and bobbin cover, as well as the front panel. The only visual difference I can see is the pattern on the stitch length and stitch selector knobs. It wasn’t until the machine arrived that I realized it was a 1601. I also realized that it is in really great cosmetic condition. Except for a slight discoloration on the sewing machine bed and a small defect (as yet undetermined) on the top cover, and a few very slight scratches, it looks near perfect.
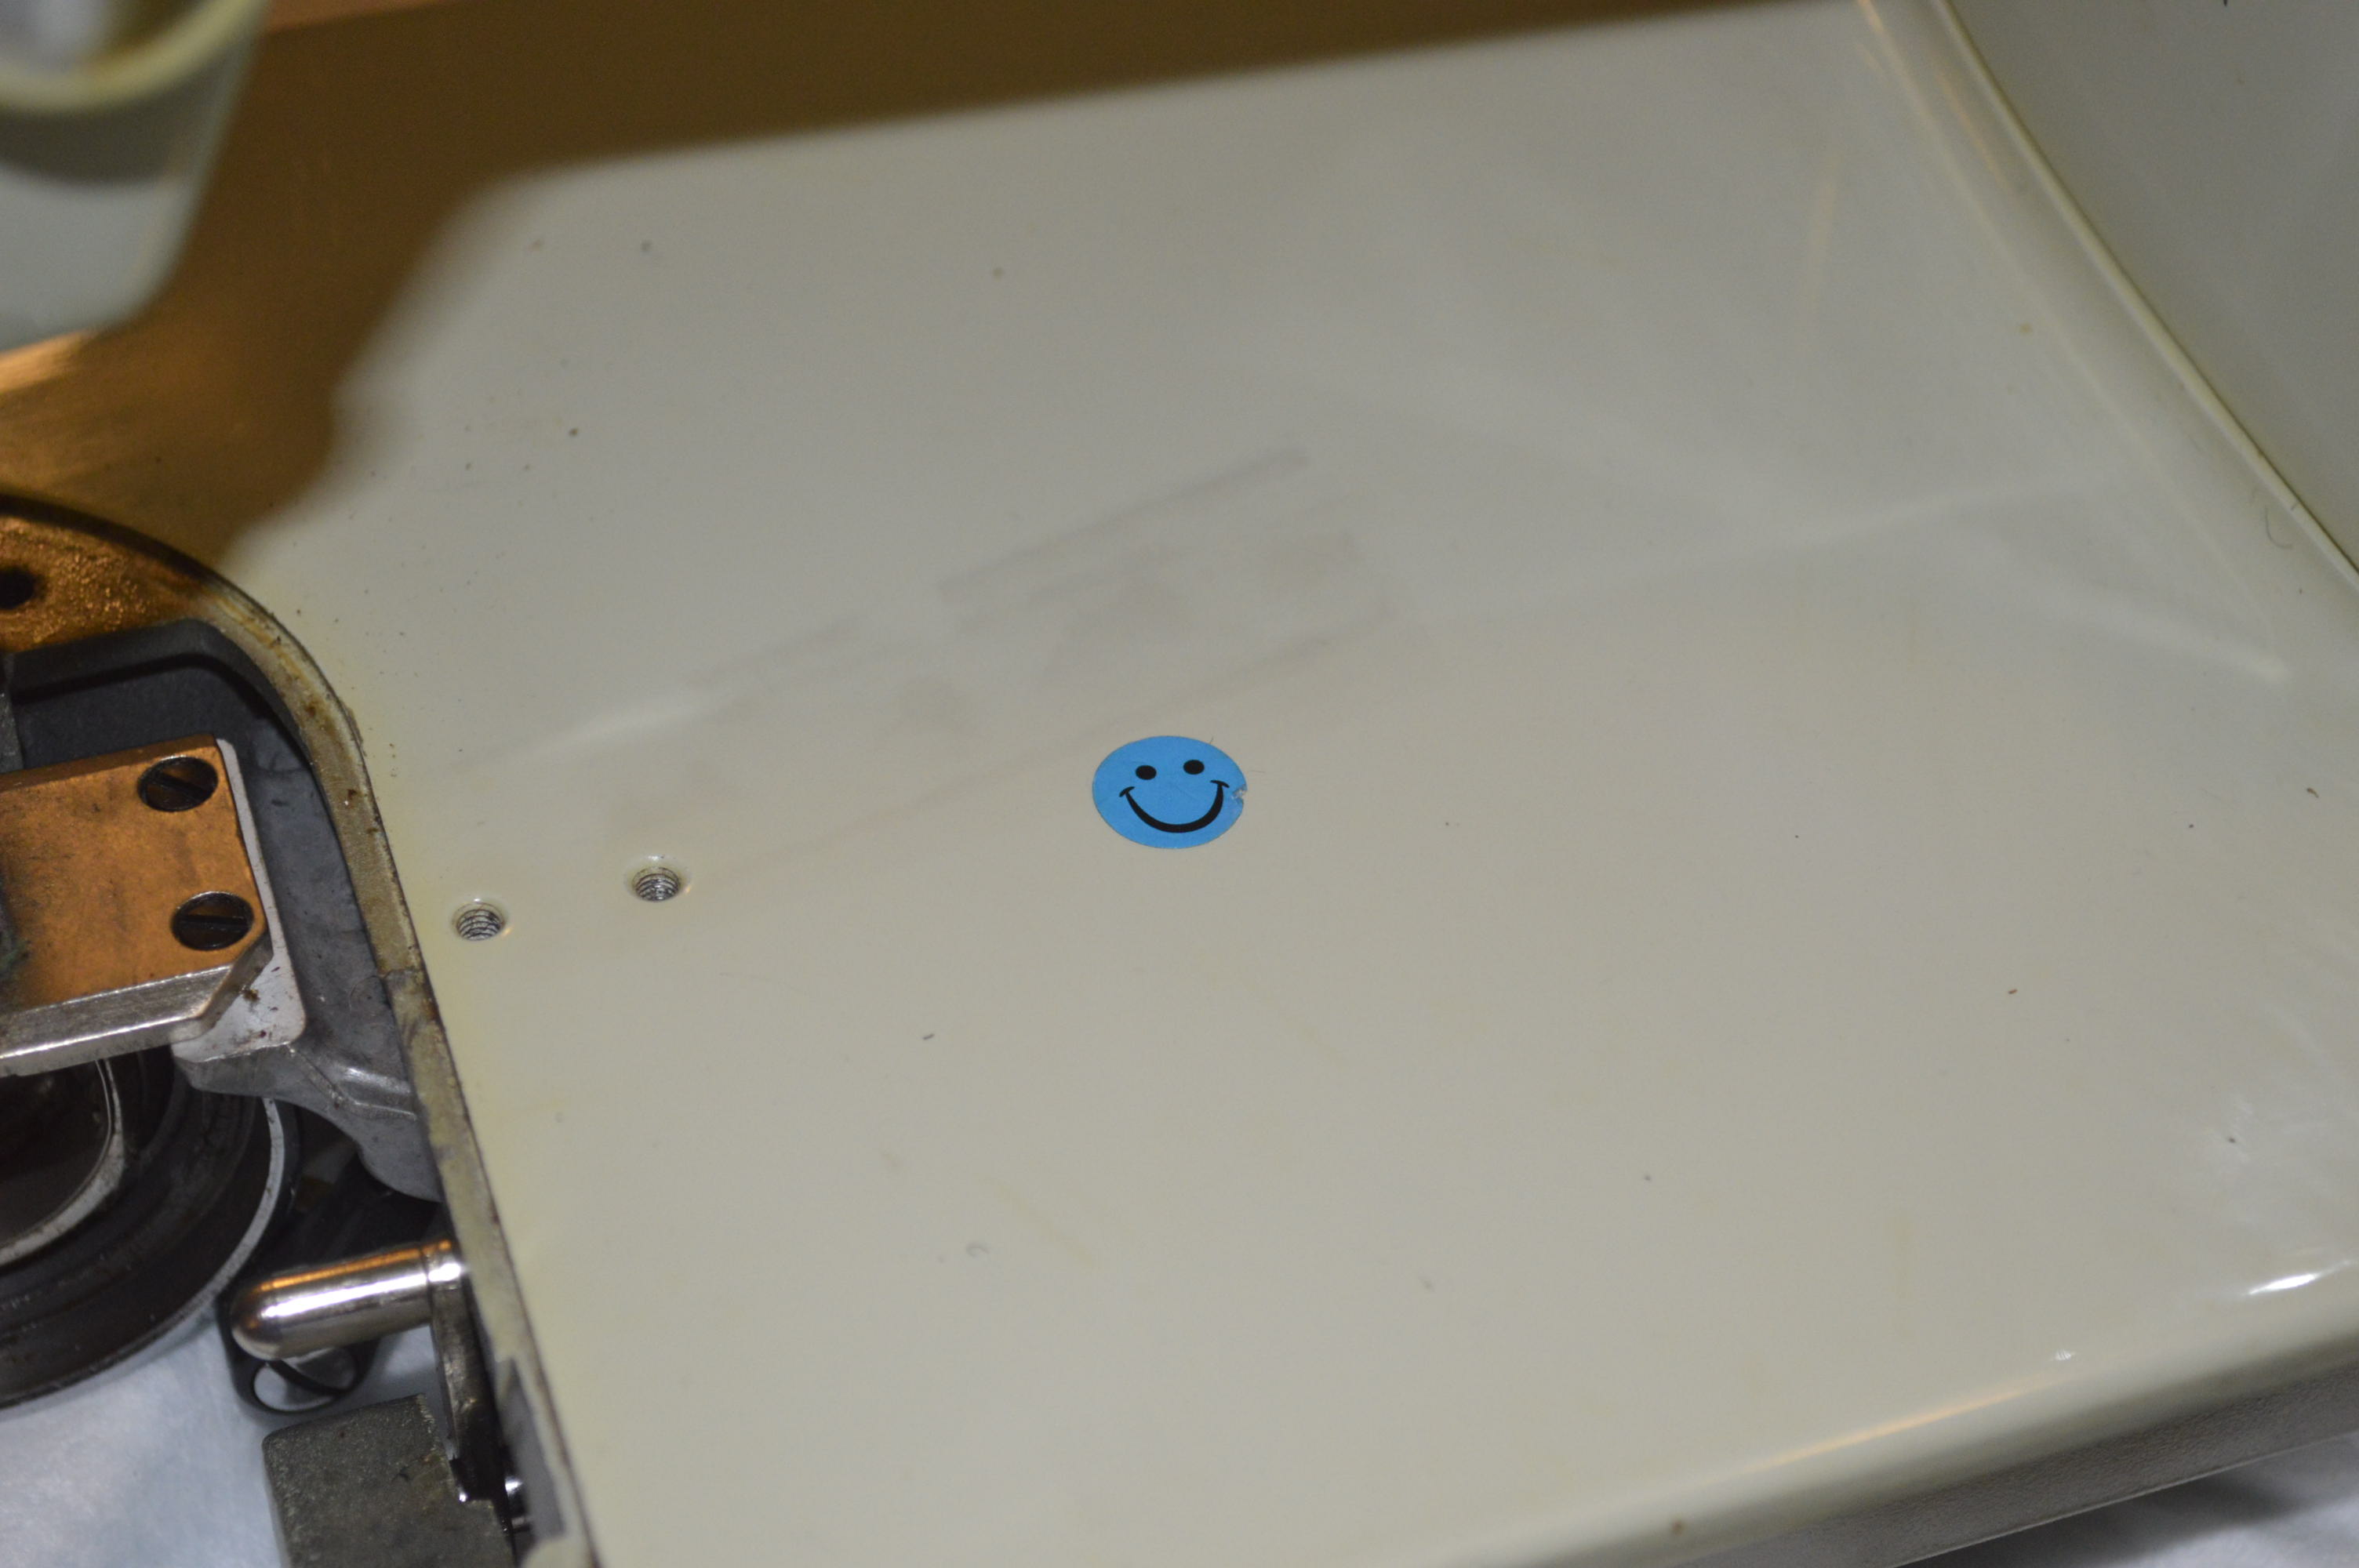
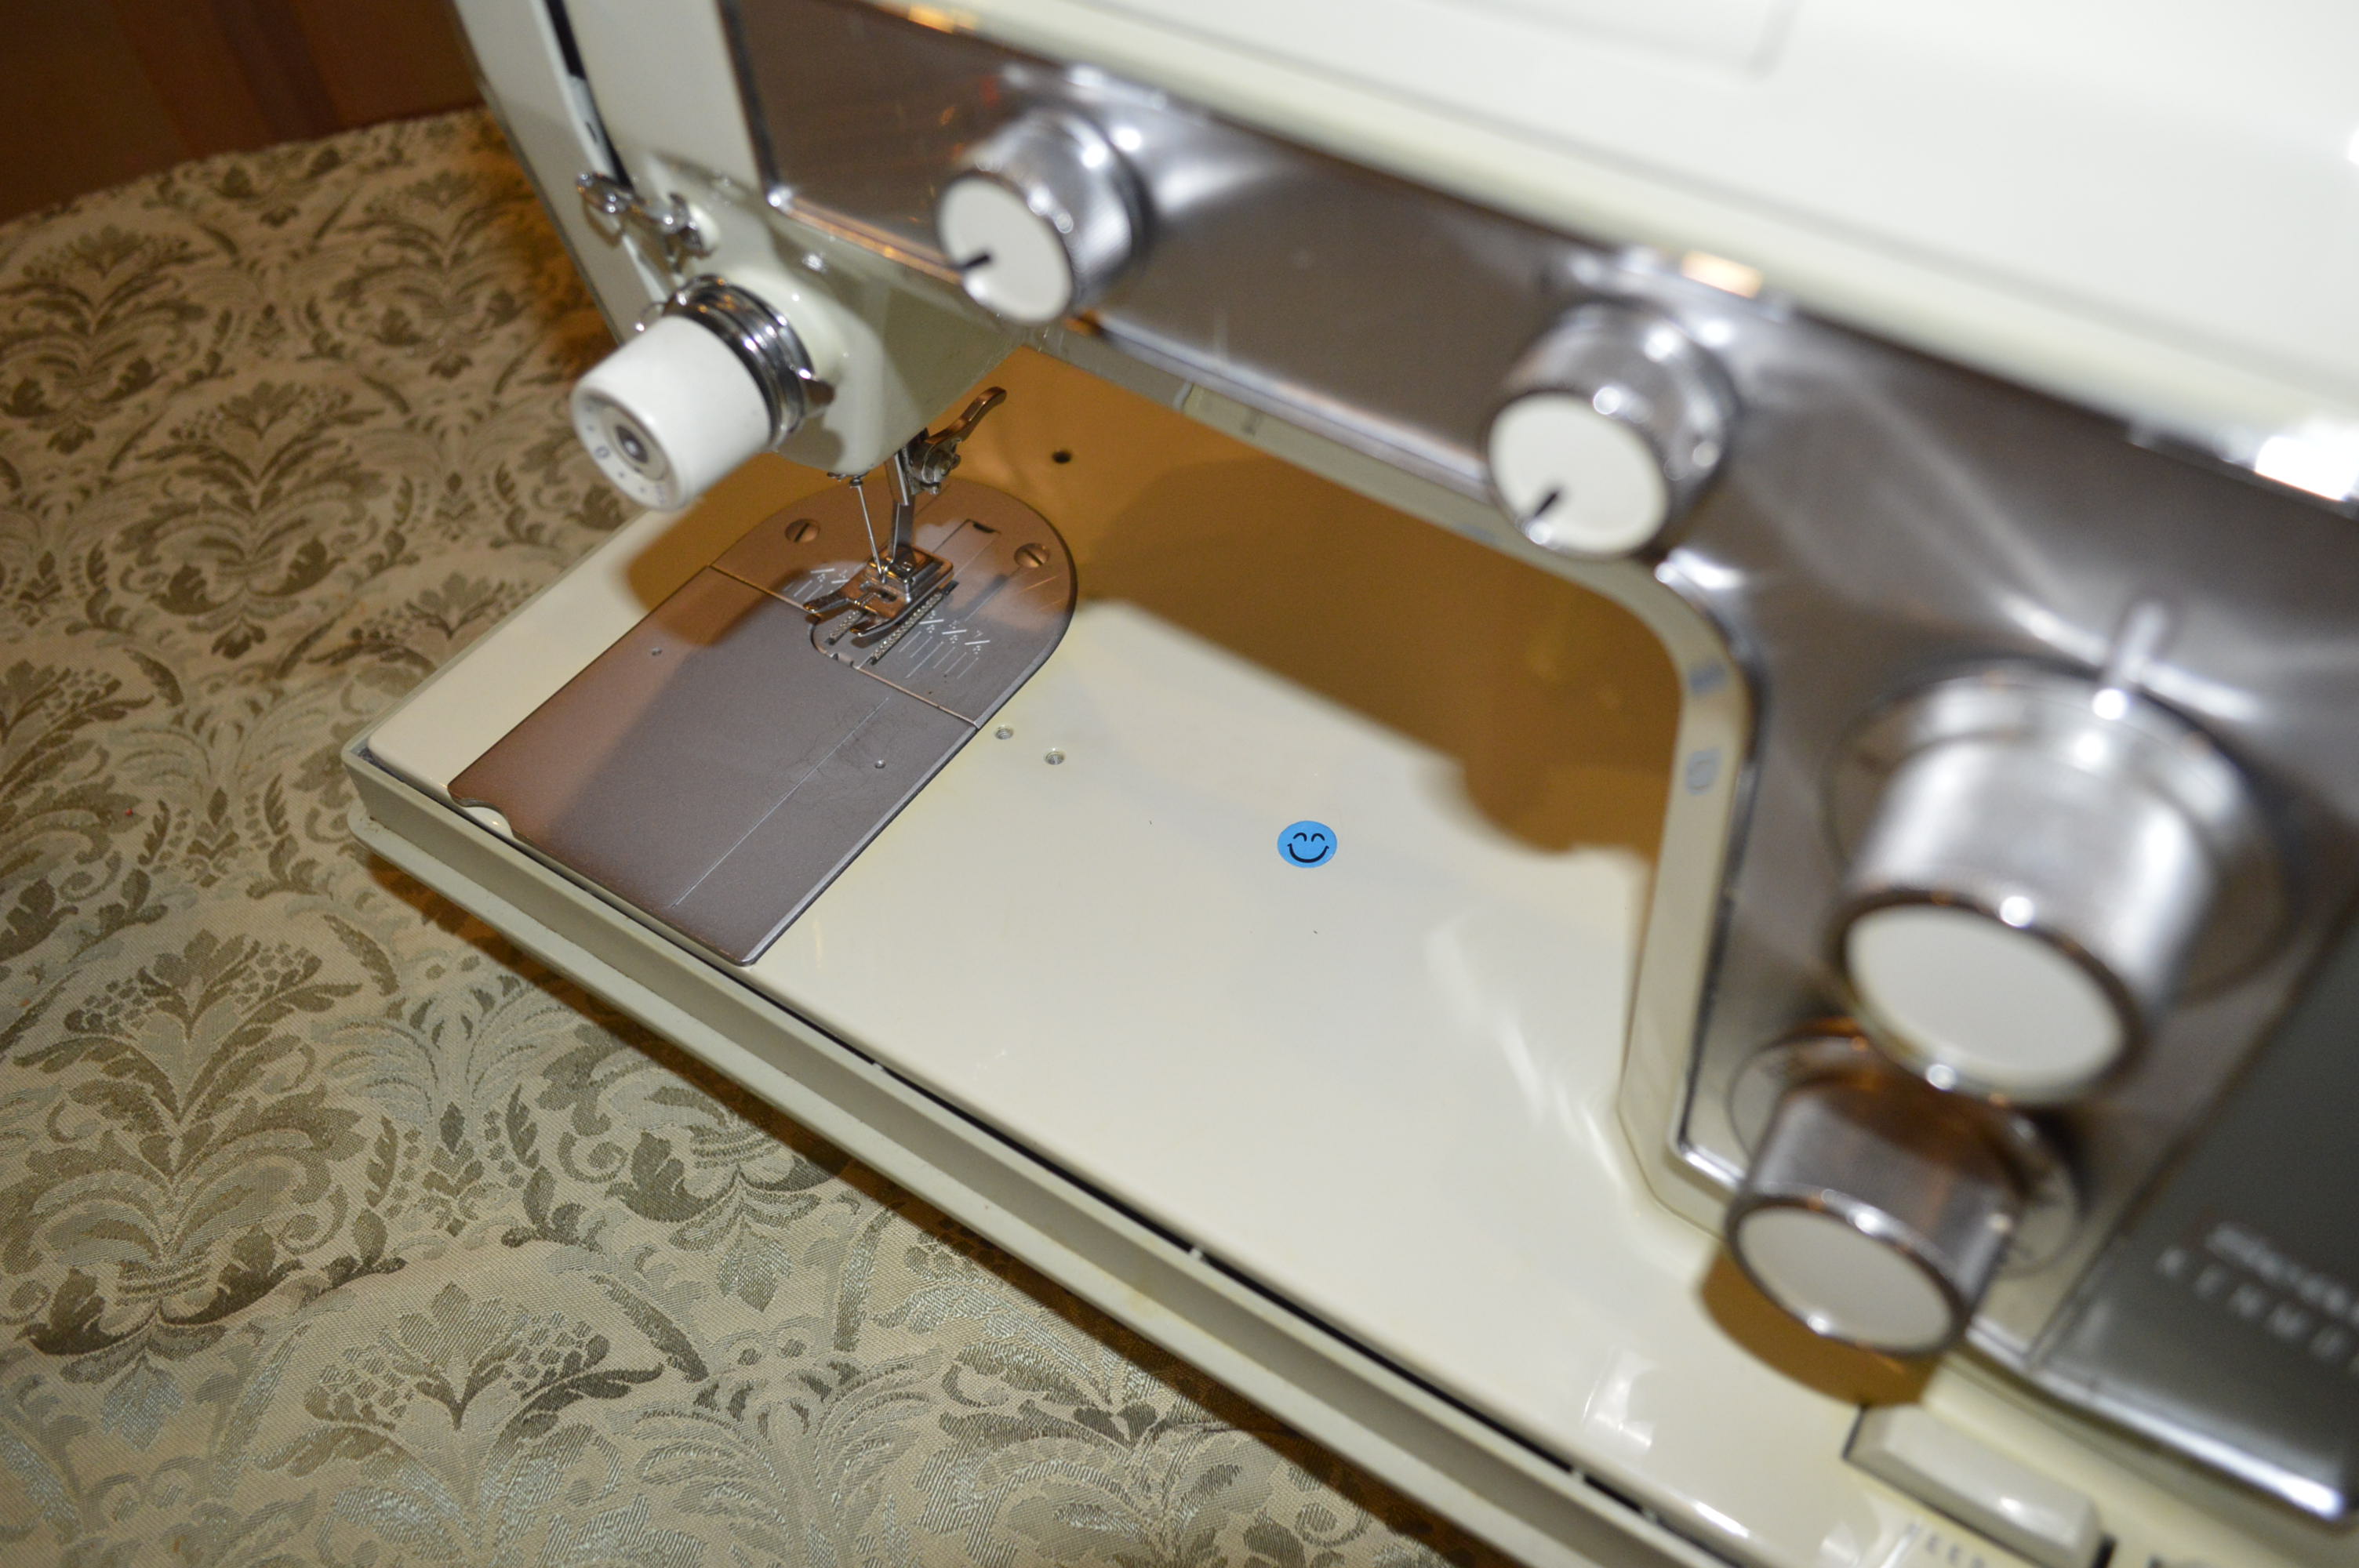
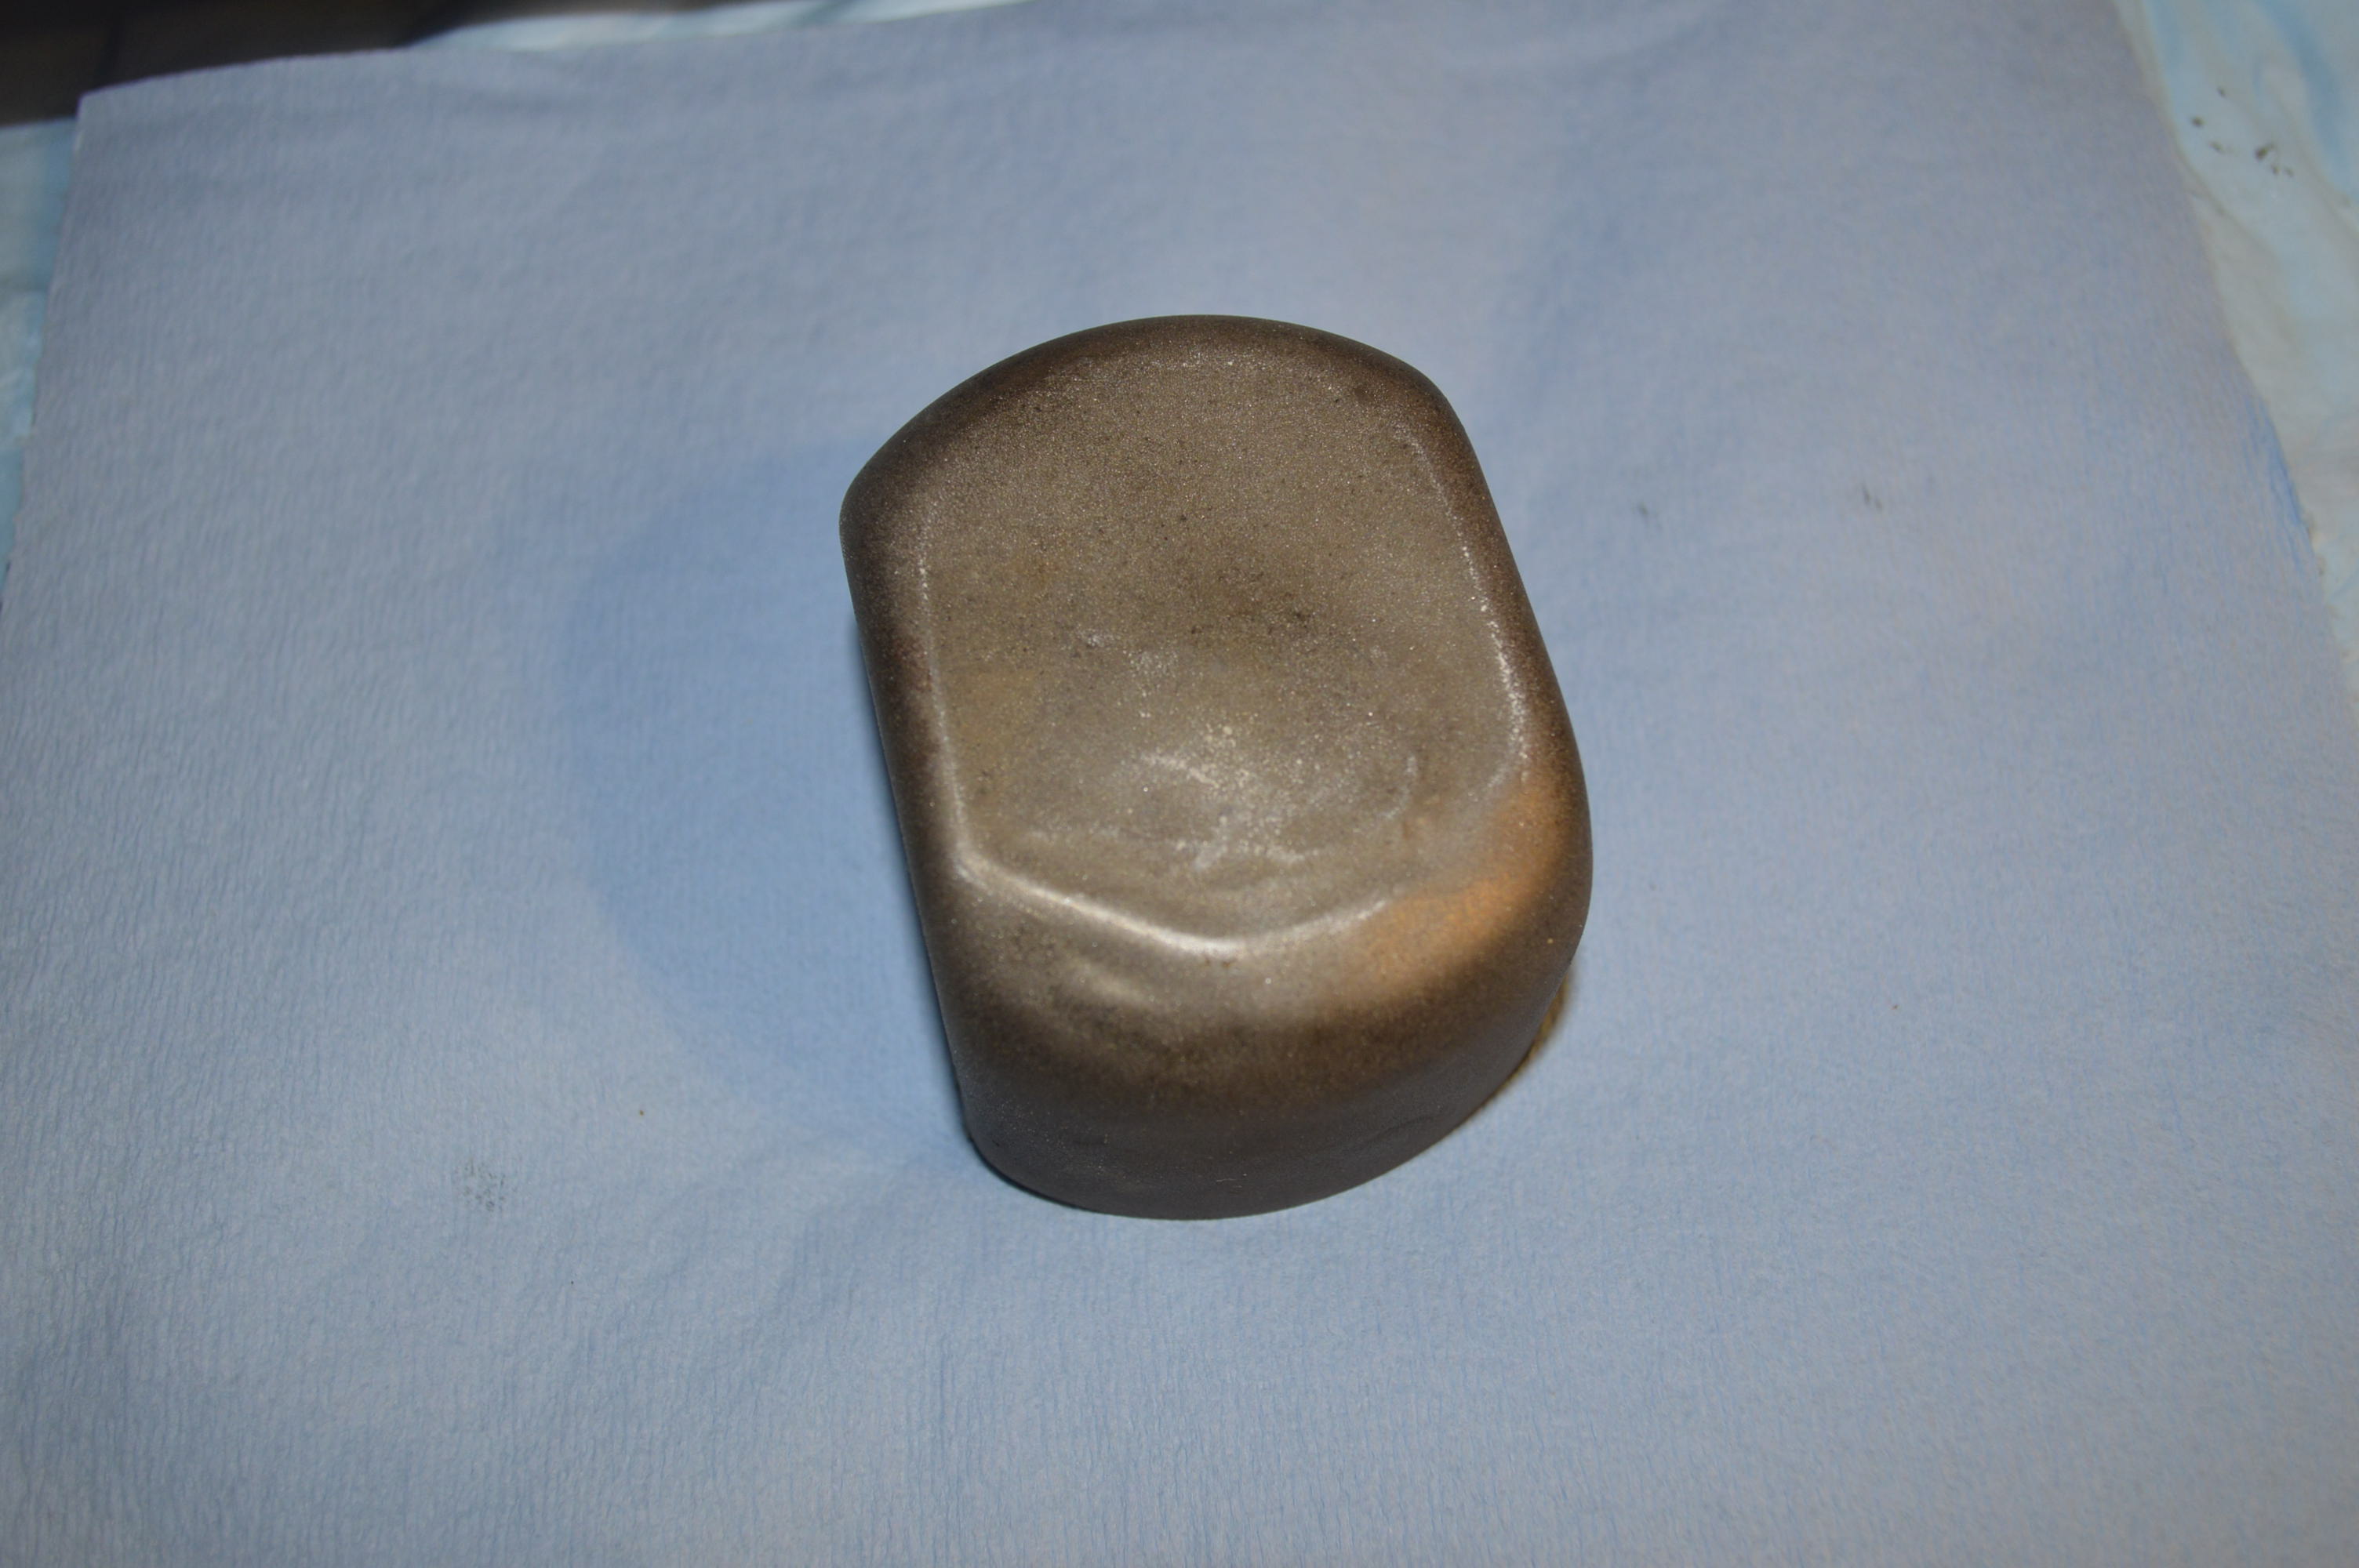
The smiley sticker was put in the picture to focus on… I’m am very optimistic that I can remove these defects and restore the machine to mint condition. It gets even better… the machine shows almost no visible sign of use. Except for a little lint in the feed dogs and some very small areas of old oil varnish discoloration, all of the mechanisms are very clean on the front, top, and bottom. It is in fact very unusual to find a machine in this condition, especially considering it was manufactured in 1969 to 1970. This is how it looks fresh out of the box…
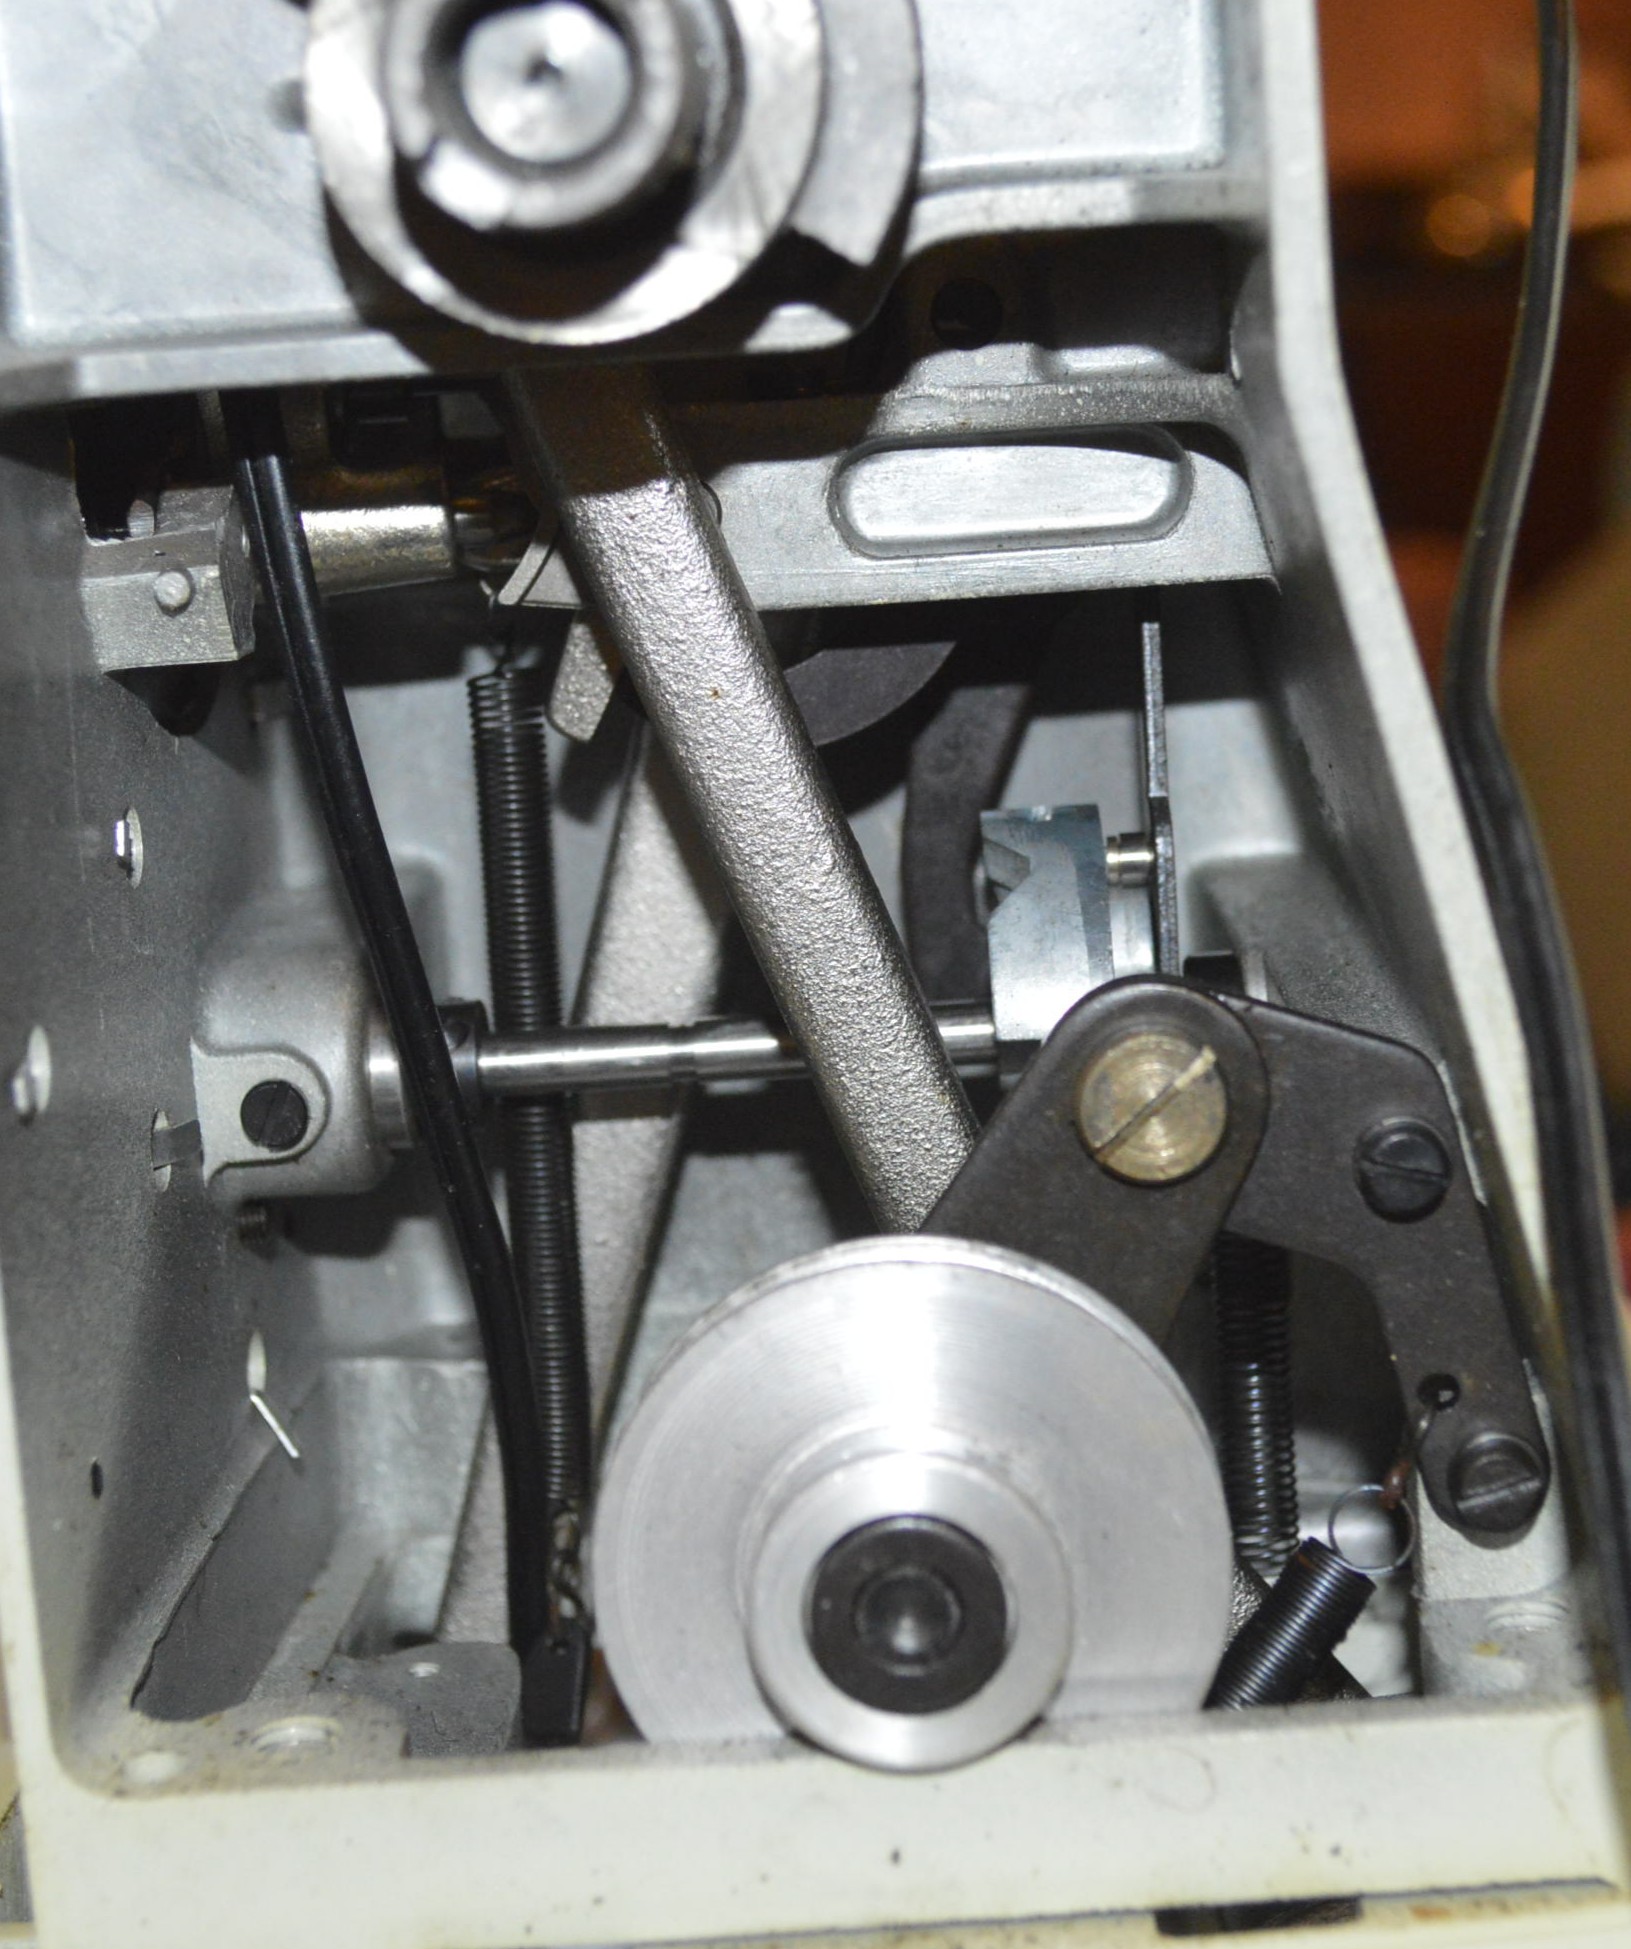
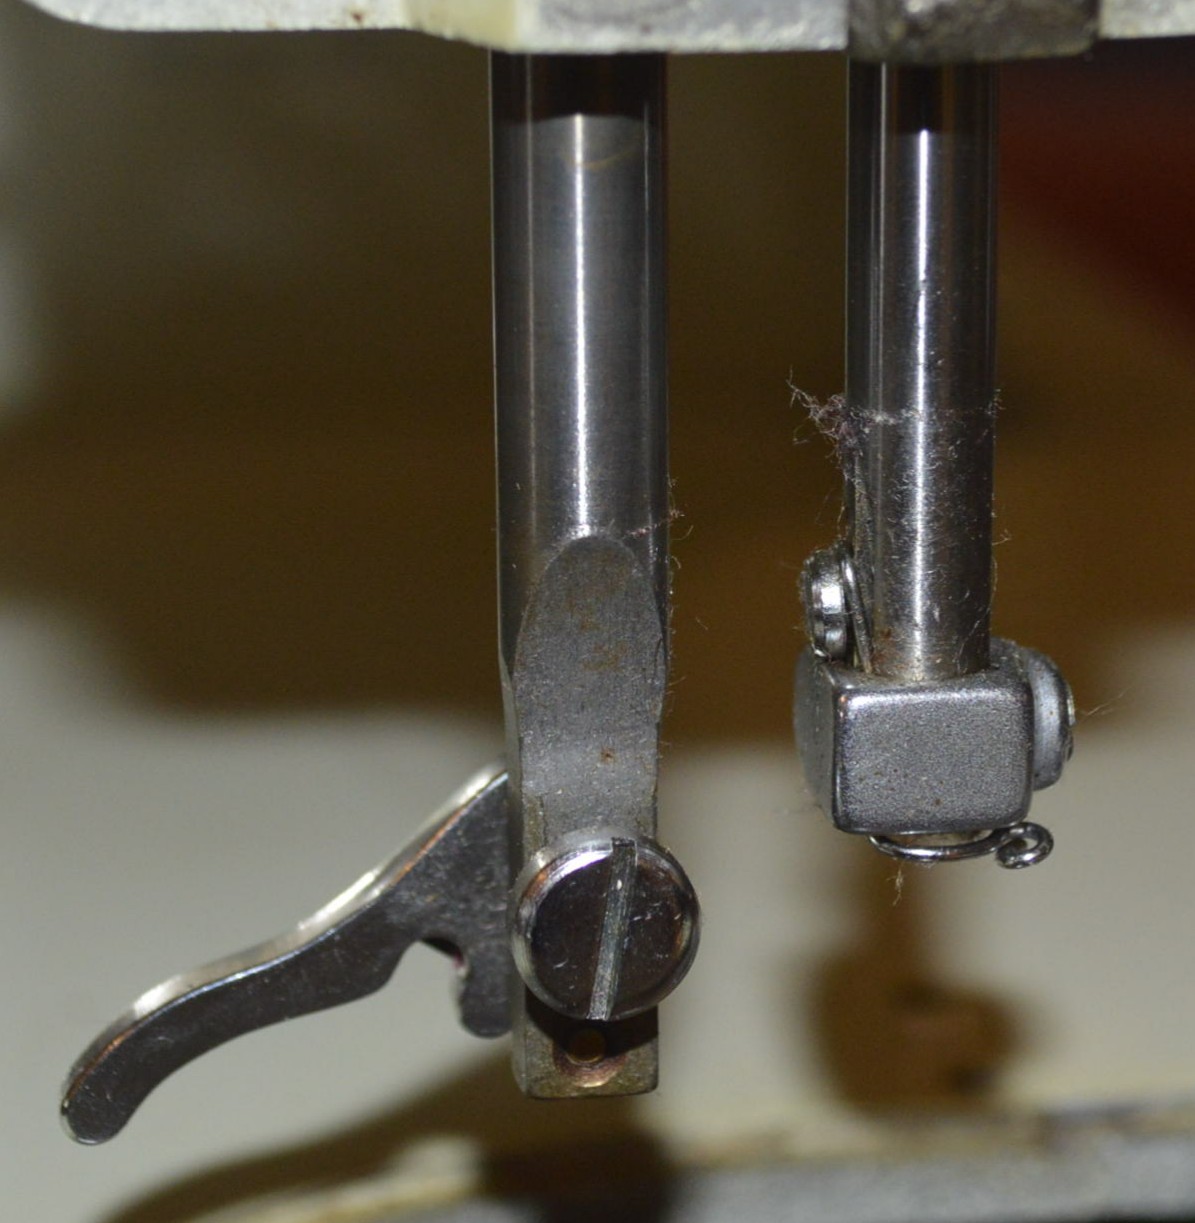
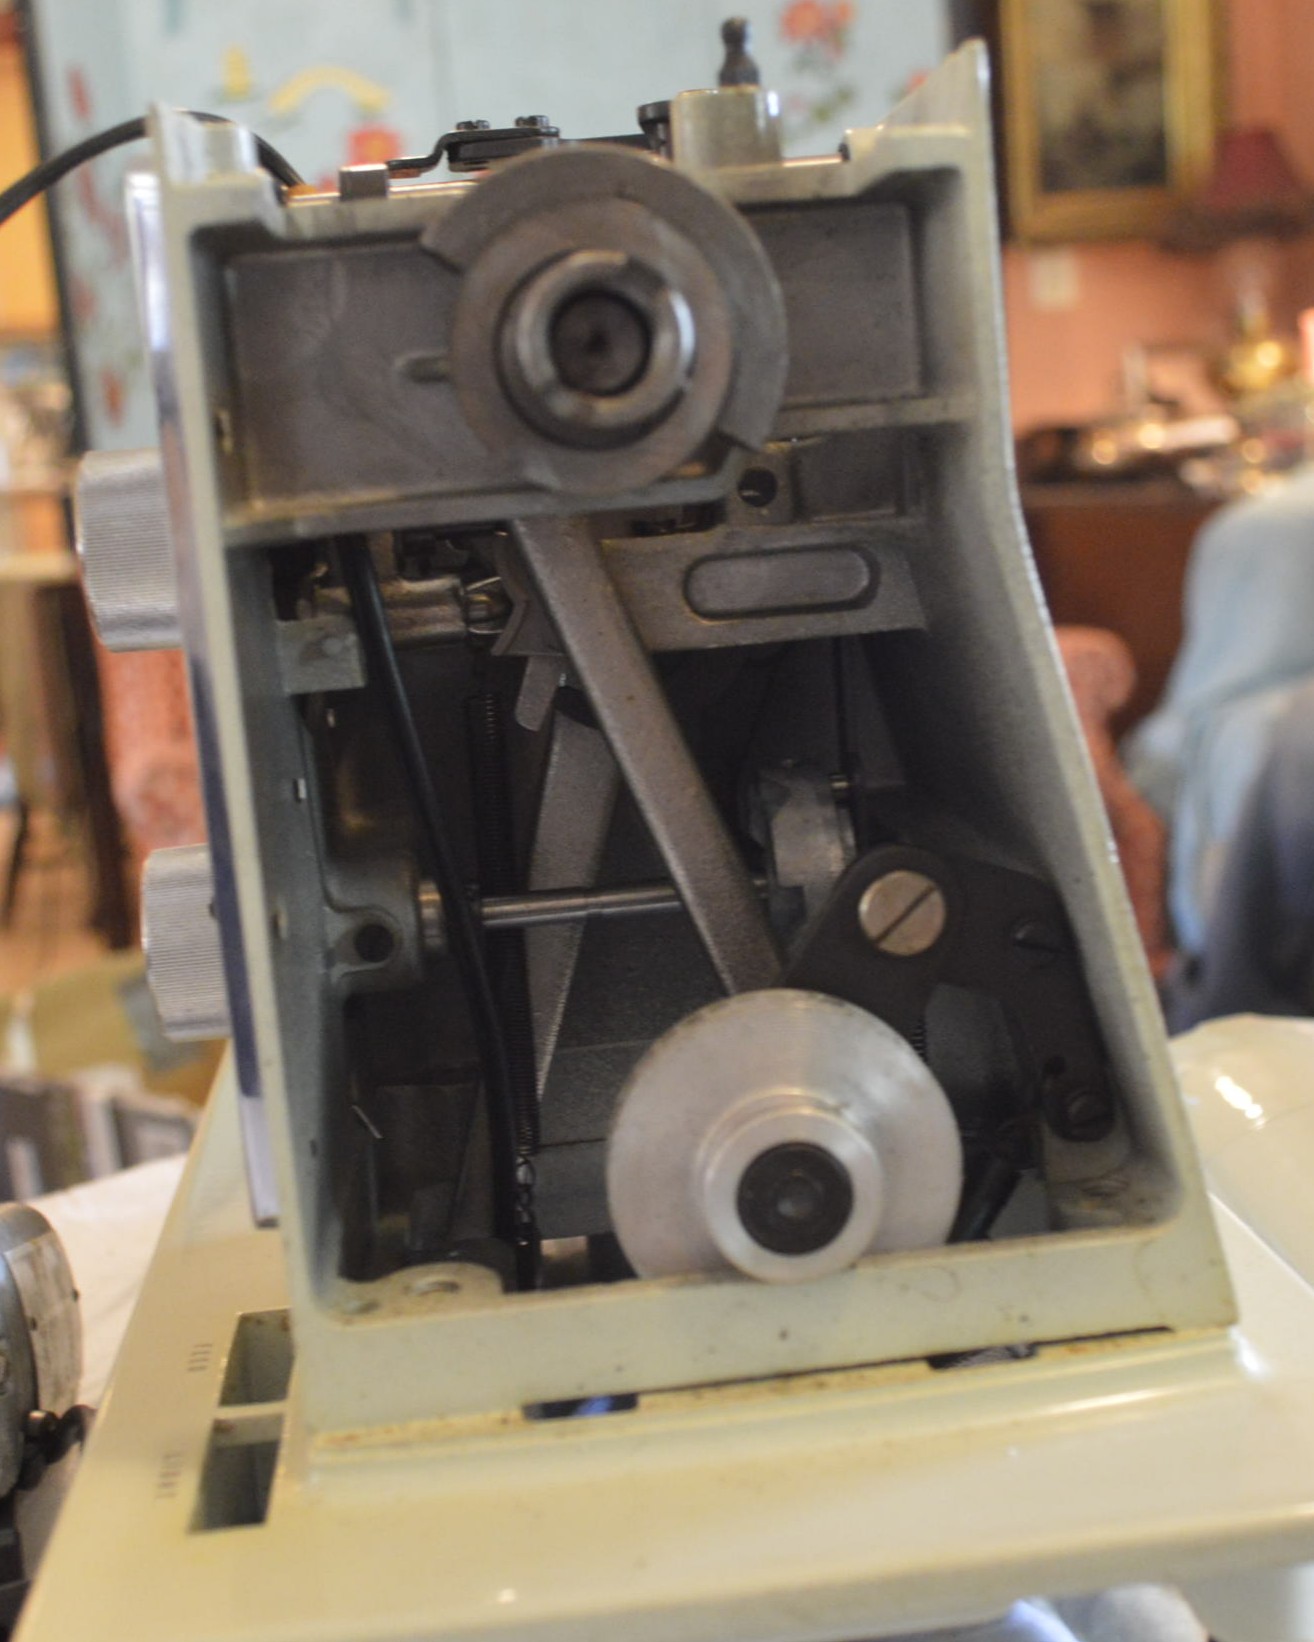
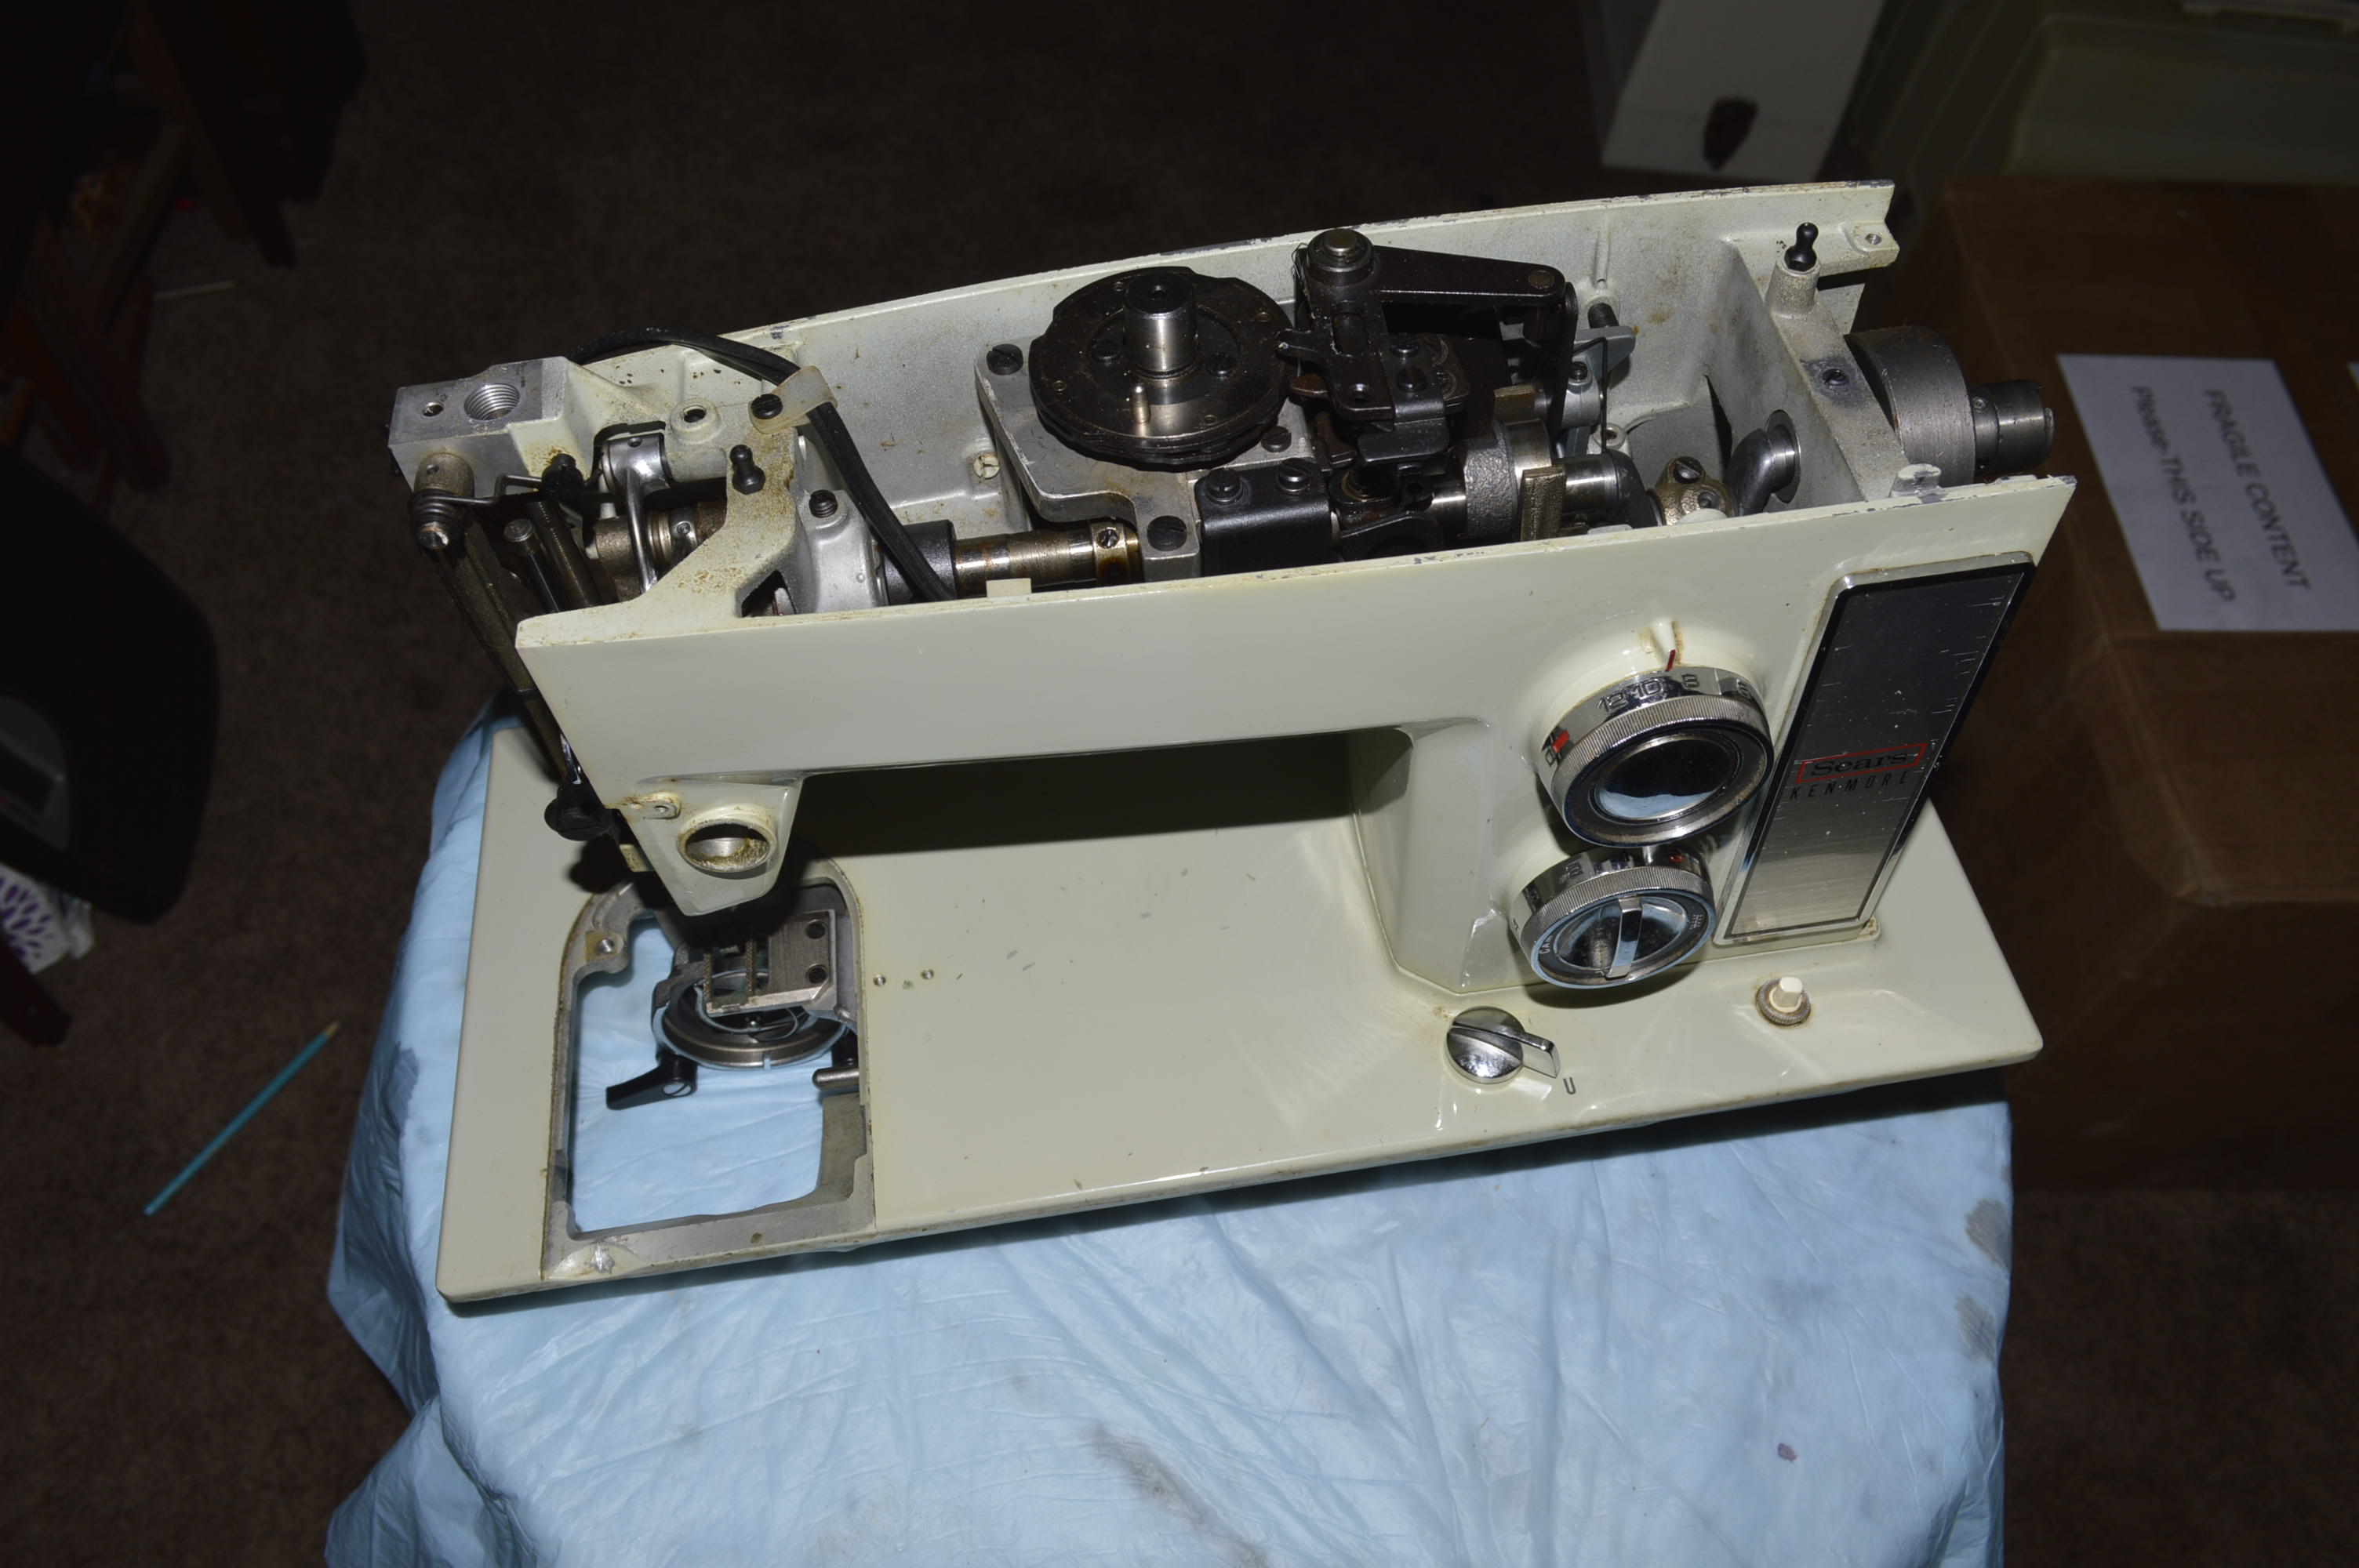
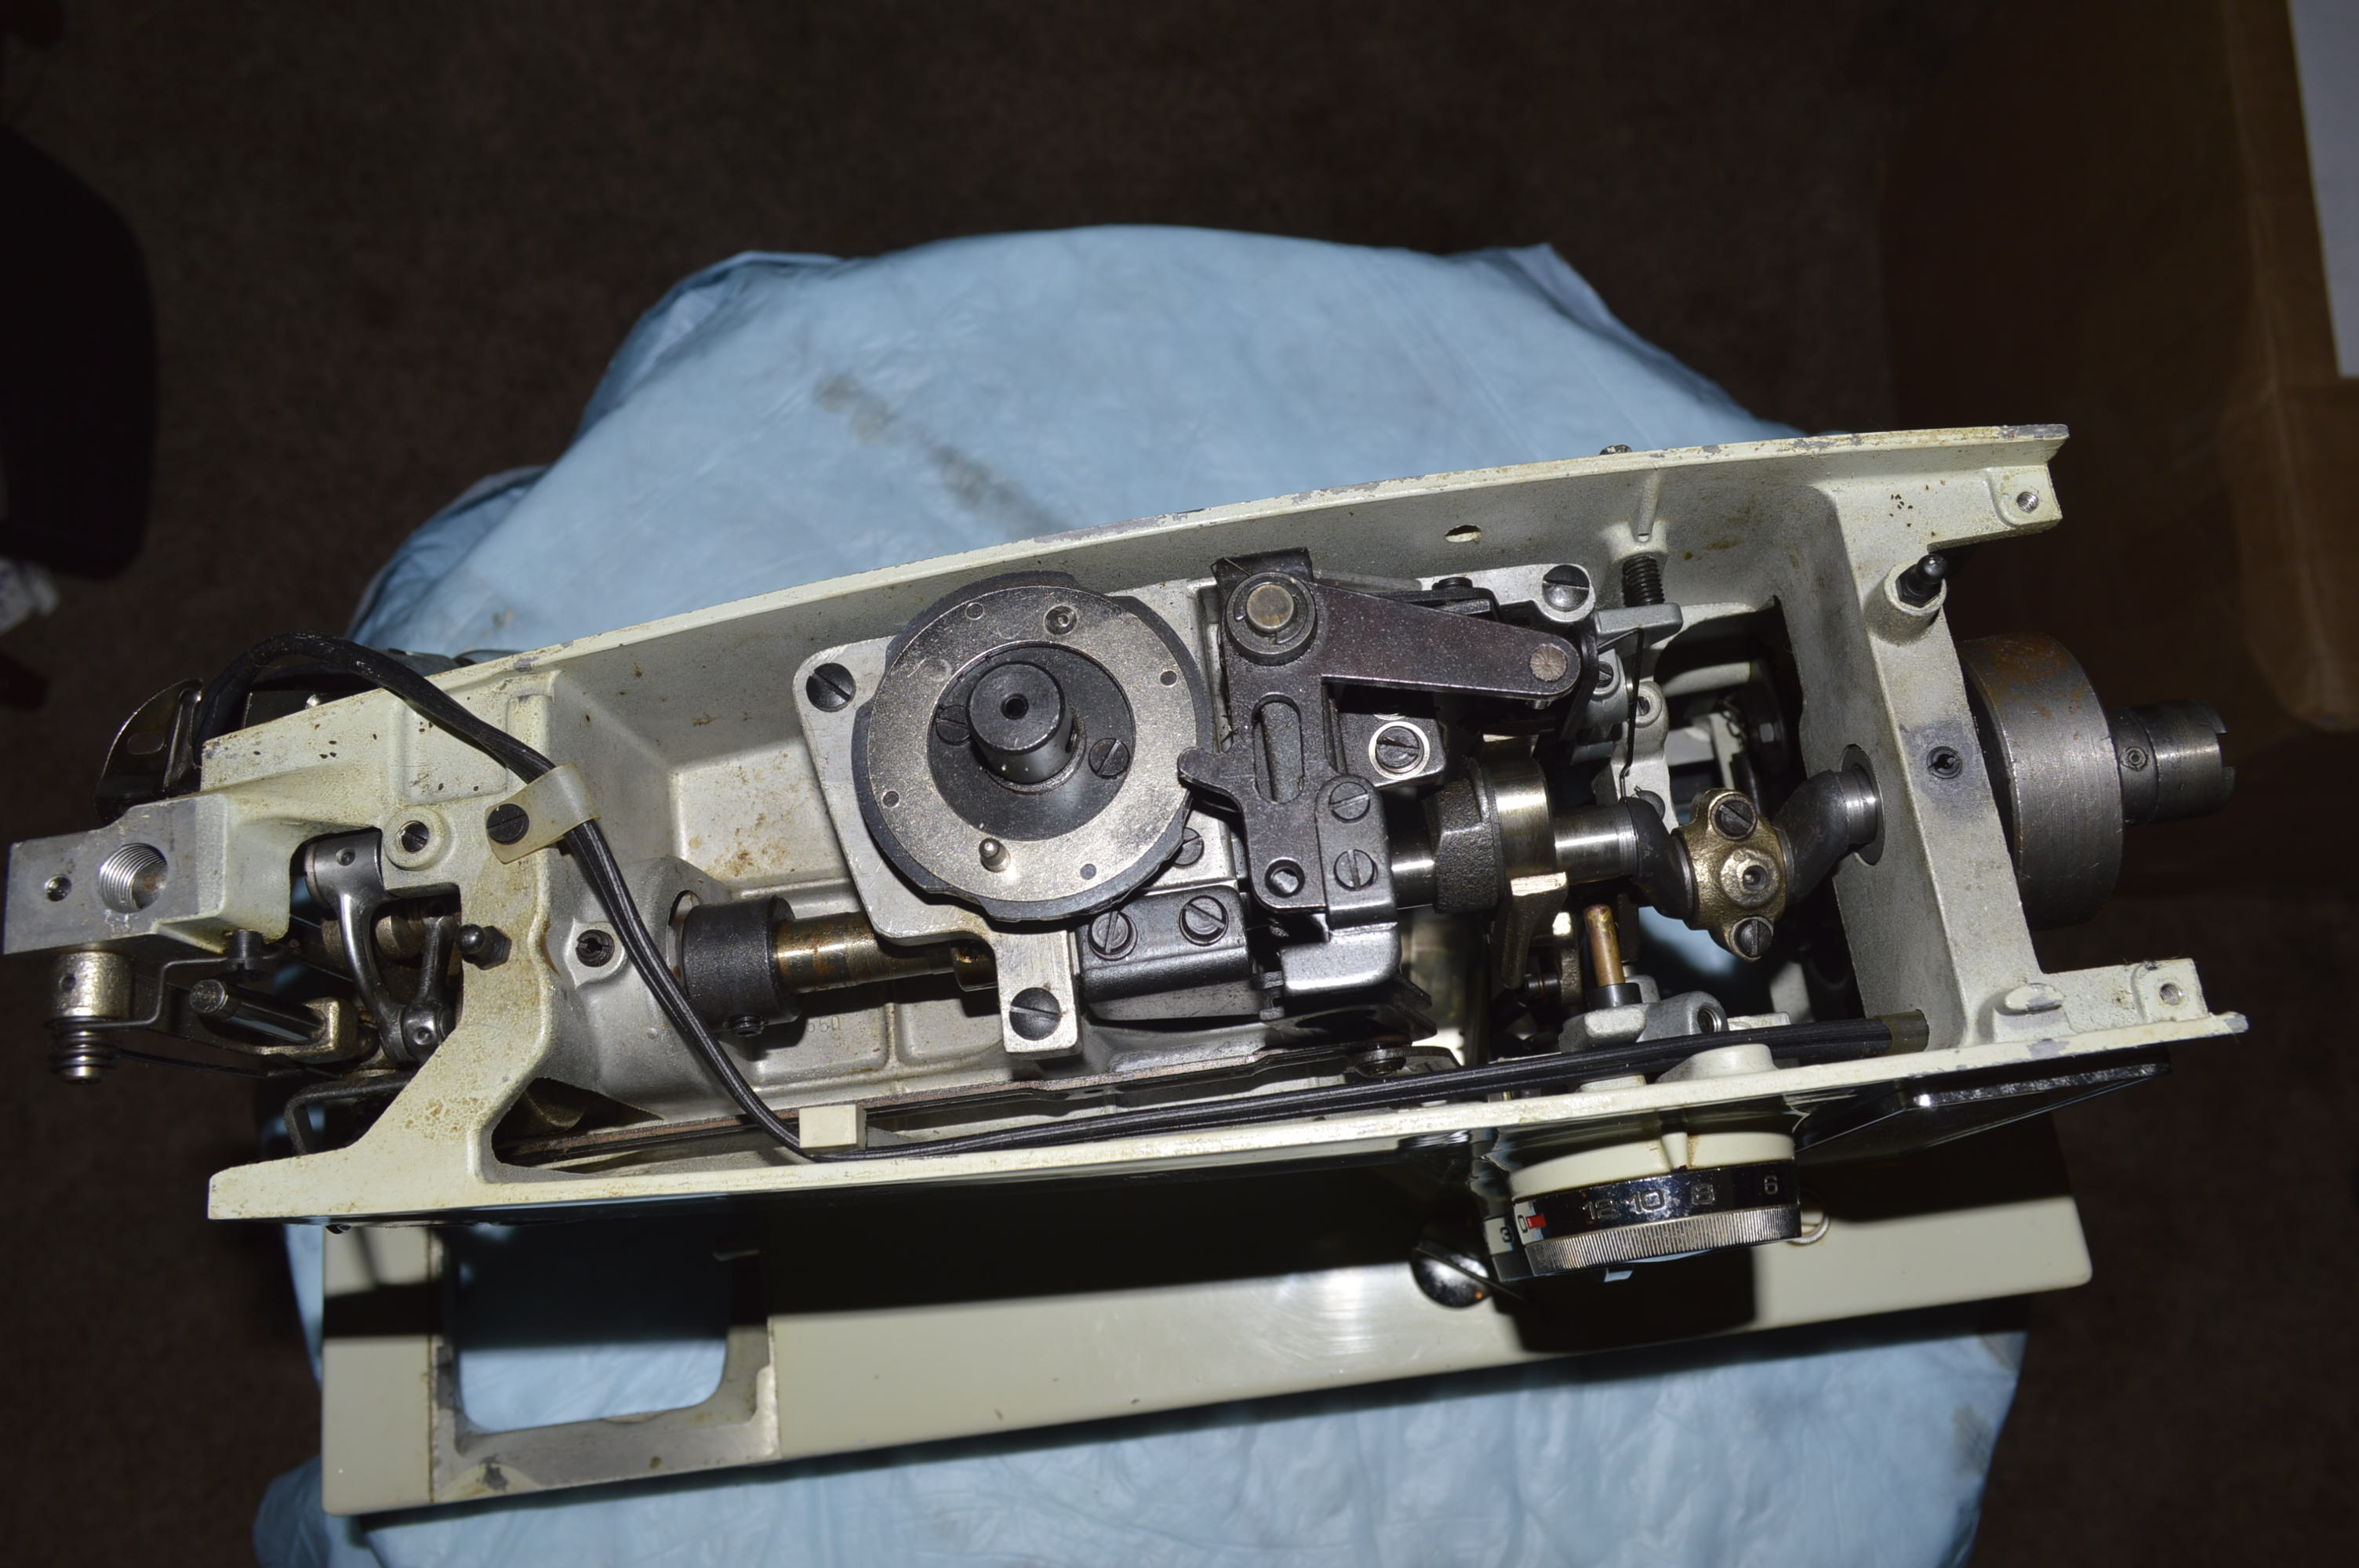
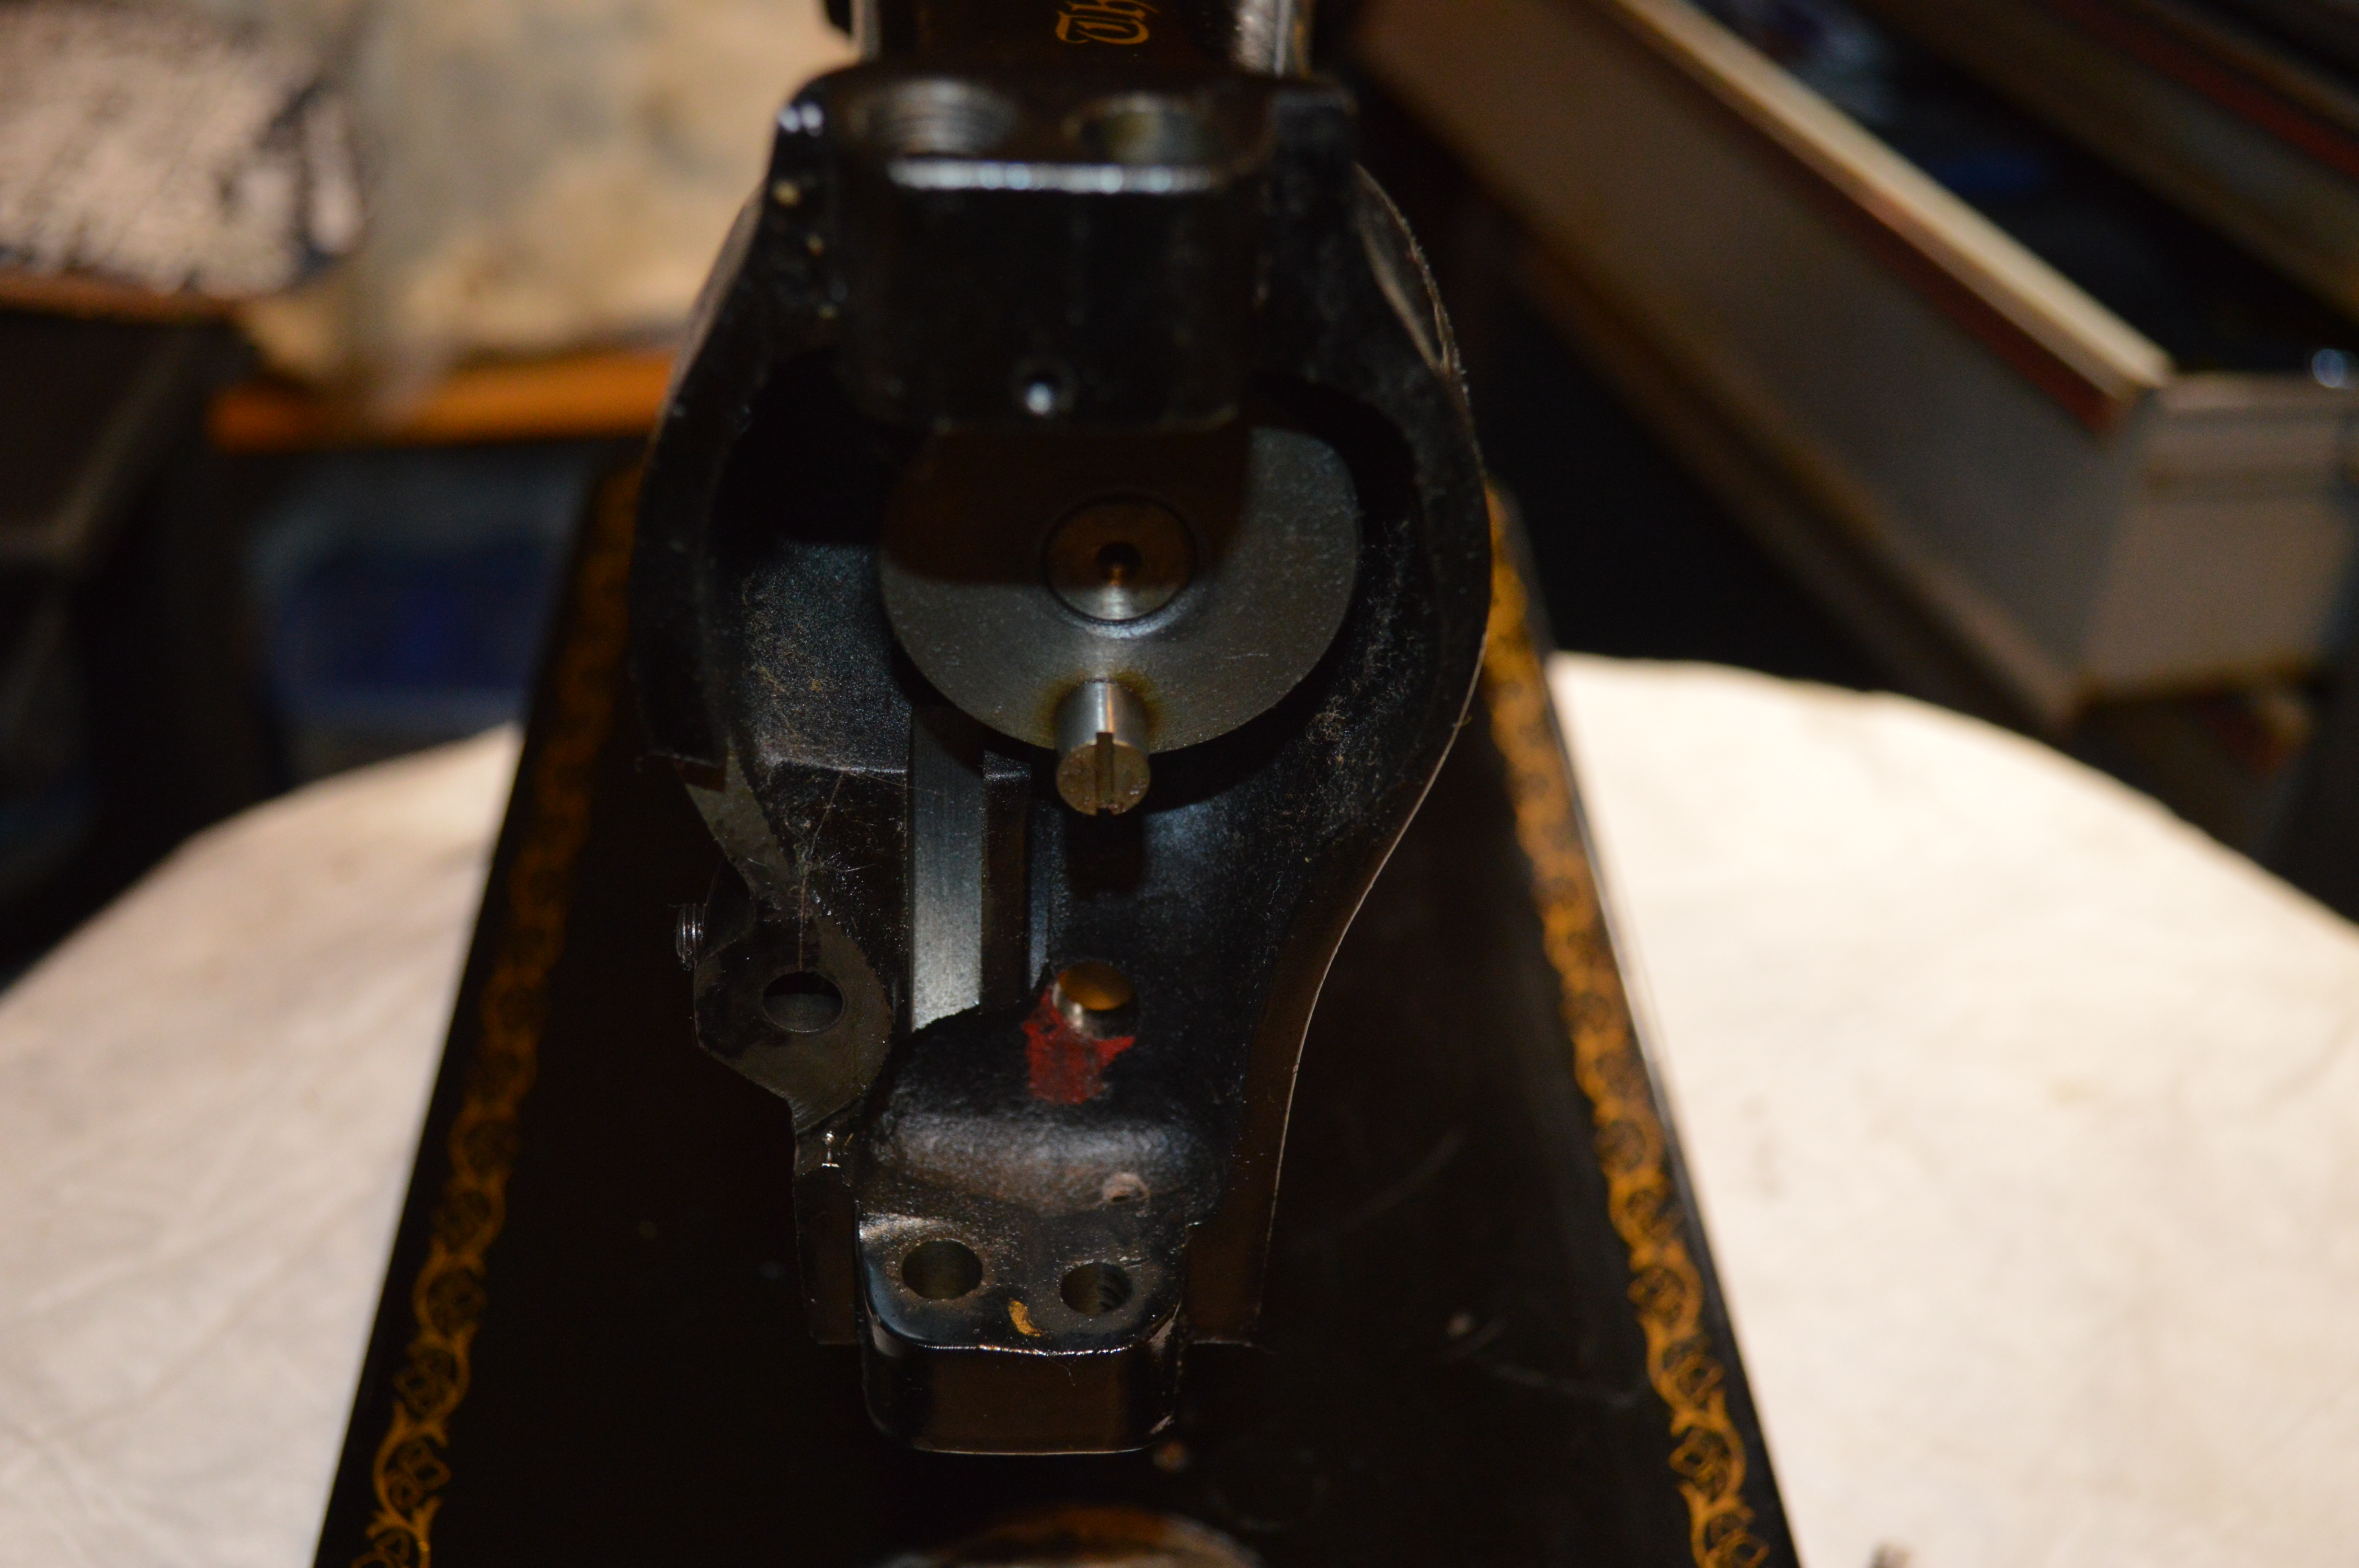
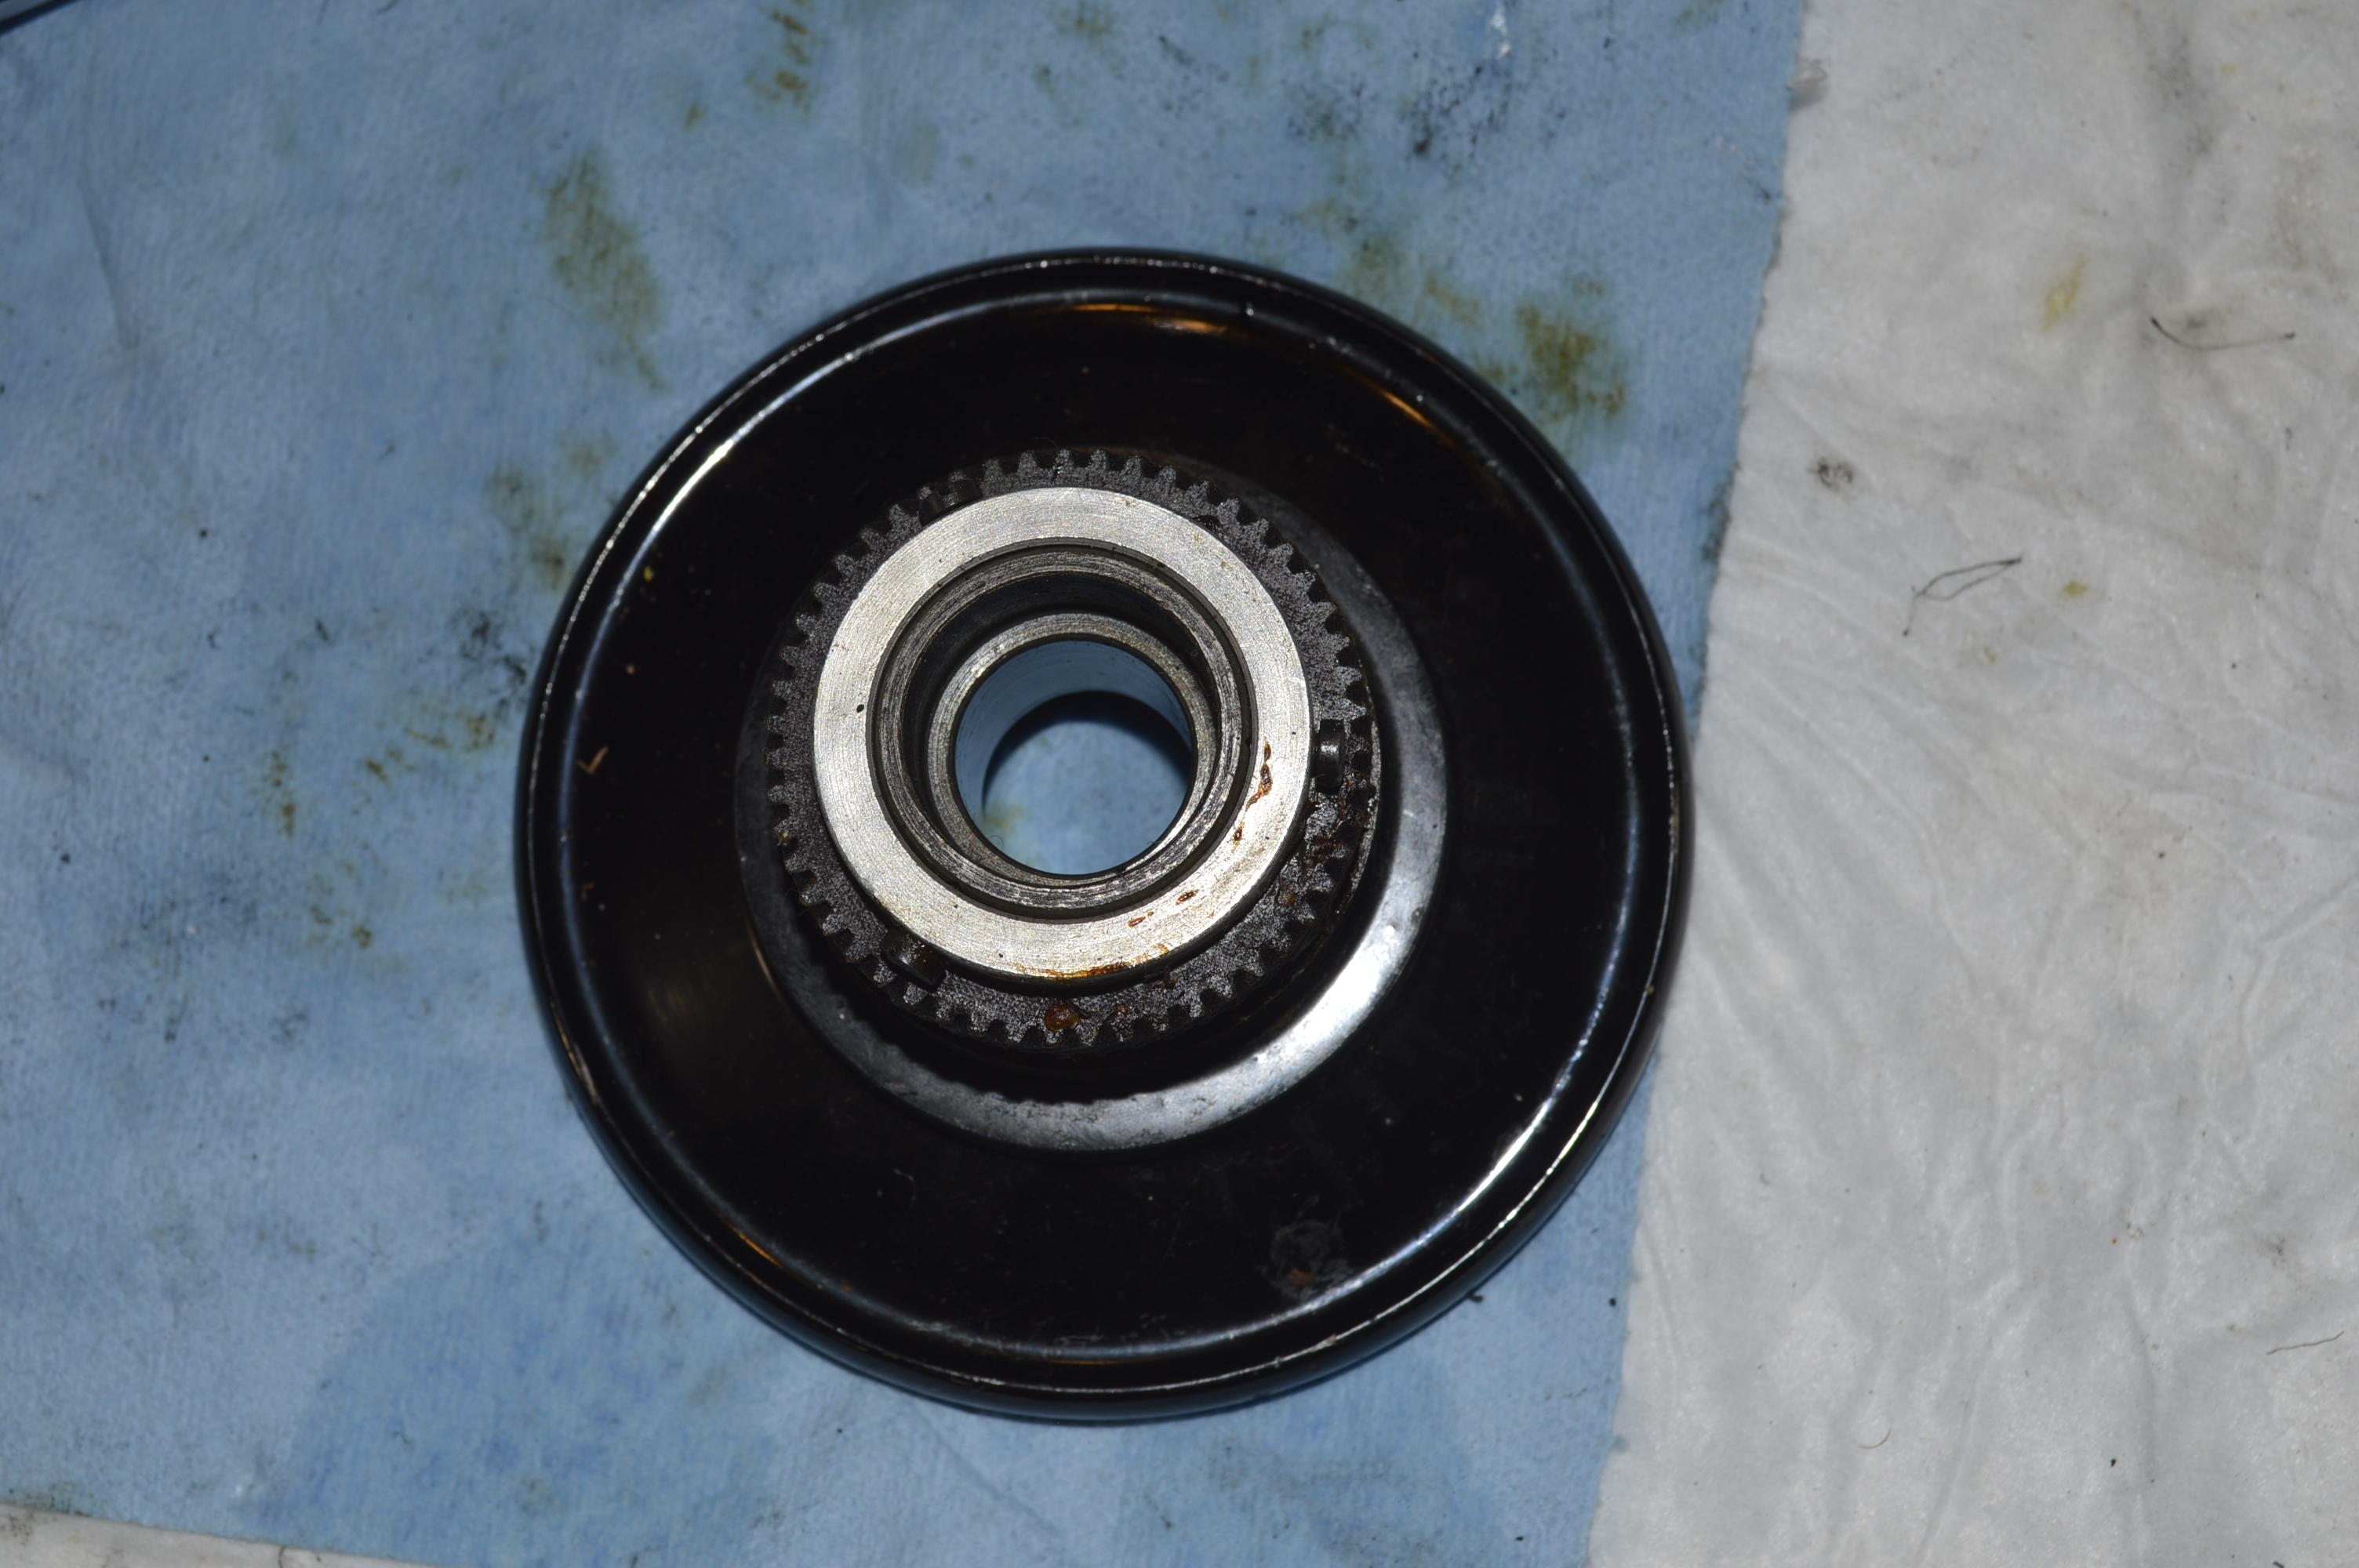
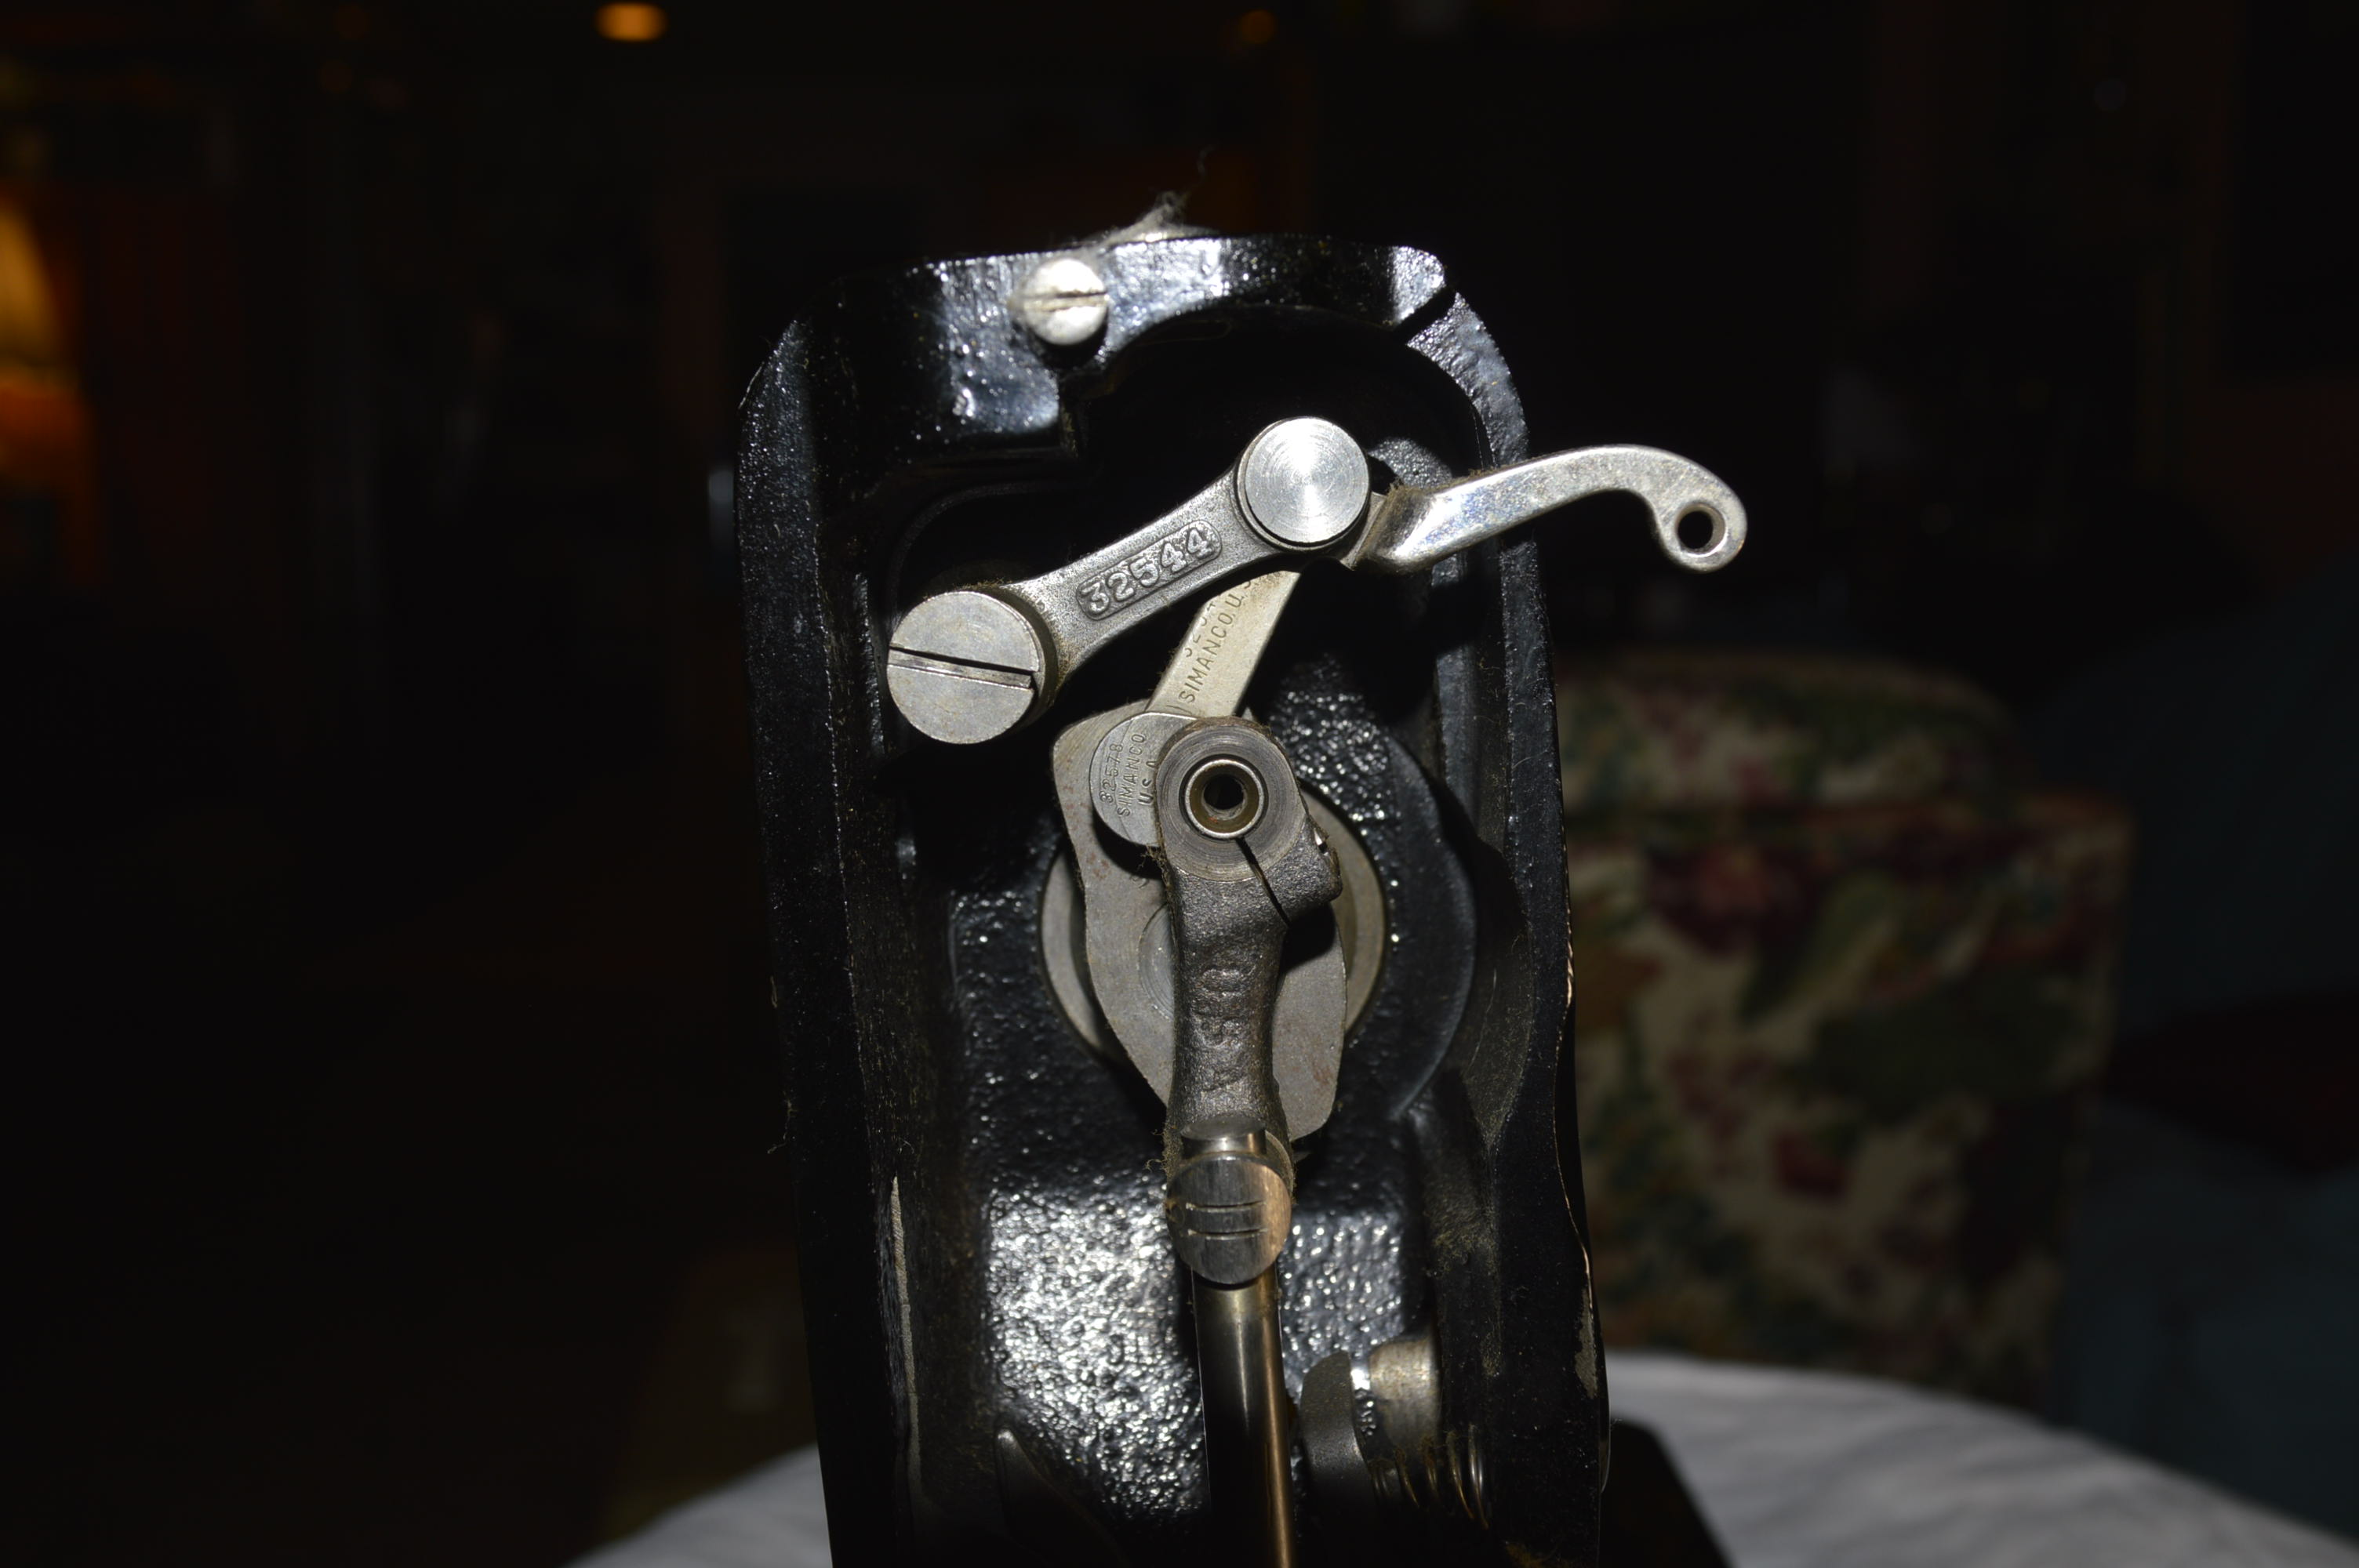
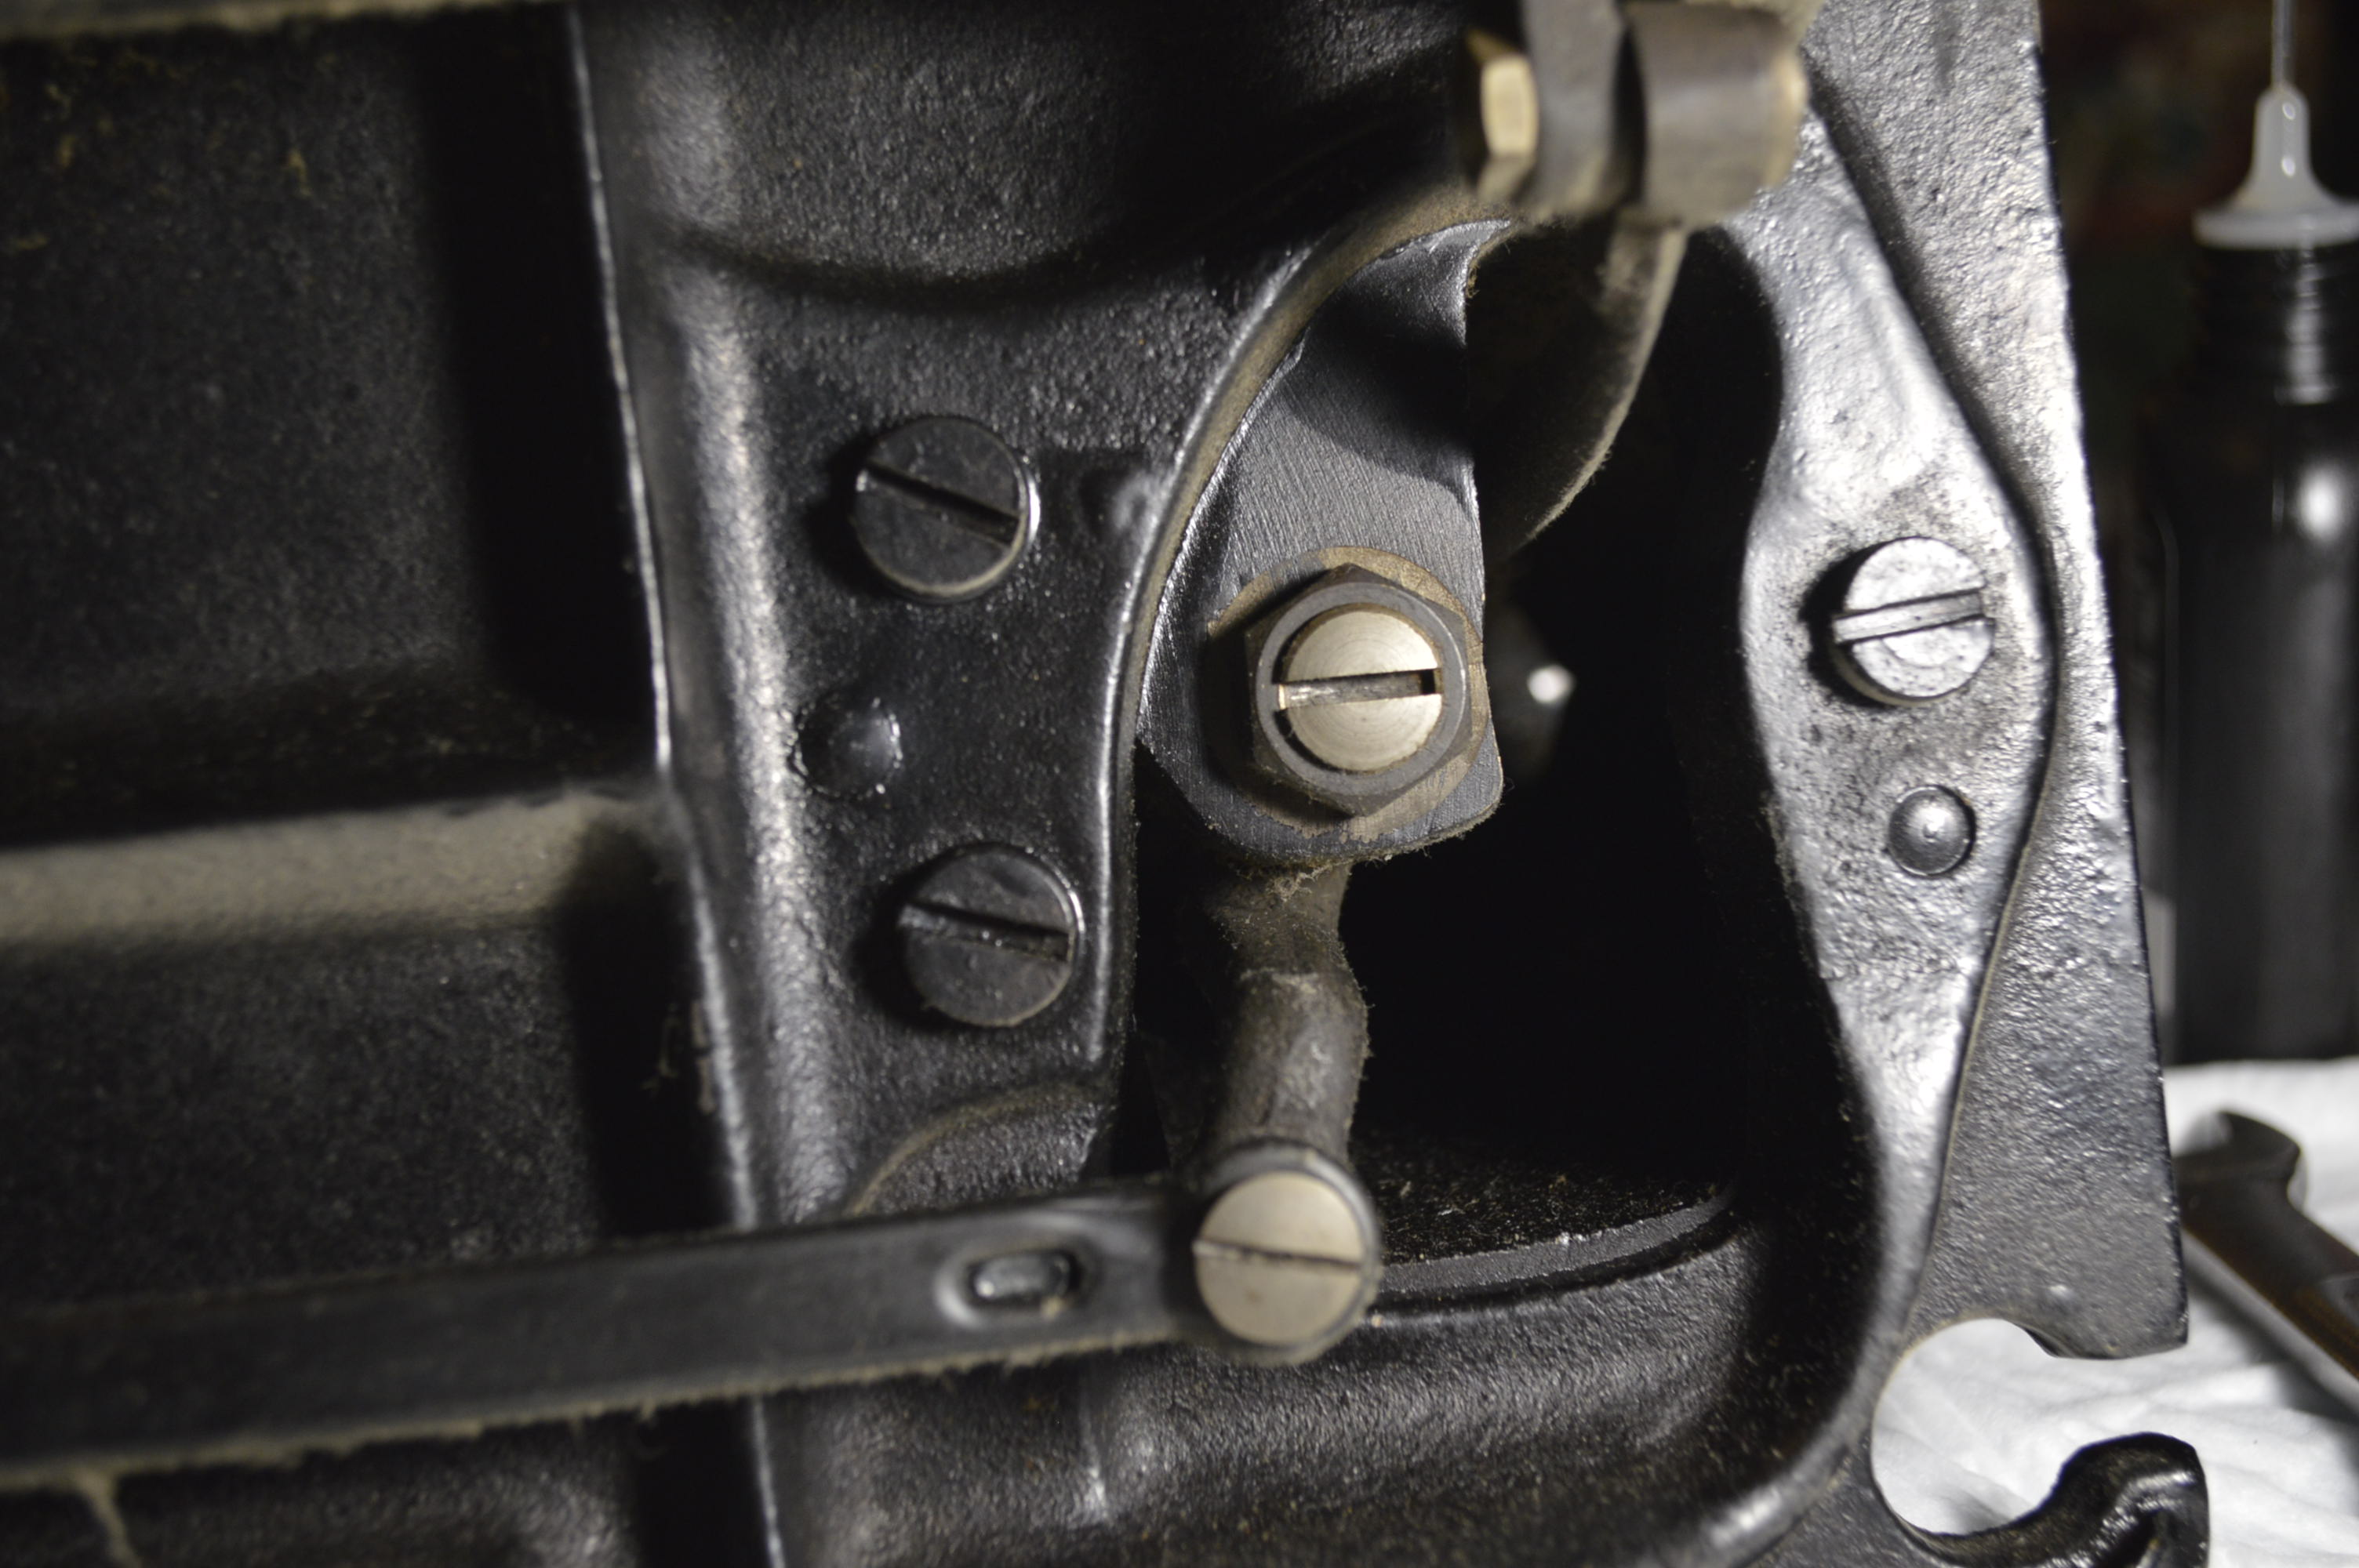
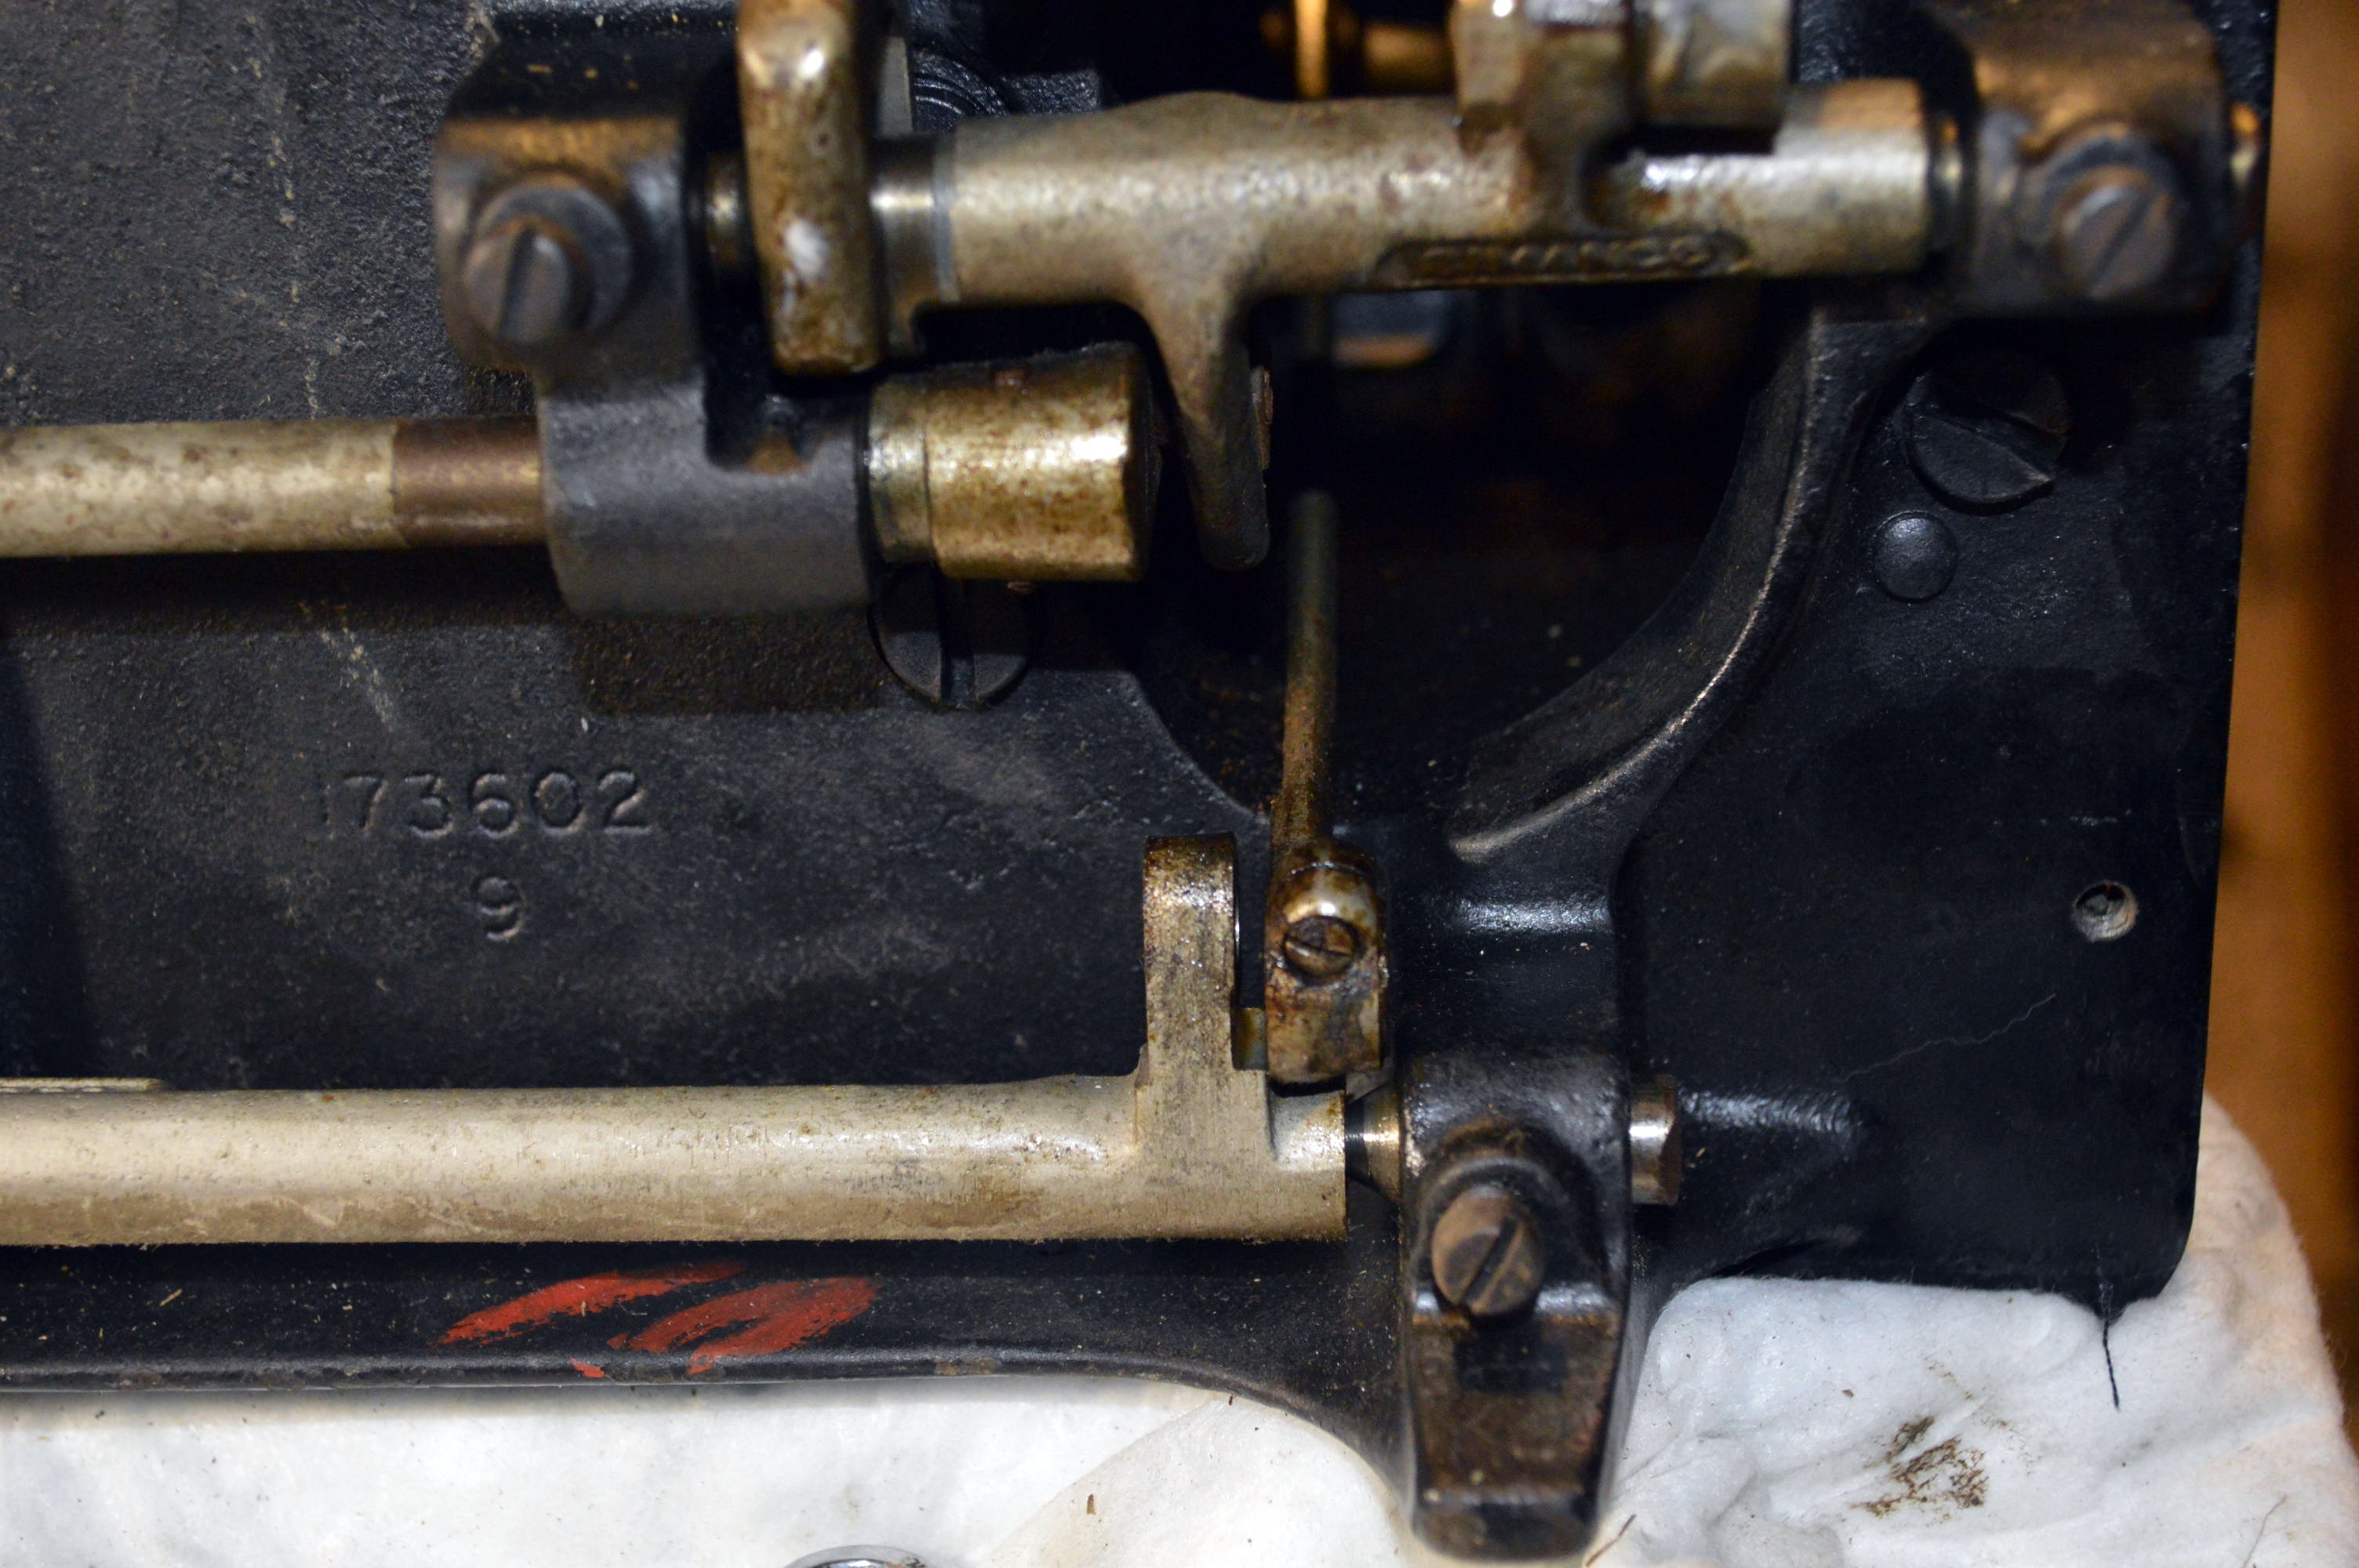
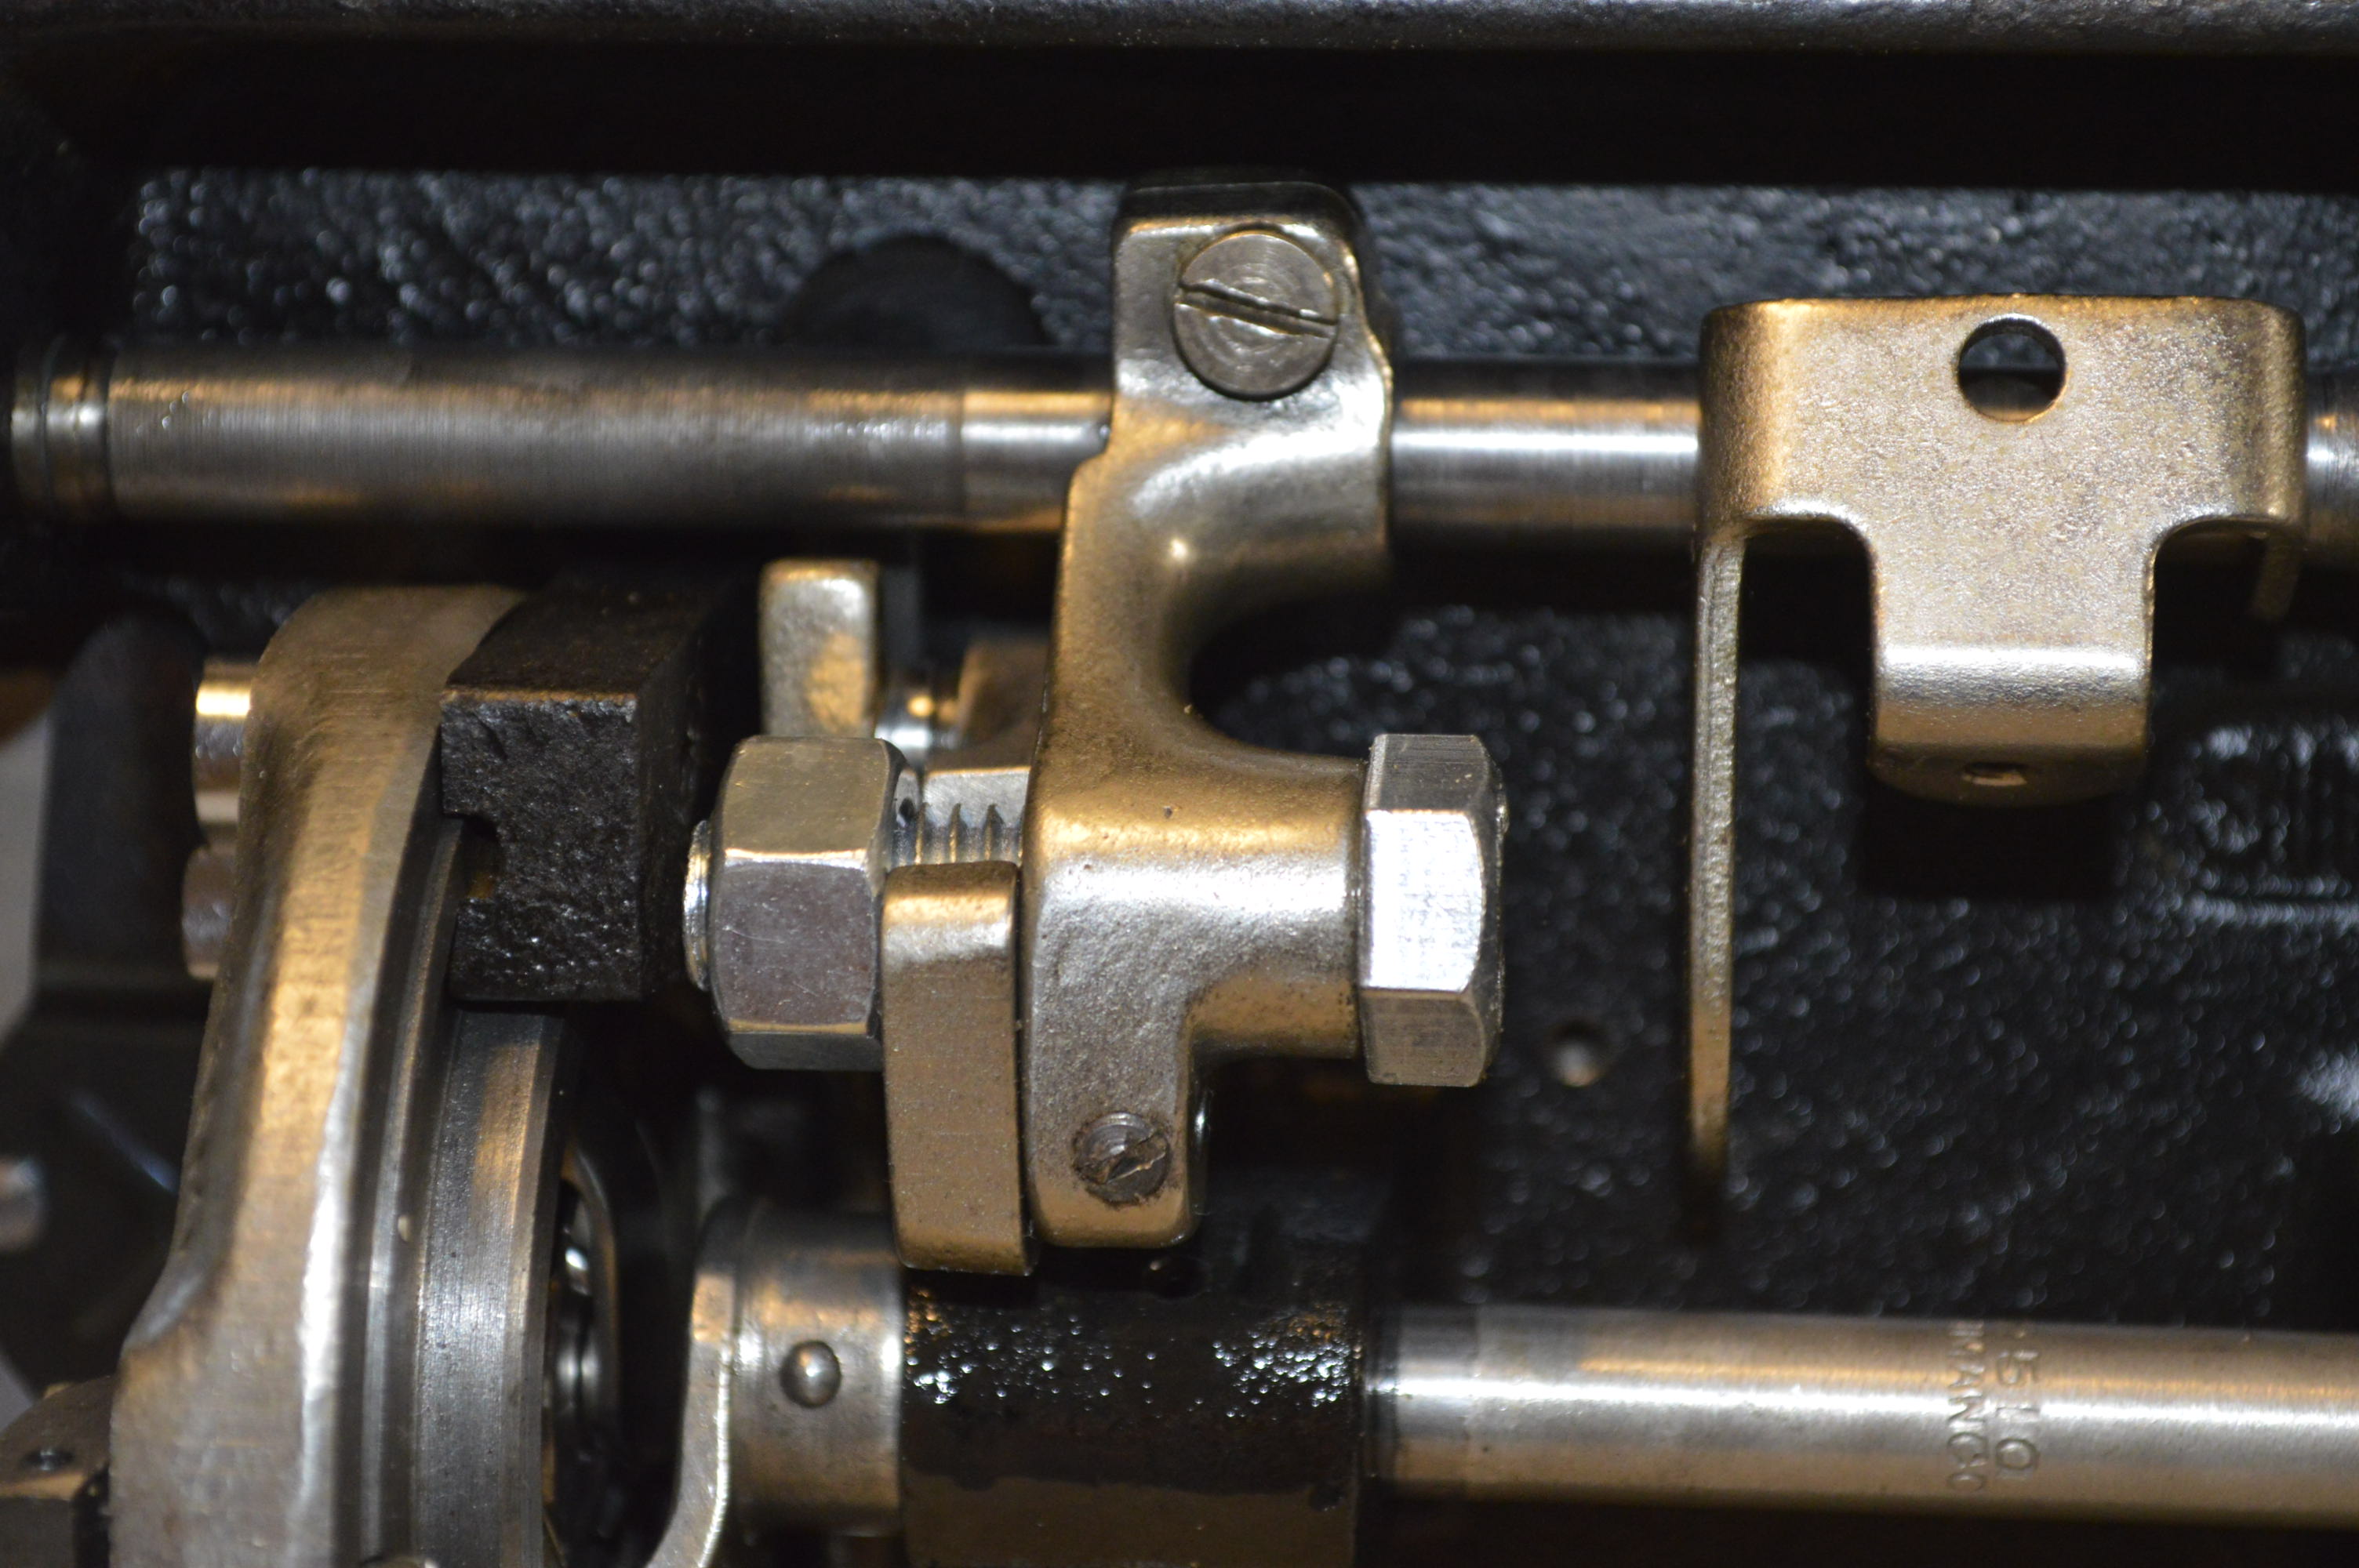
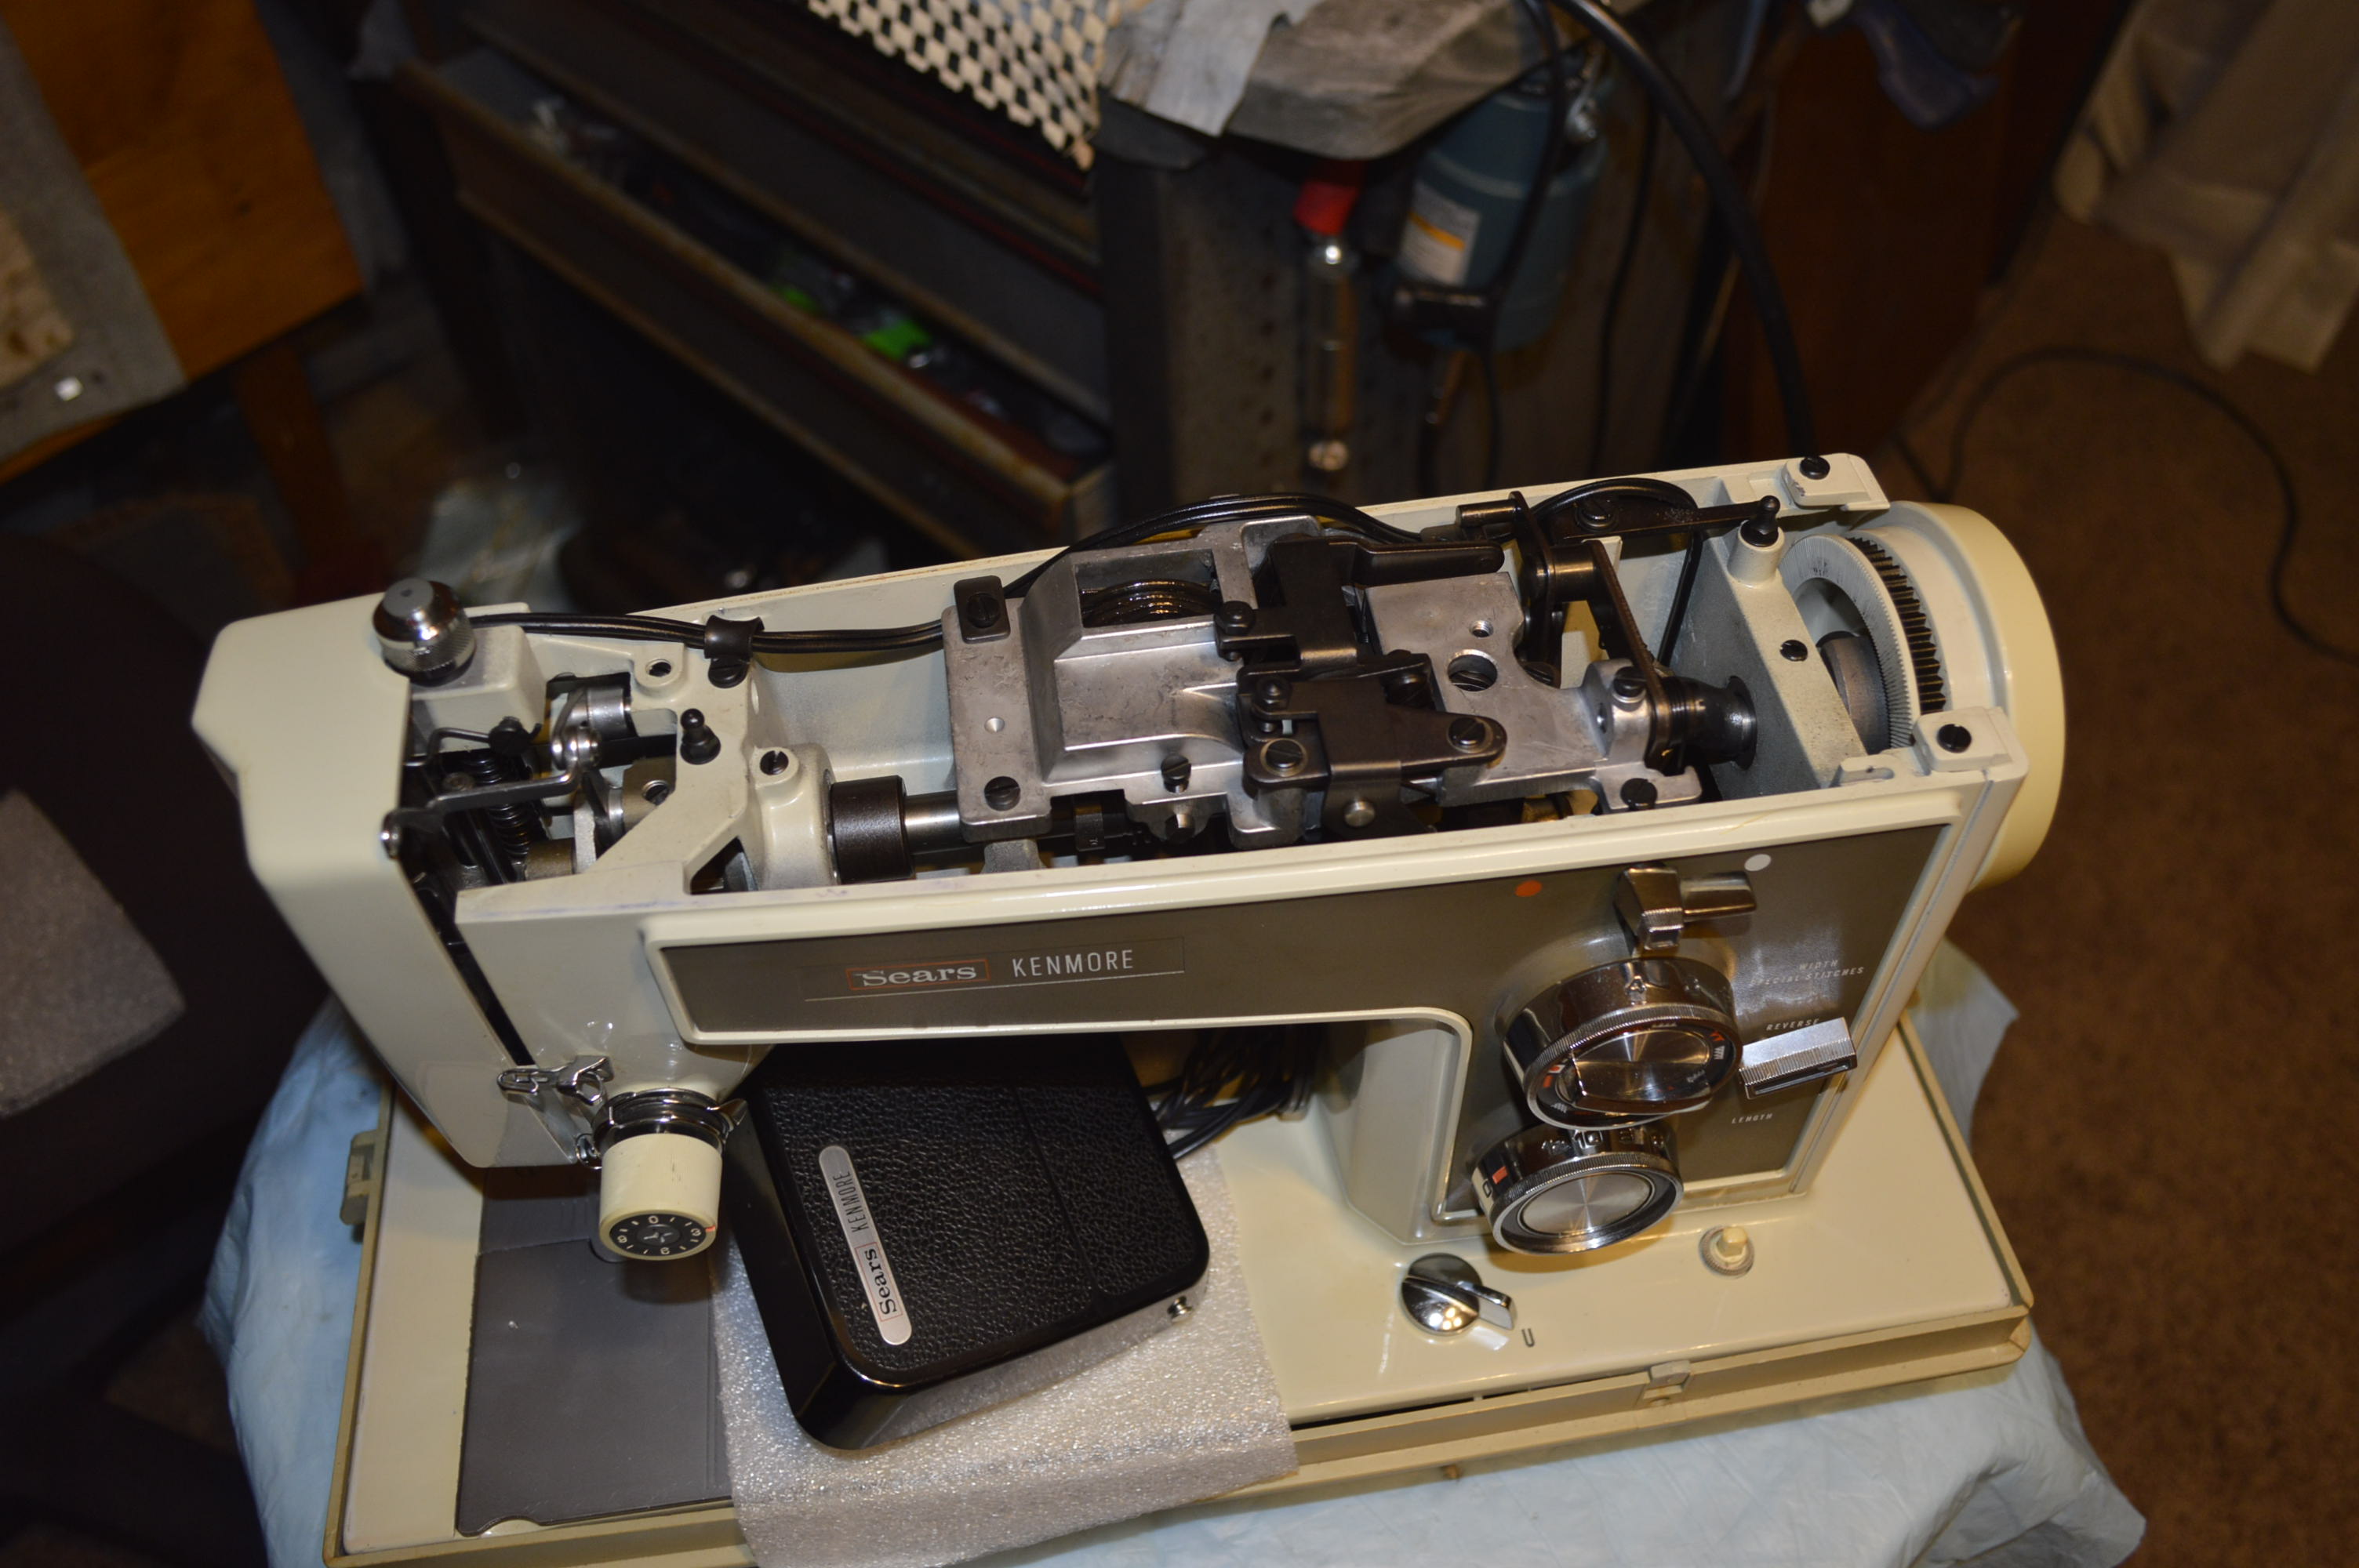
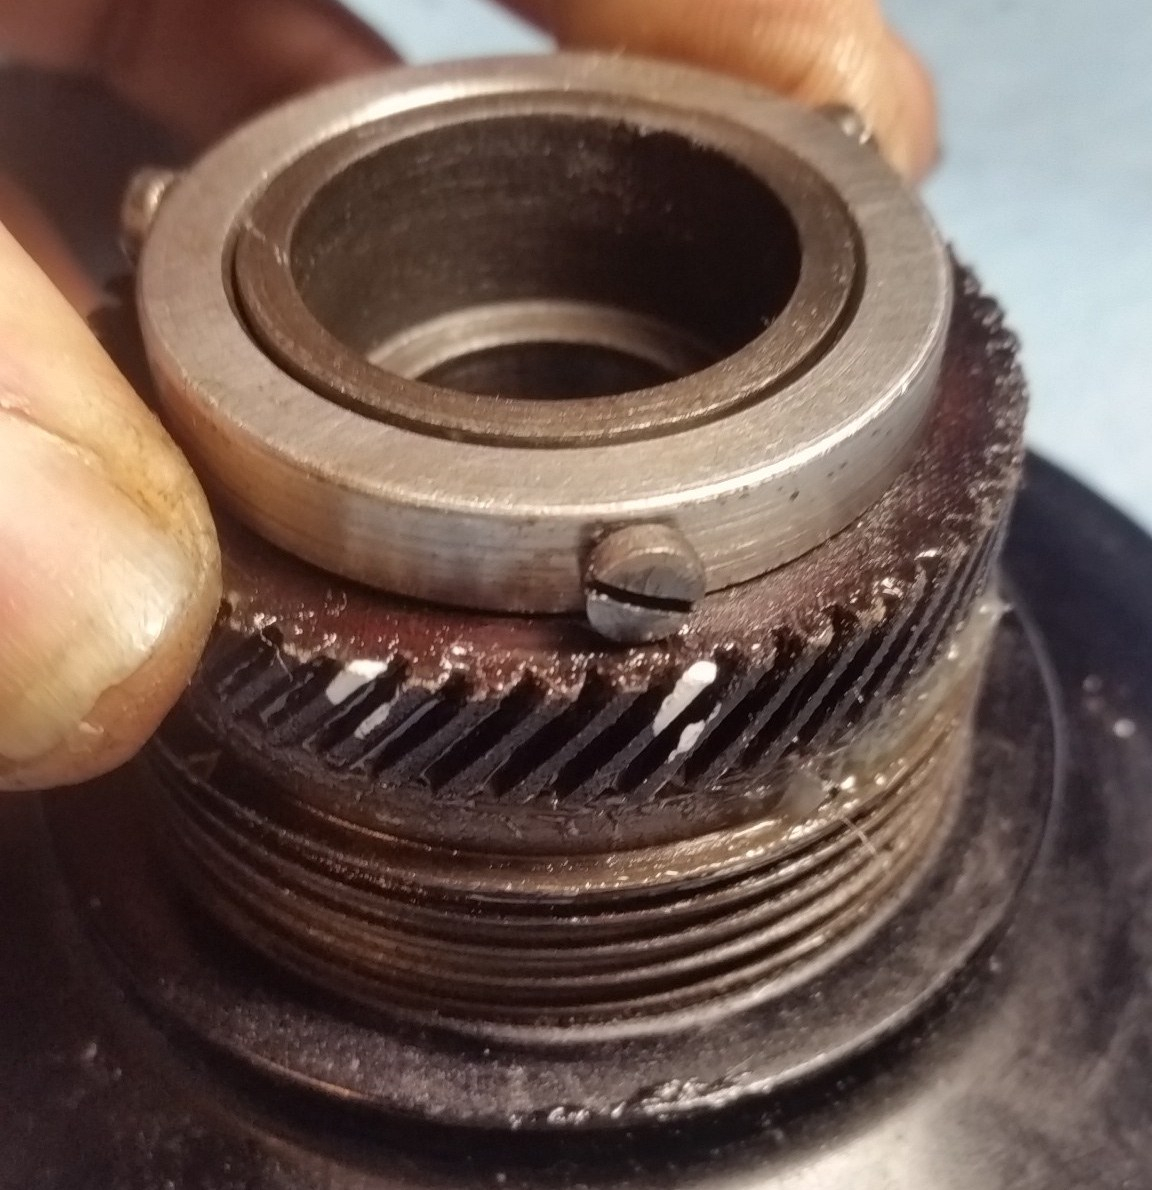
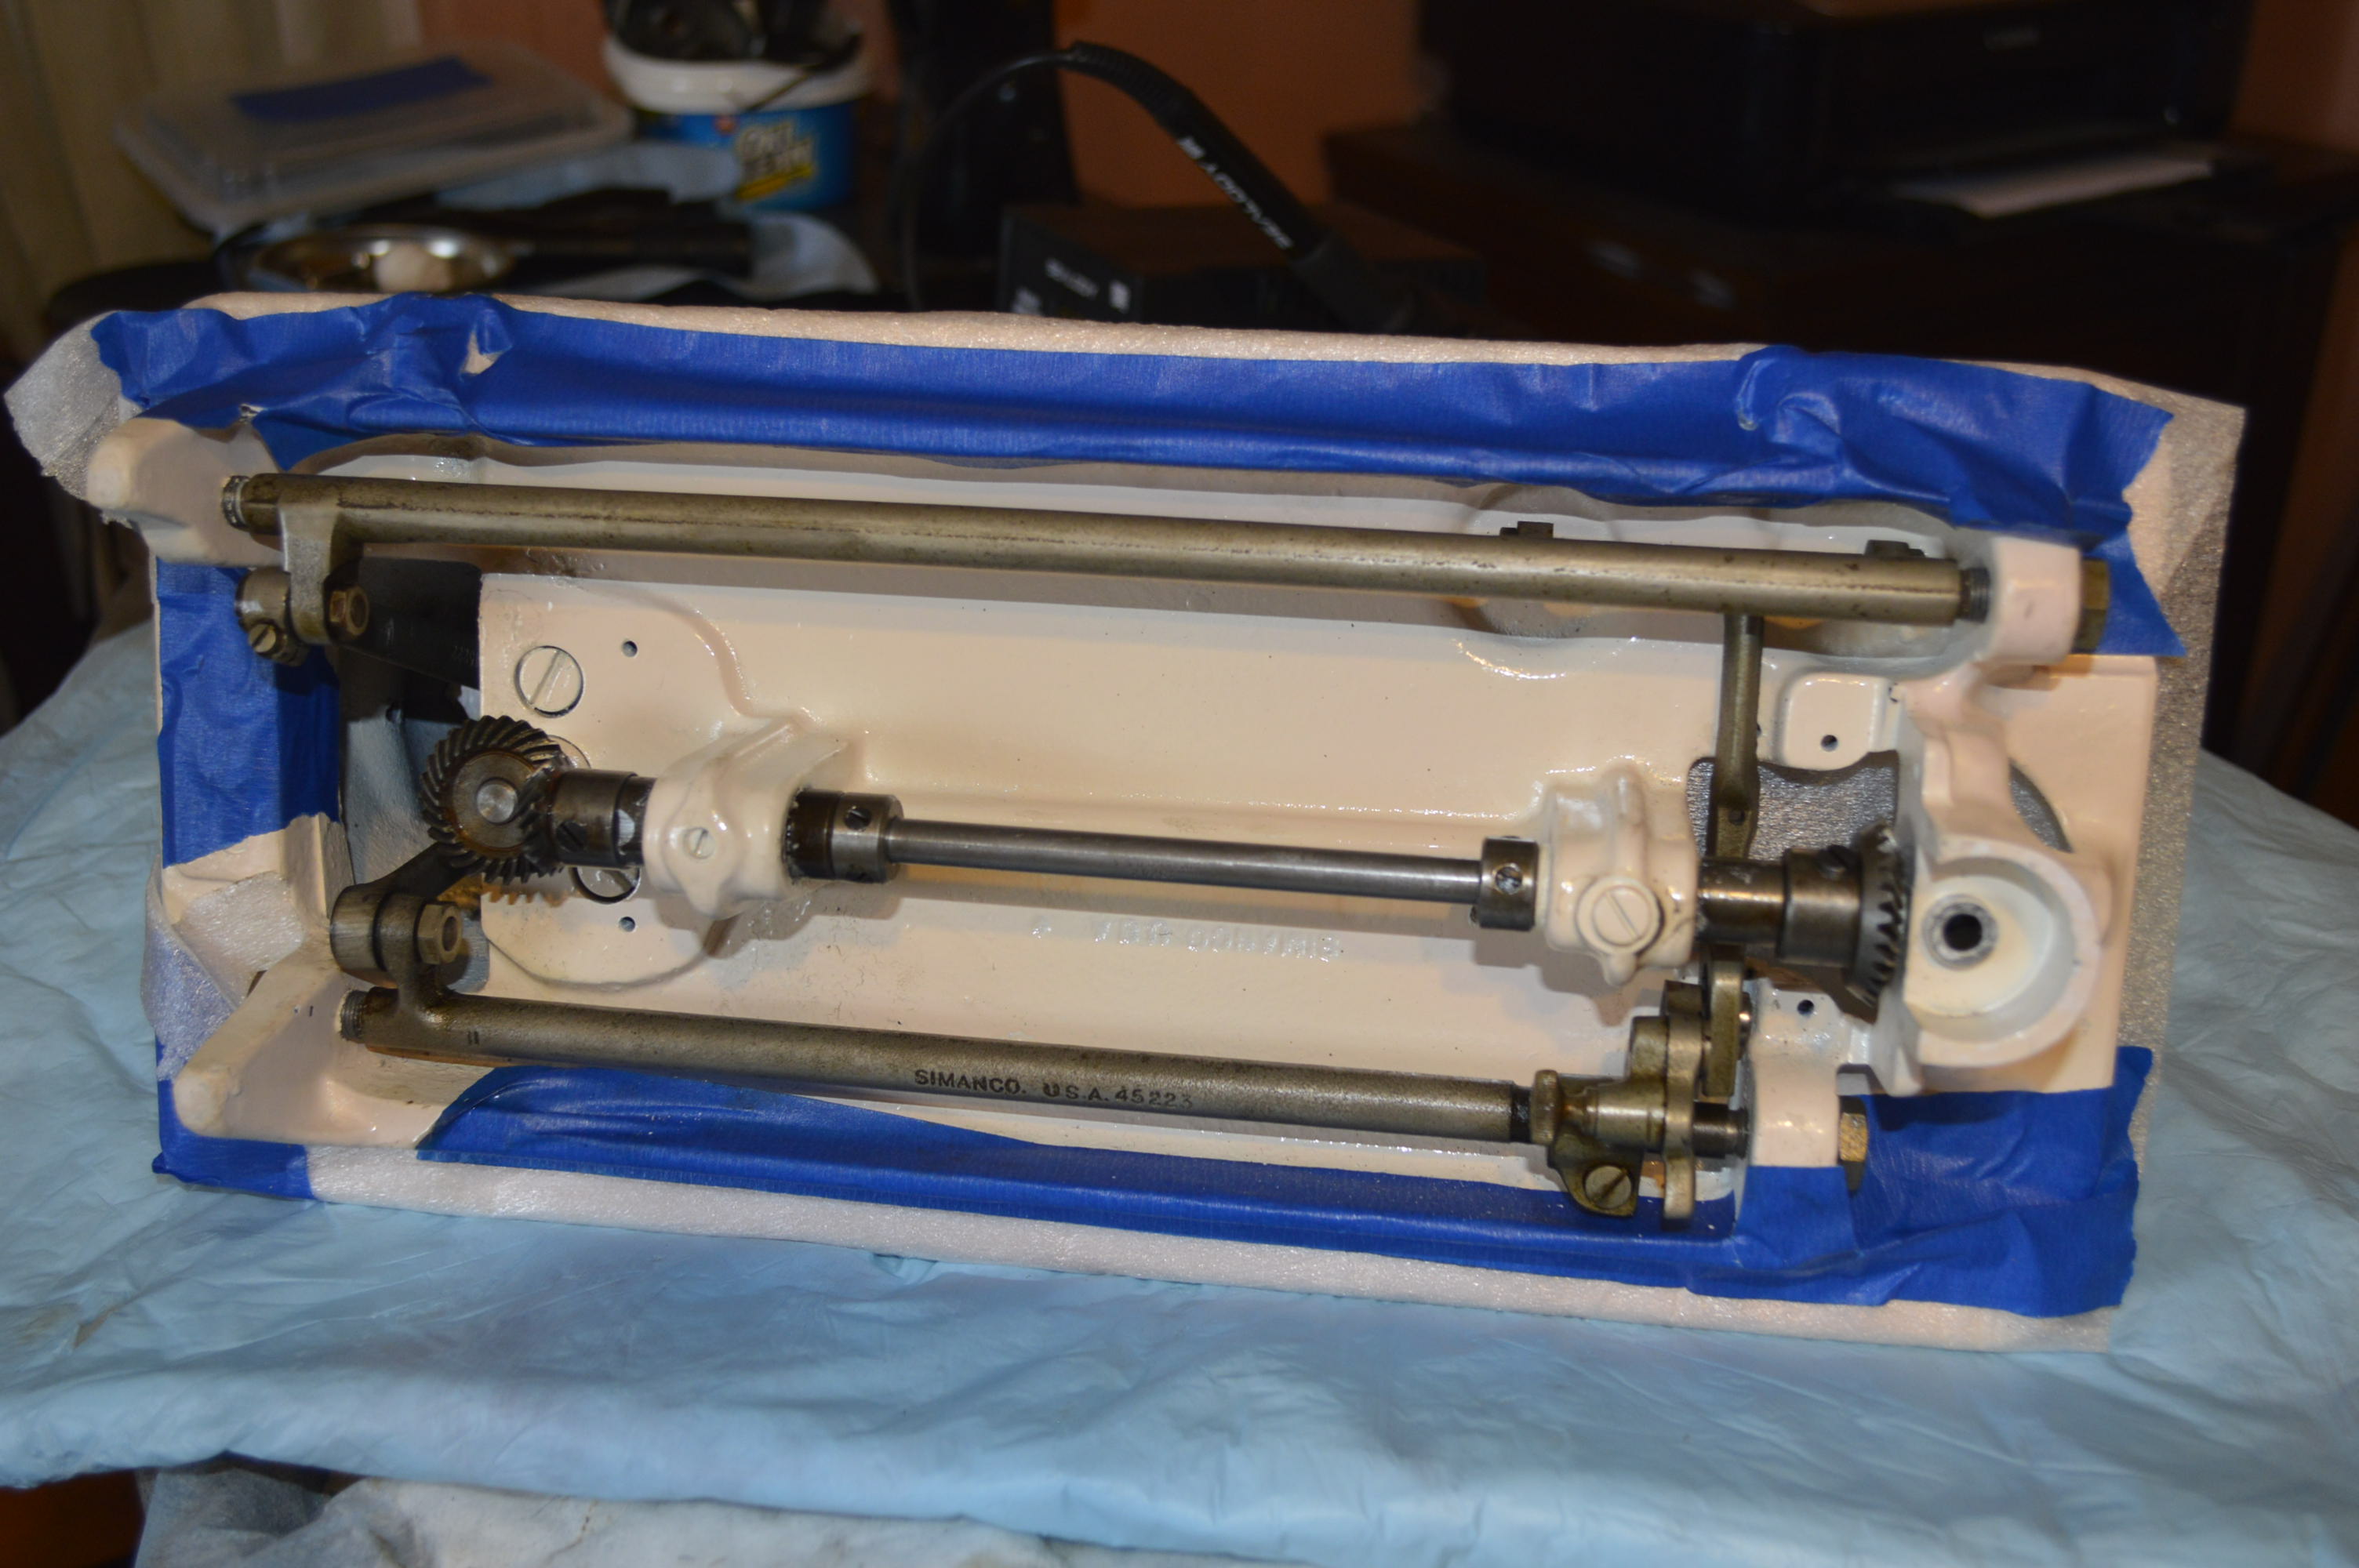
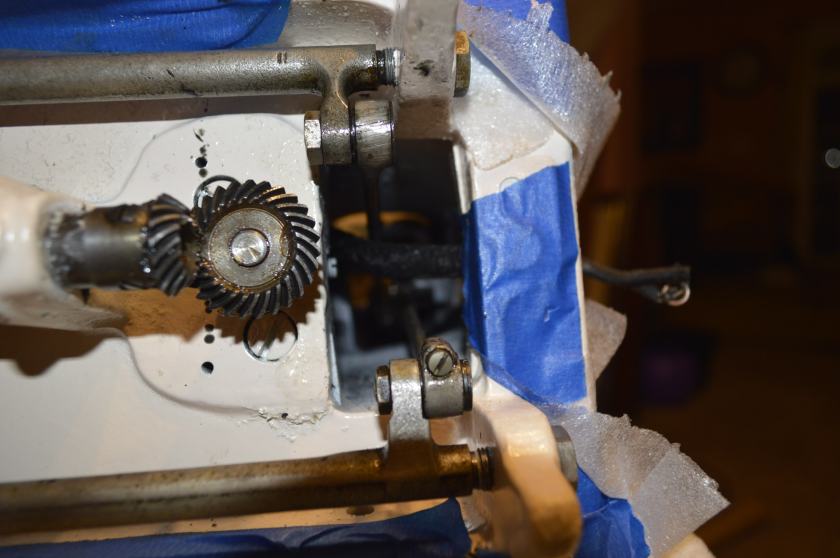
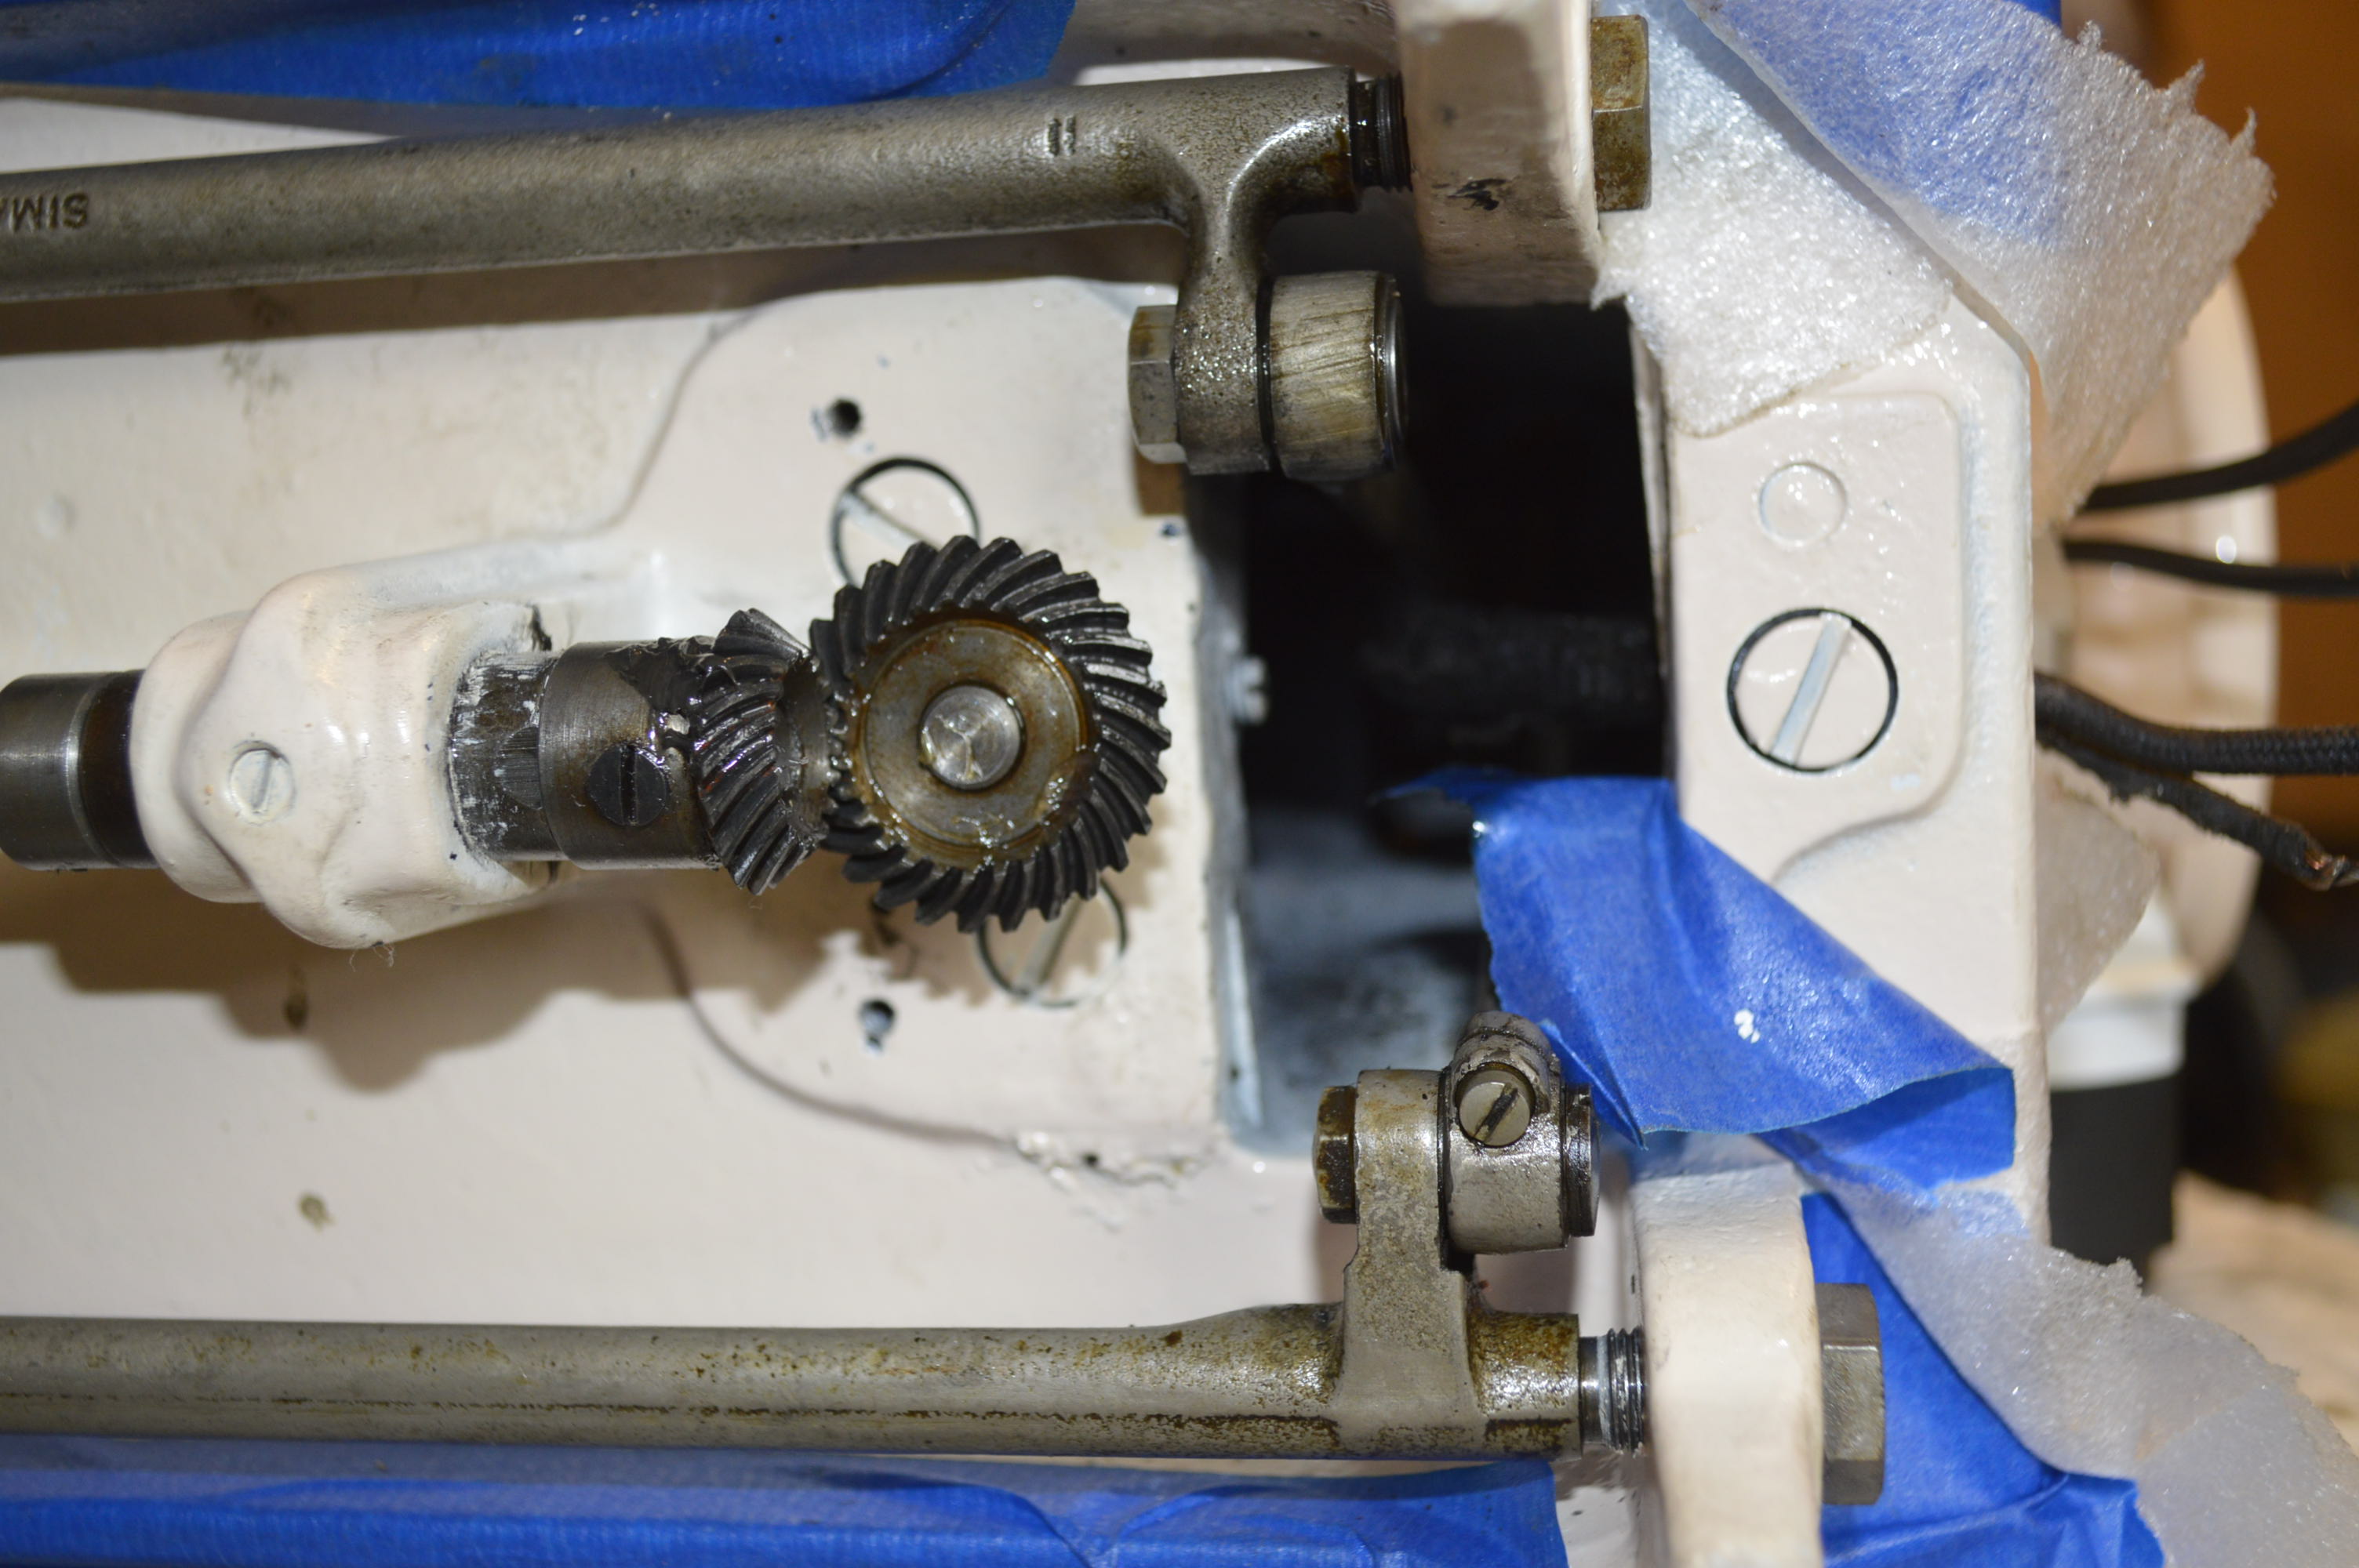
Notice the condition of the worm gears in the top sewing arm? One gear is bronze and the worm gear is heat treated steel. You may also notice that these gears are absent any indication of grease ever being applied.
Now, here’s where I digress and wonder (rant) how sewing machine manufacturers convinced everyone that plastic drive gears were actually a good thing. The claim was that nylon gears are quiet and because they are self lubricating, they are easier for the end user to maintain. Well… guess what… it turns out that bronze gear teeth rubbing on case-hardened steel worm gear threads provides strength and a lubricity not found in other metal combinations. In simple terms, they are self lubricating. Another fact to consider in debunking the myth that nylon gears were a “good” thing, is that bronze and steel worm gears run quiet and are used in industry because they reduce maintenance and lubrication. Huh… anyway, back to this machine.
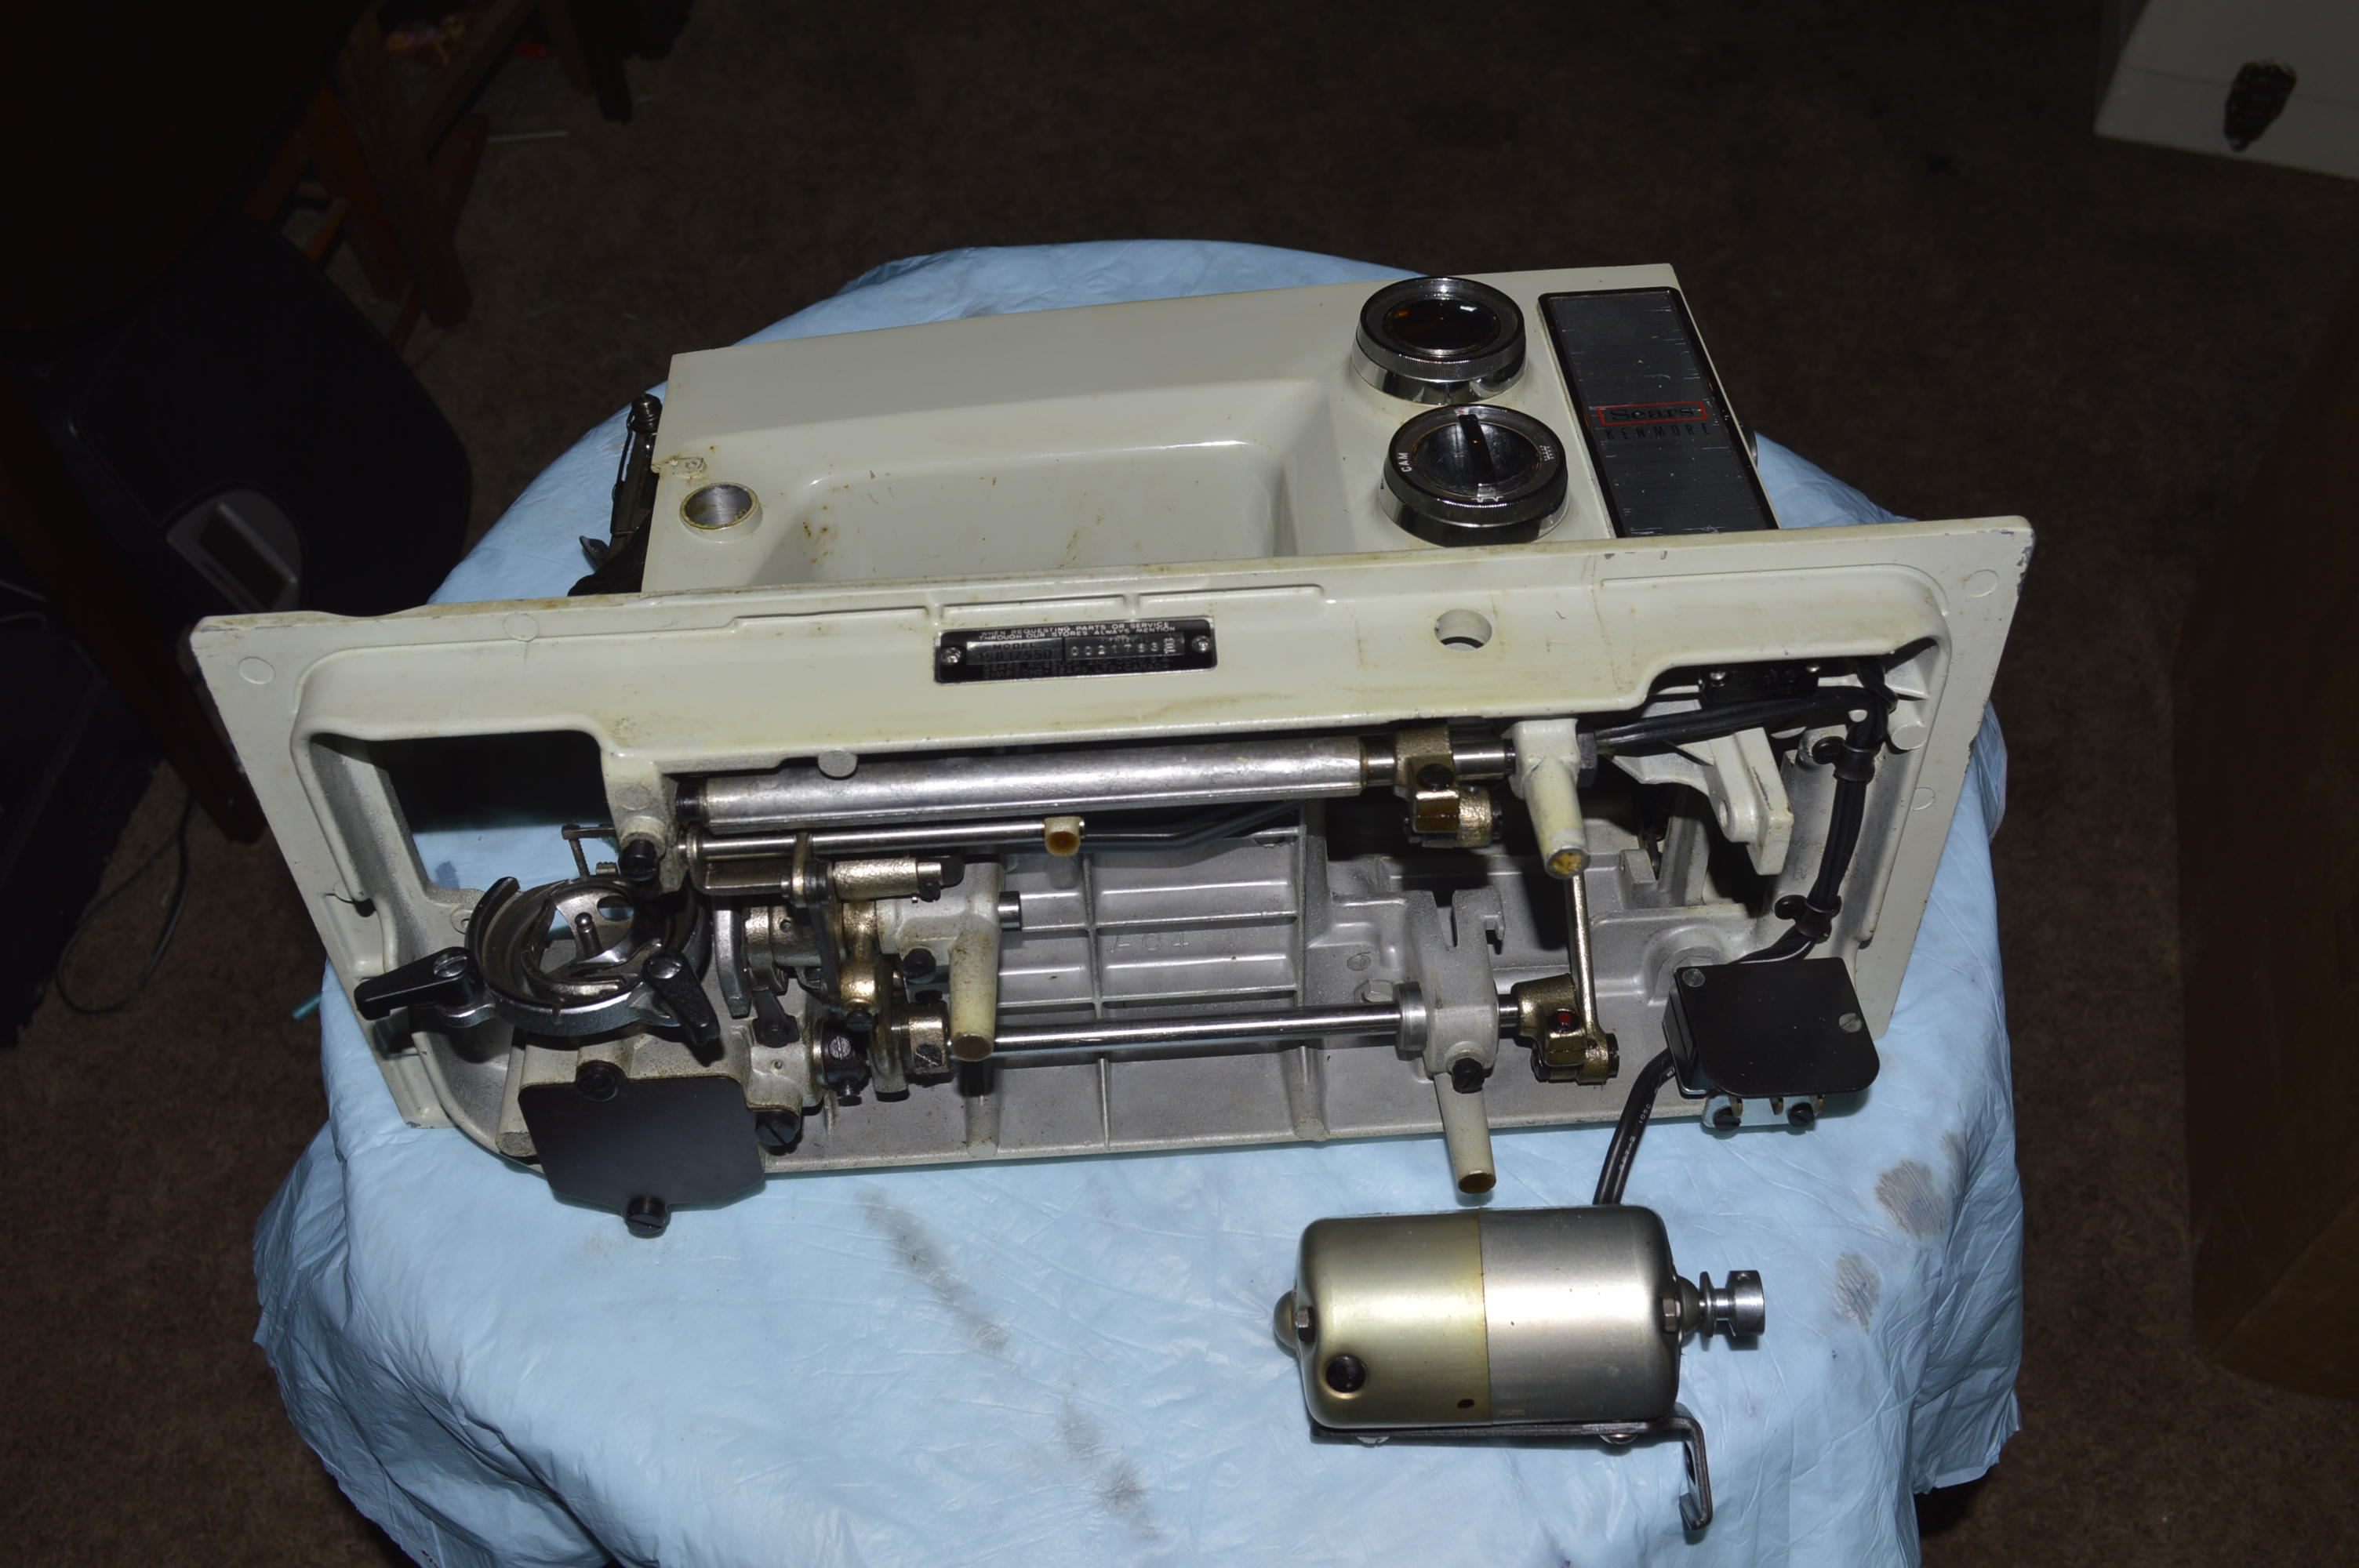
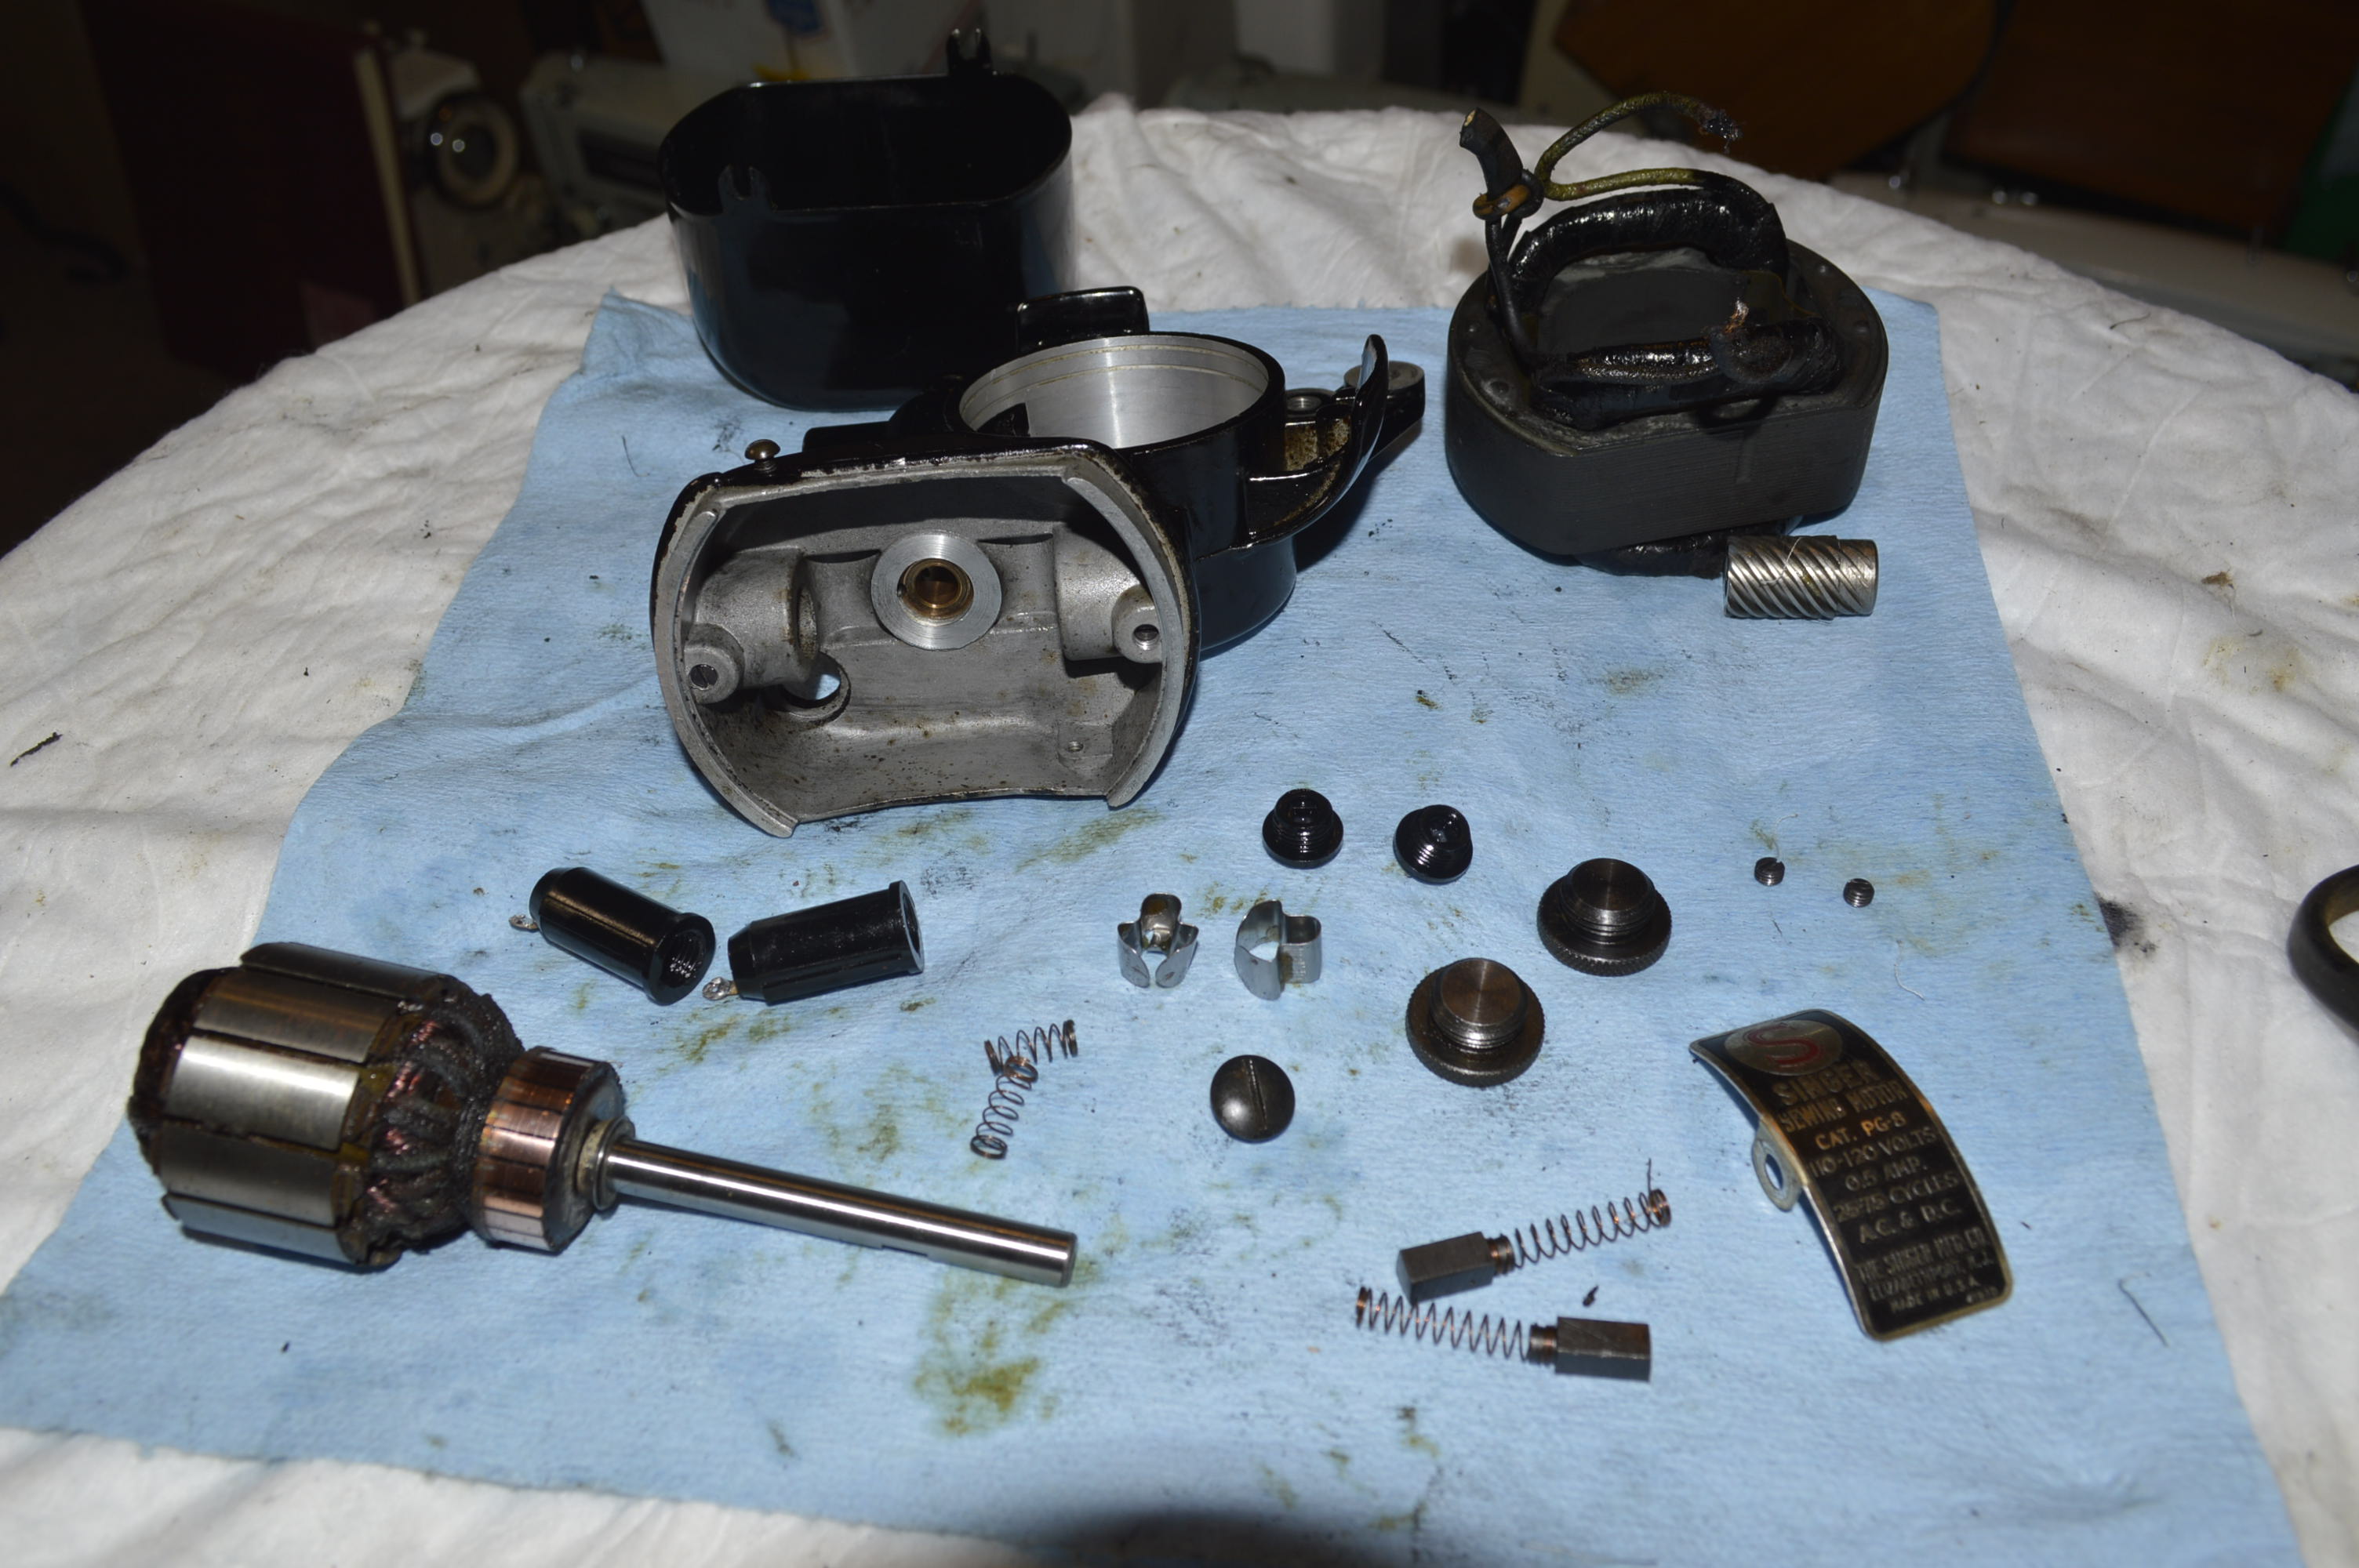
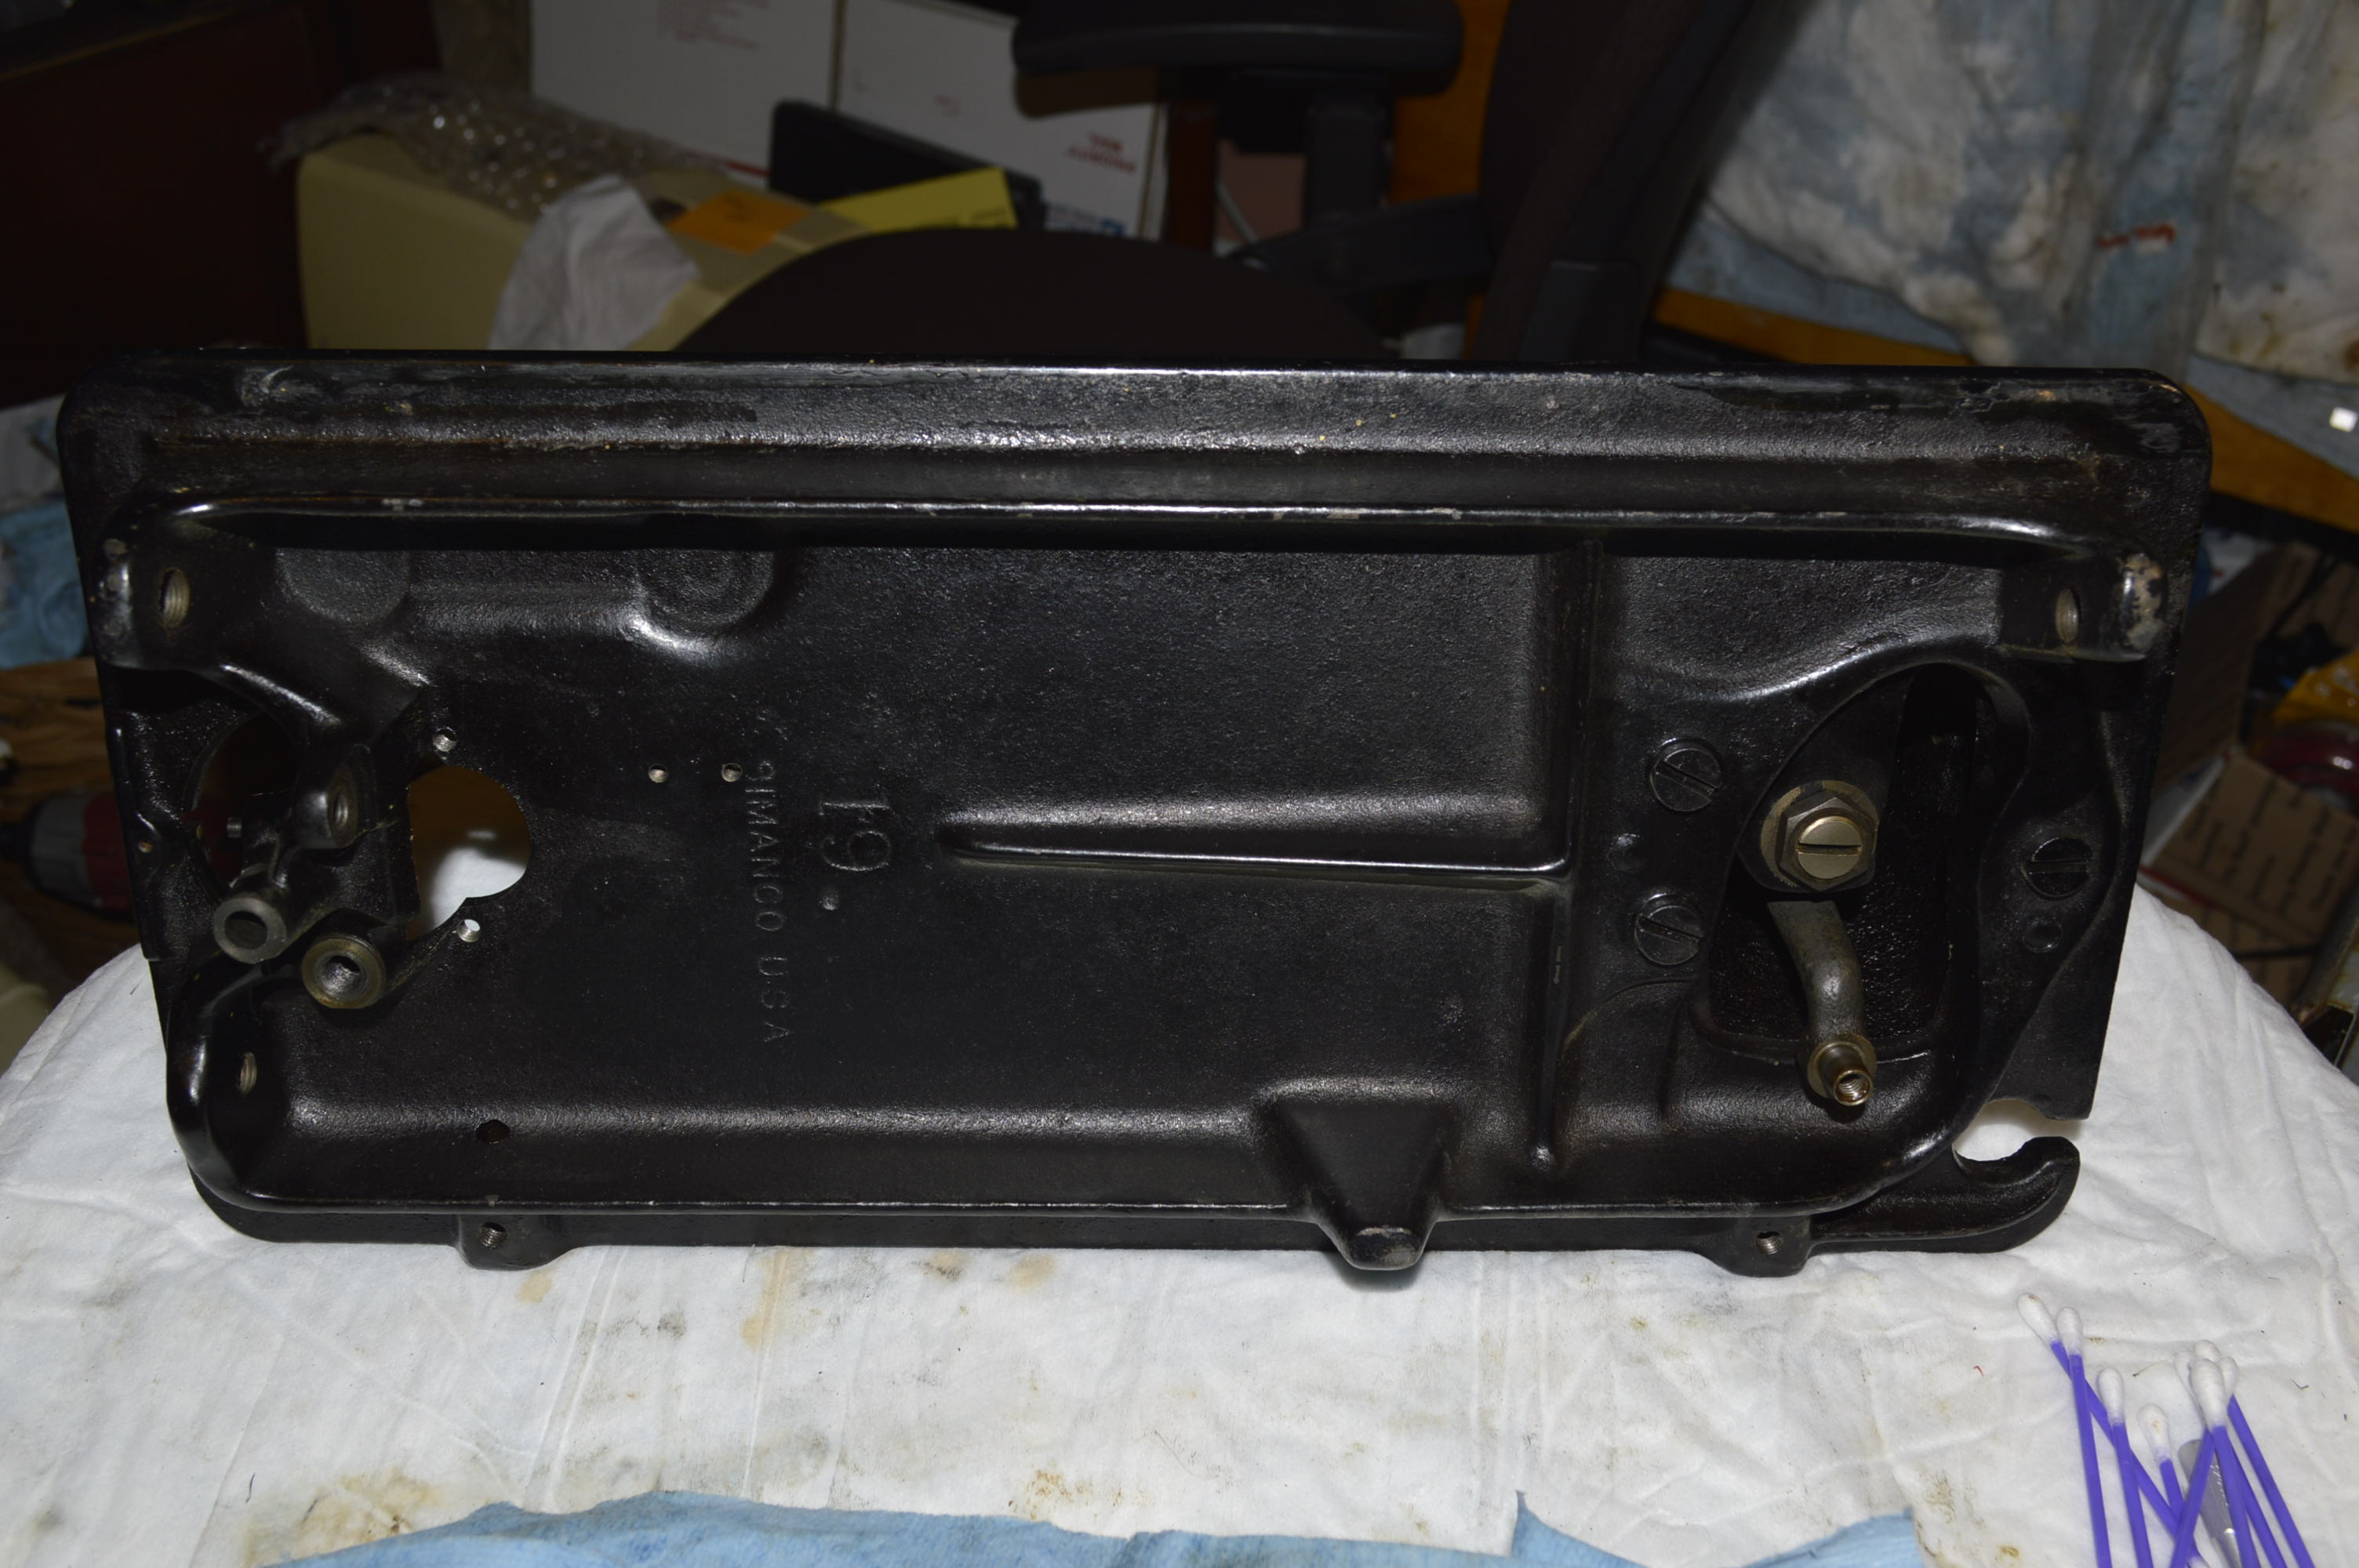
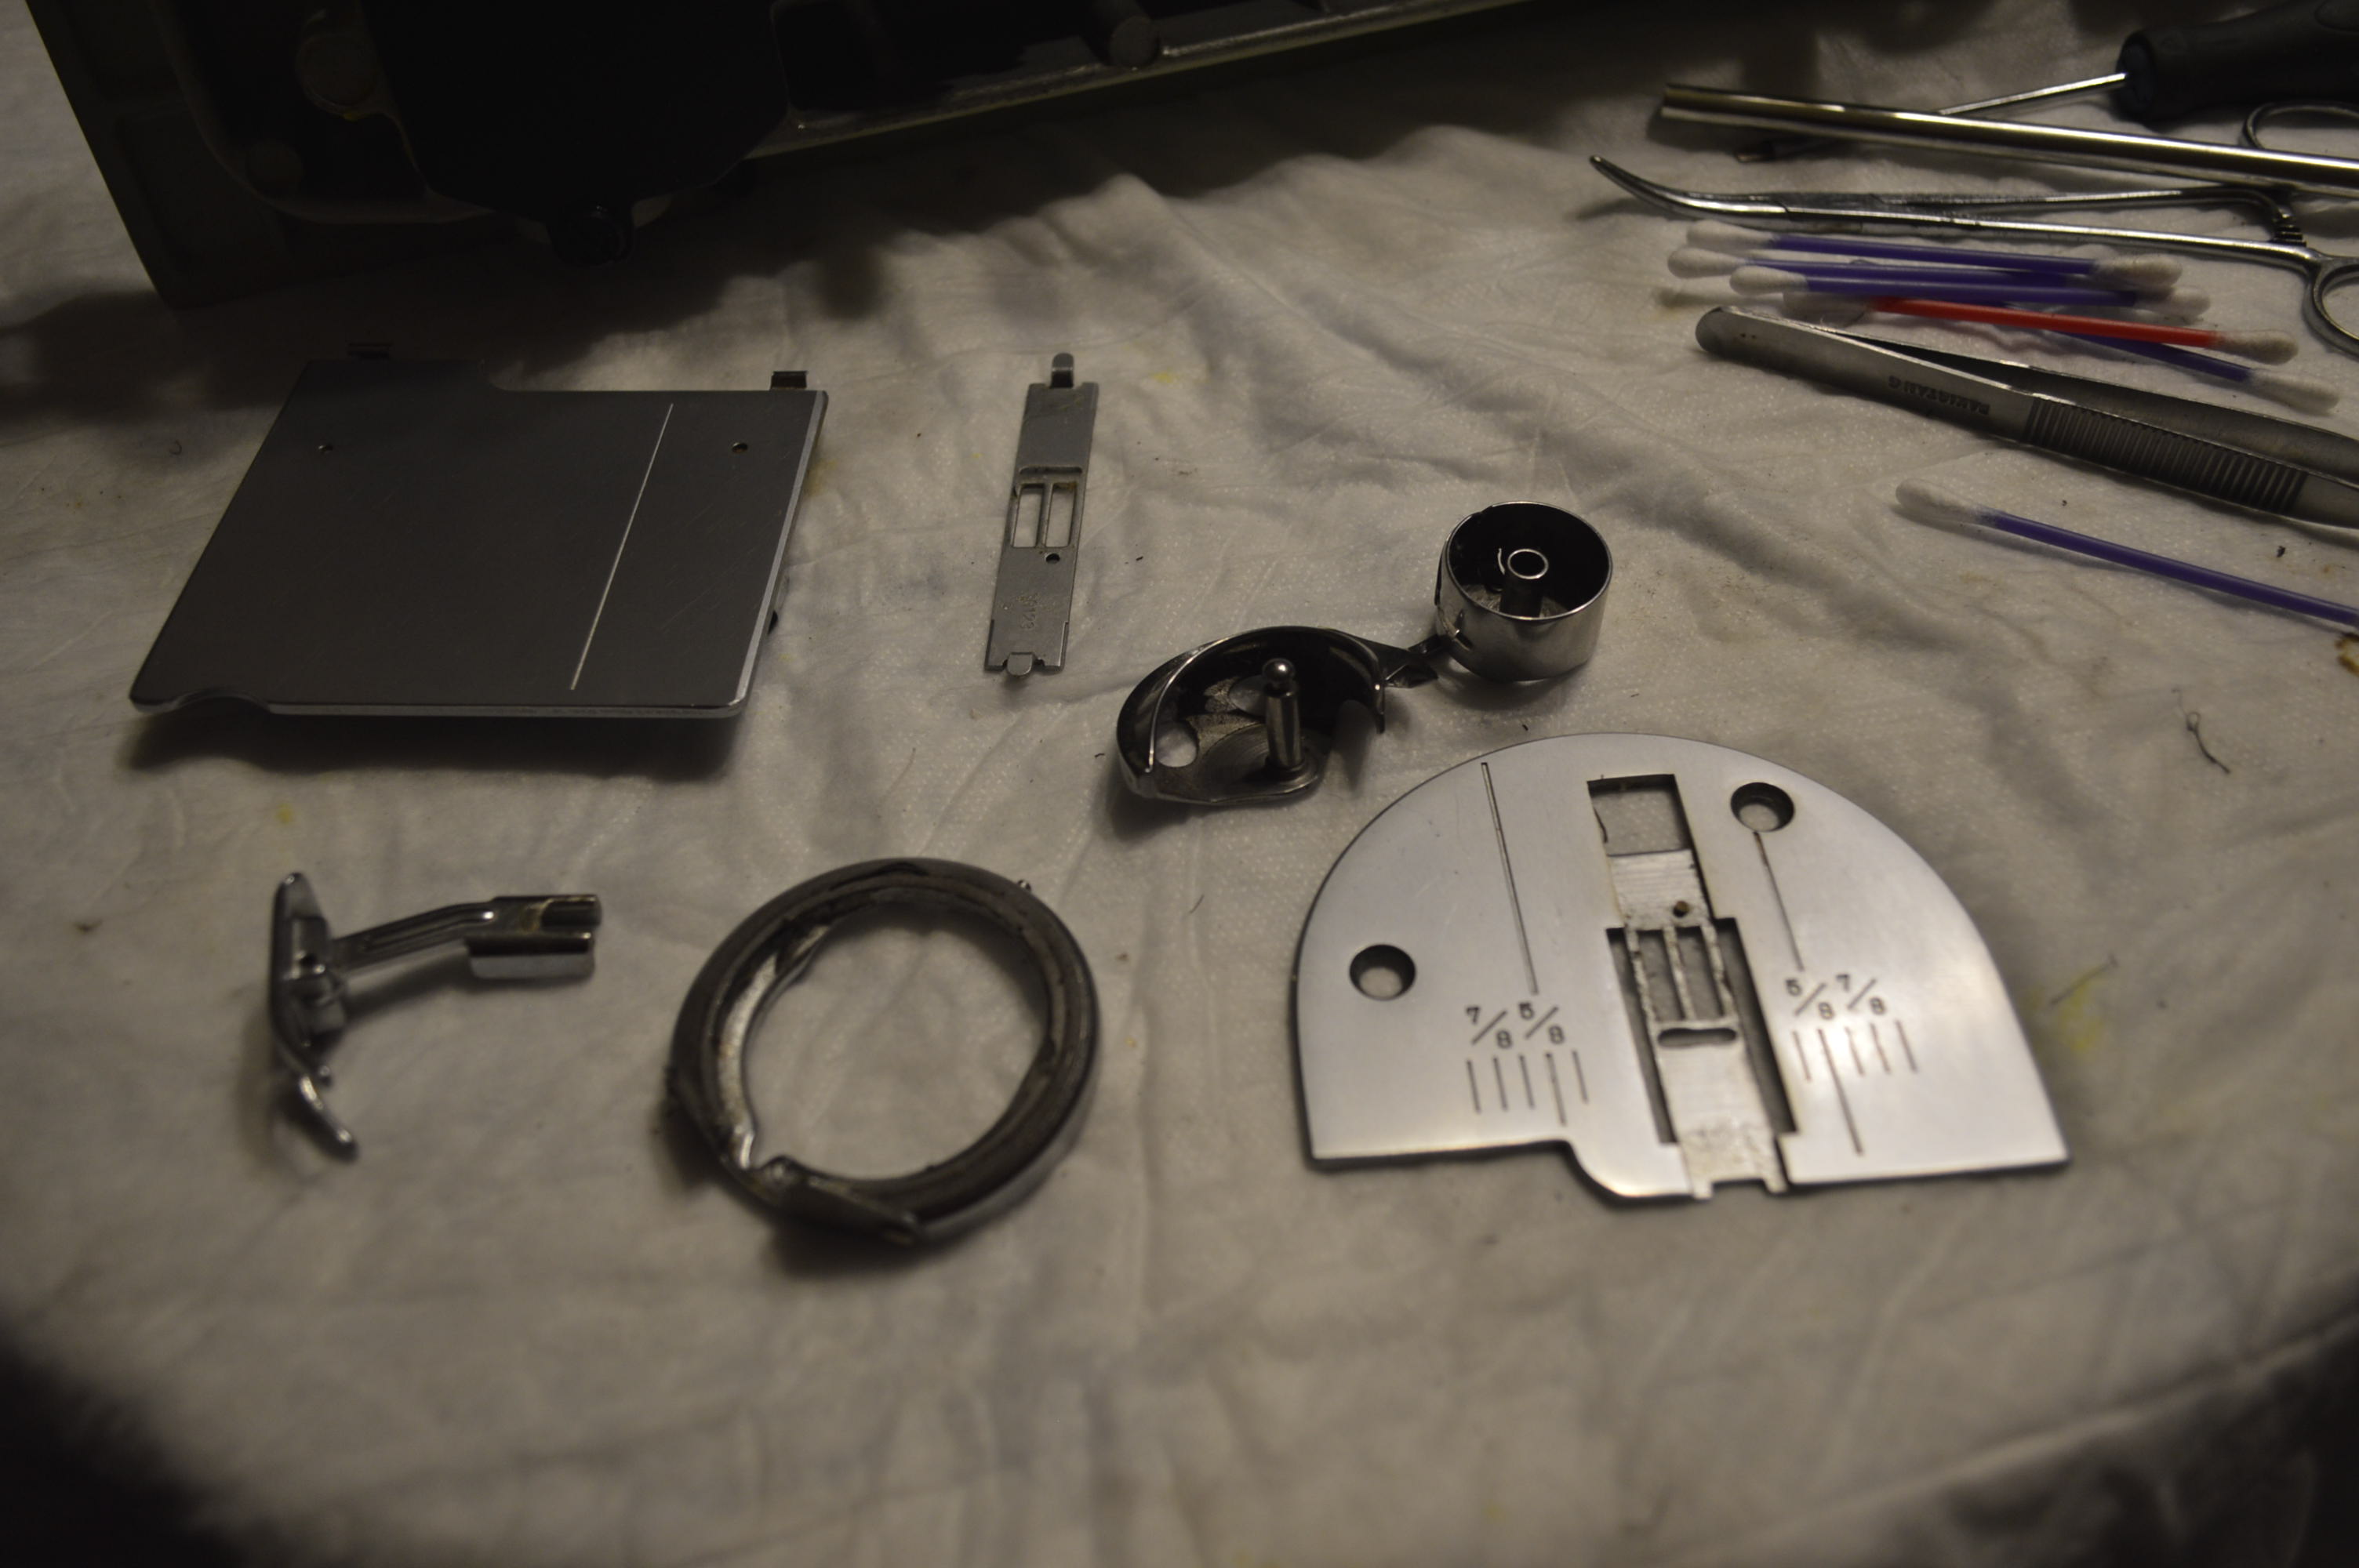
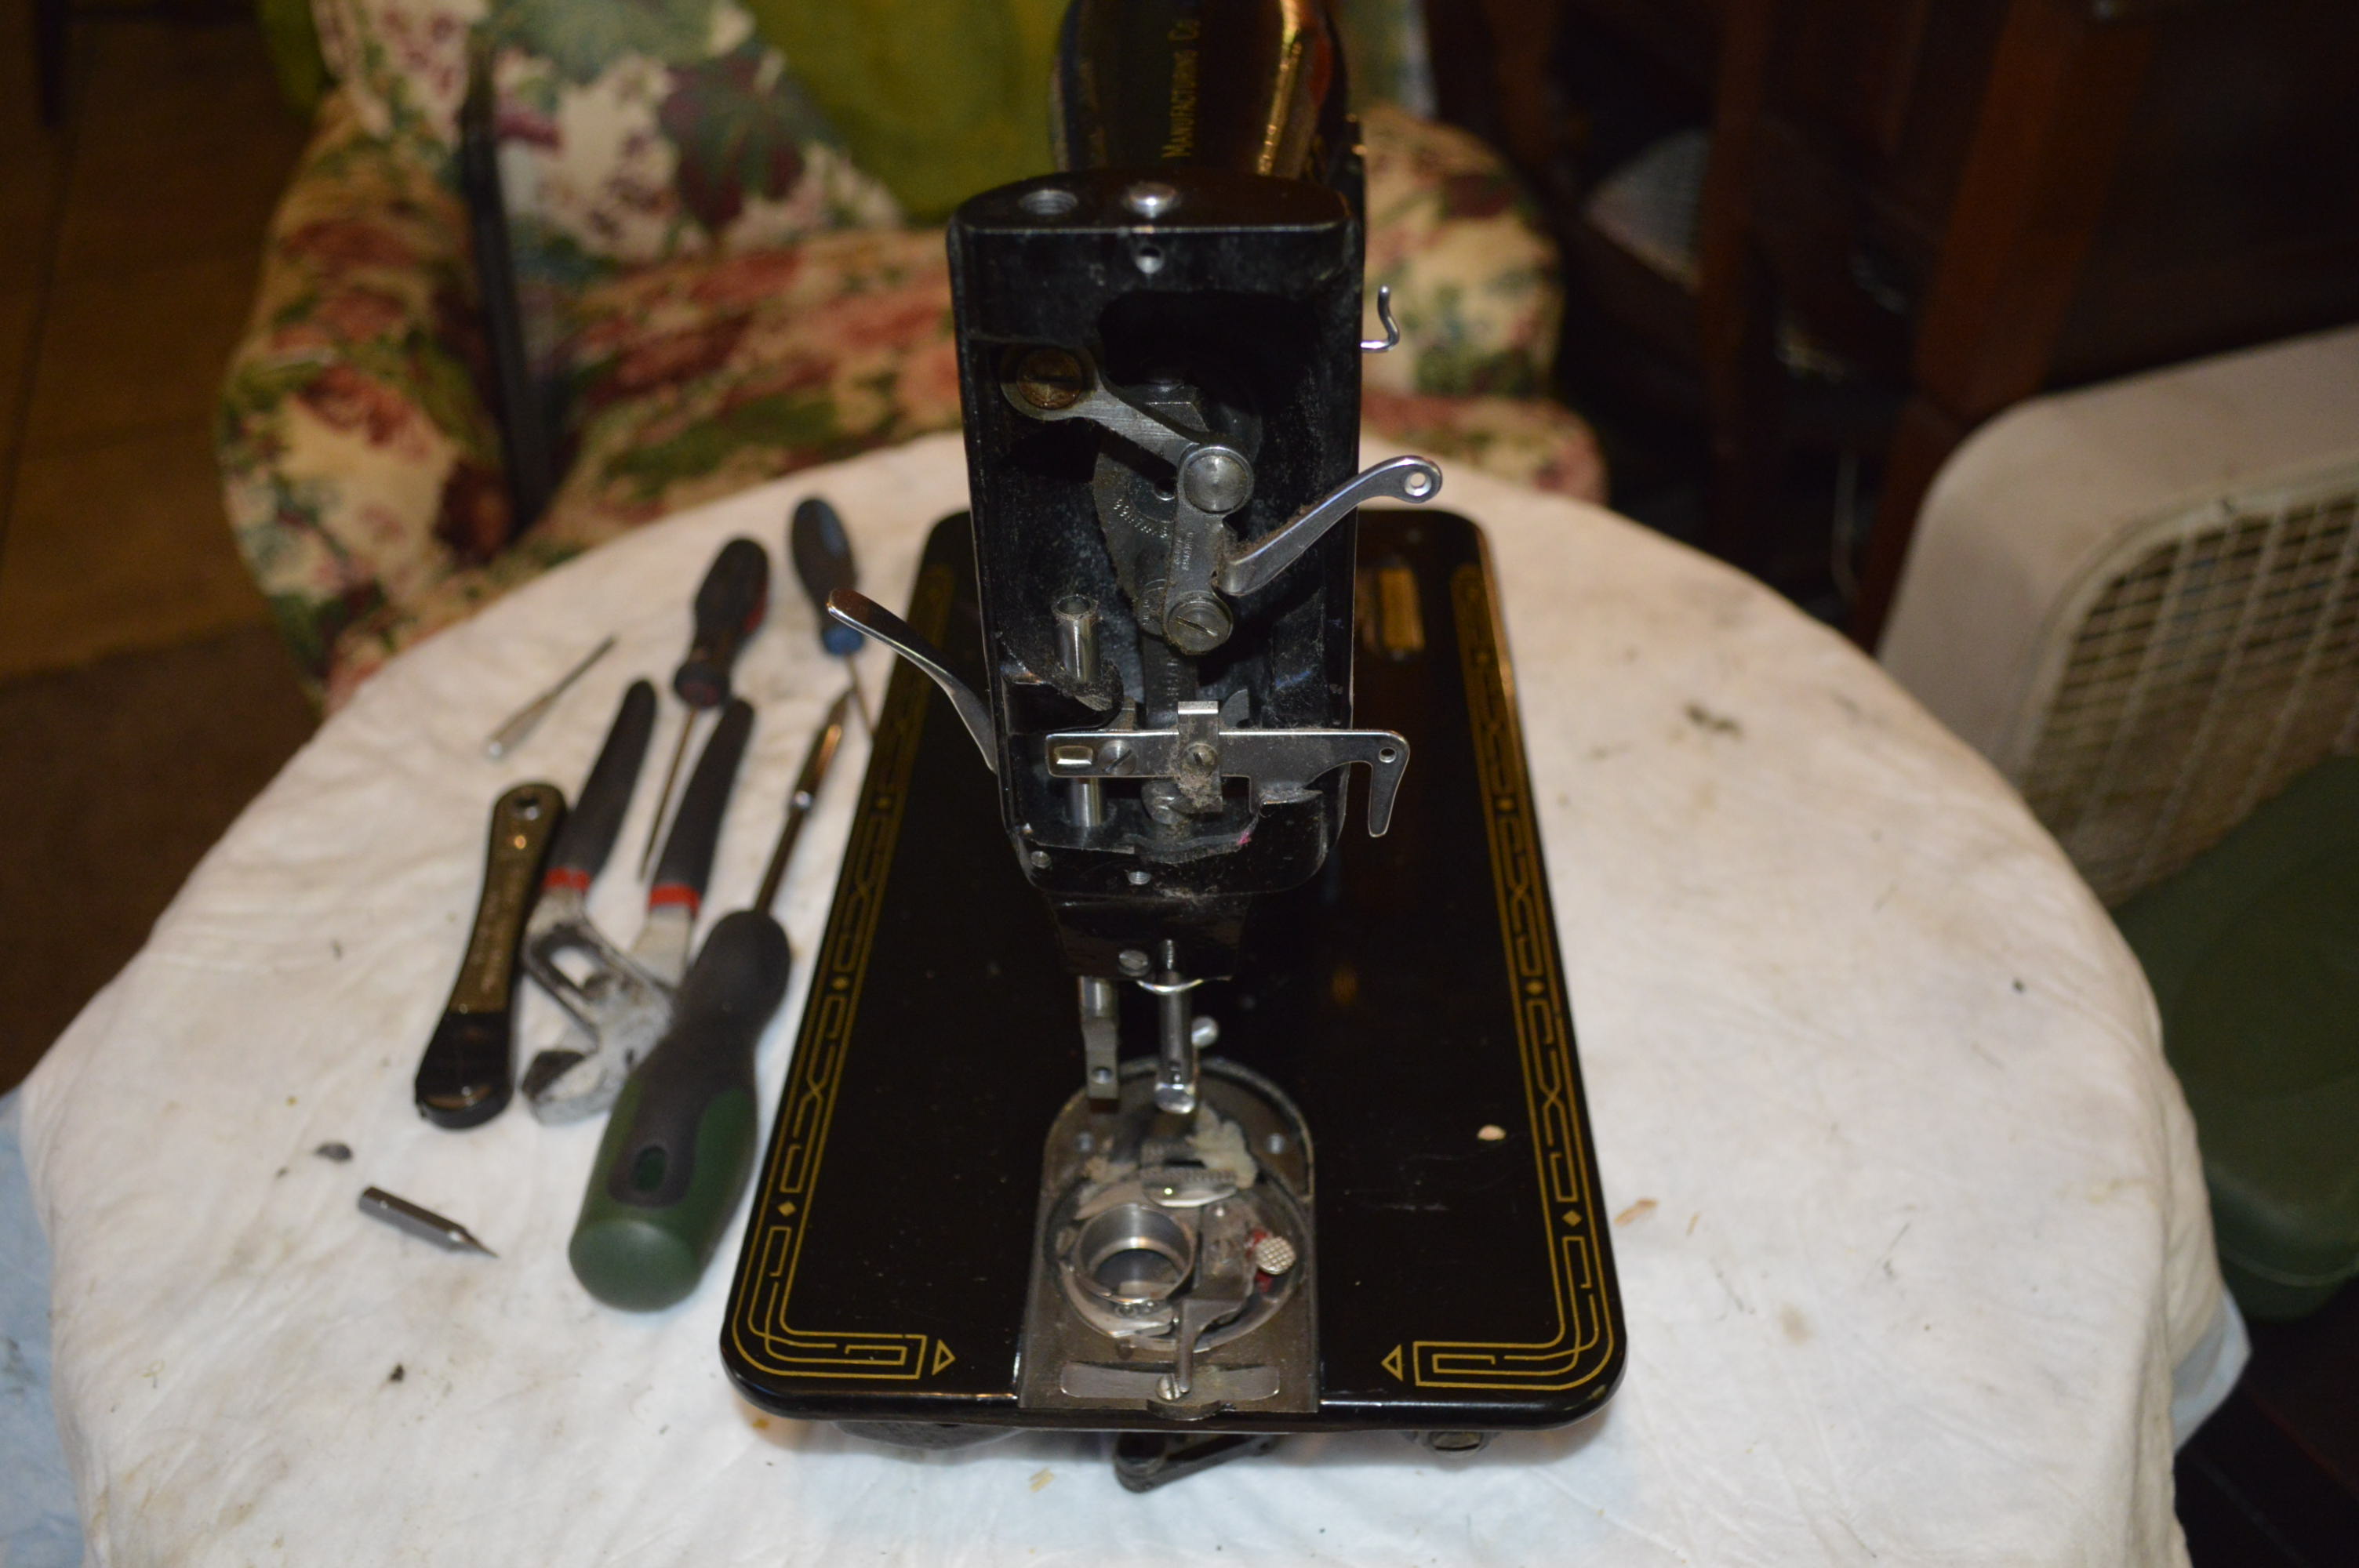
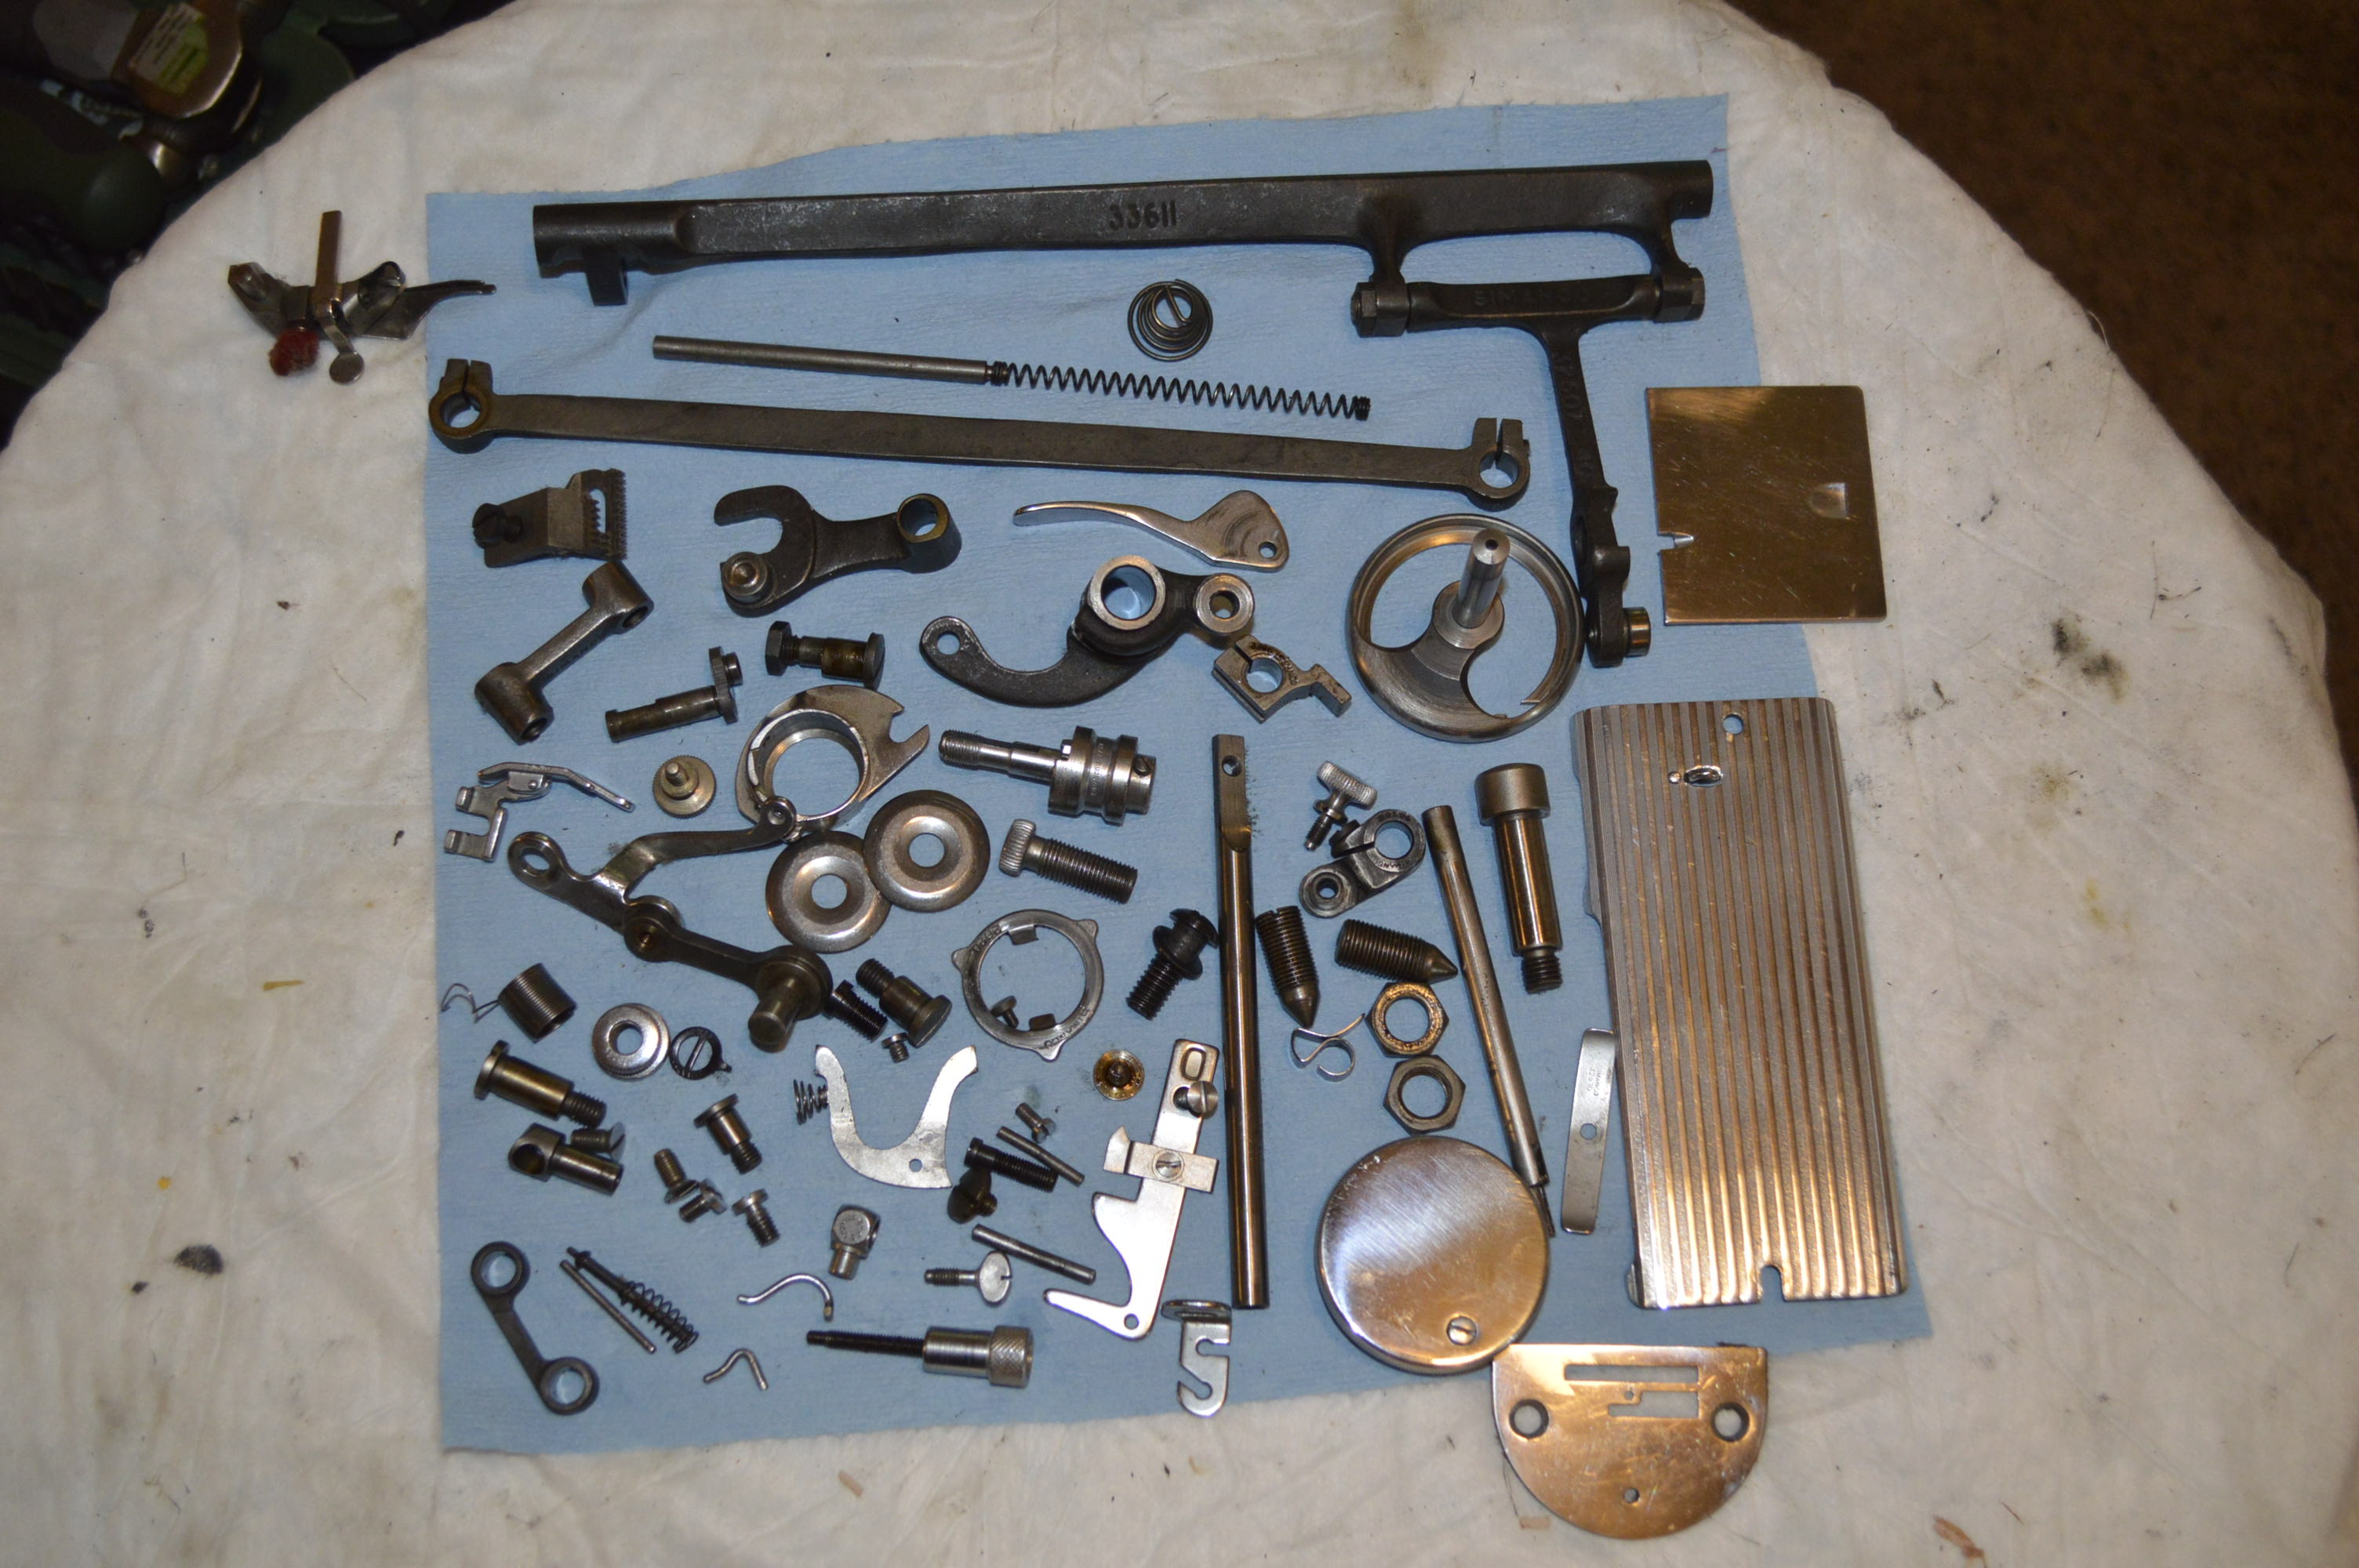
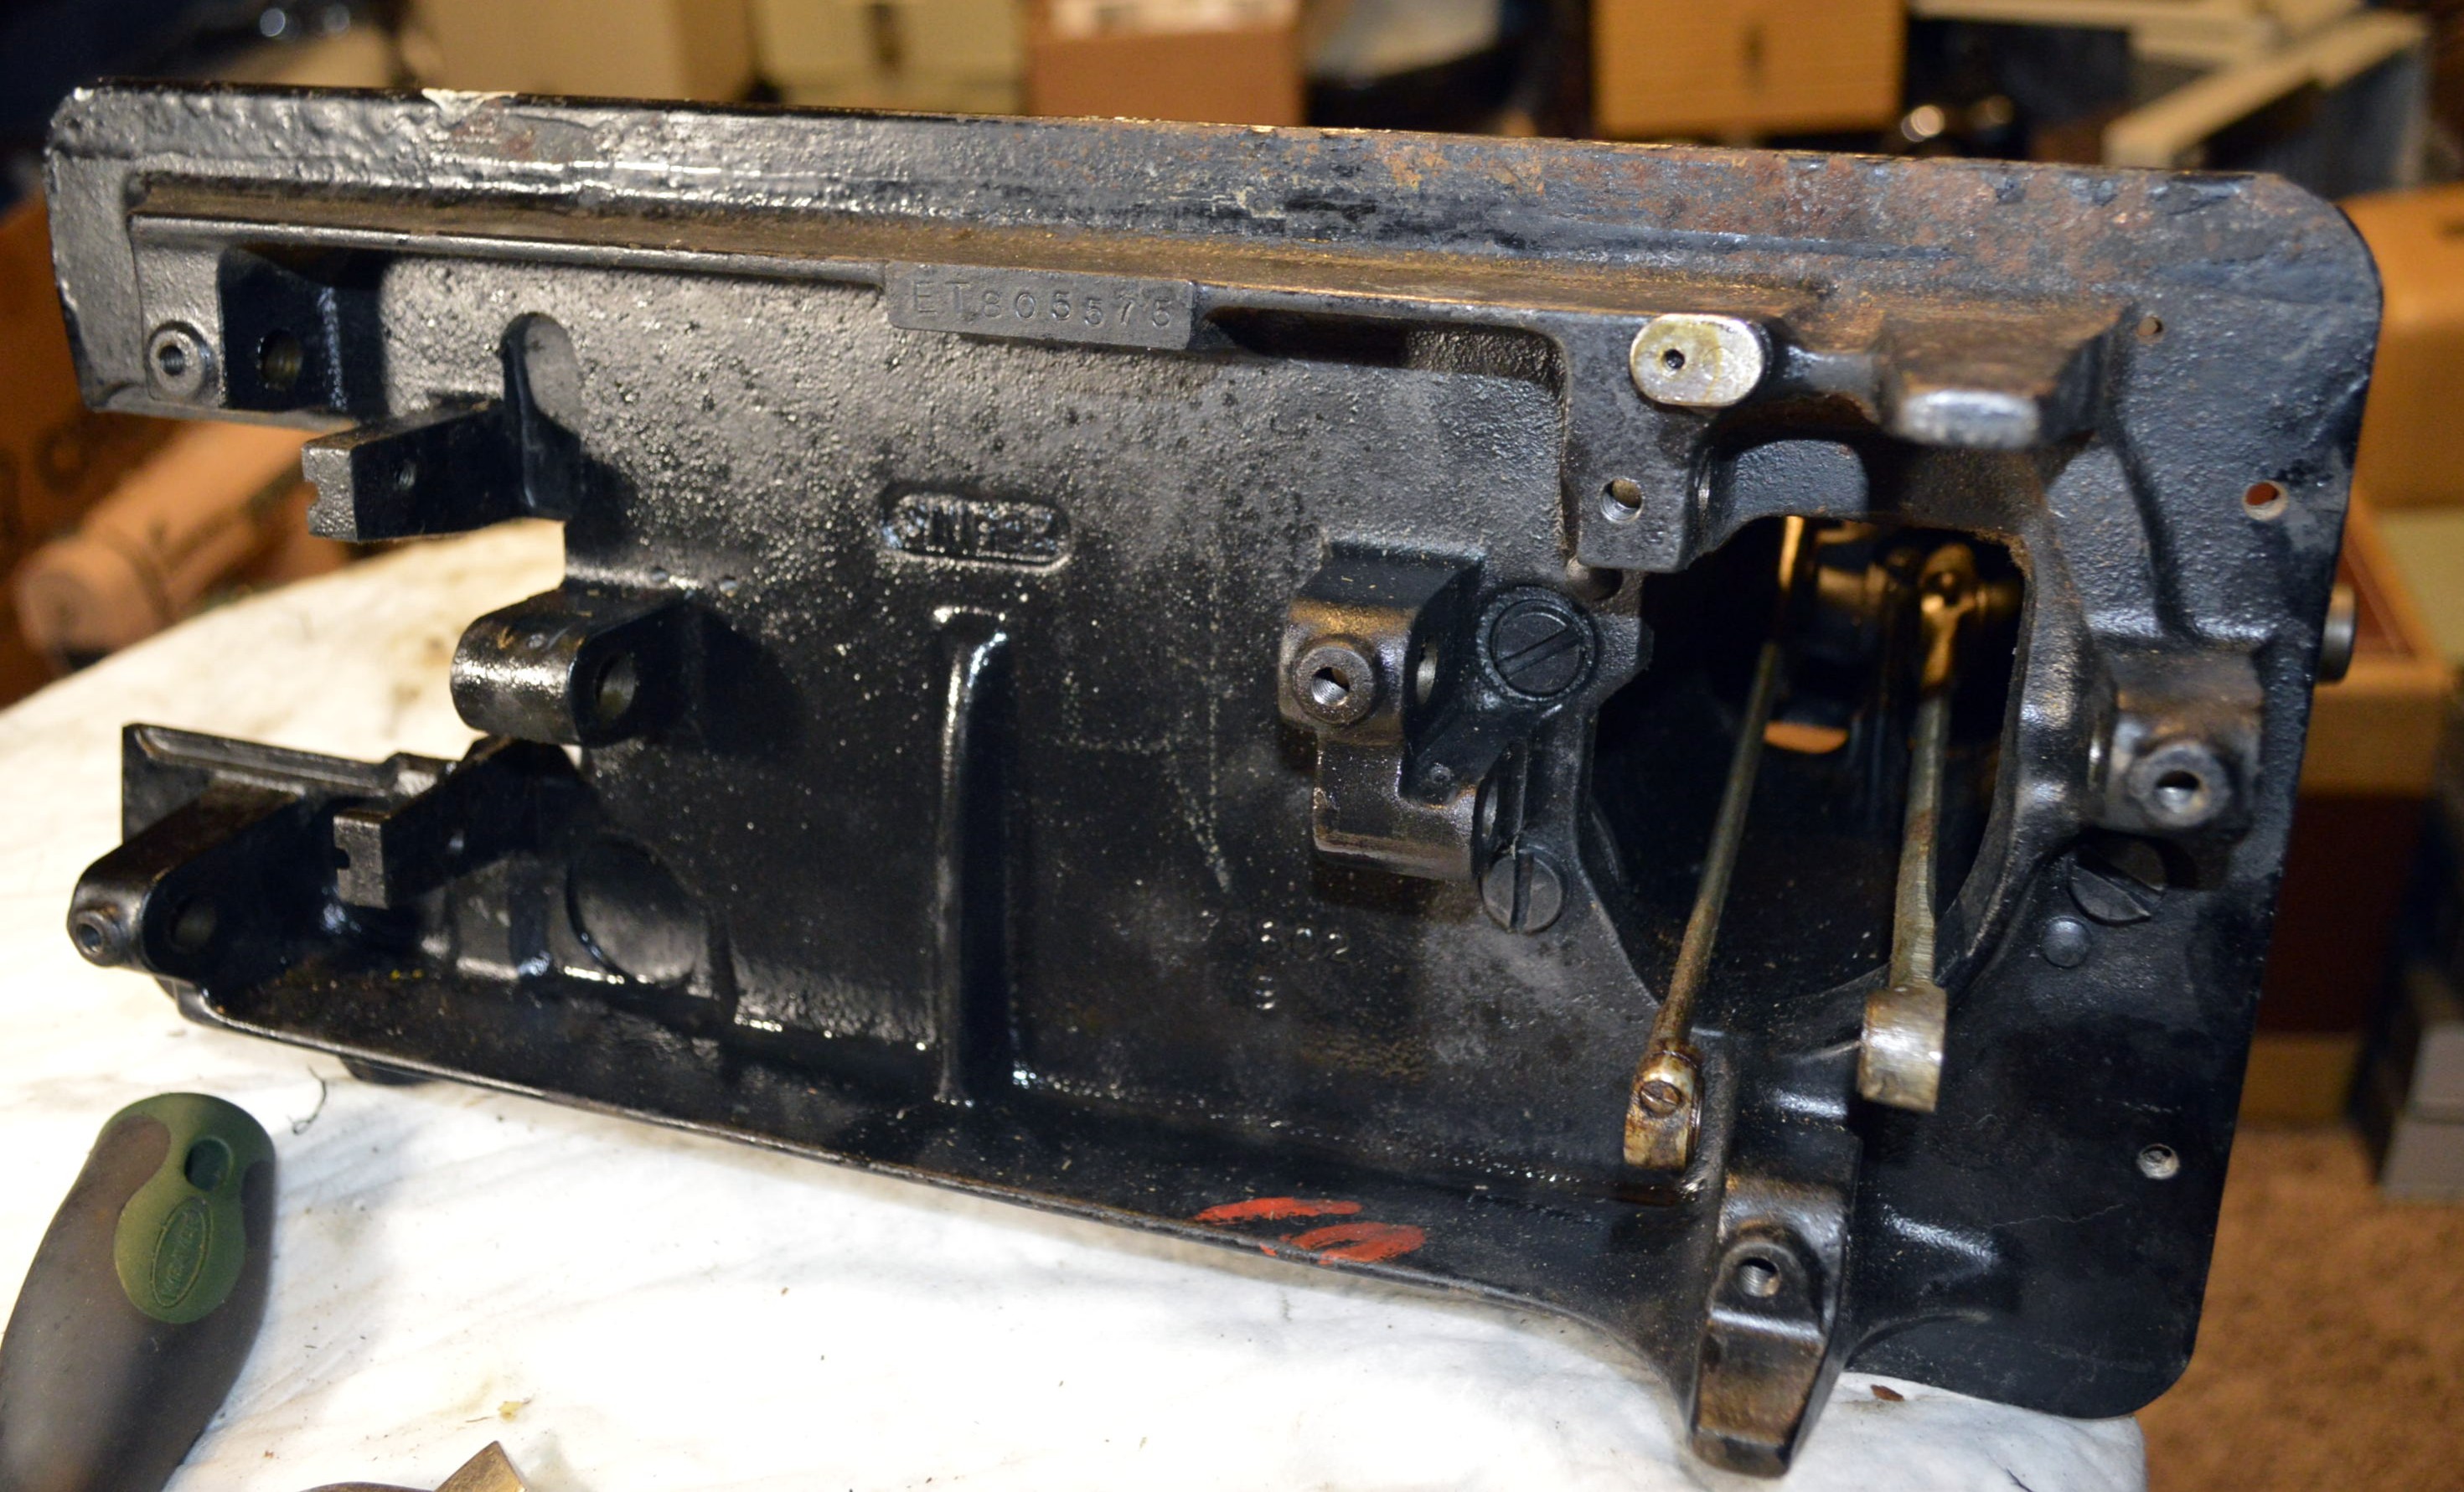
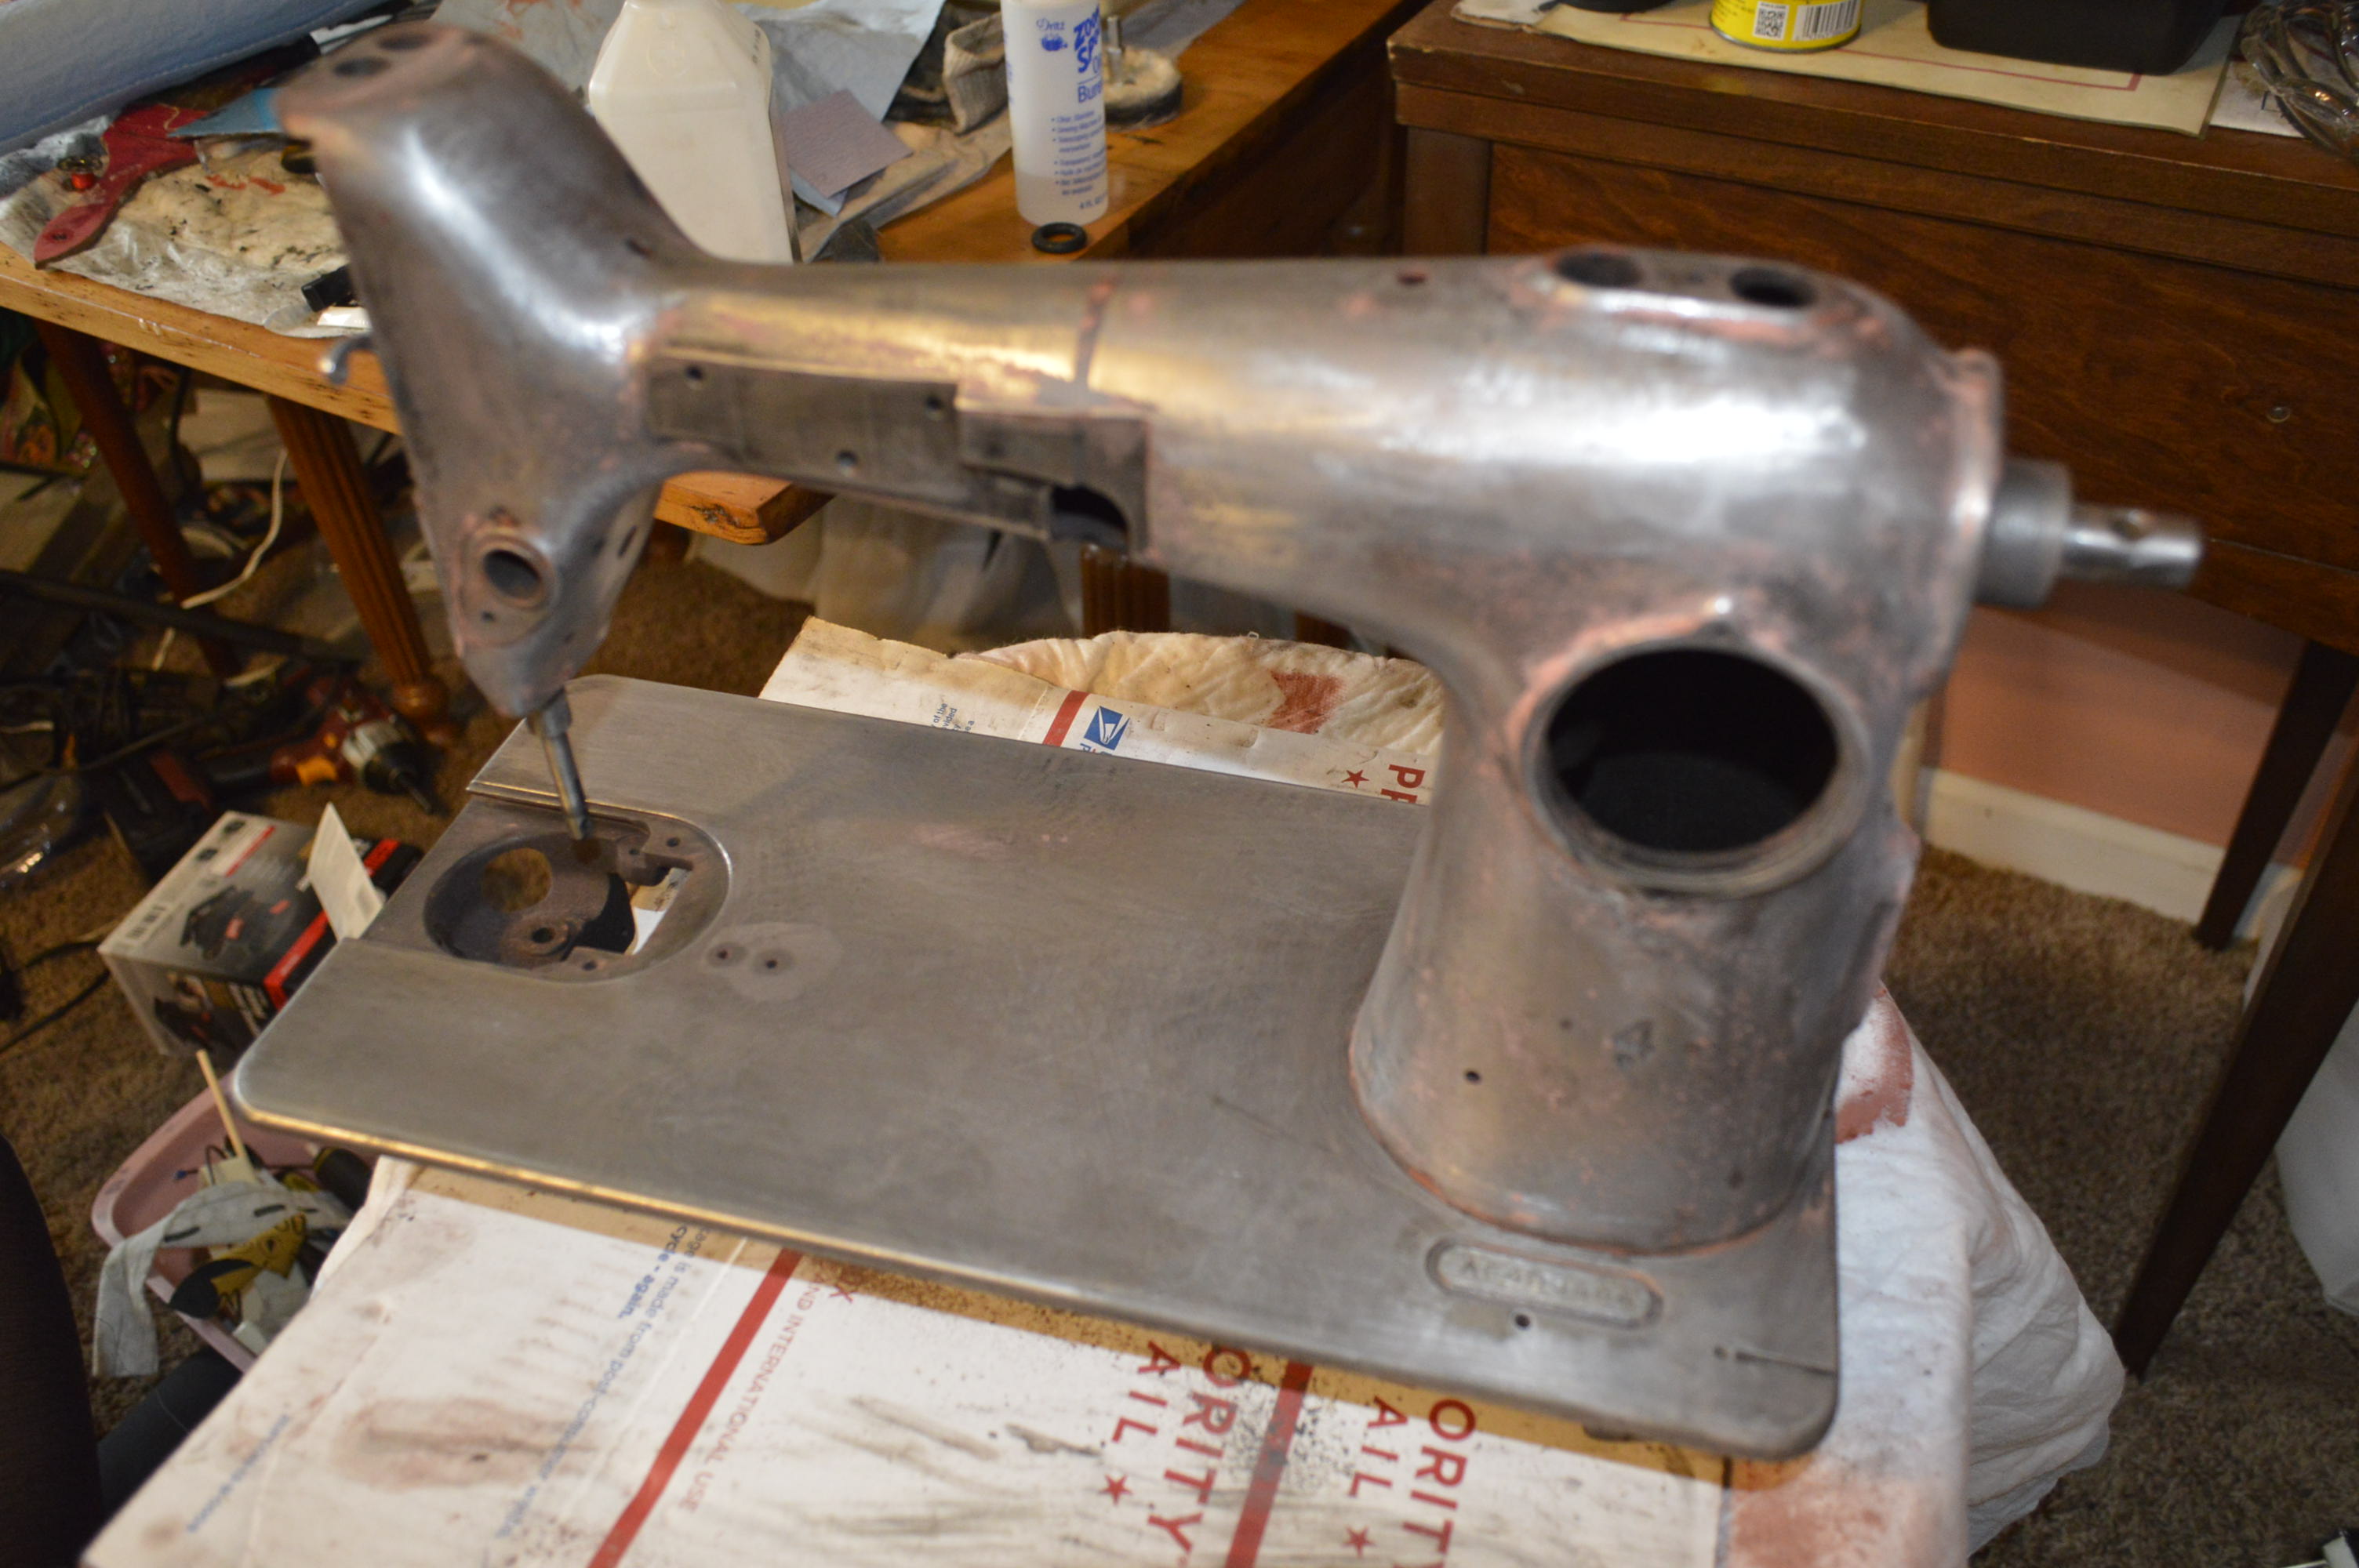
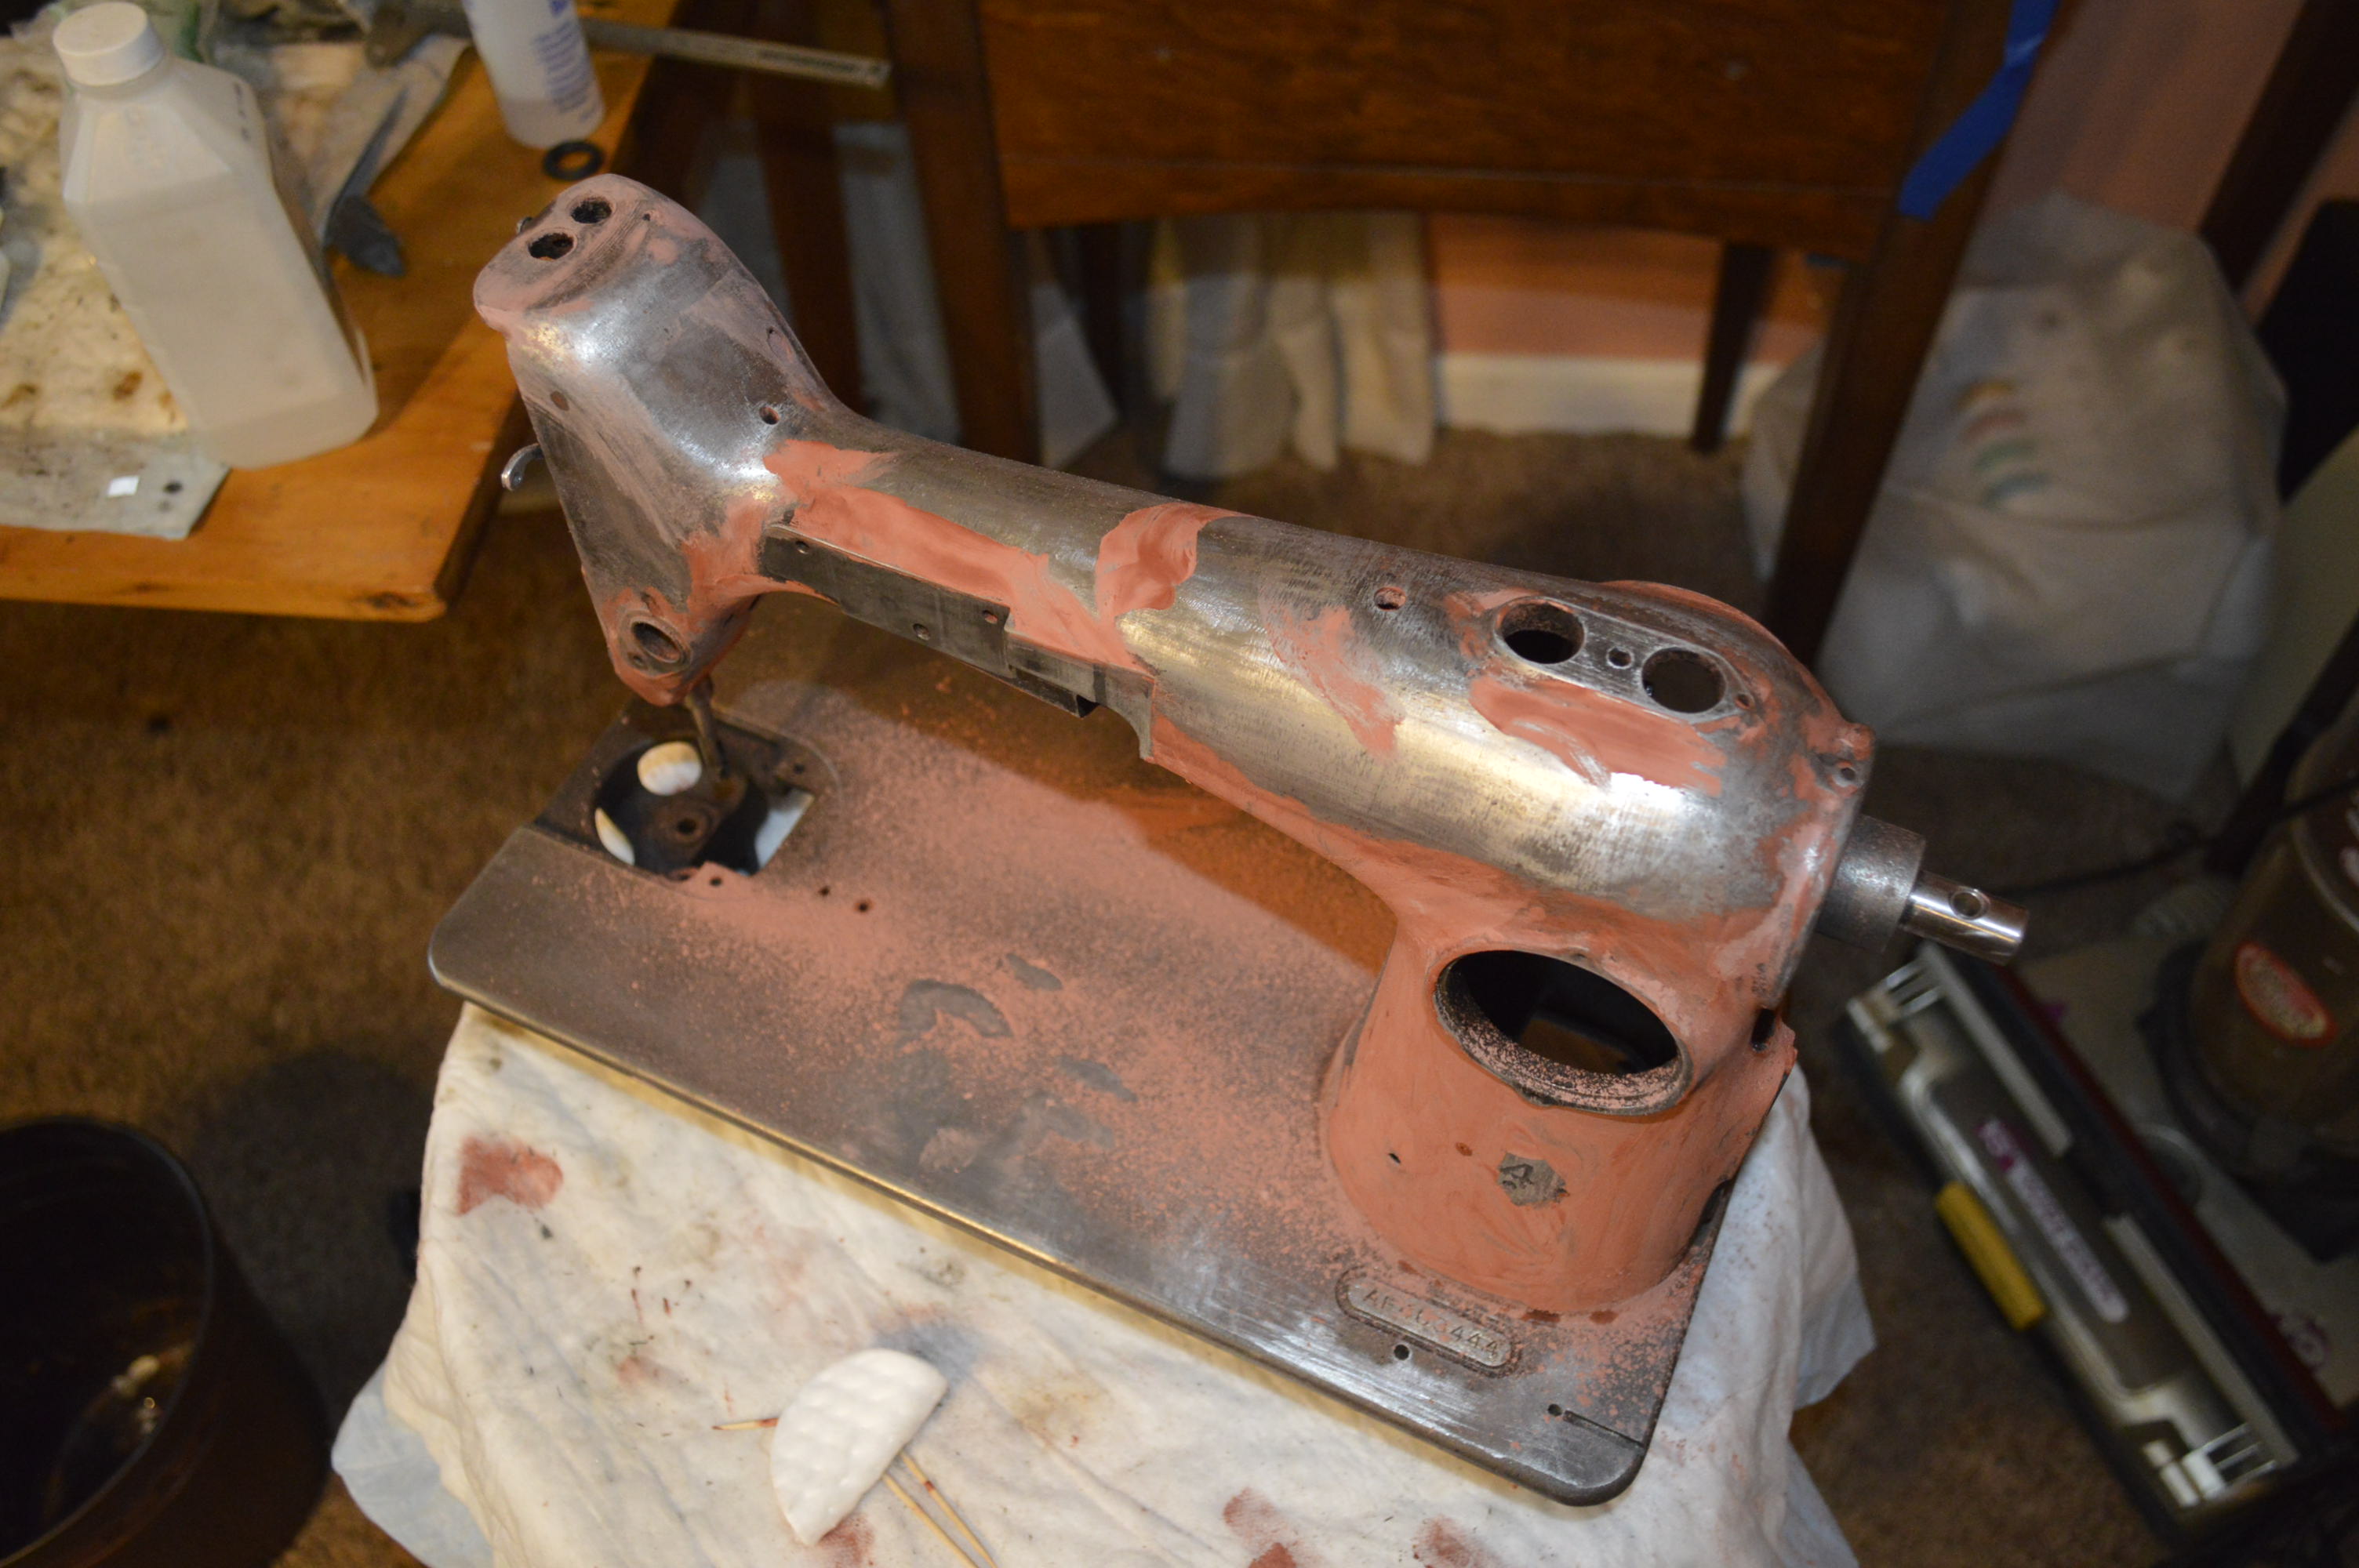
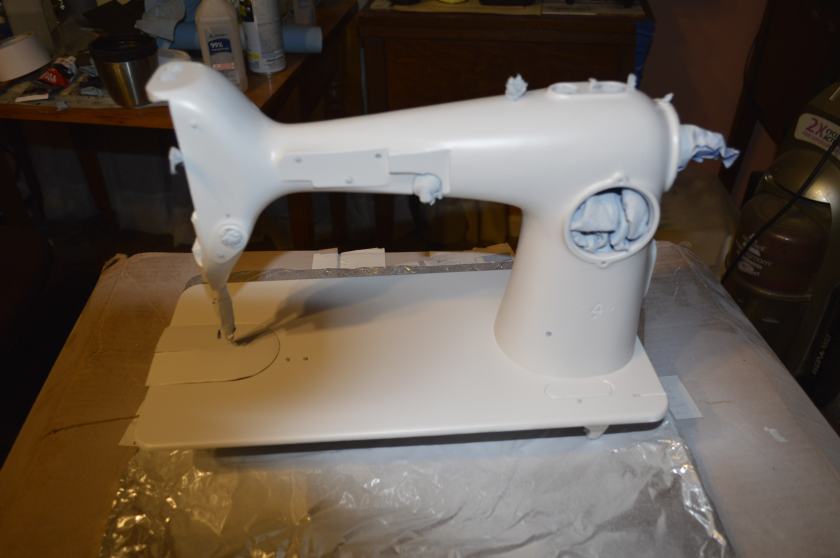
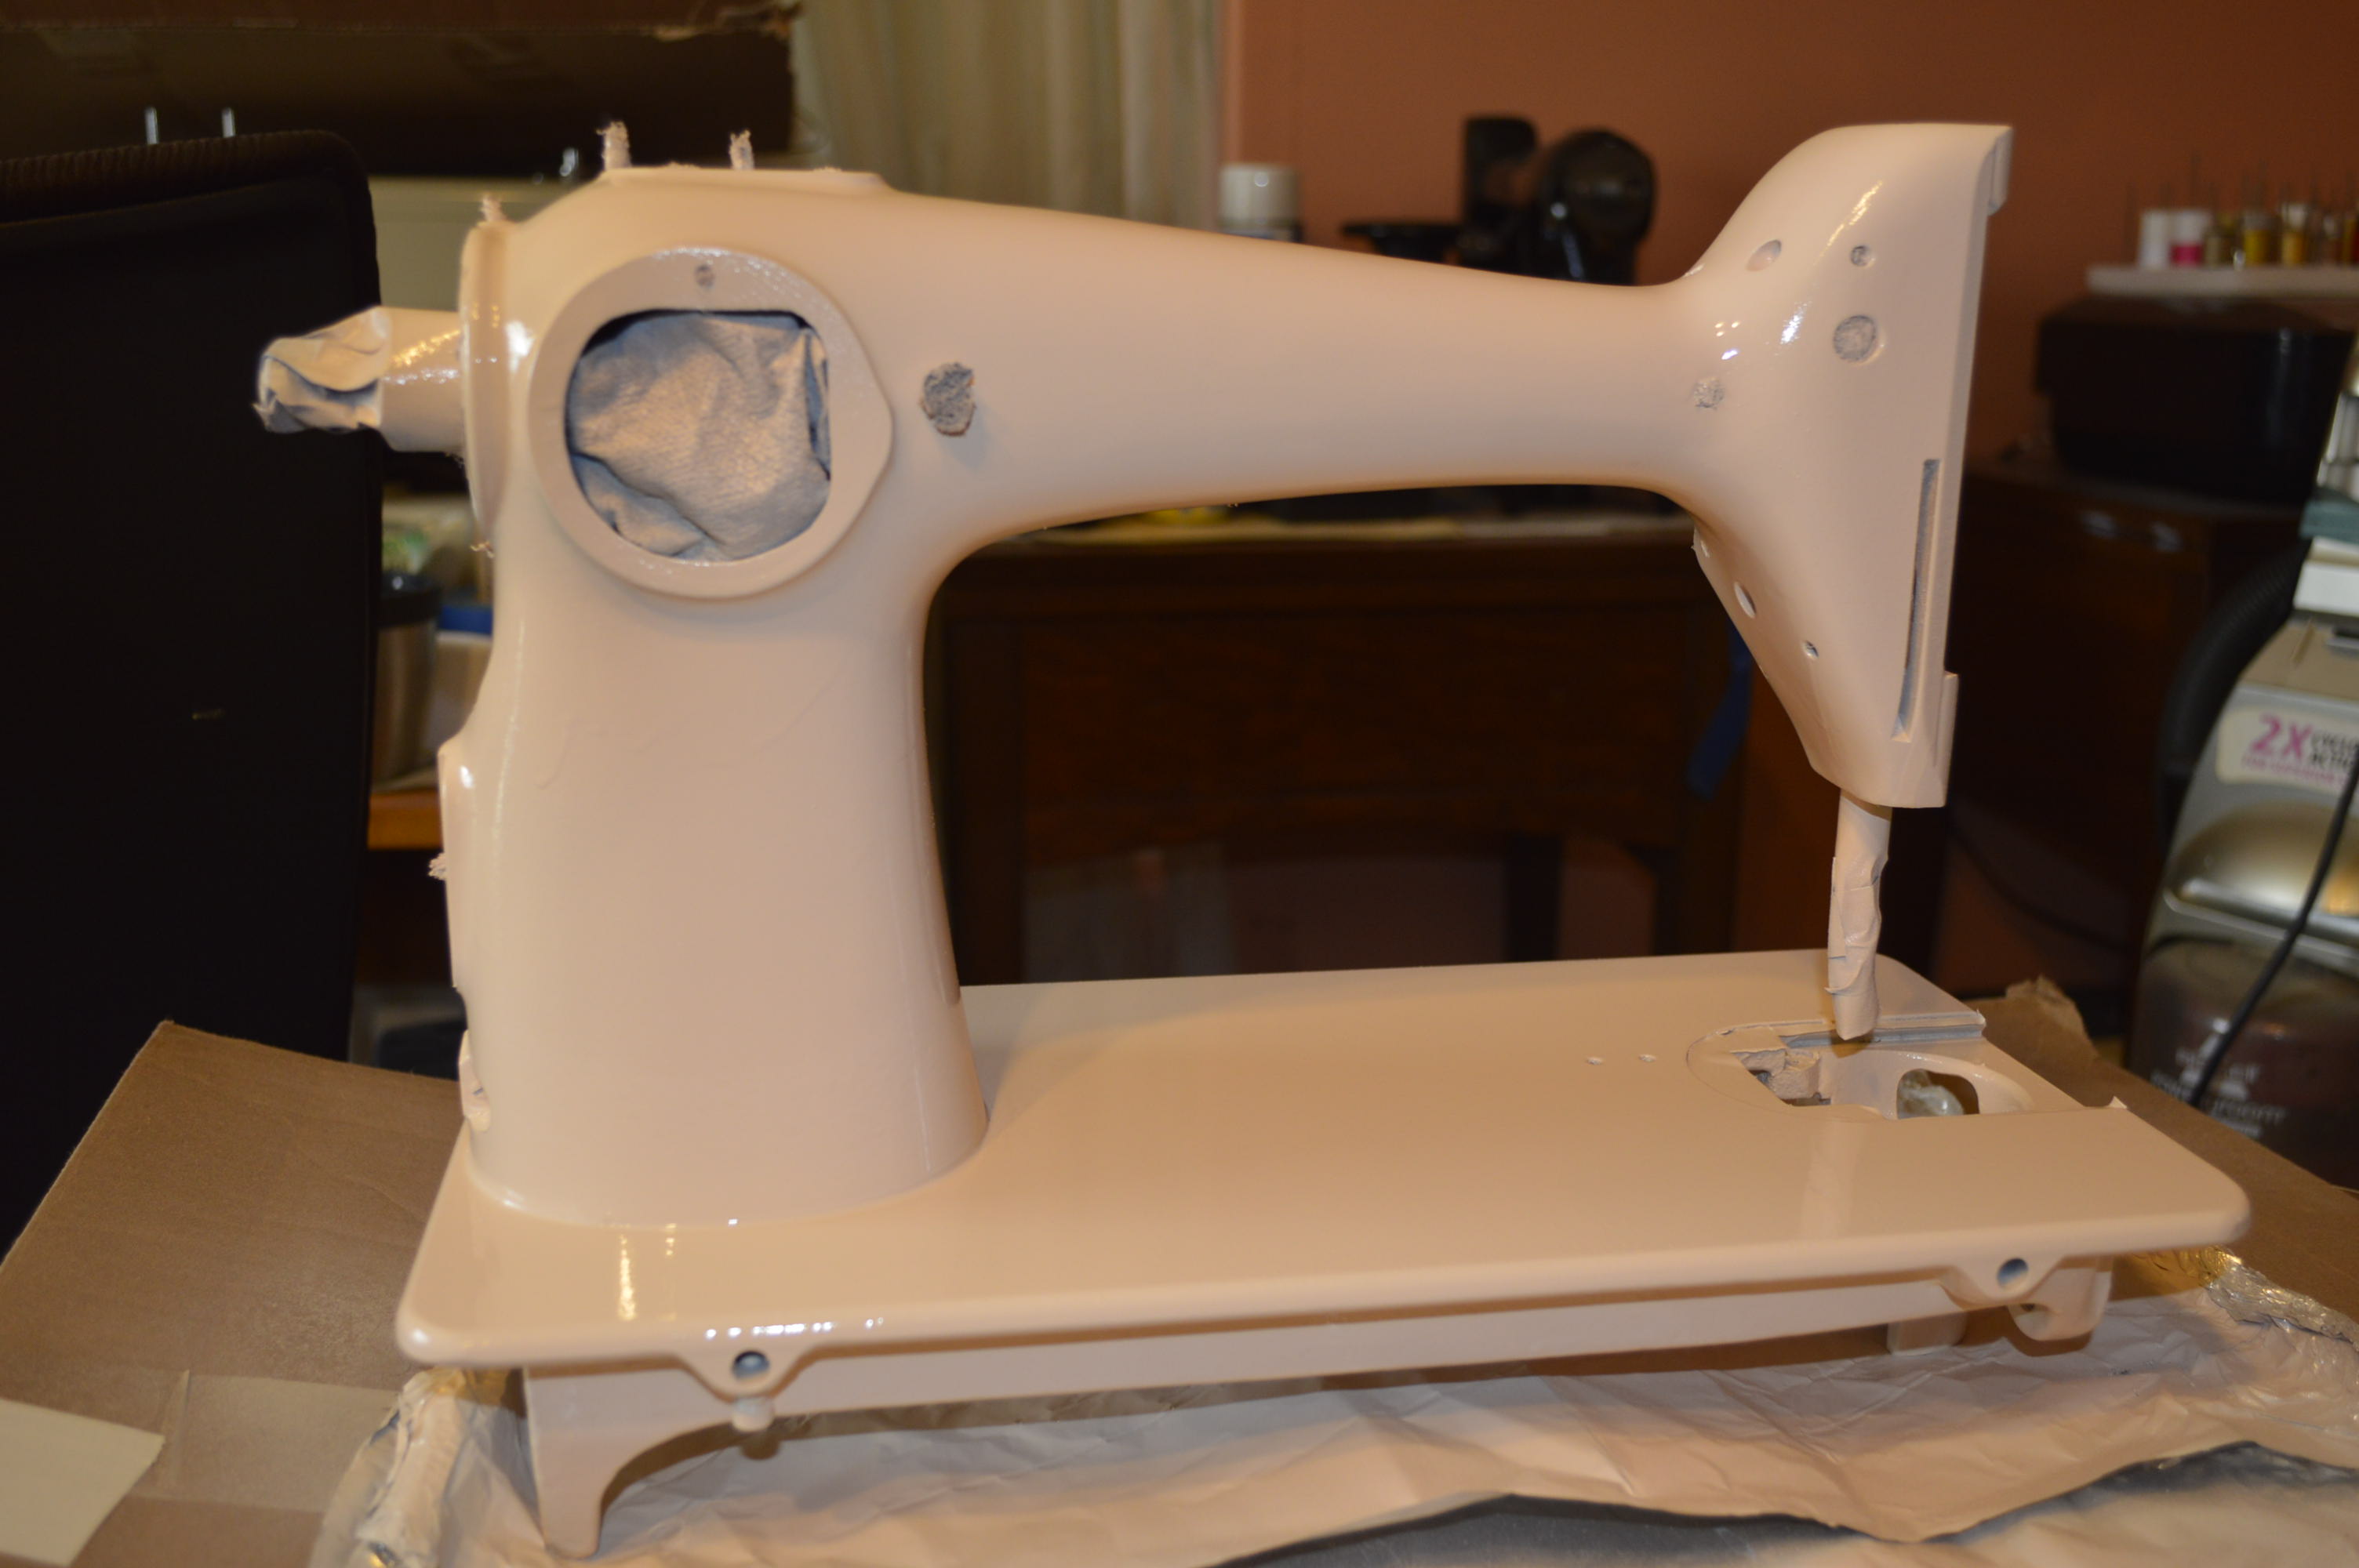
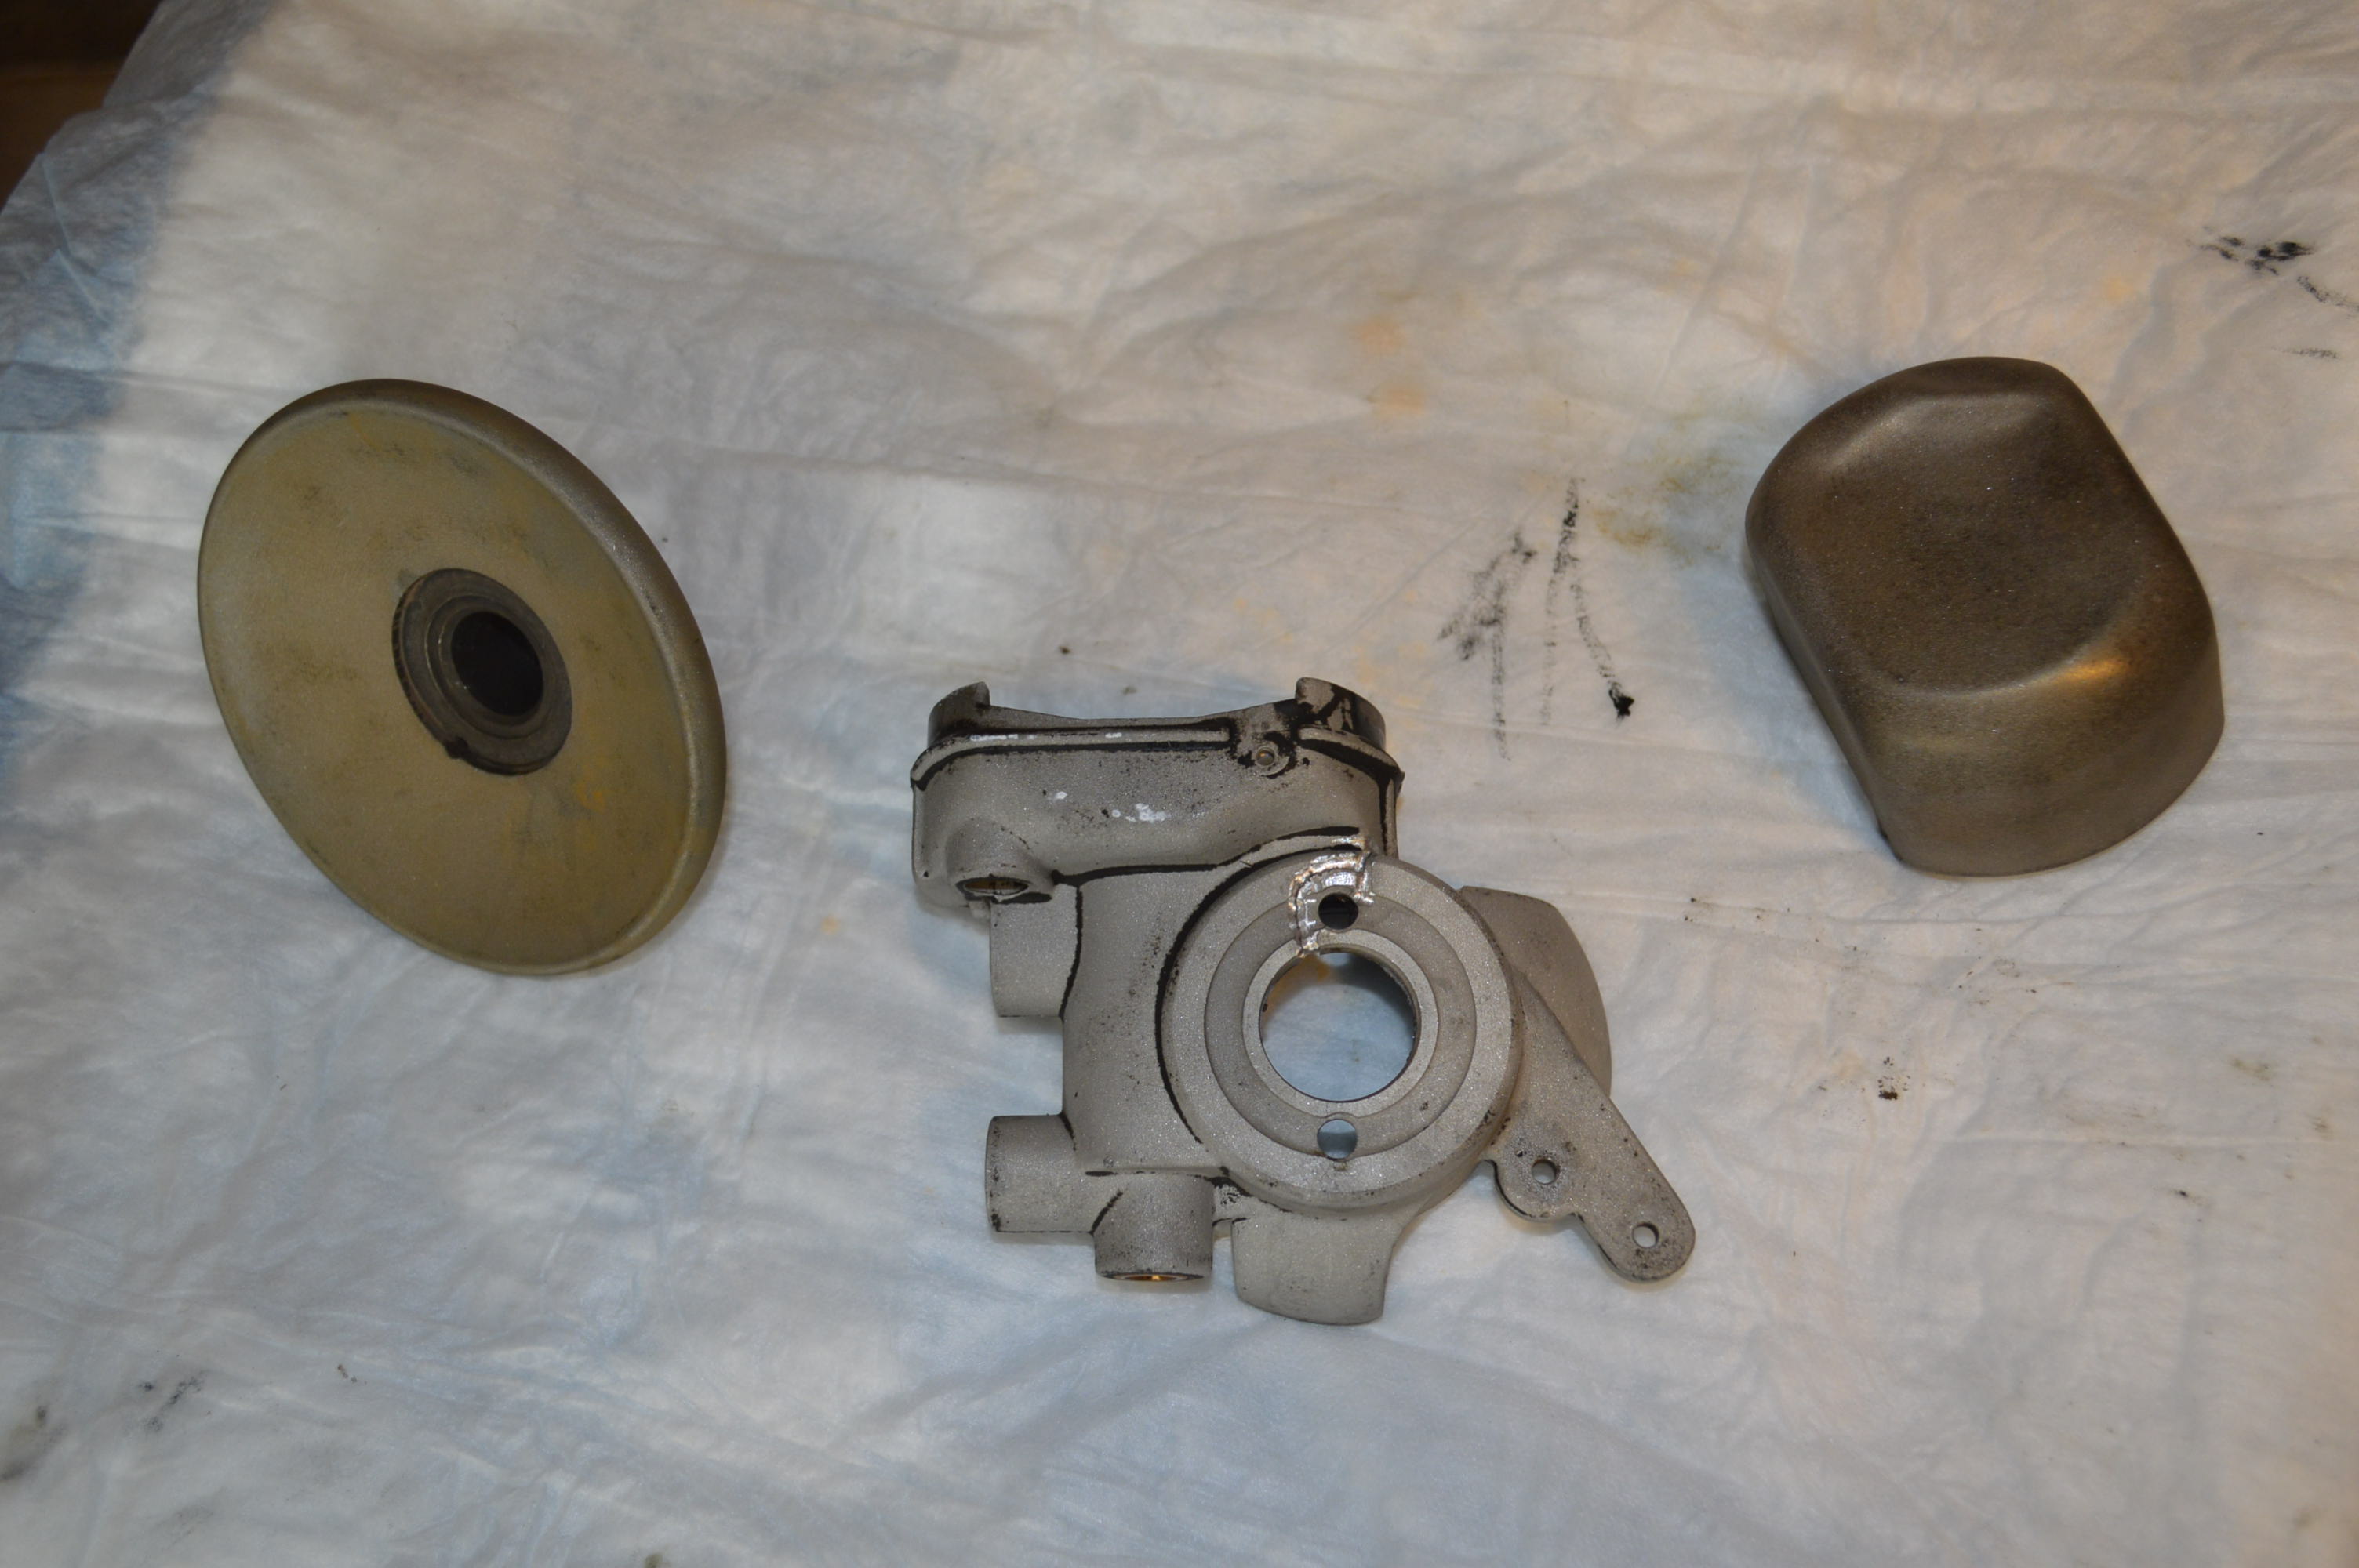
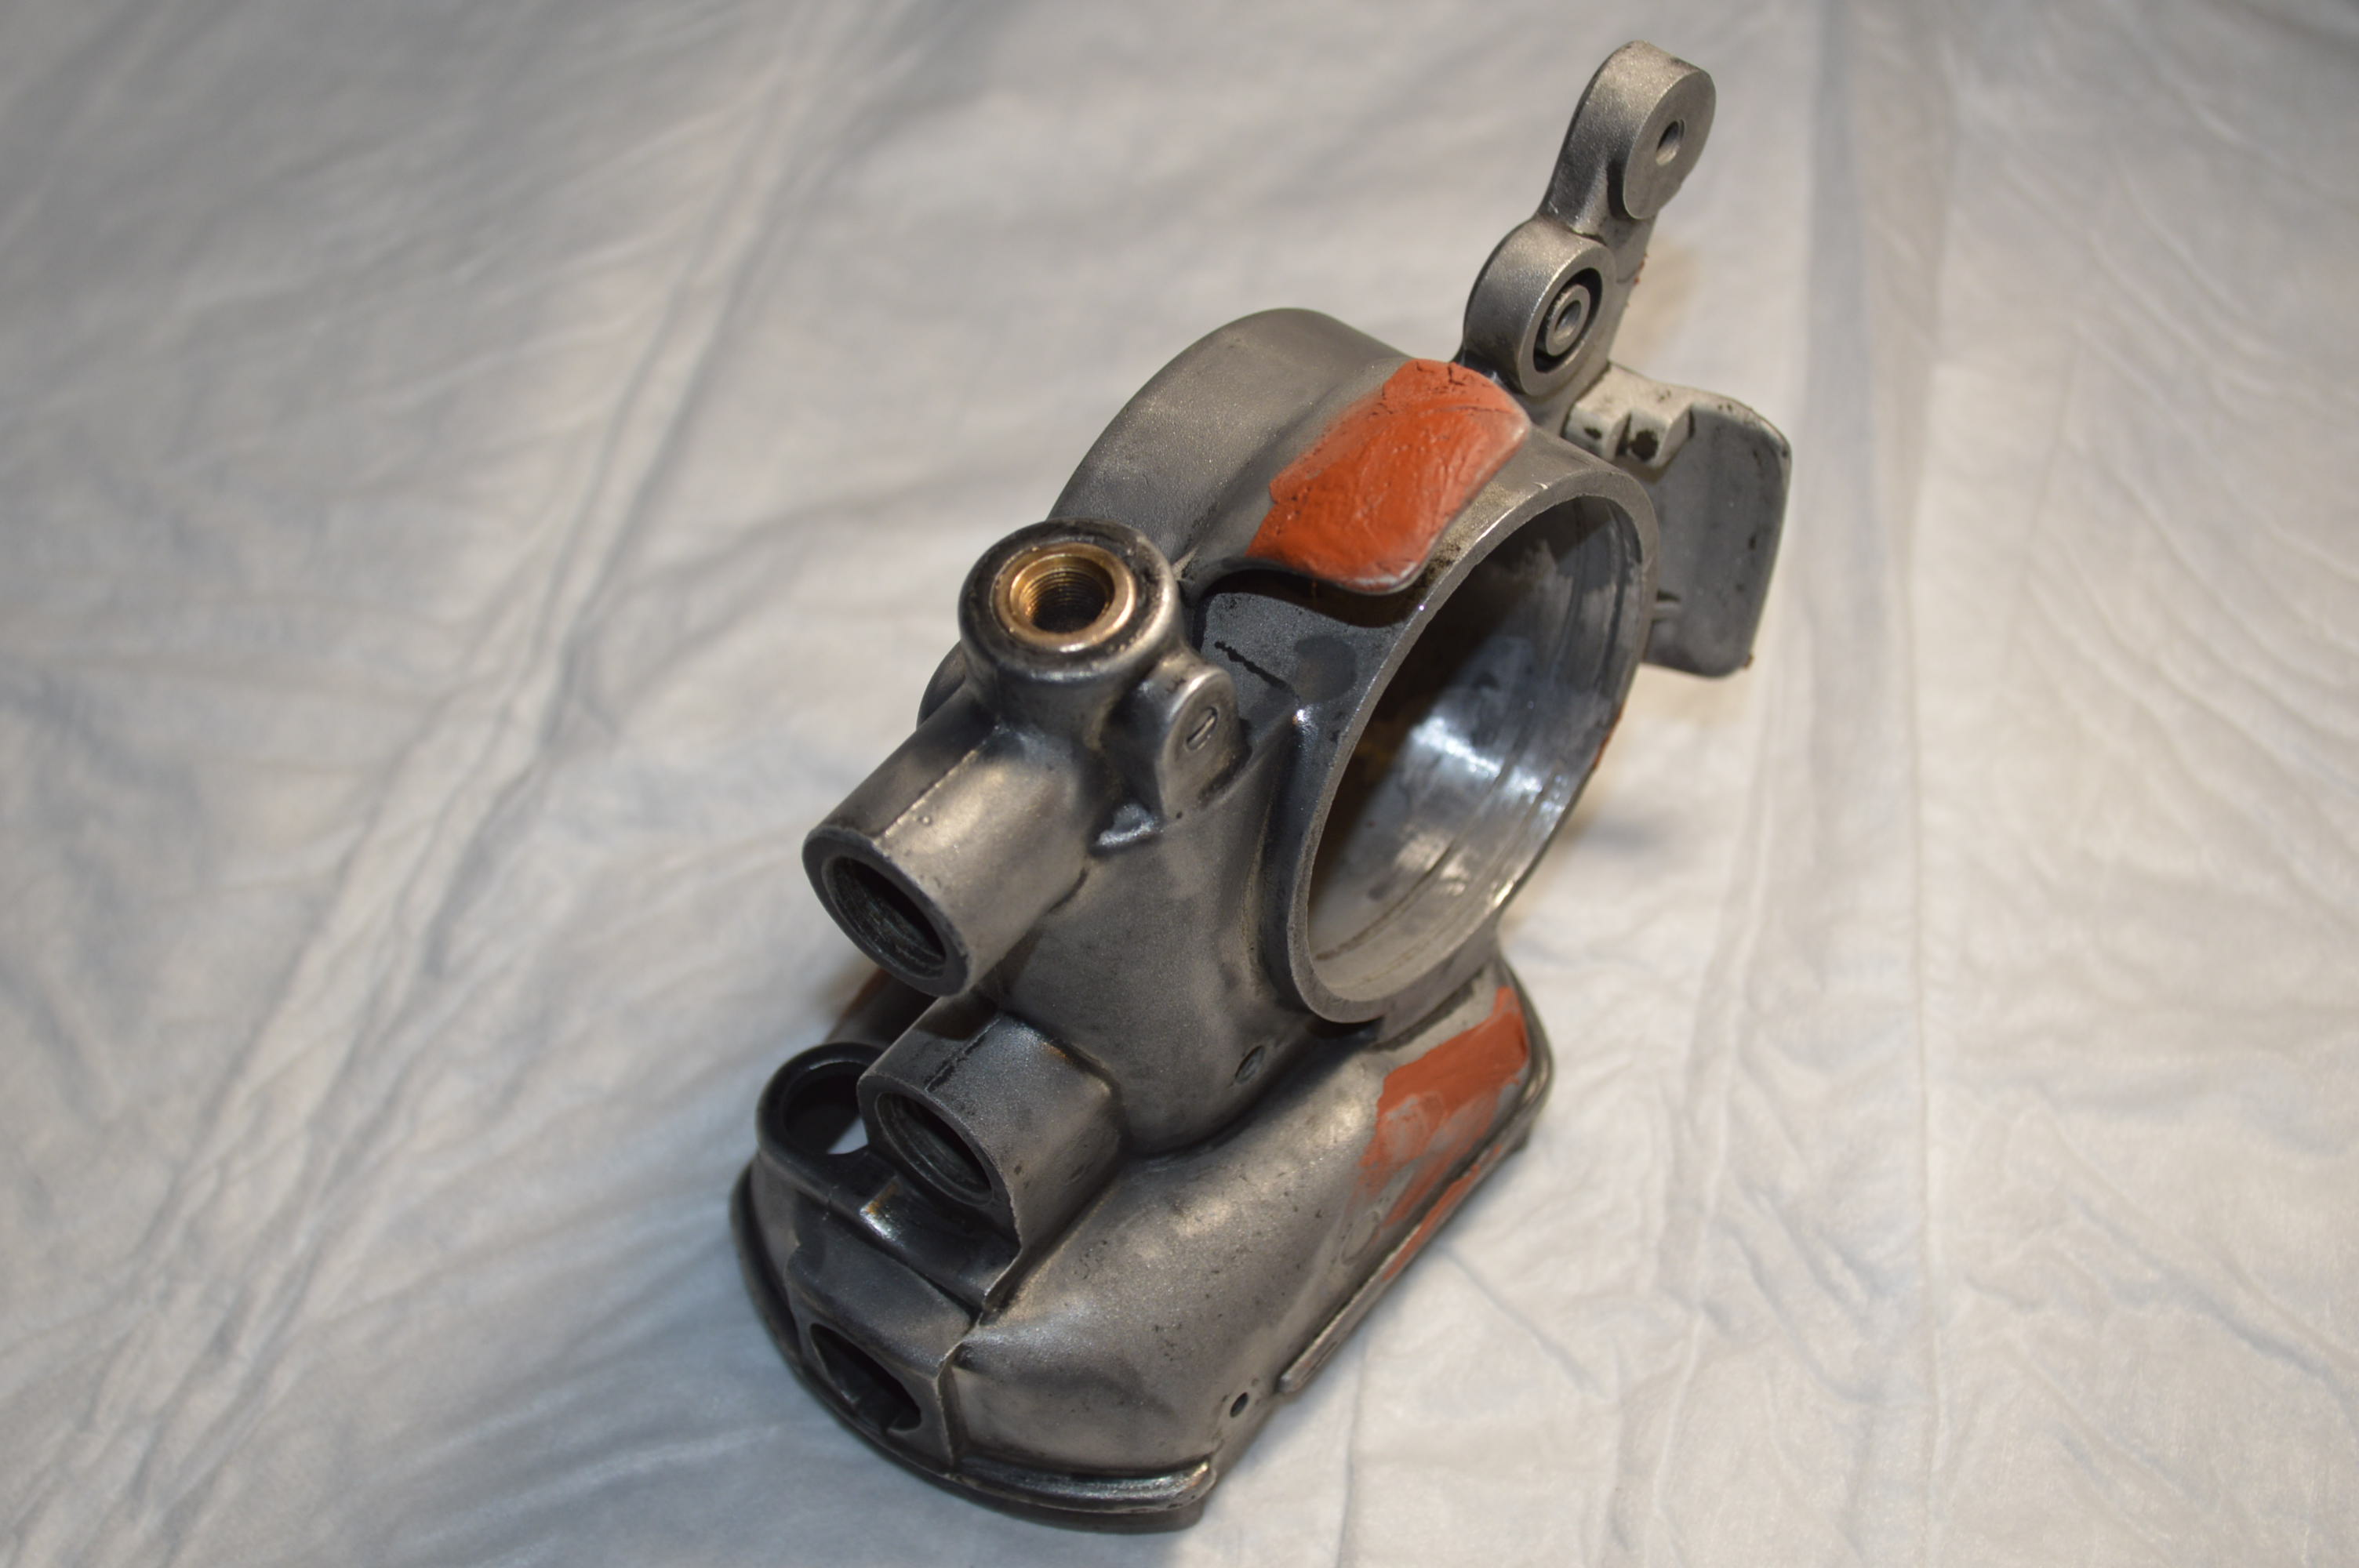
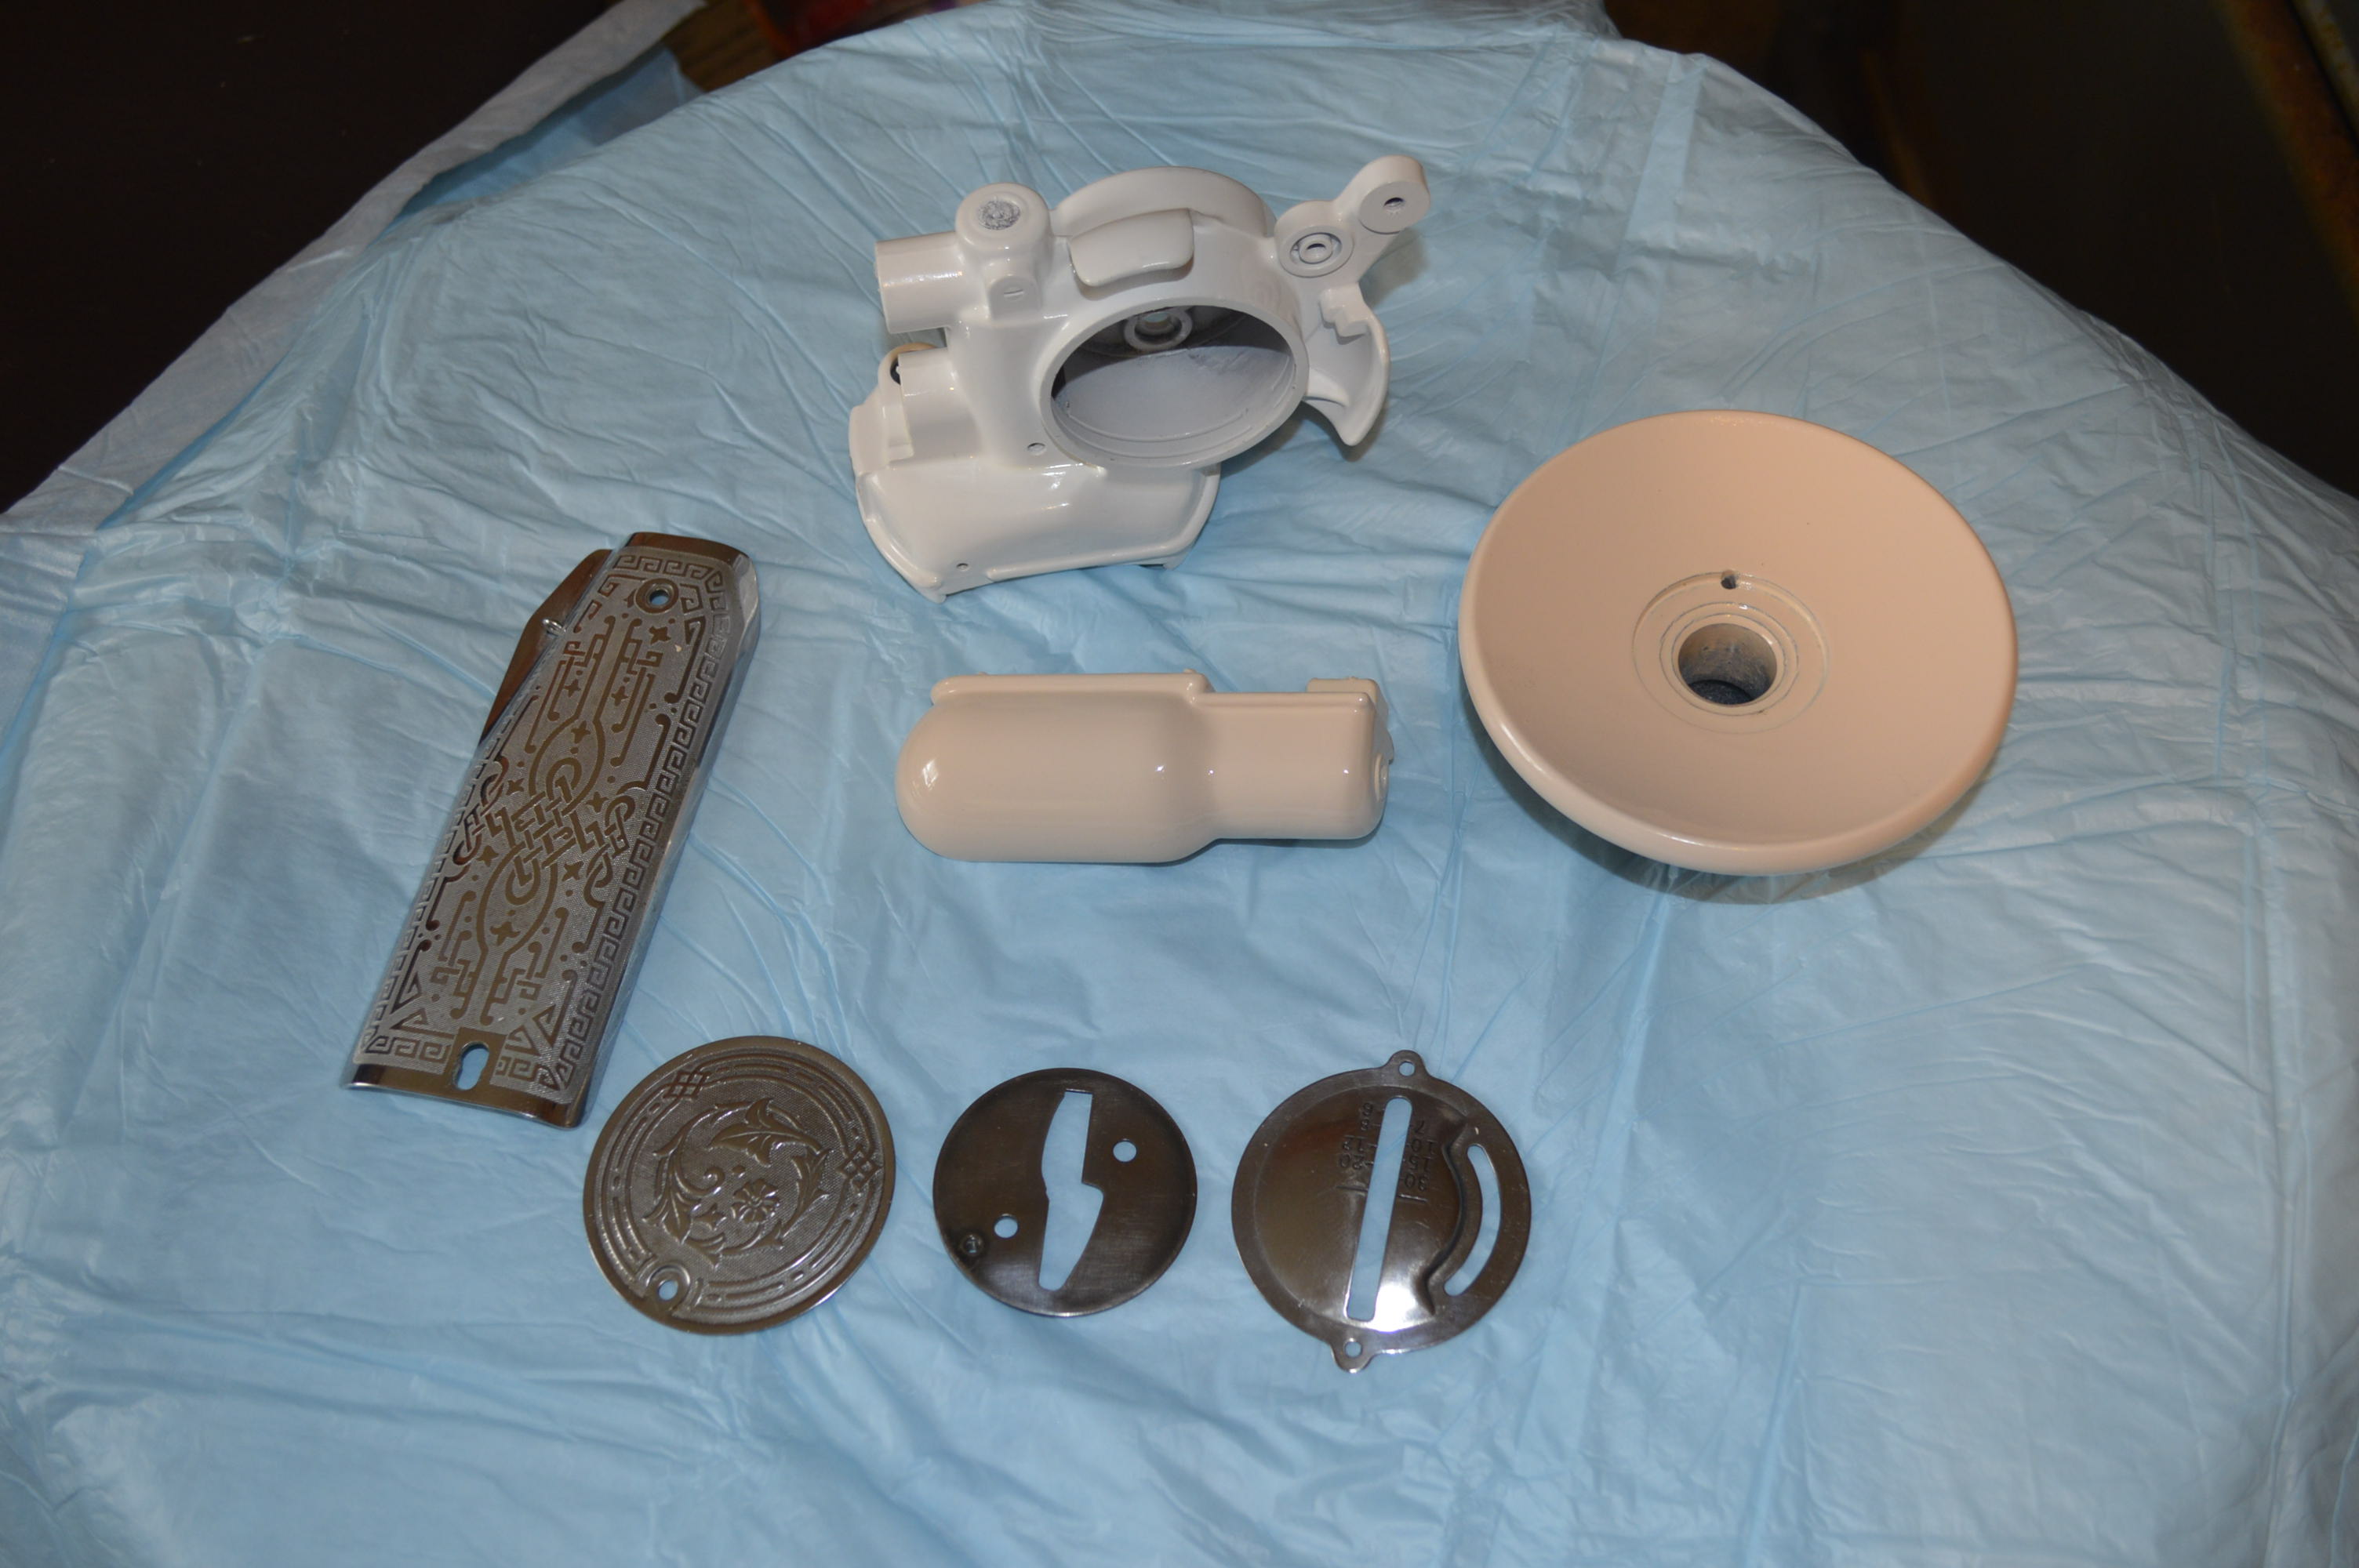
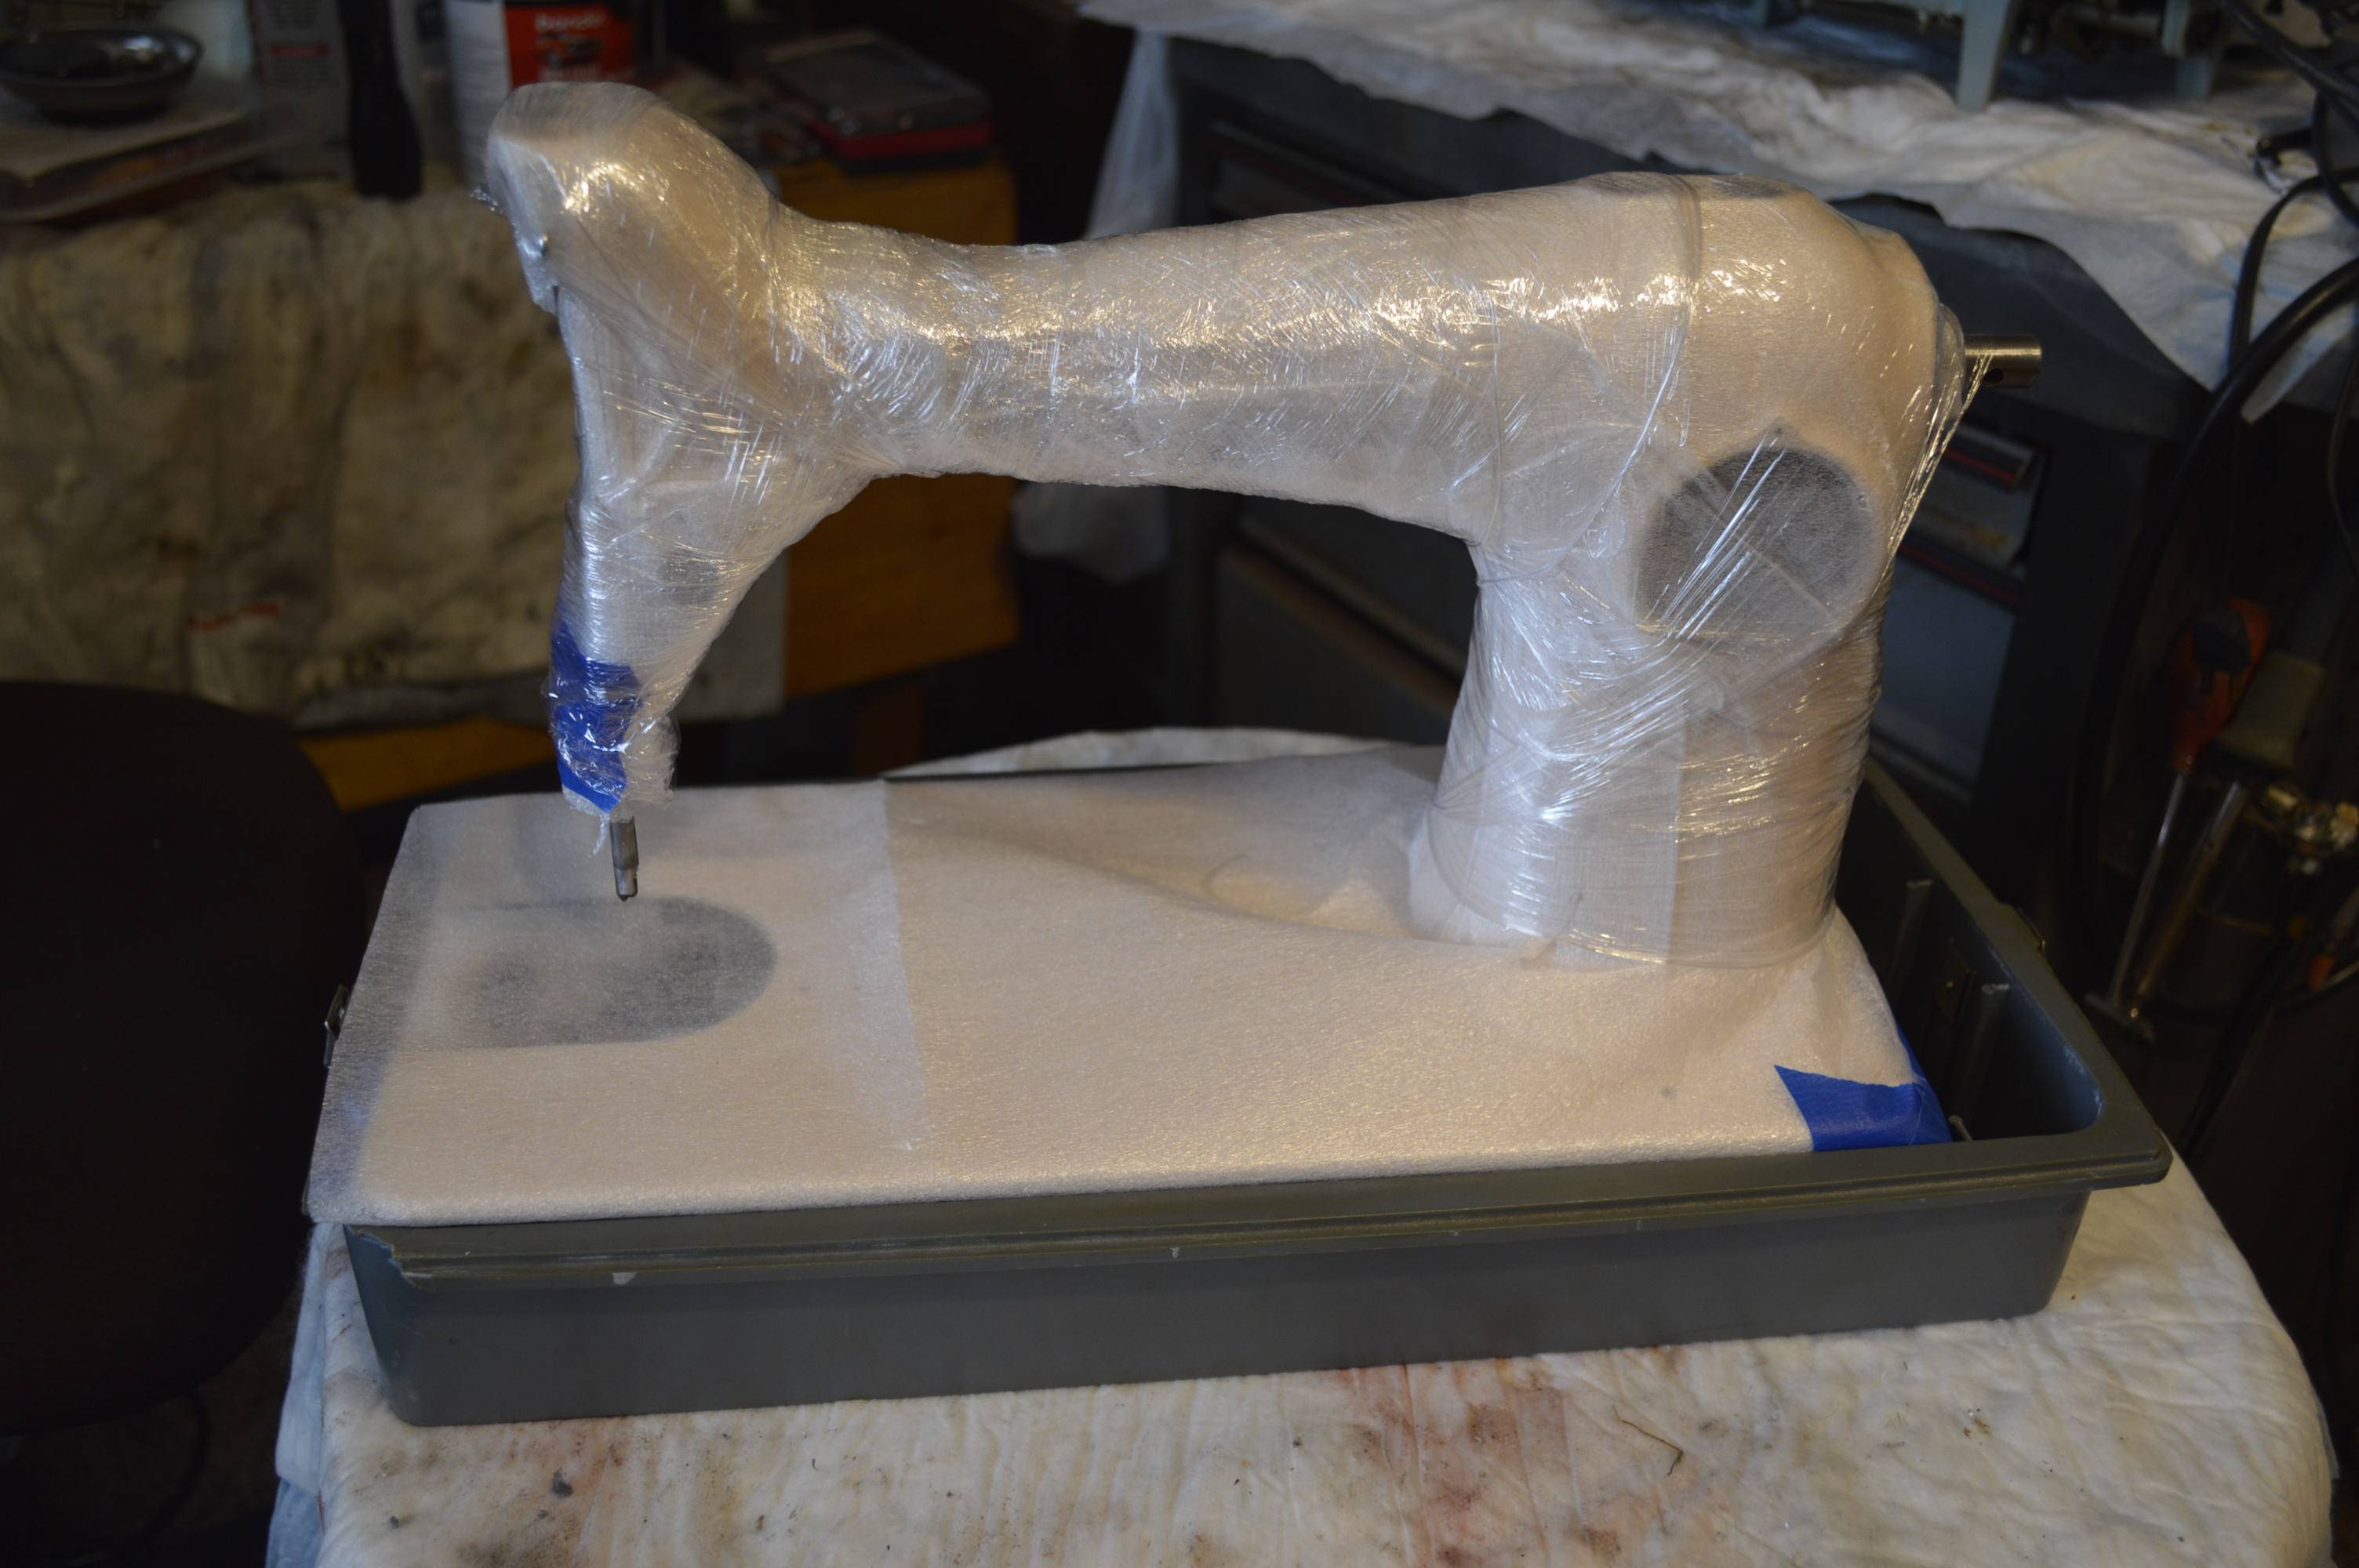
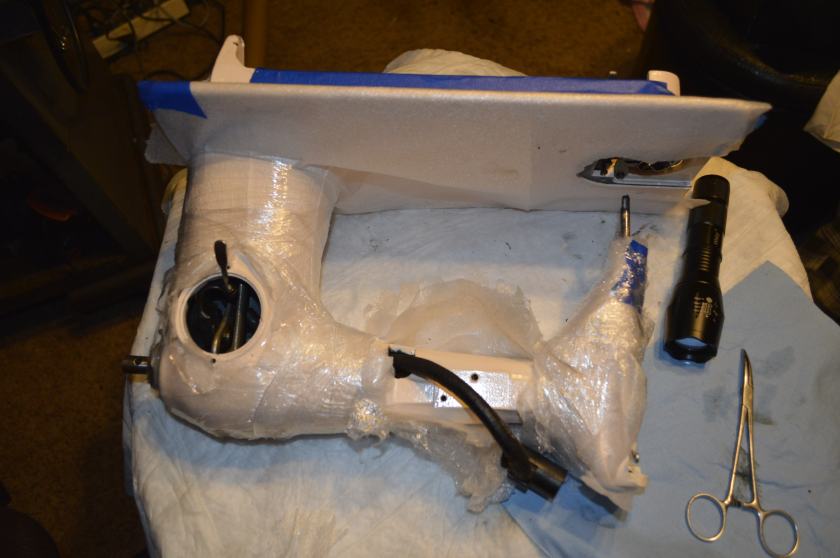
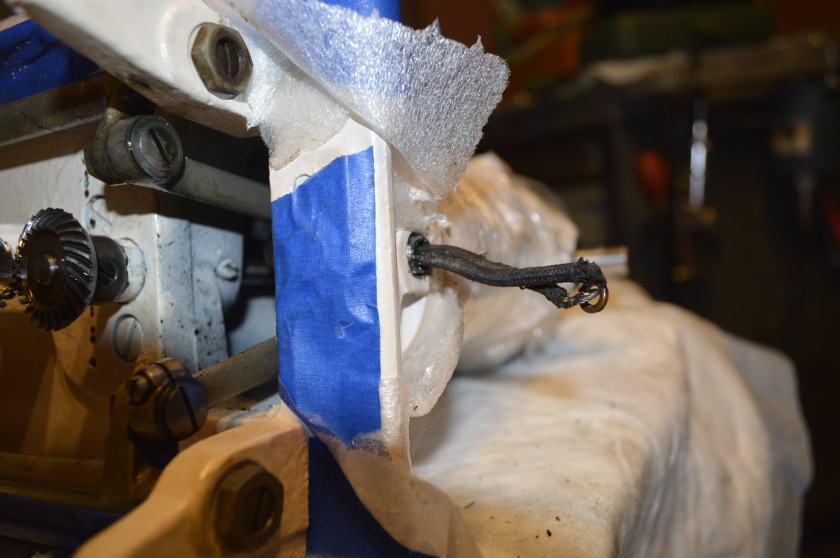
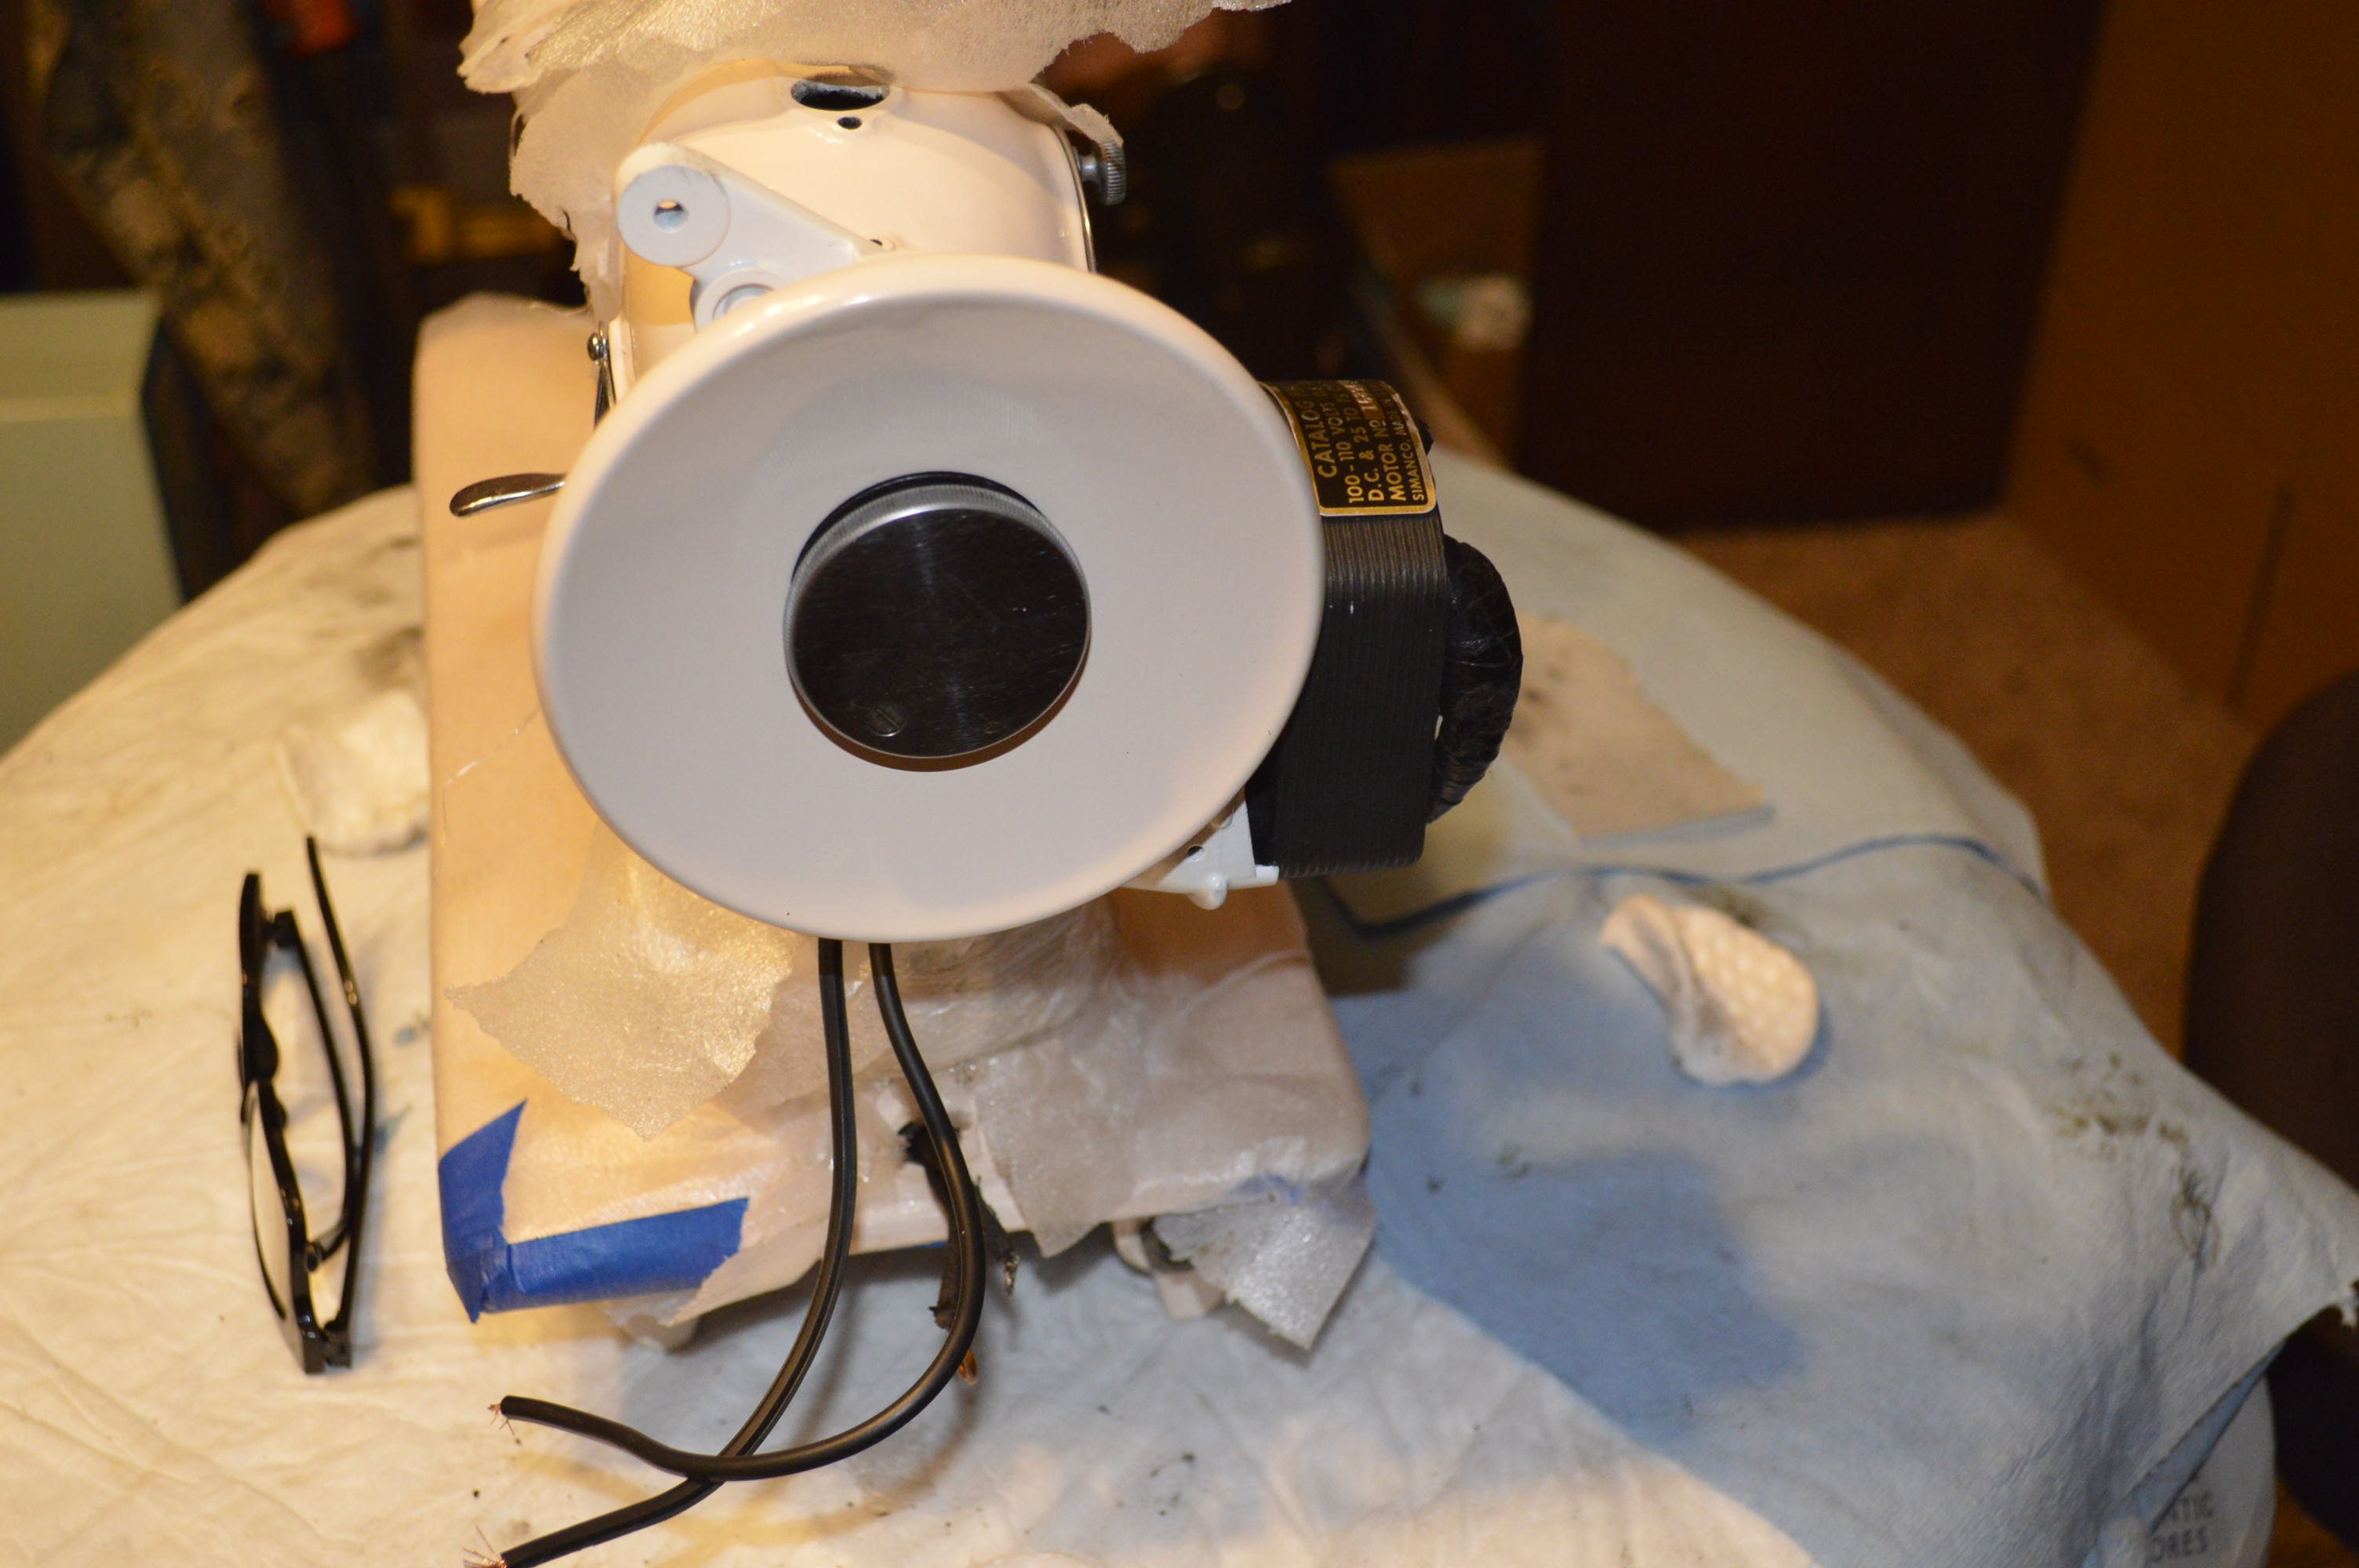
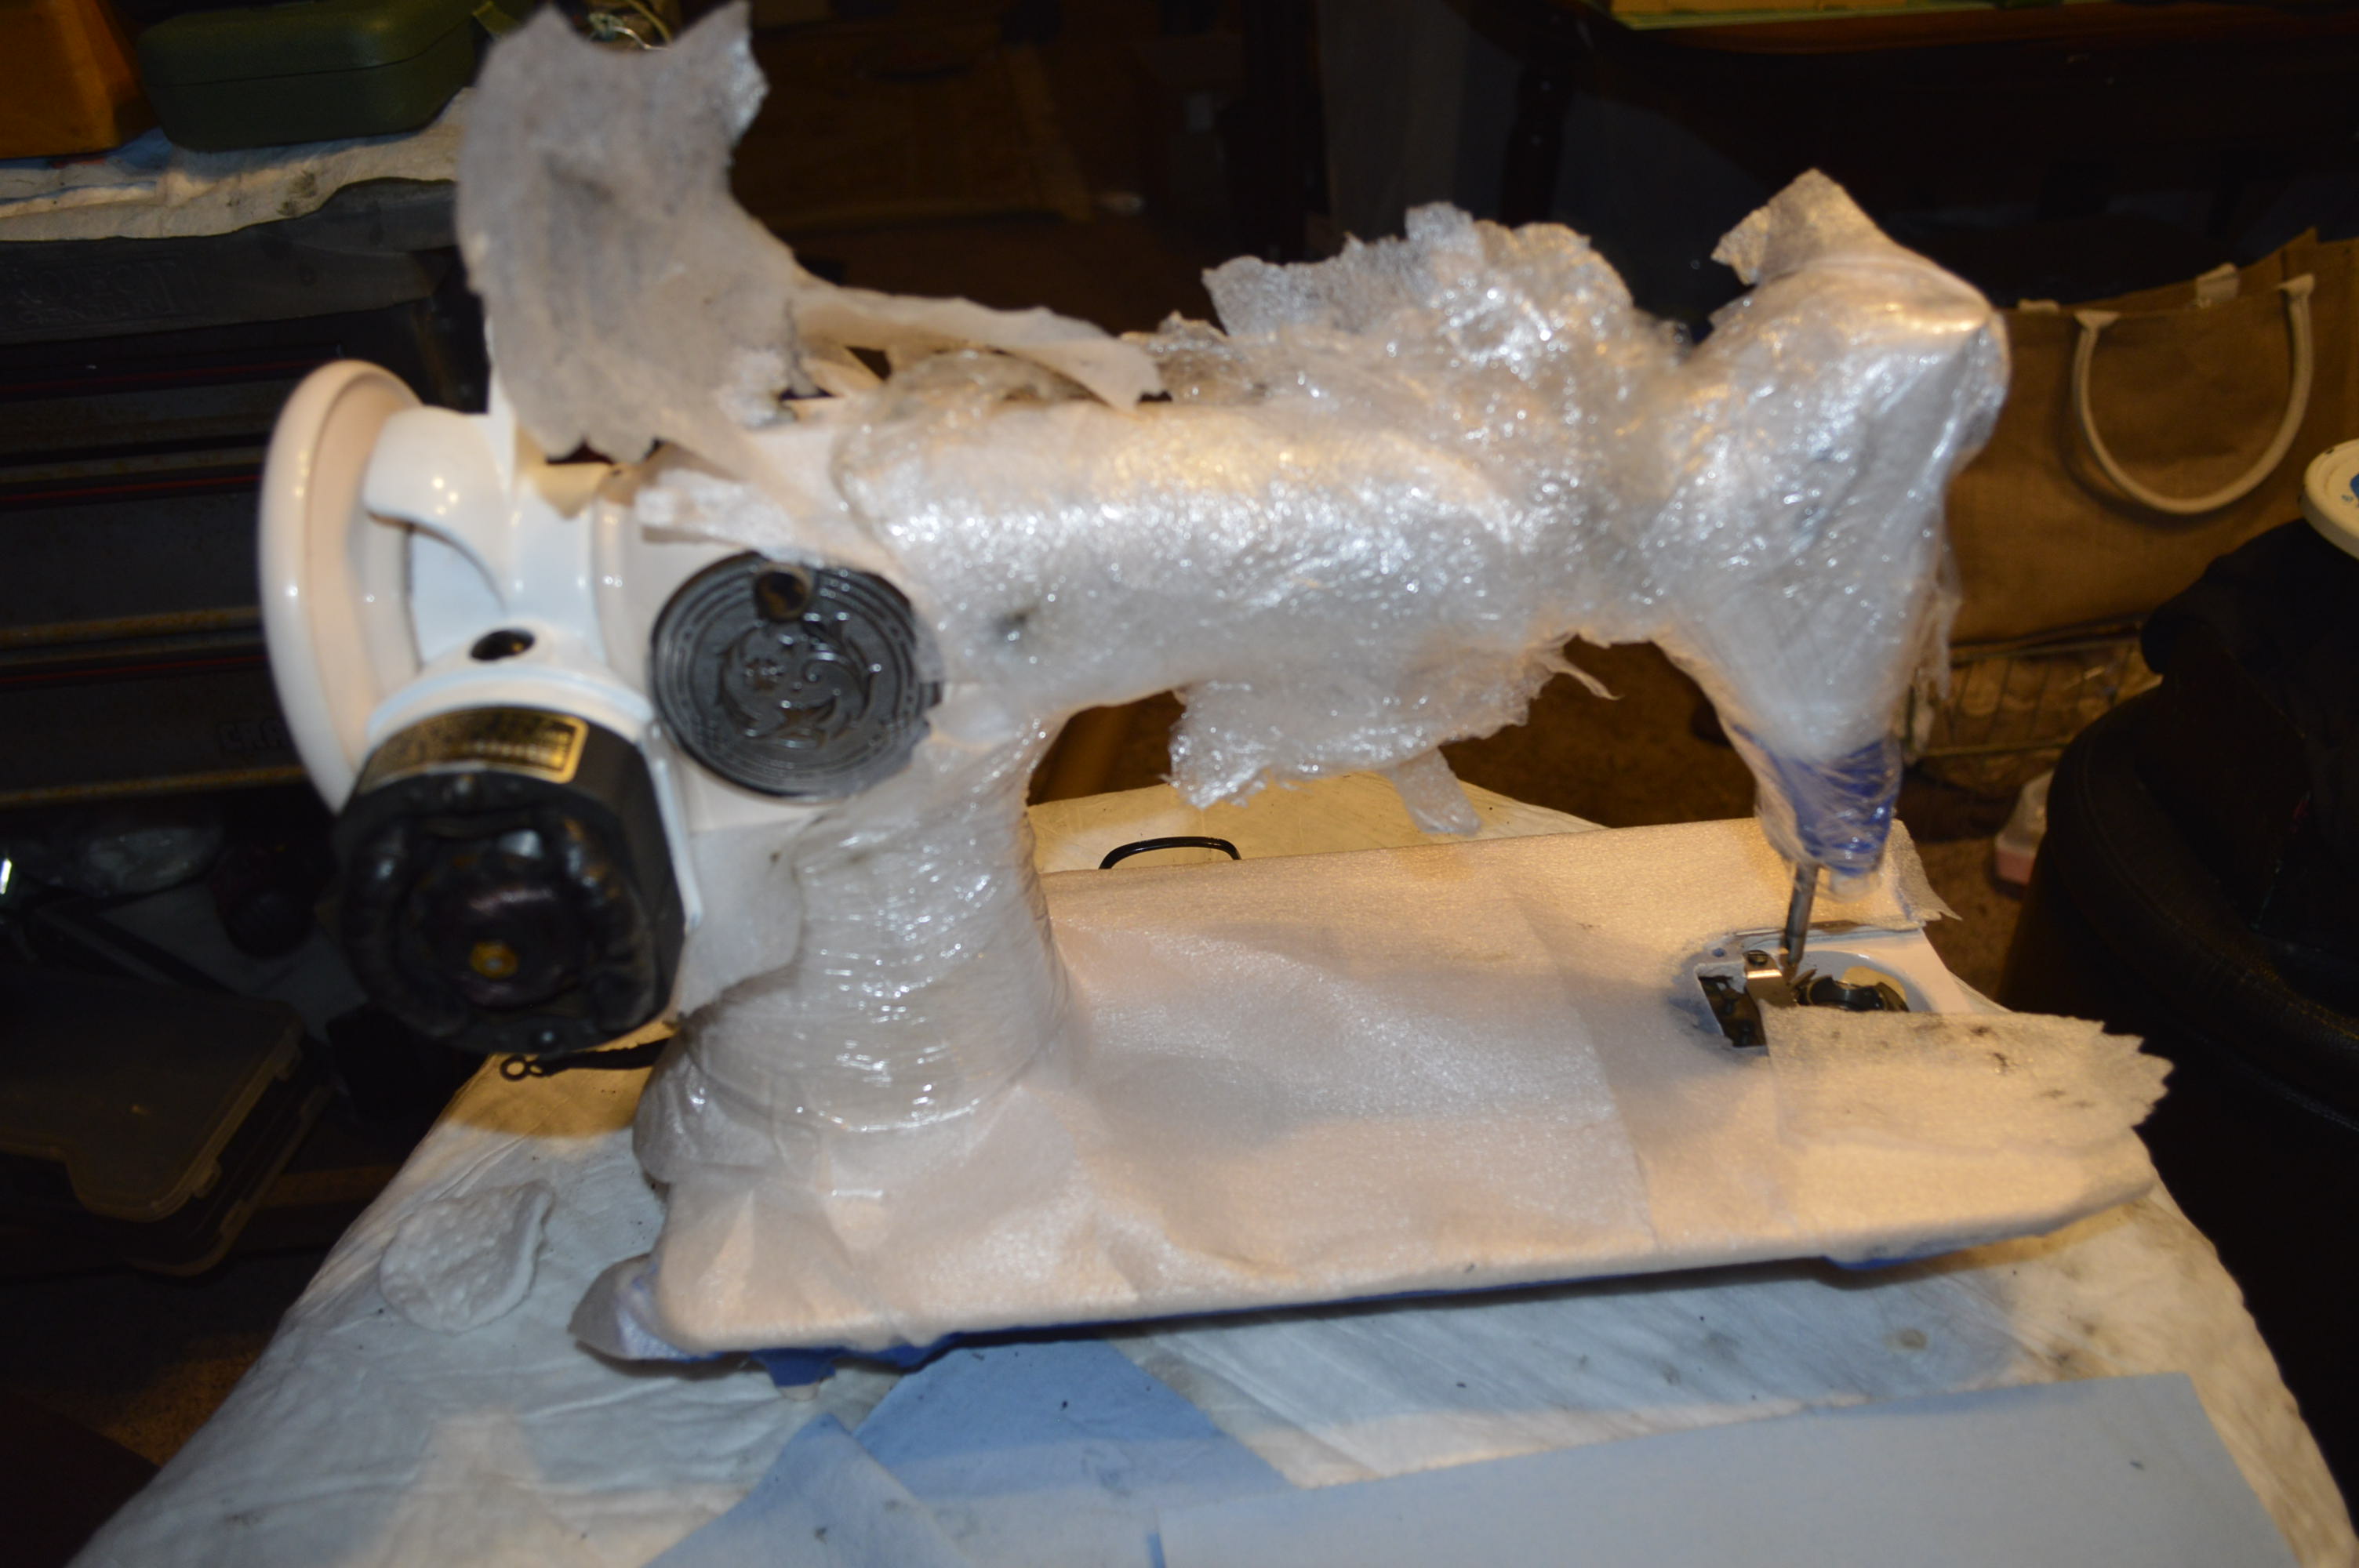
After my evaluation, I decided that the machine needed only minimal cleaning and a complete servicing. Of course, the motor will be disassembled and serviced, all of the moving mechanisms cleaned, the top tension control and bobbin case will be disassembled and ultrasonically cleaned, and parts such as the plates, screws, clamps and such would be removed and ultrasonically cleaned. Removing all of the parts makes it much easier to clean the body of the machine. I have decided that this machine deserved an additional step to remove the “defects”, and this will be accomplished with two applications of glaze polish followed by the application of carnauba wax. This is the machine stripped for cleaning.
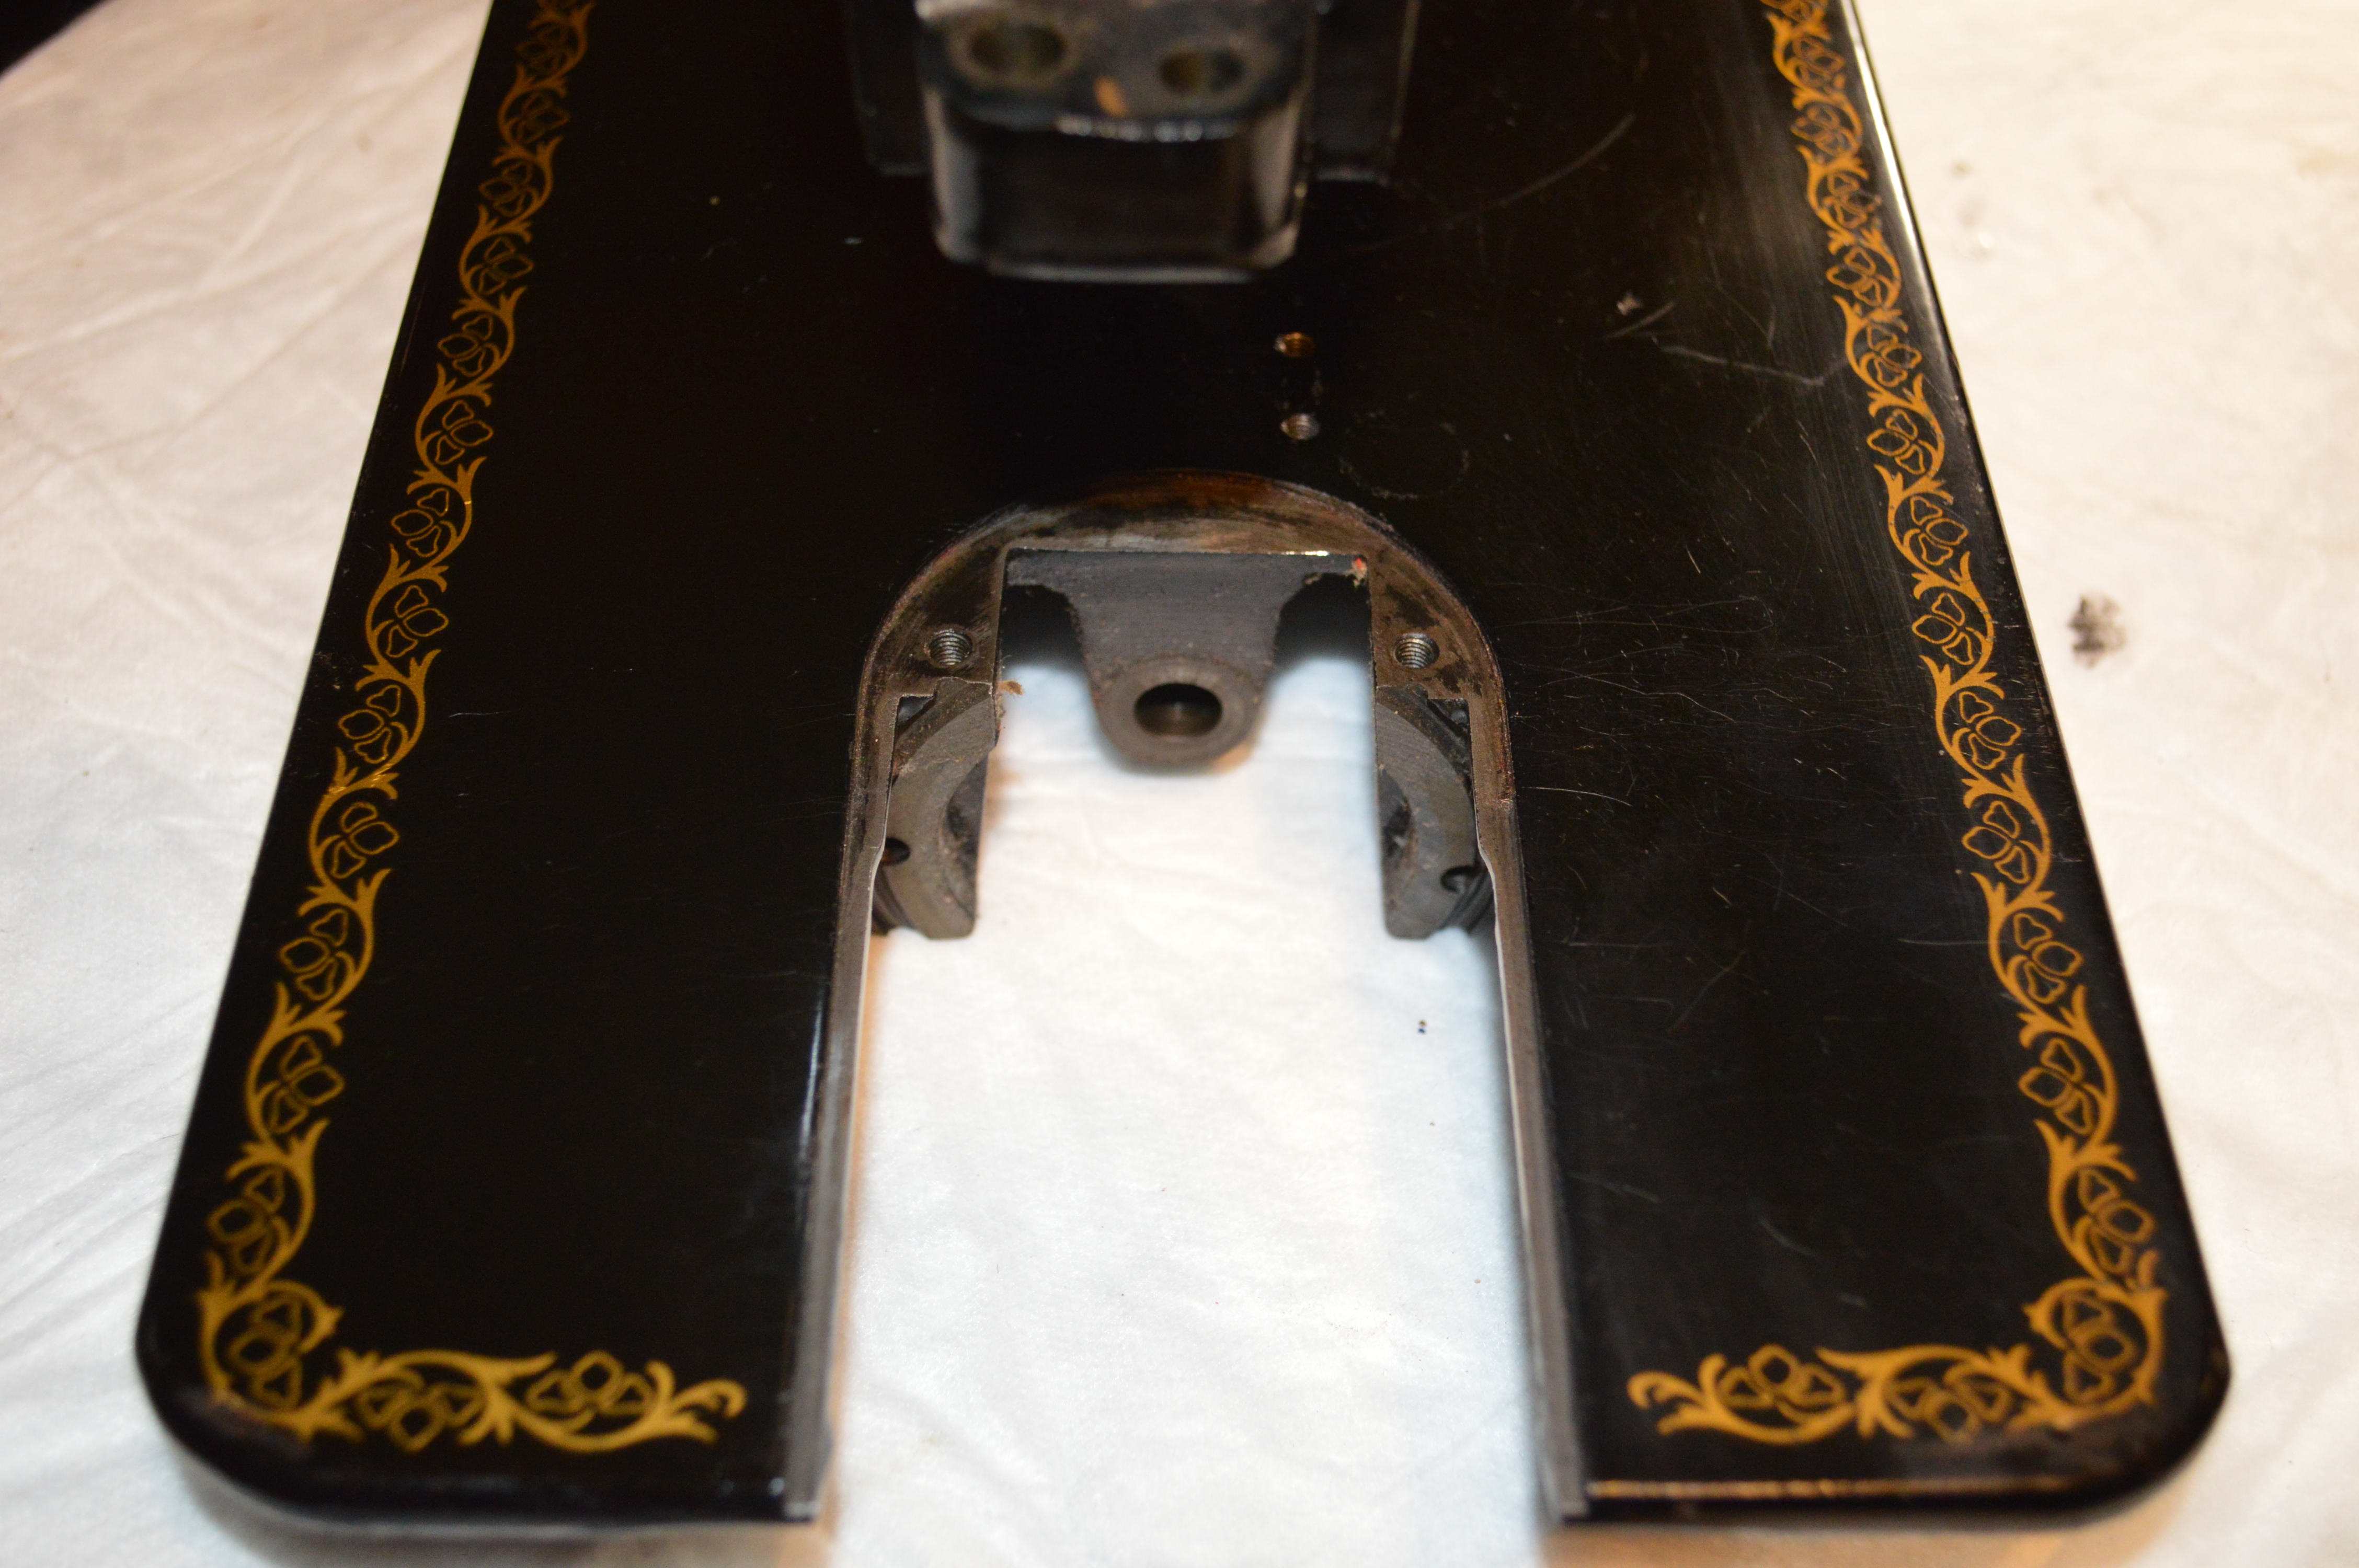
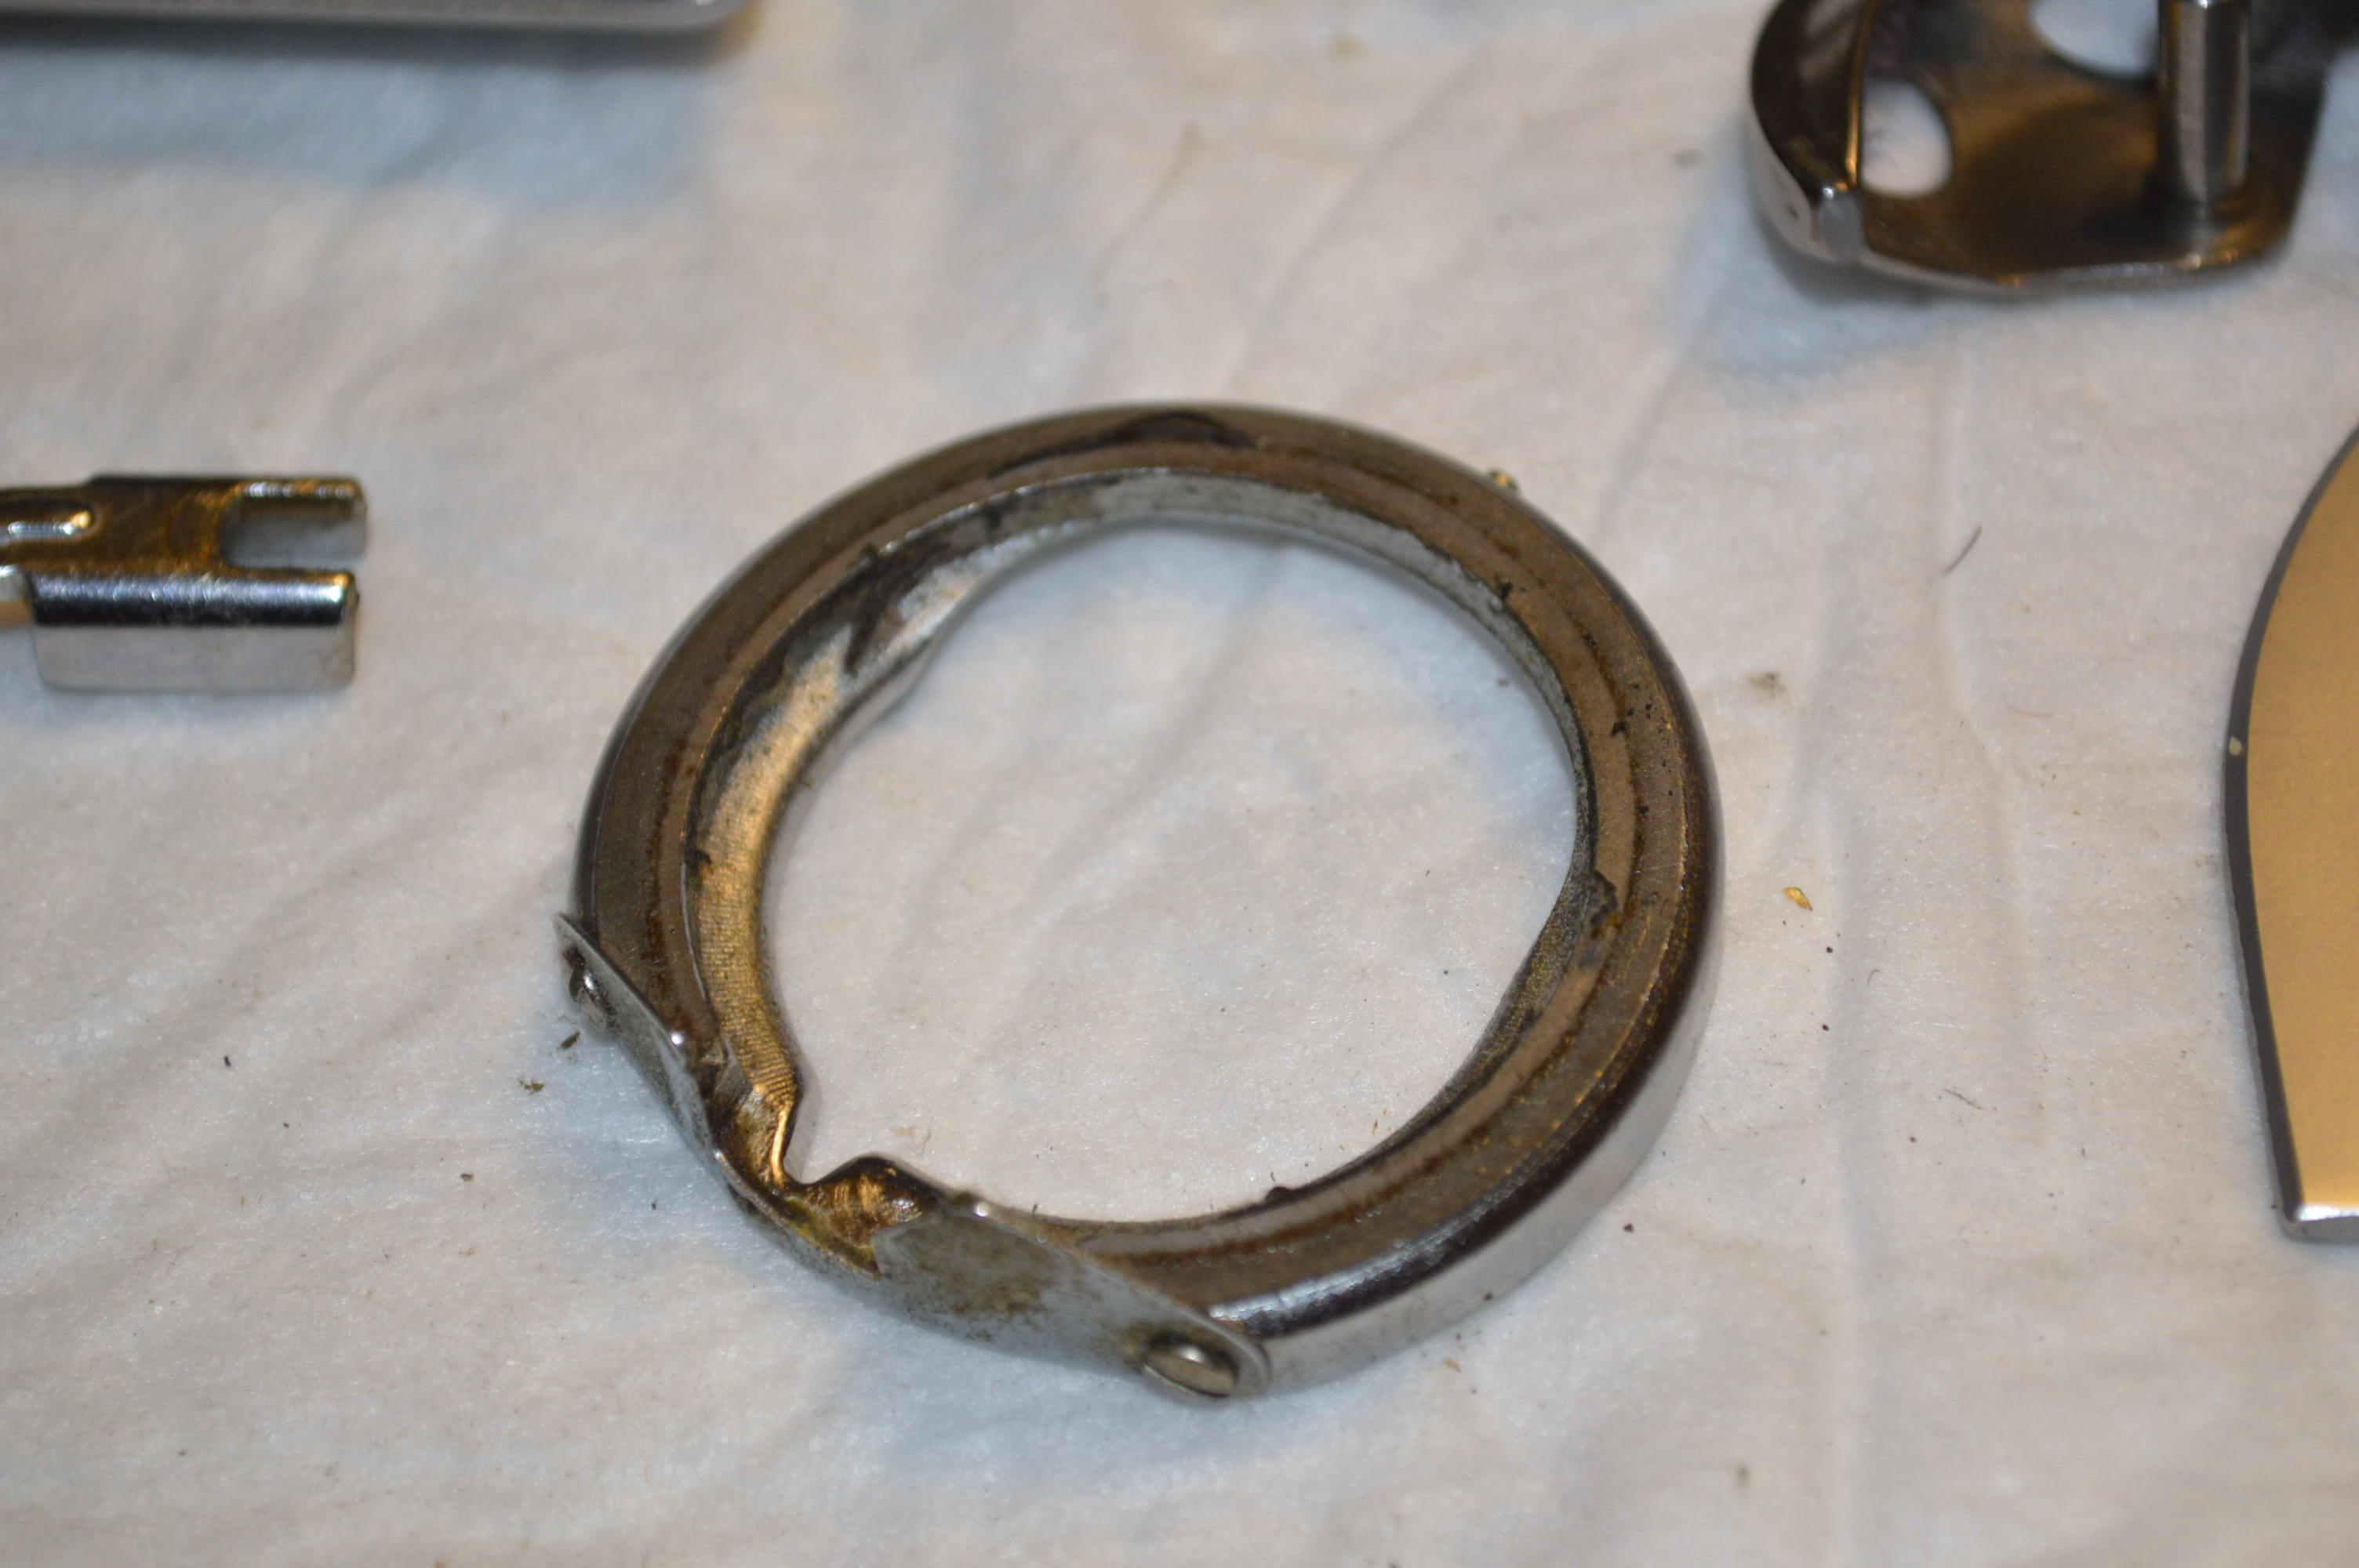
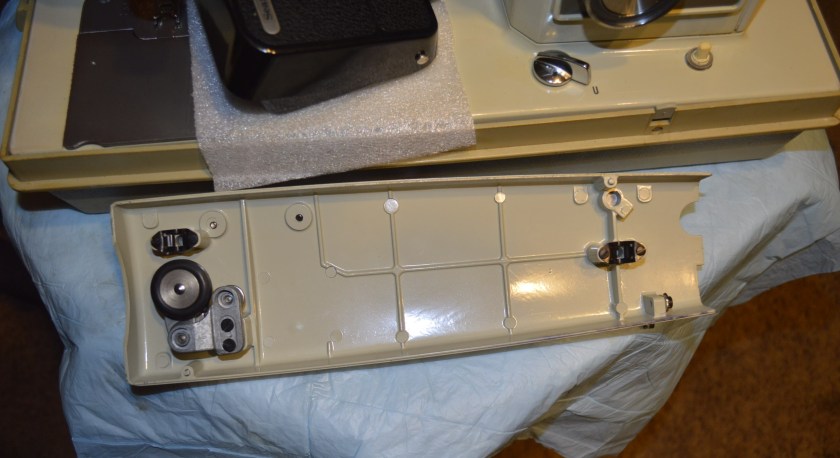
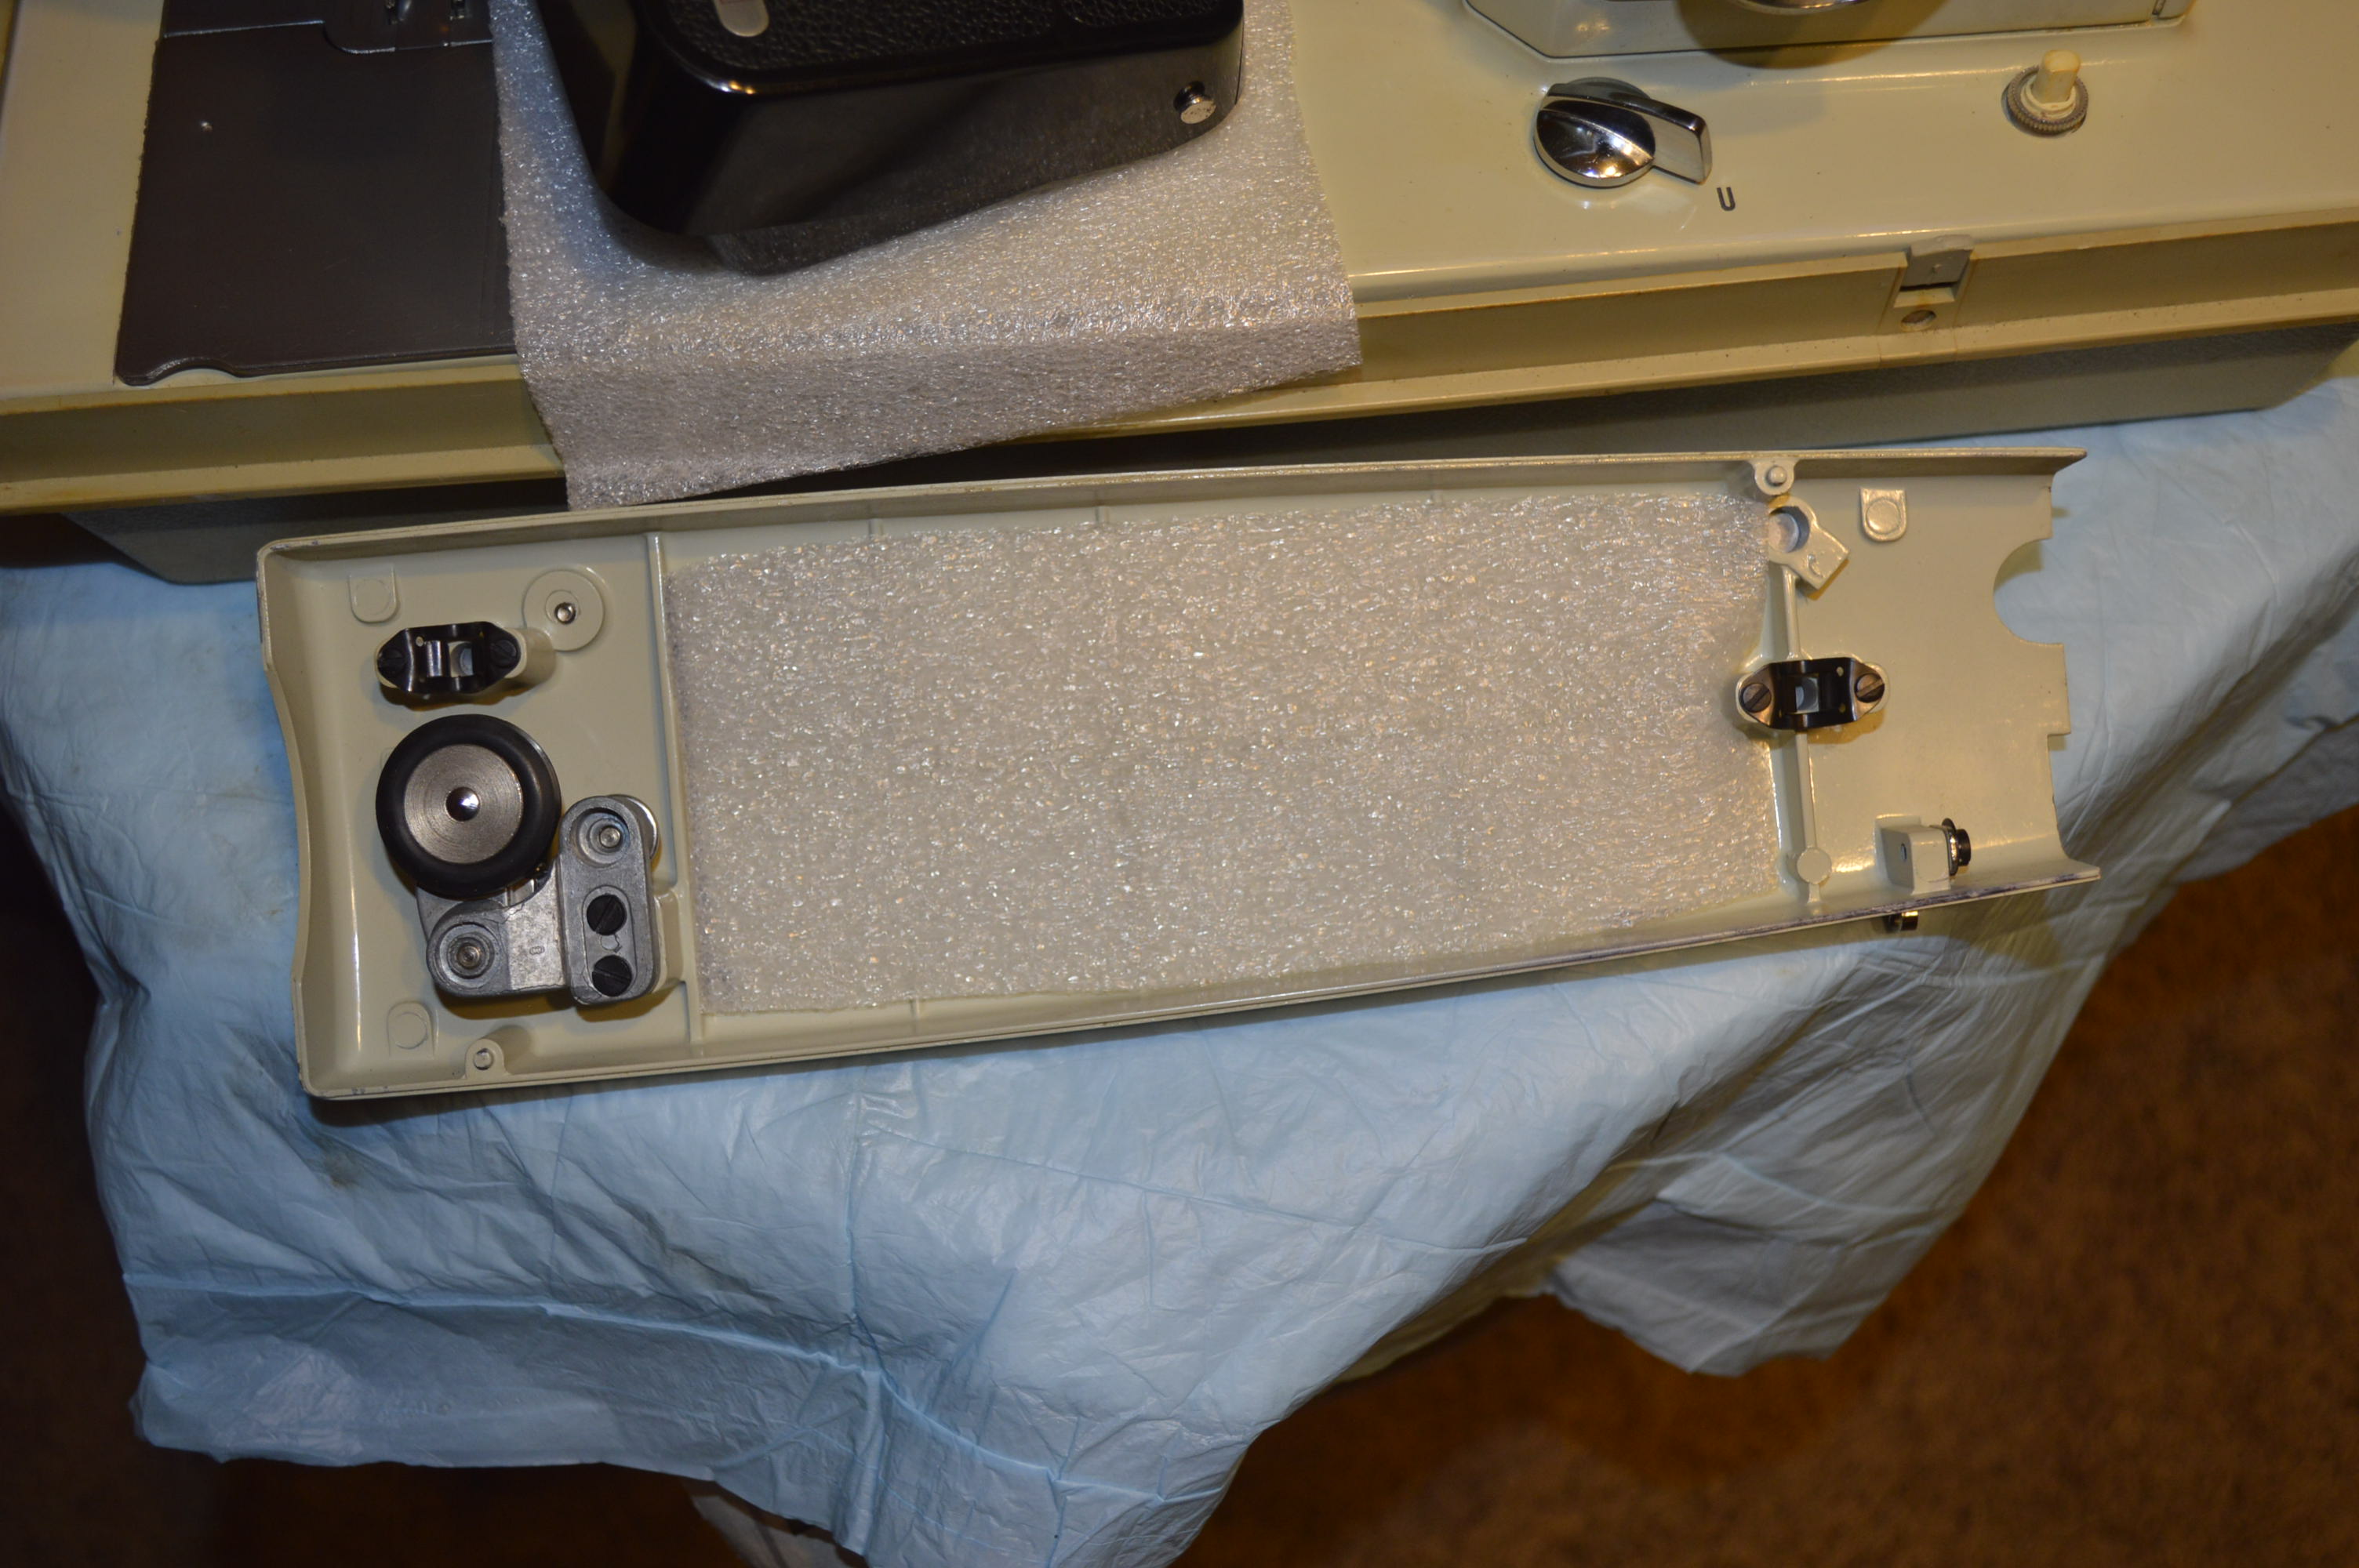
Front cover Removed
Knobs Removed
Rear cover Removed
Spool Pin Bracket, top, and Badges Removed
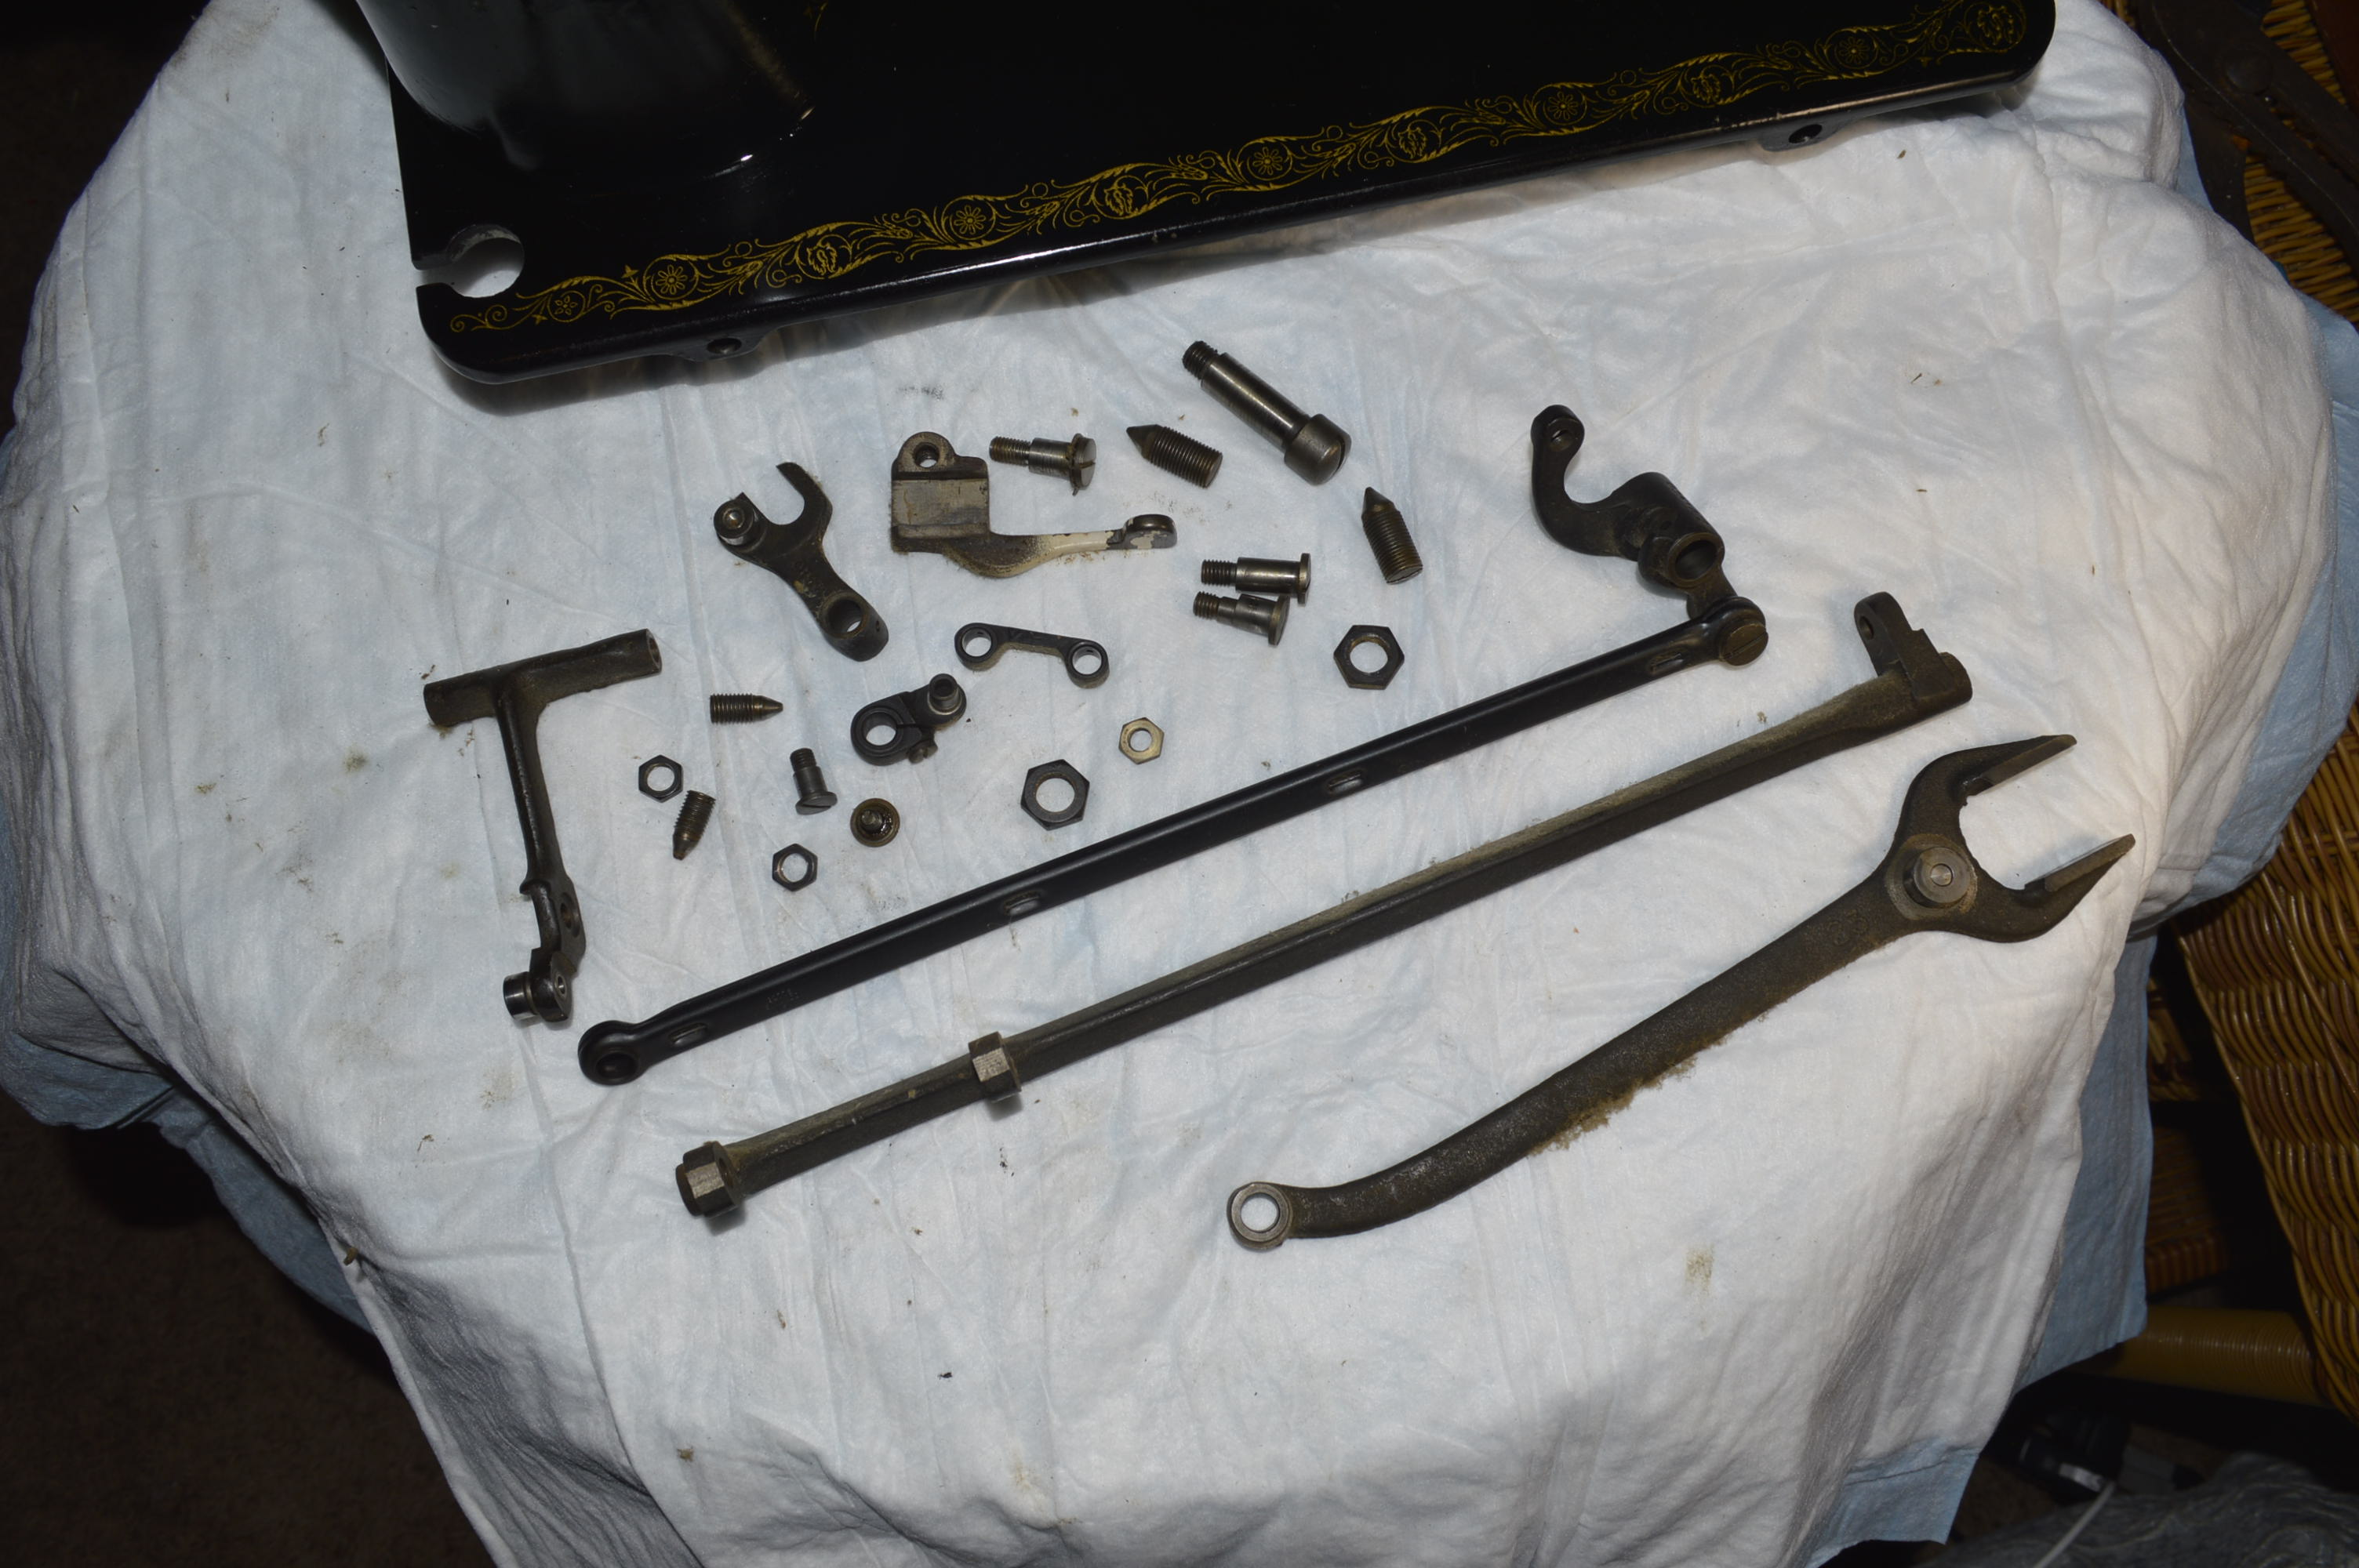
The next step is to ultrasonically everything that was taken off, except for the top tension assembly… that will be cleaned separately, and of course for the covers. The cleaned parts are soaked in WD-40 to remove water, and the bobbin winding assembly is soaked in 99% alcohol to remove the WD-40. These parts are set aside while the few areas on the mechanisms are cleaned. Here, I used acetone and cotton swabs.
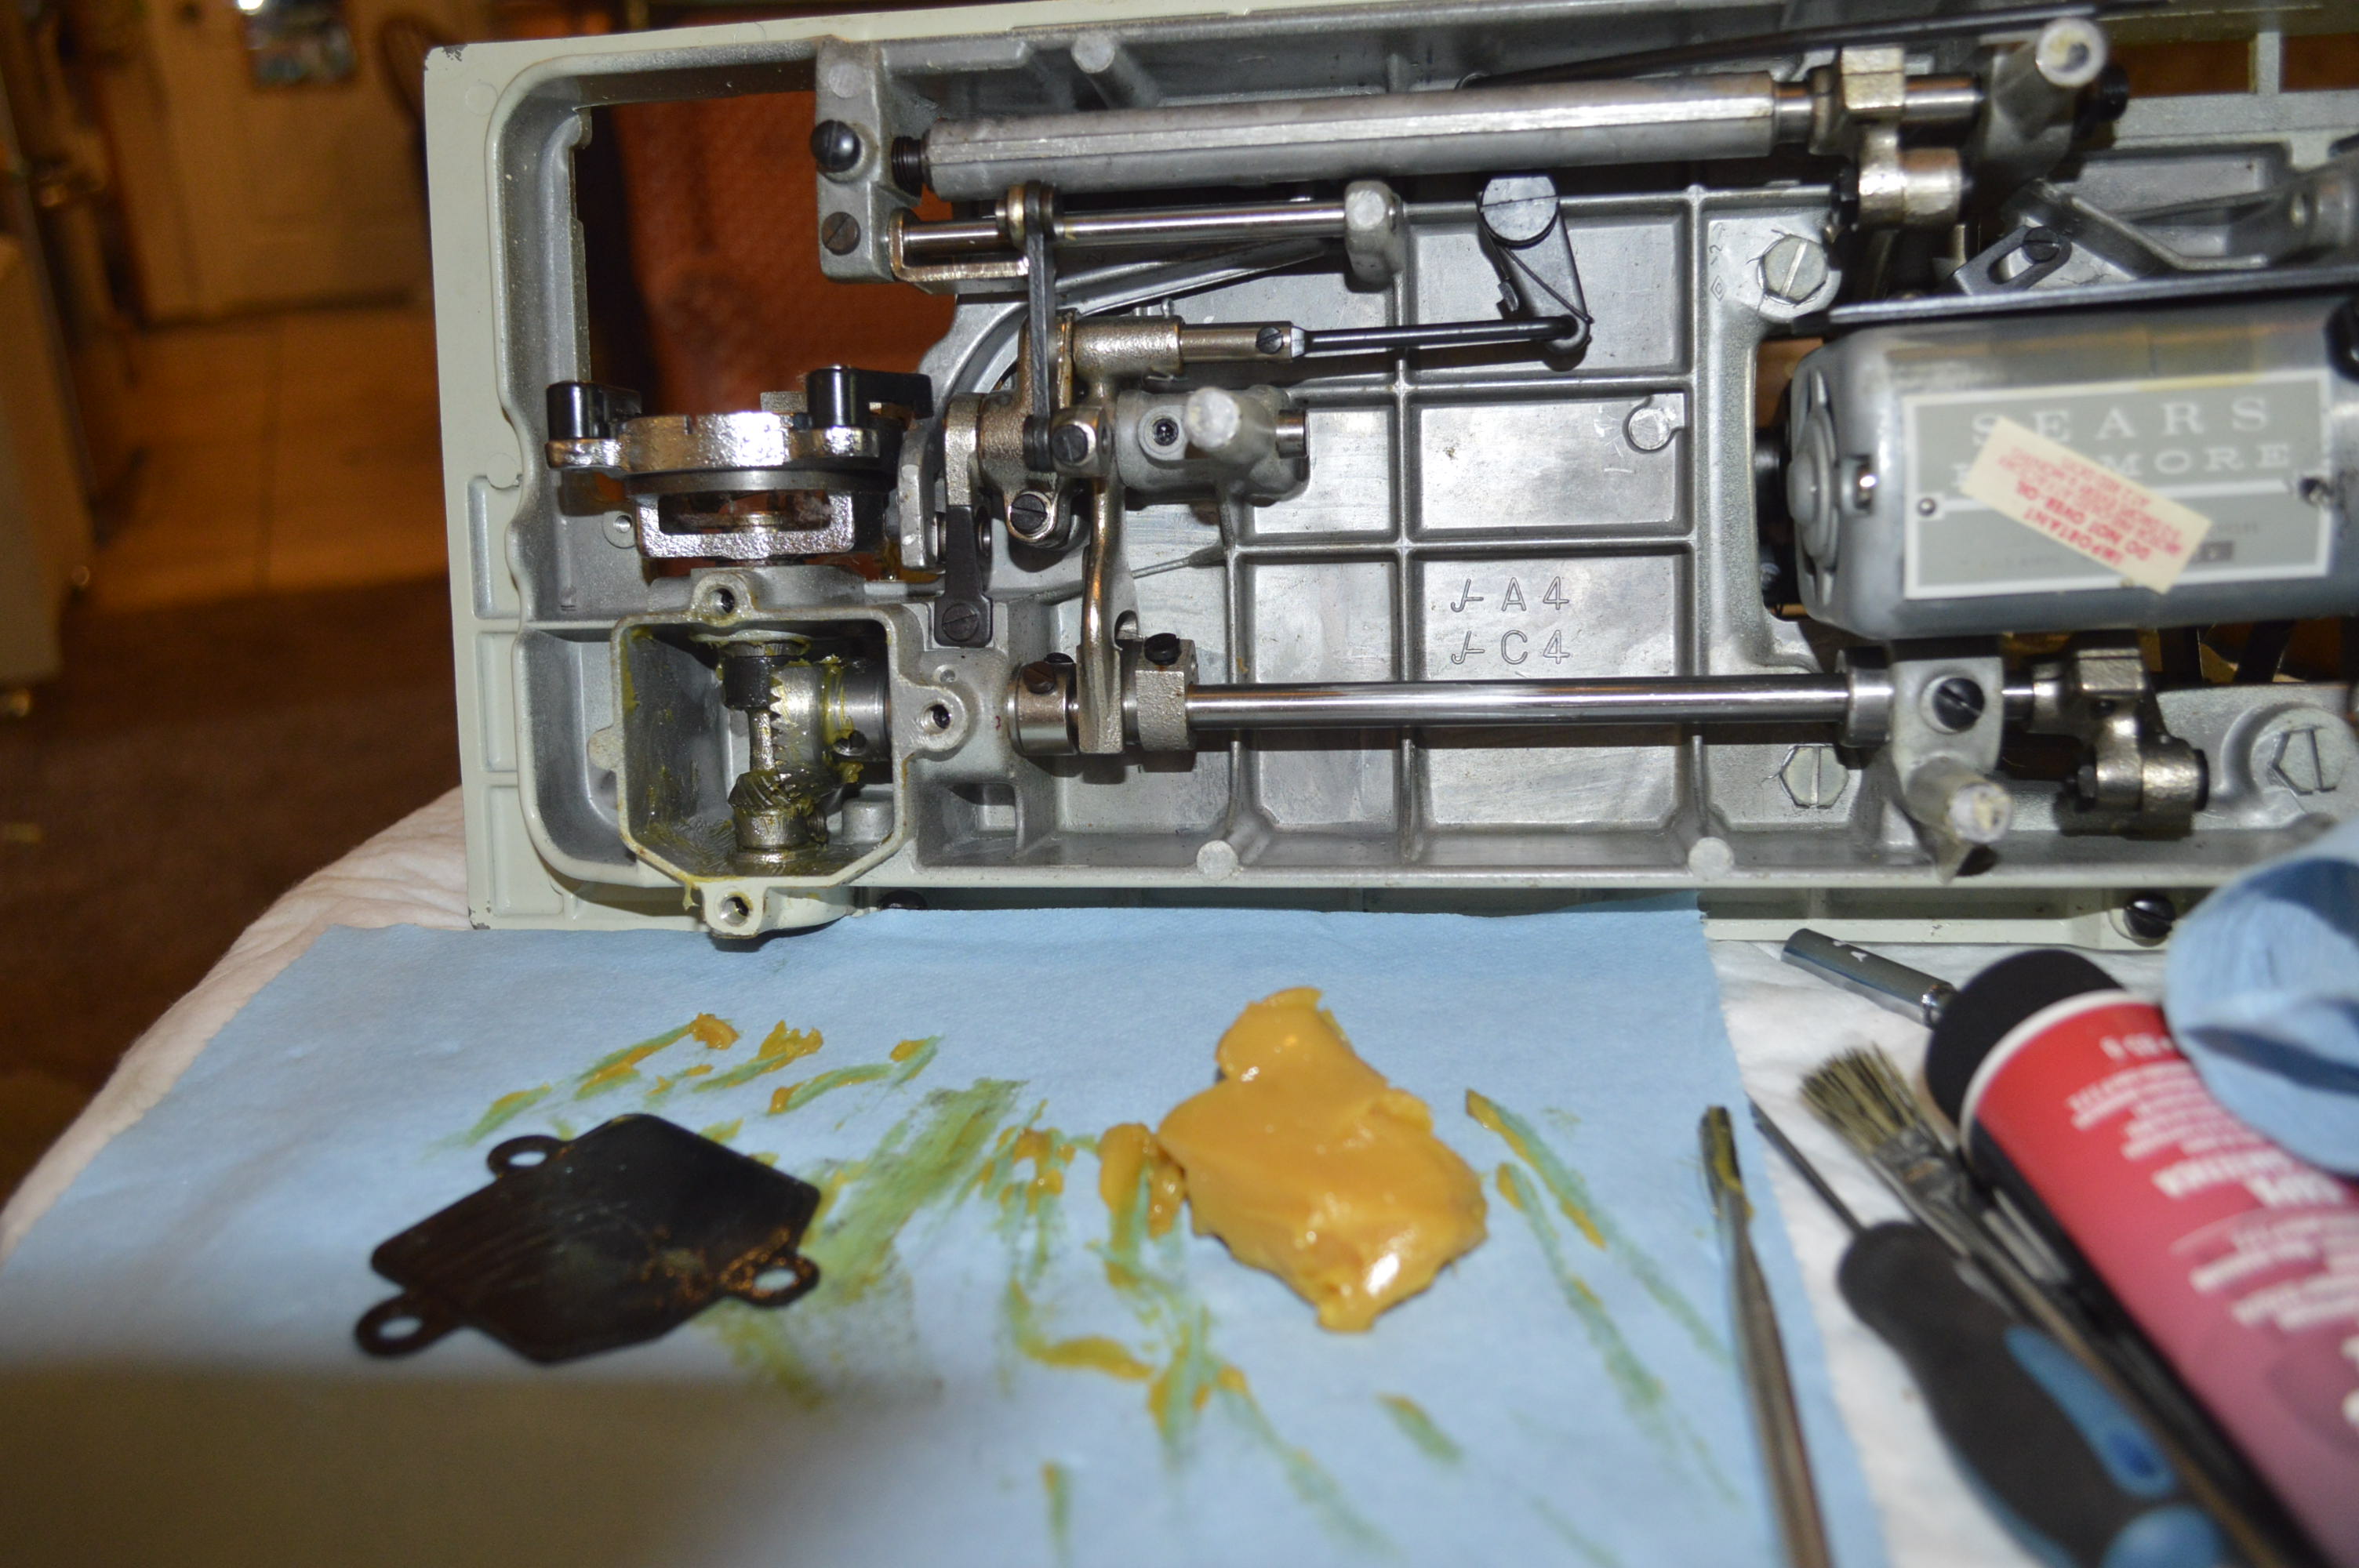
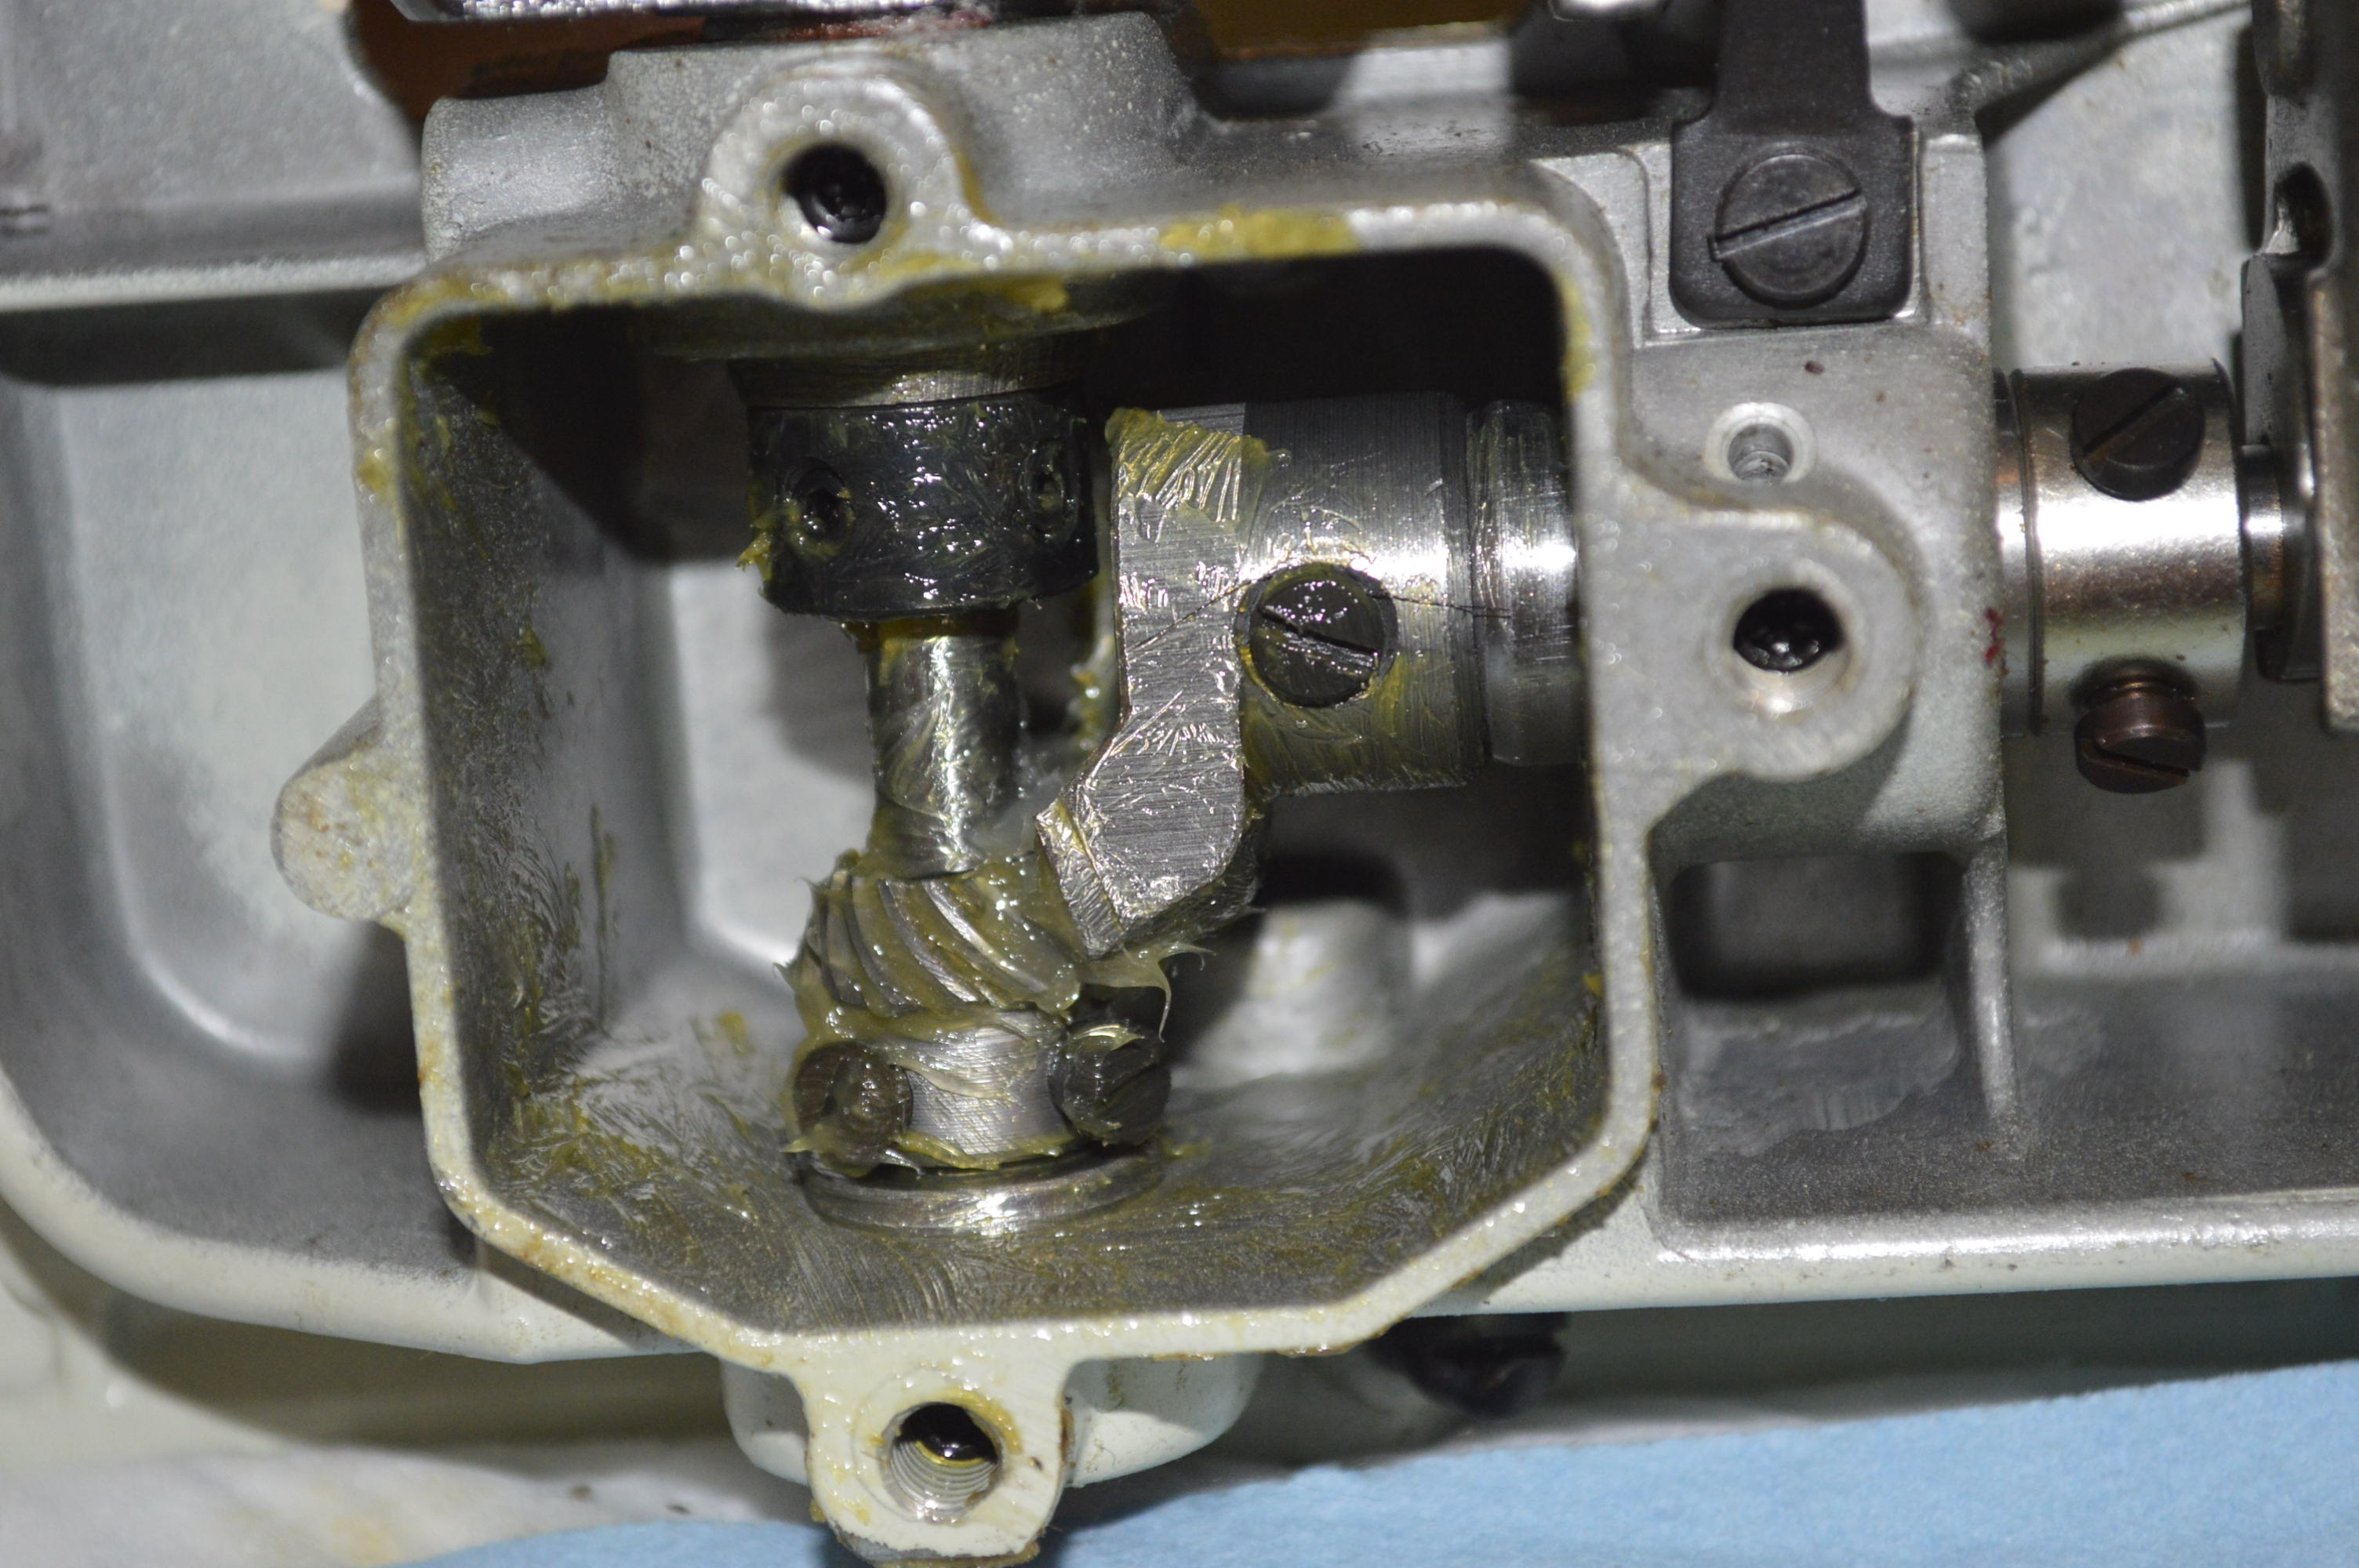
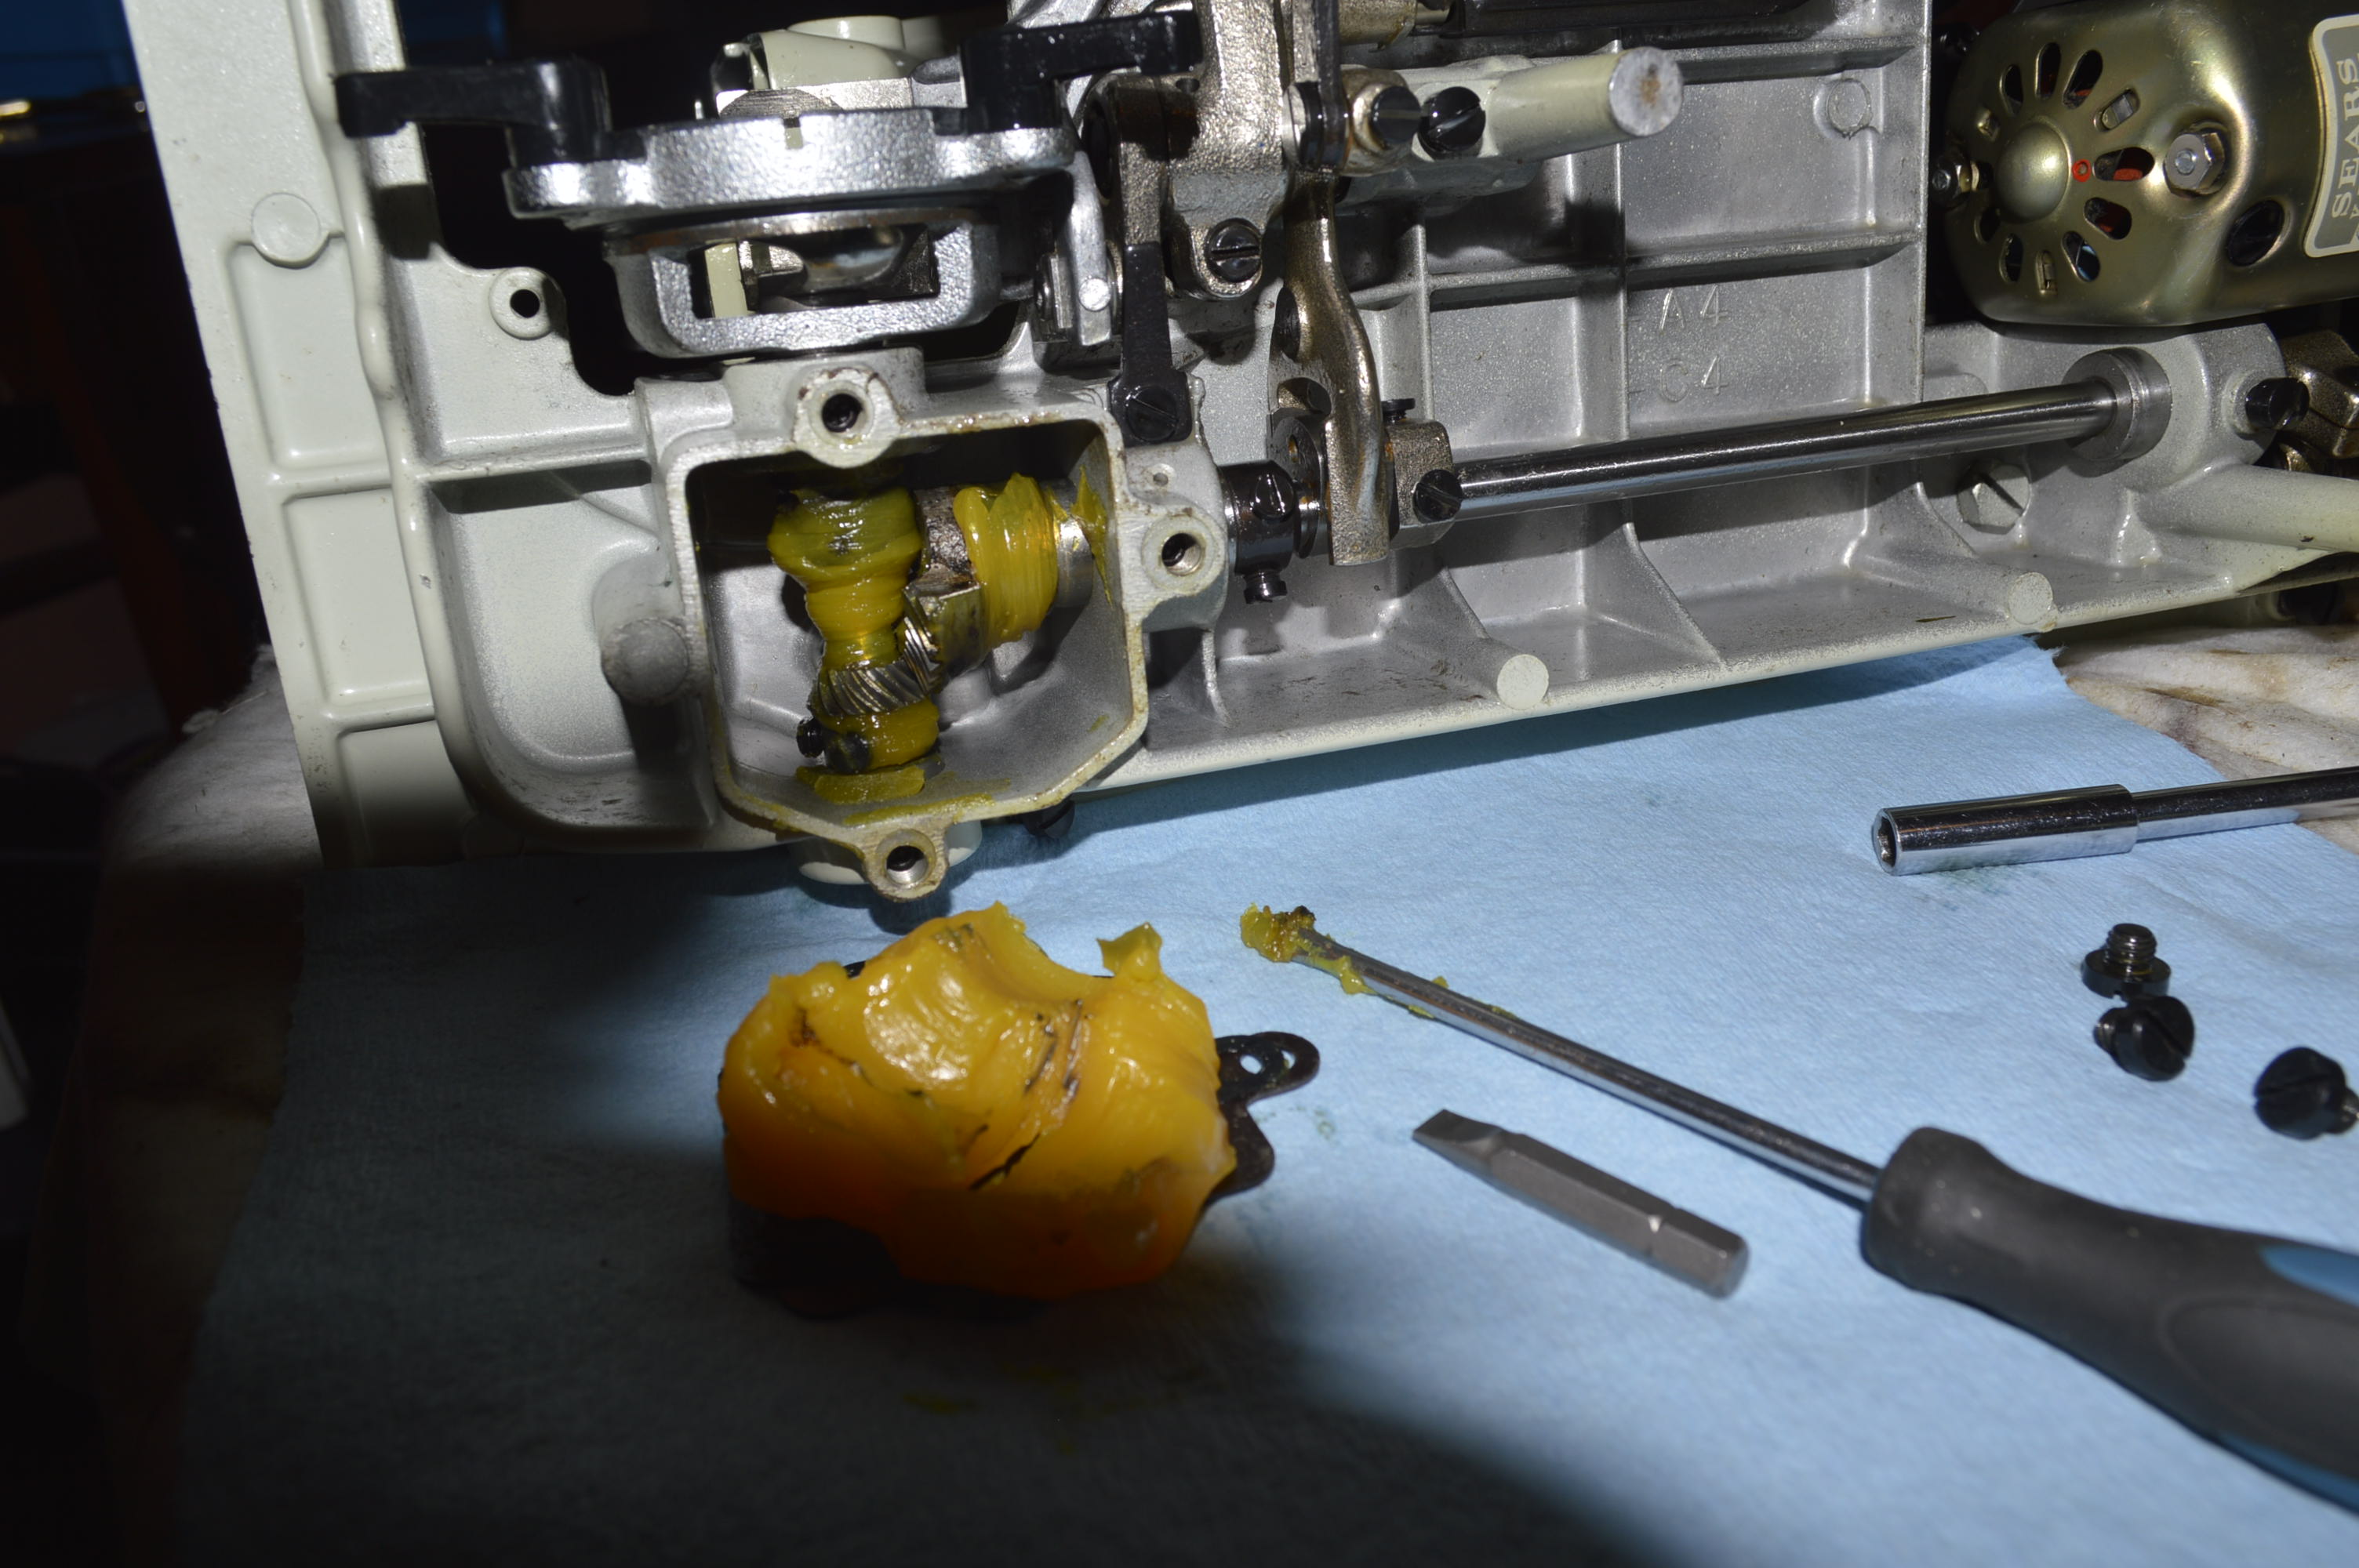
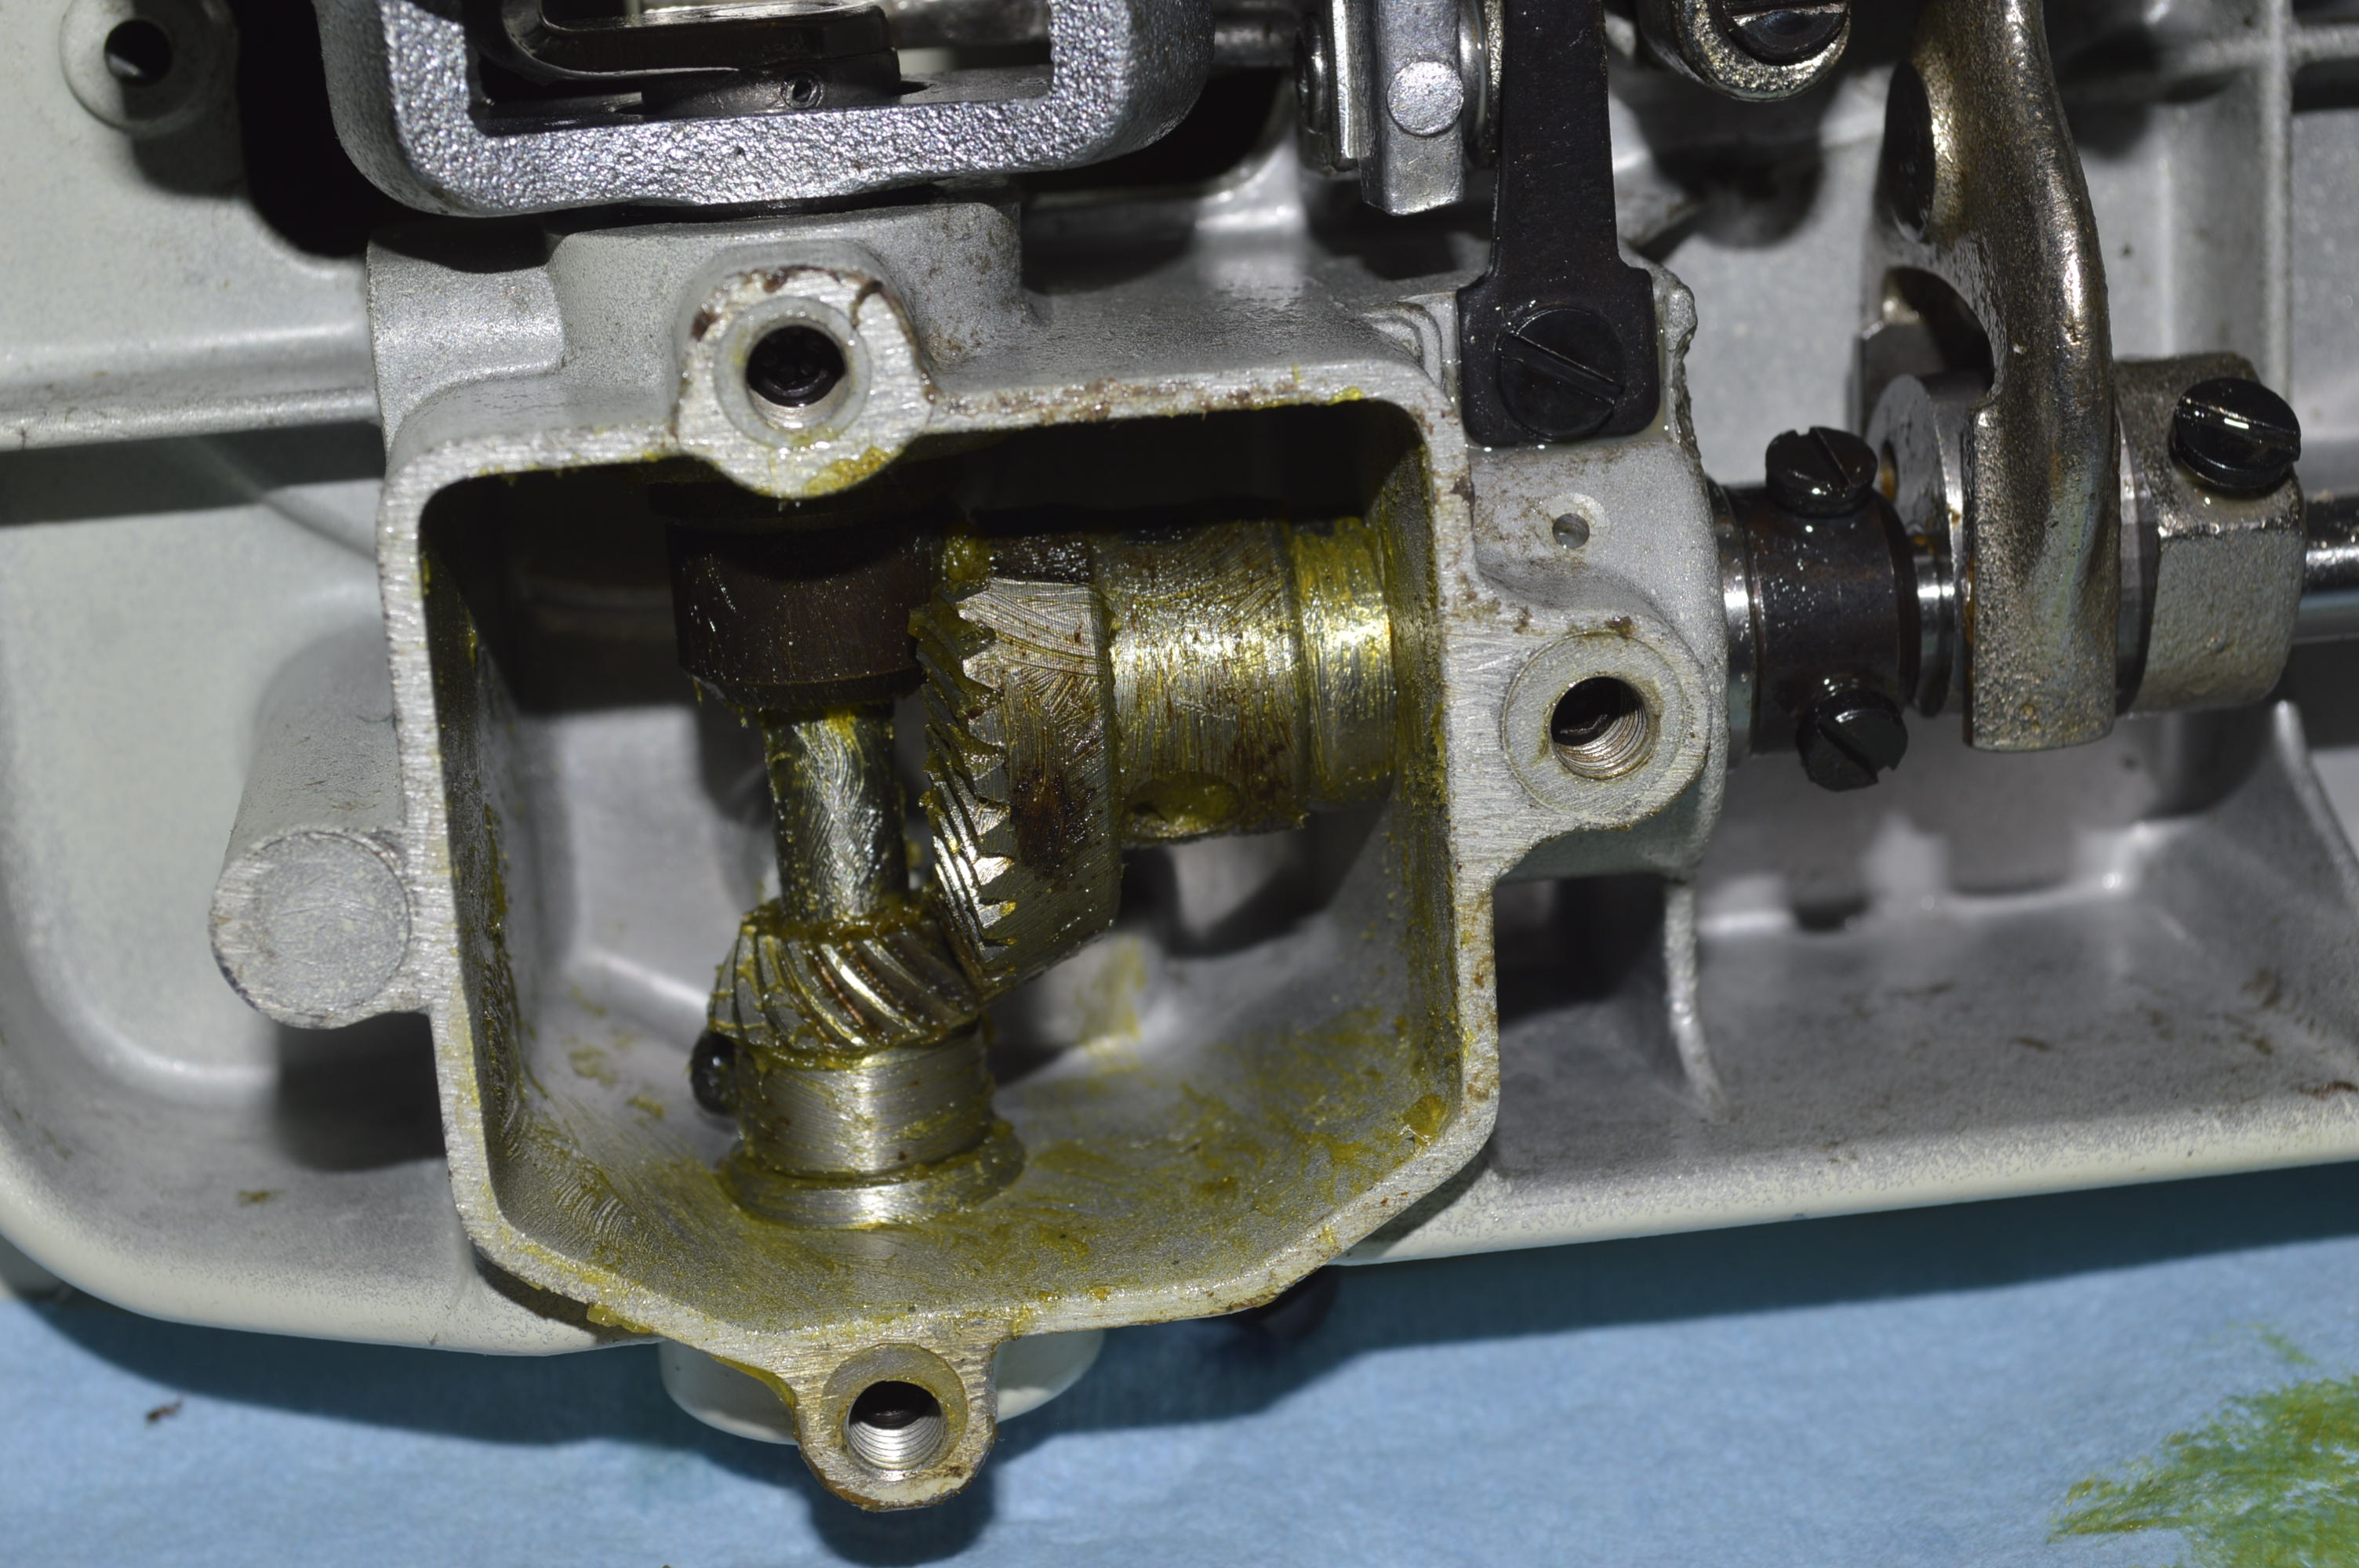
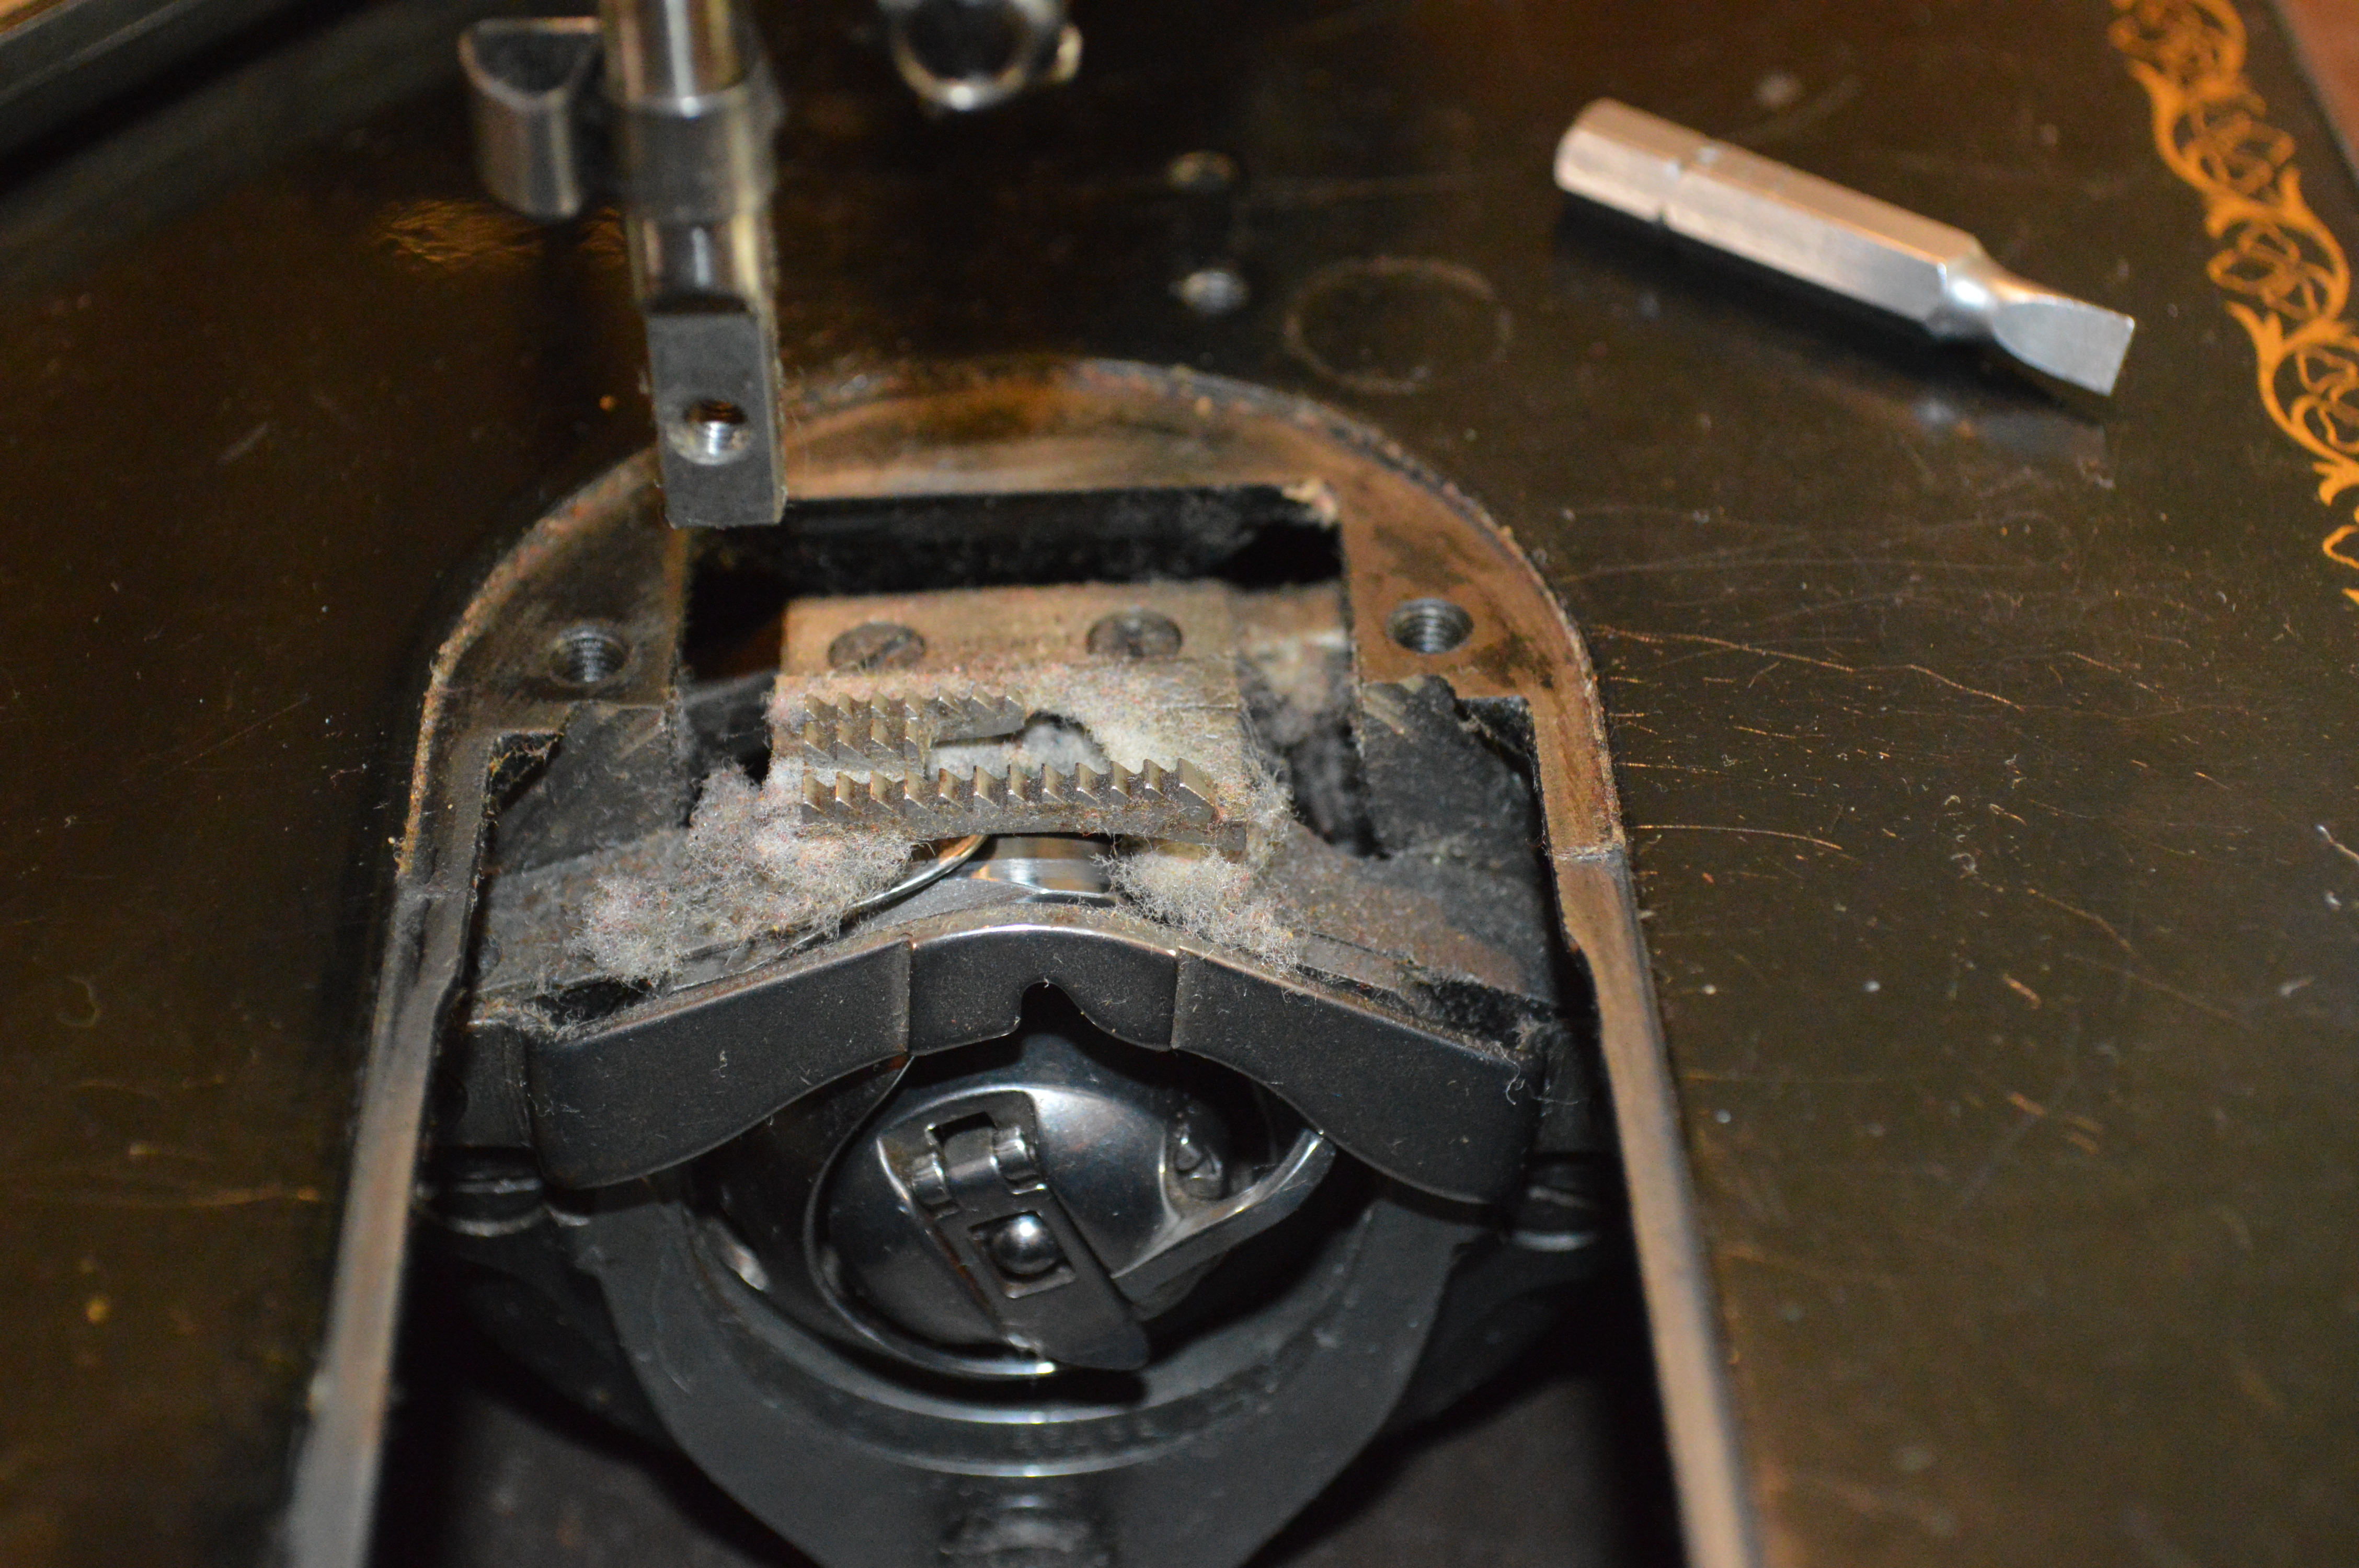
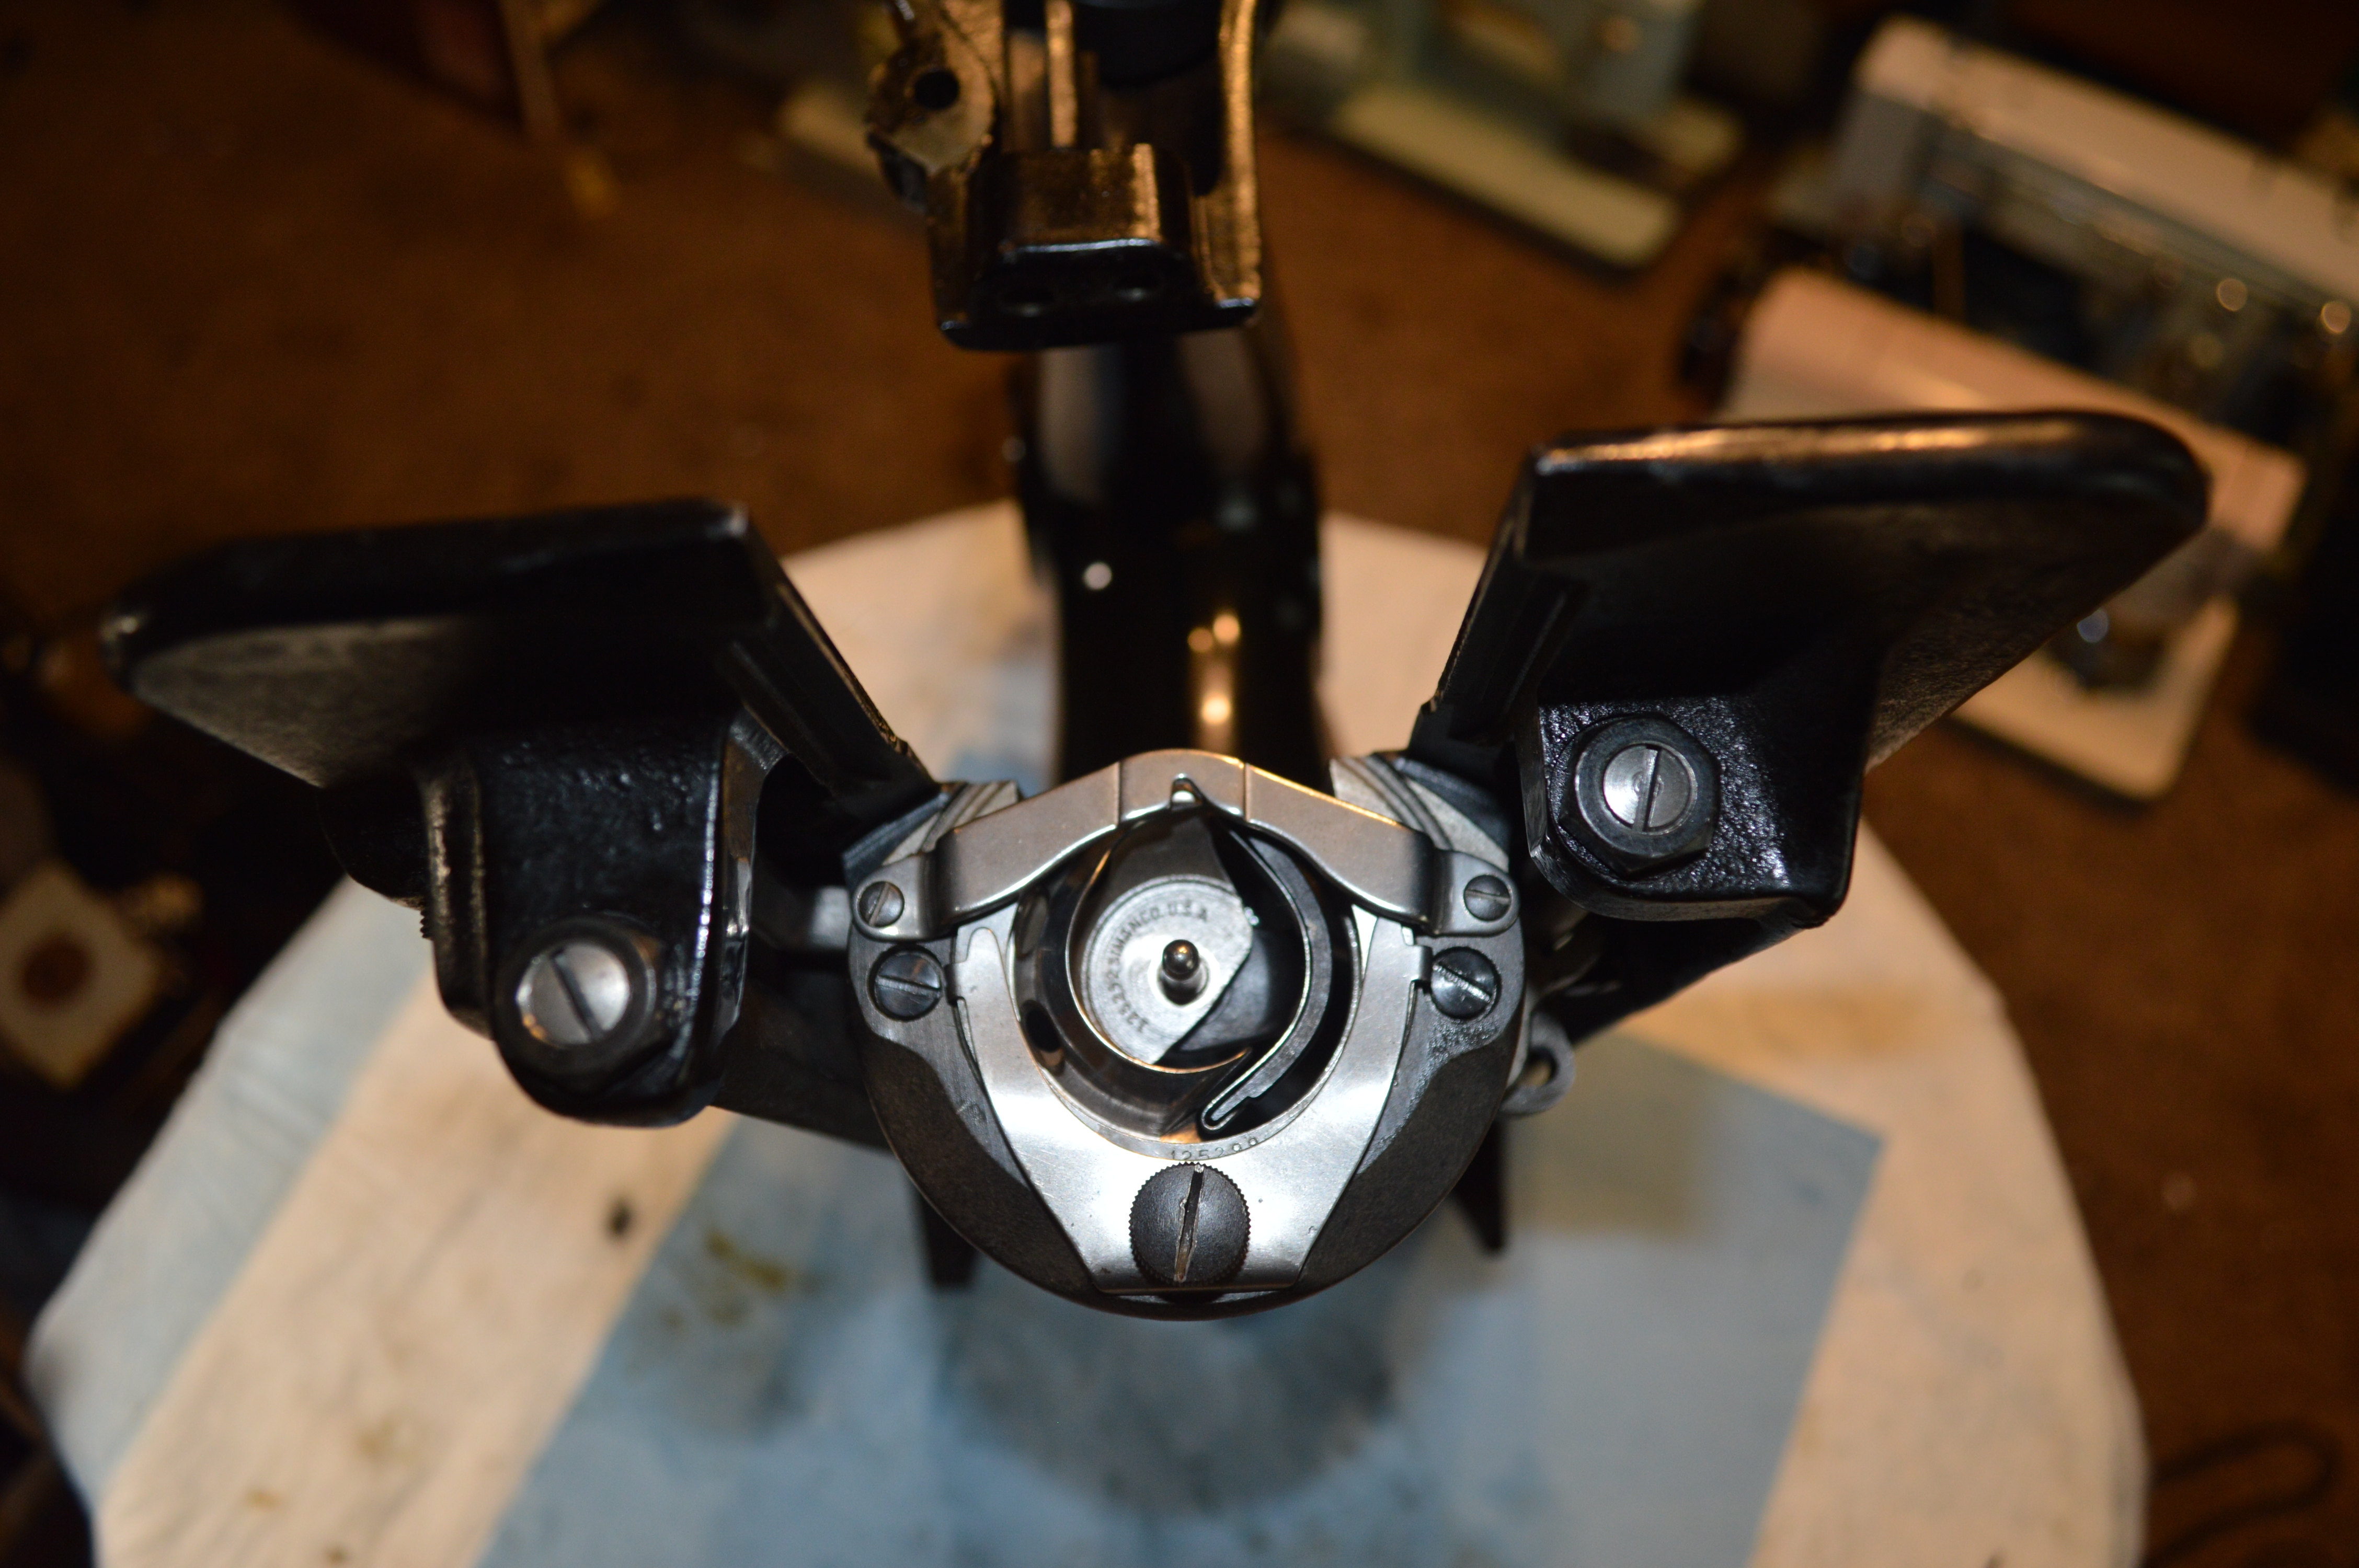
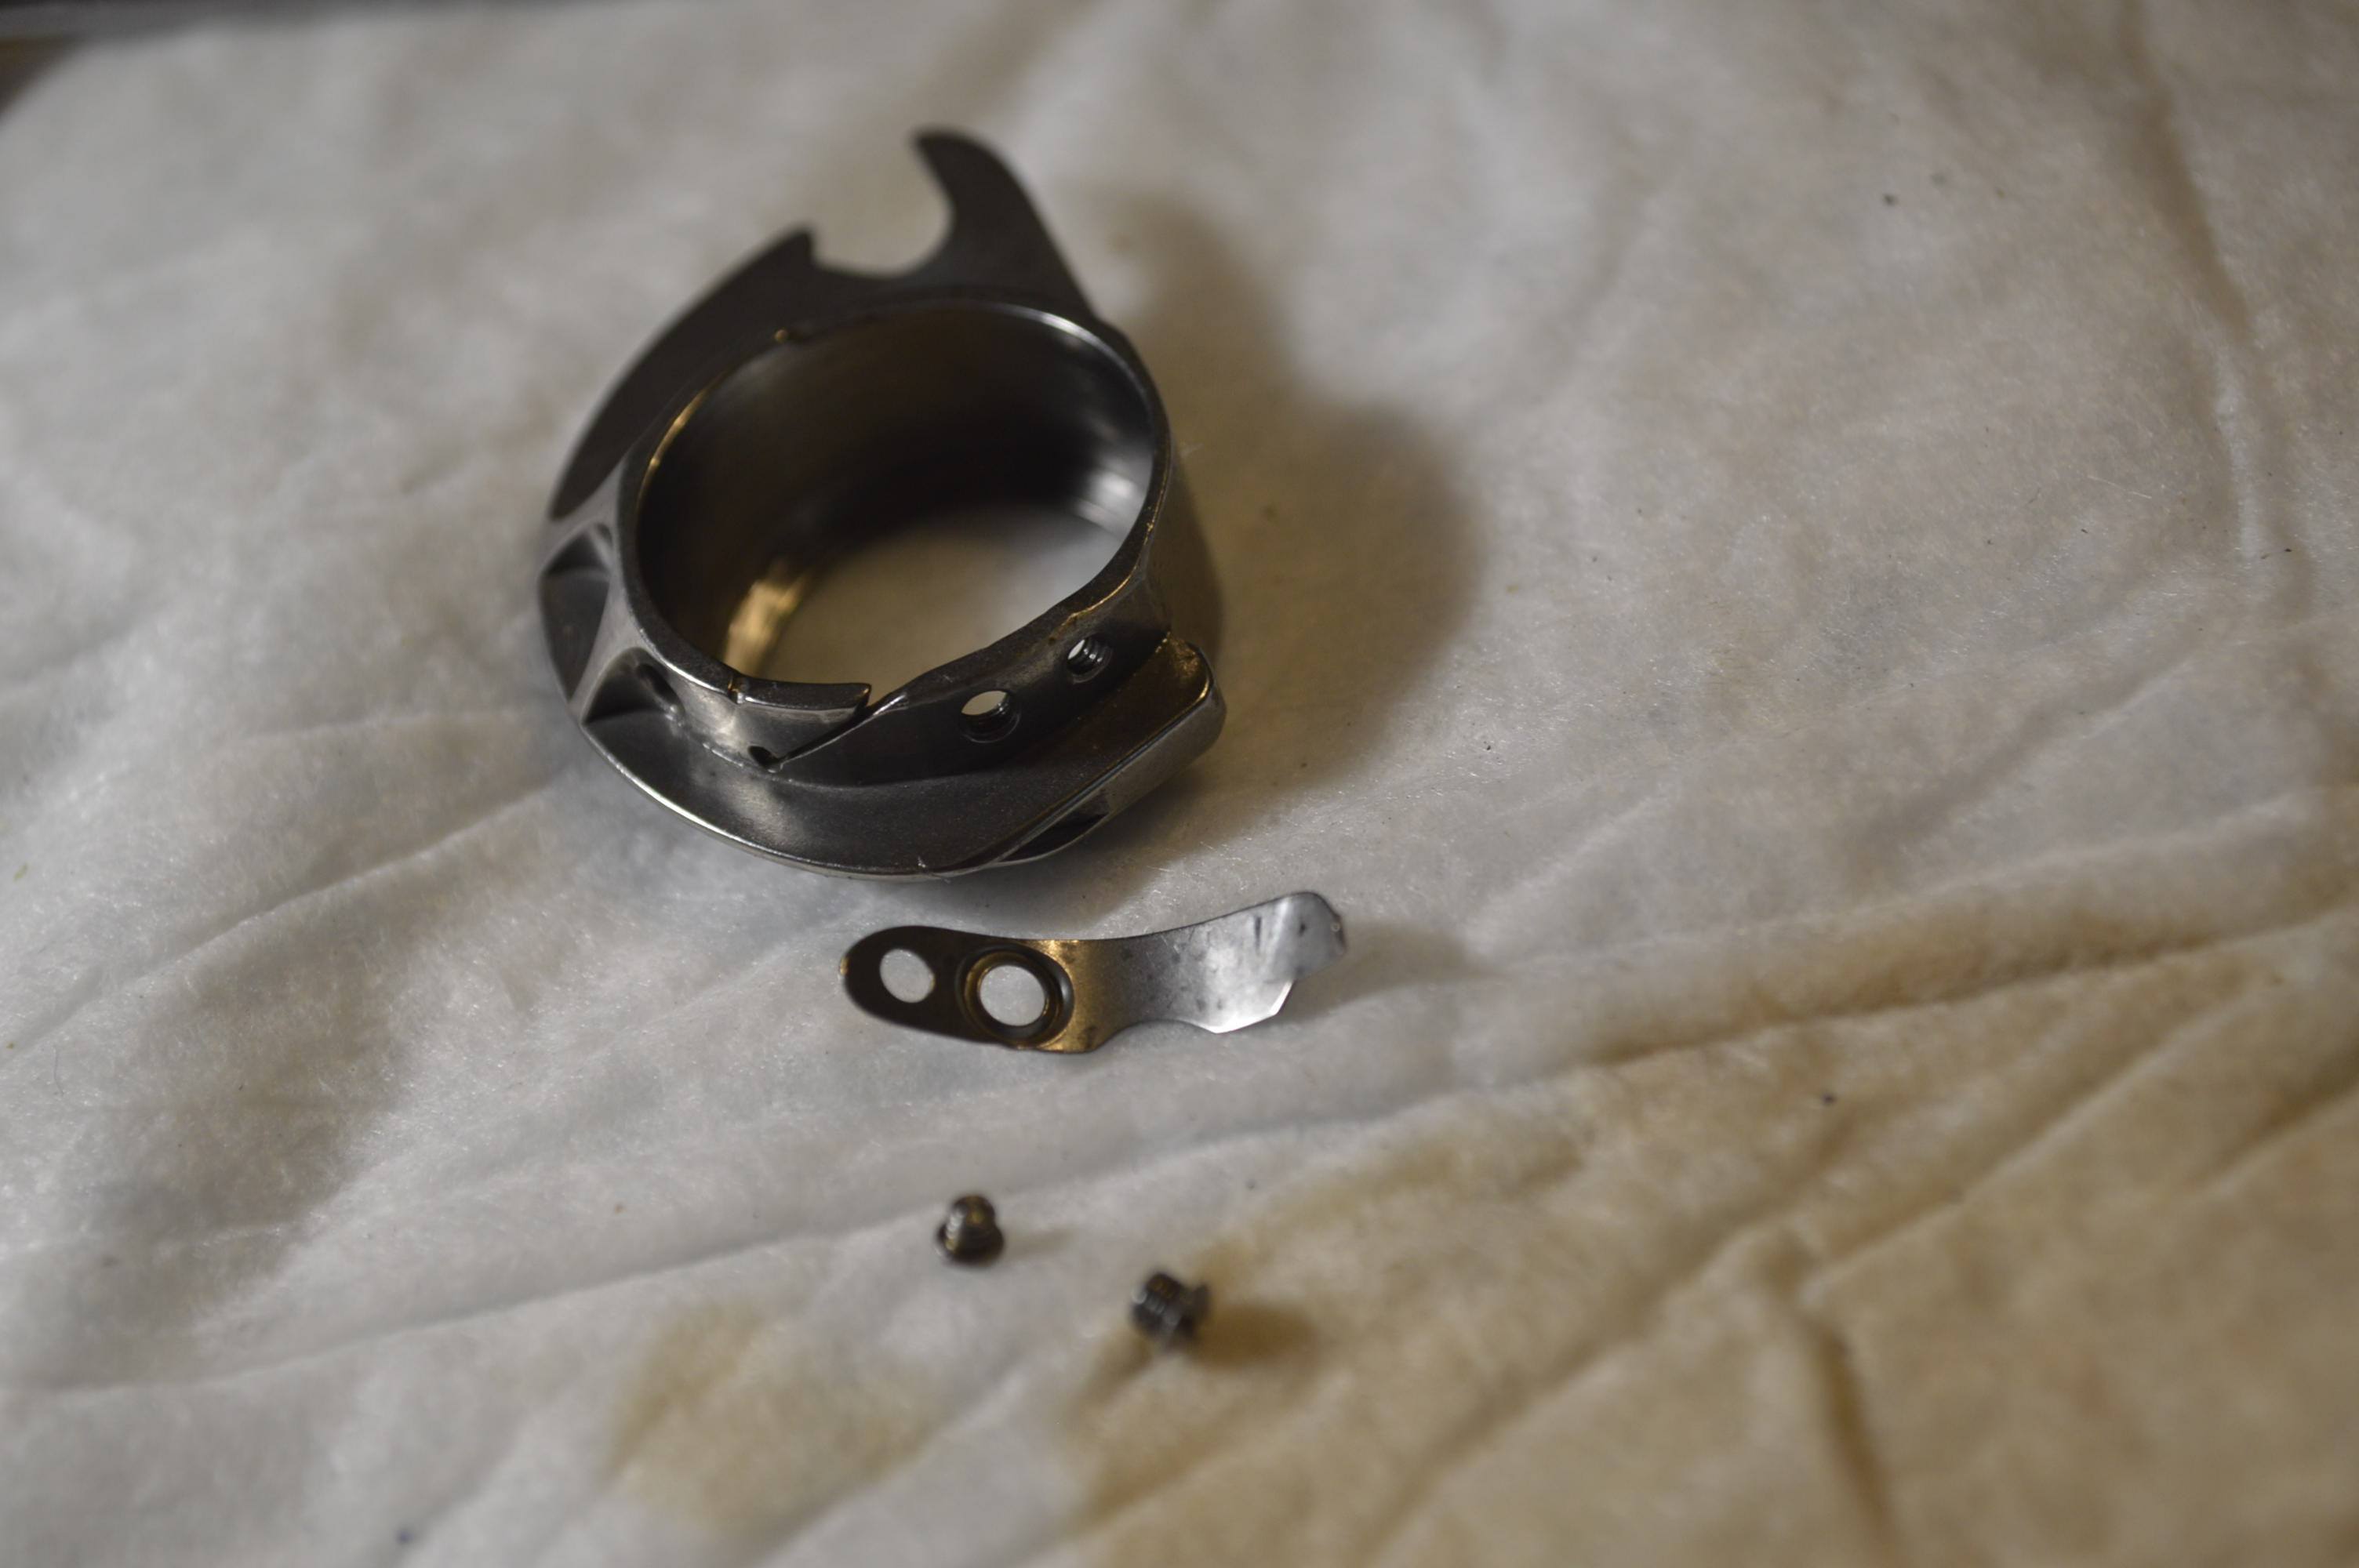
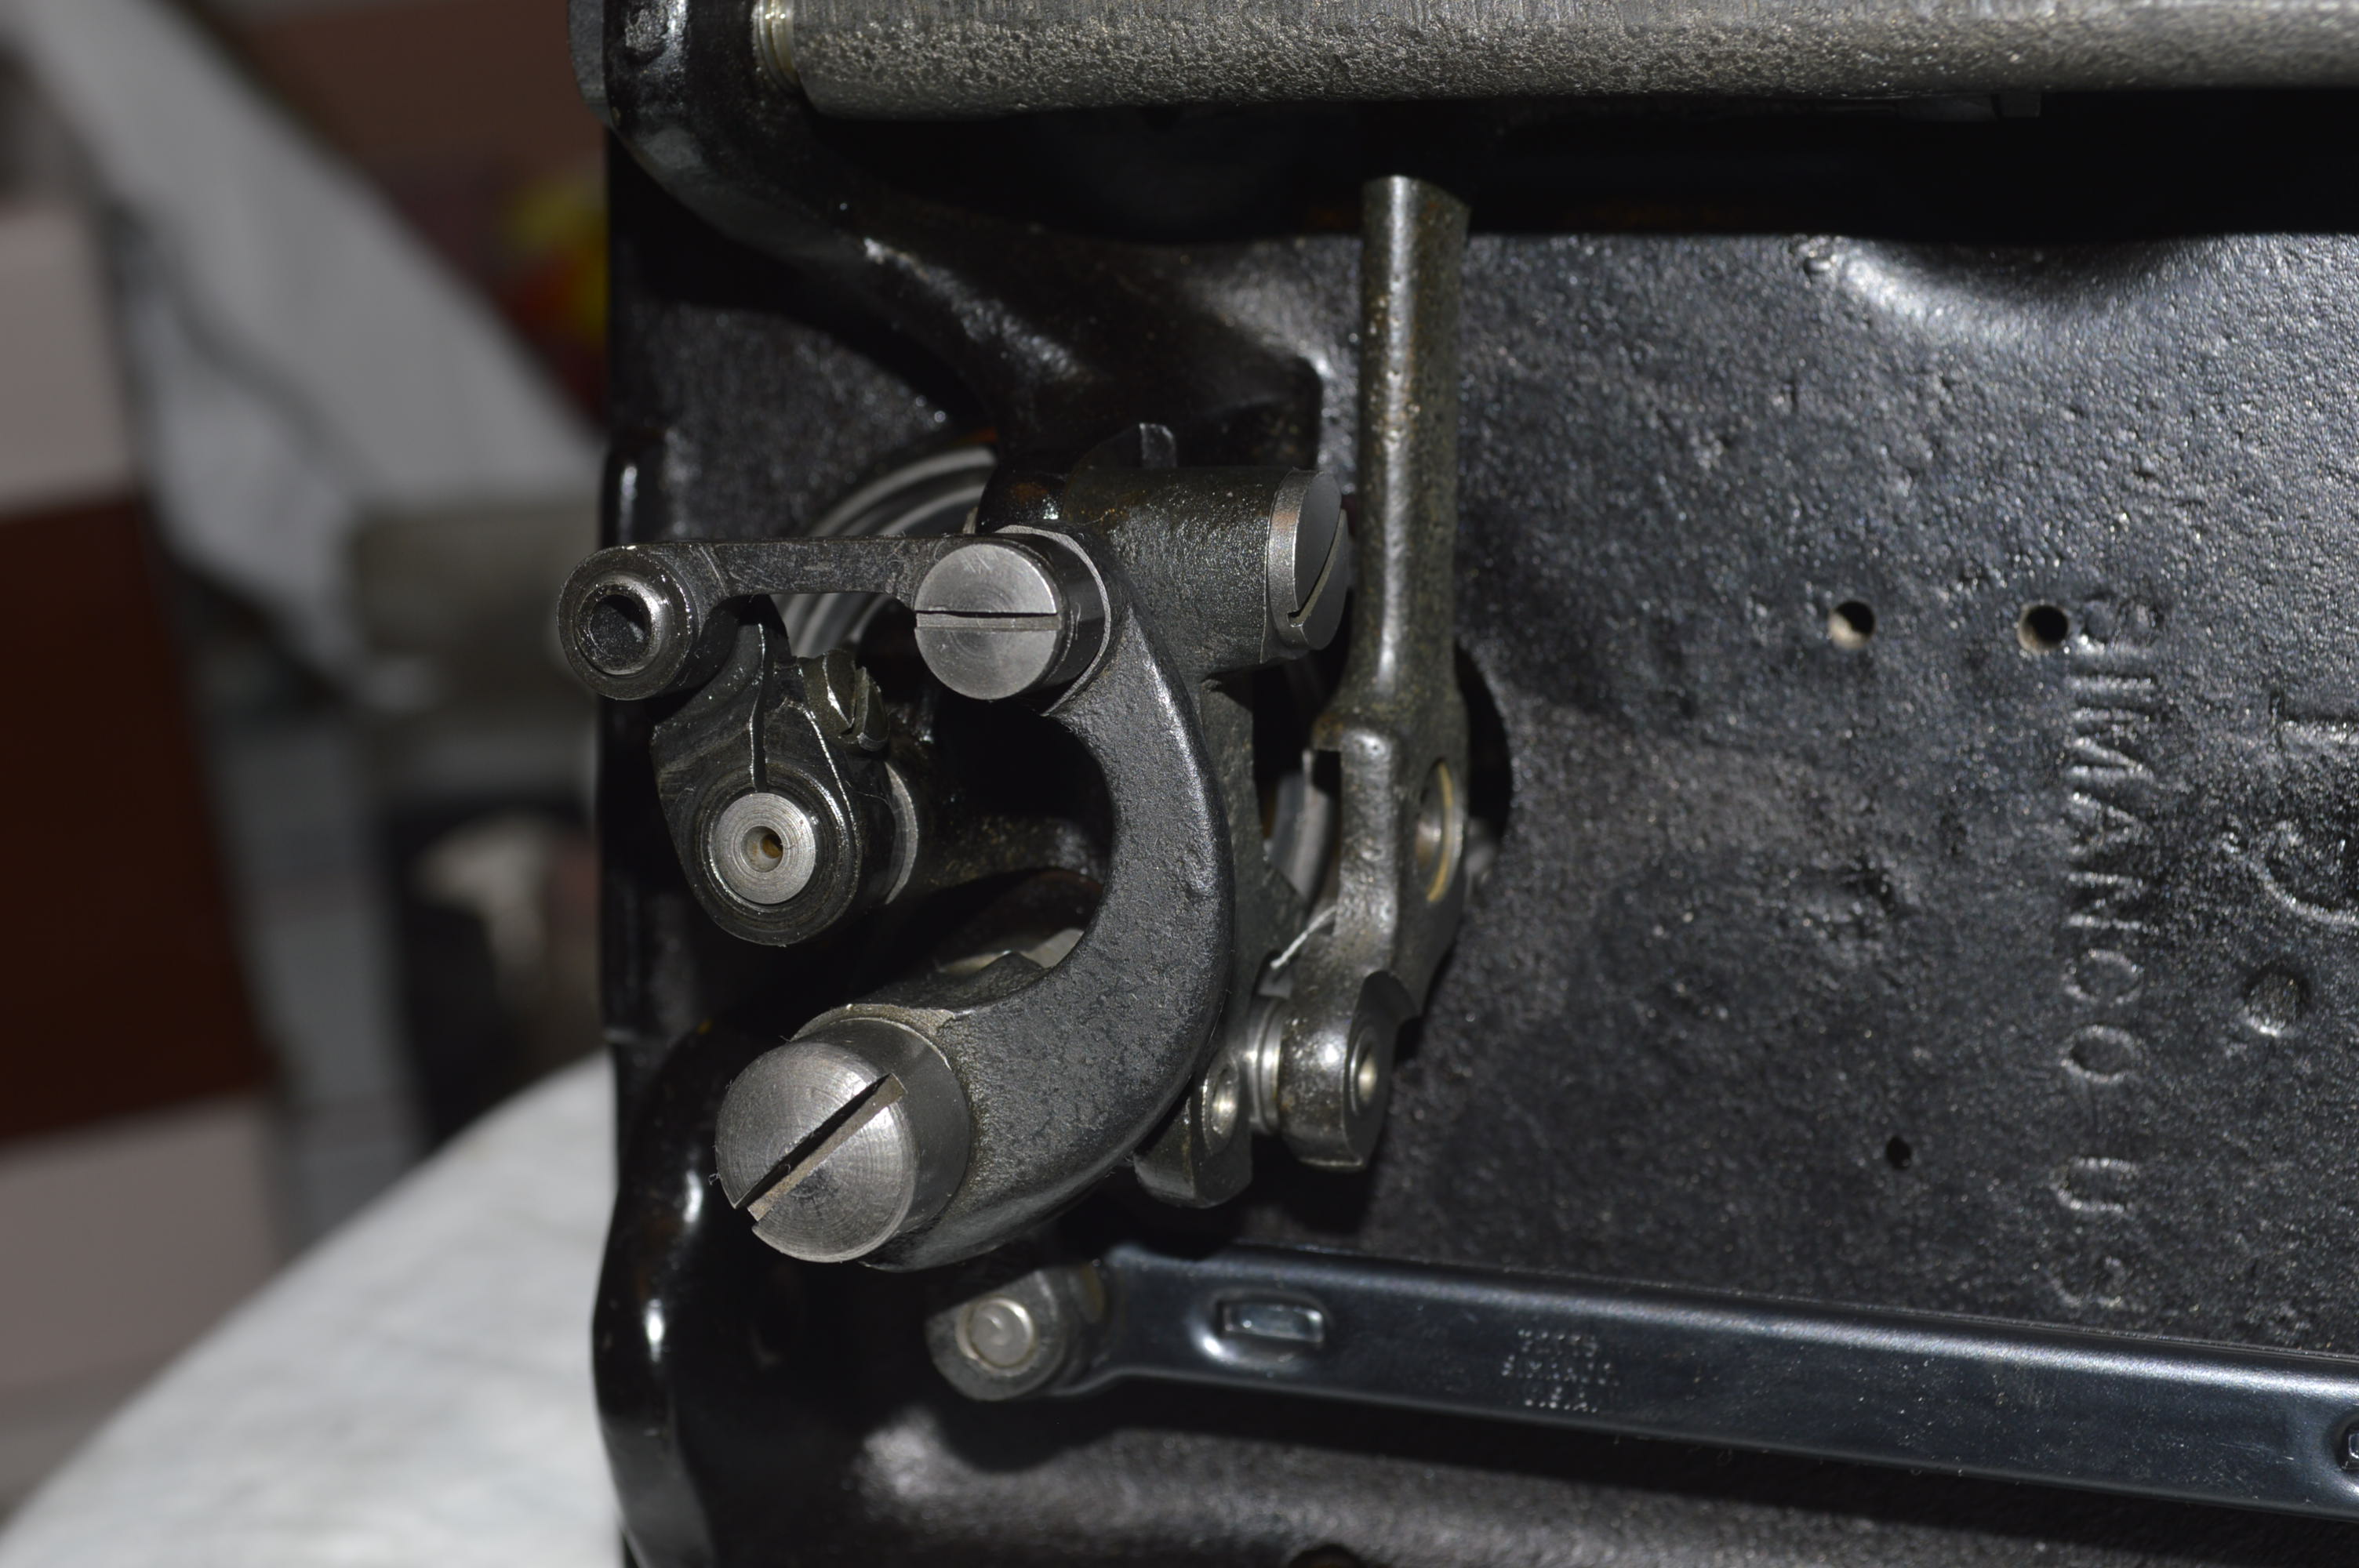
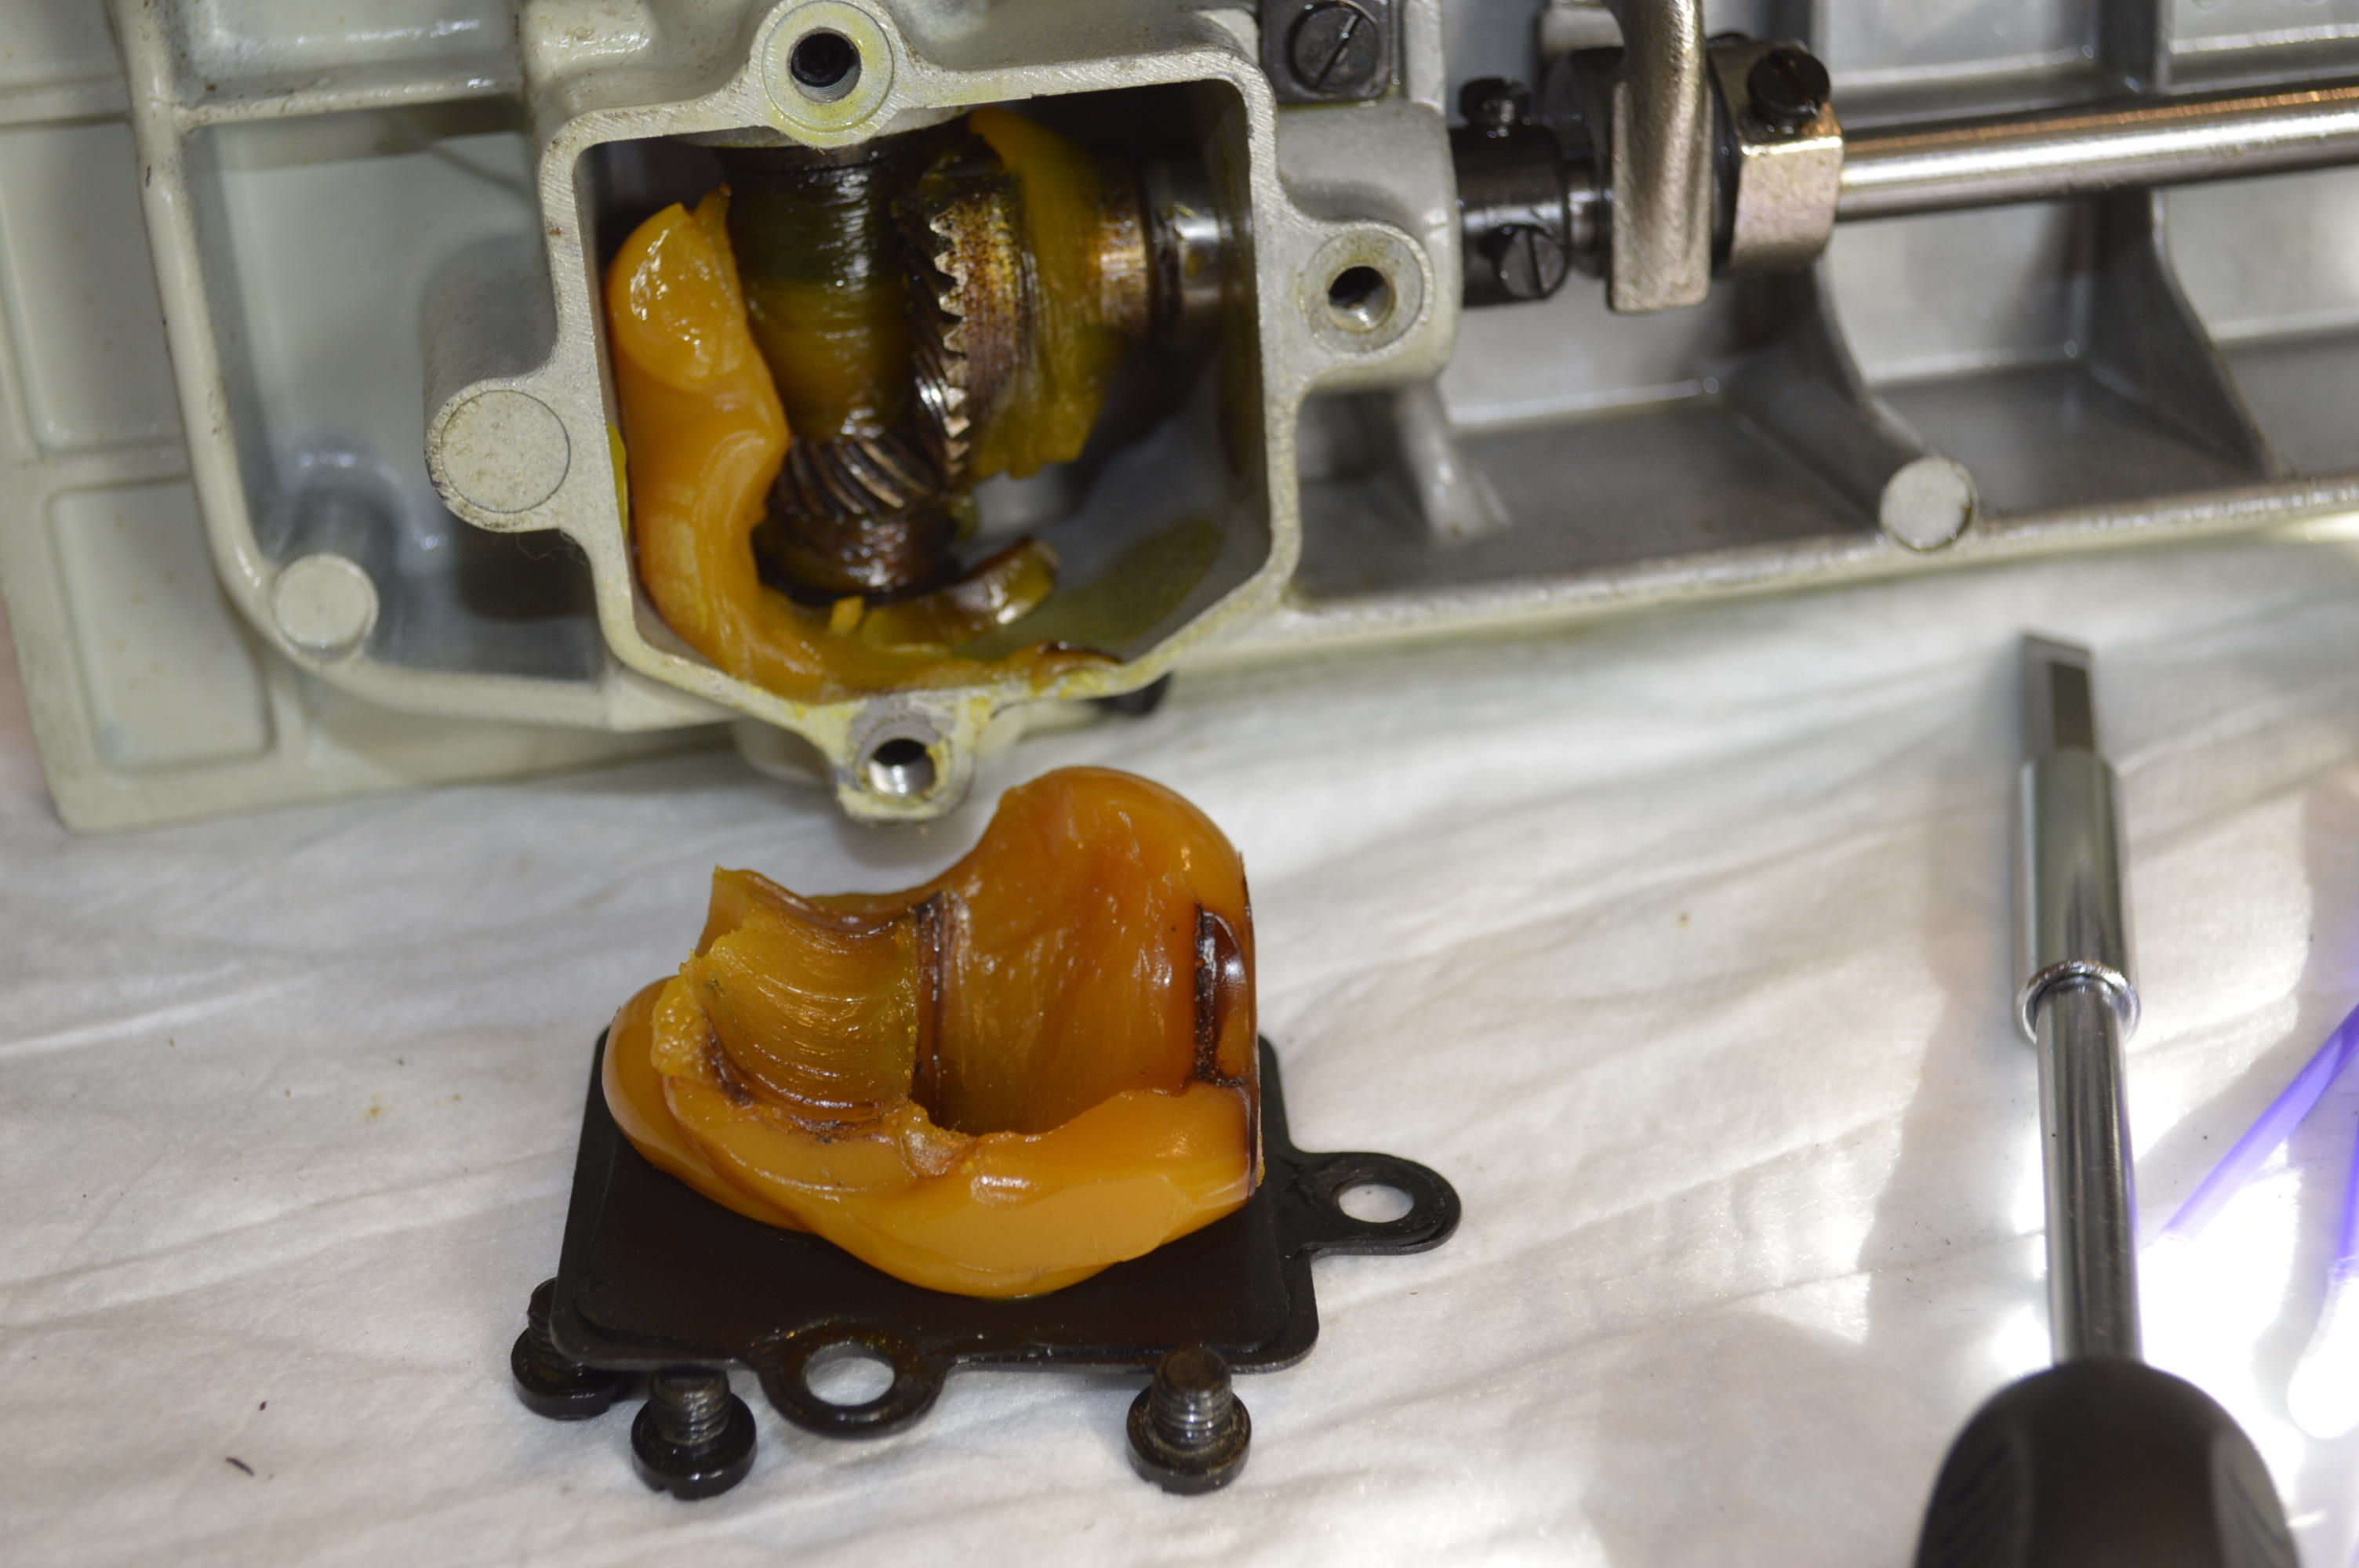
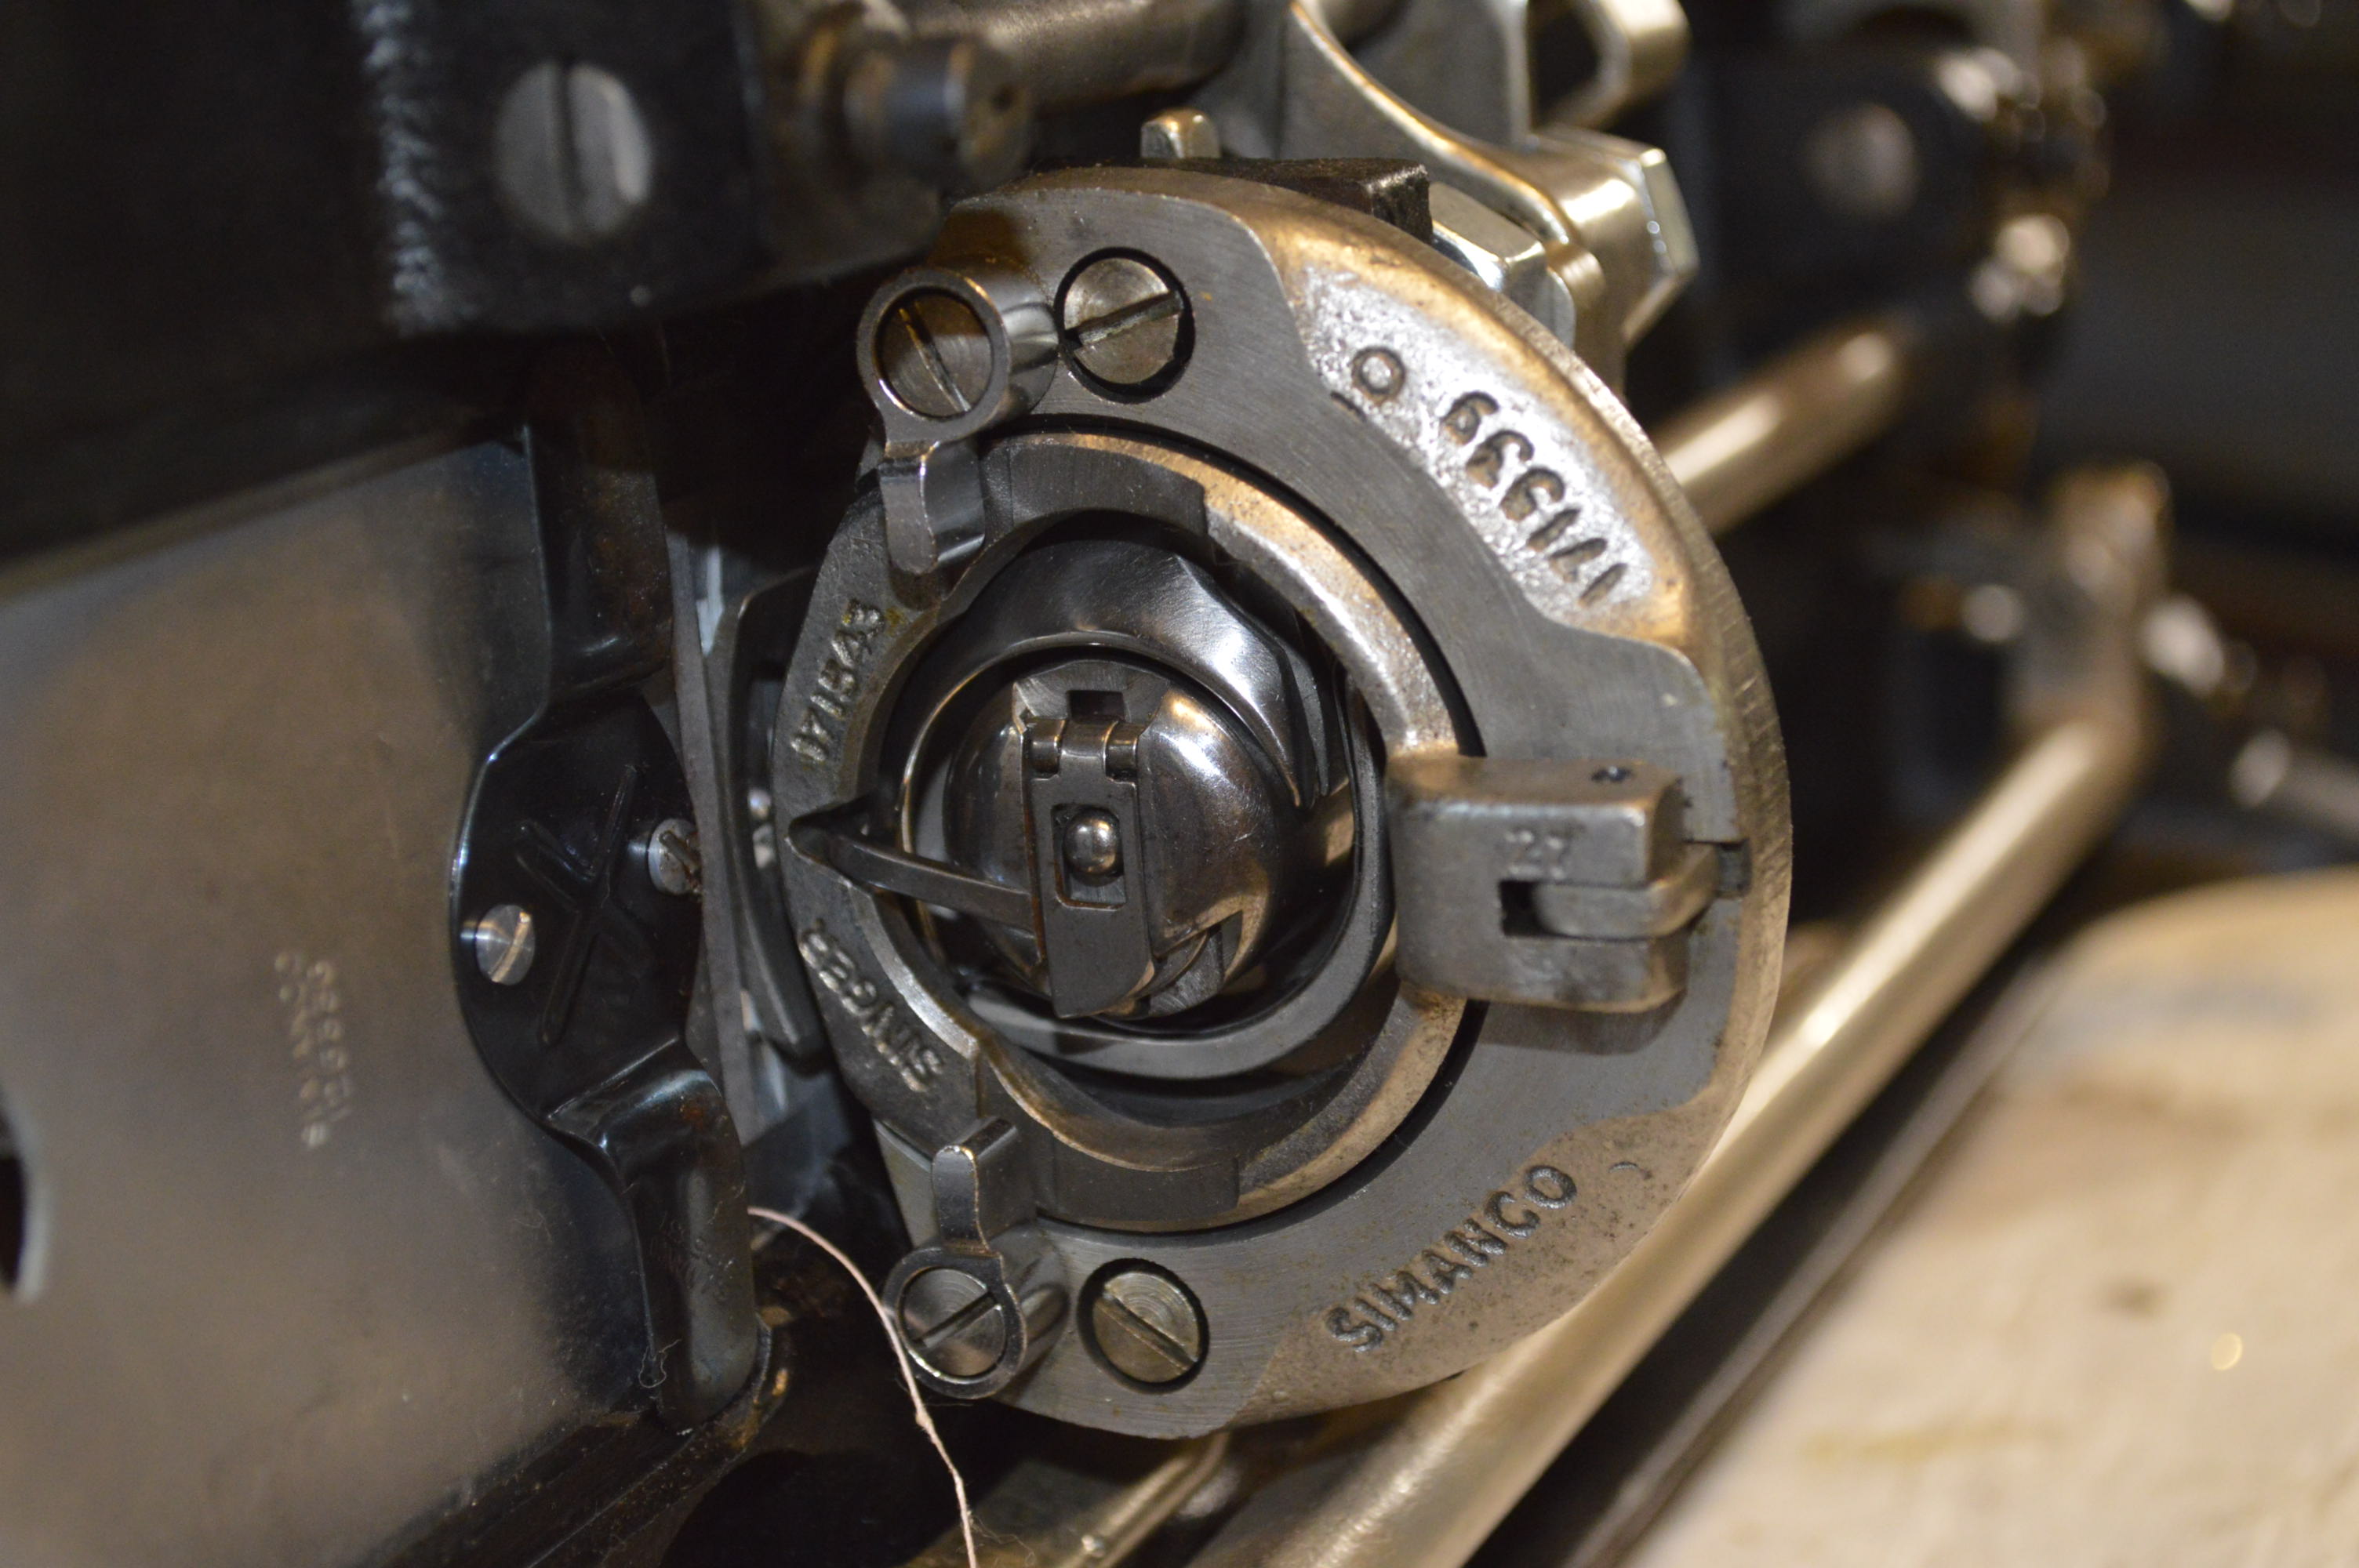
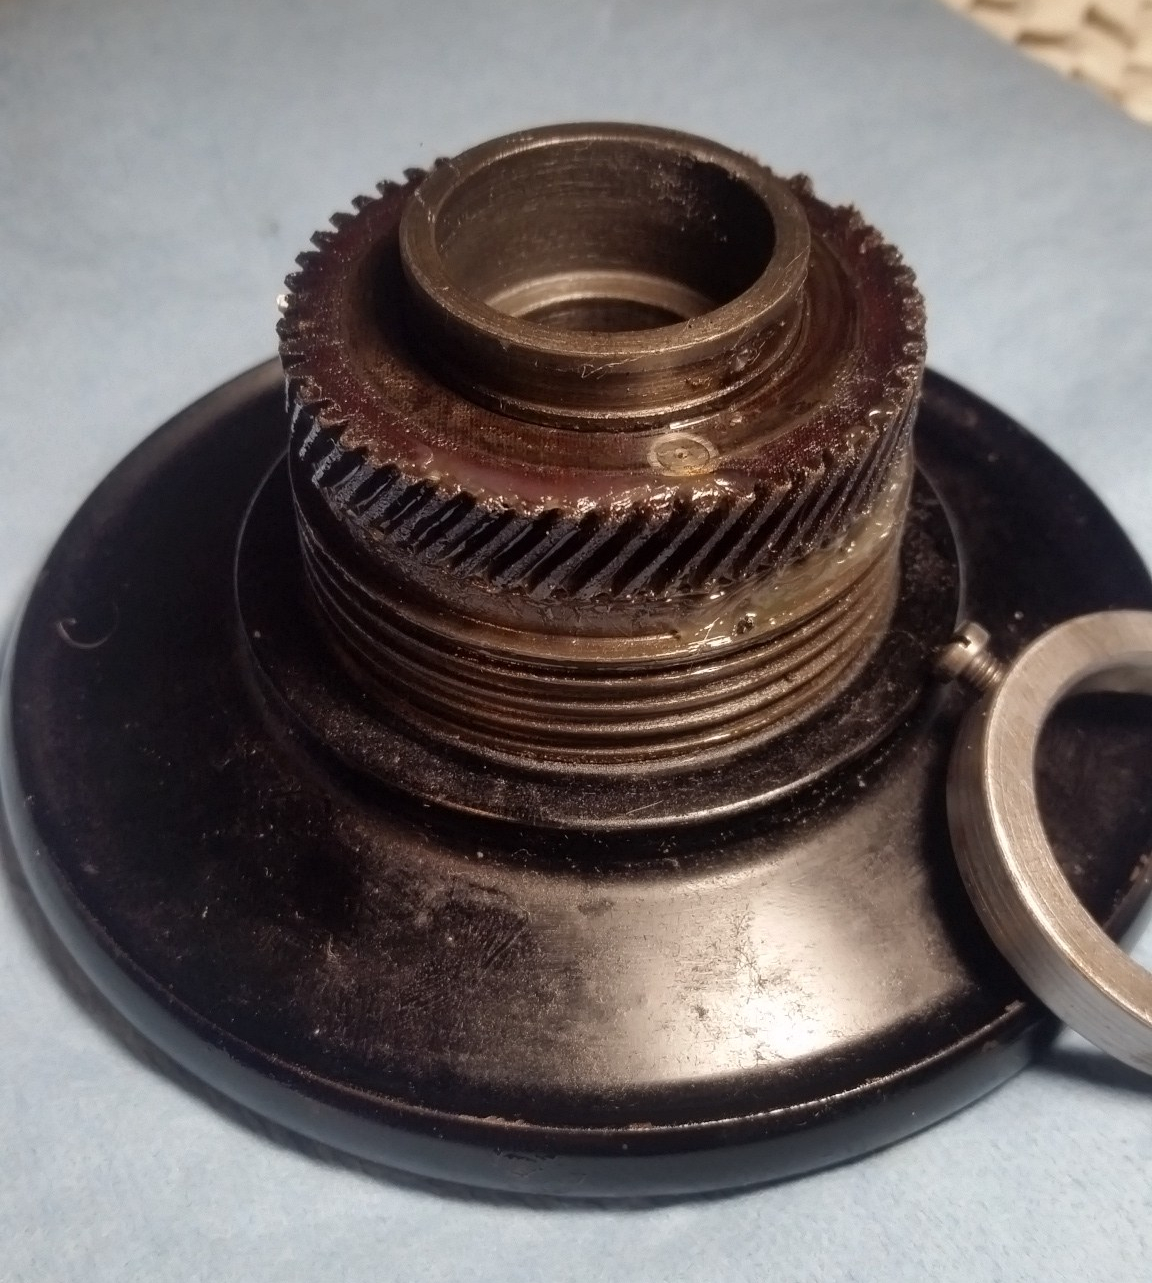
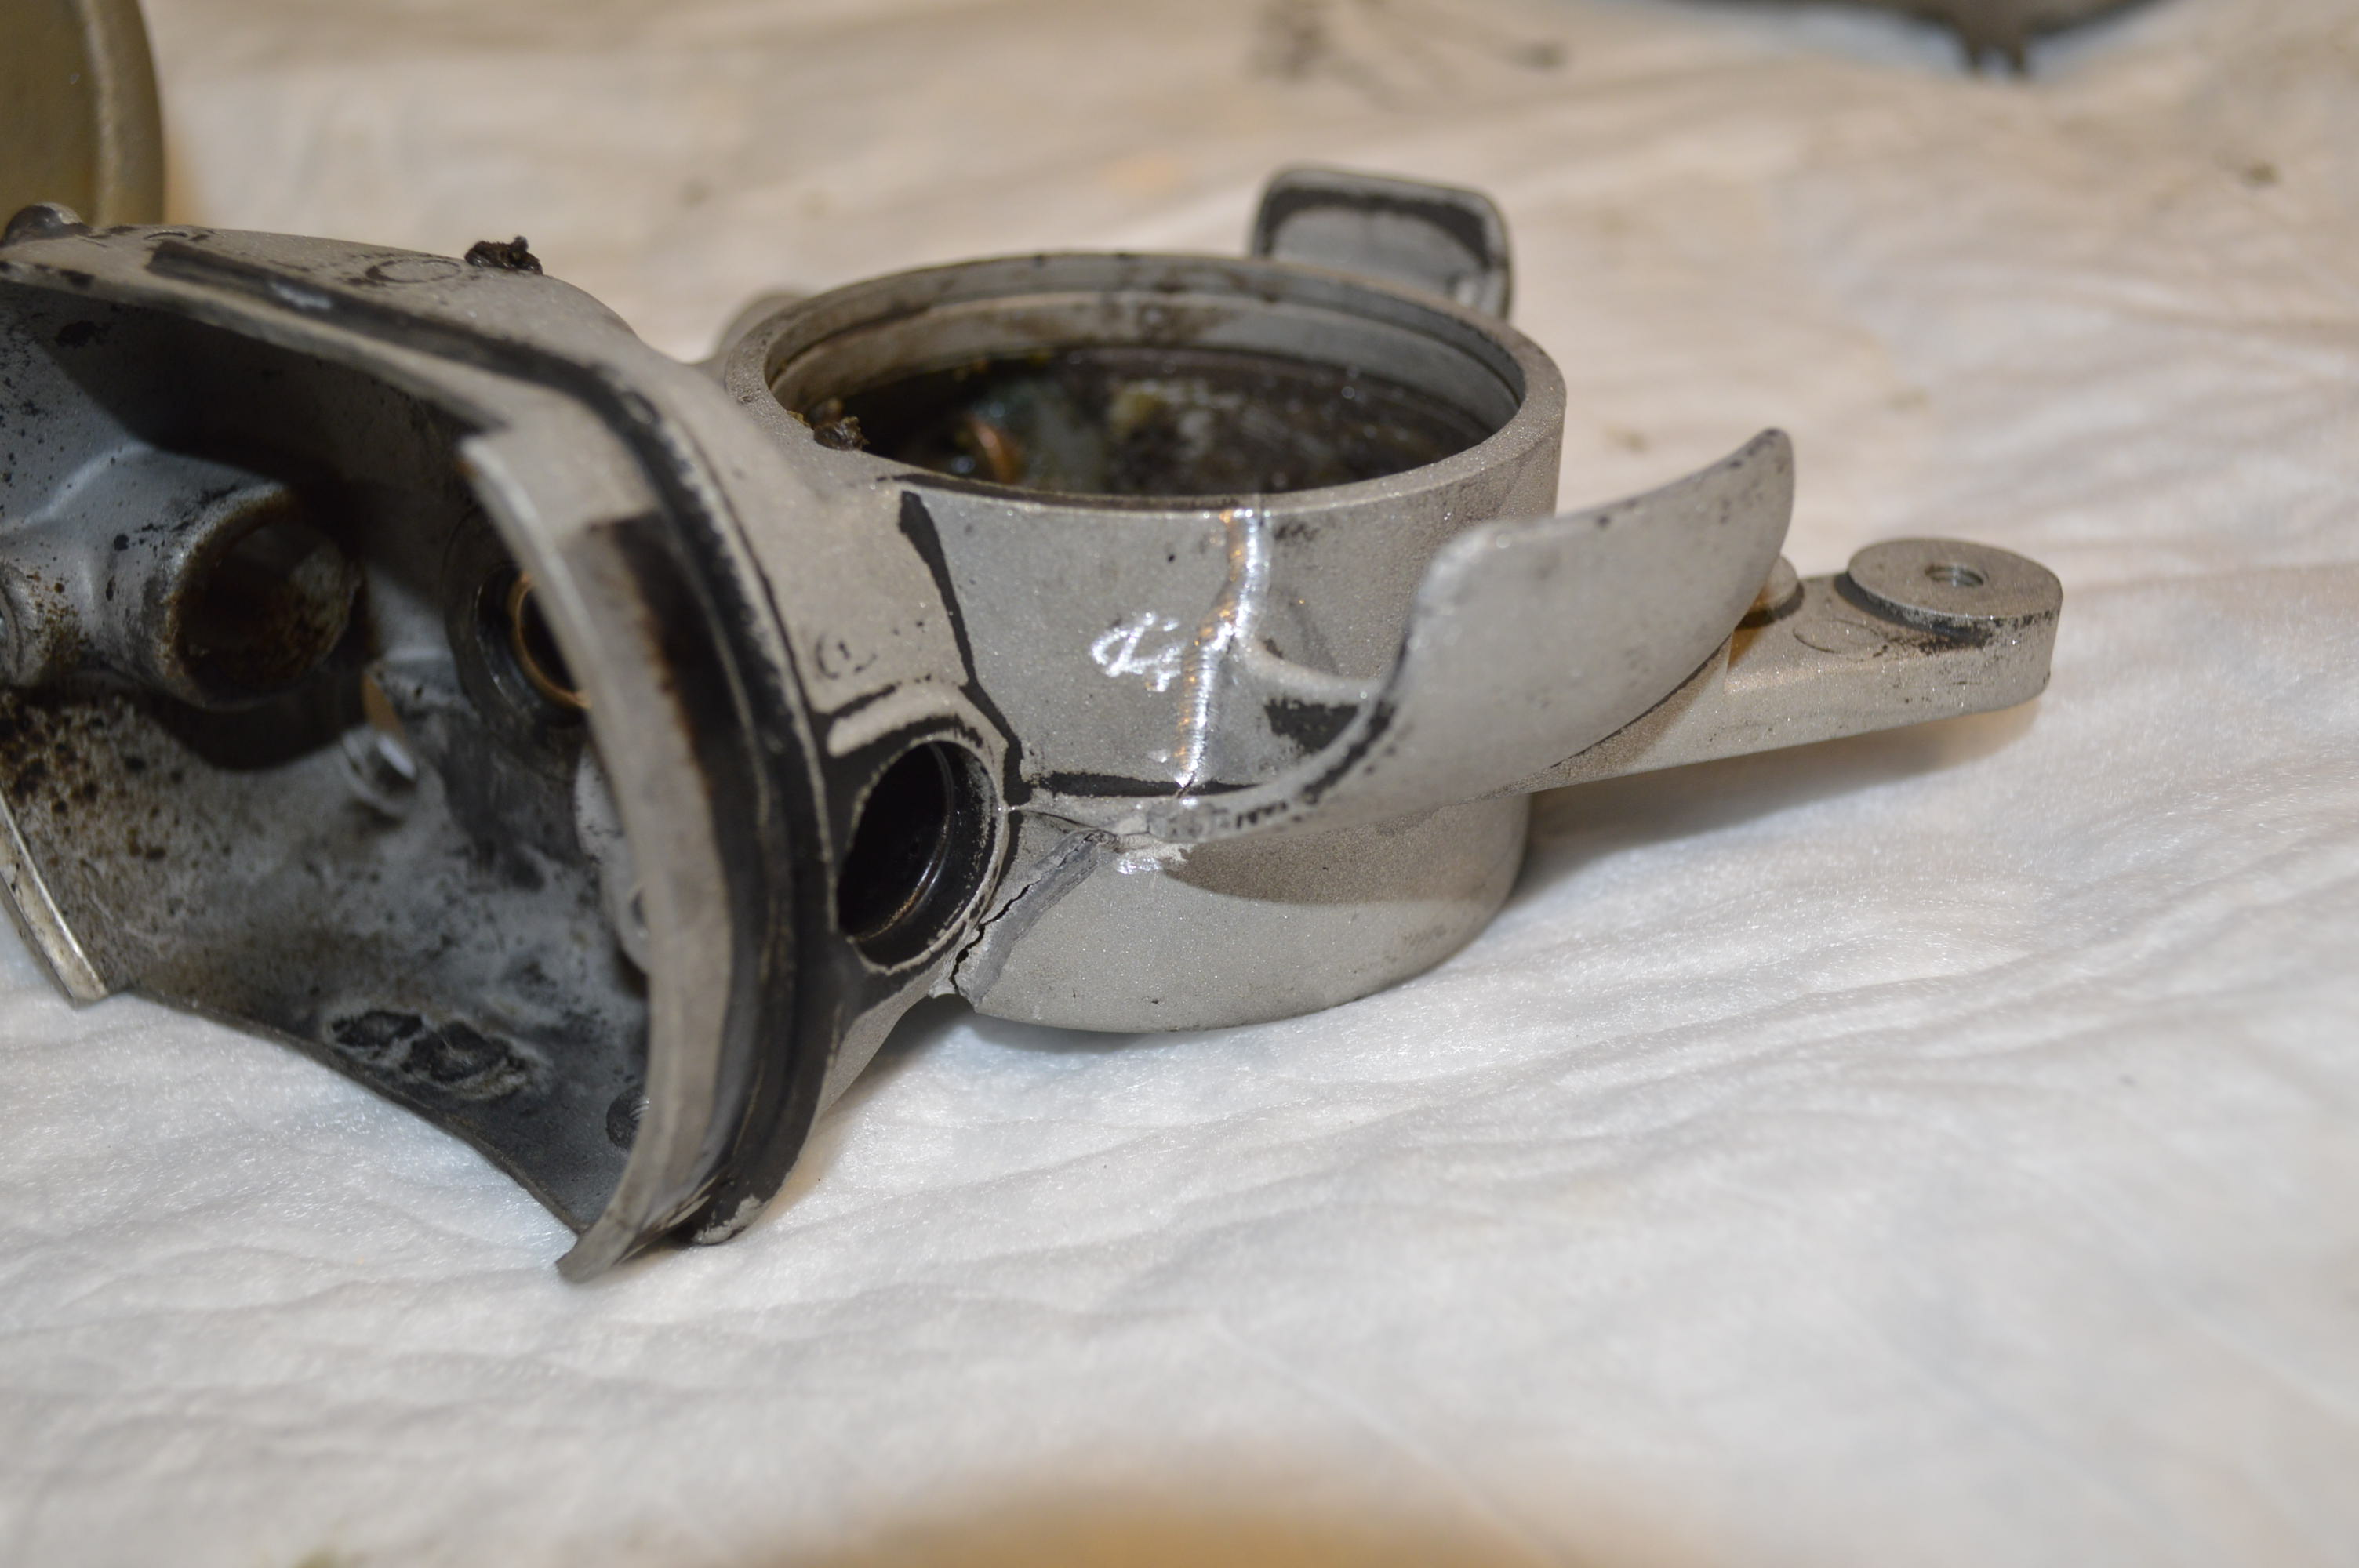
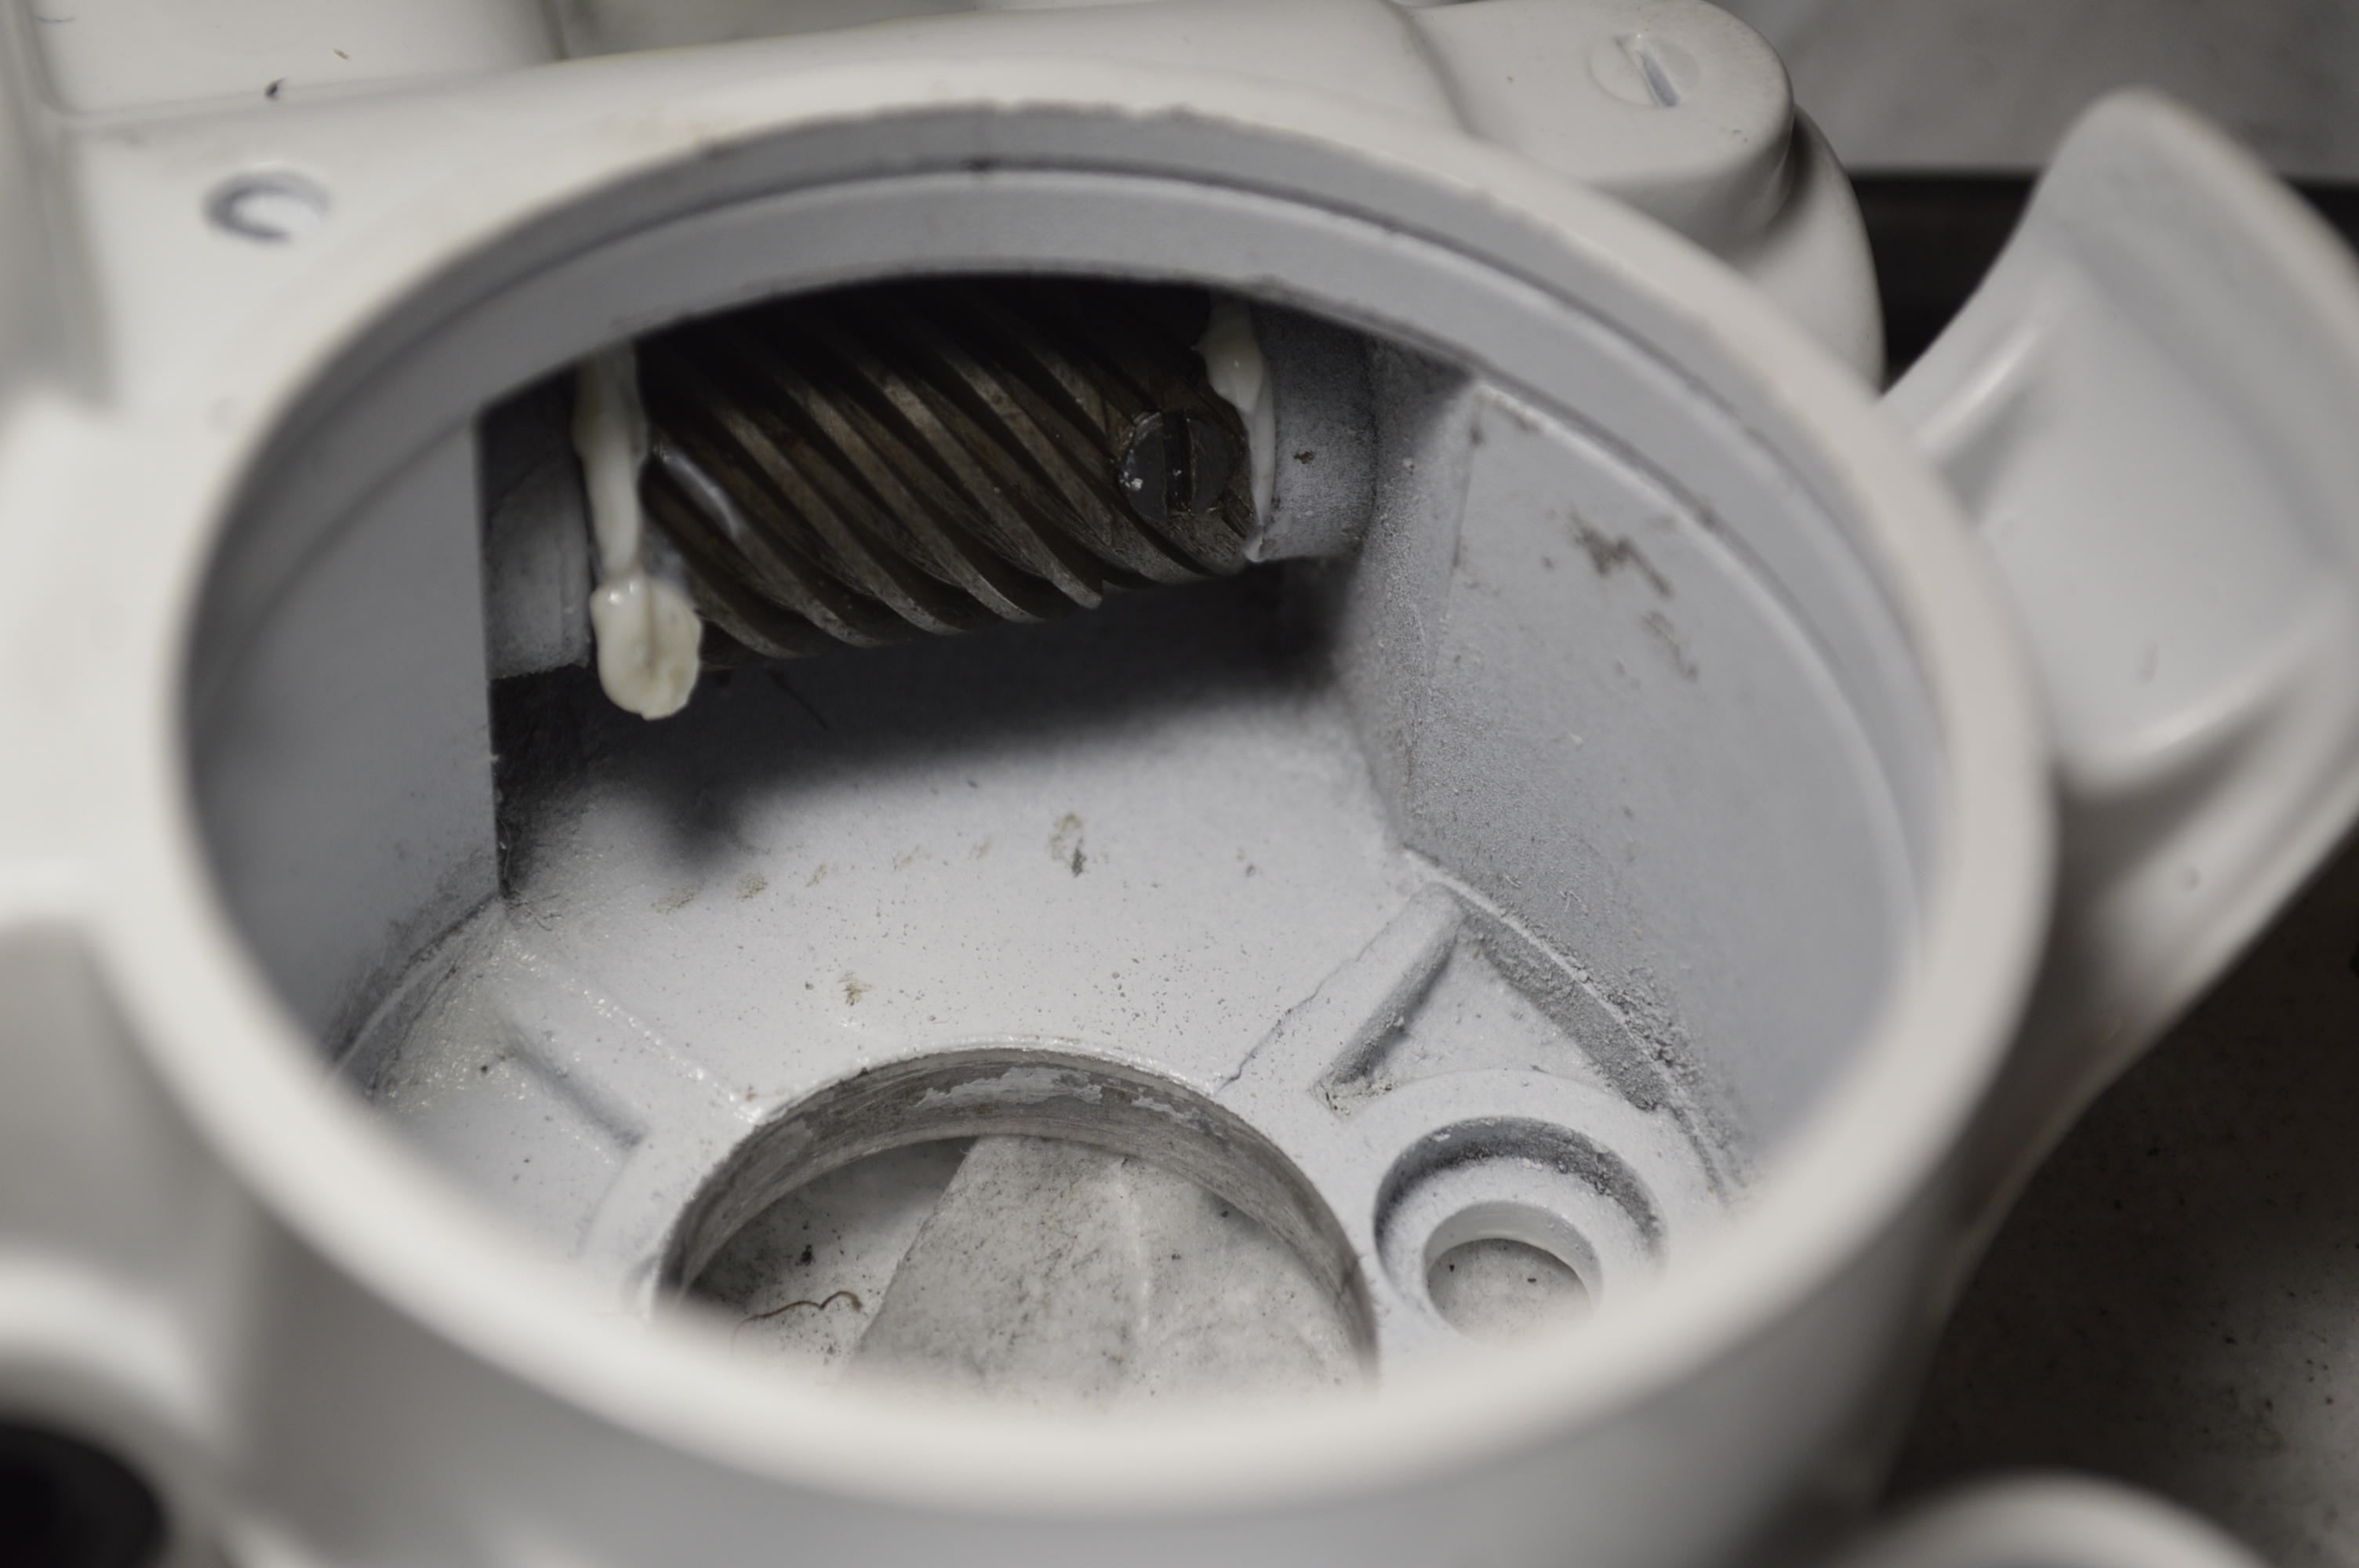
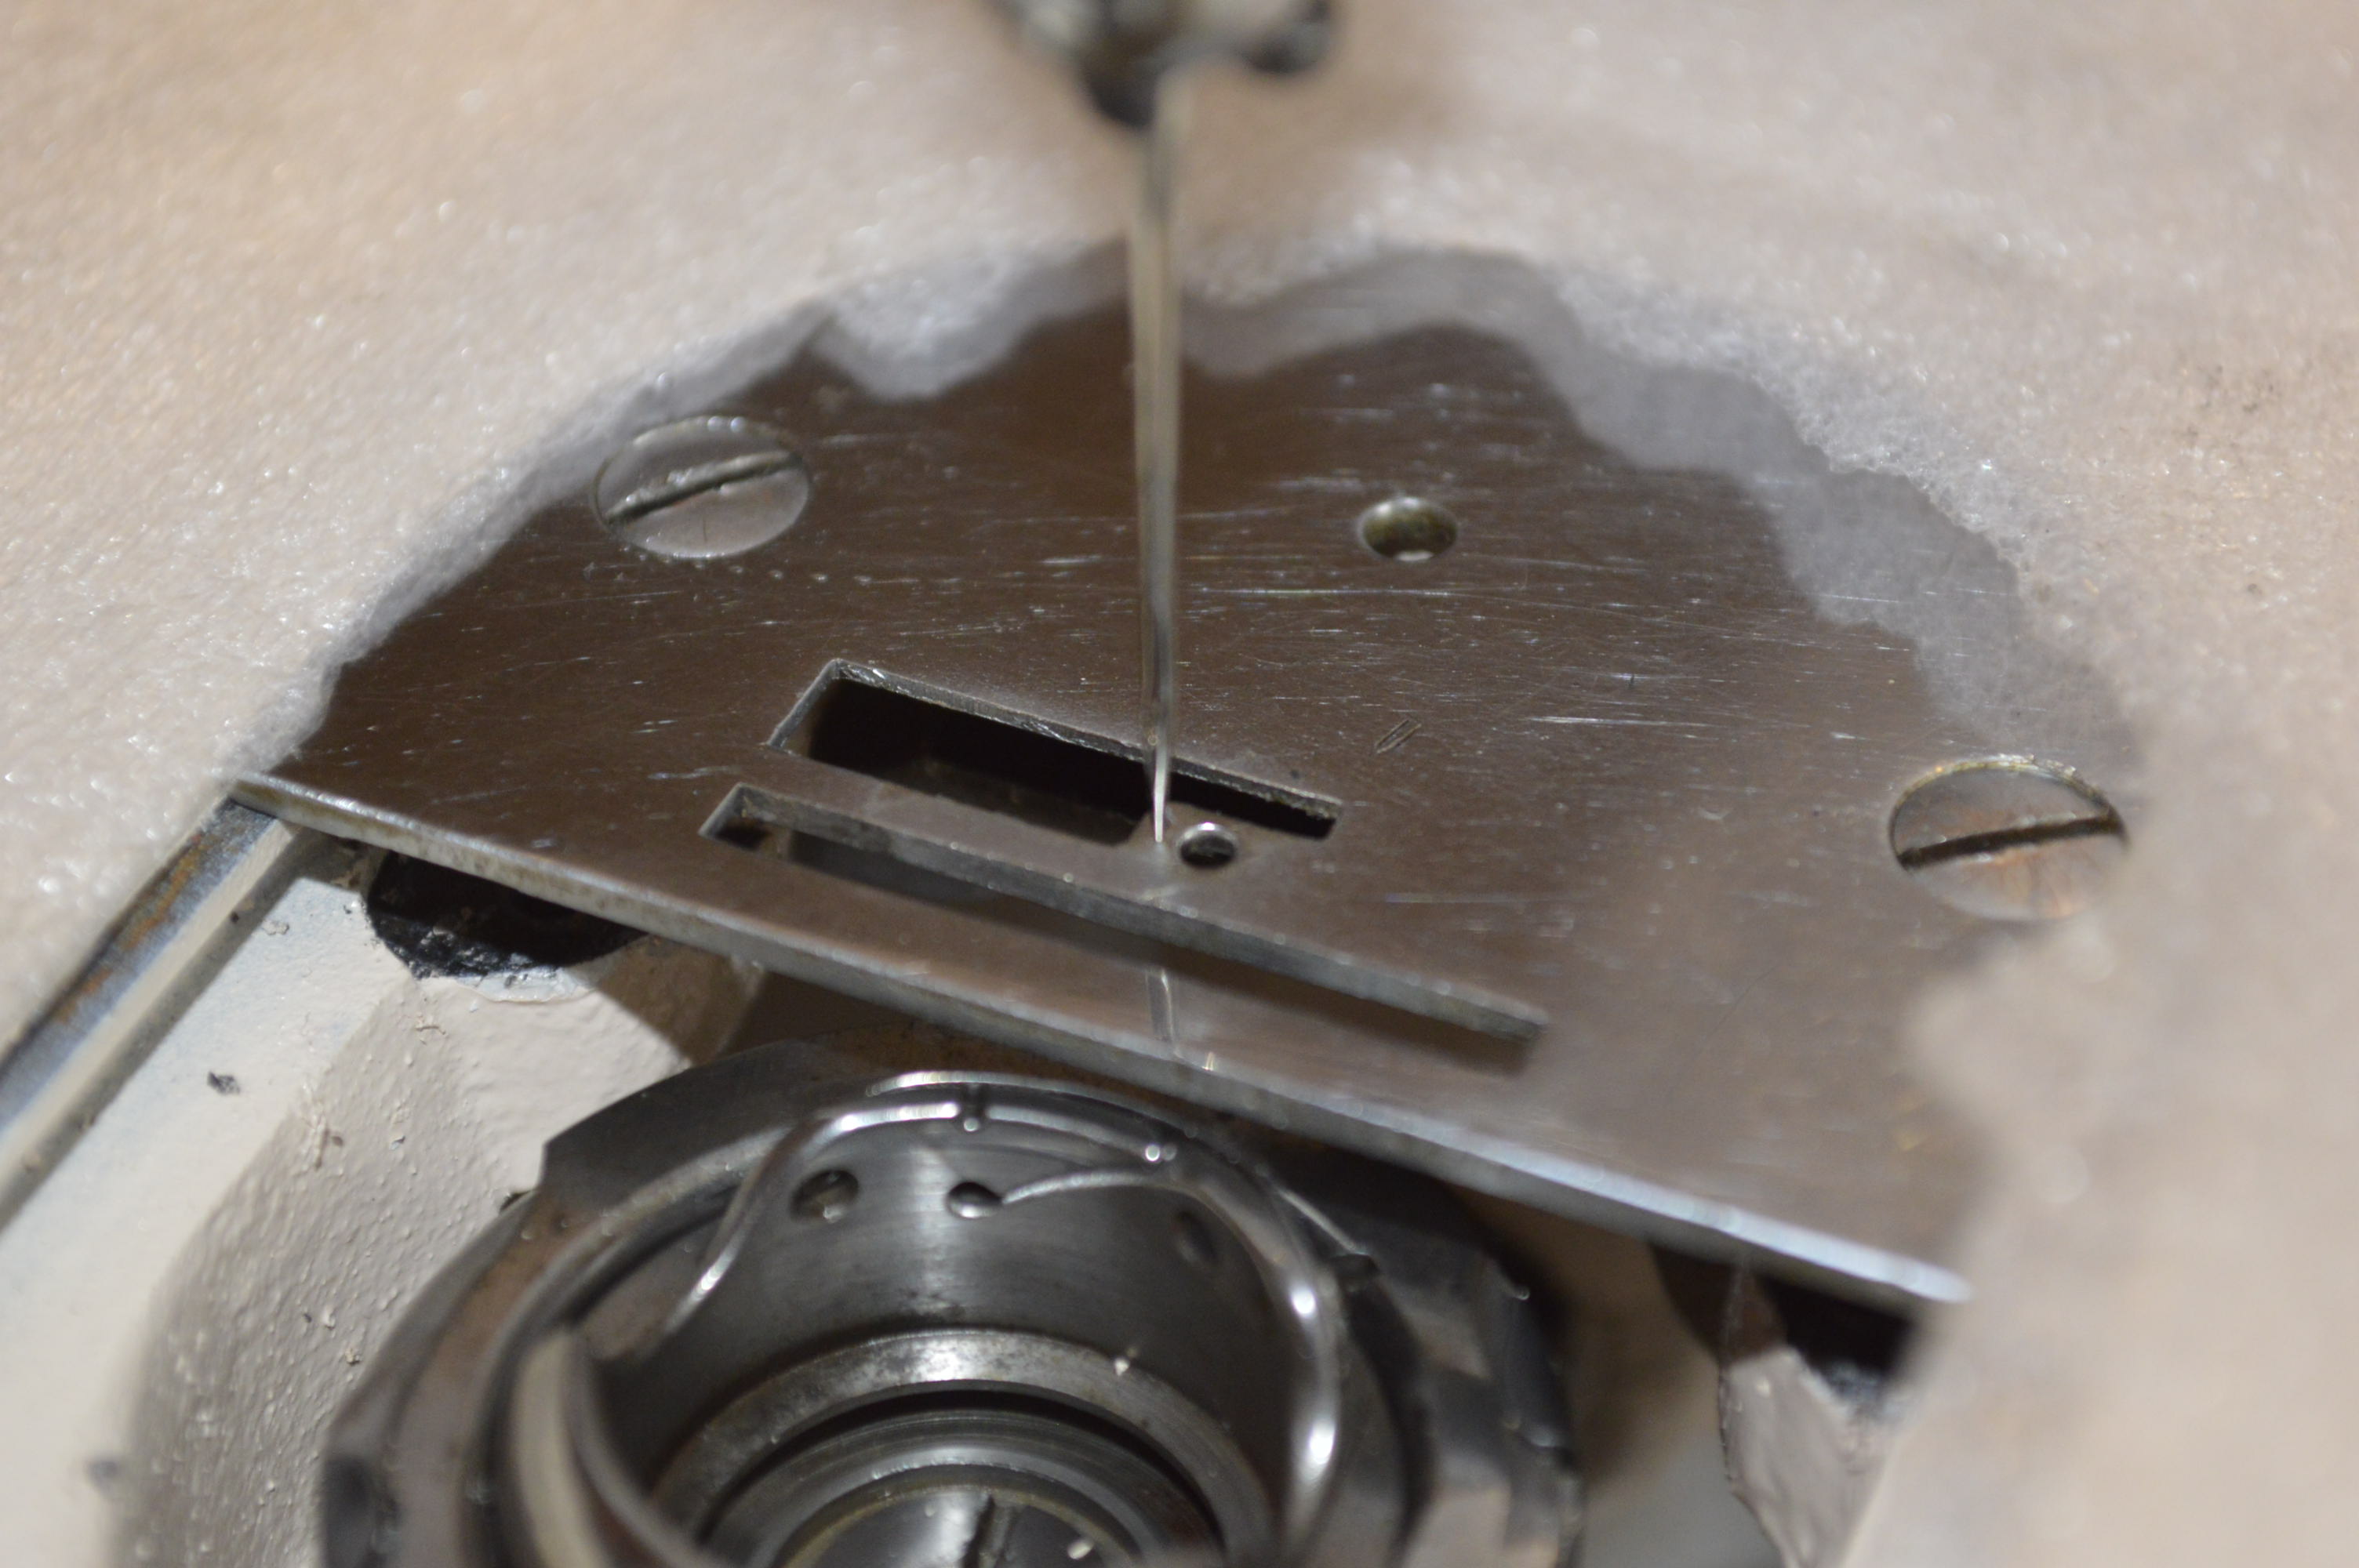
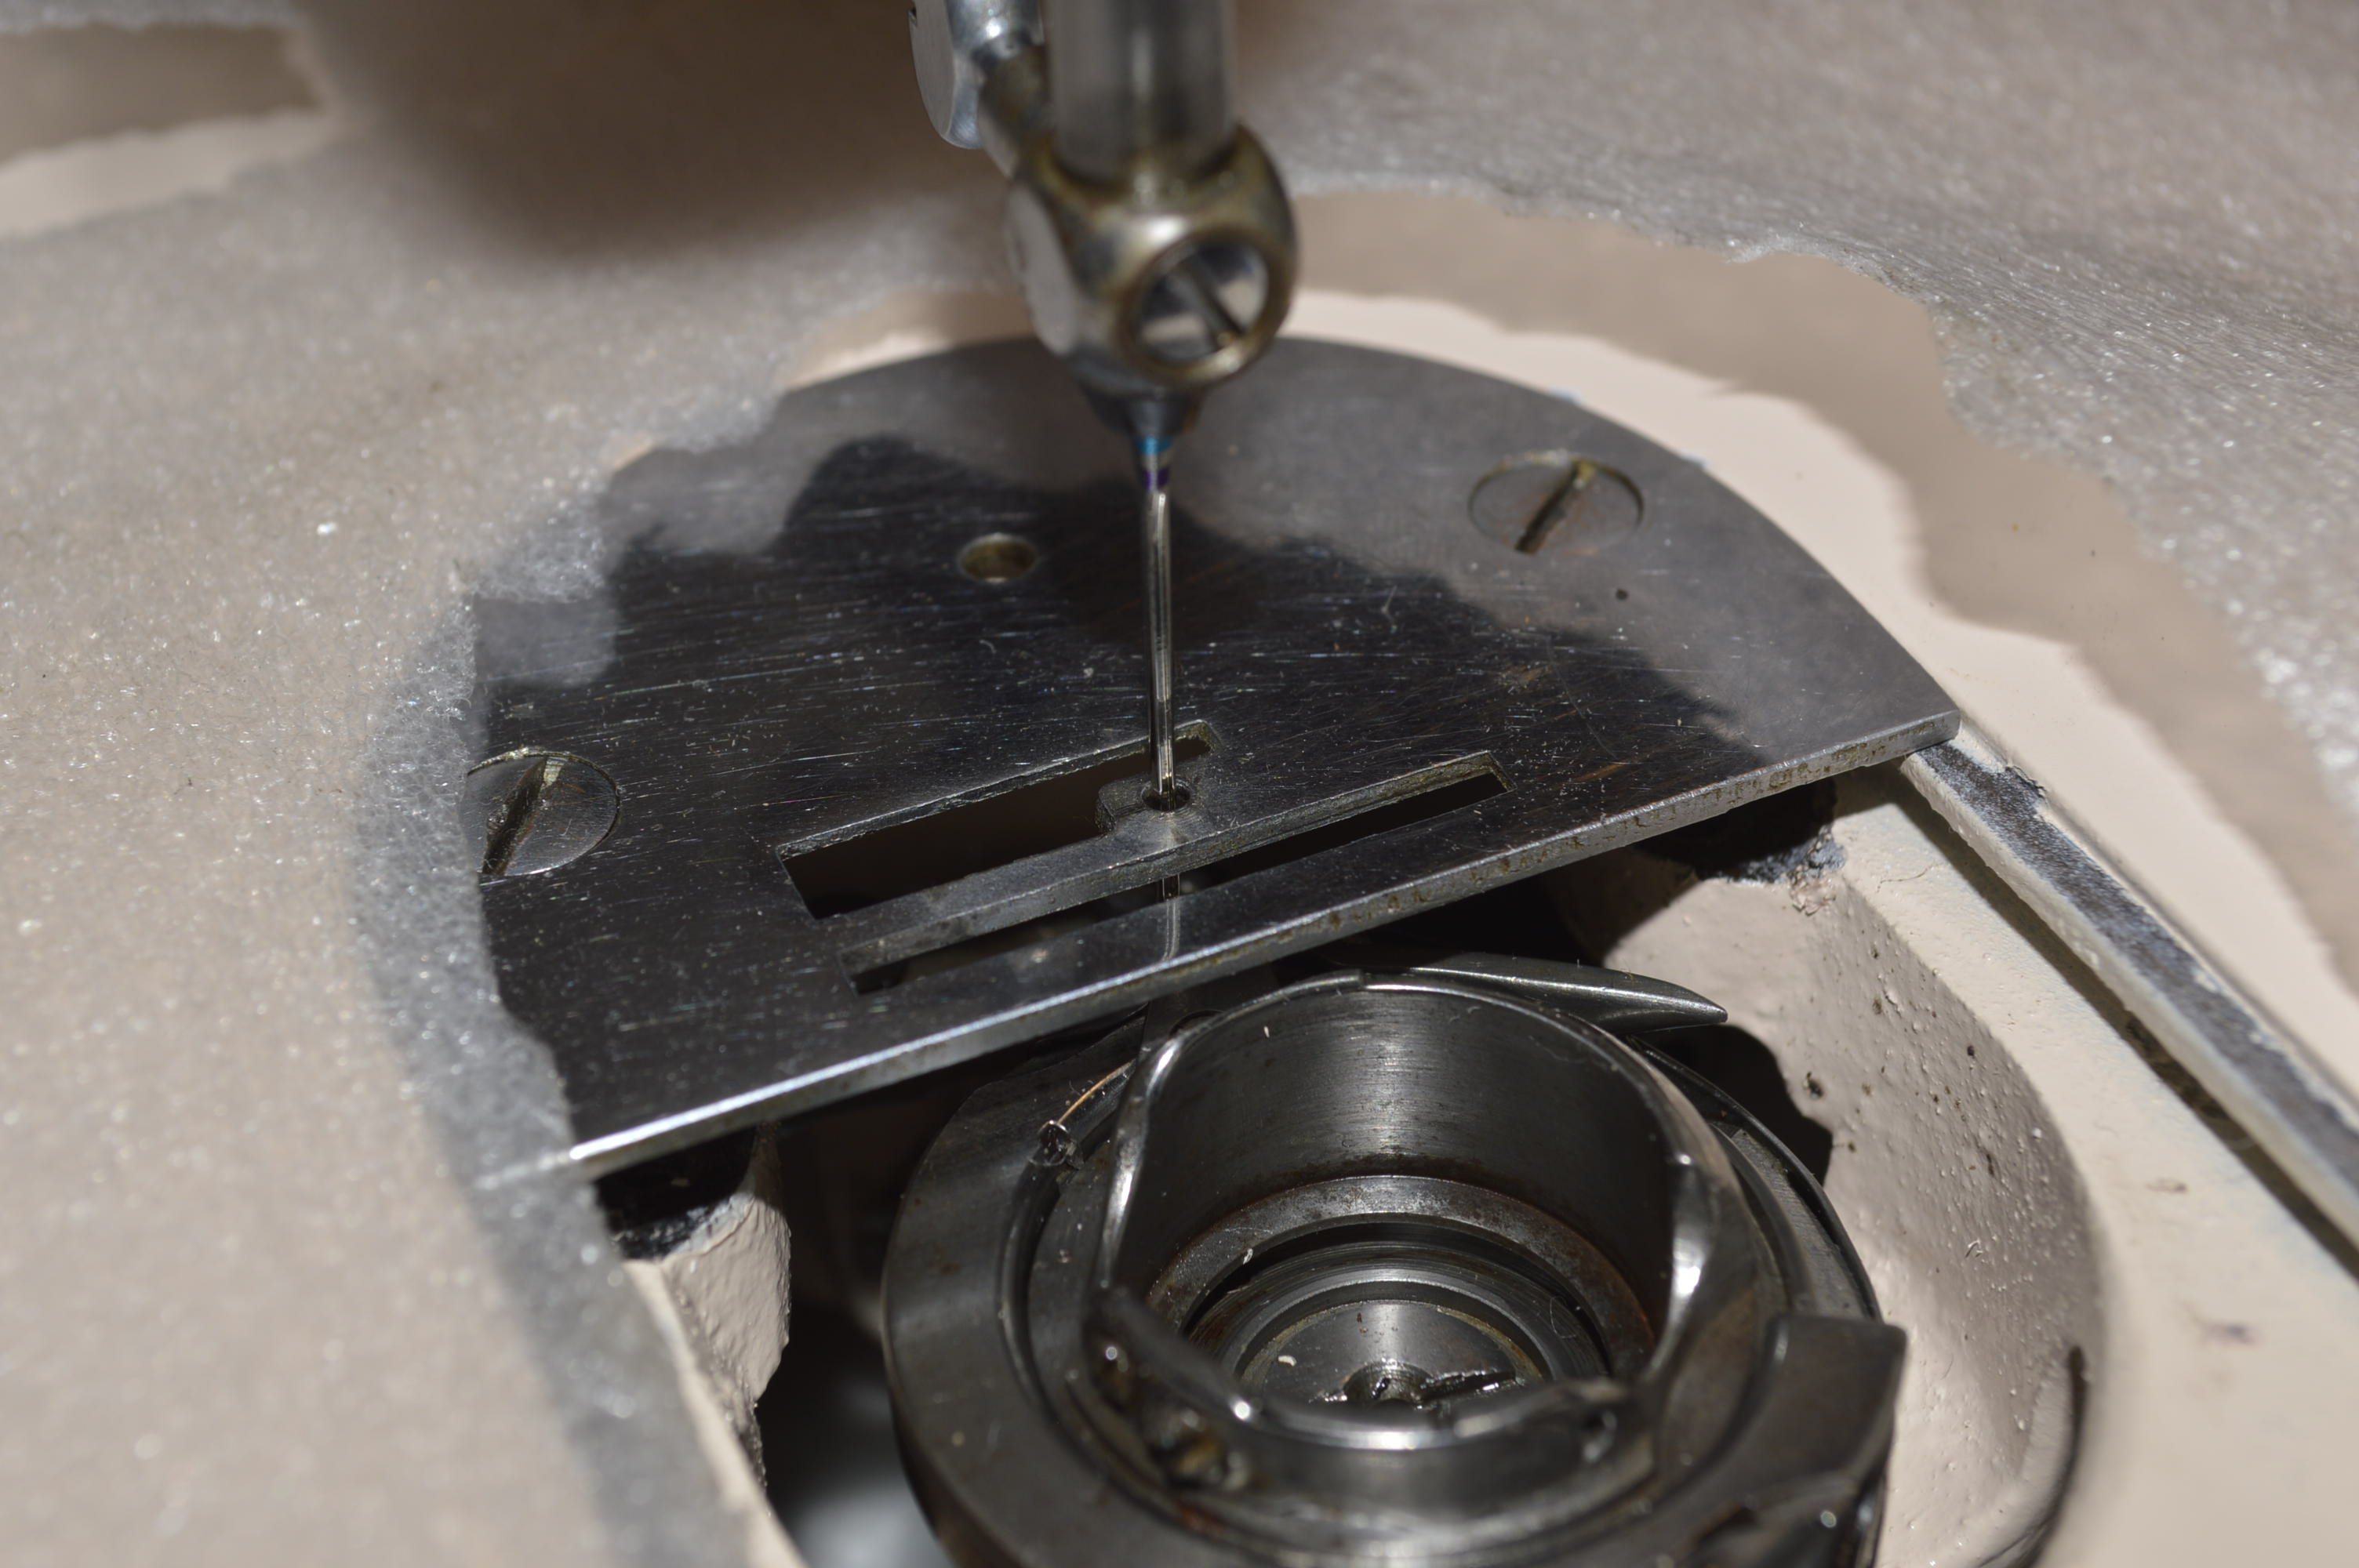
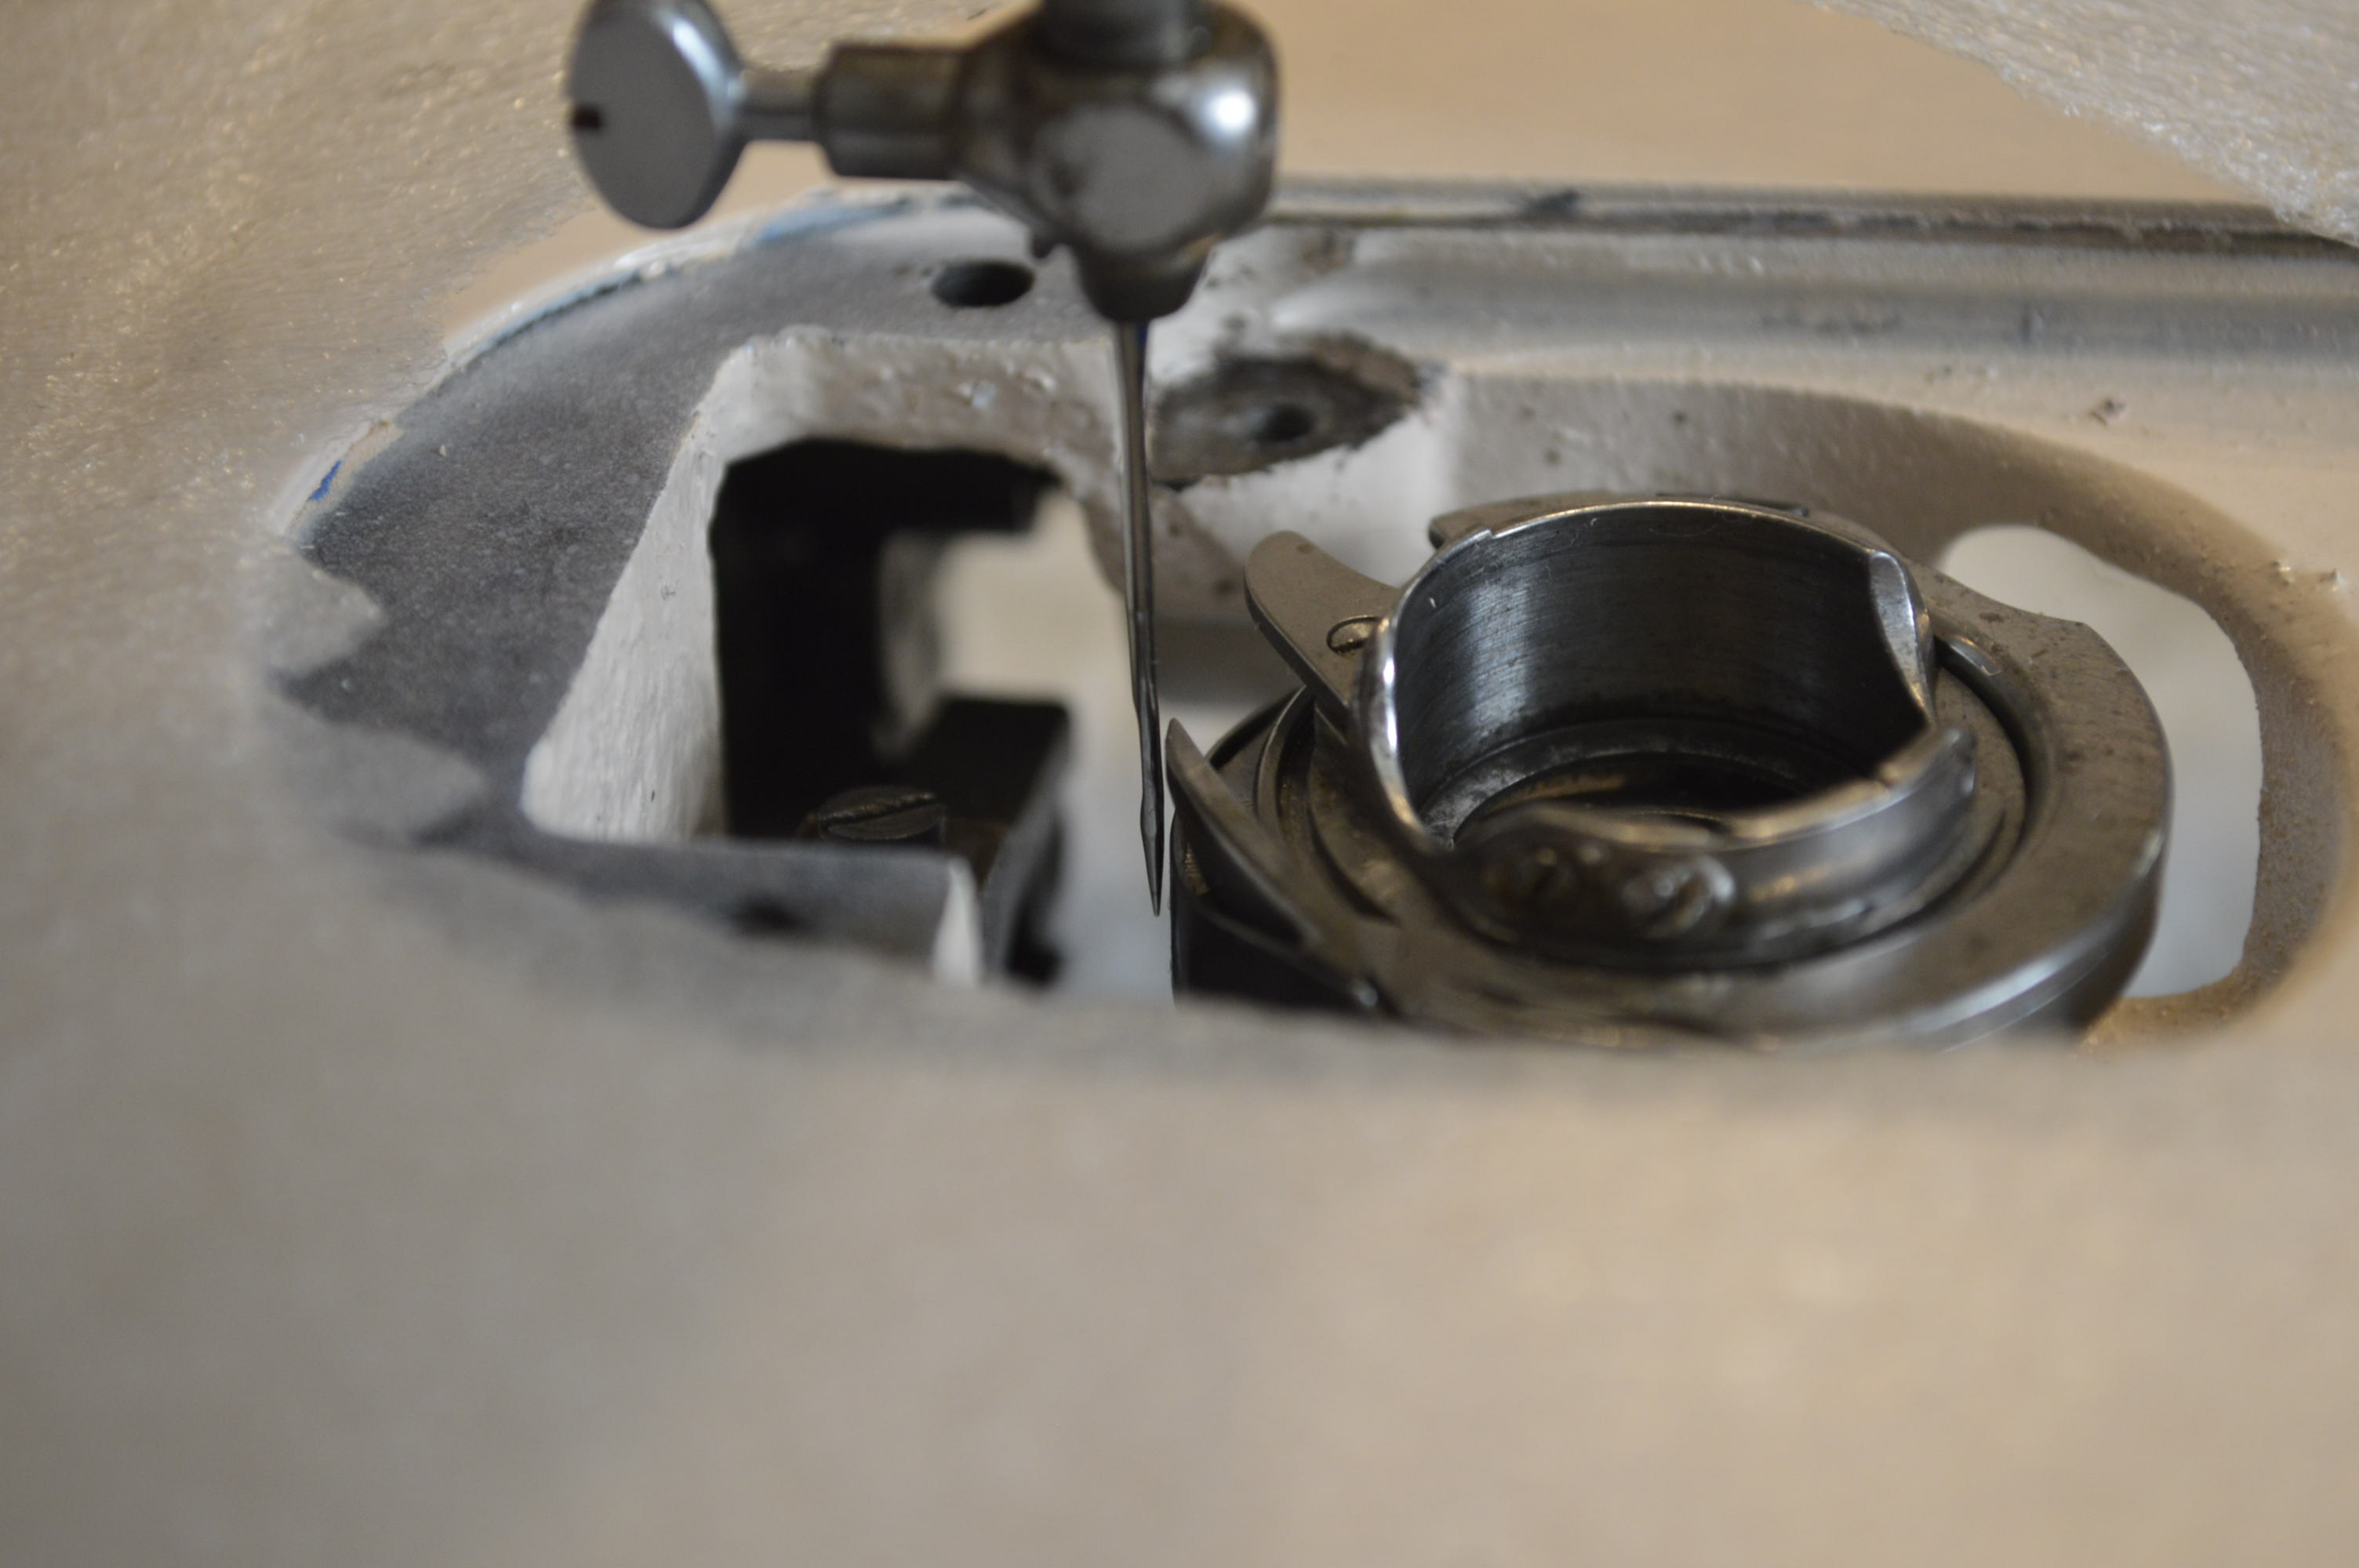
One area that always needs cleaning is inside of the shuttle hook gear case.
This aged yellow grease is the consistency of bees wax and requires manual removal with dental picks and a small screw driver to scrape it out of the crooks and crevices between and behind the gears. The final remaining grease is removed with a small utility brush. The gears are then greased with Tri-flow grease. Note… I have found this in every Kenmore I have ever serviced, but I guess no one ever looks…
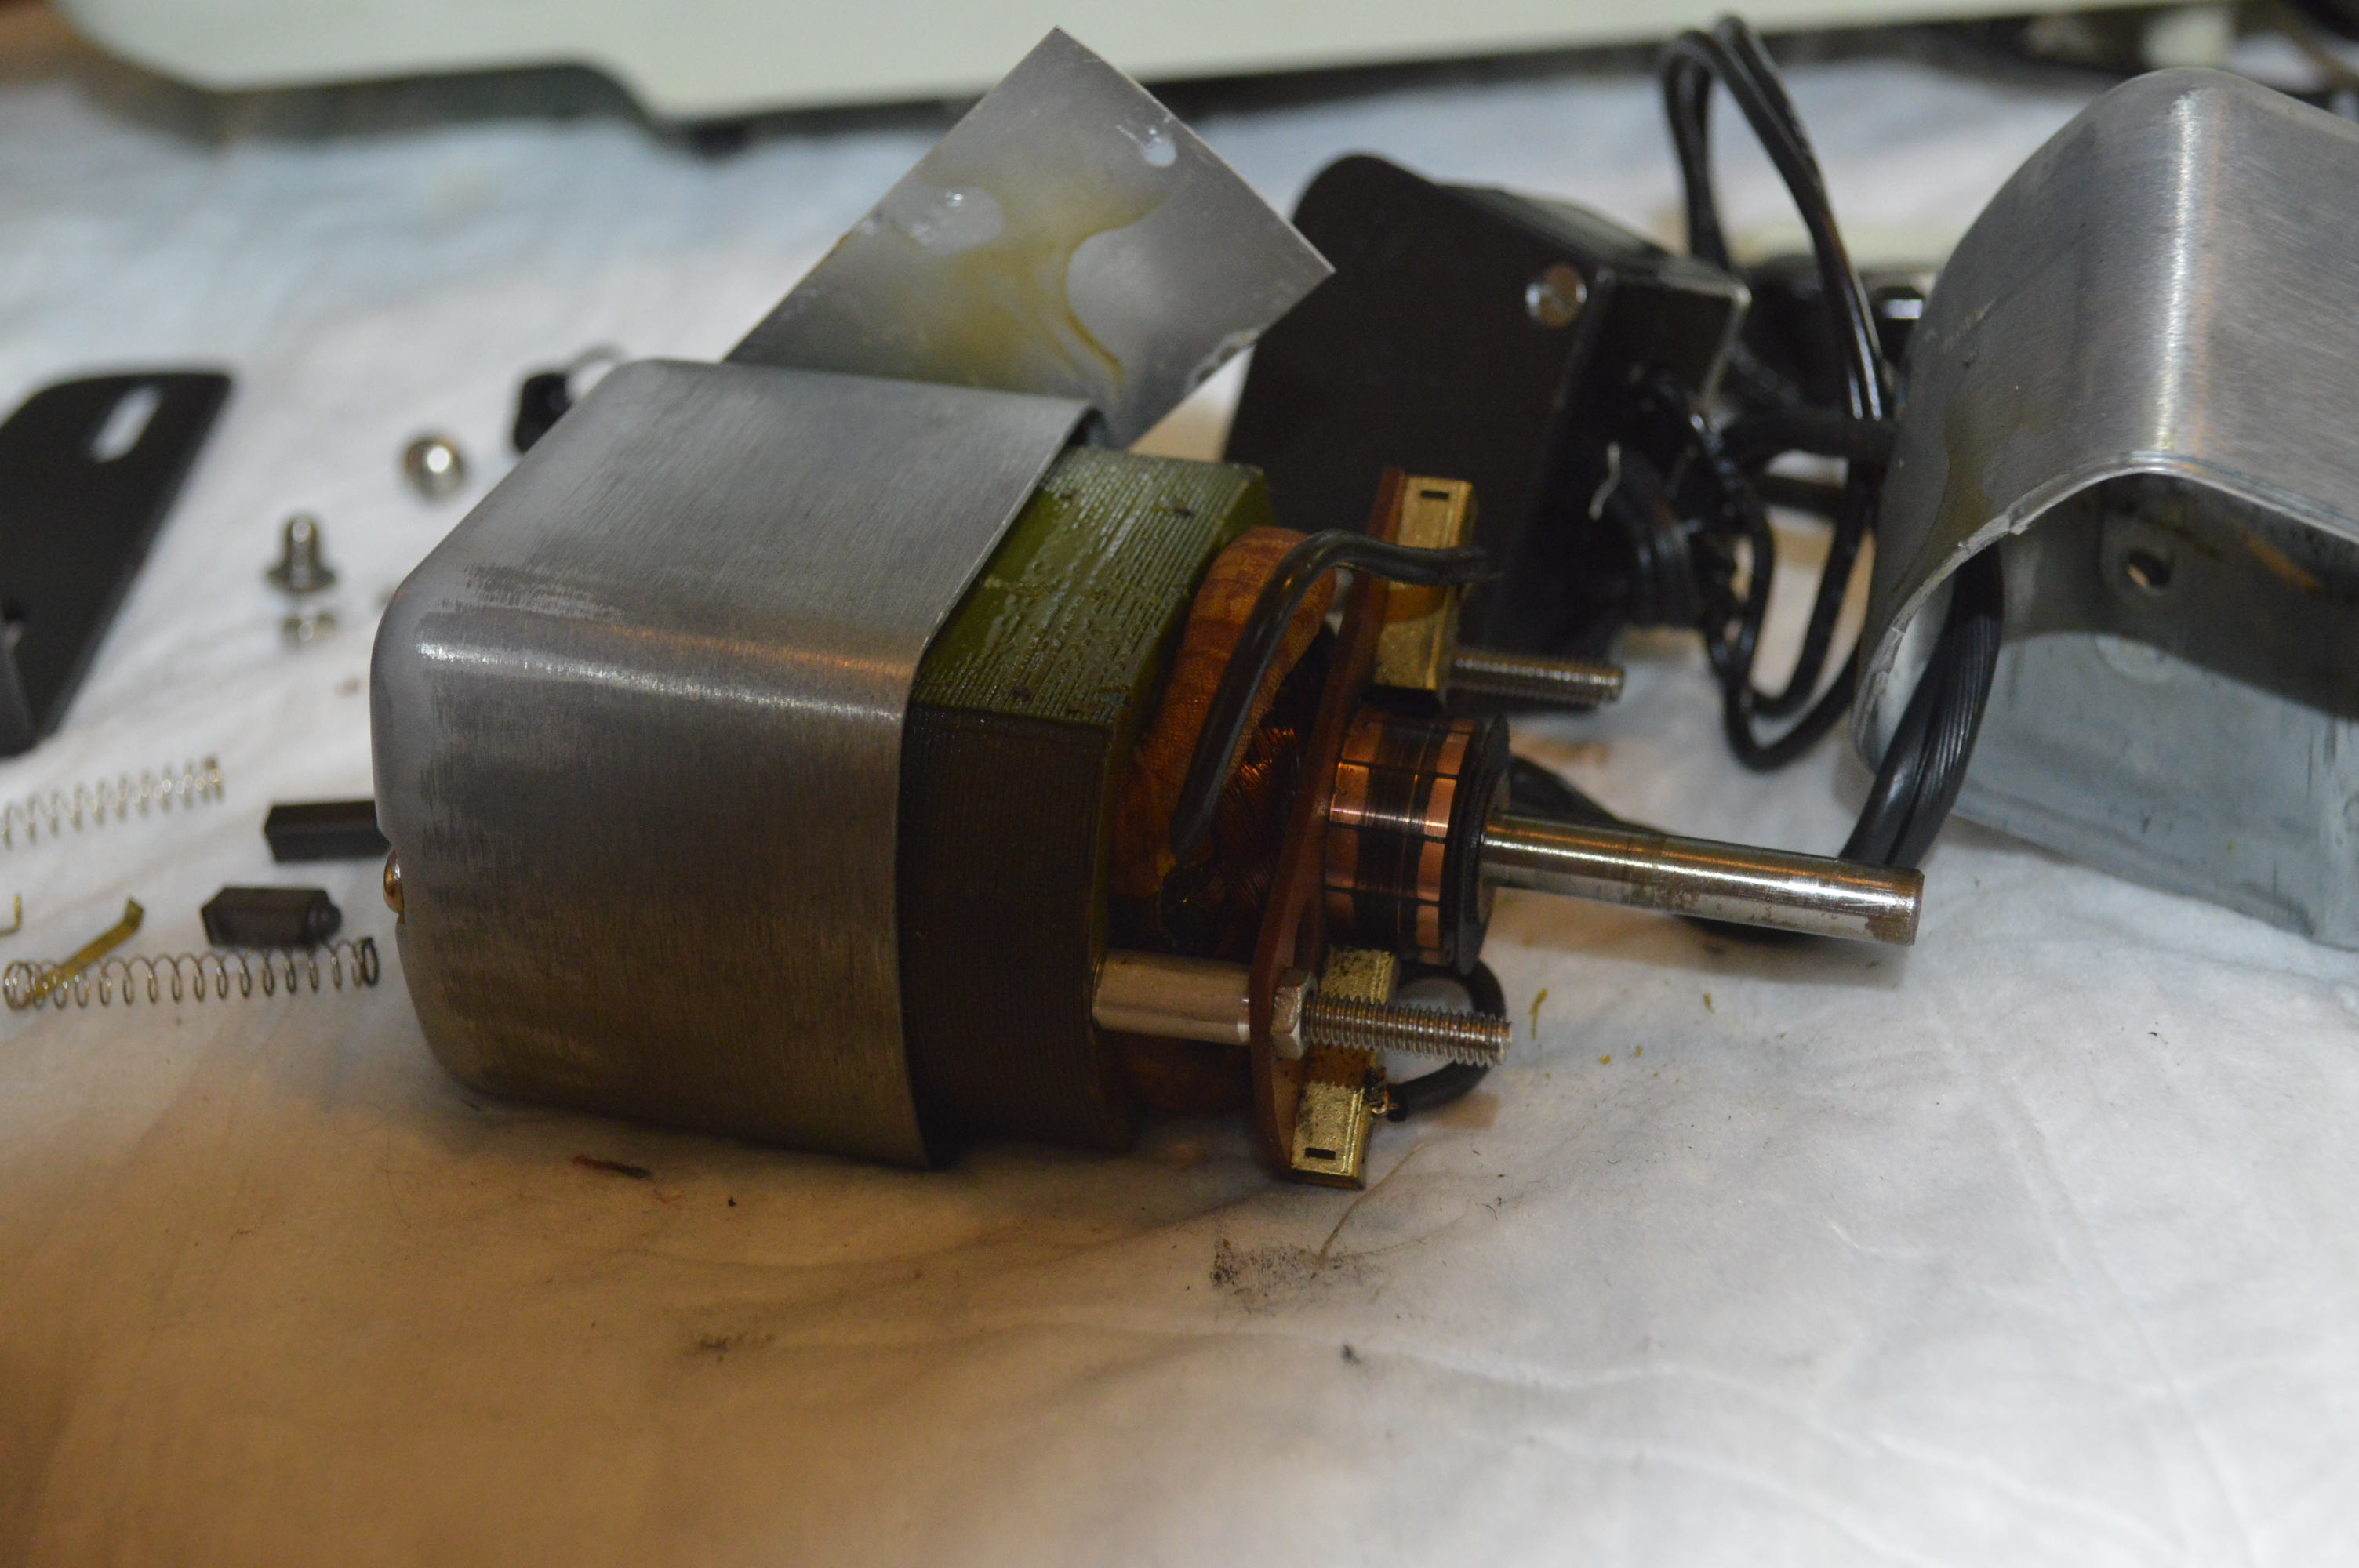
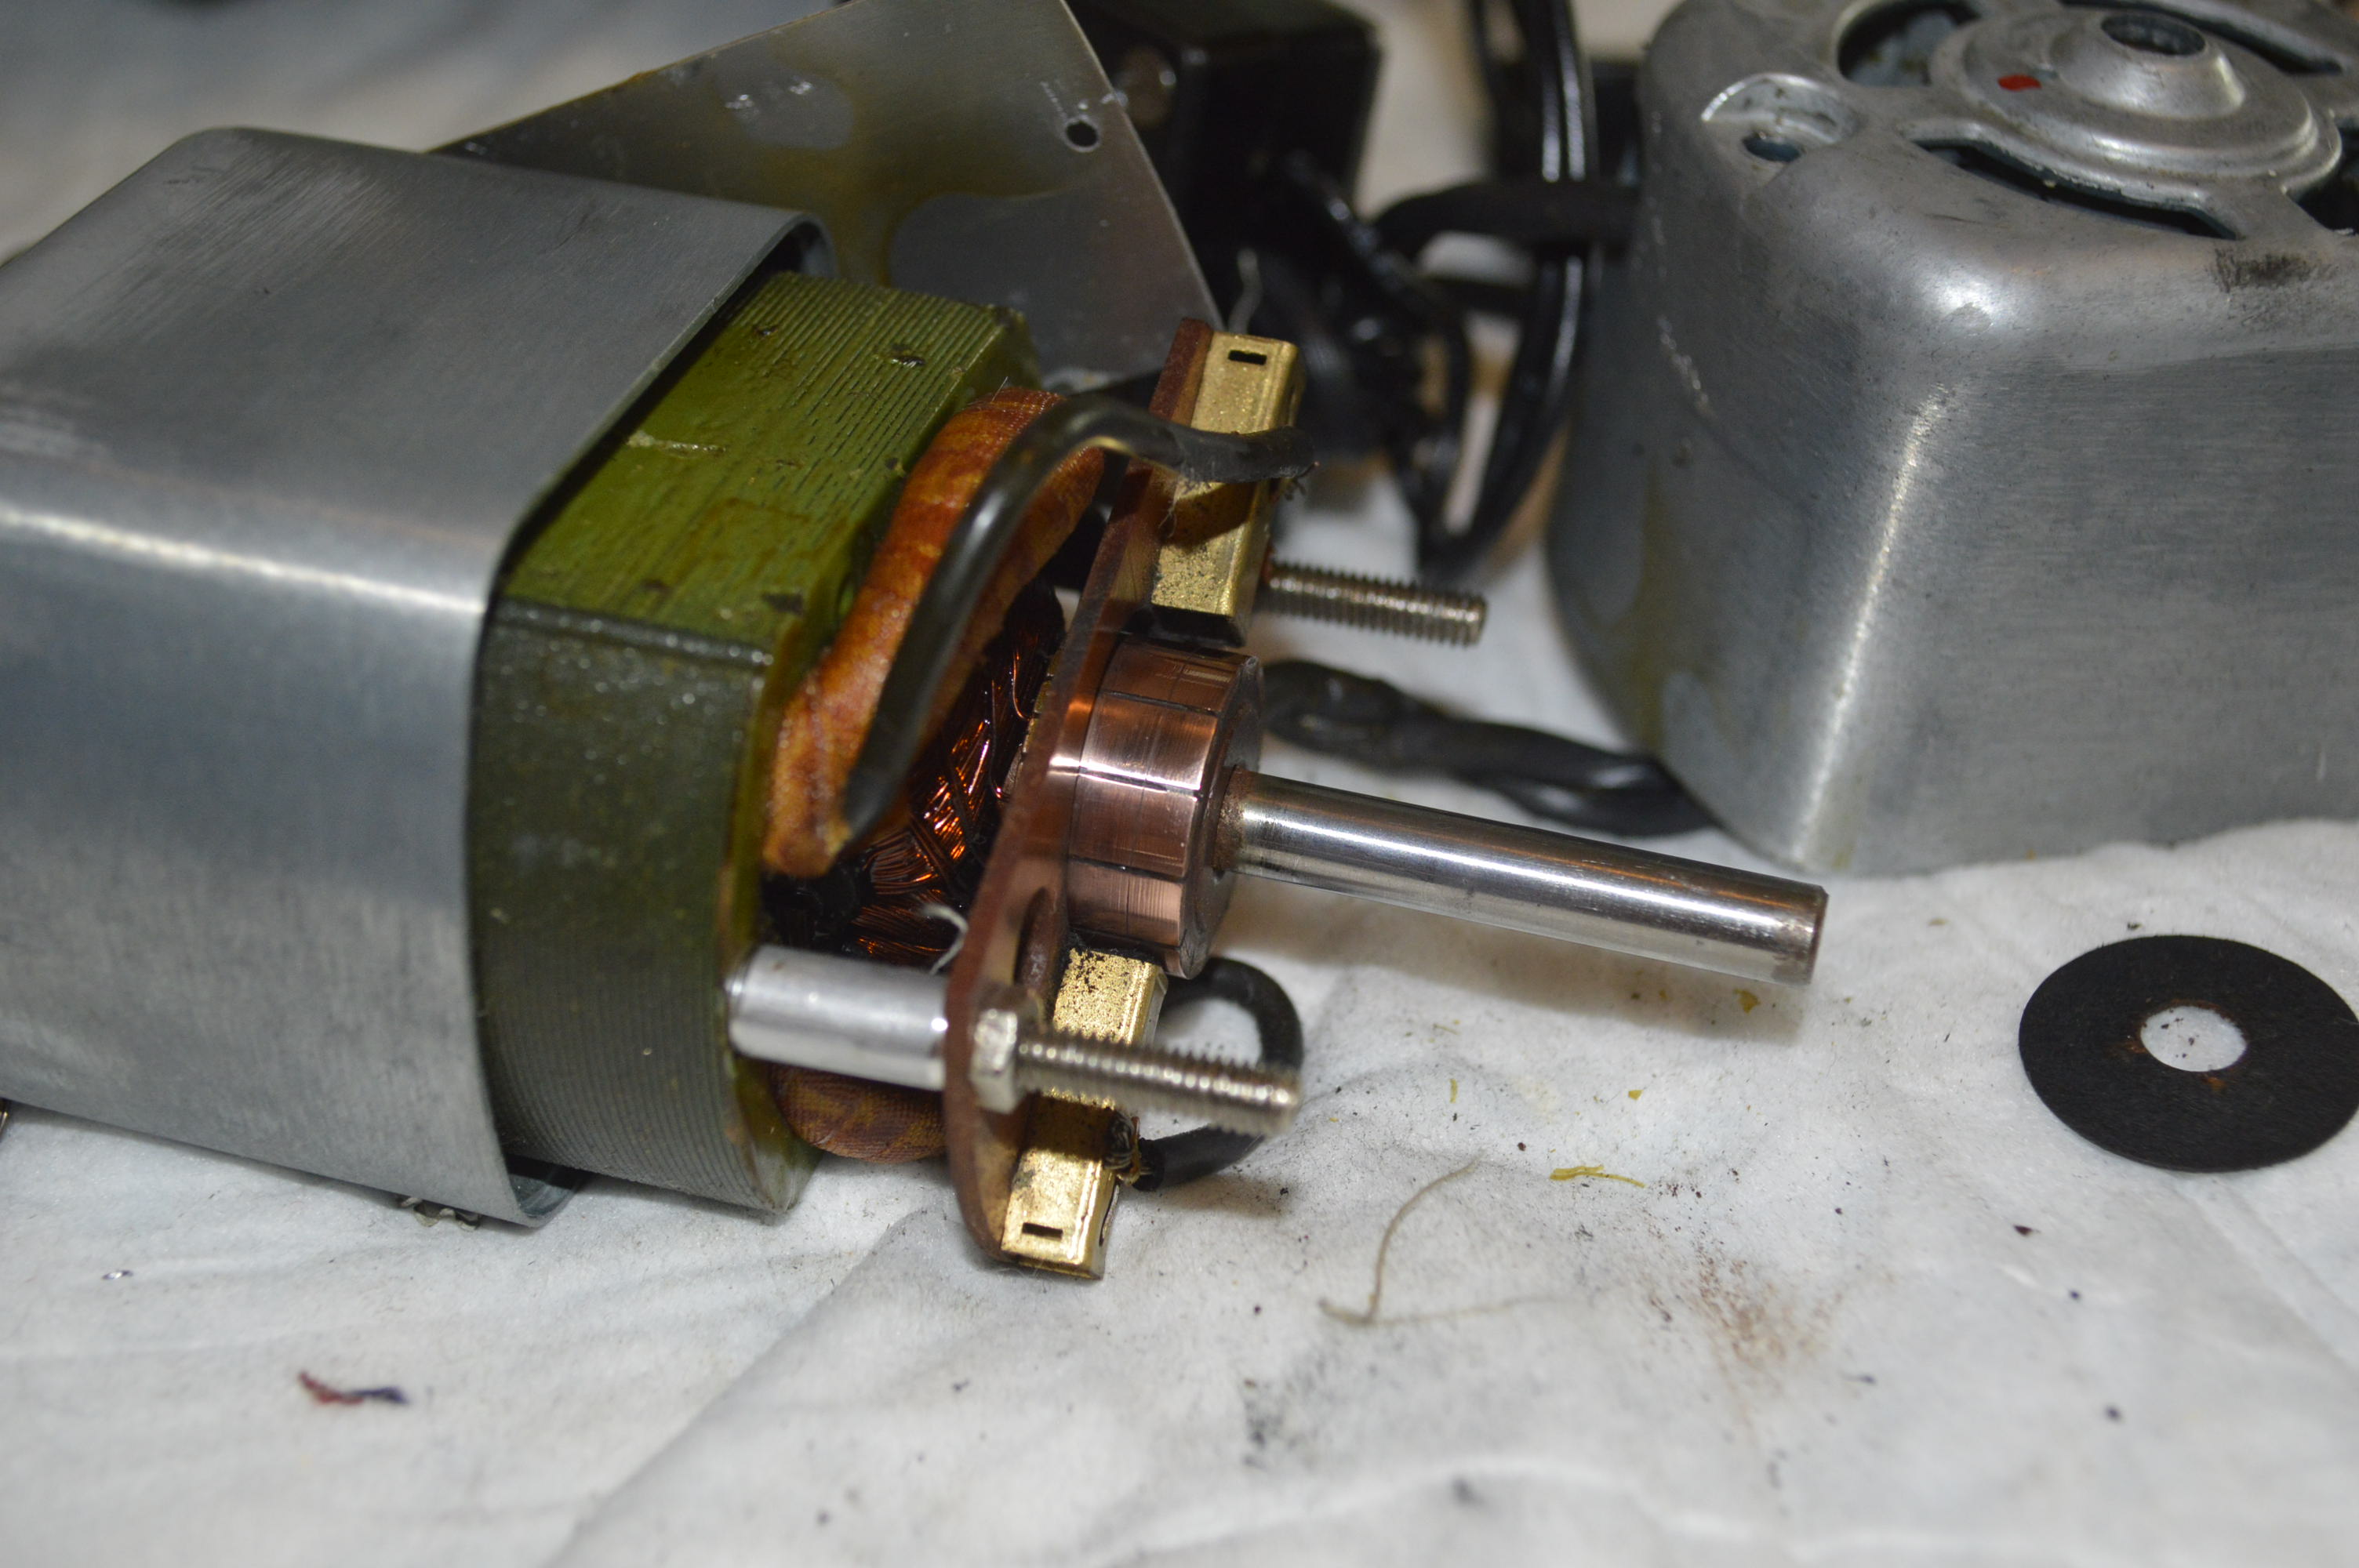
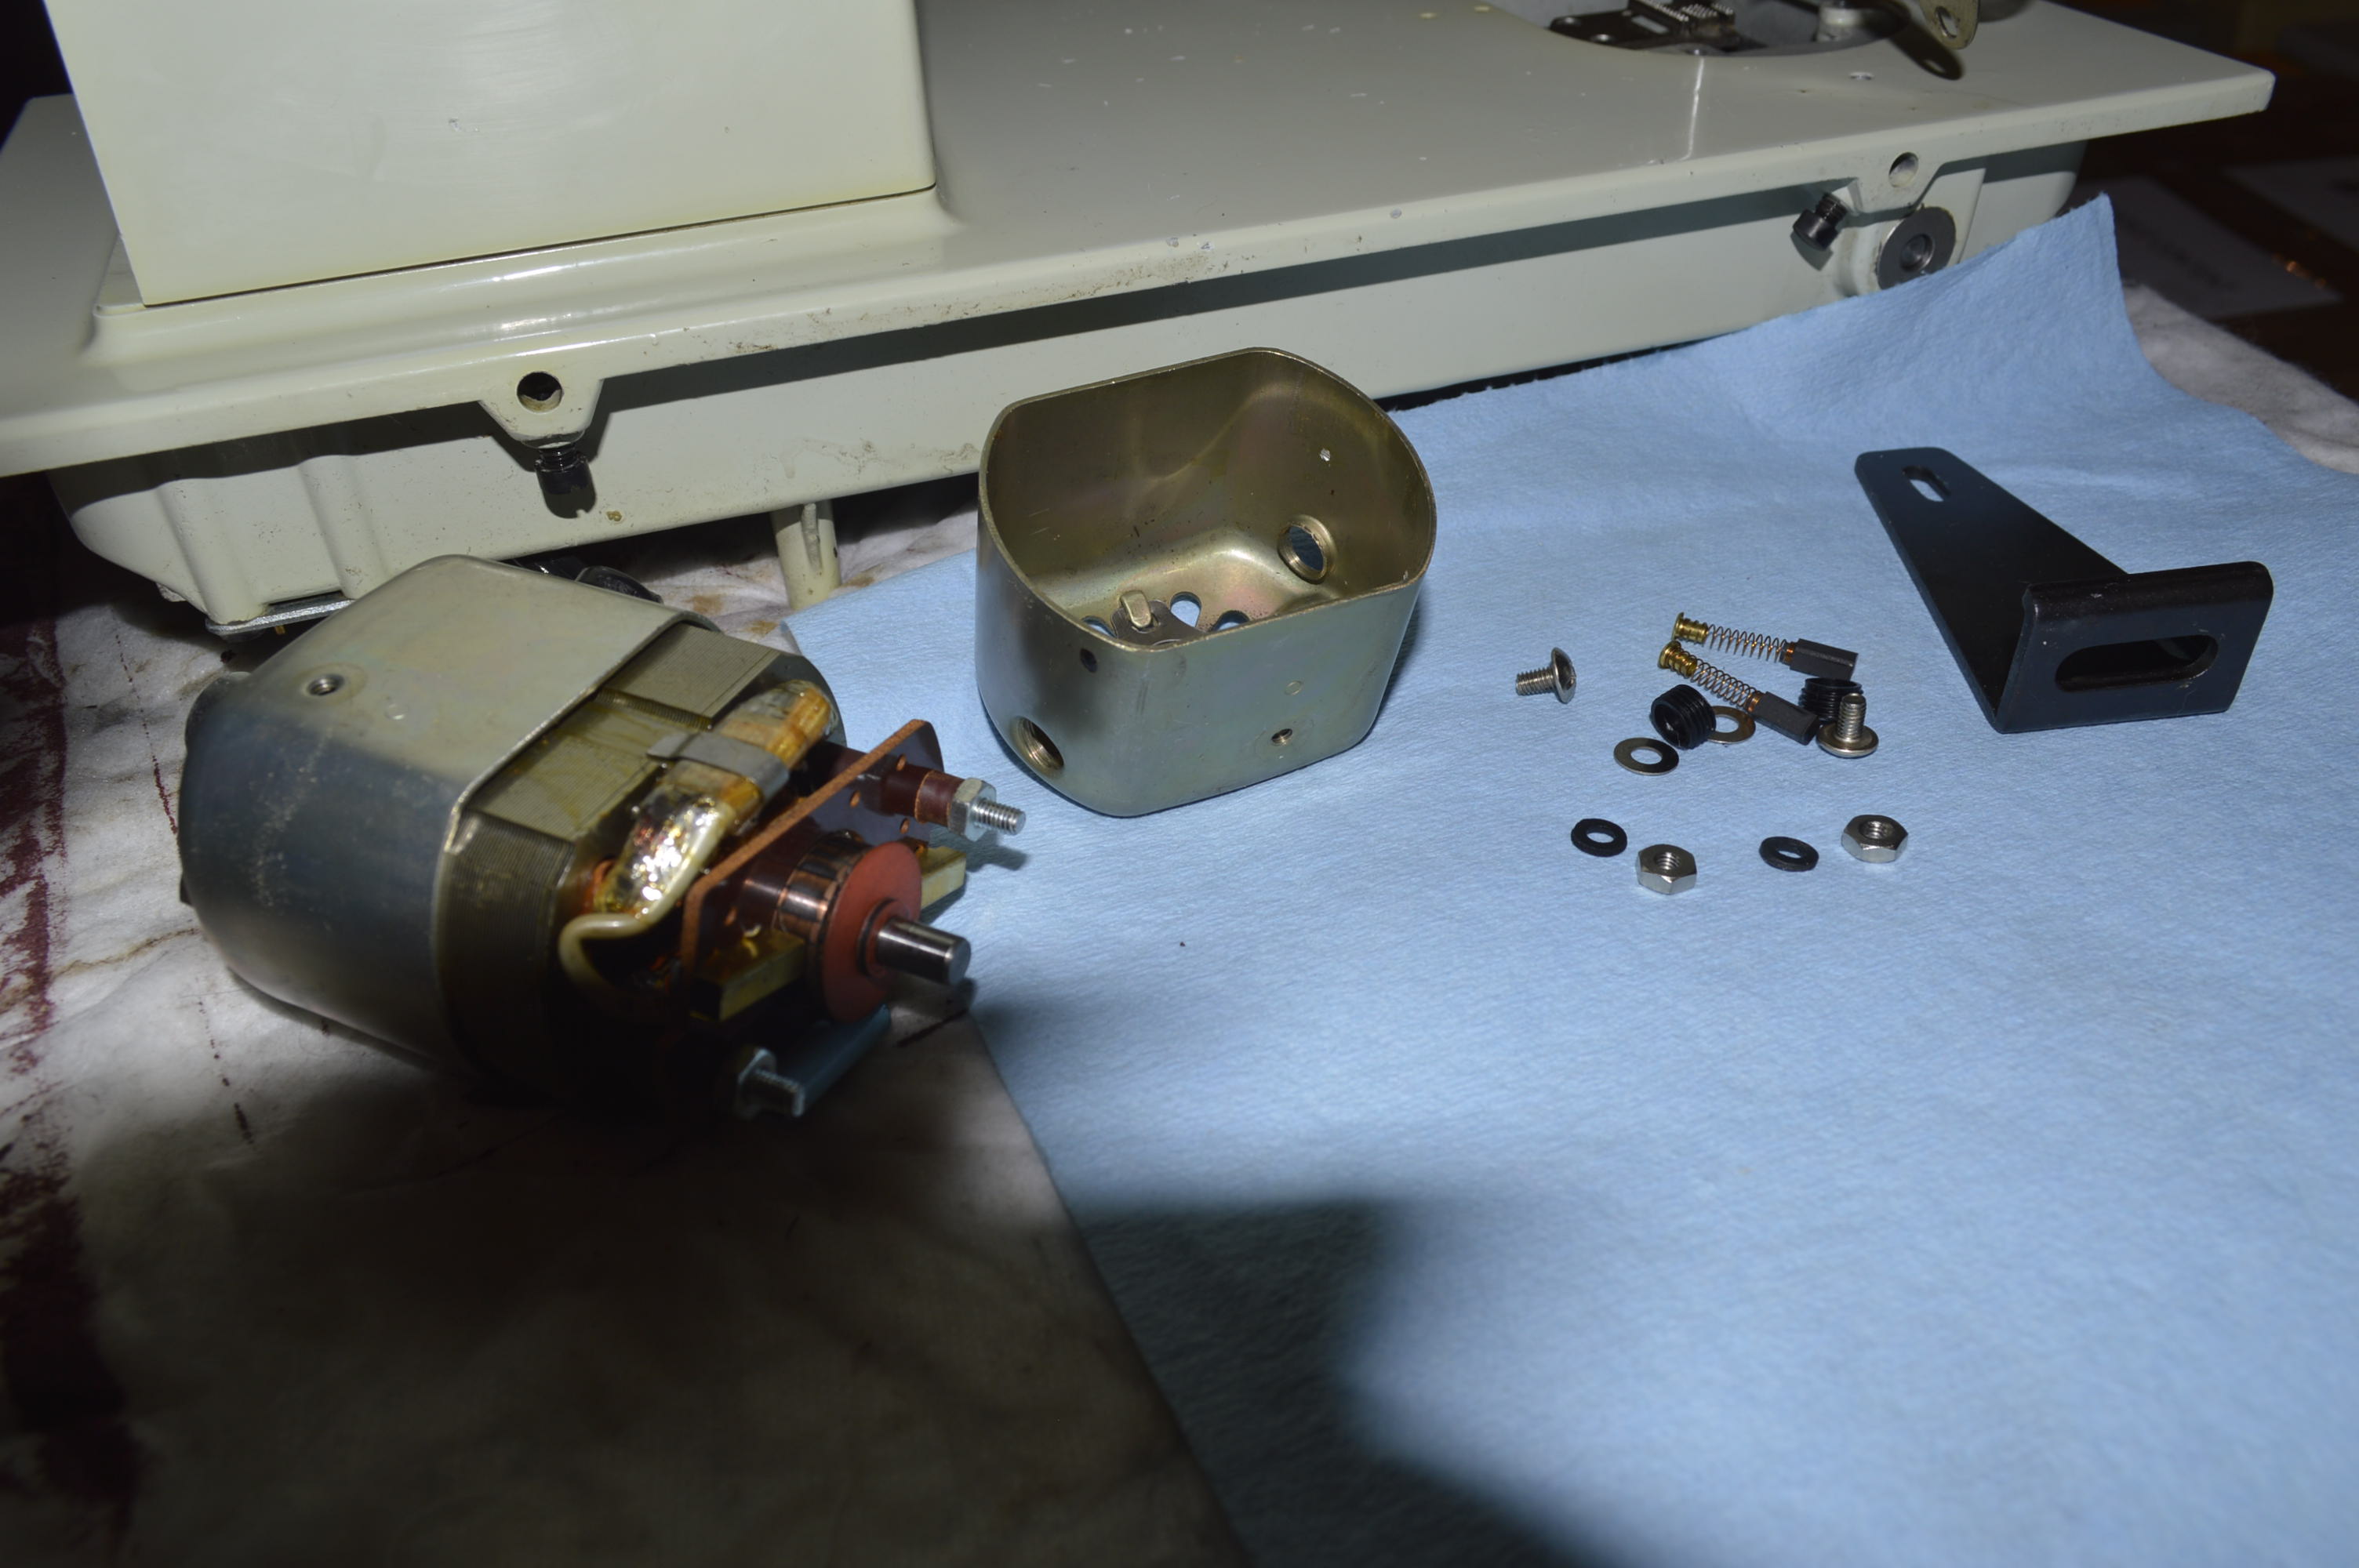
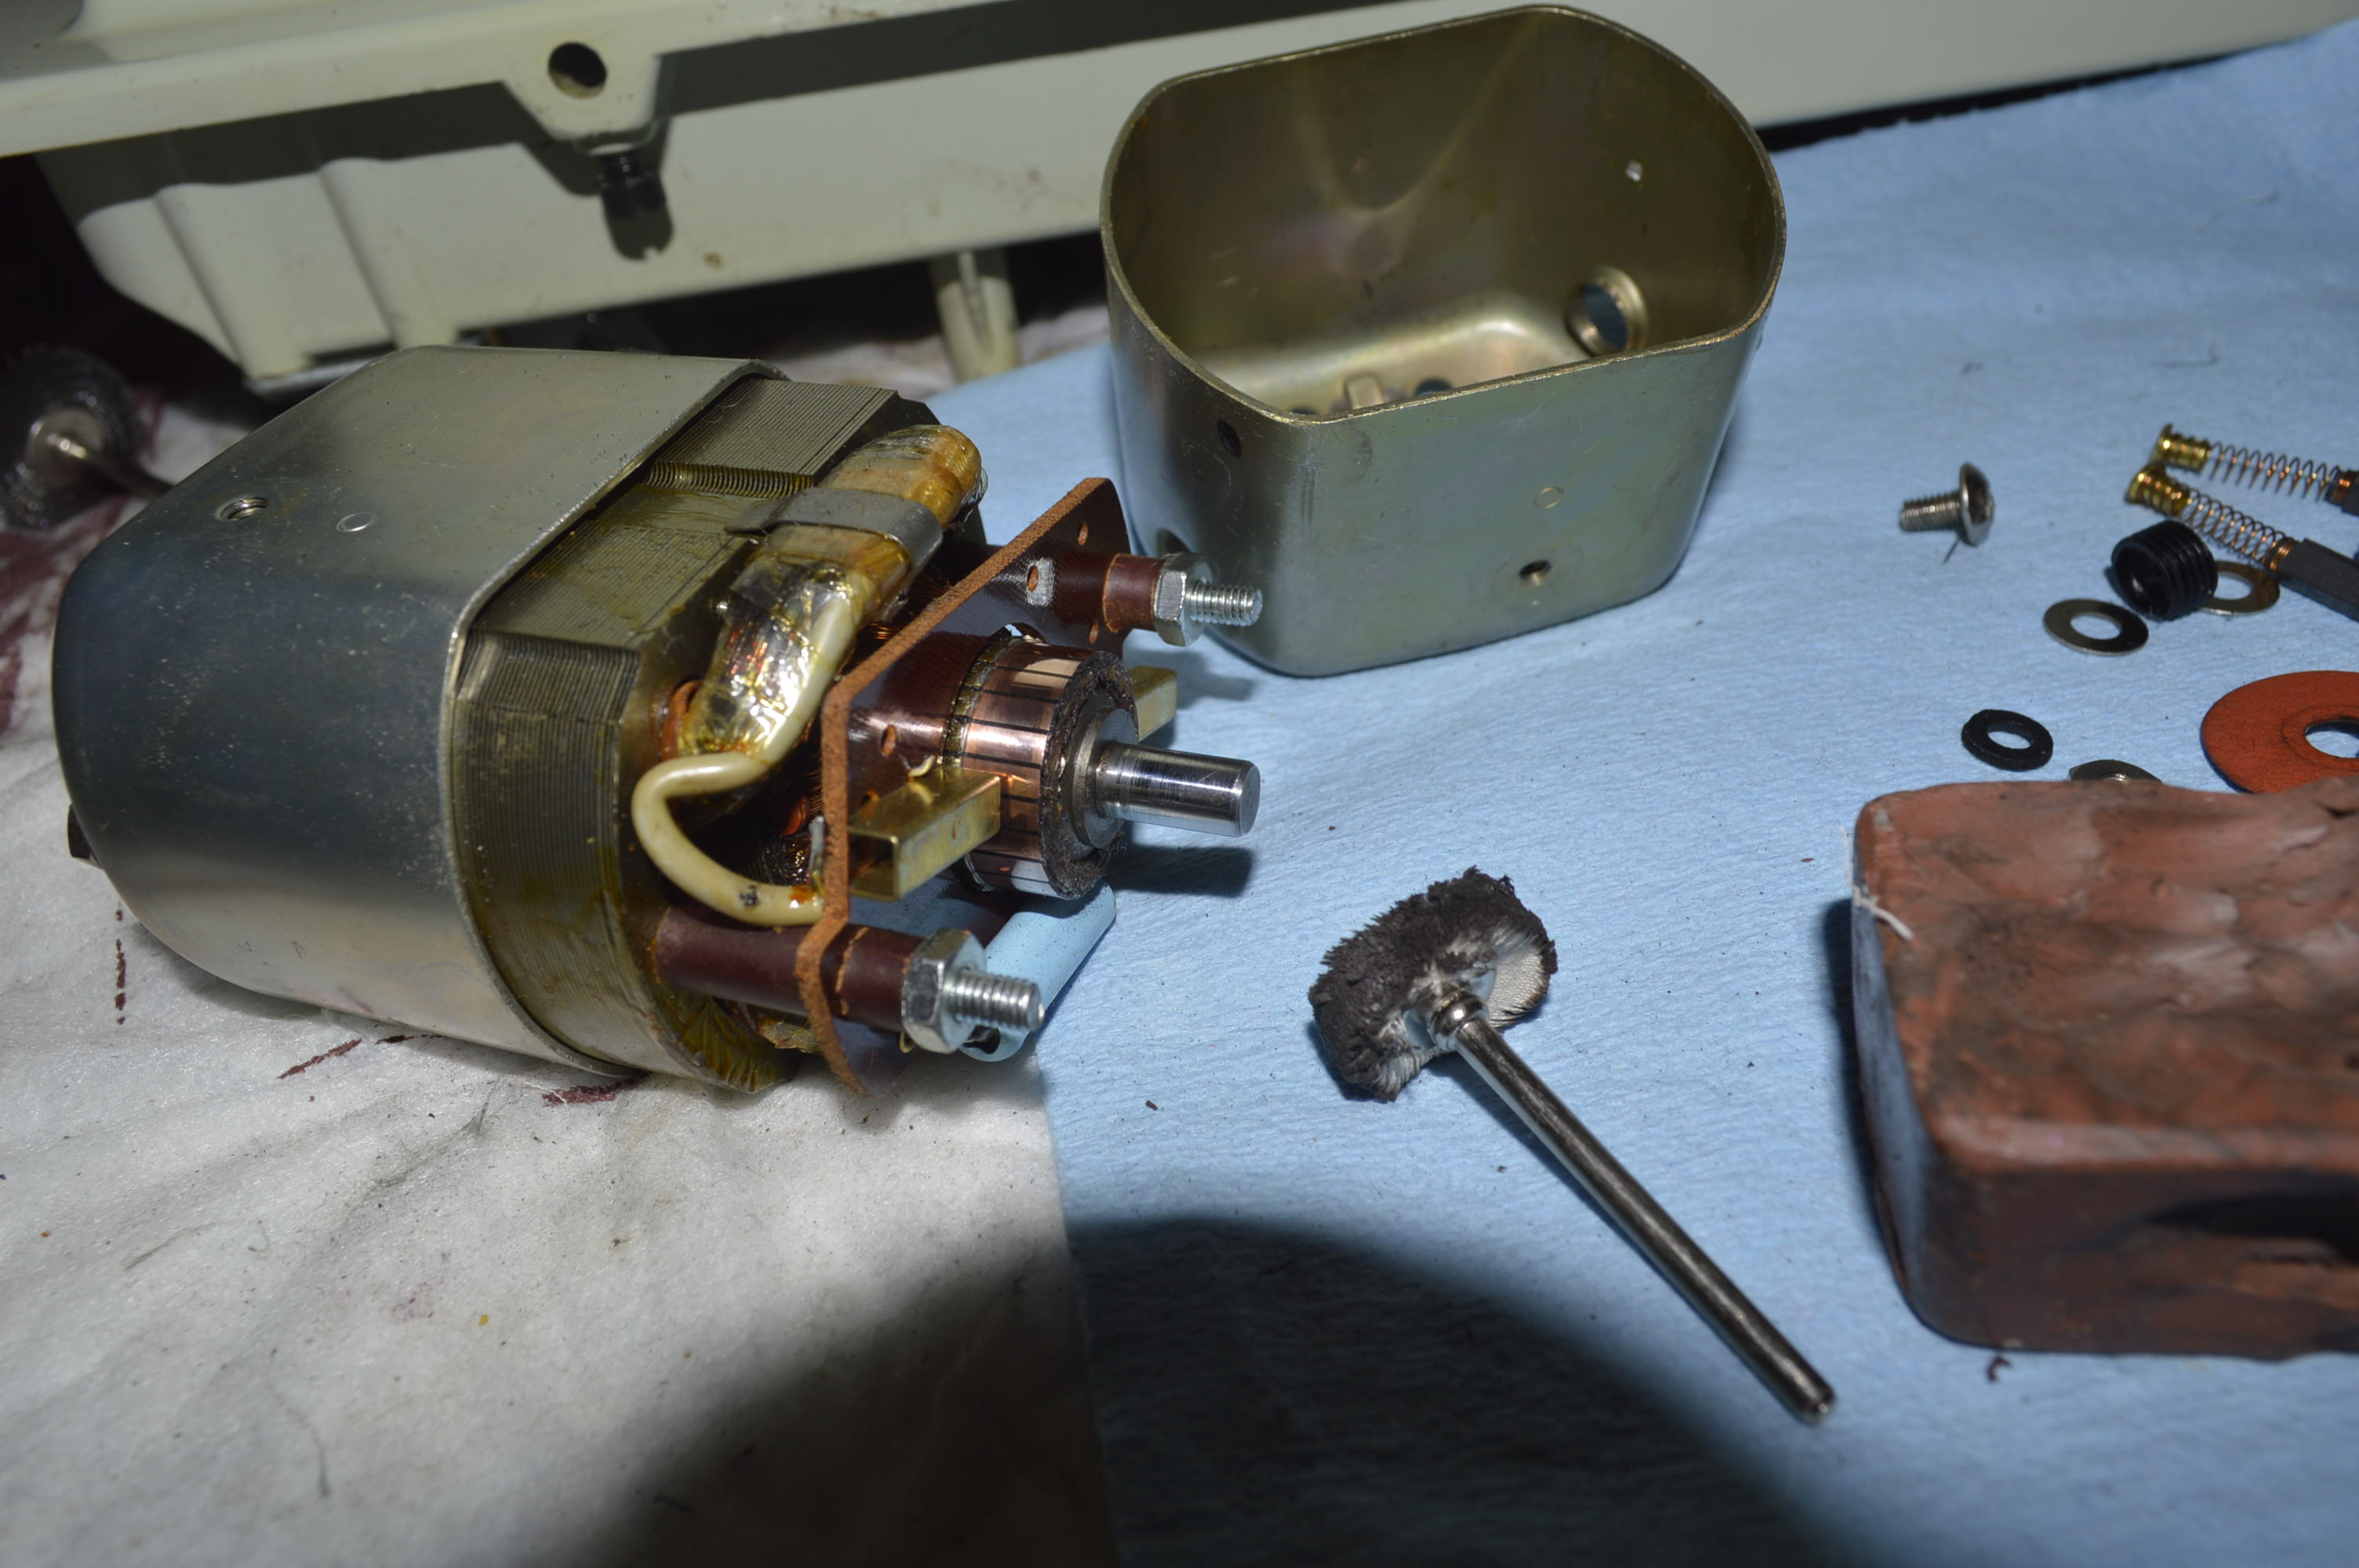
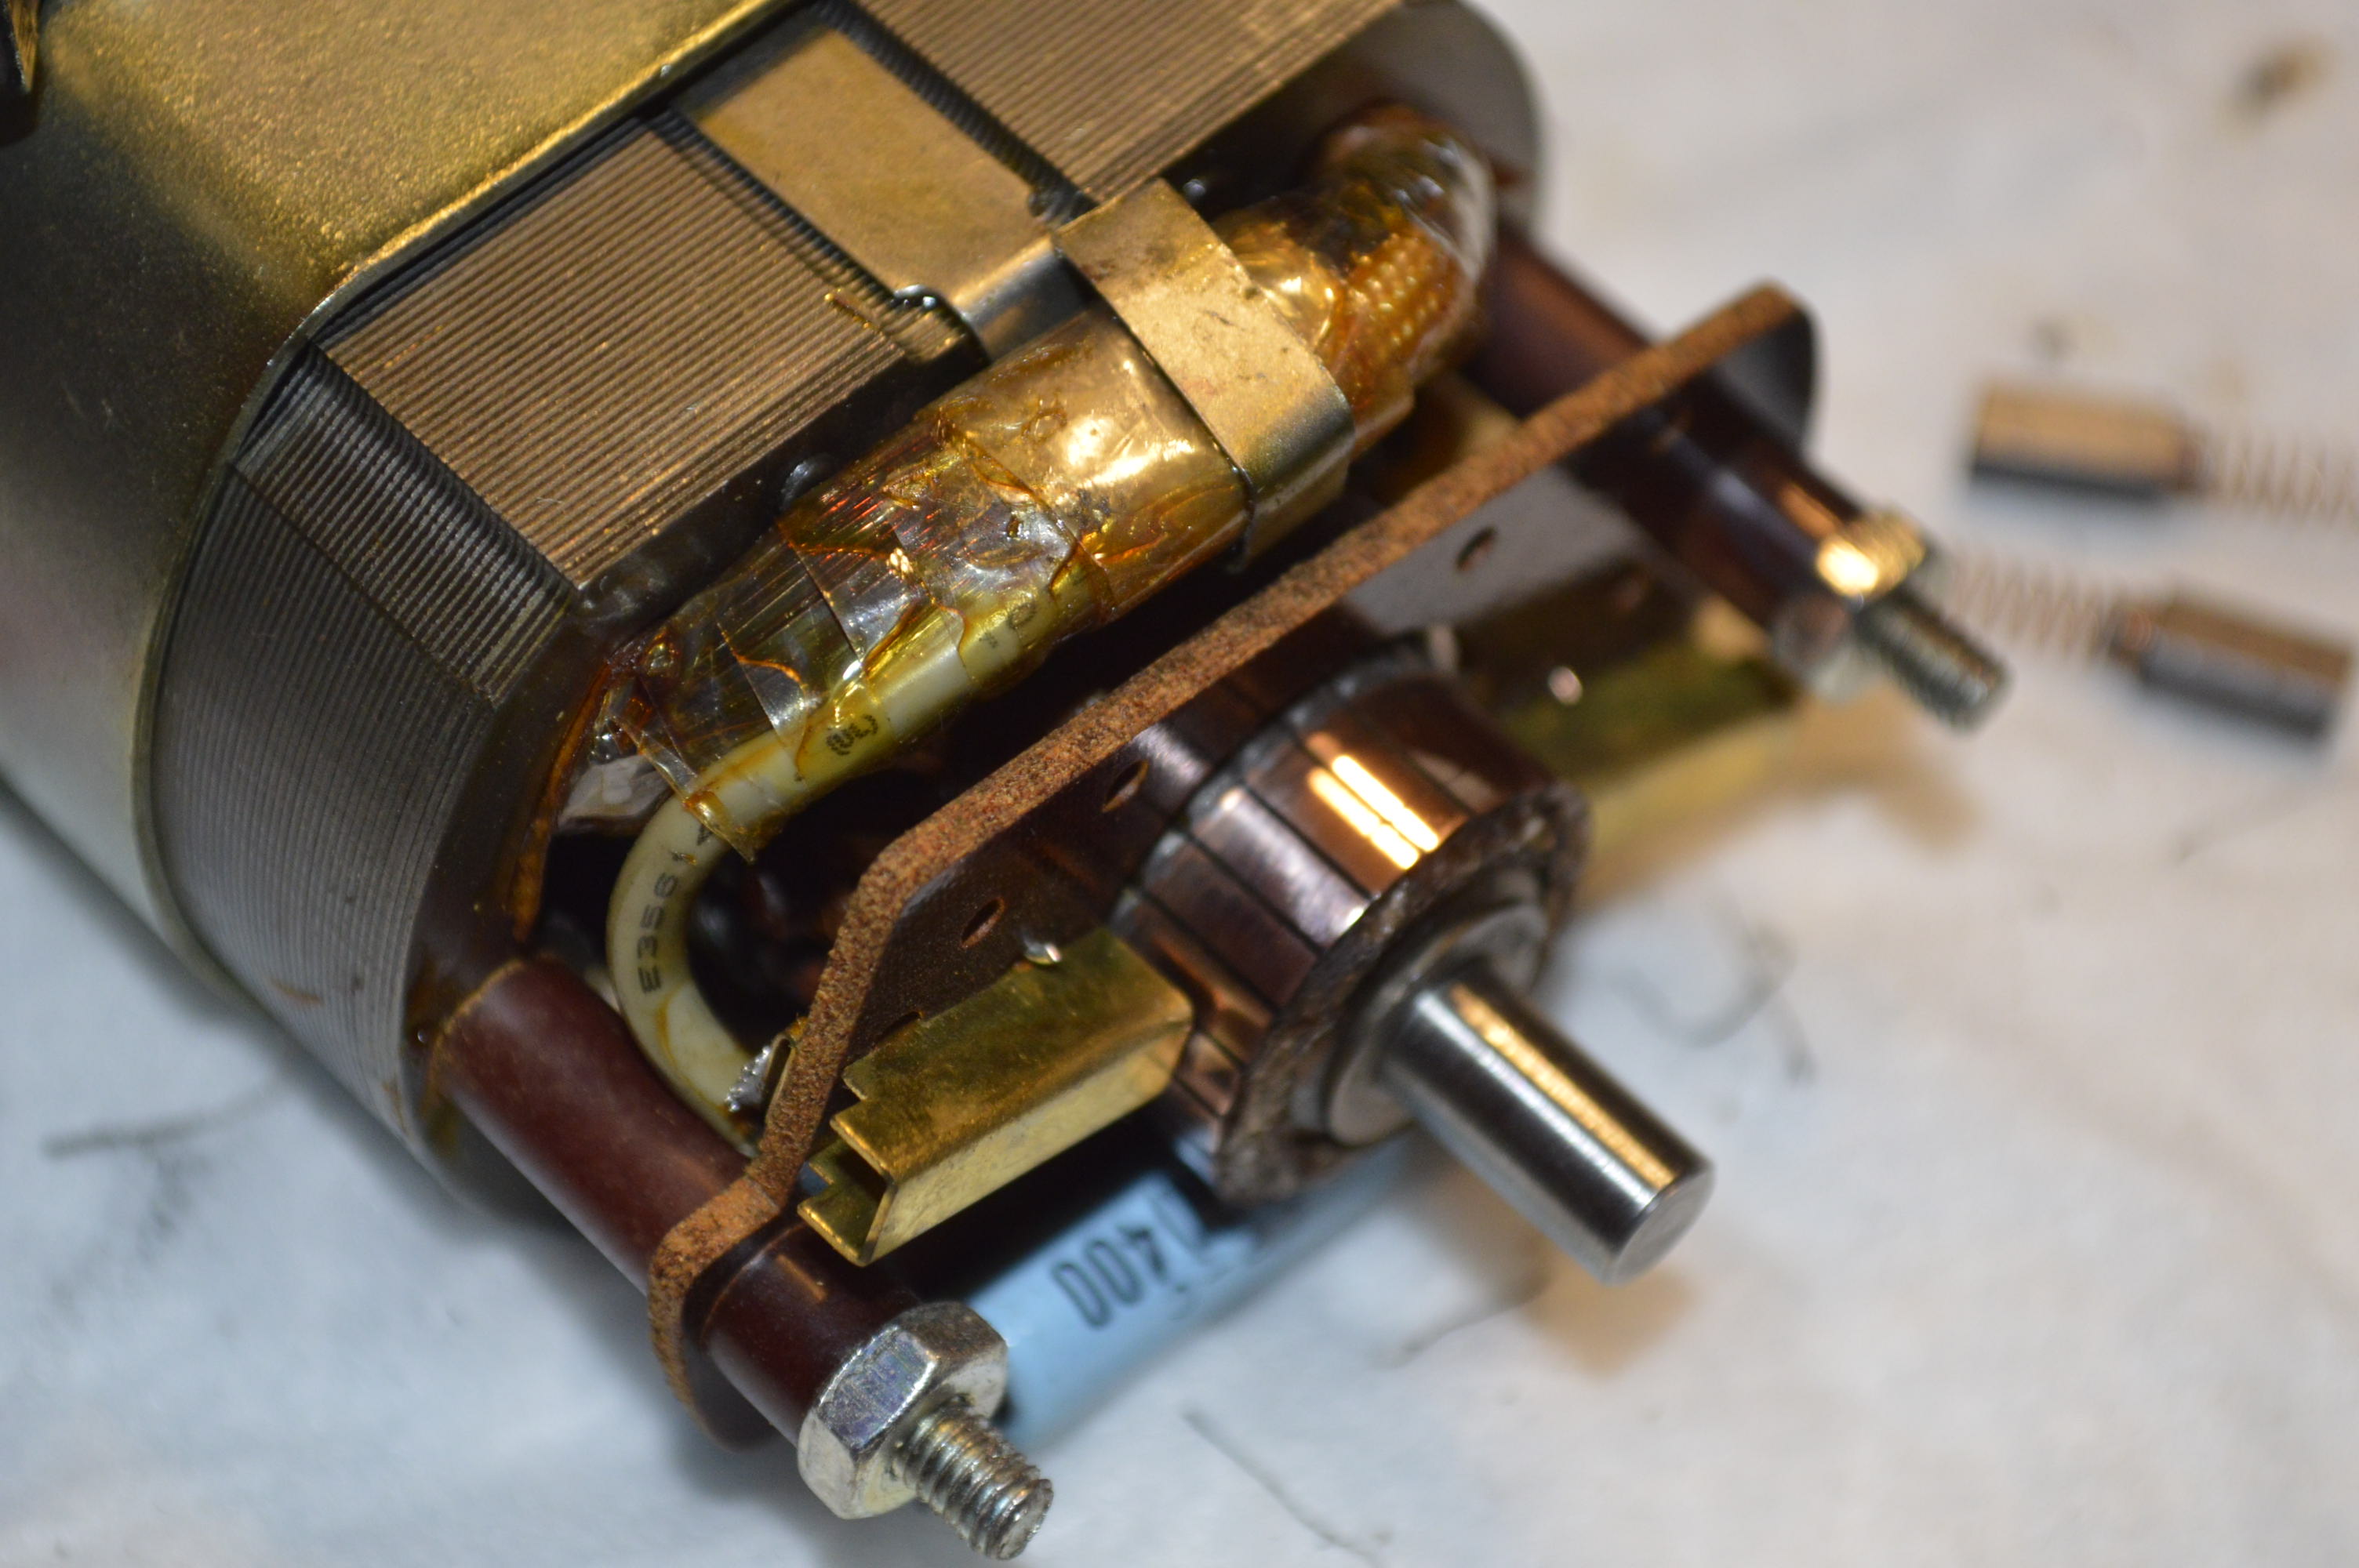
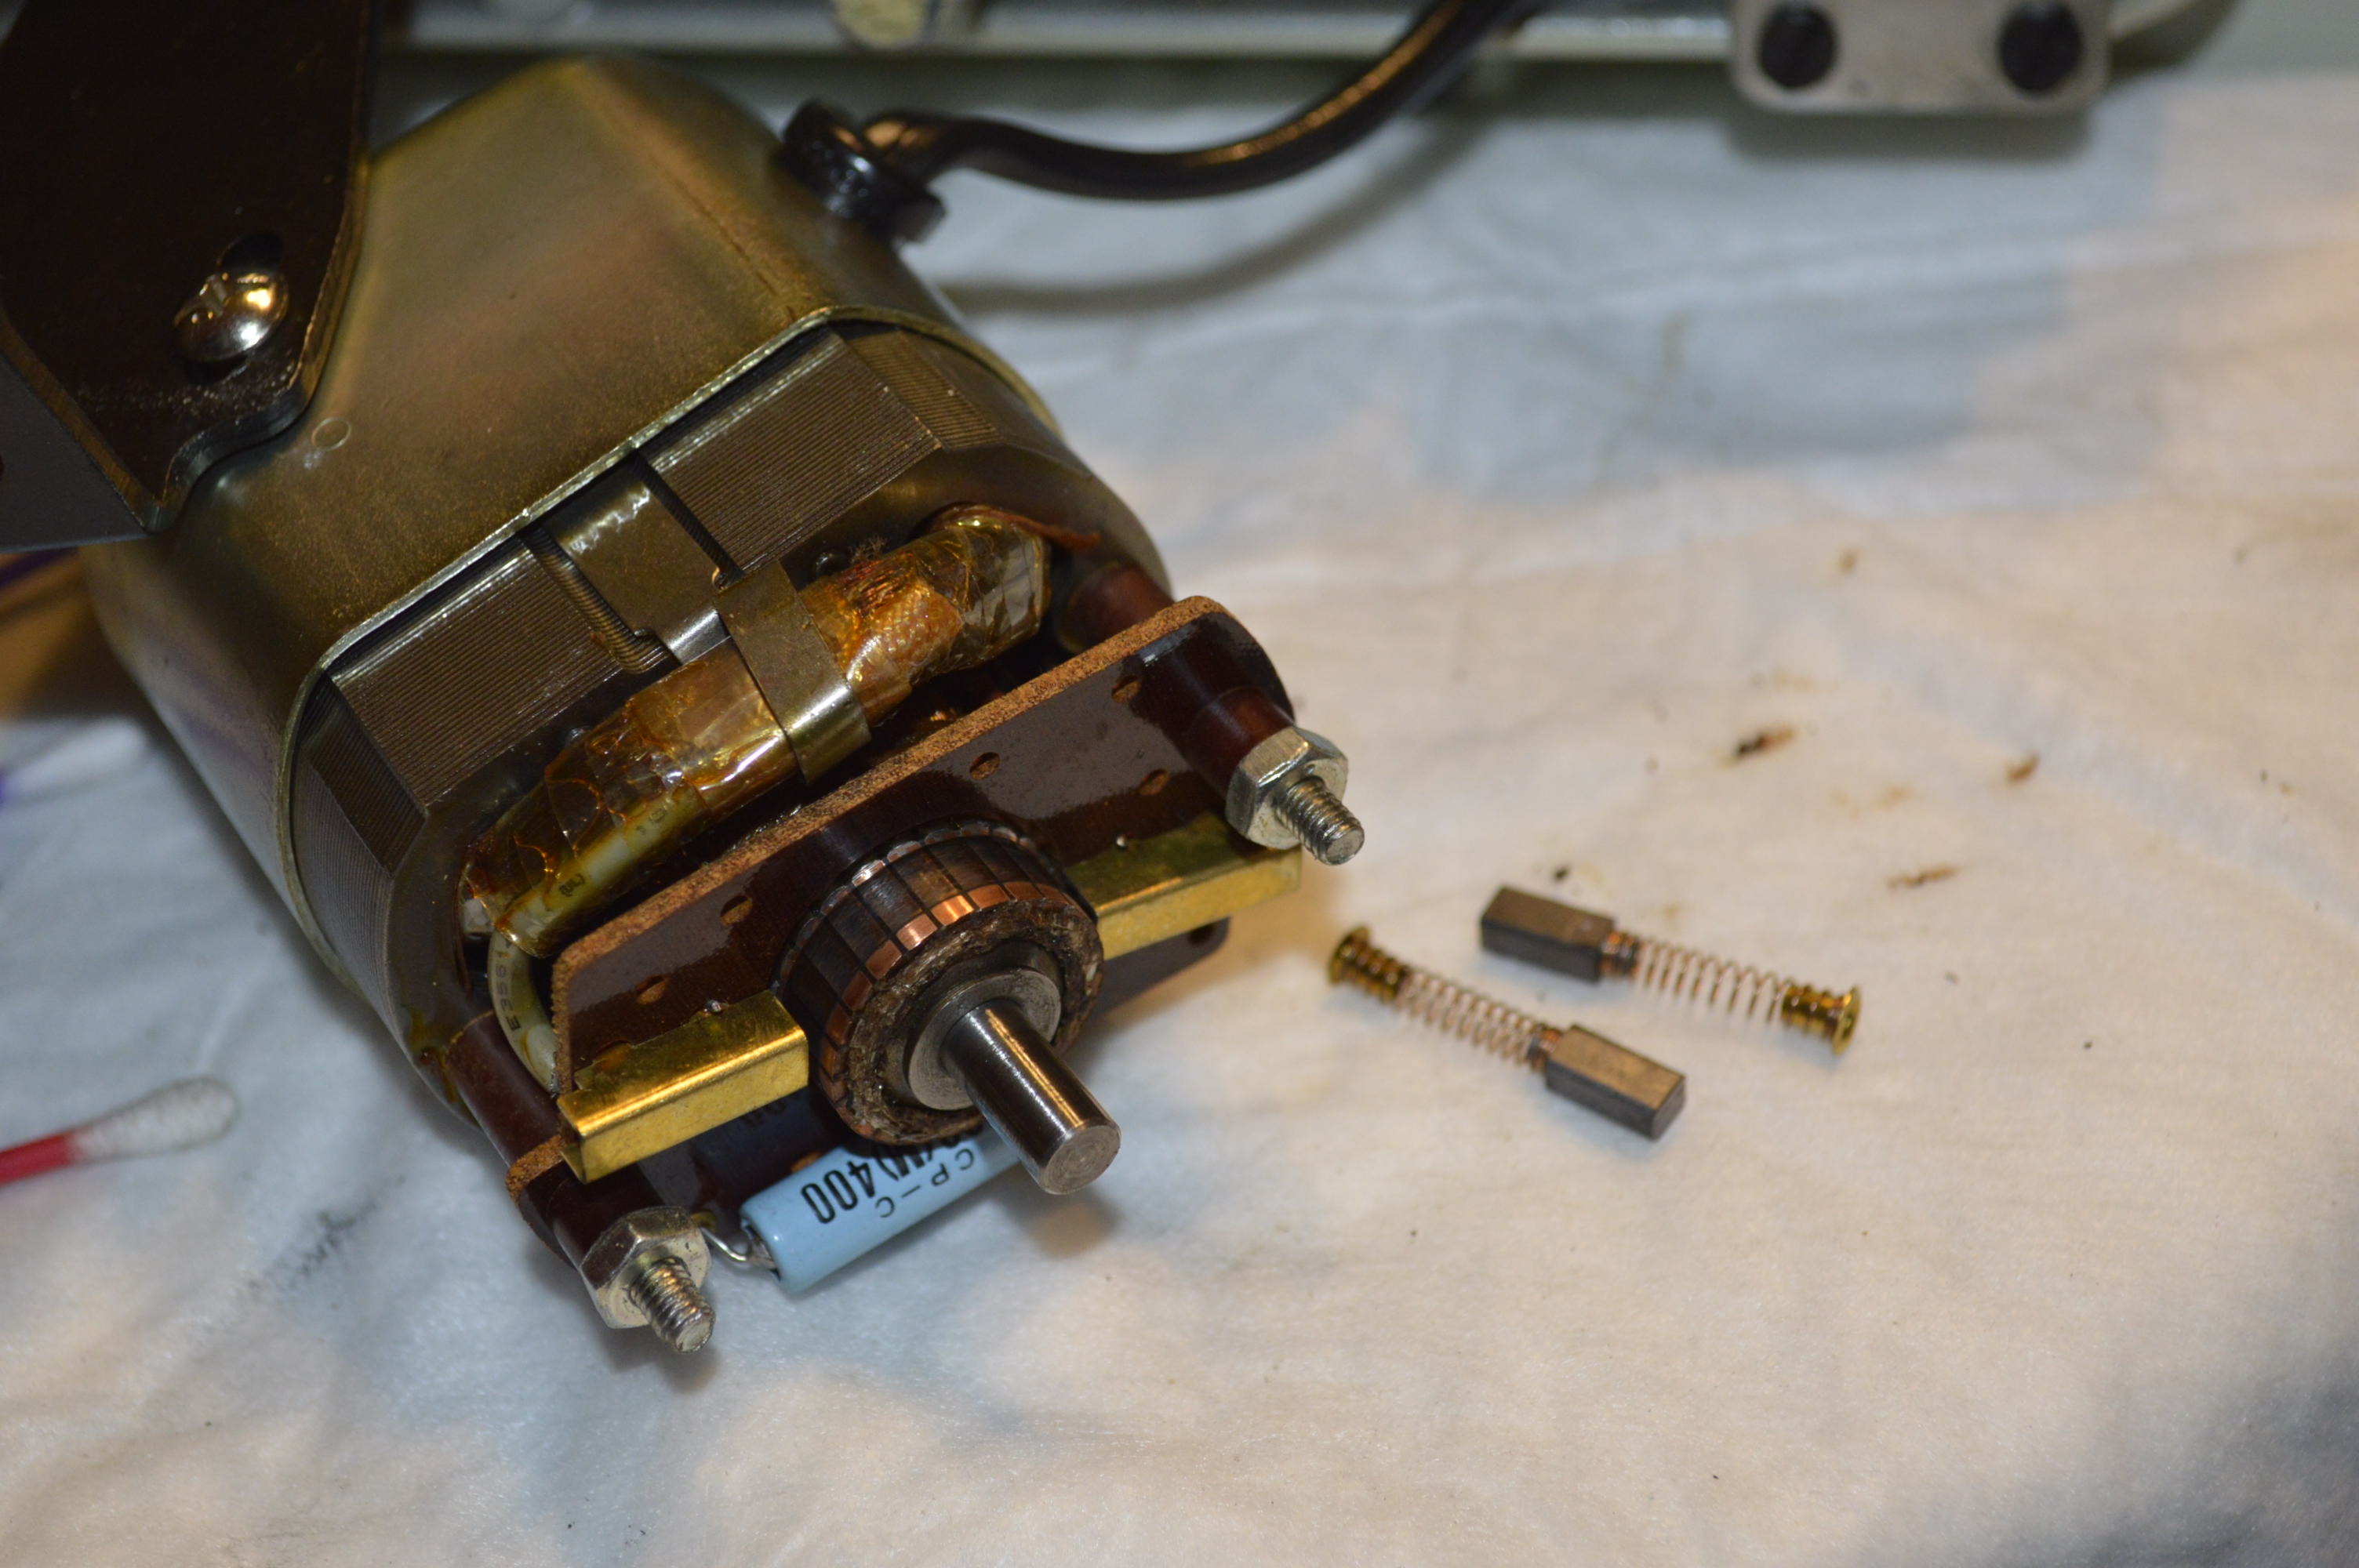
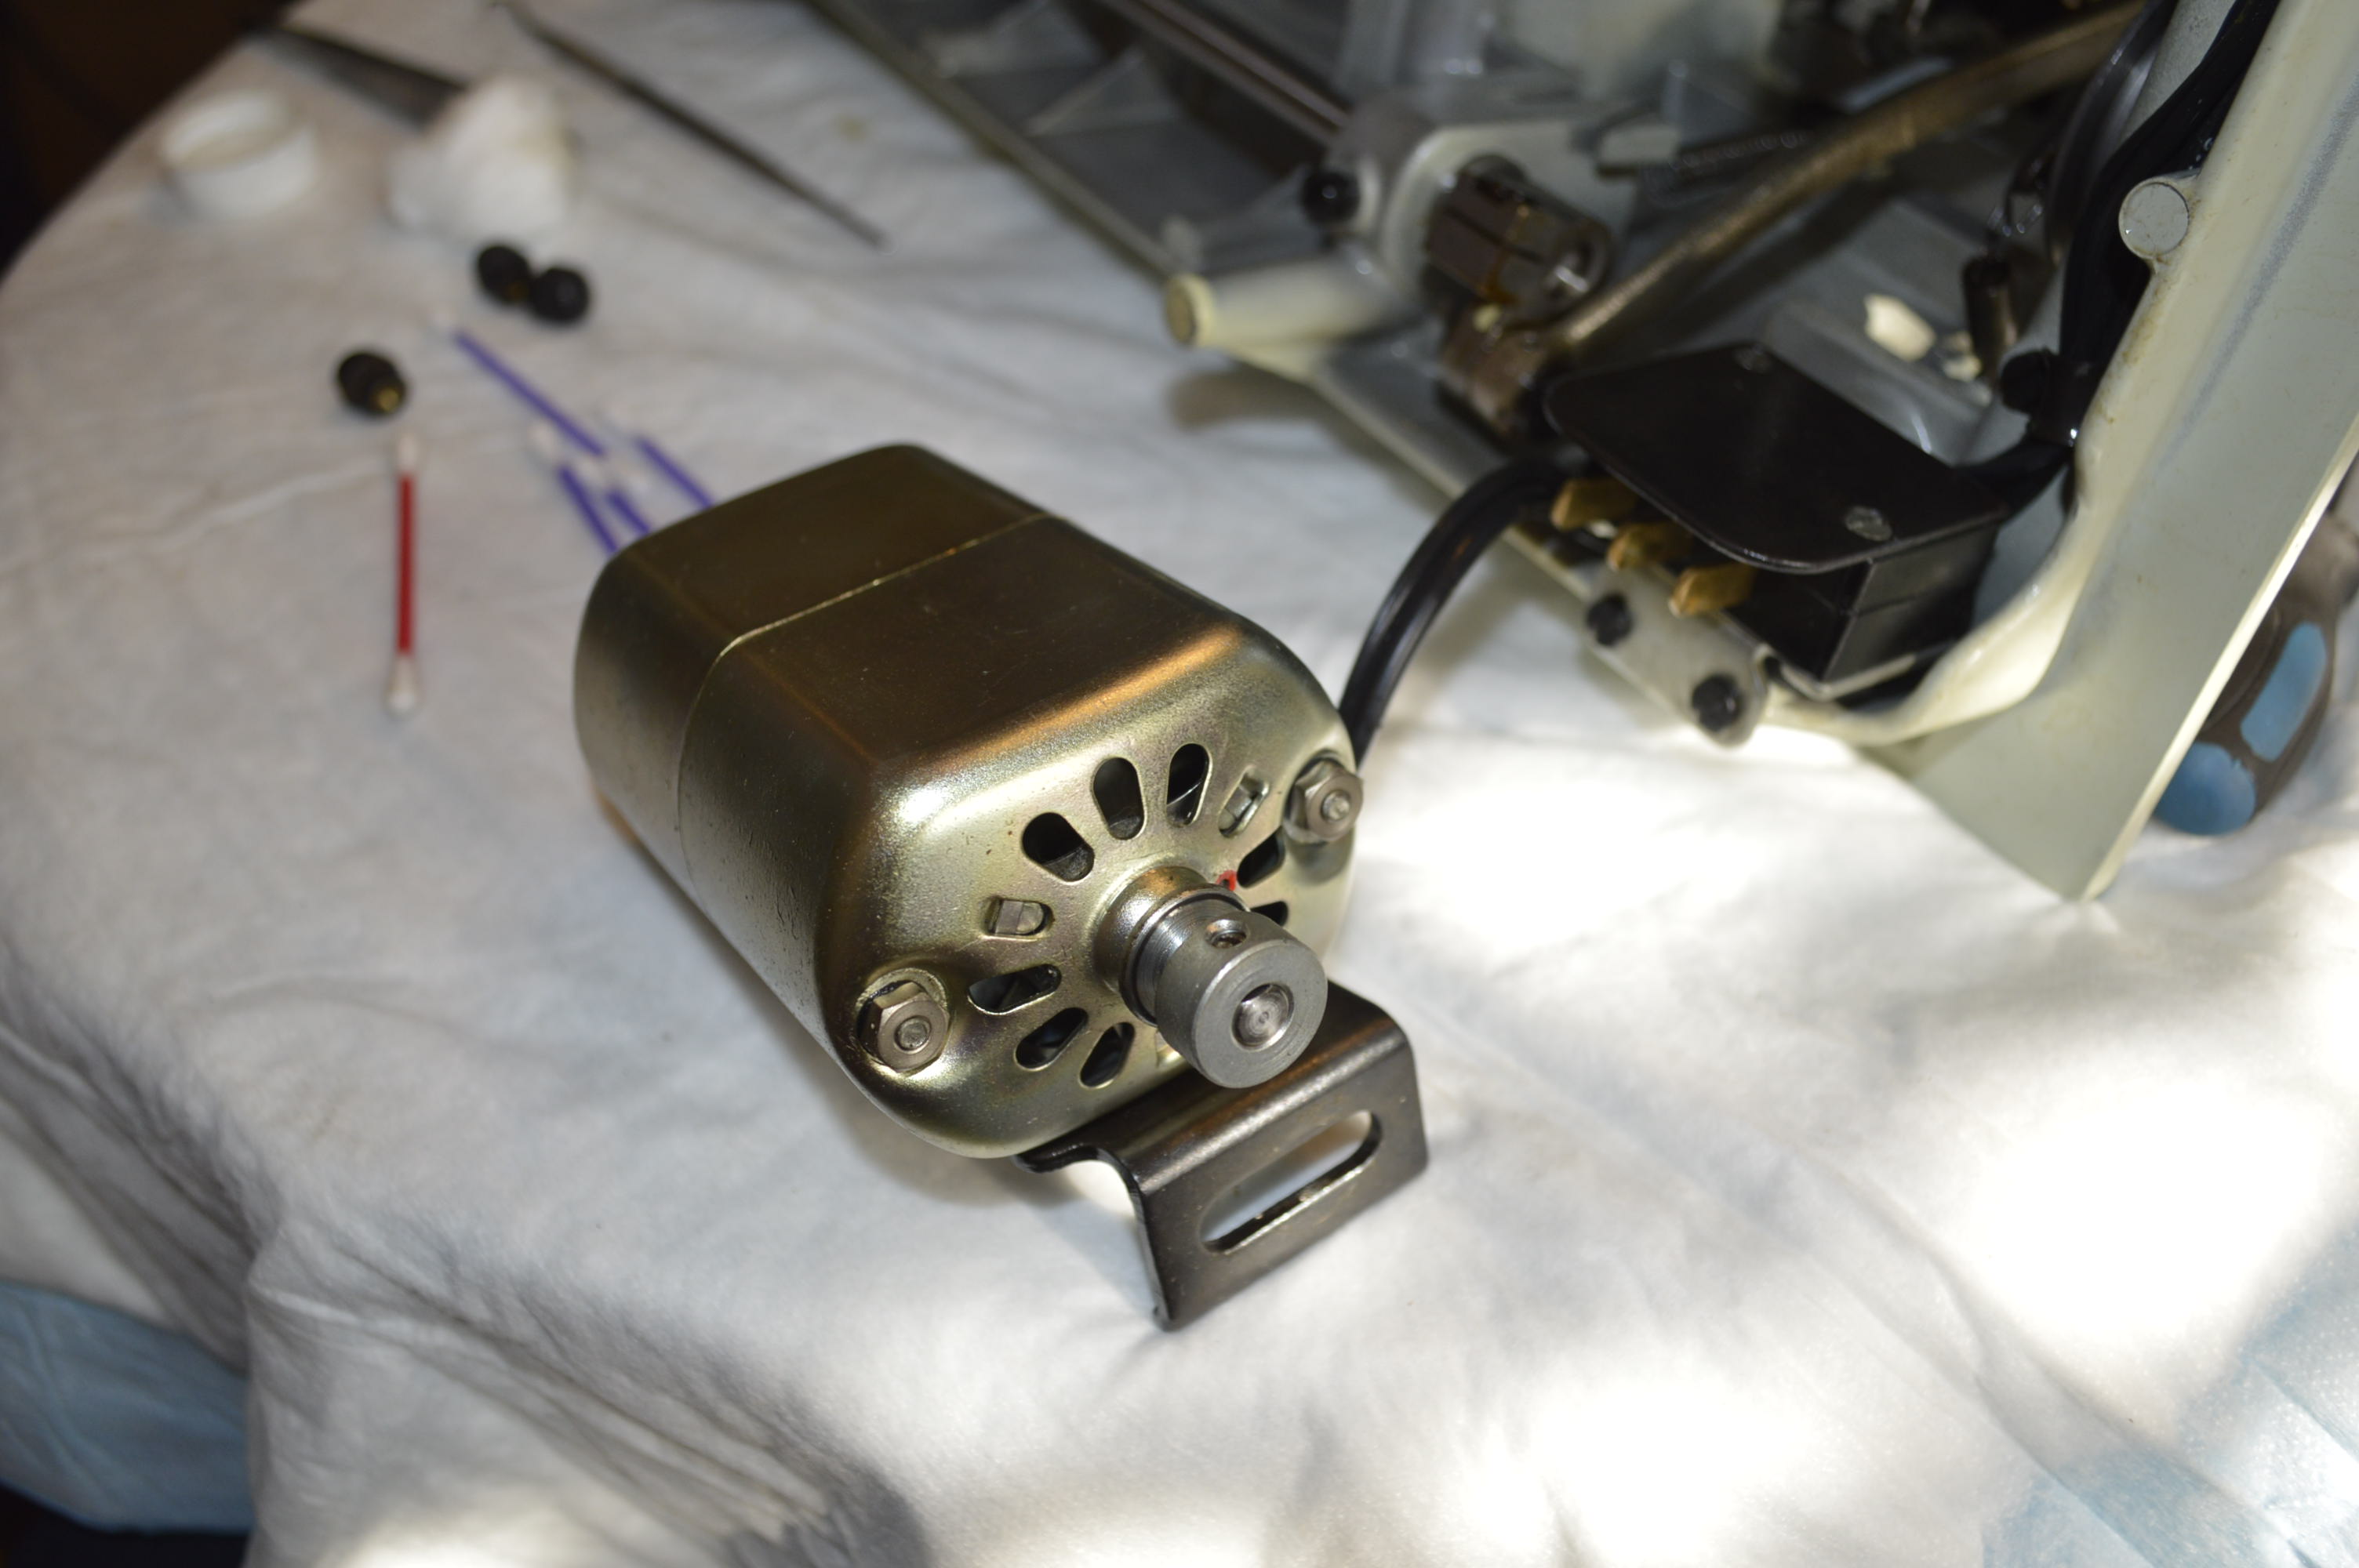
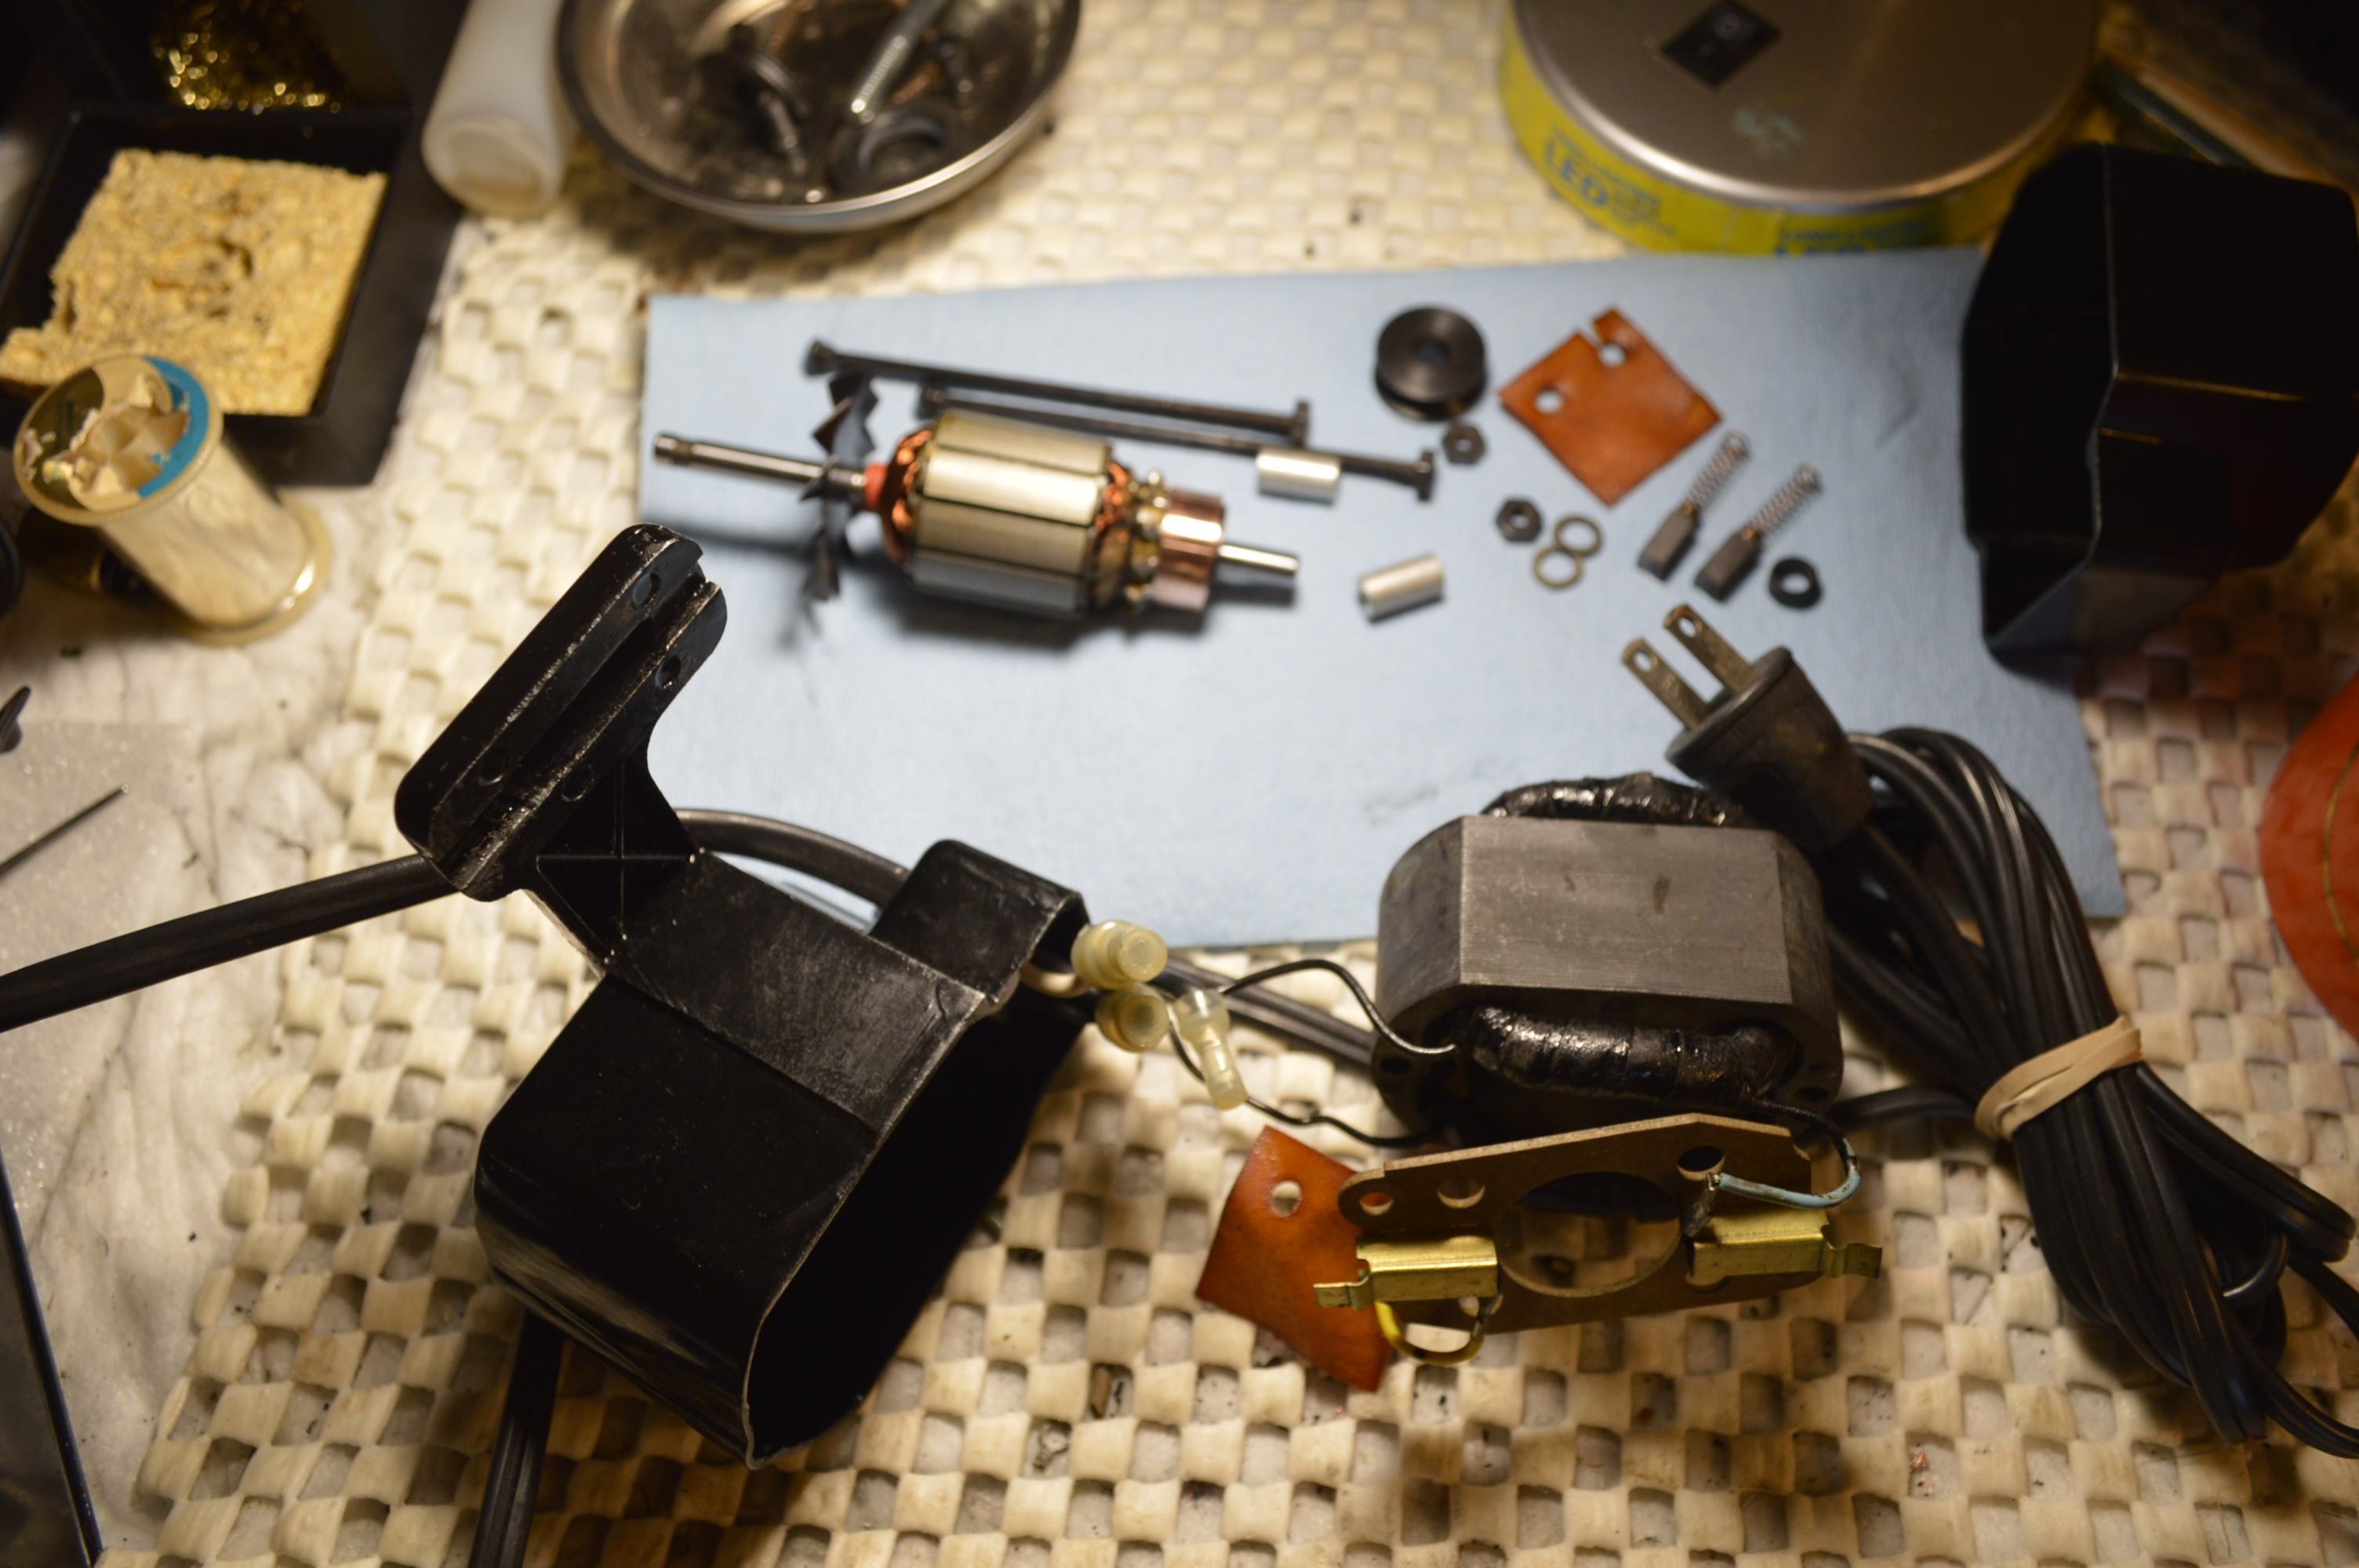
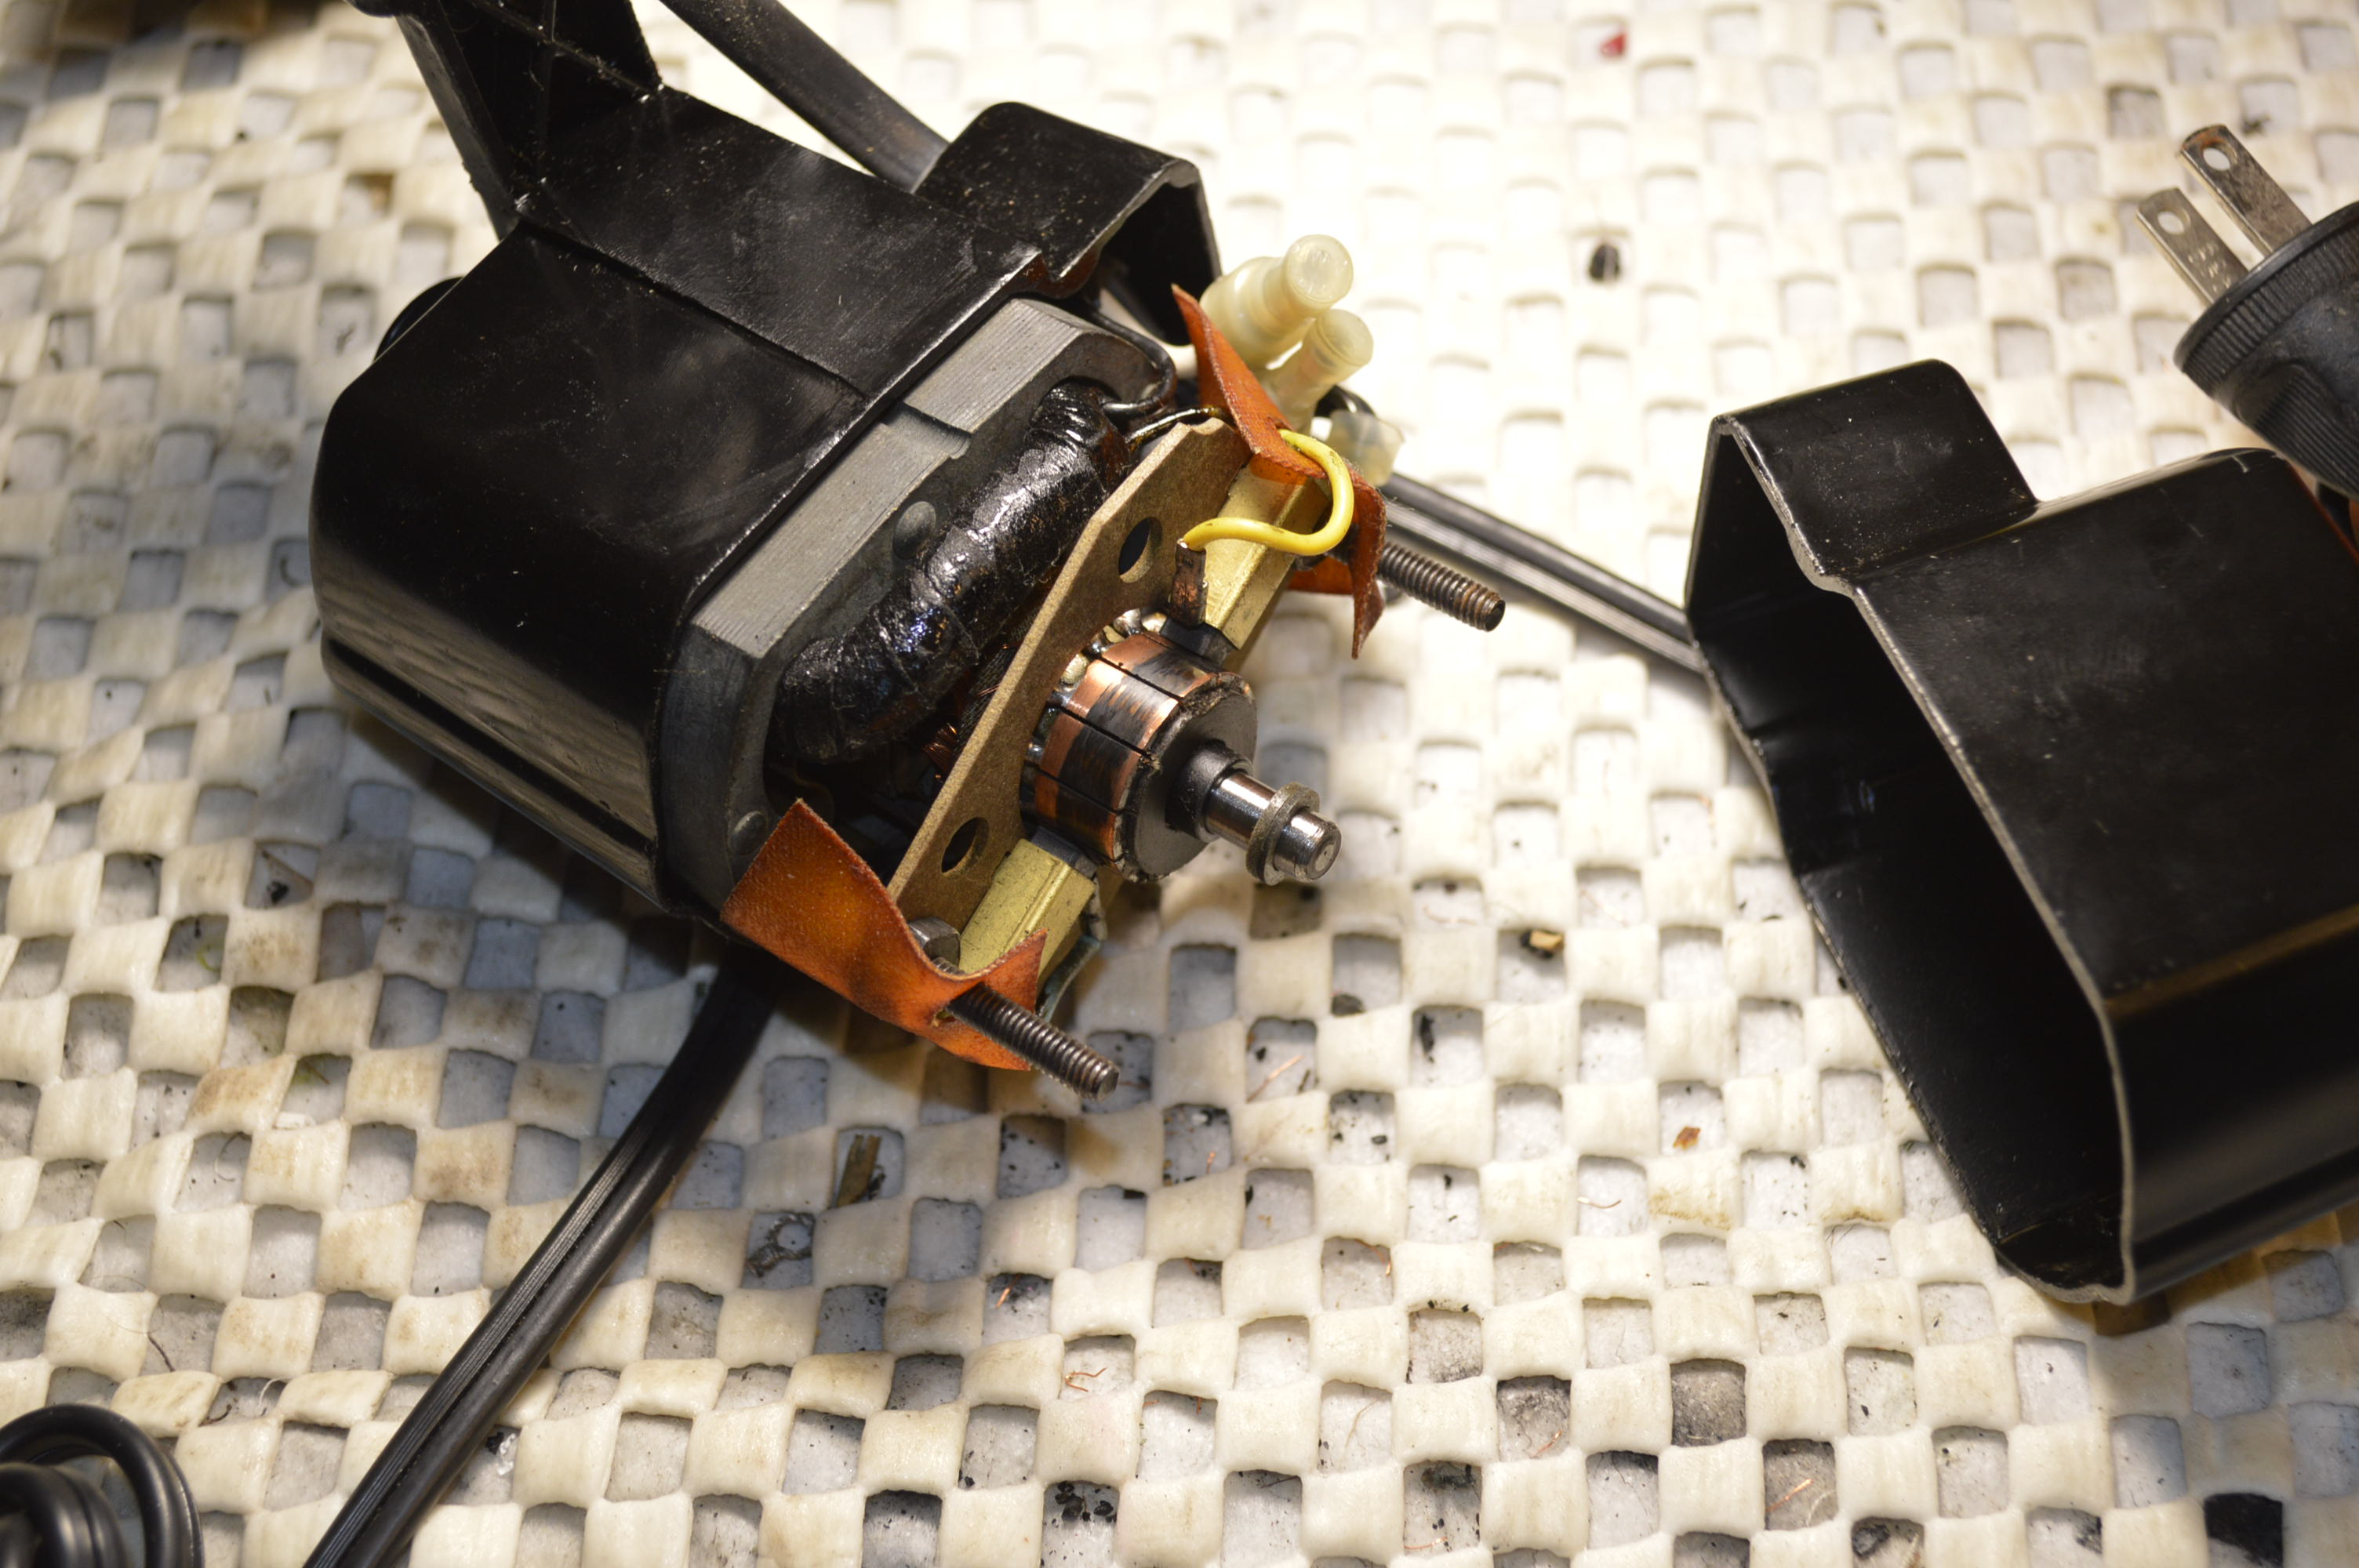
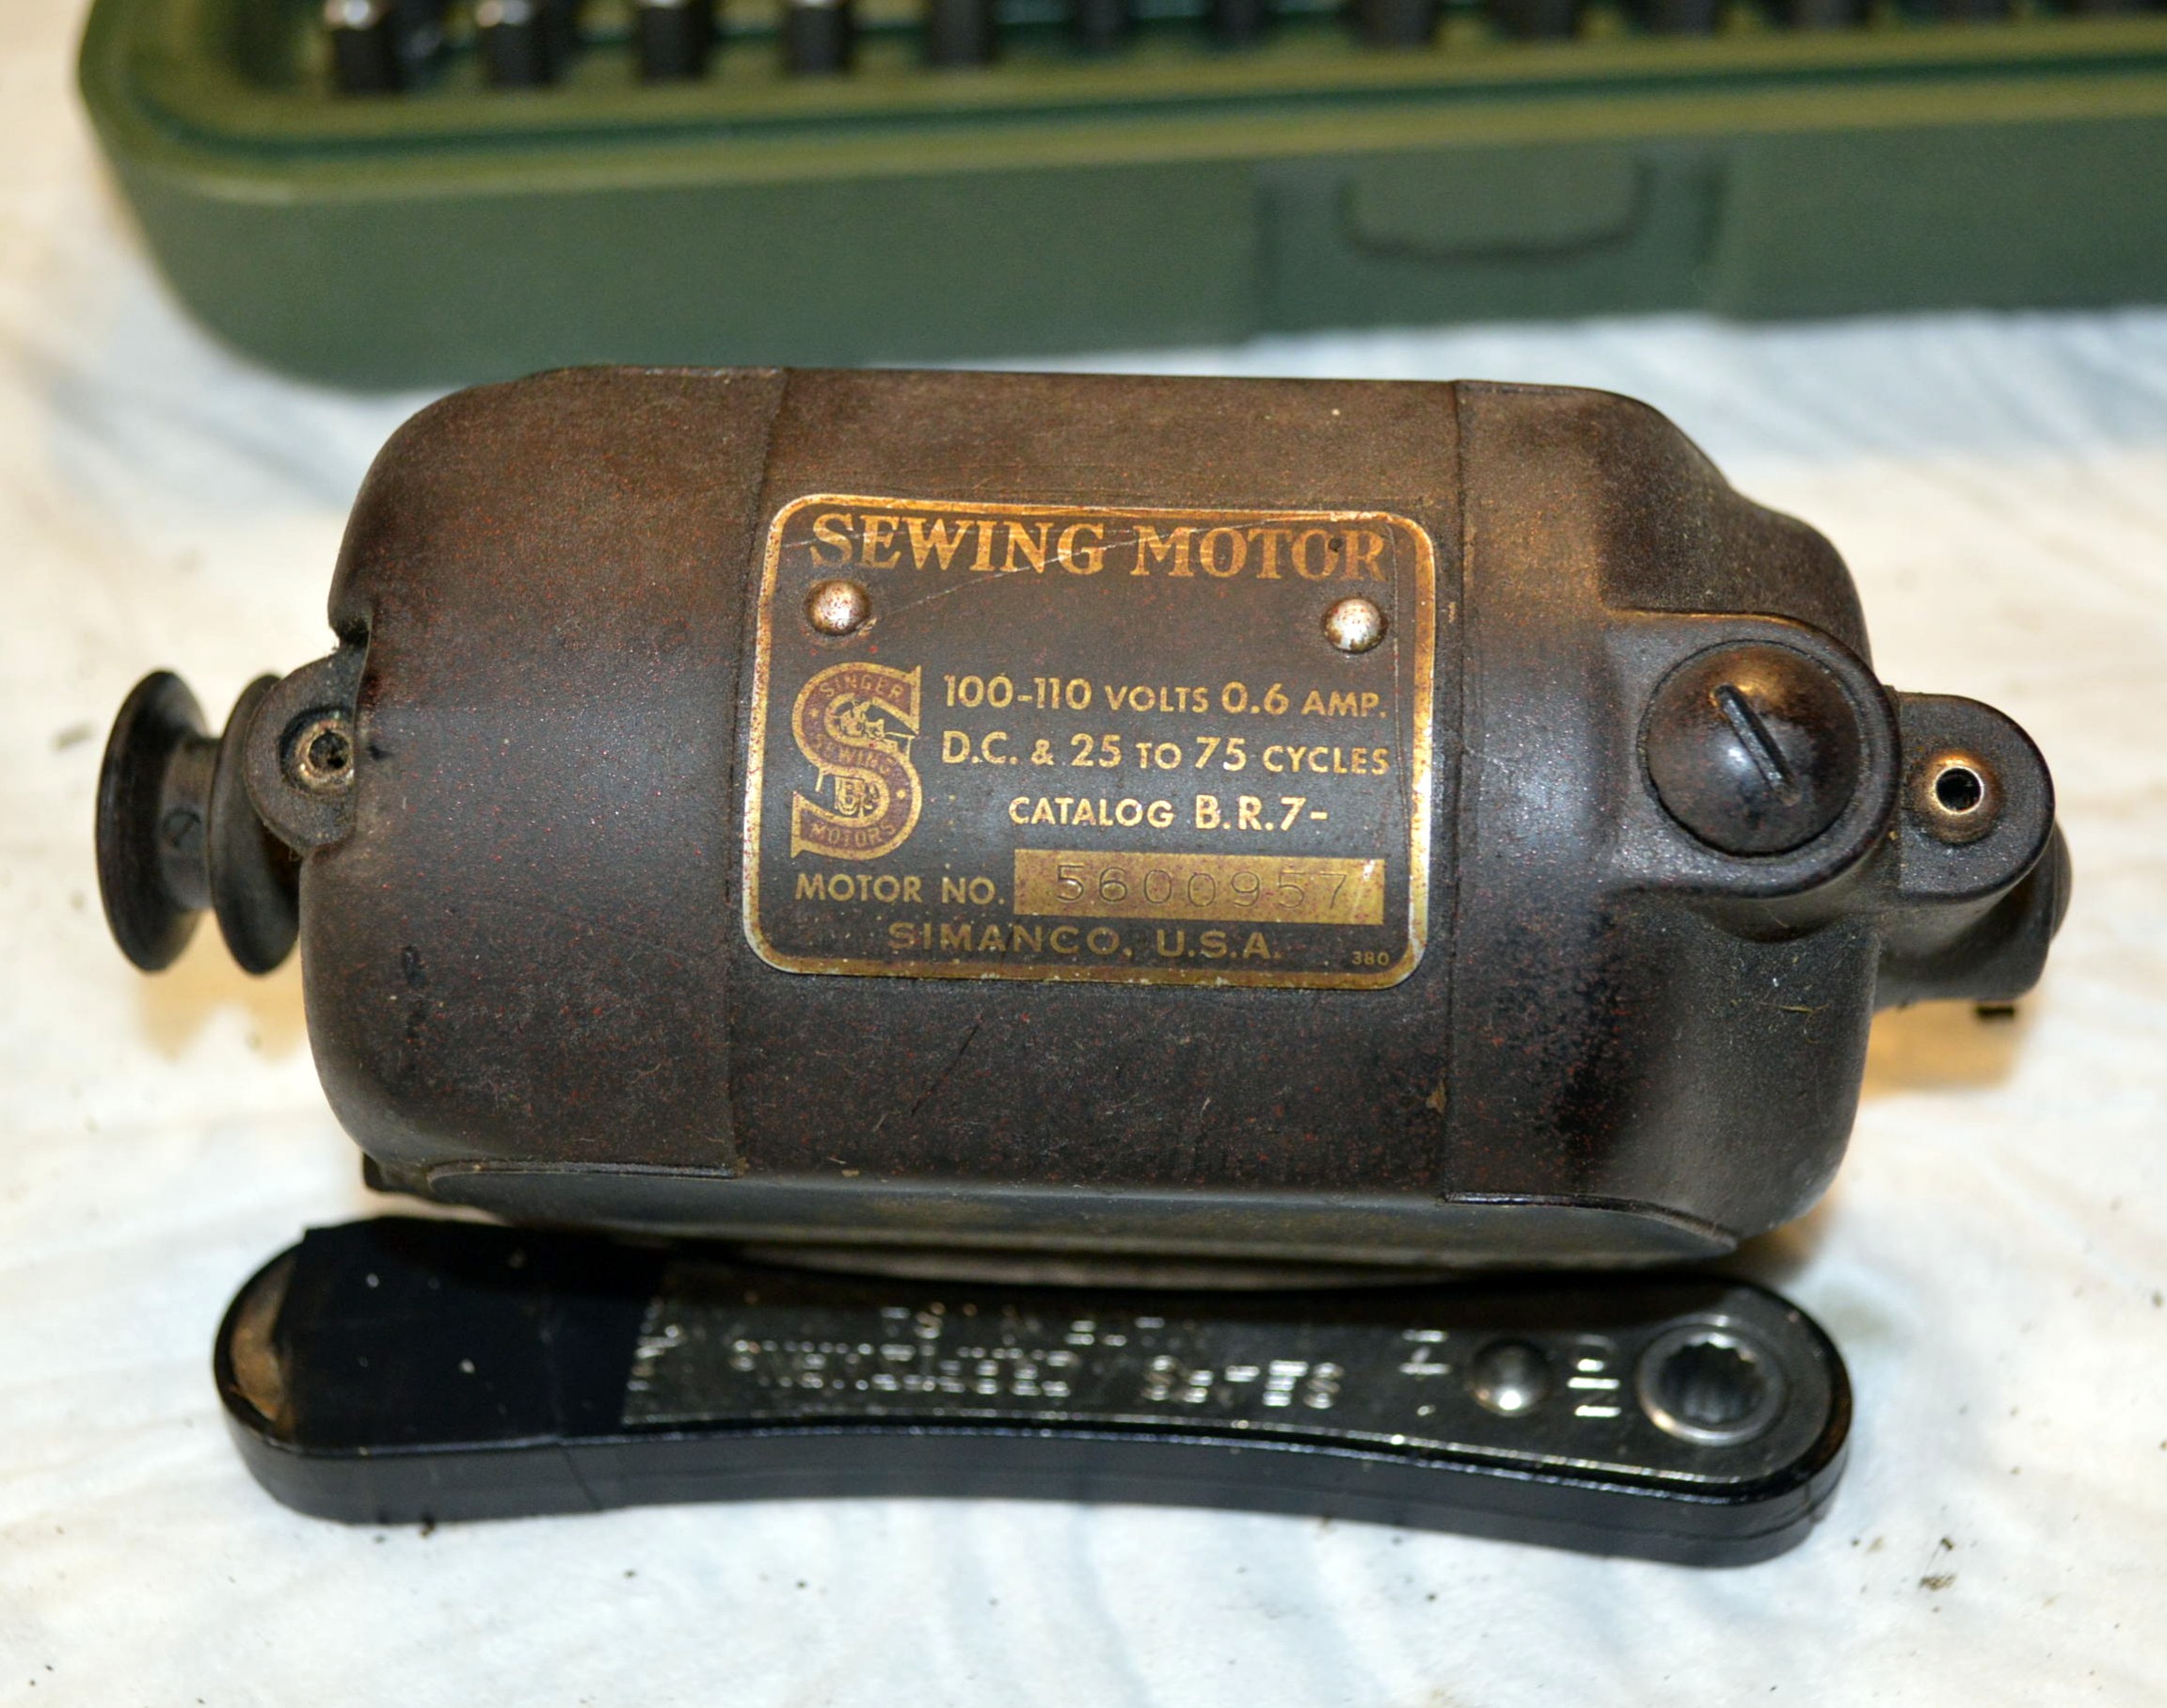
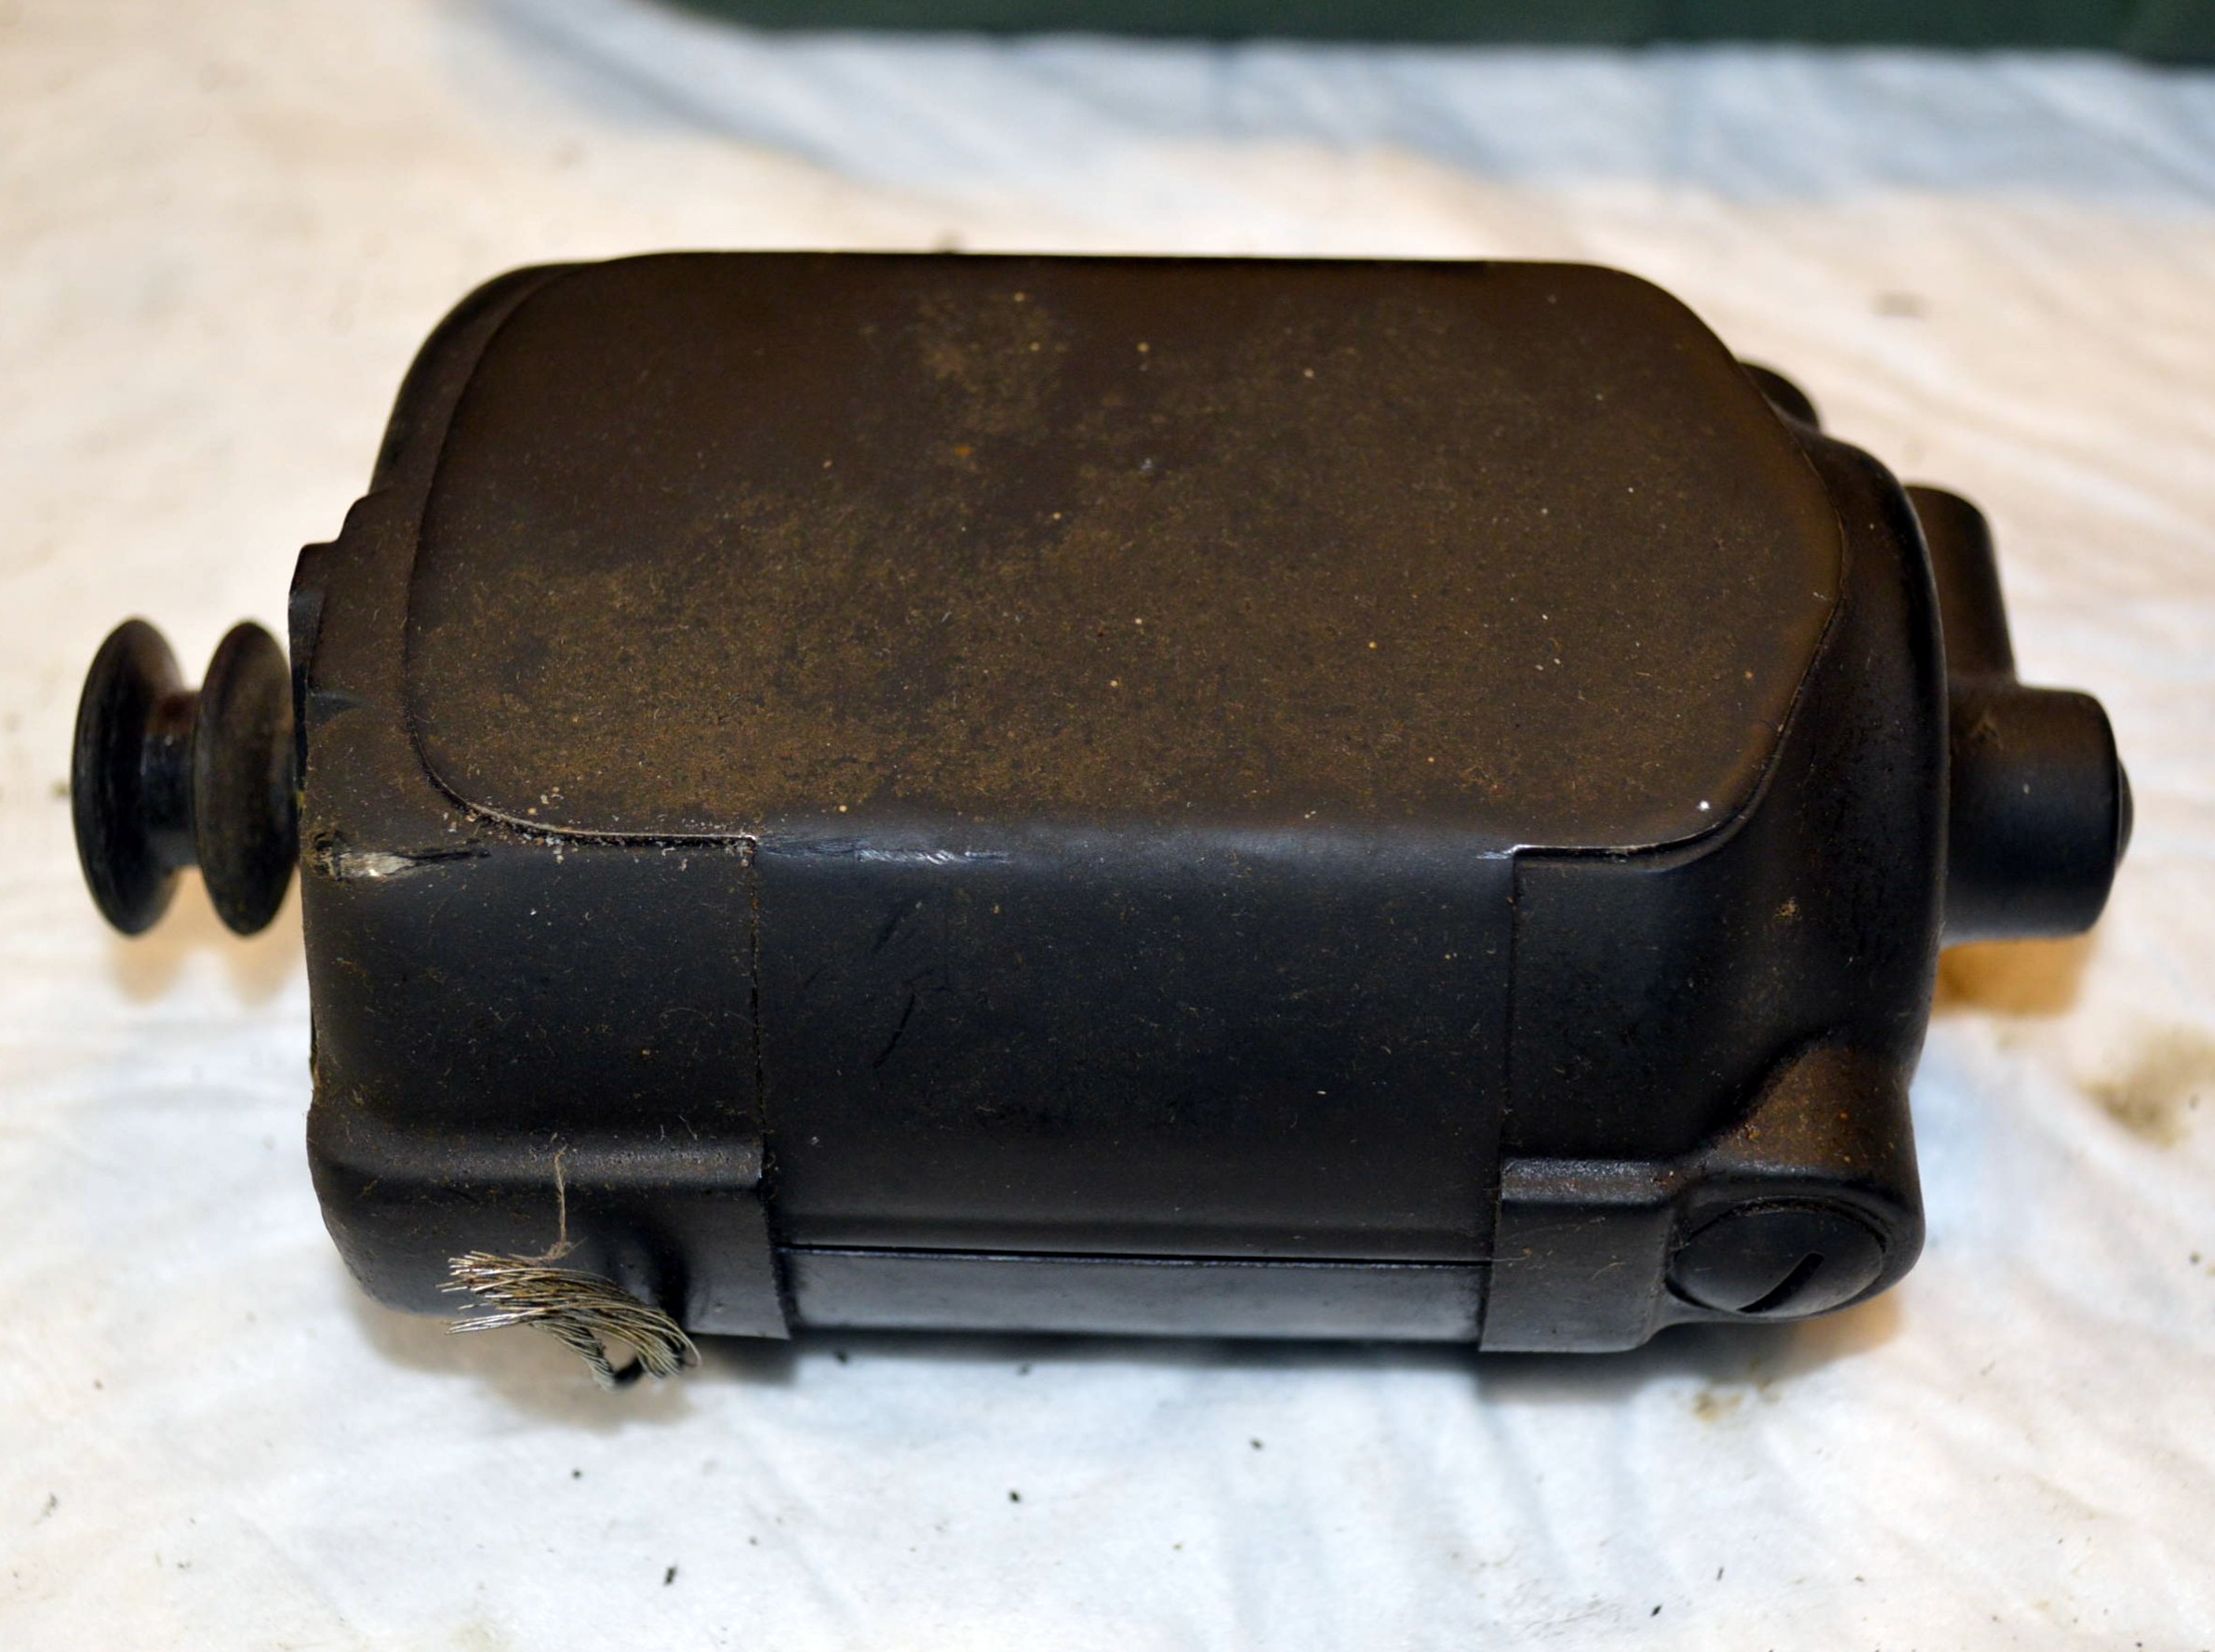
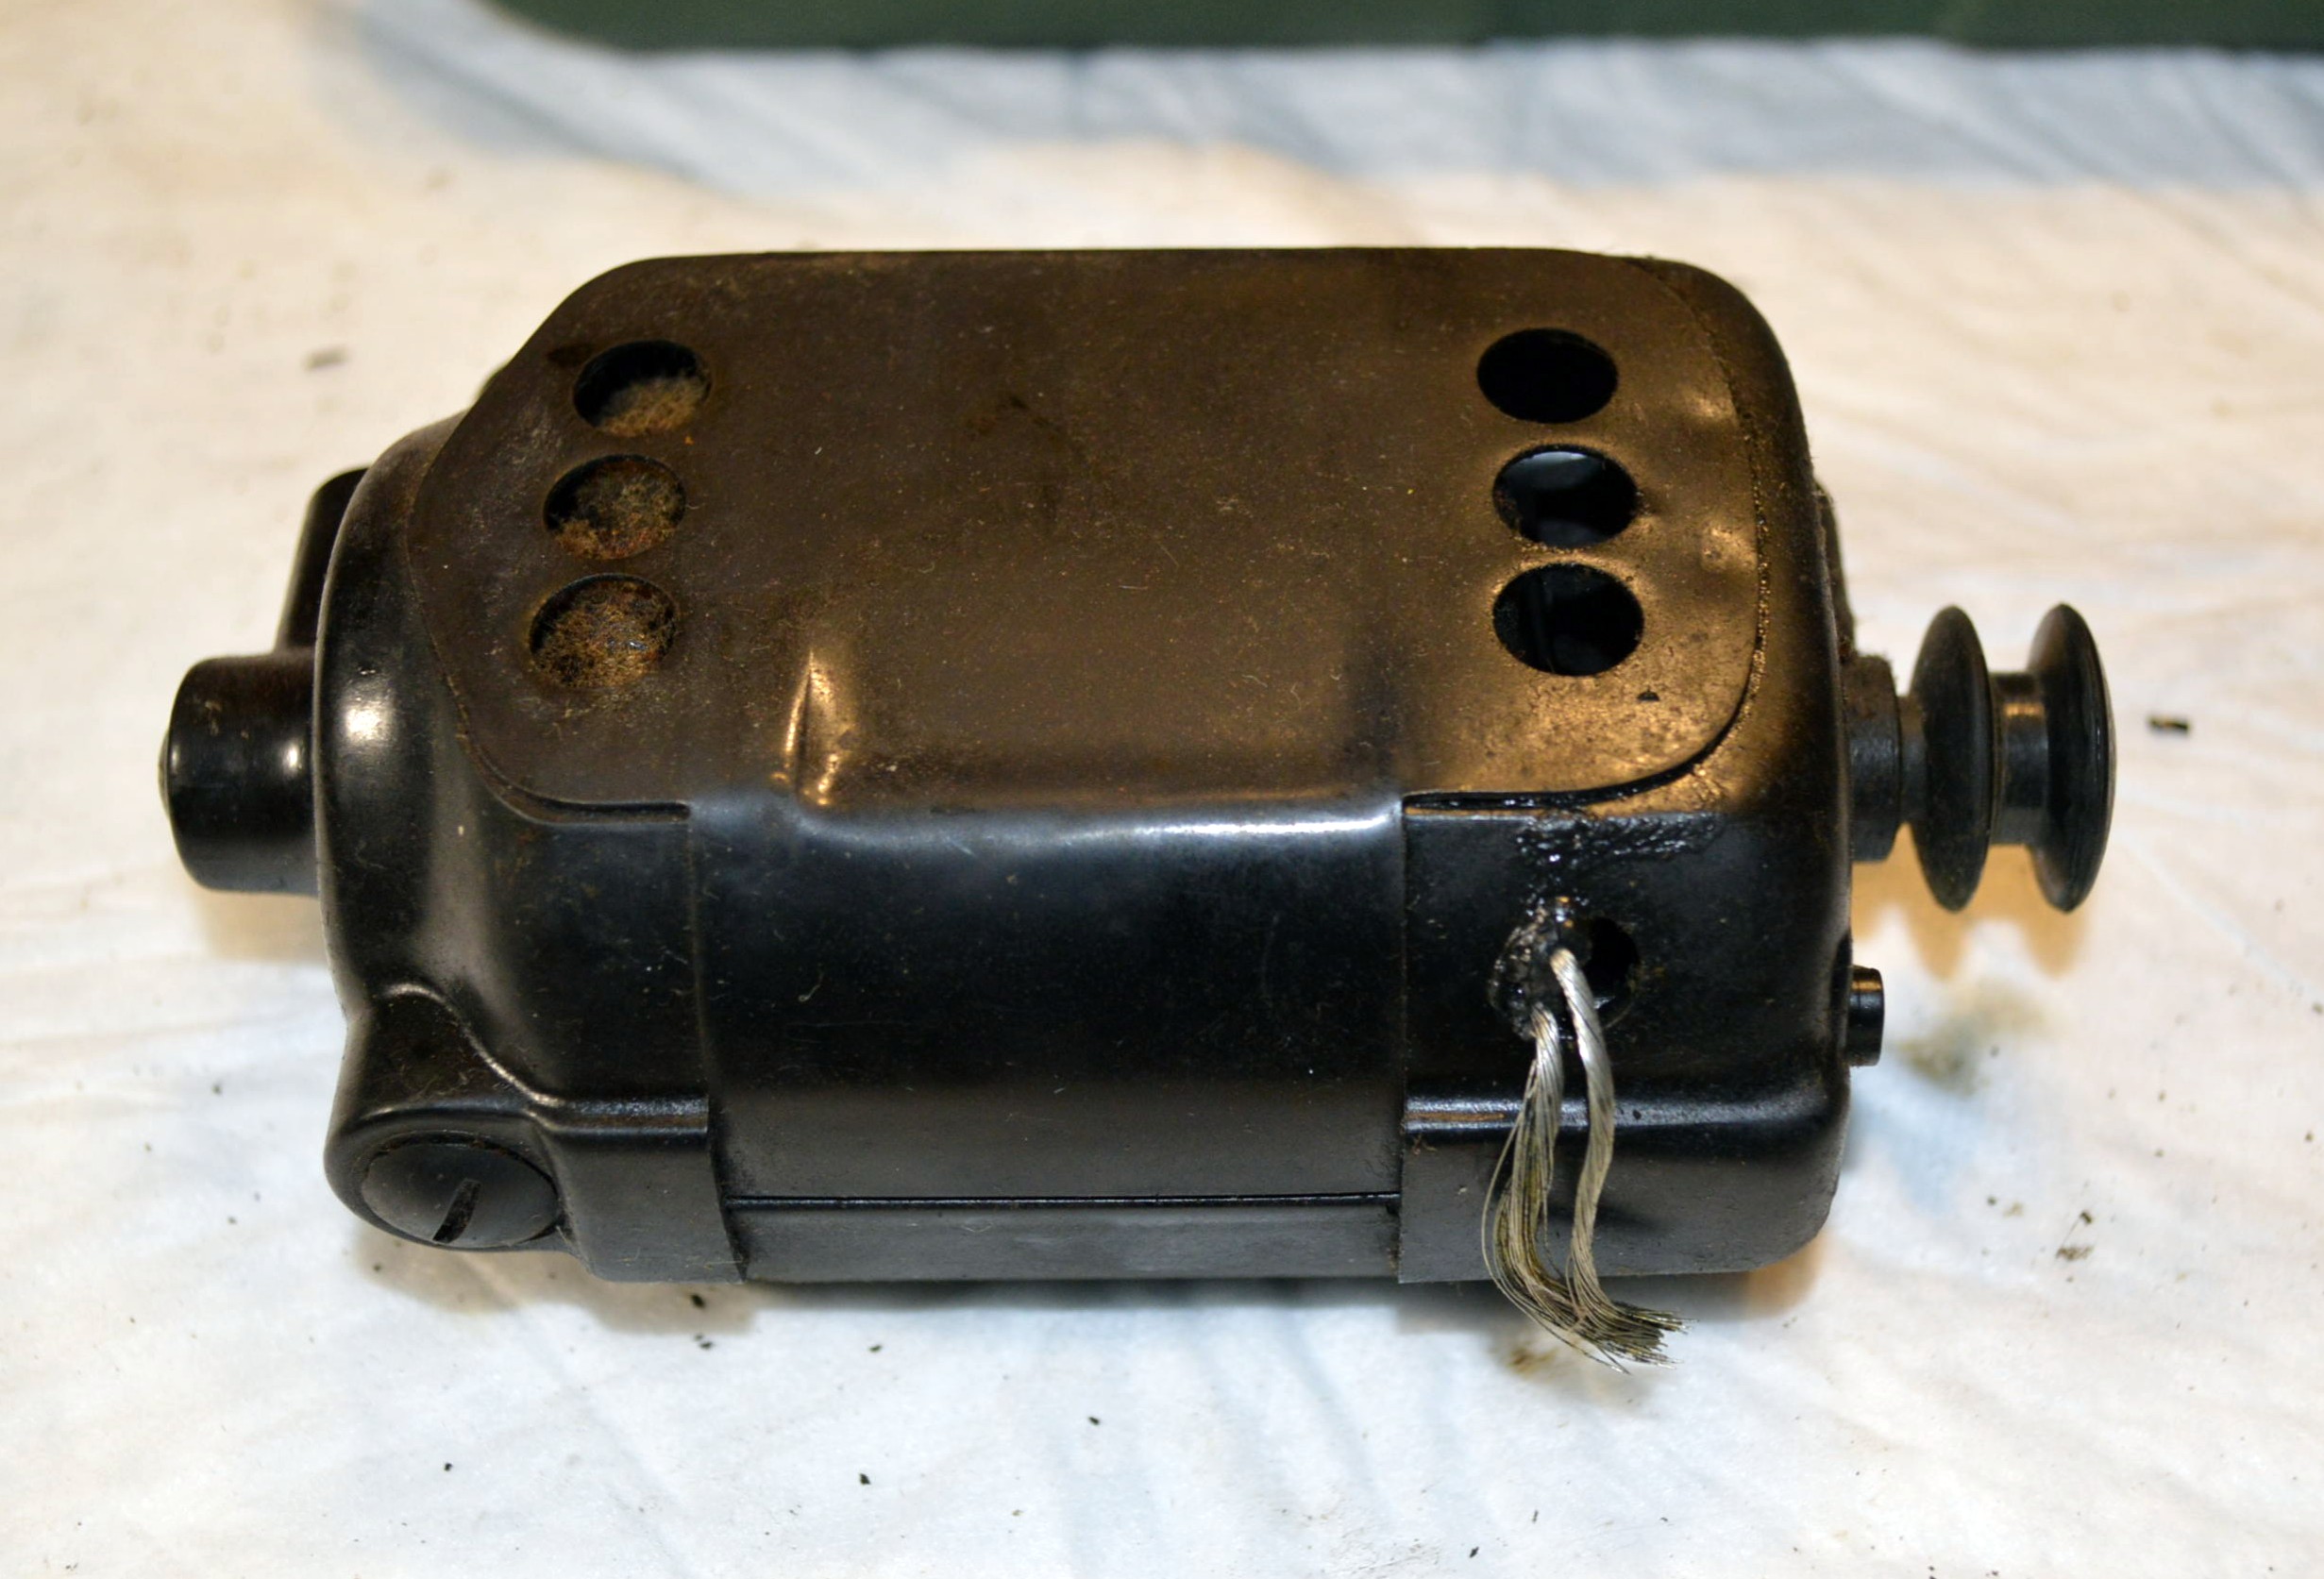
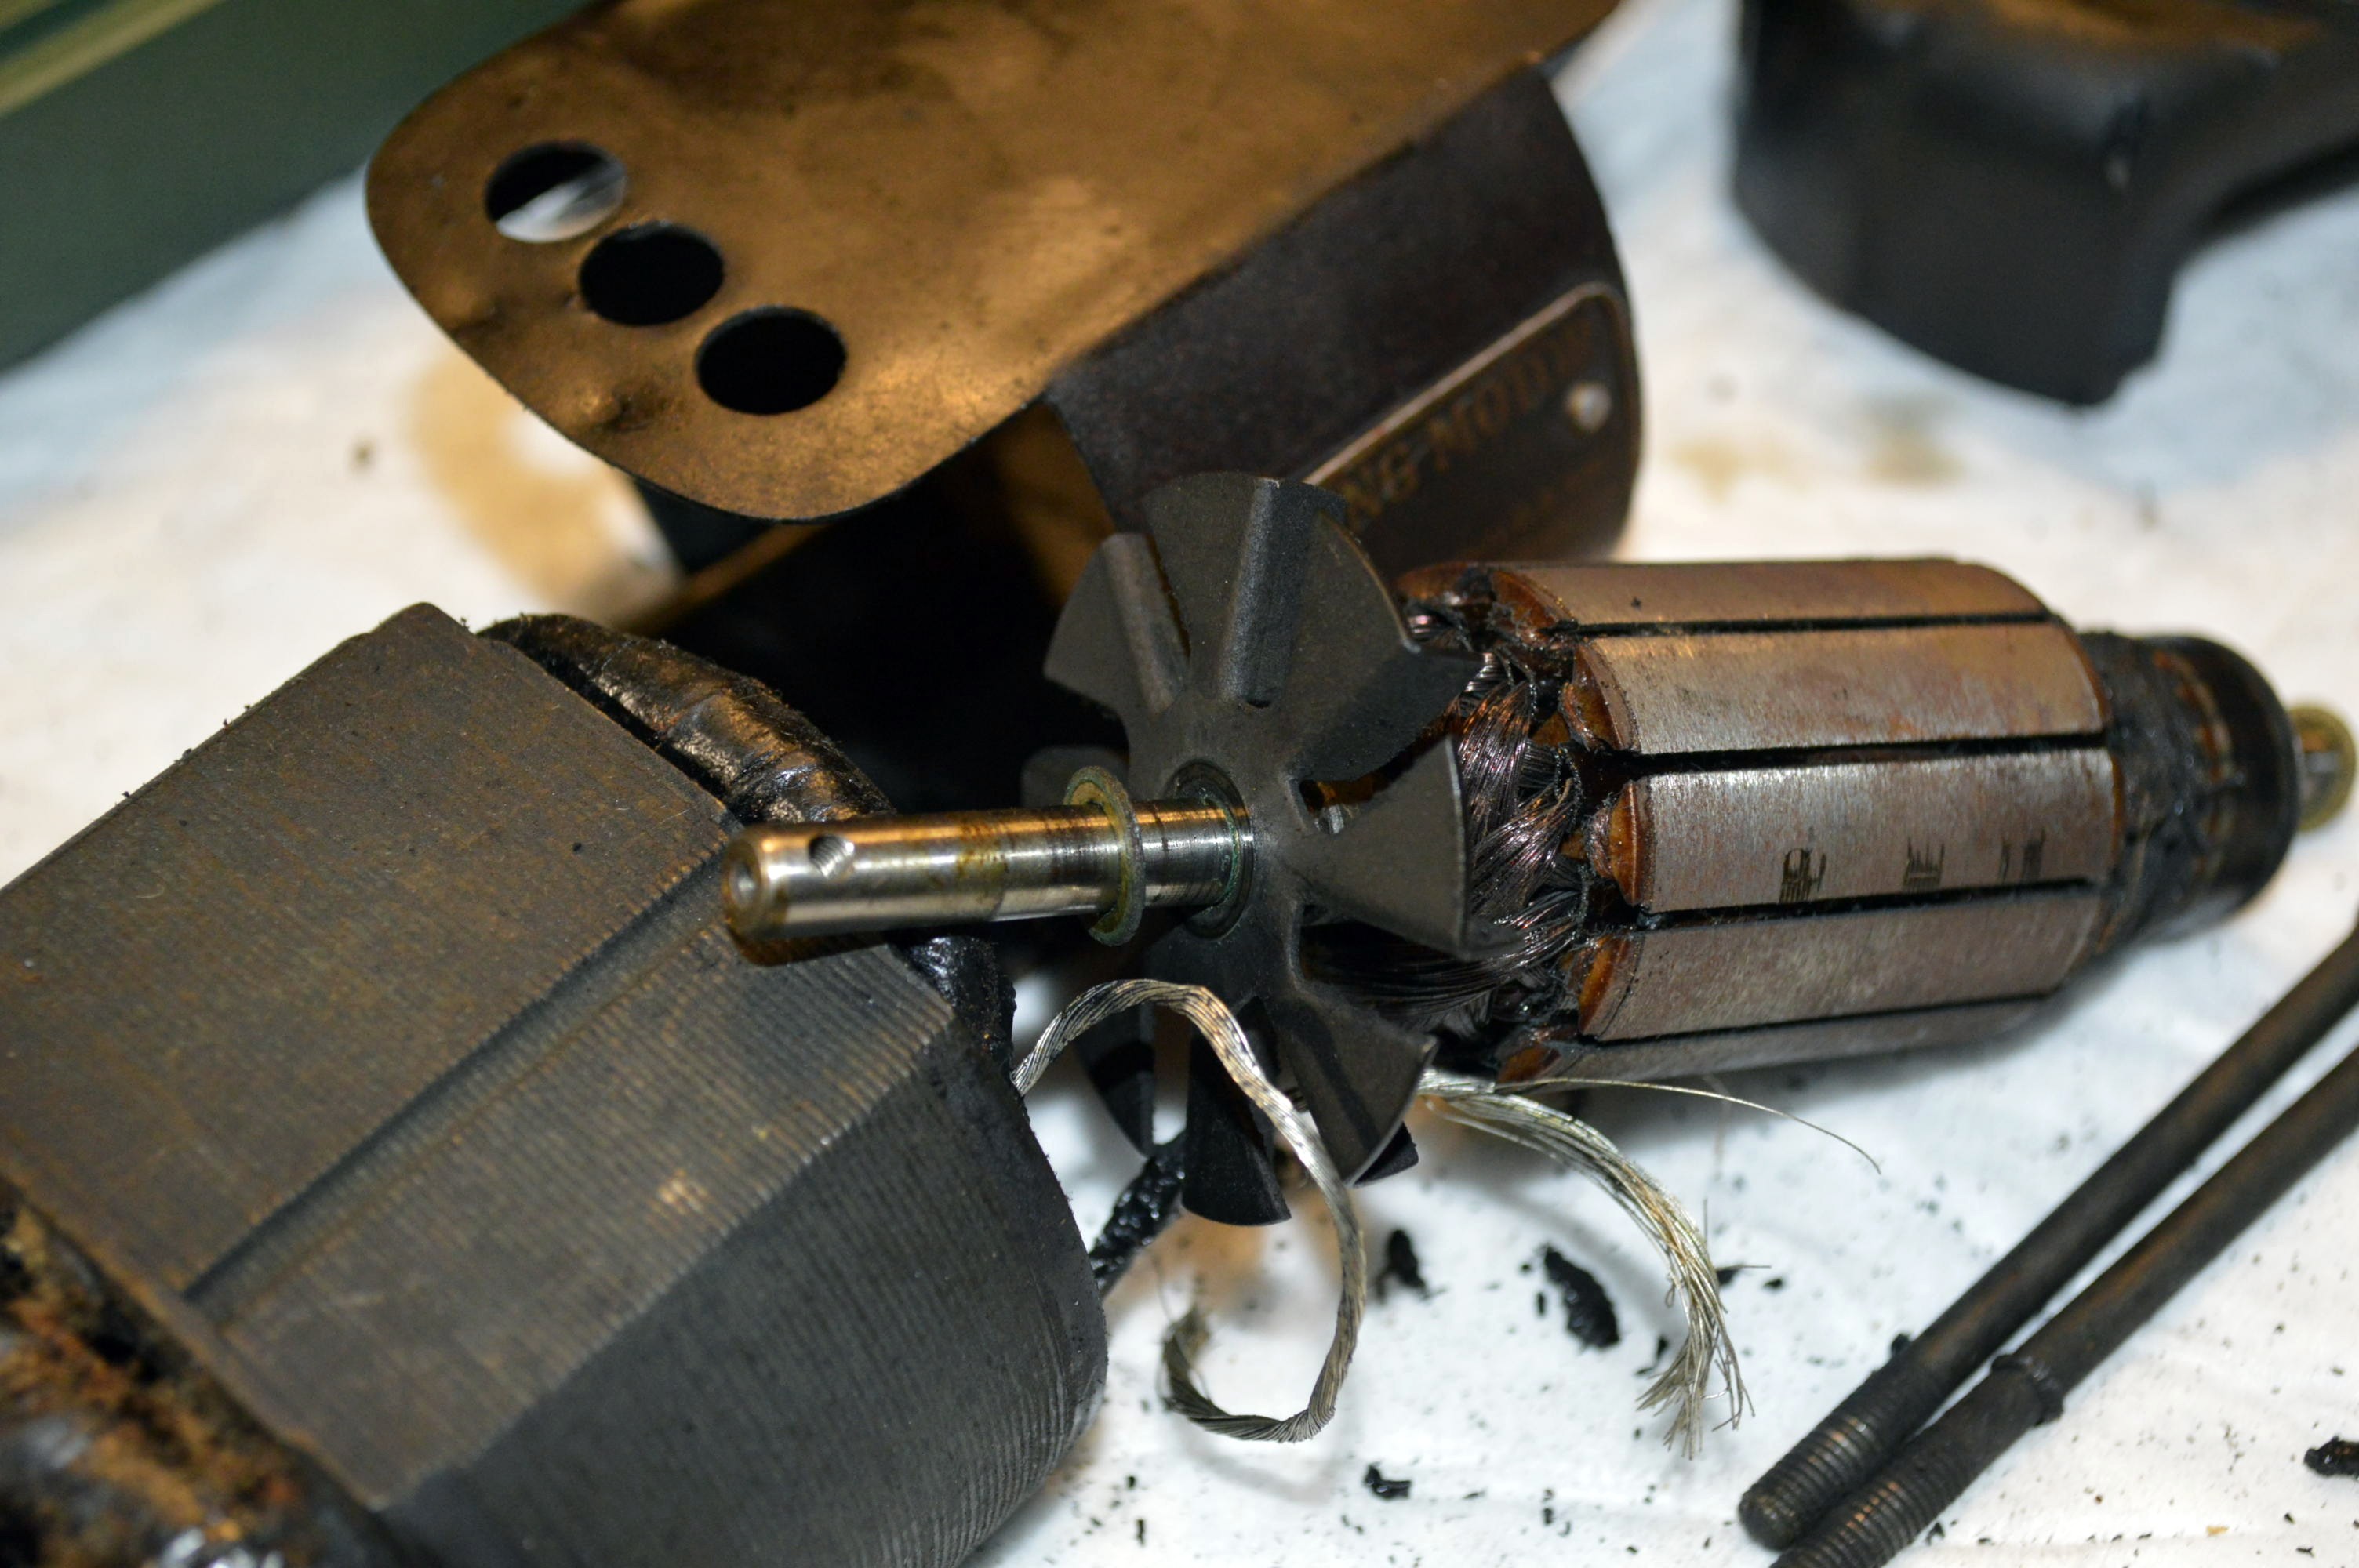
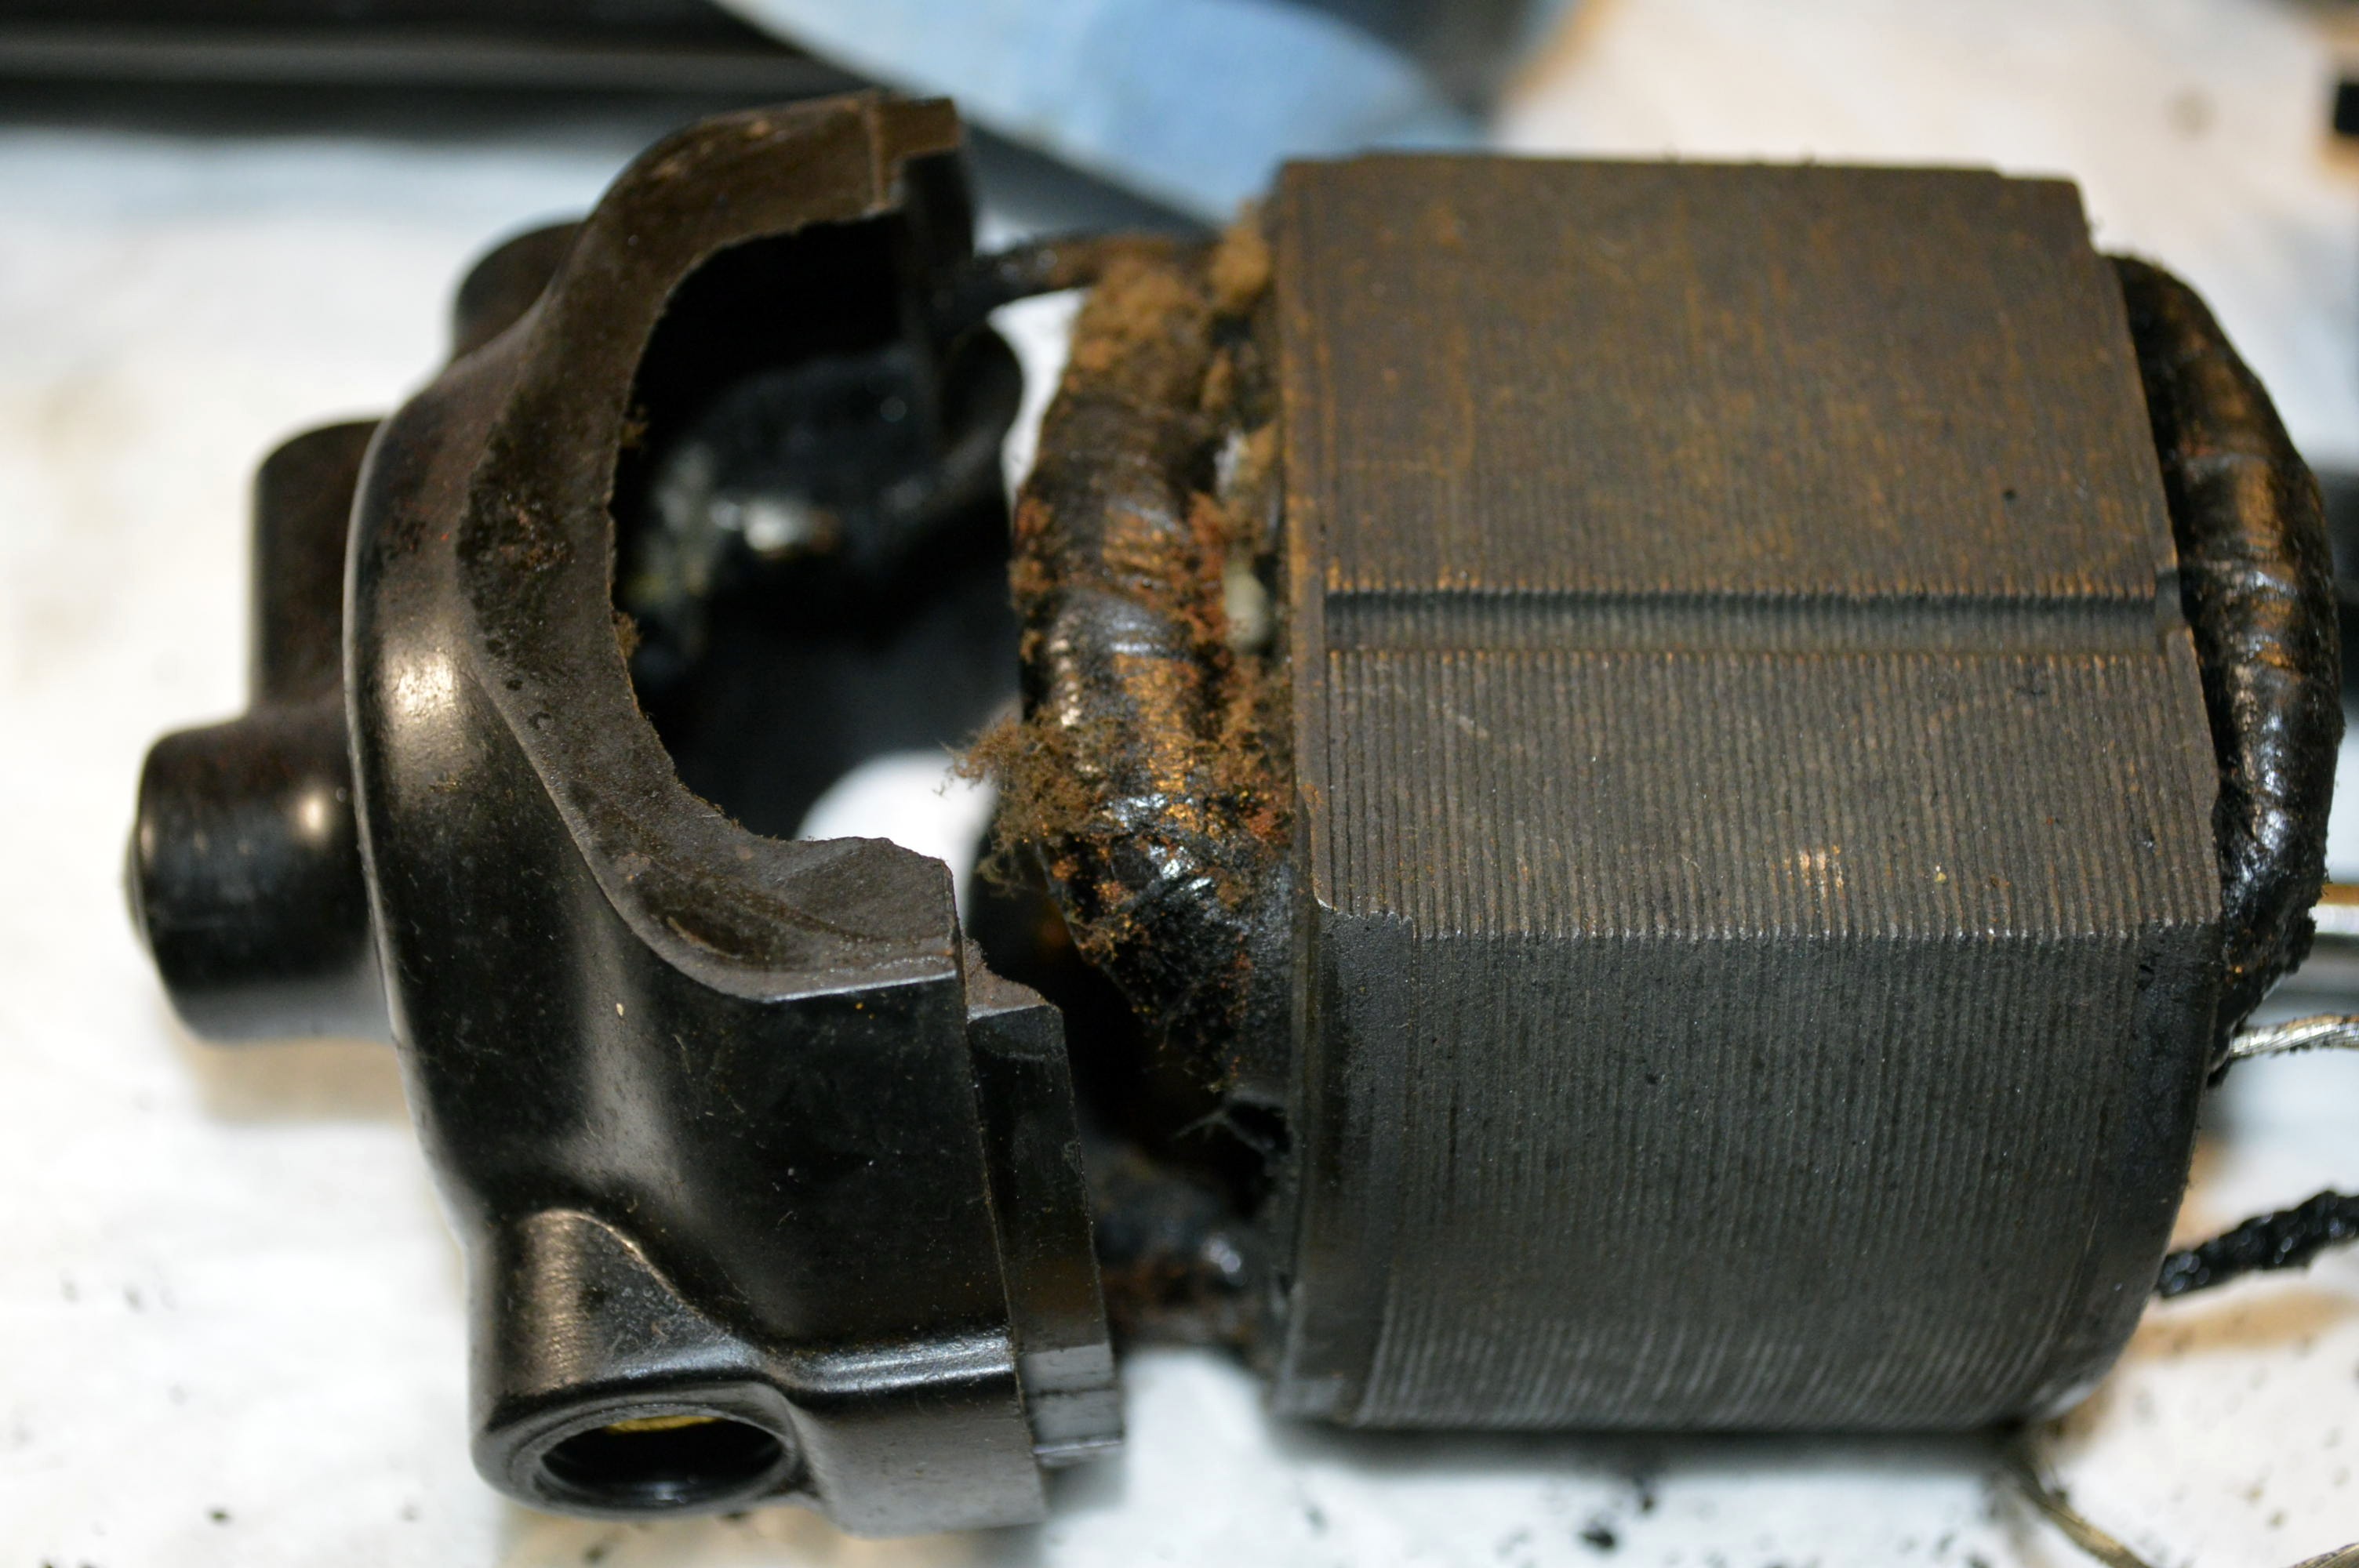
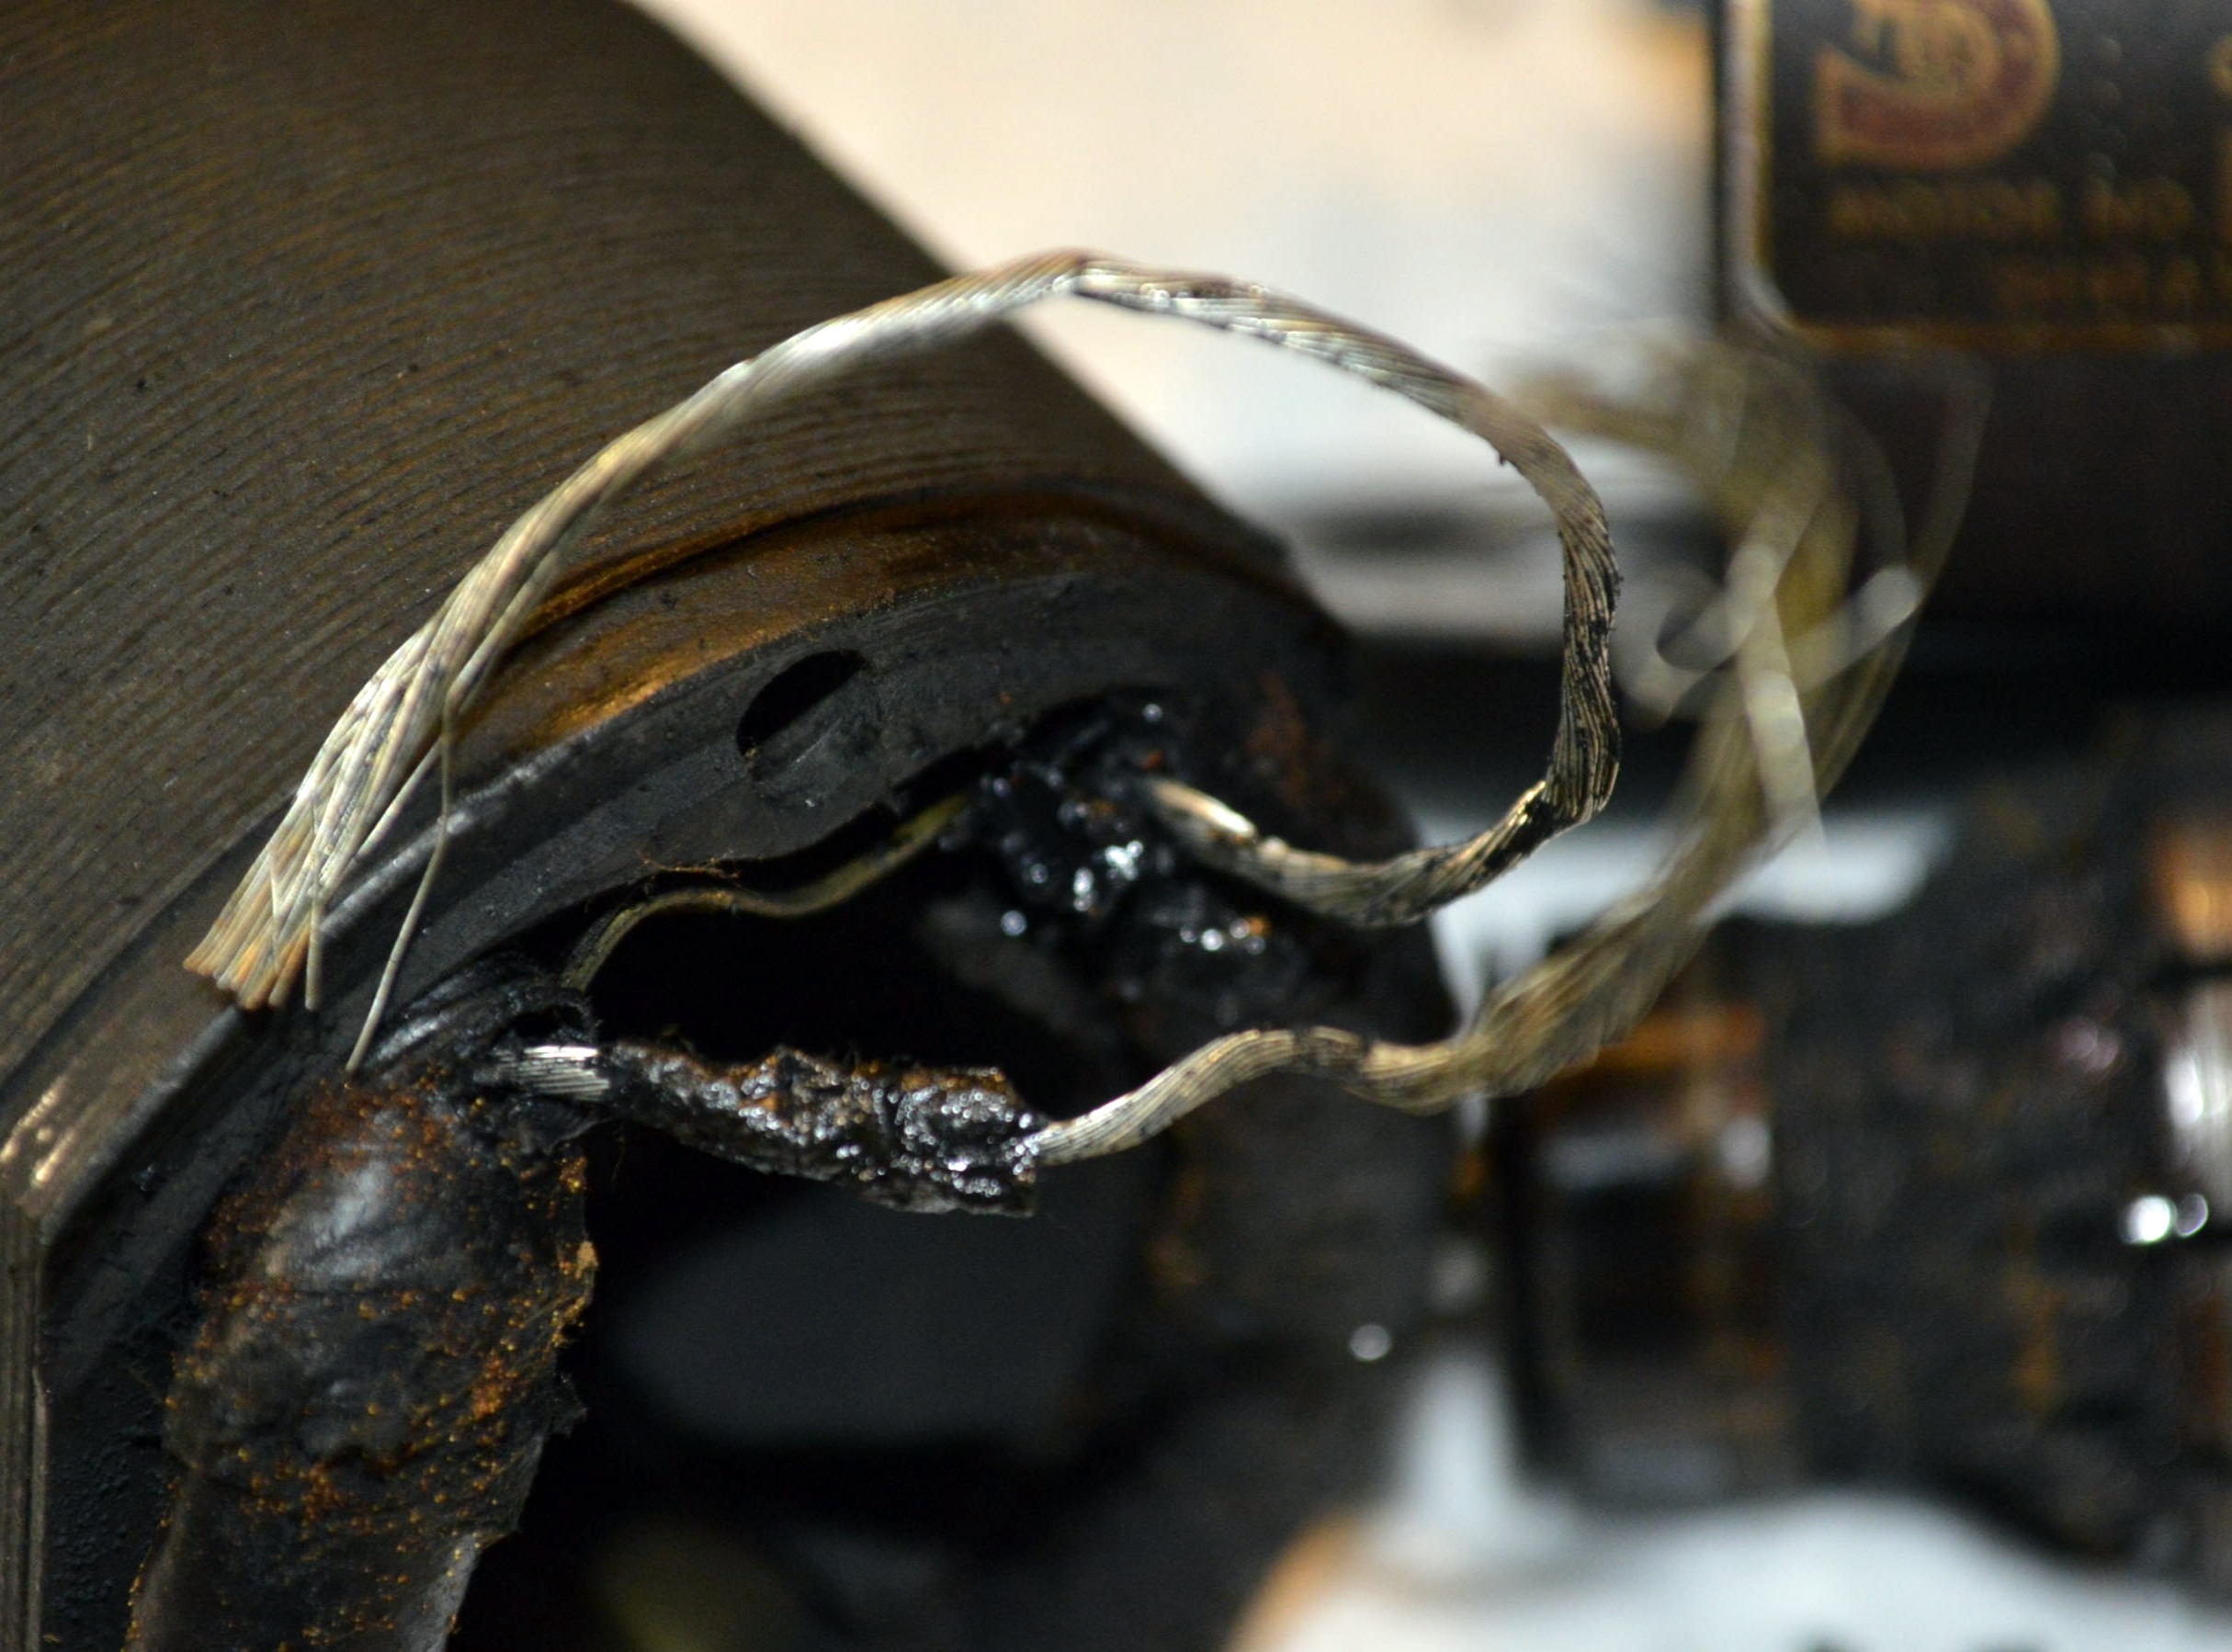
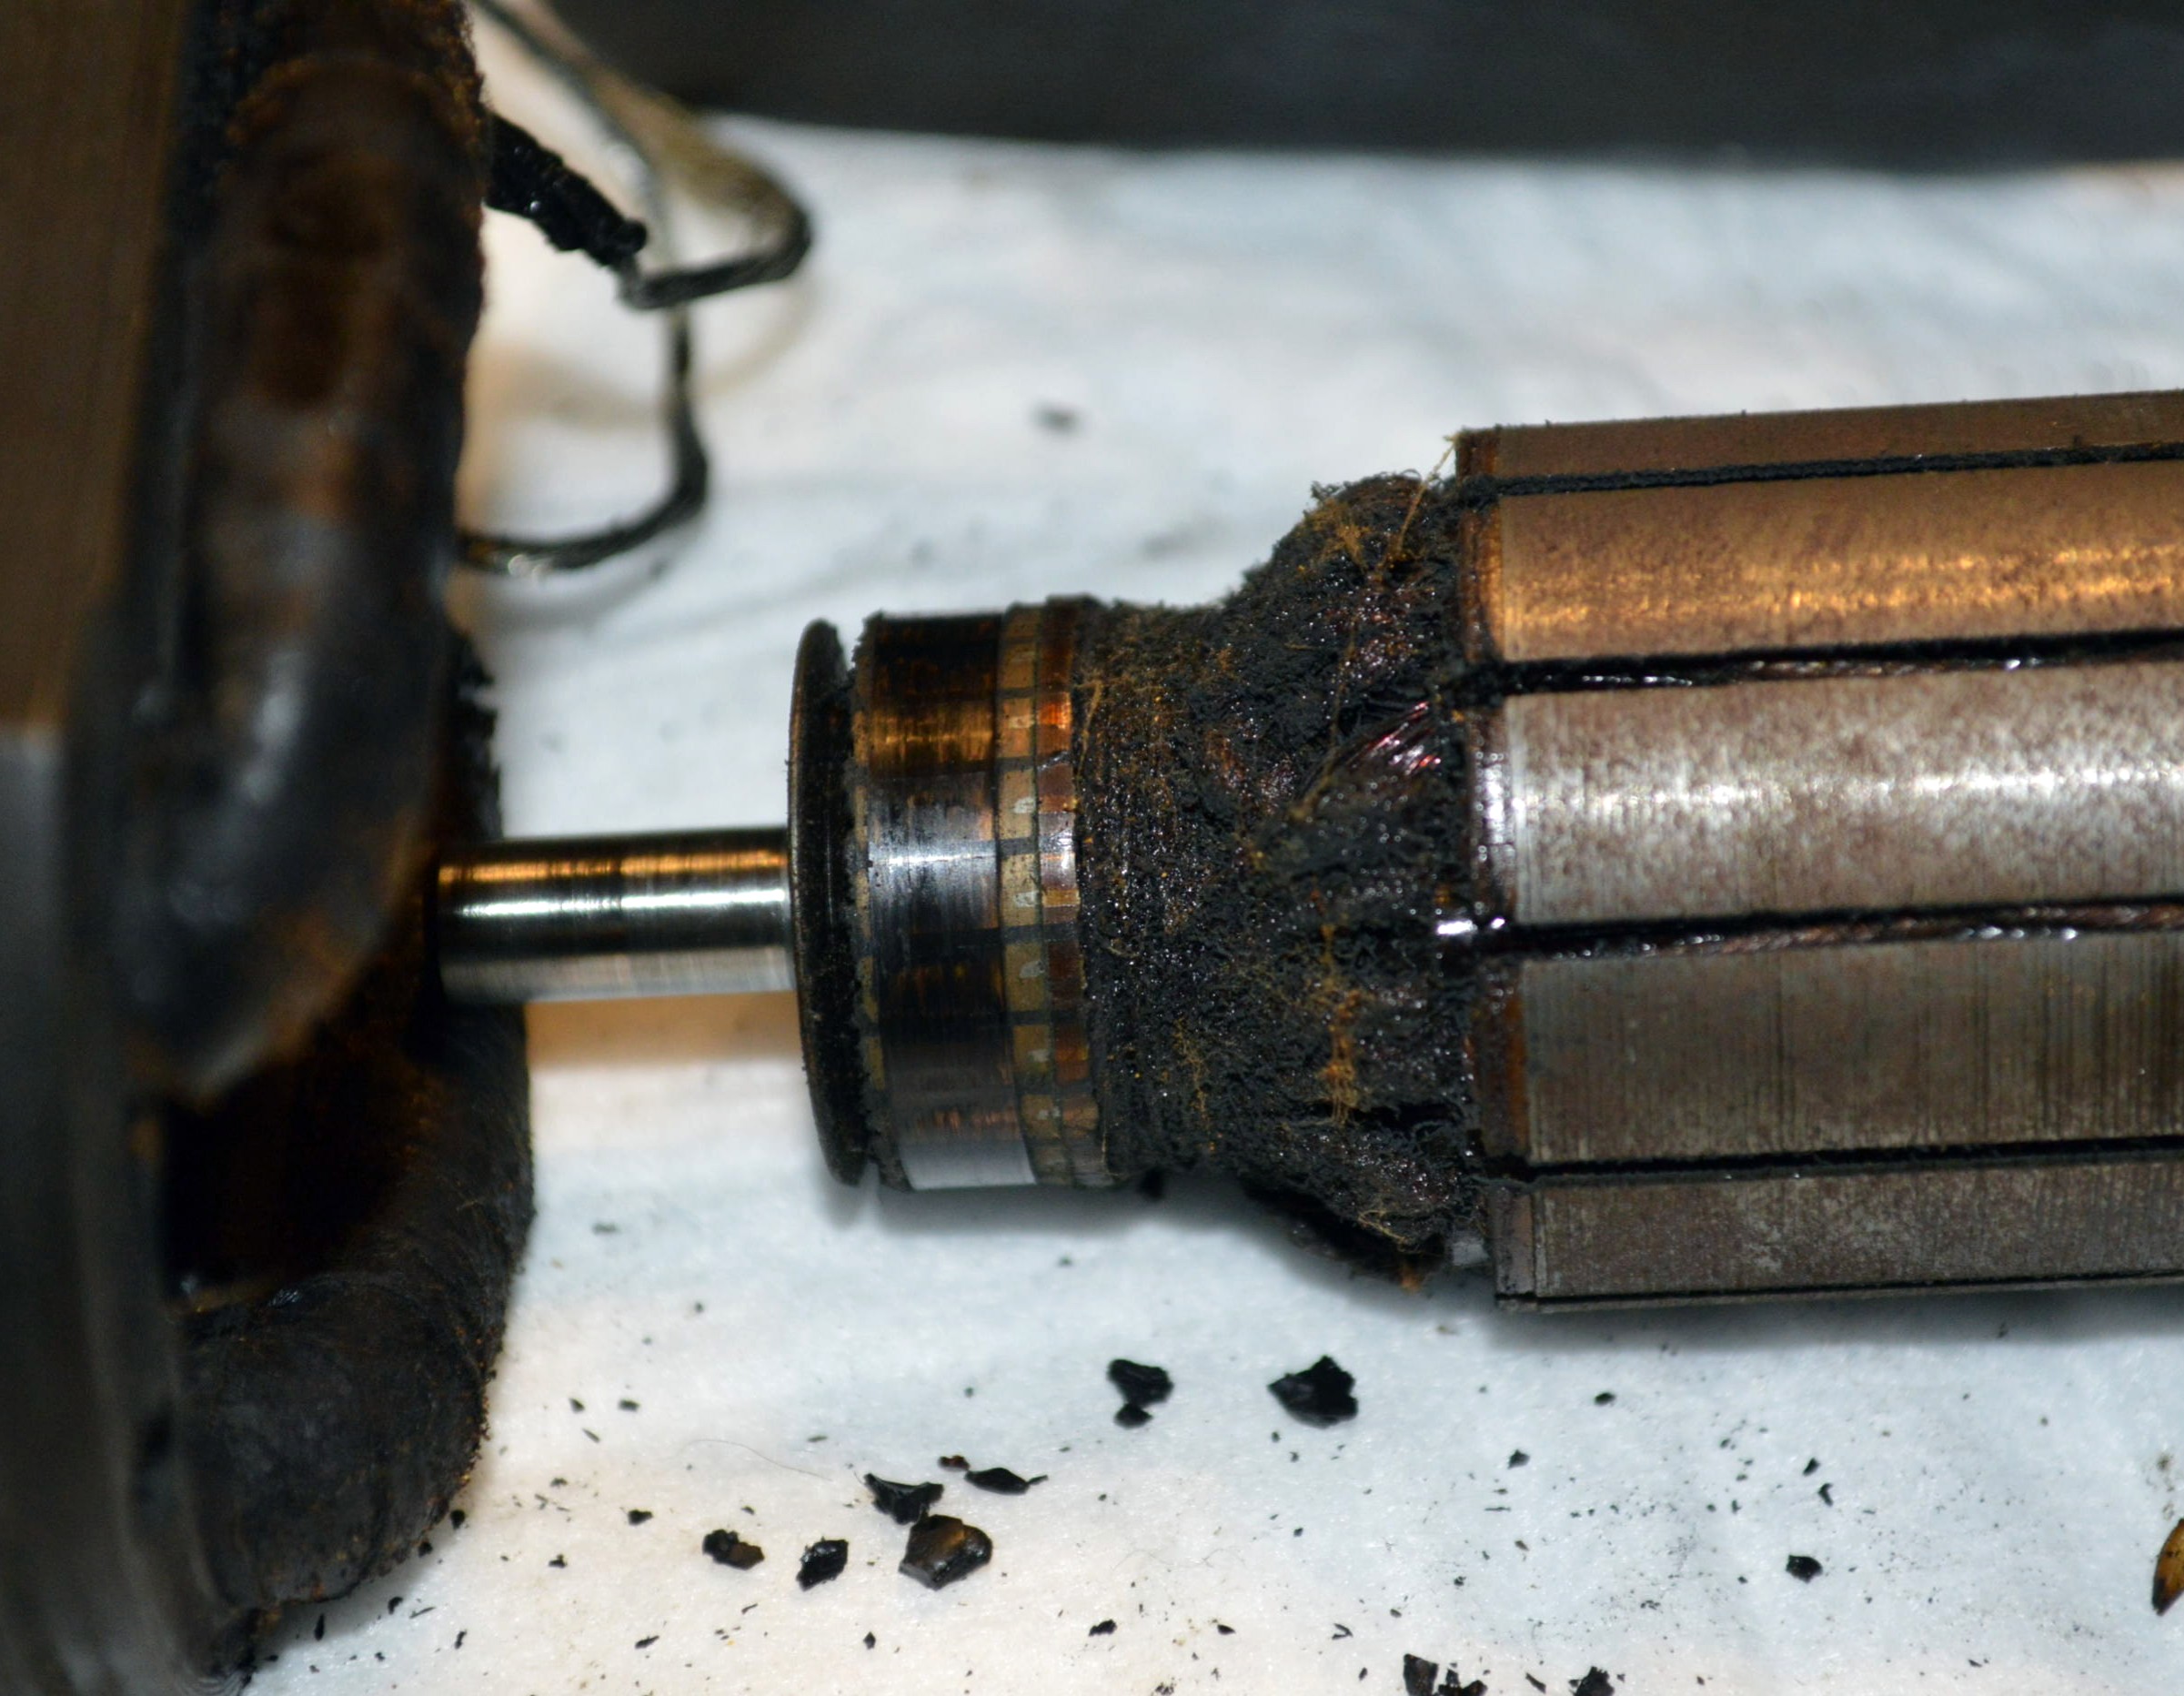
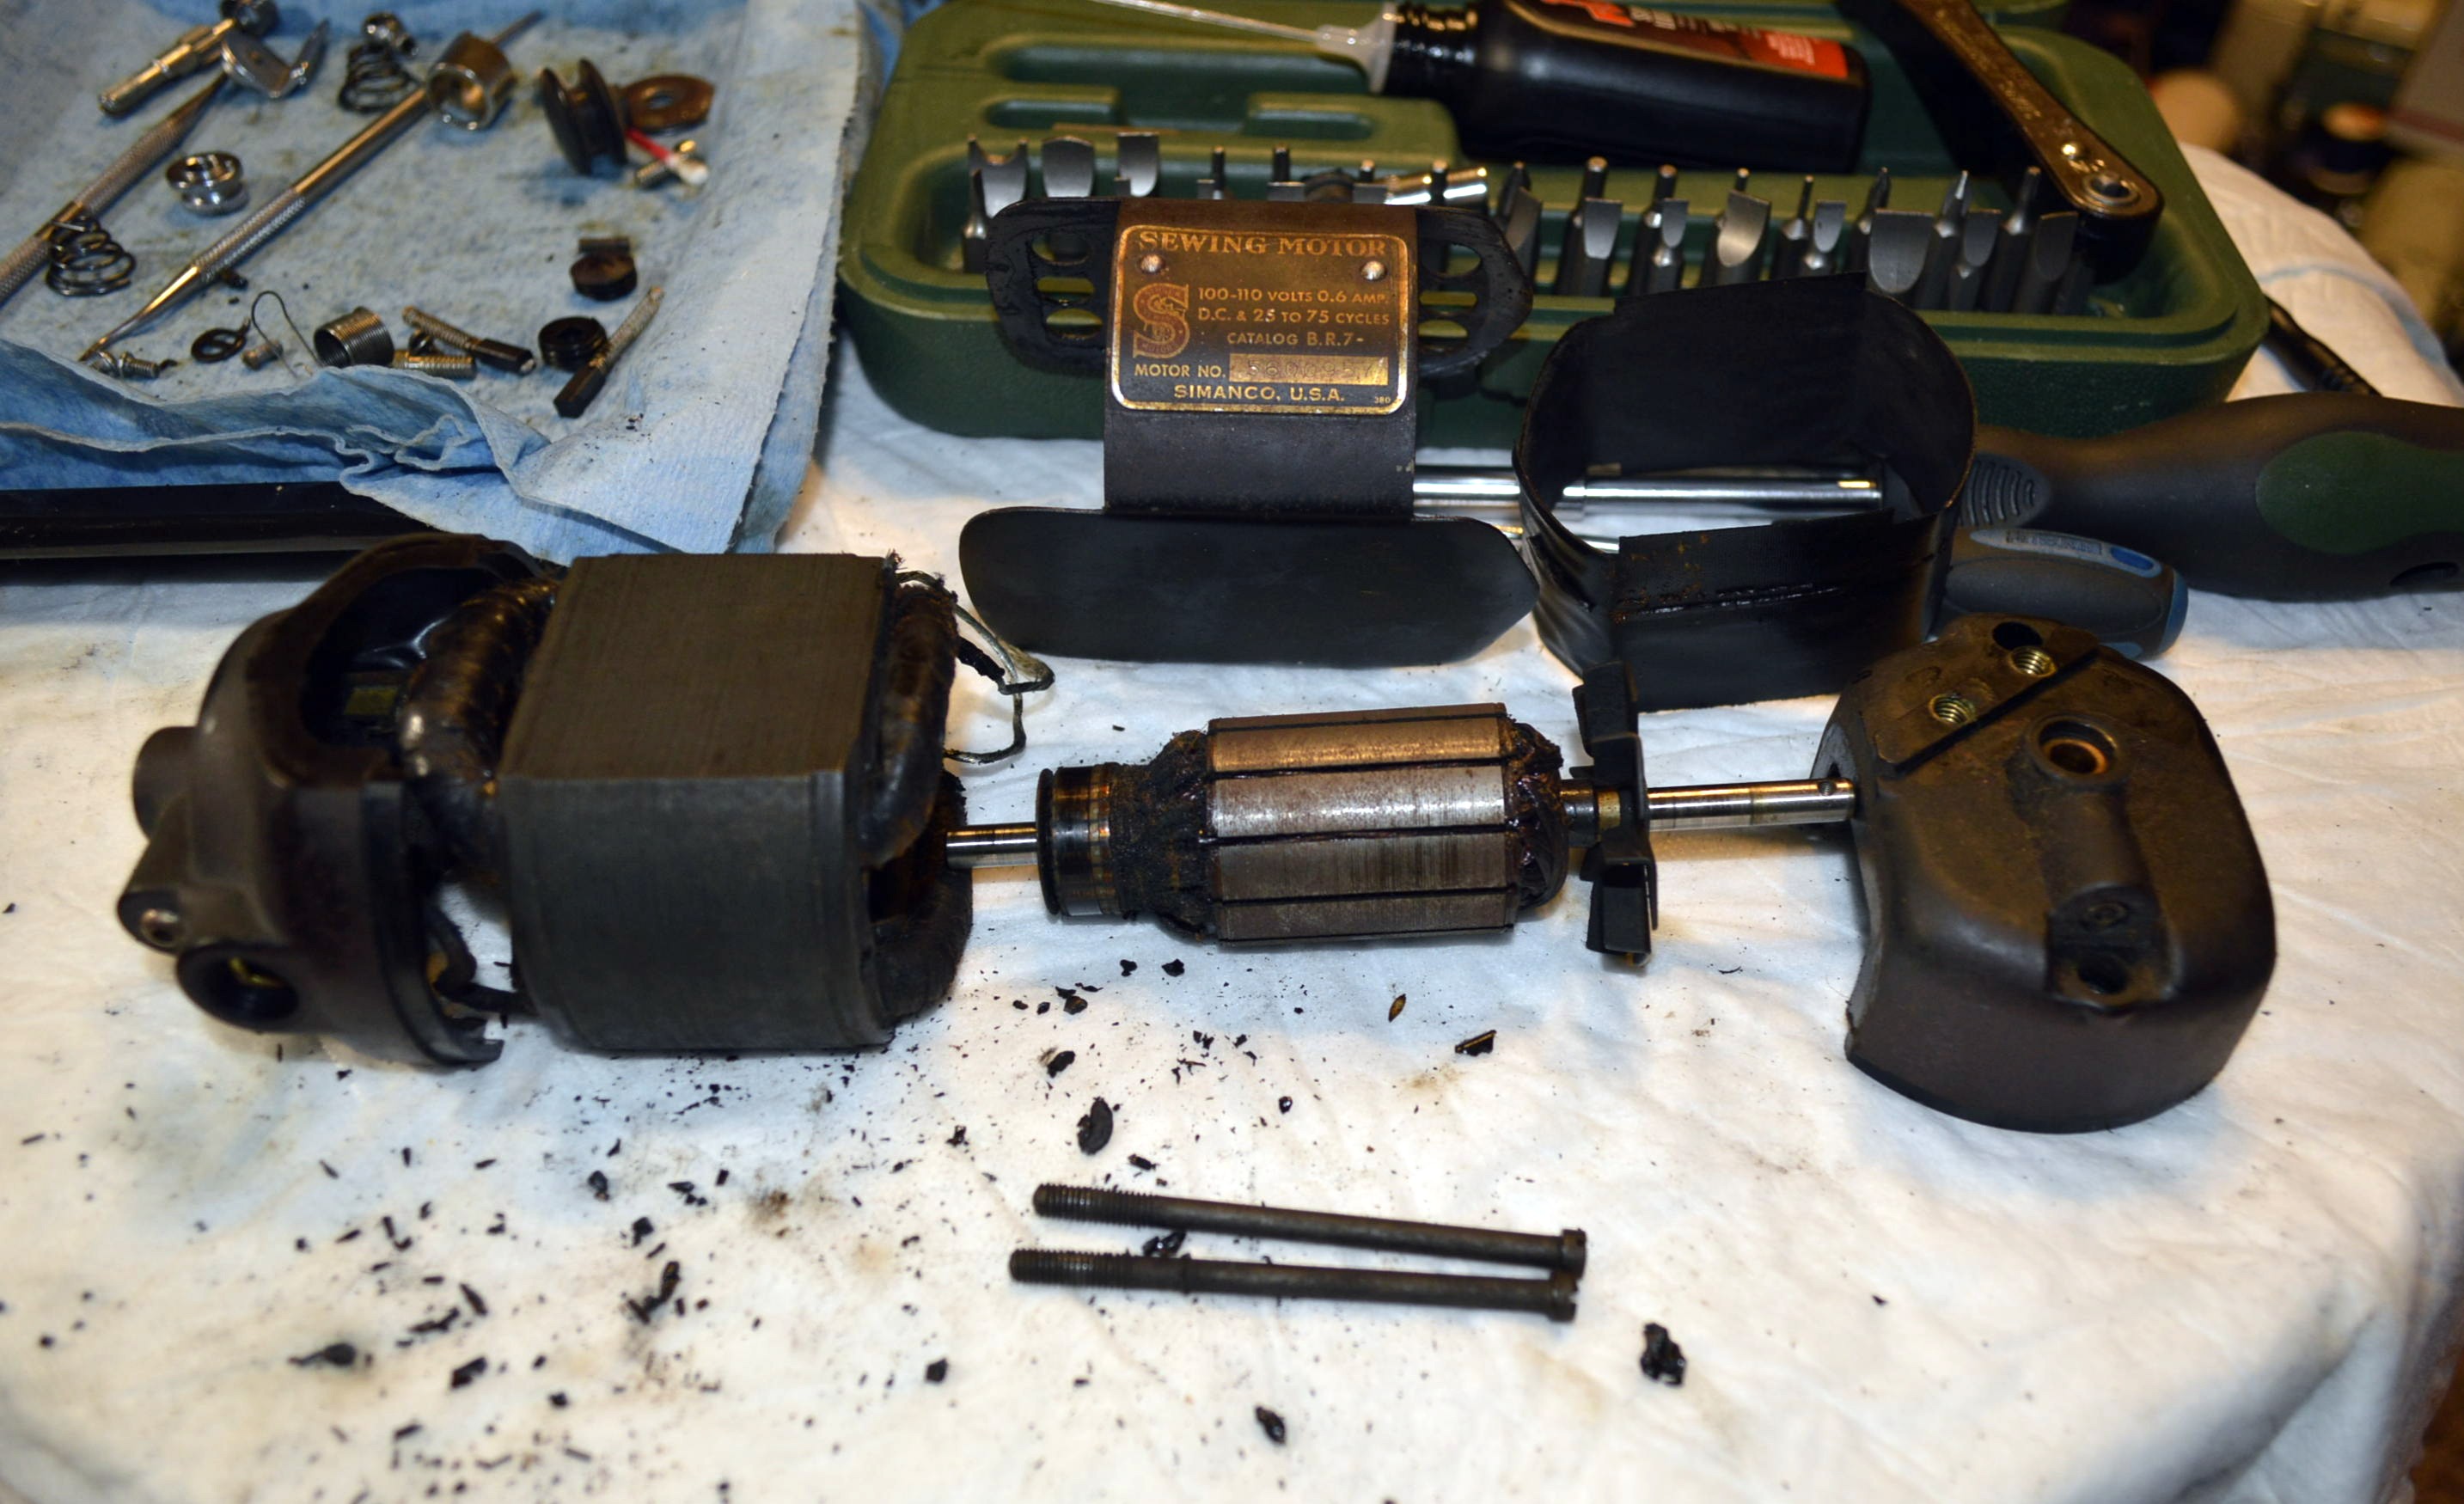
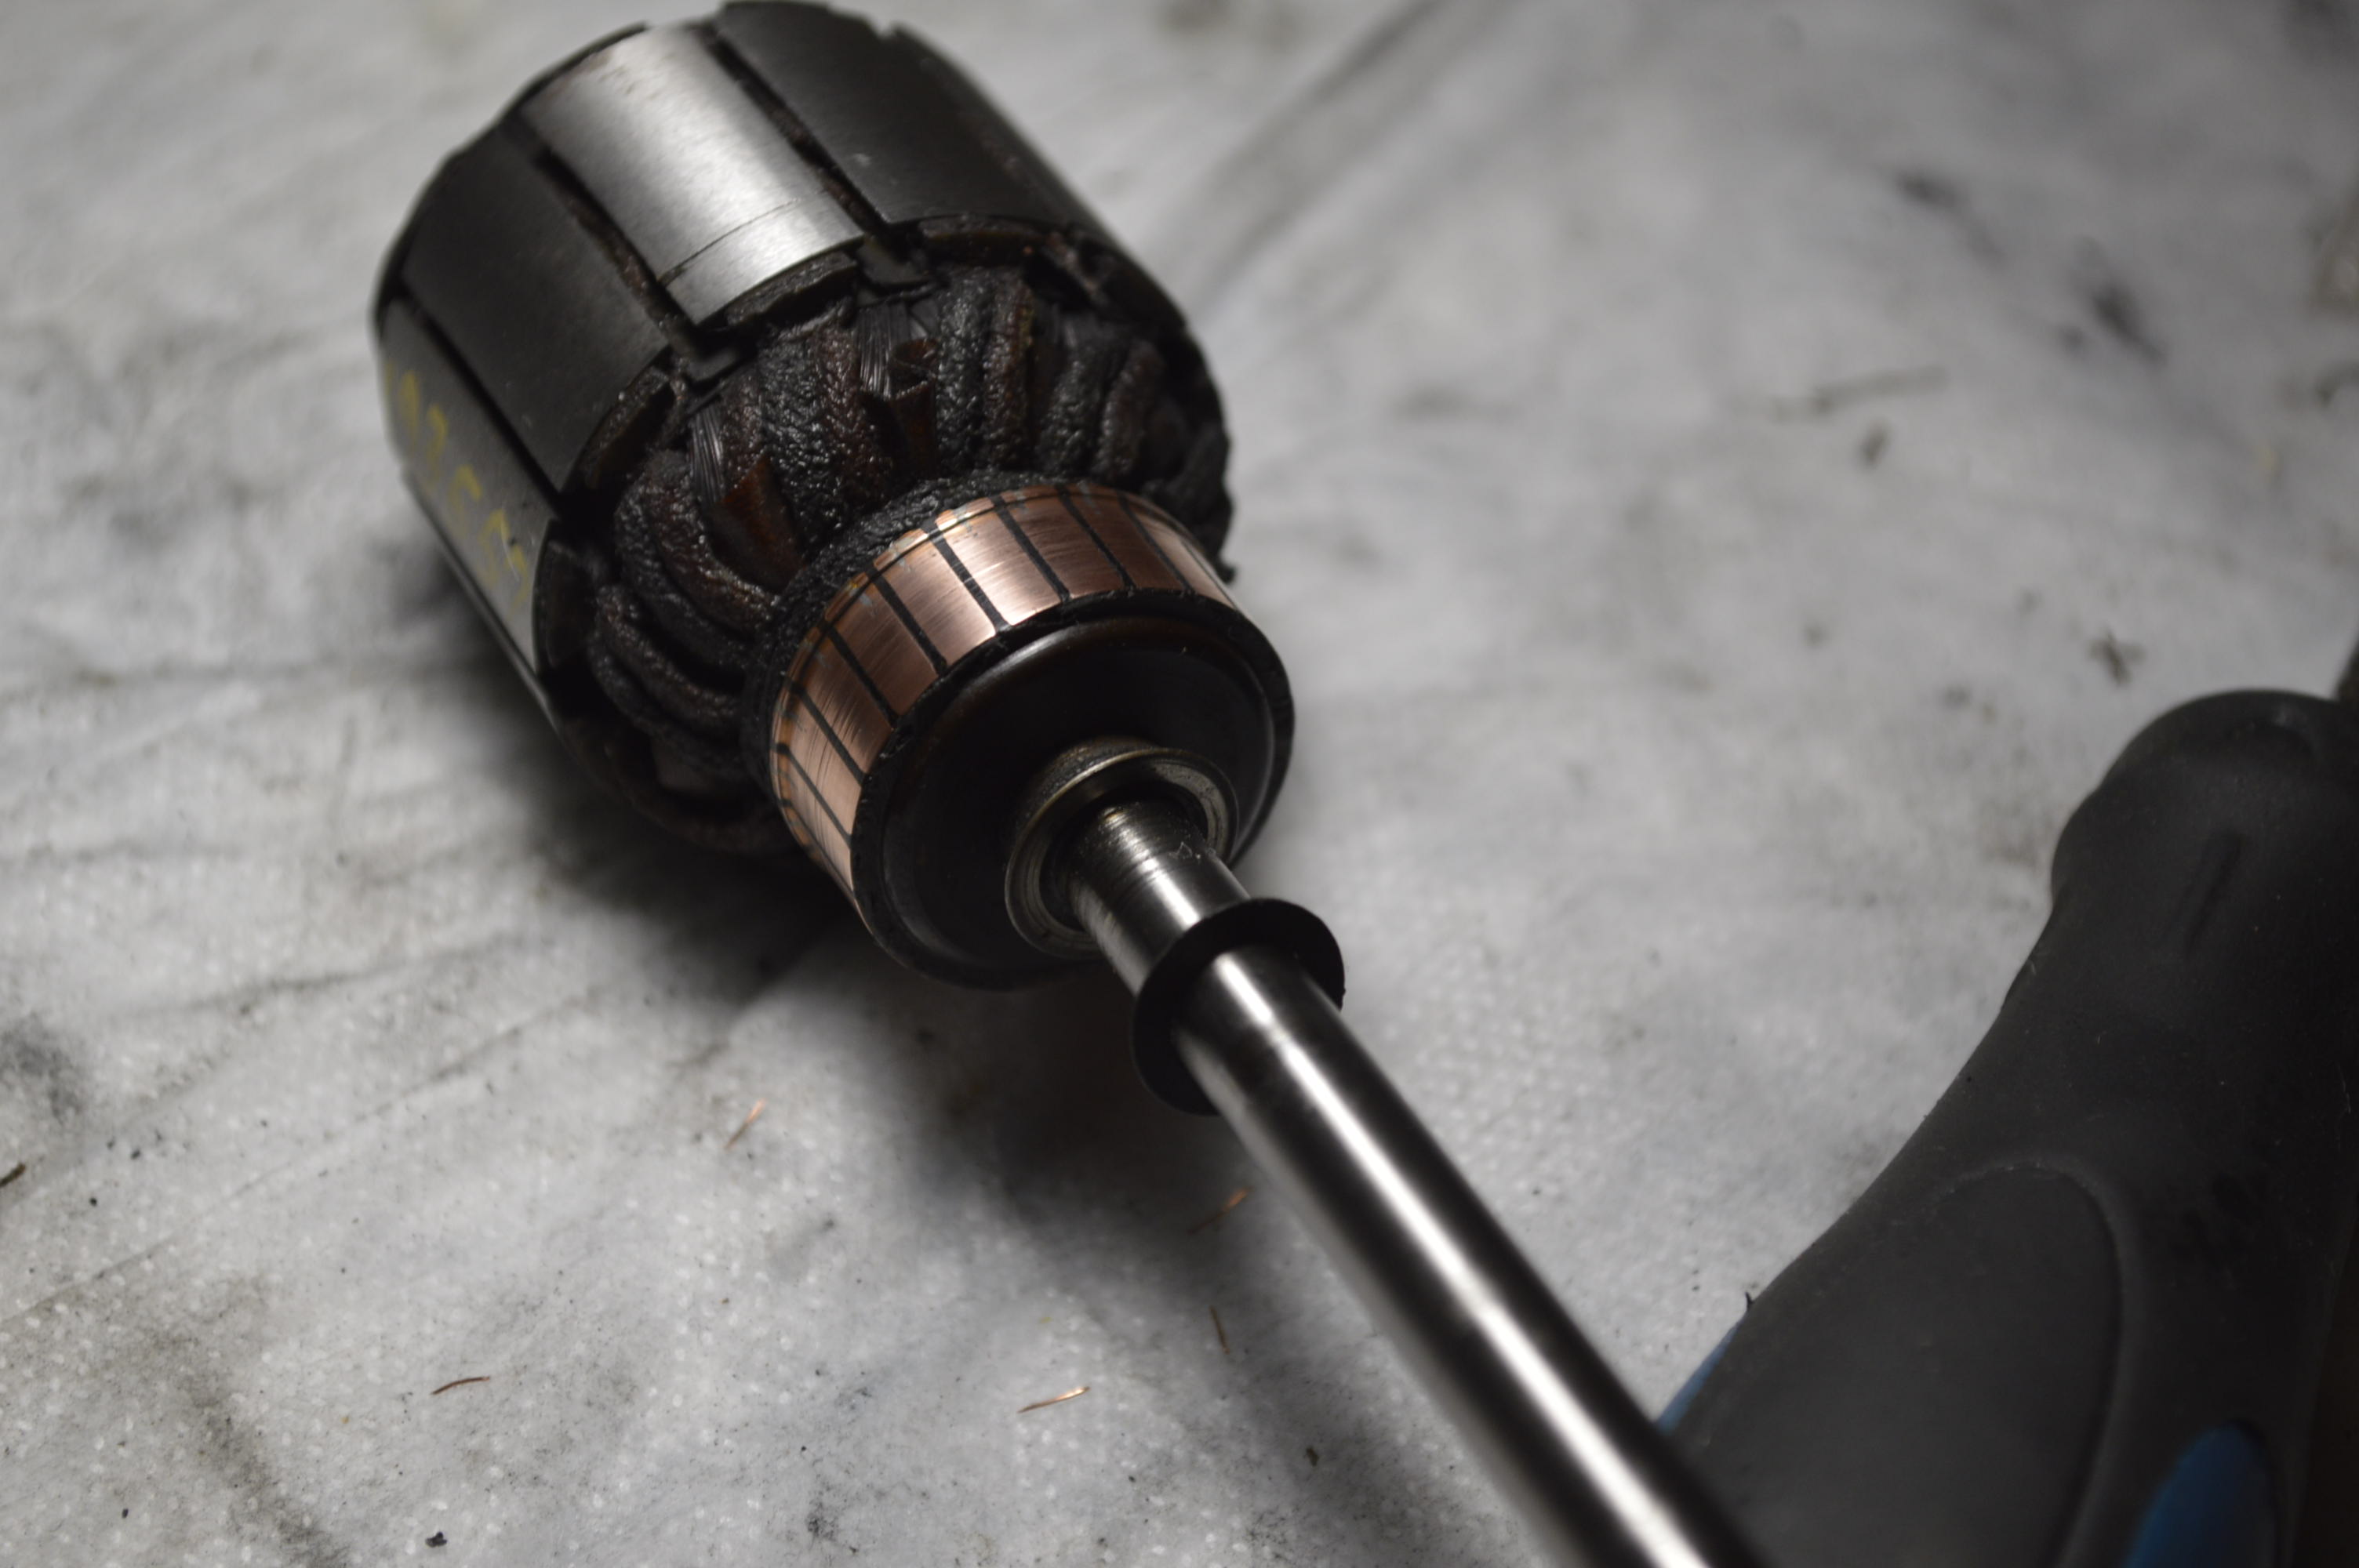
With this step complete, the next step is to partially disassemble the motor to polish the armature and clean or recondition the motor brushes.
Before…
After
Assembled
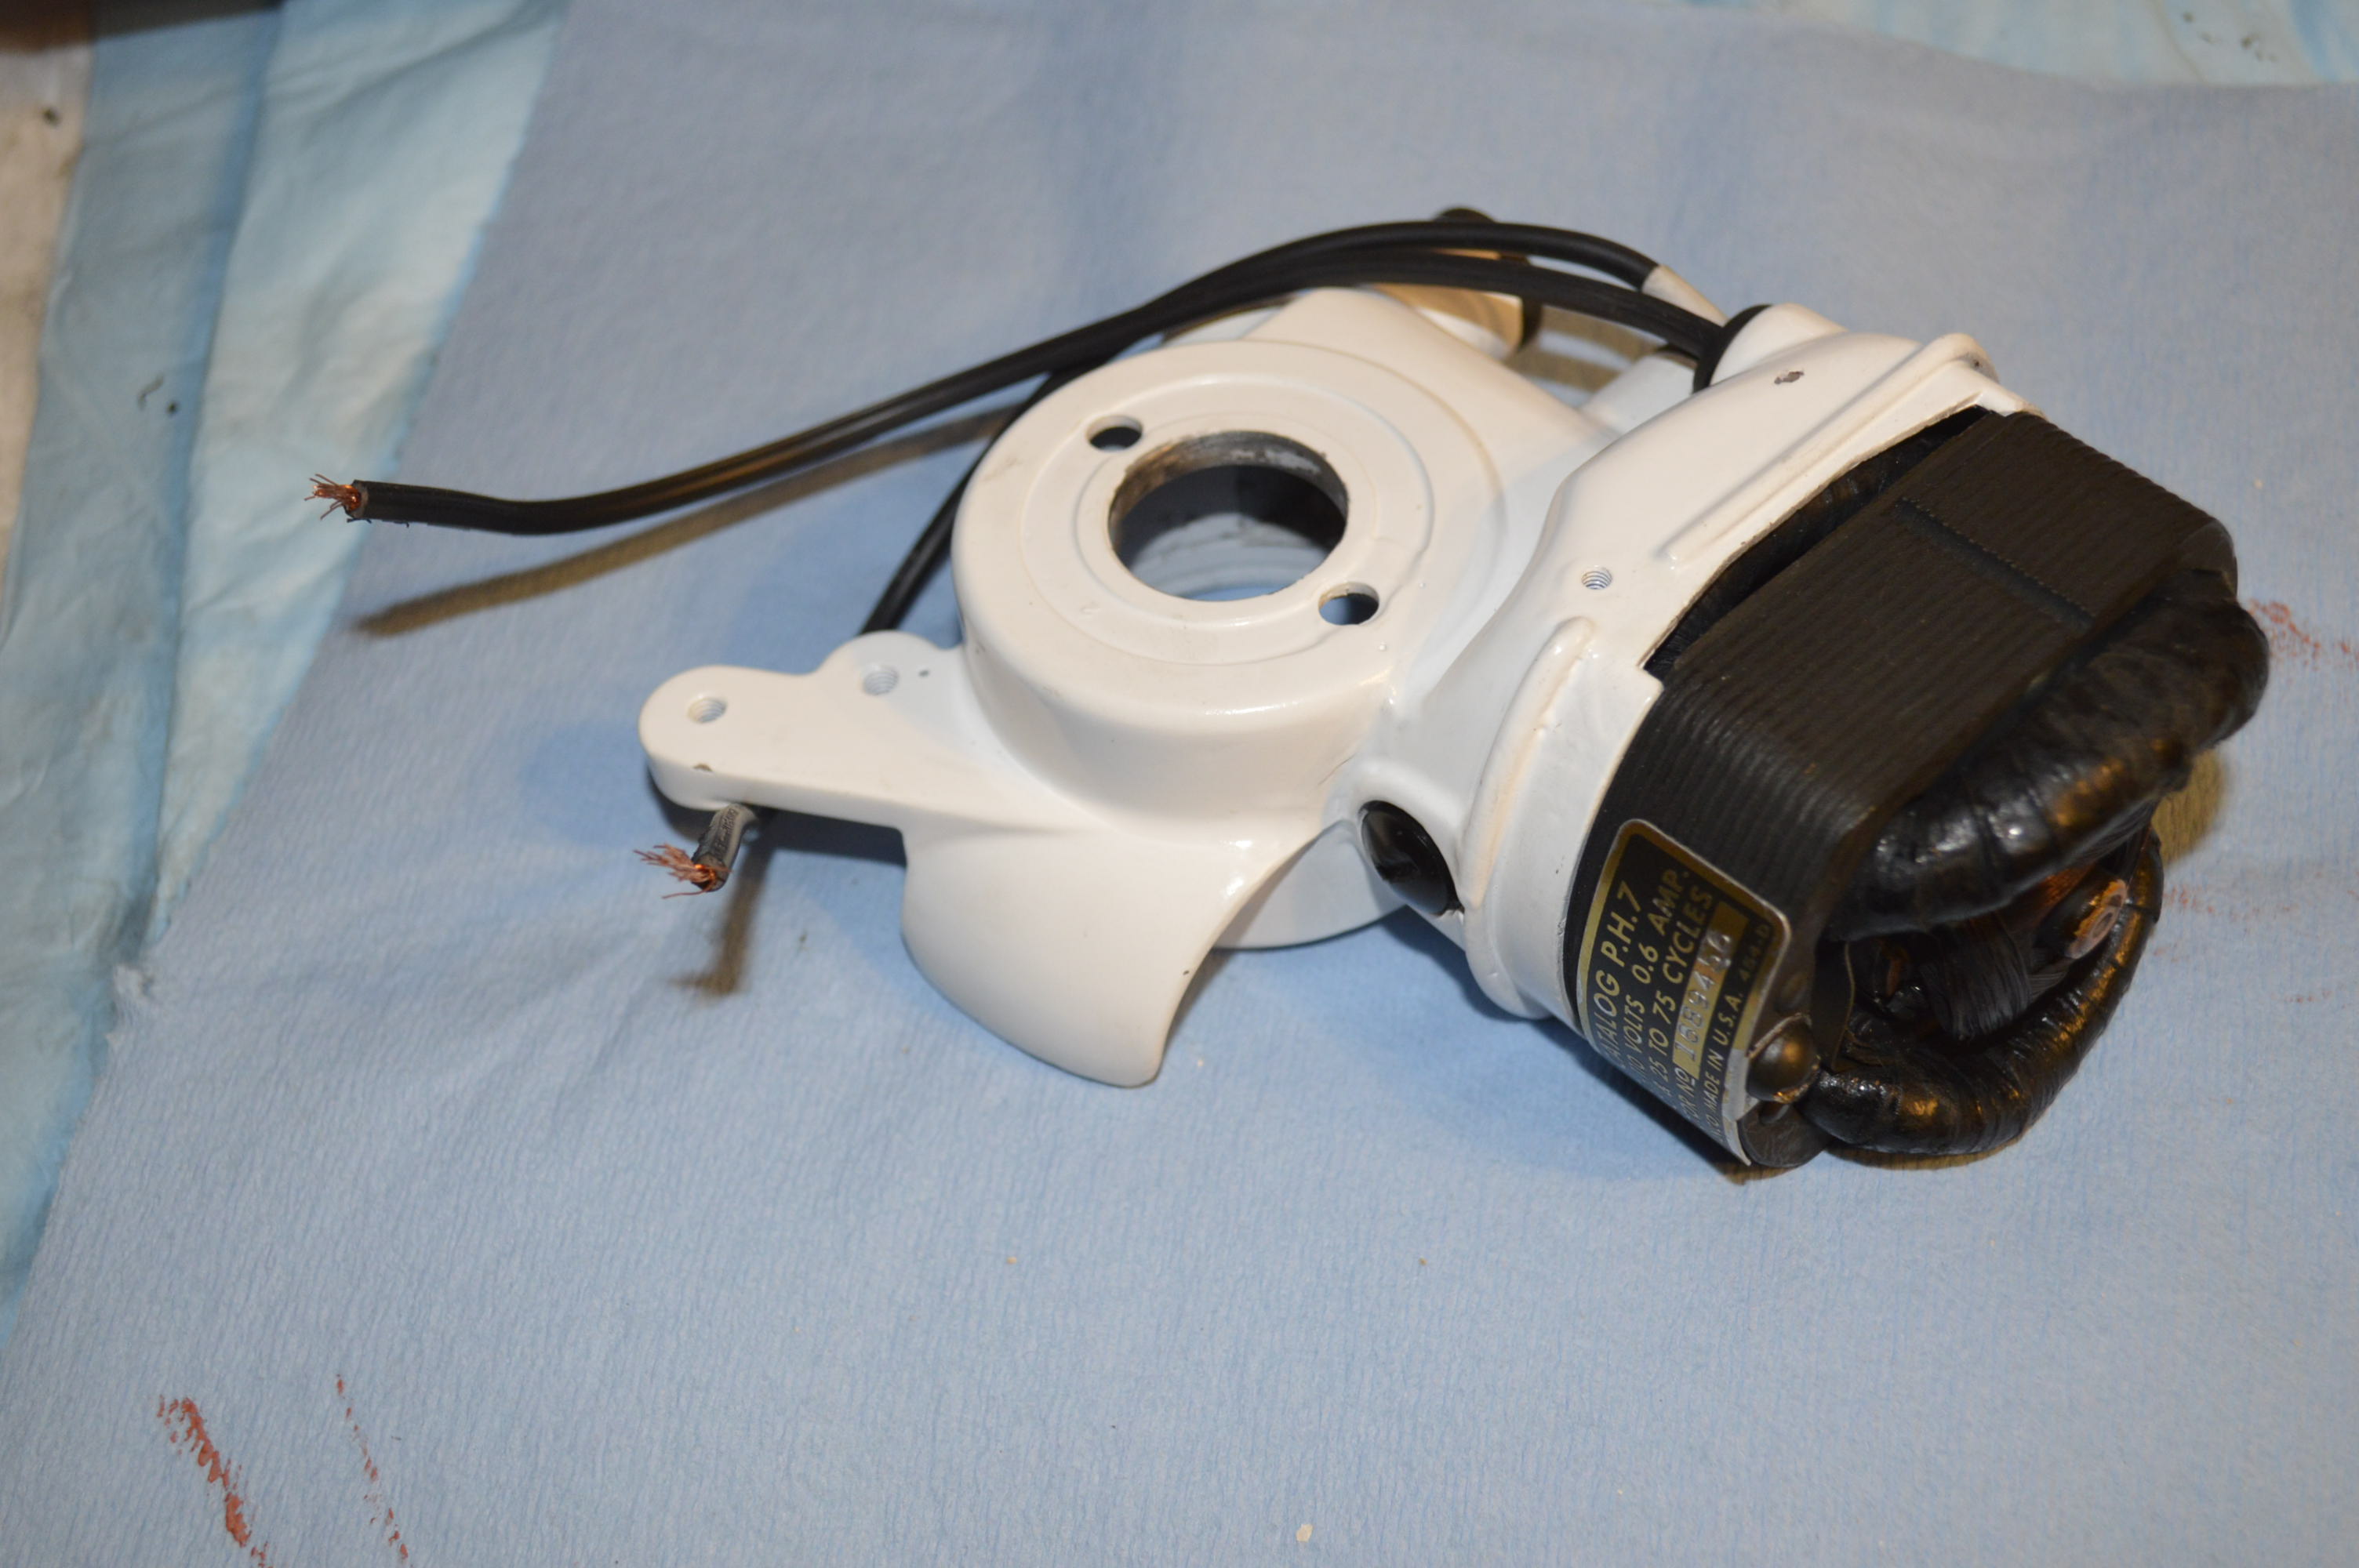
The motor is re-assembled, lubricated, and installed.
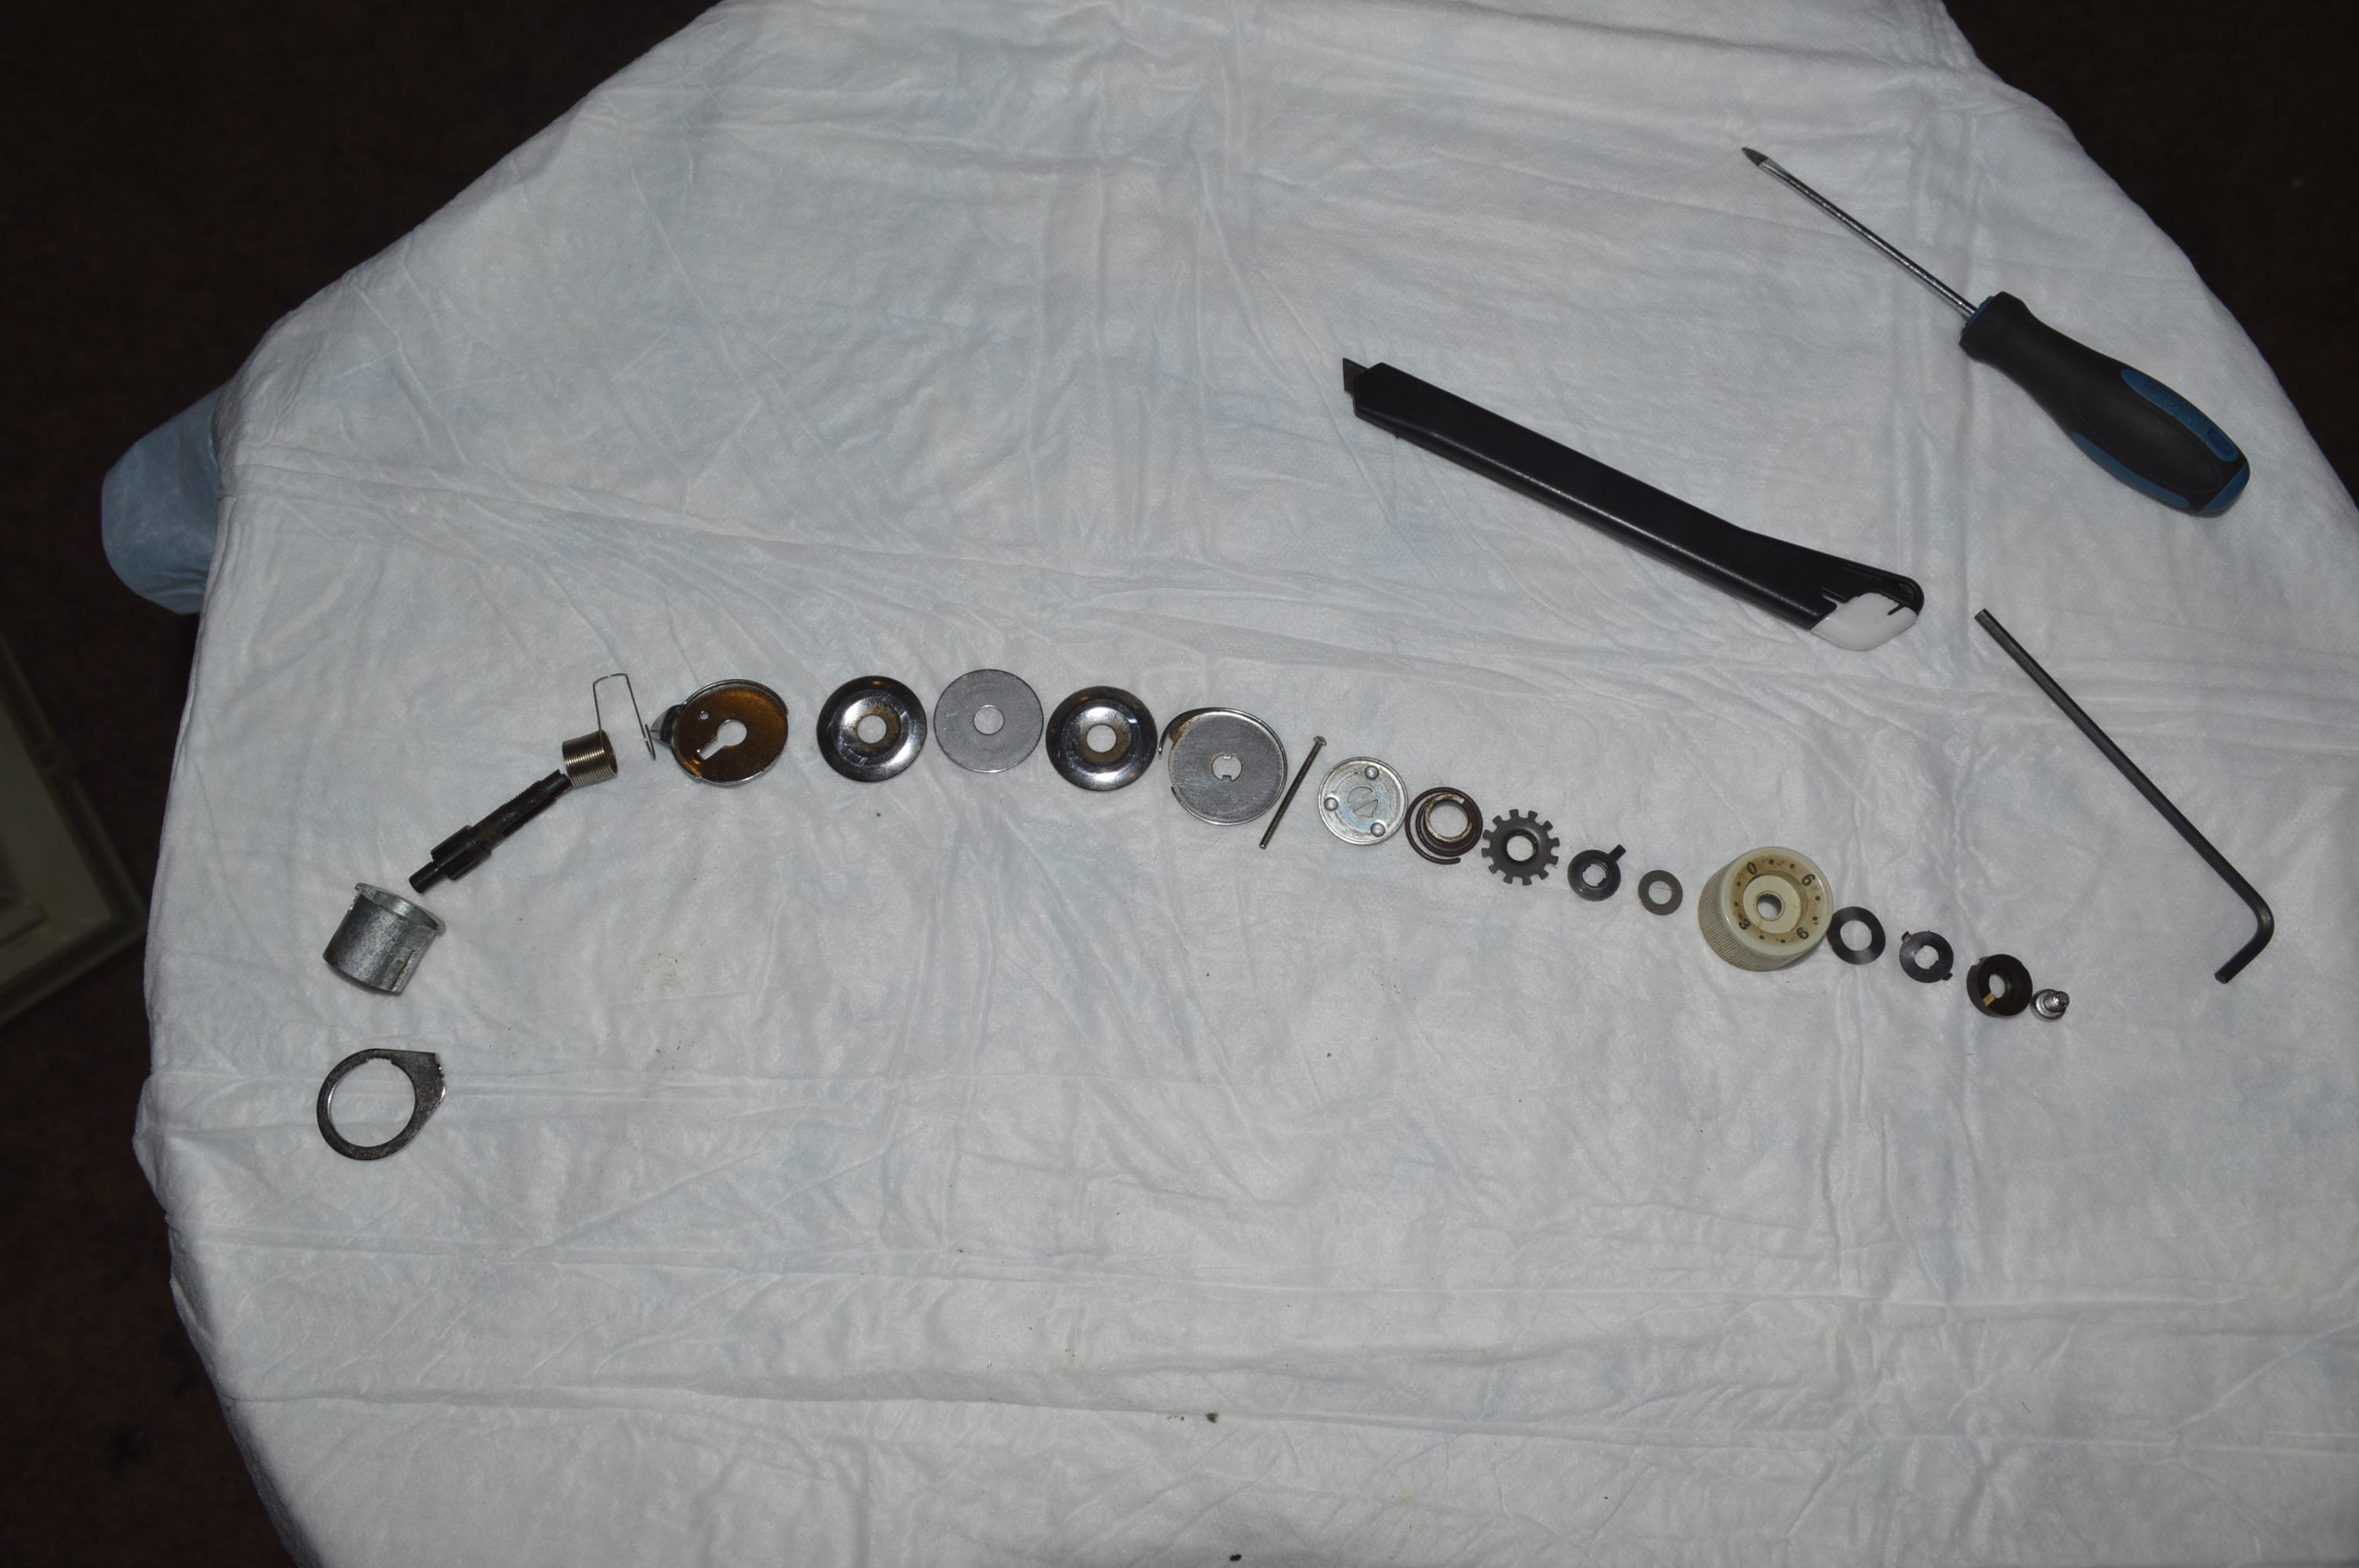
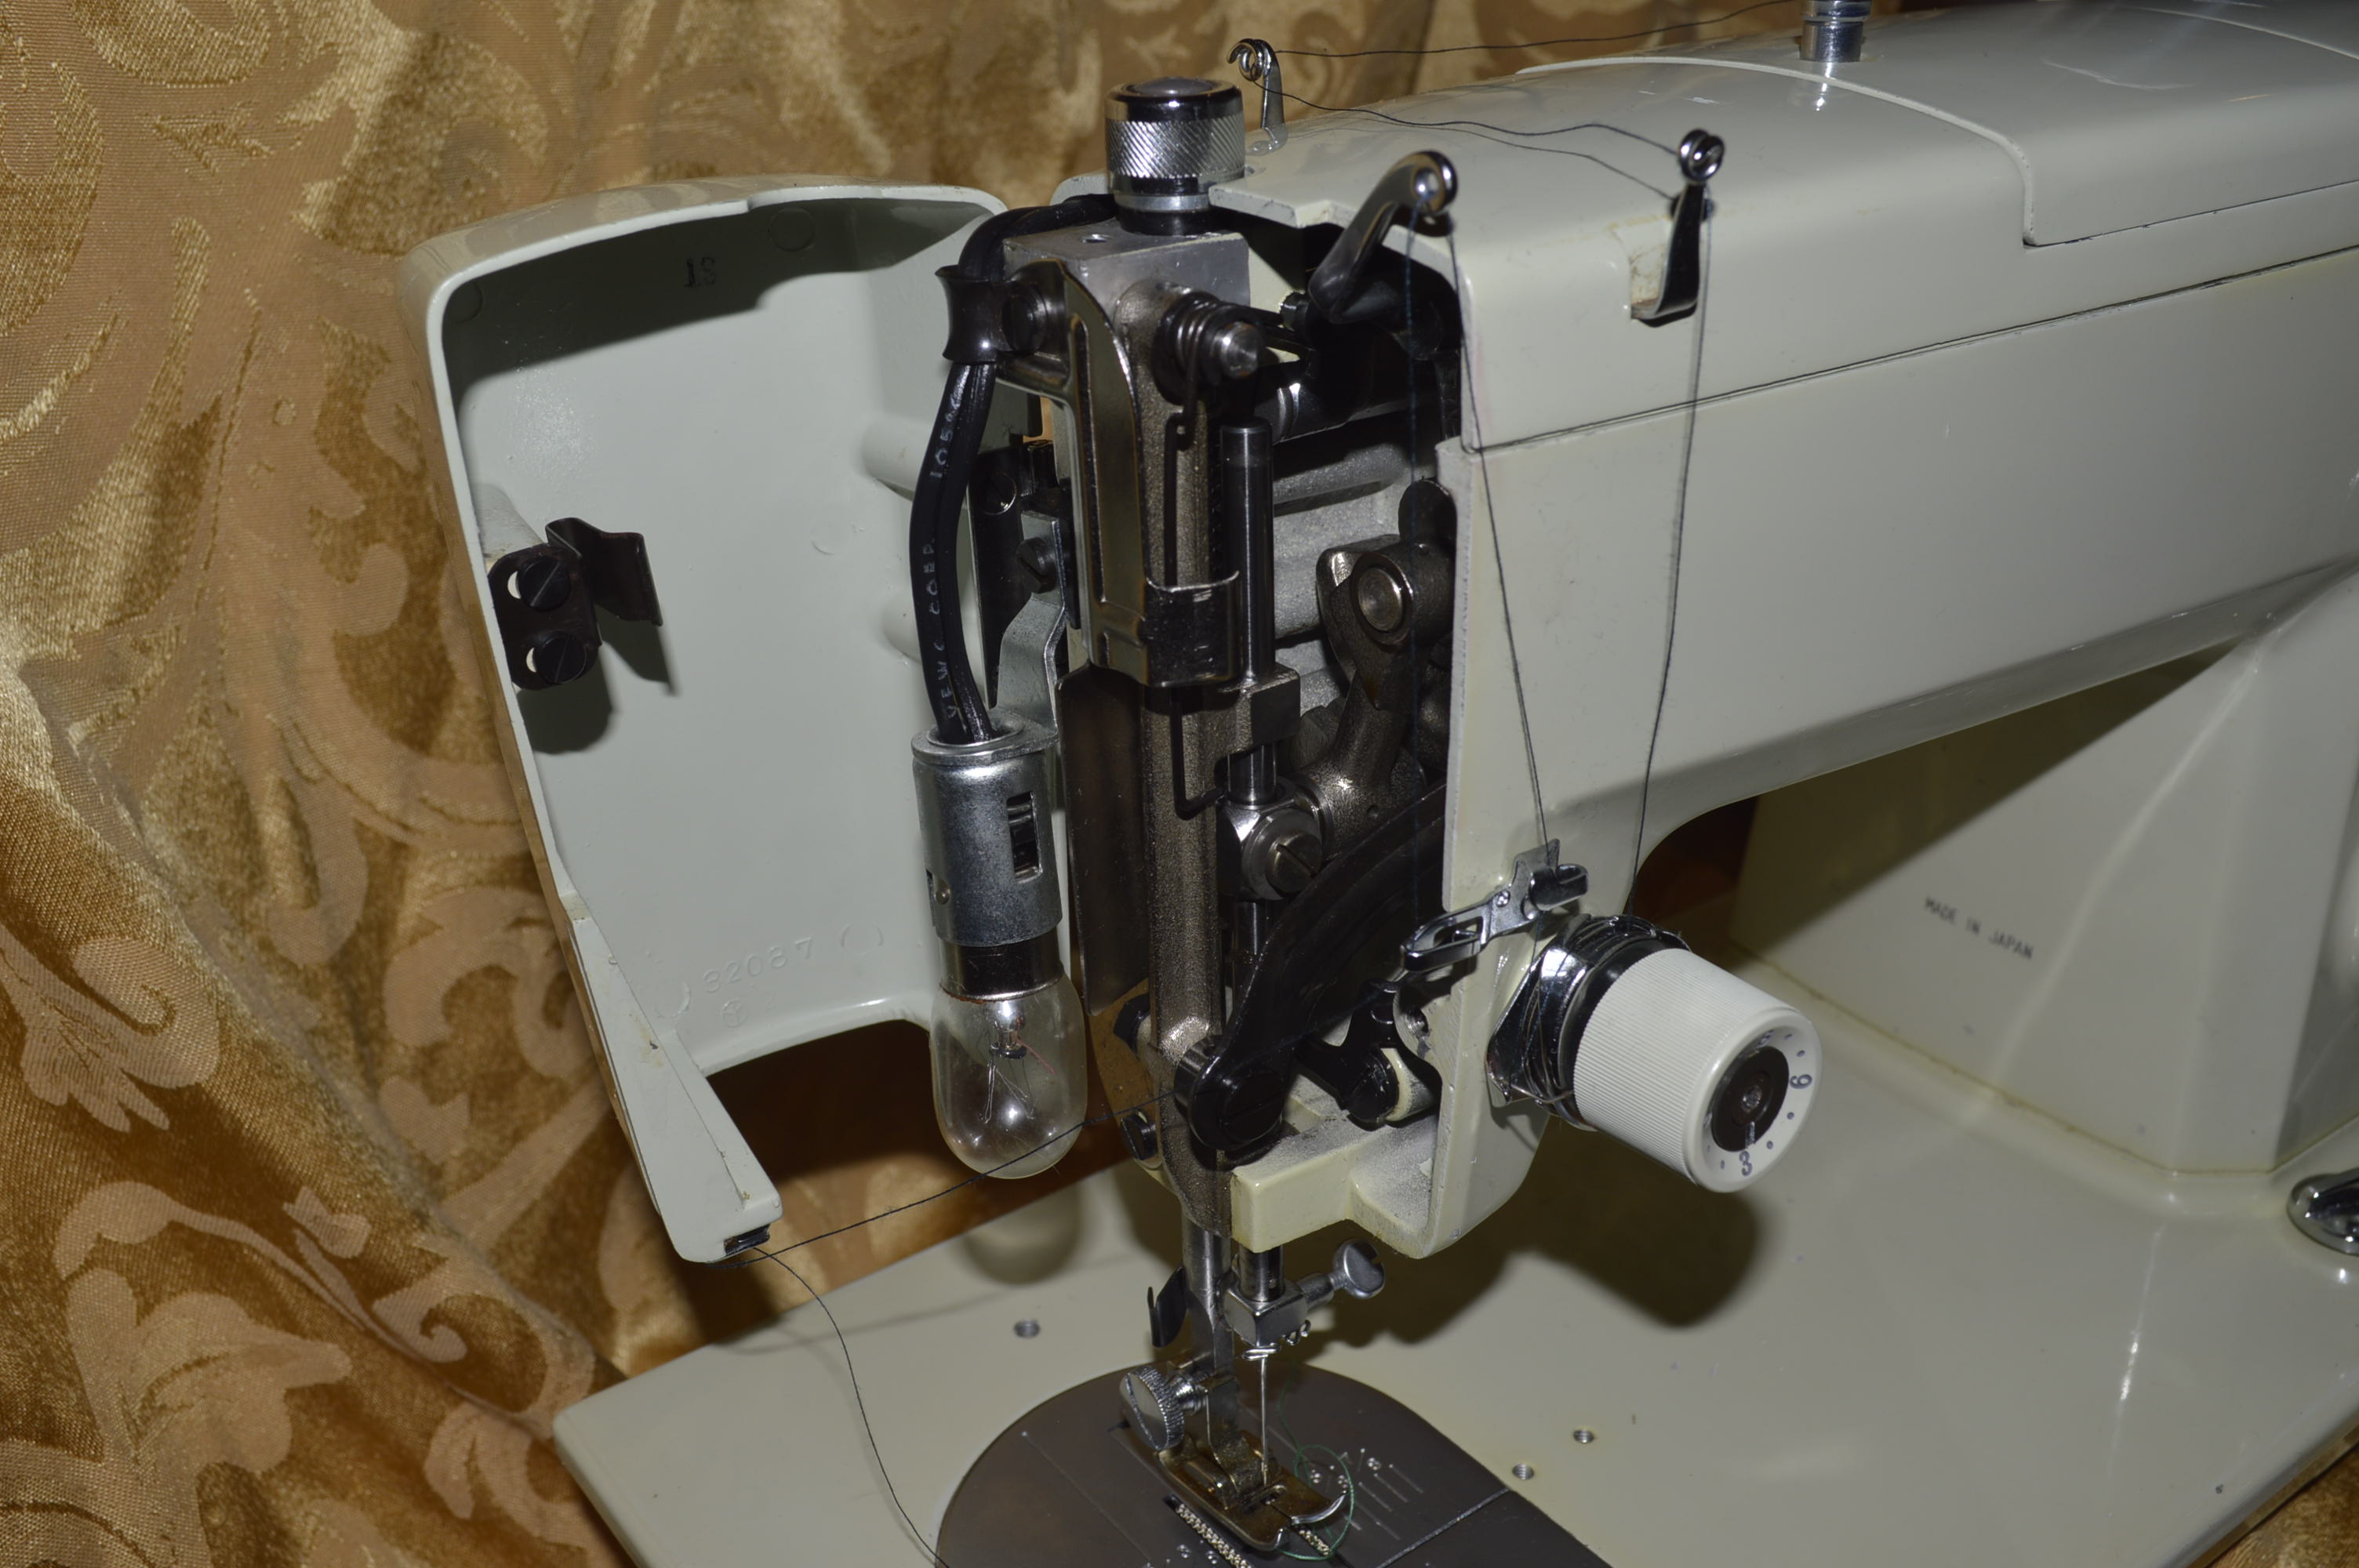
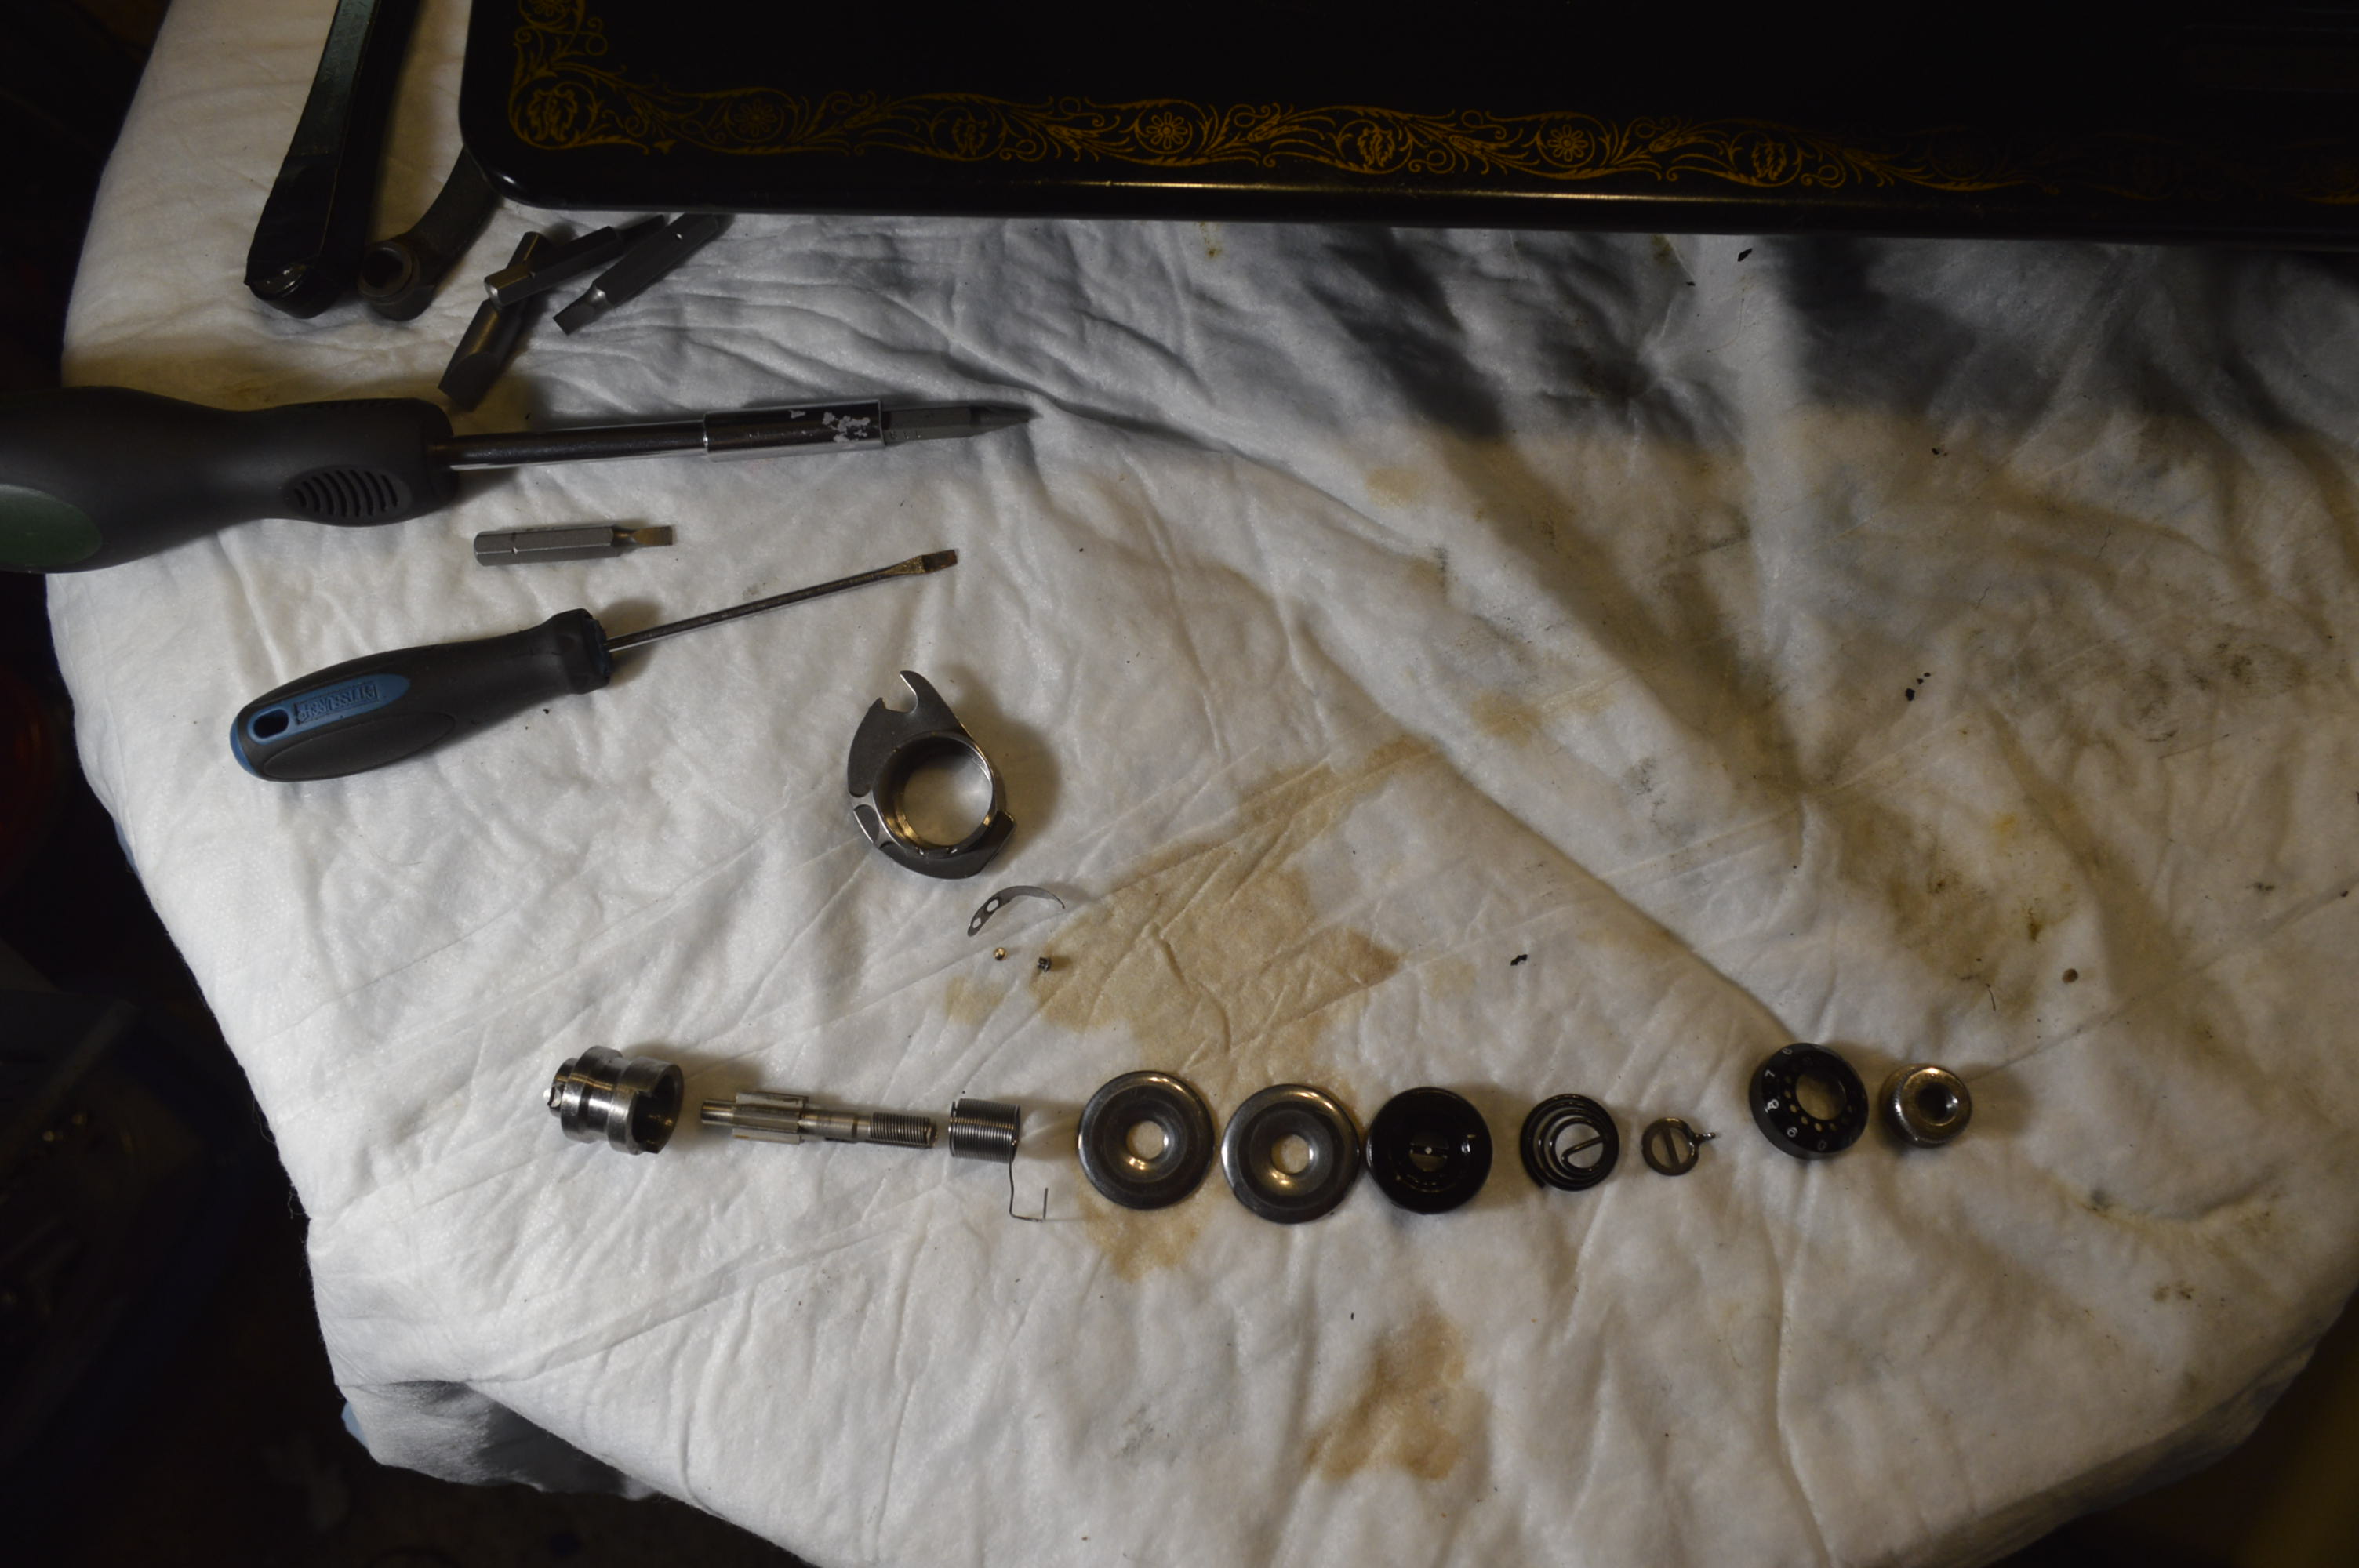
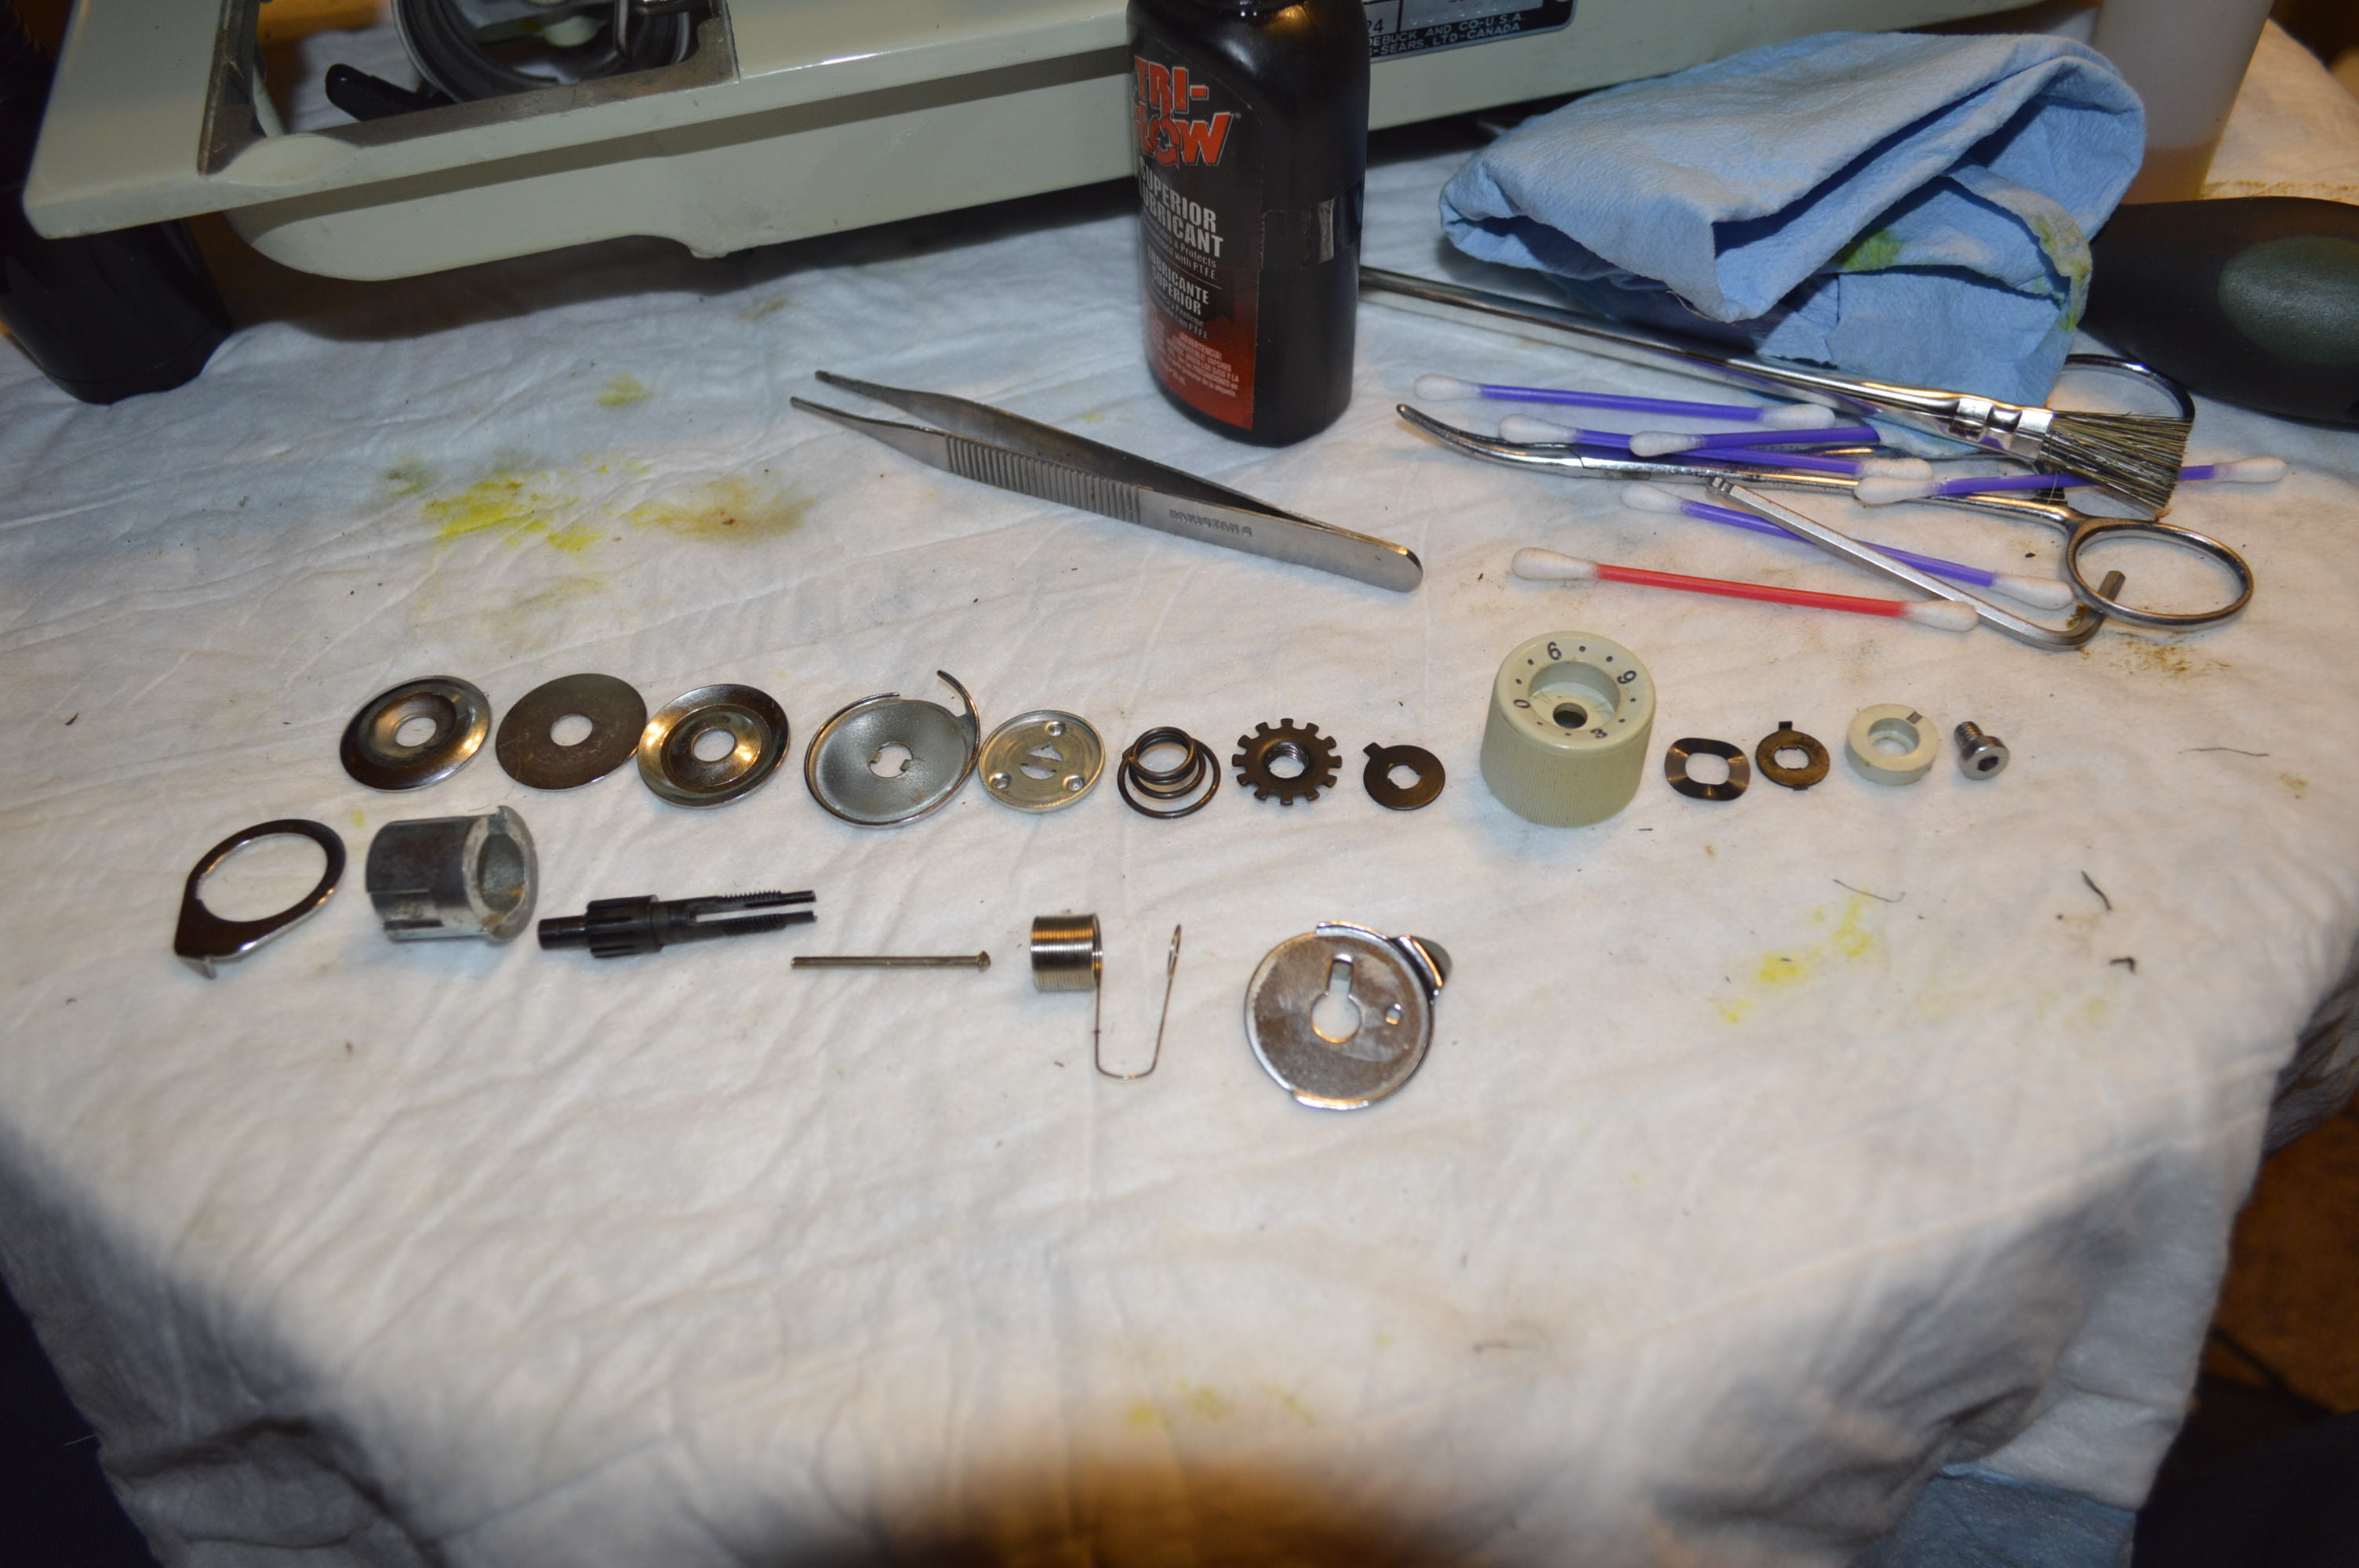
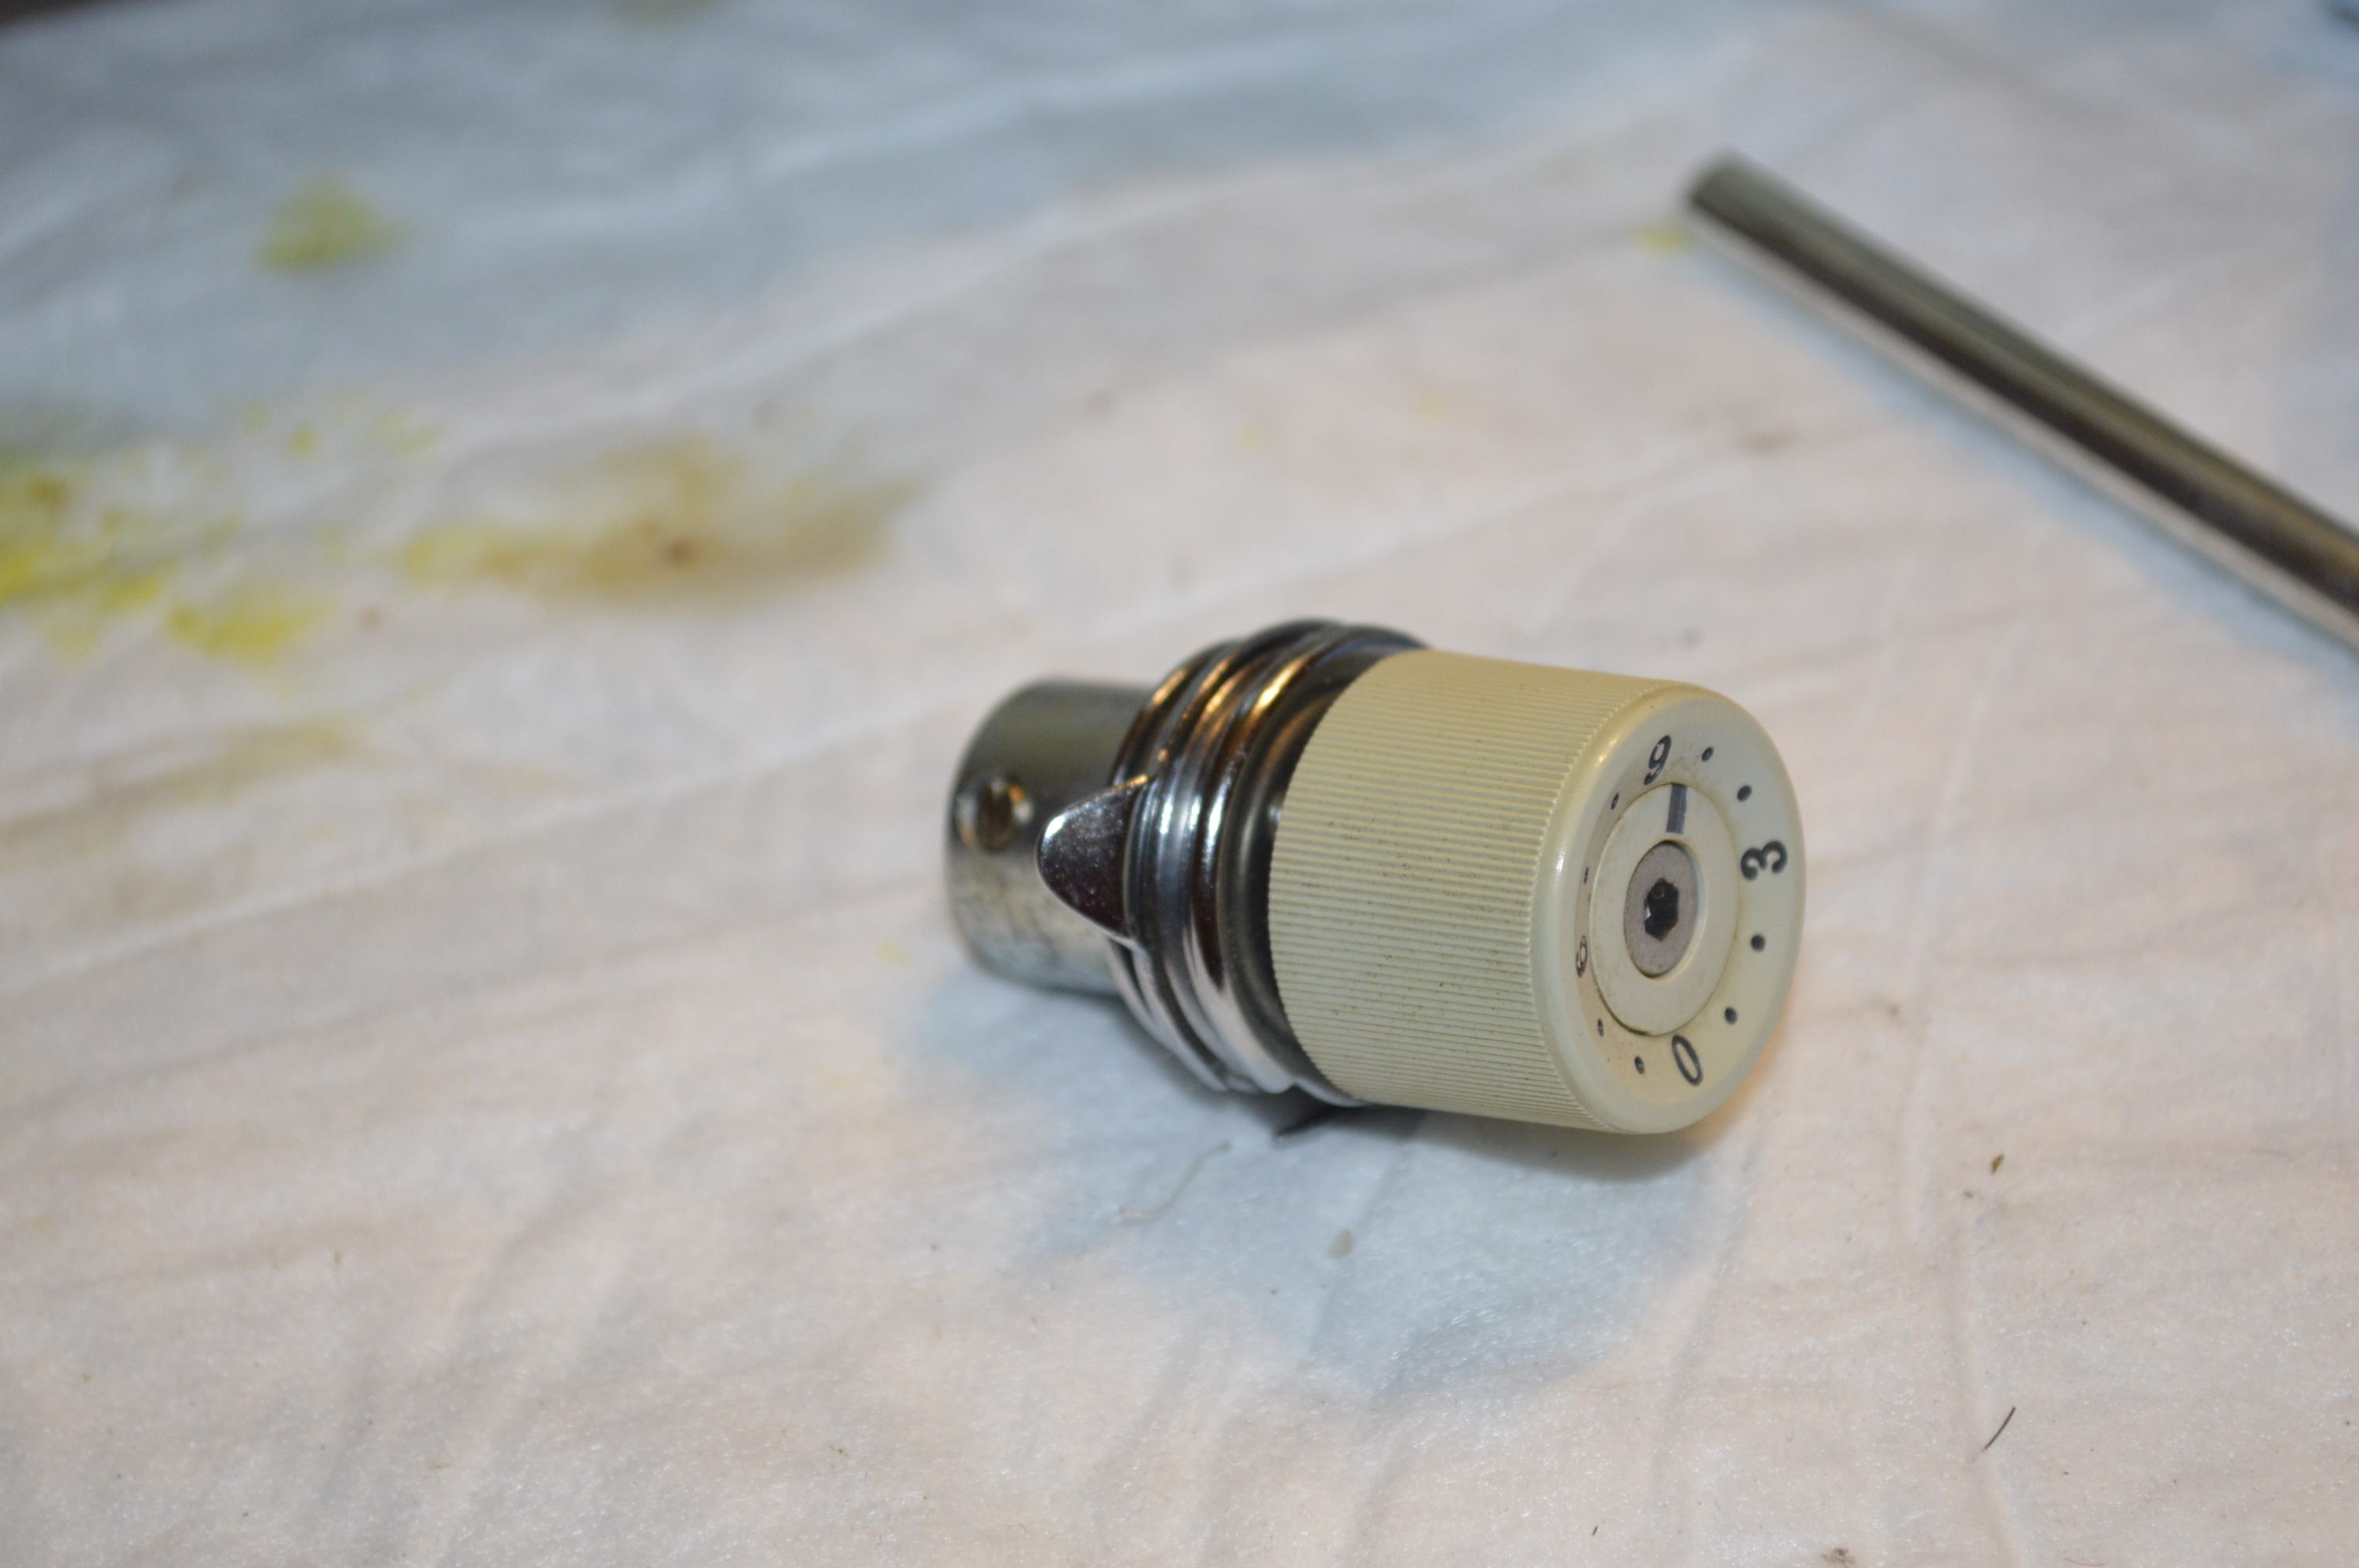
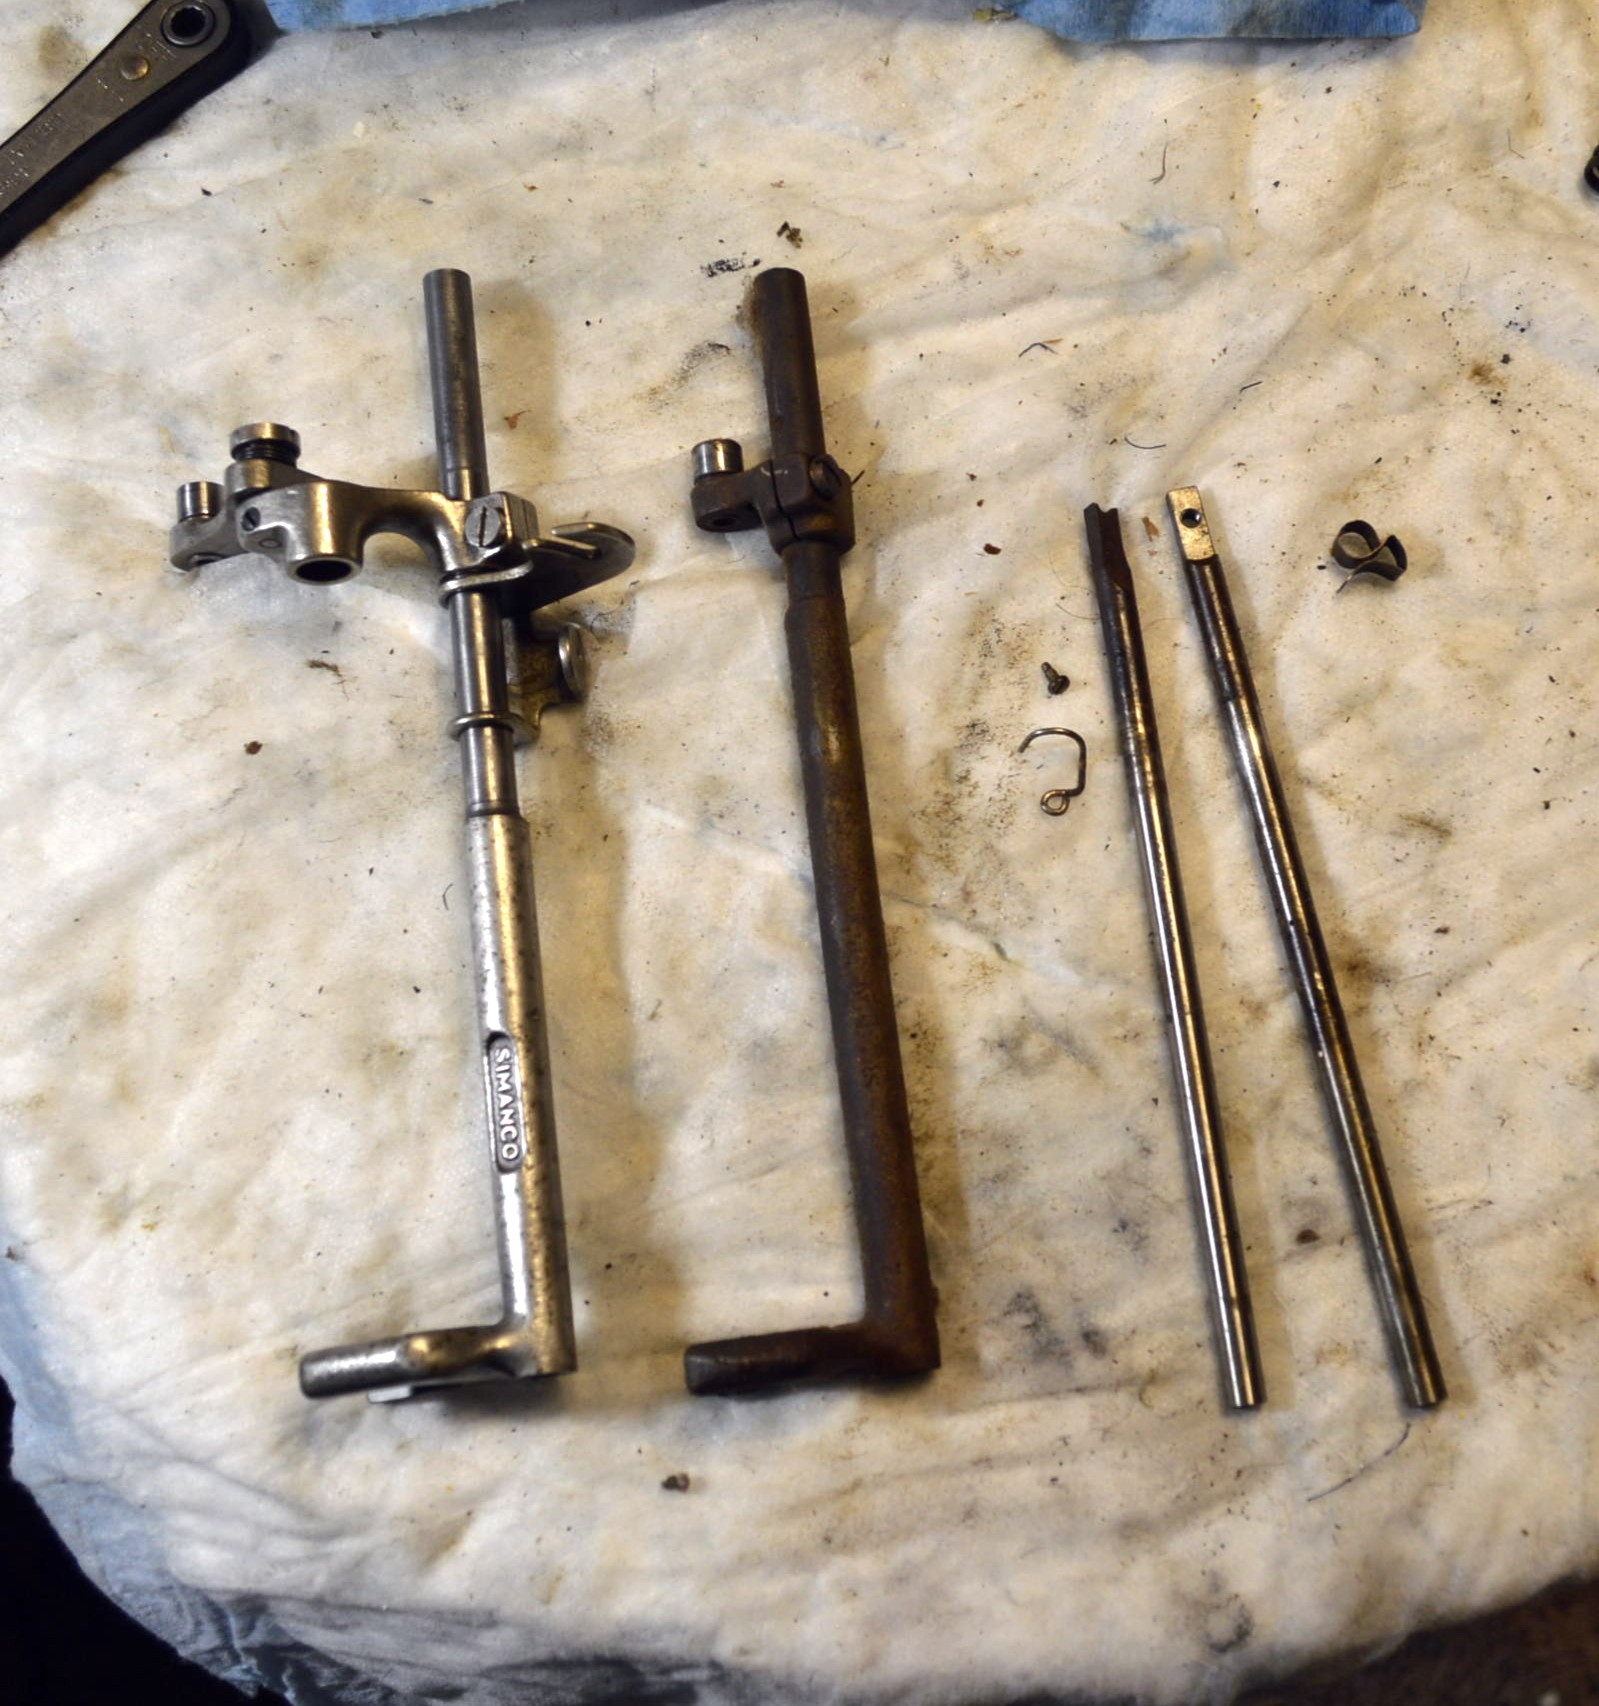
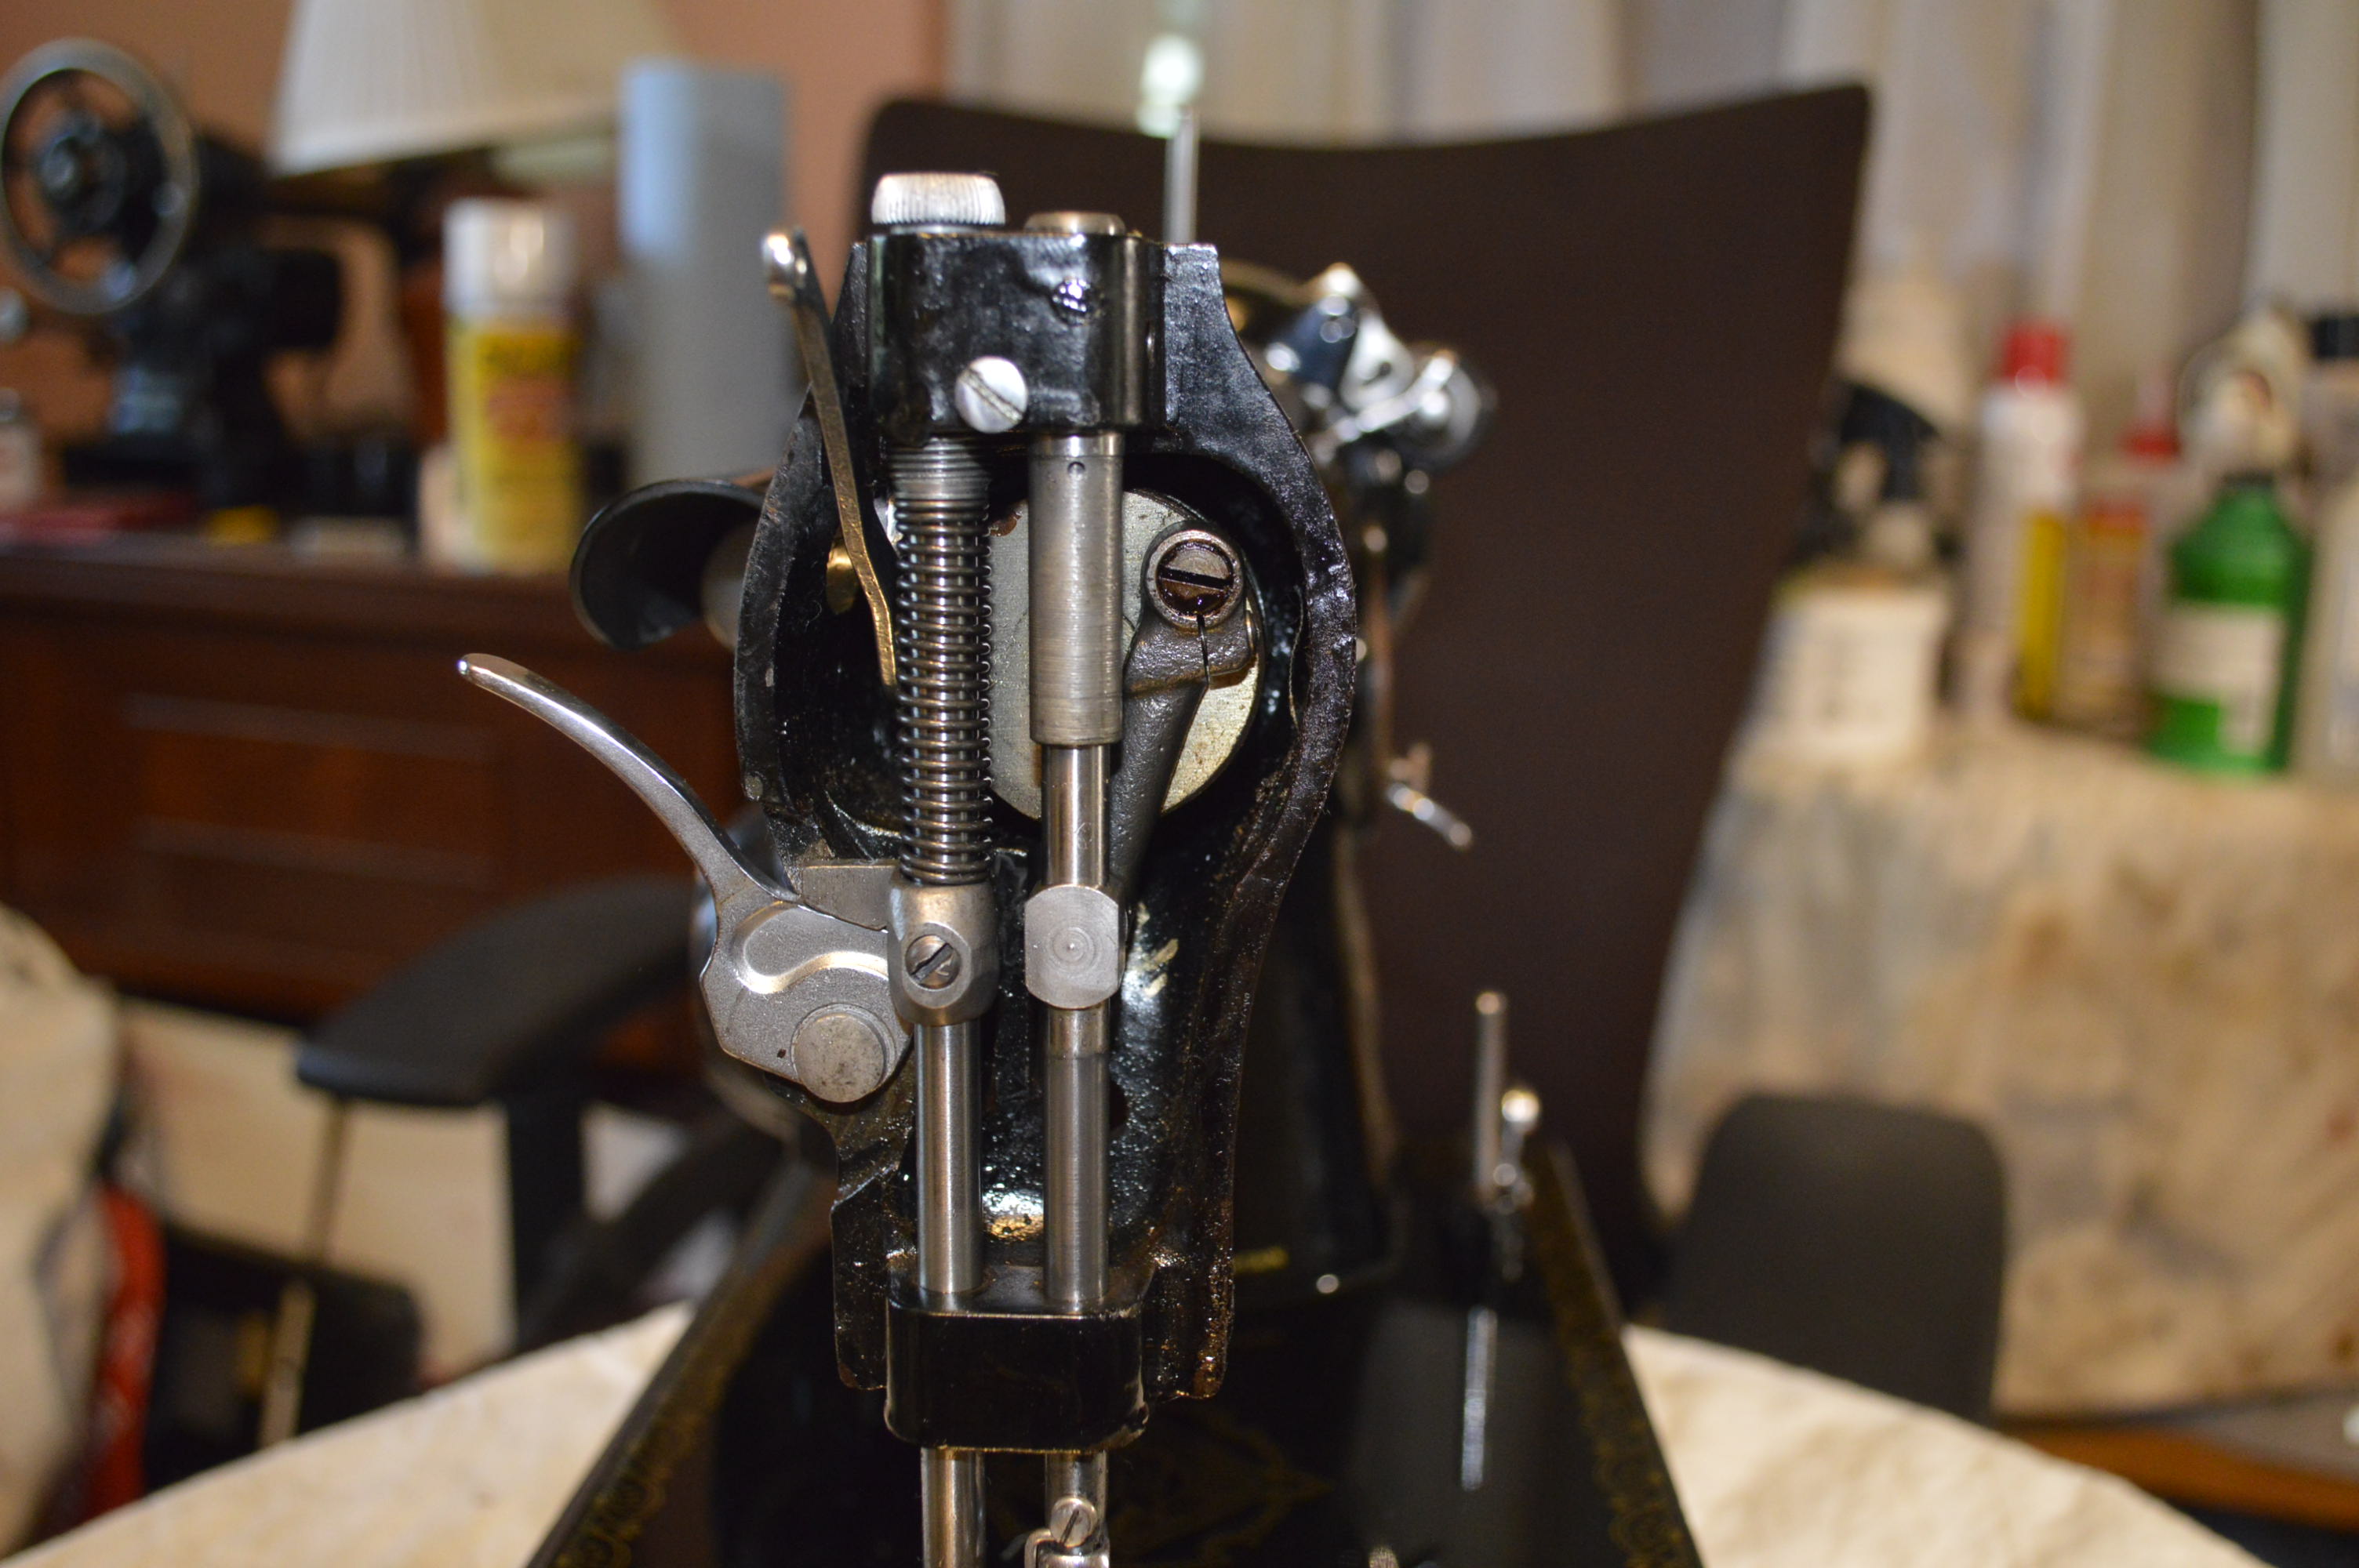
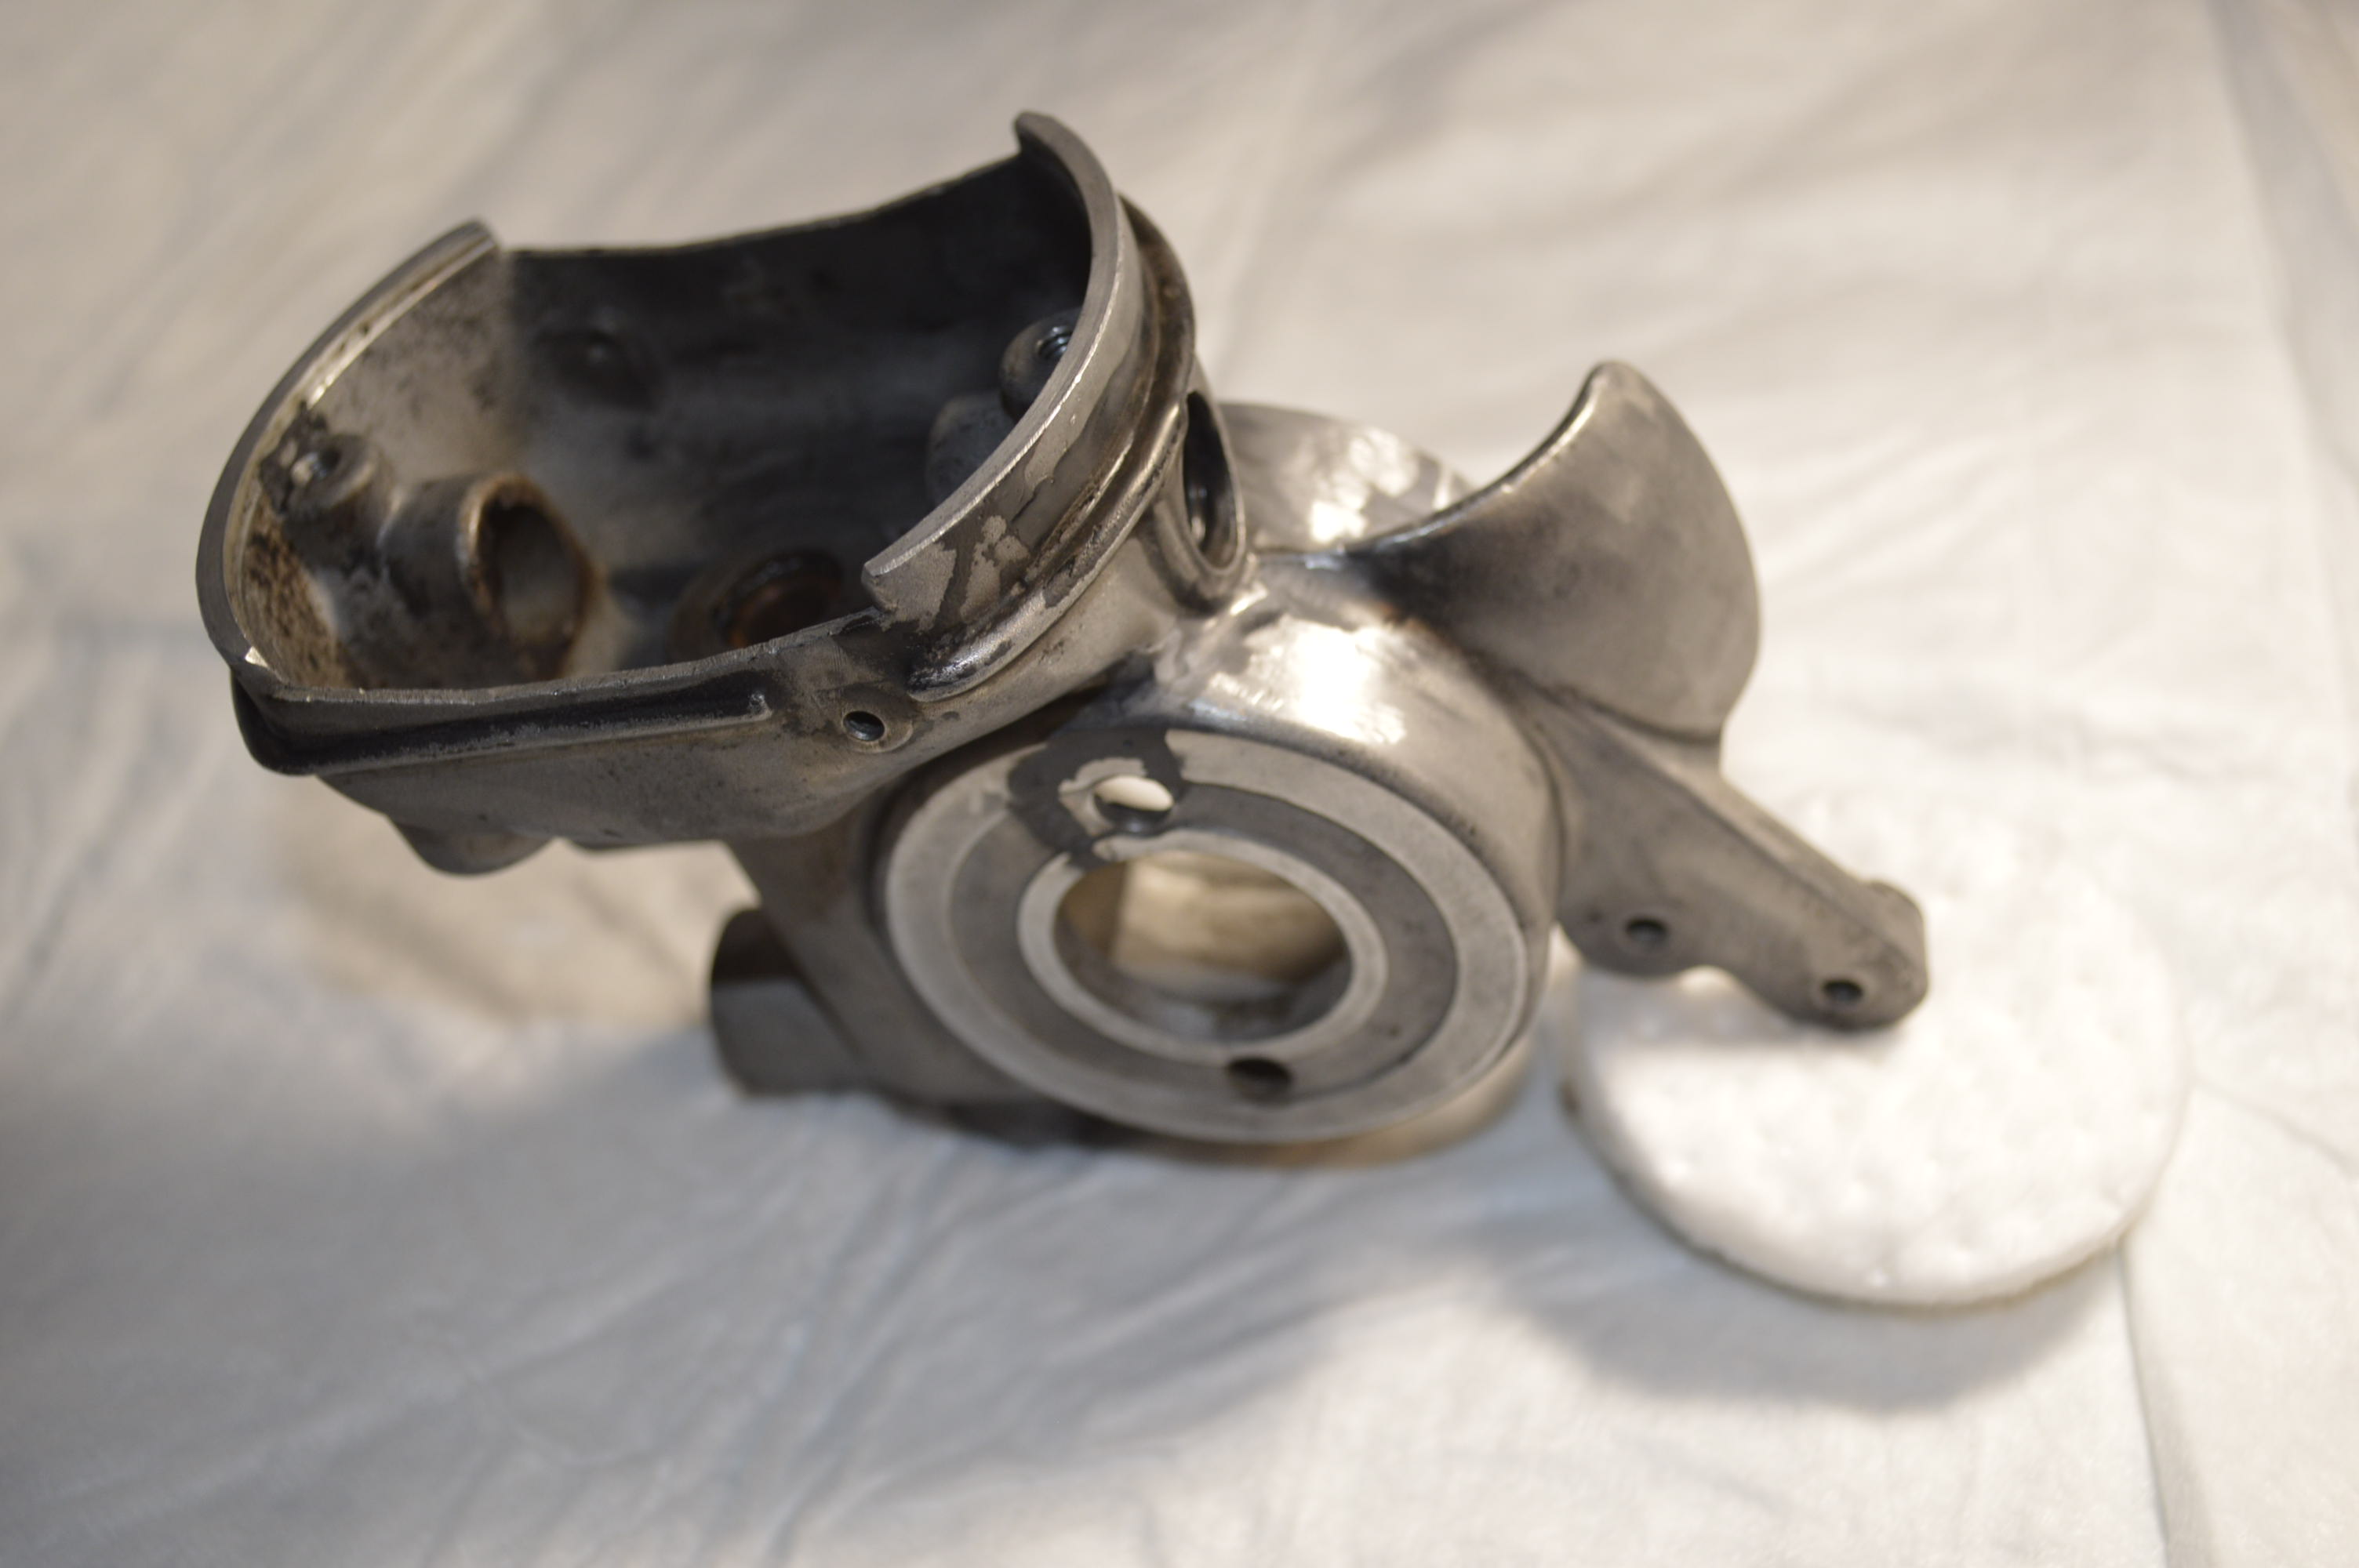
Now the top tension assembly and the bobbin case is disassembled. The top tension mechanism is ultrasonically cleaned, and the tension discs soaked in 99% alcohol to remove any trace of water. The tension mechanism is reassembled and ready to be installed.
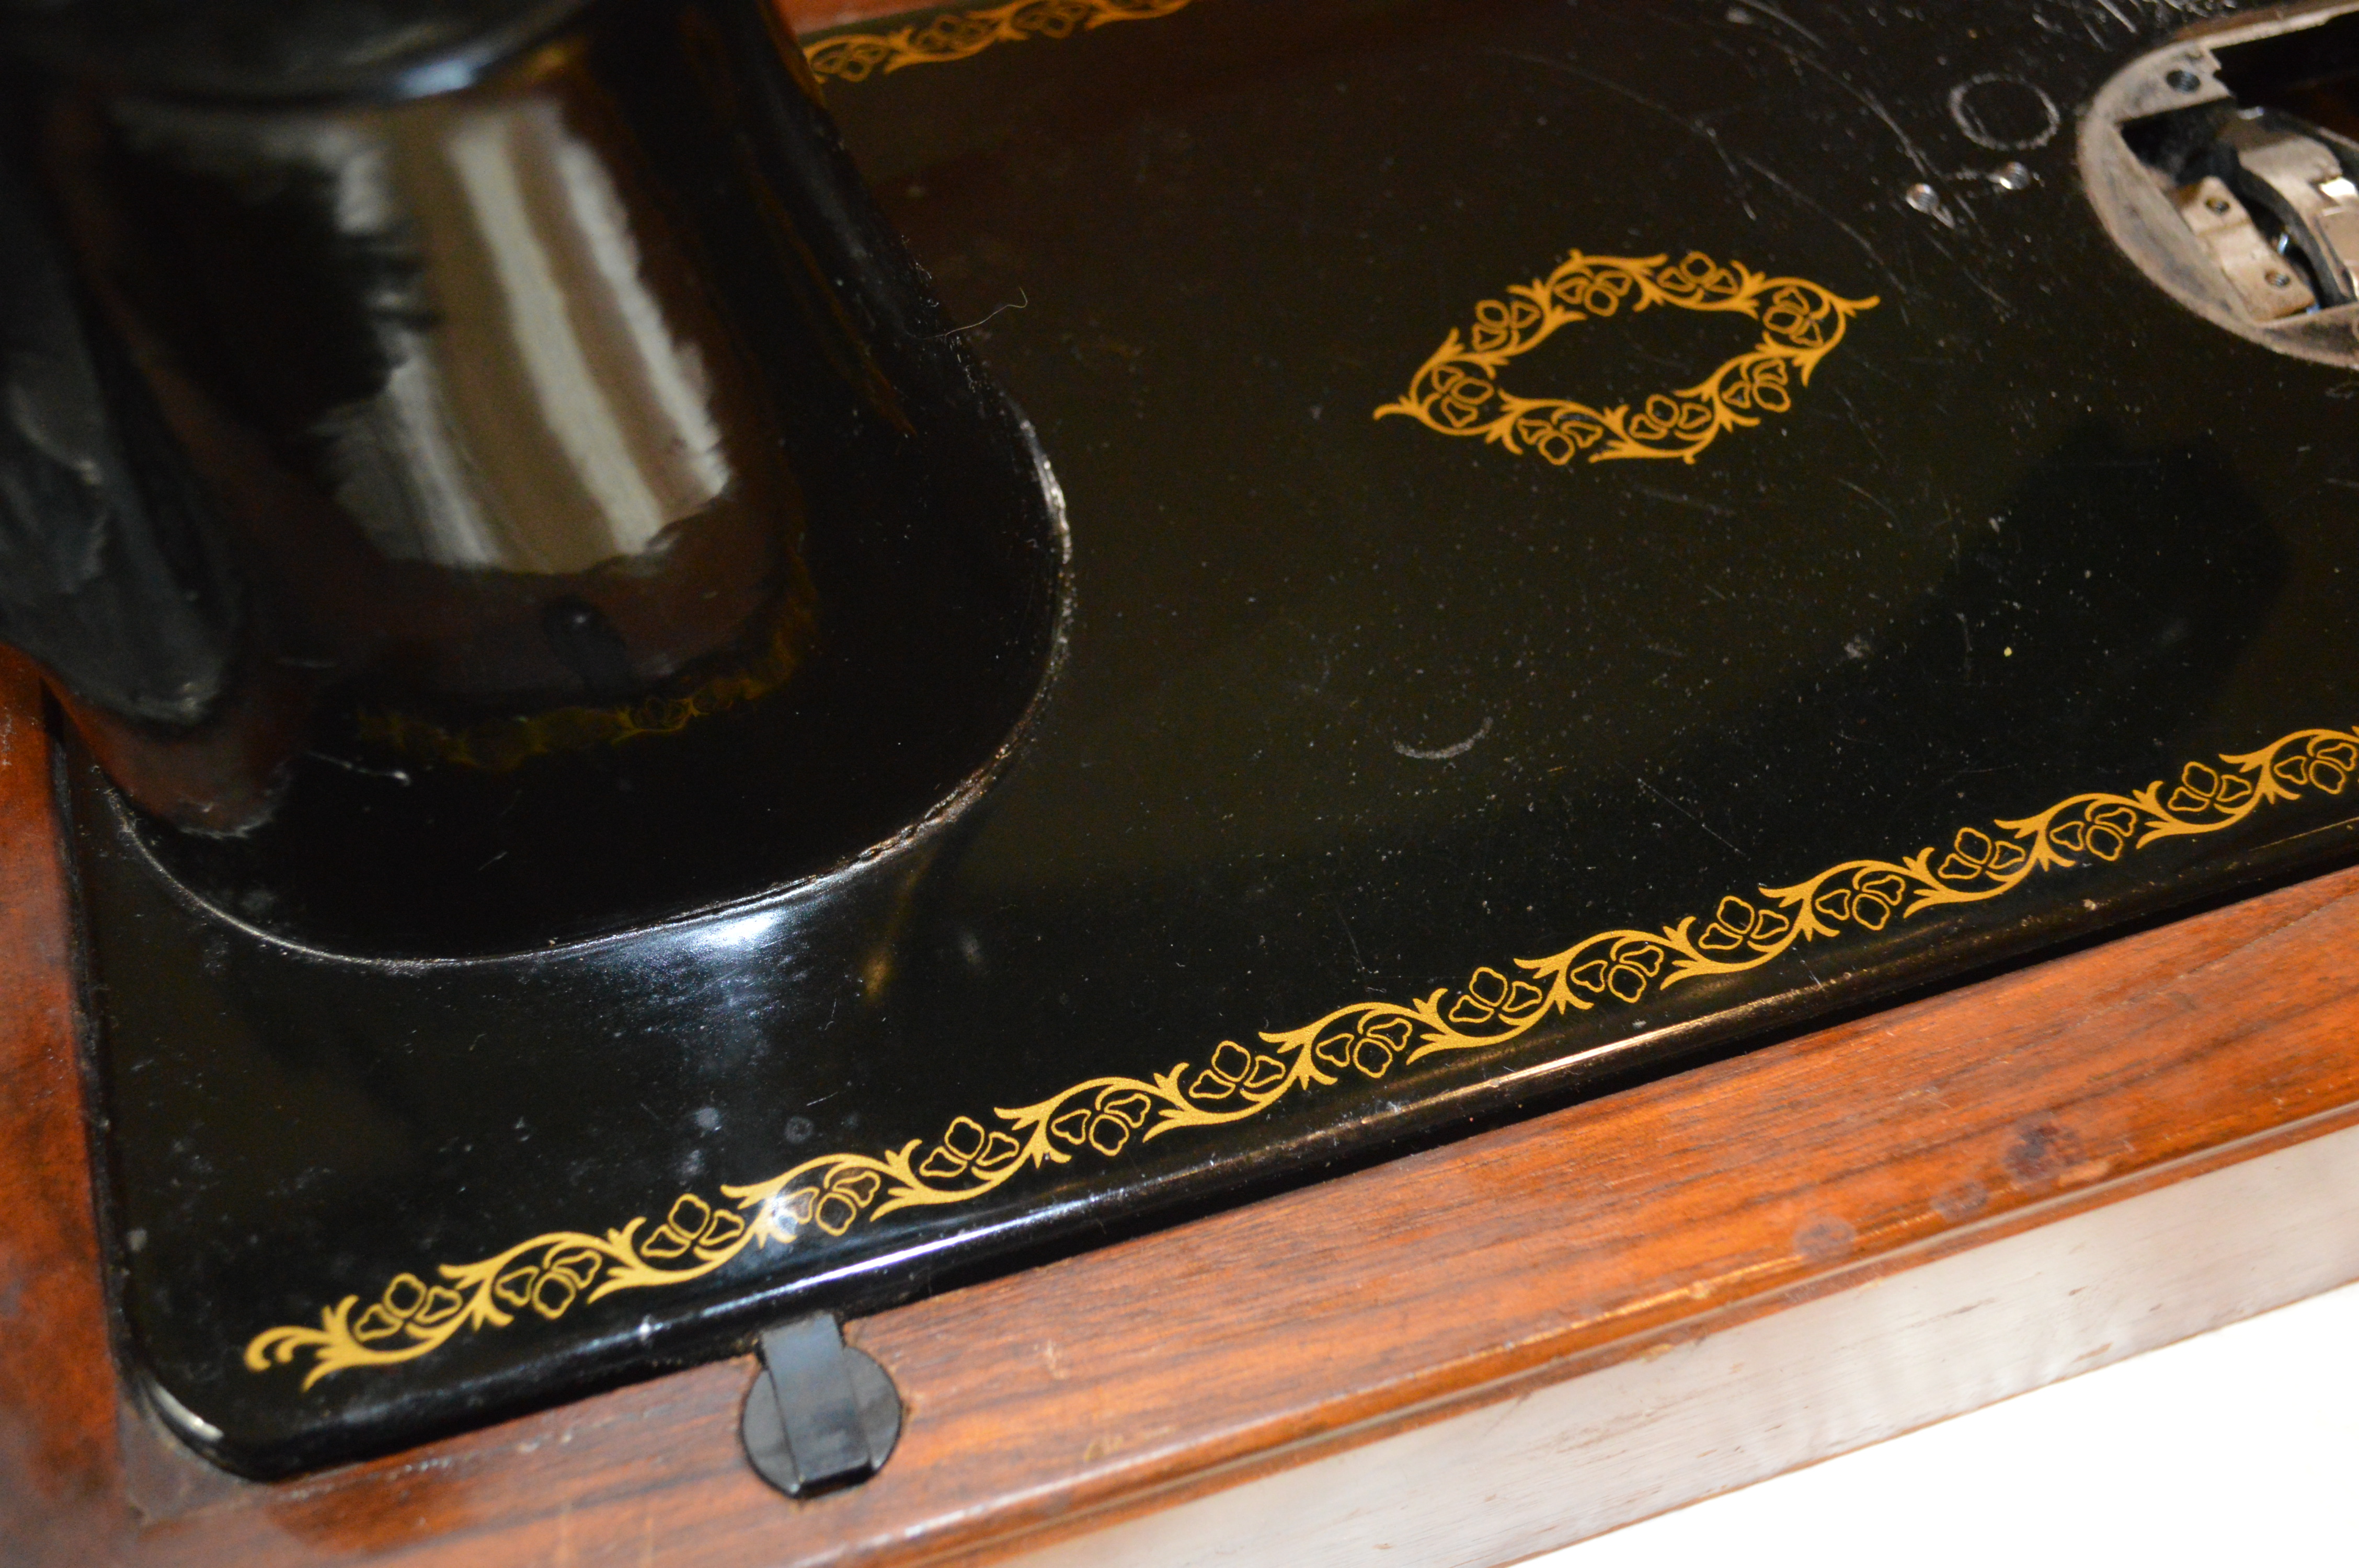
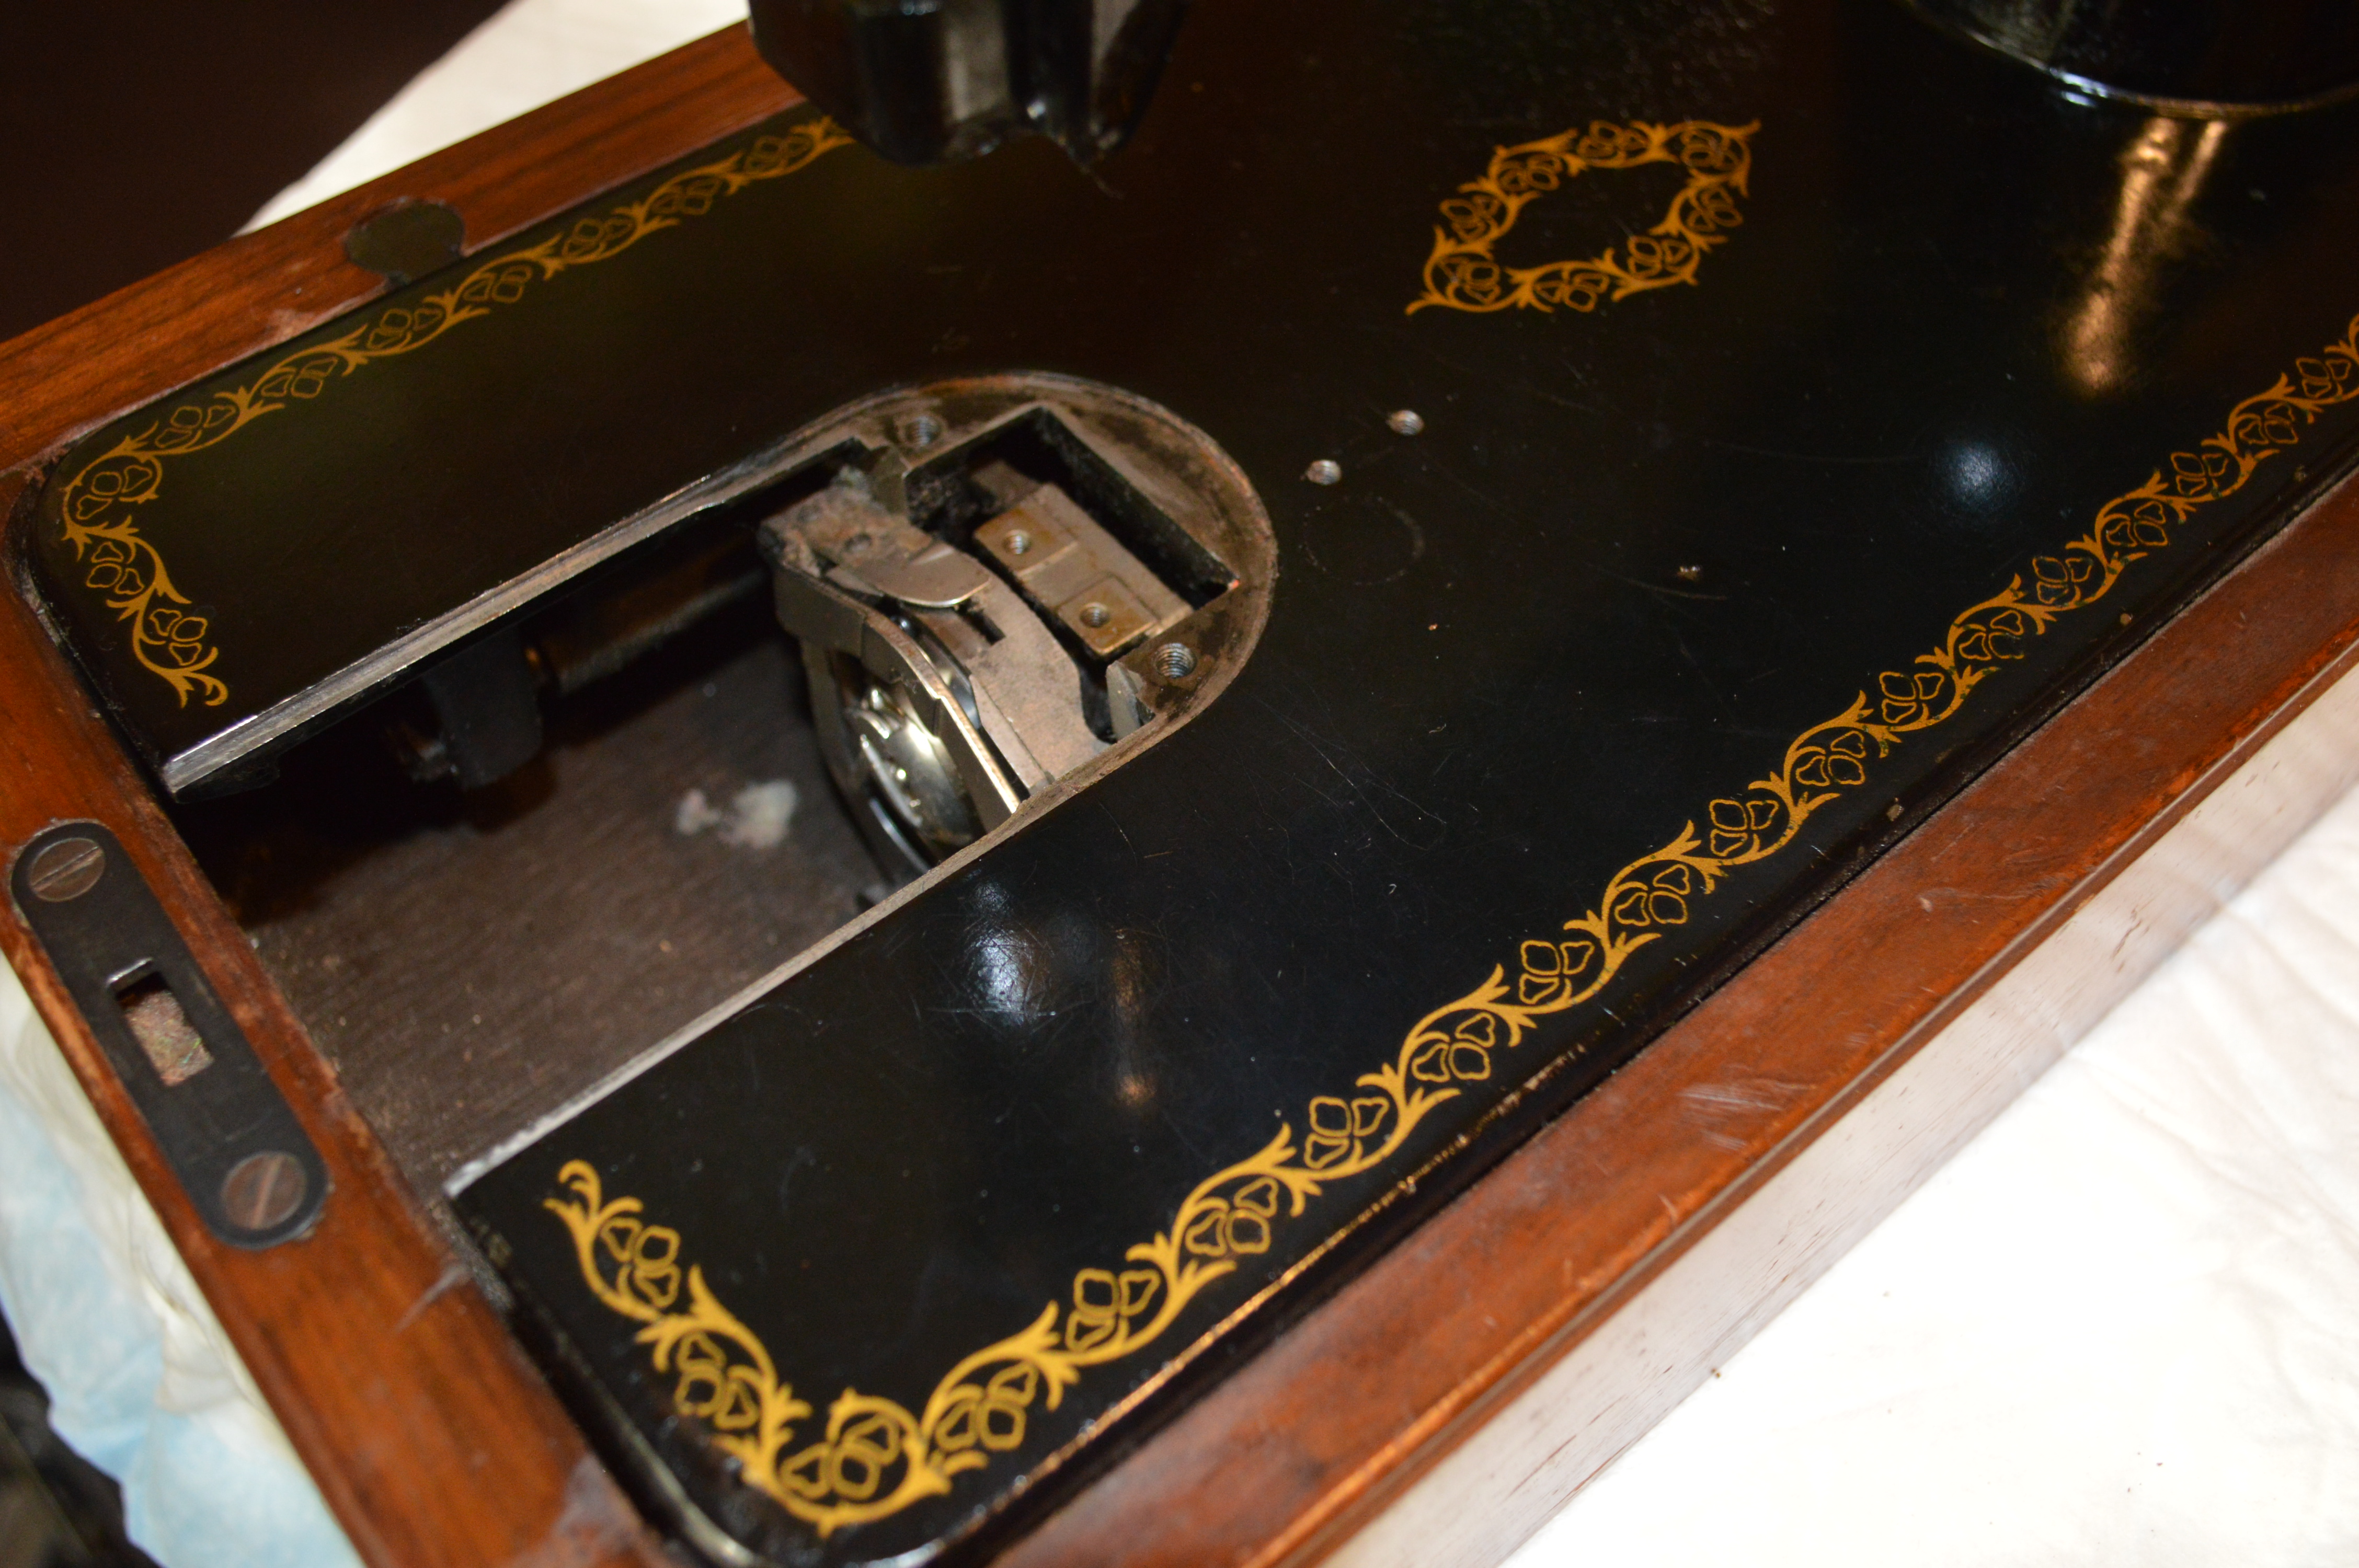
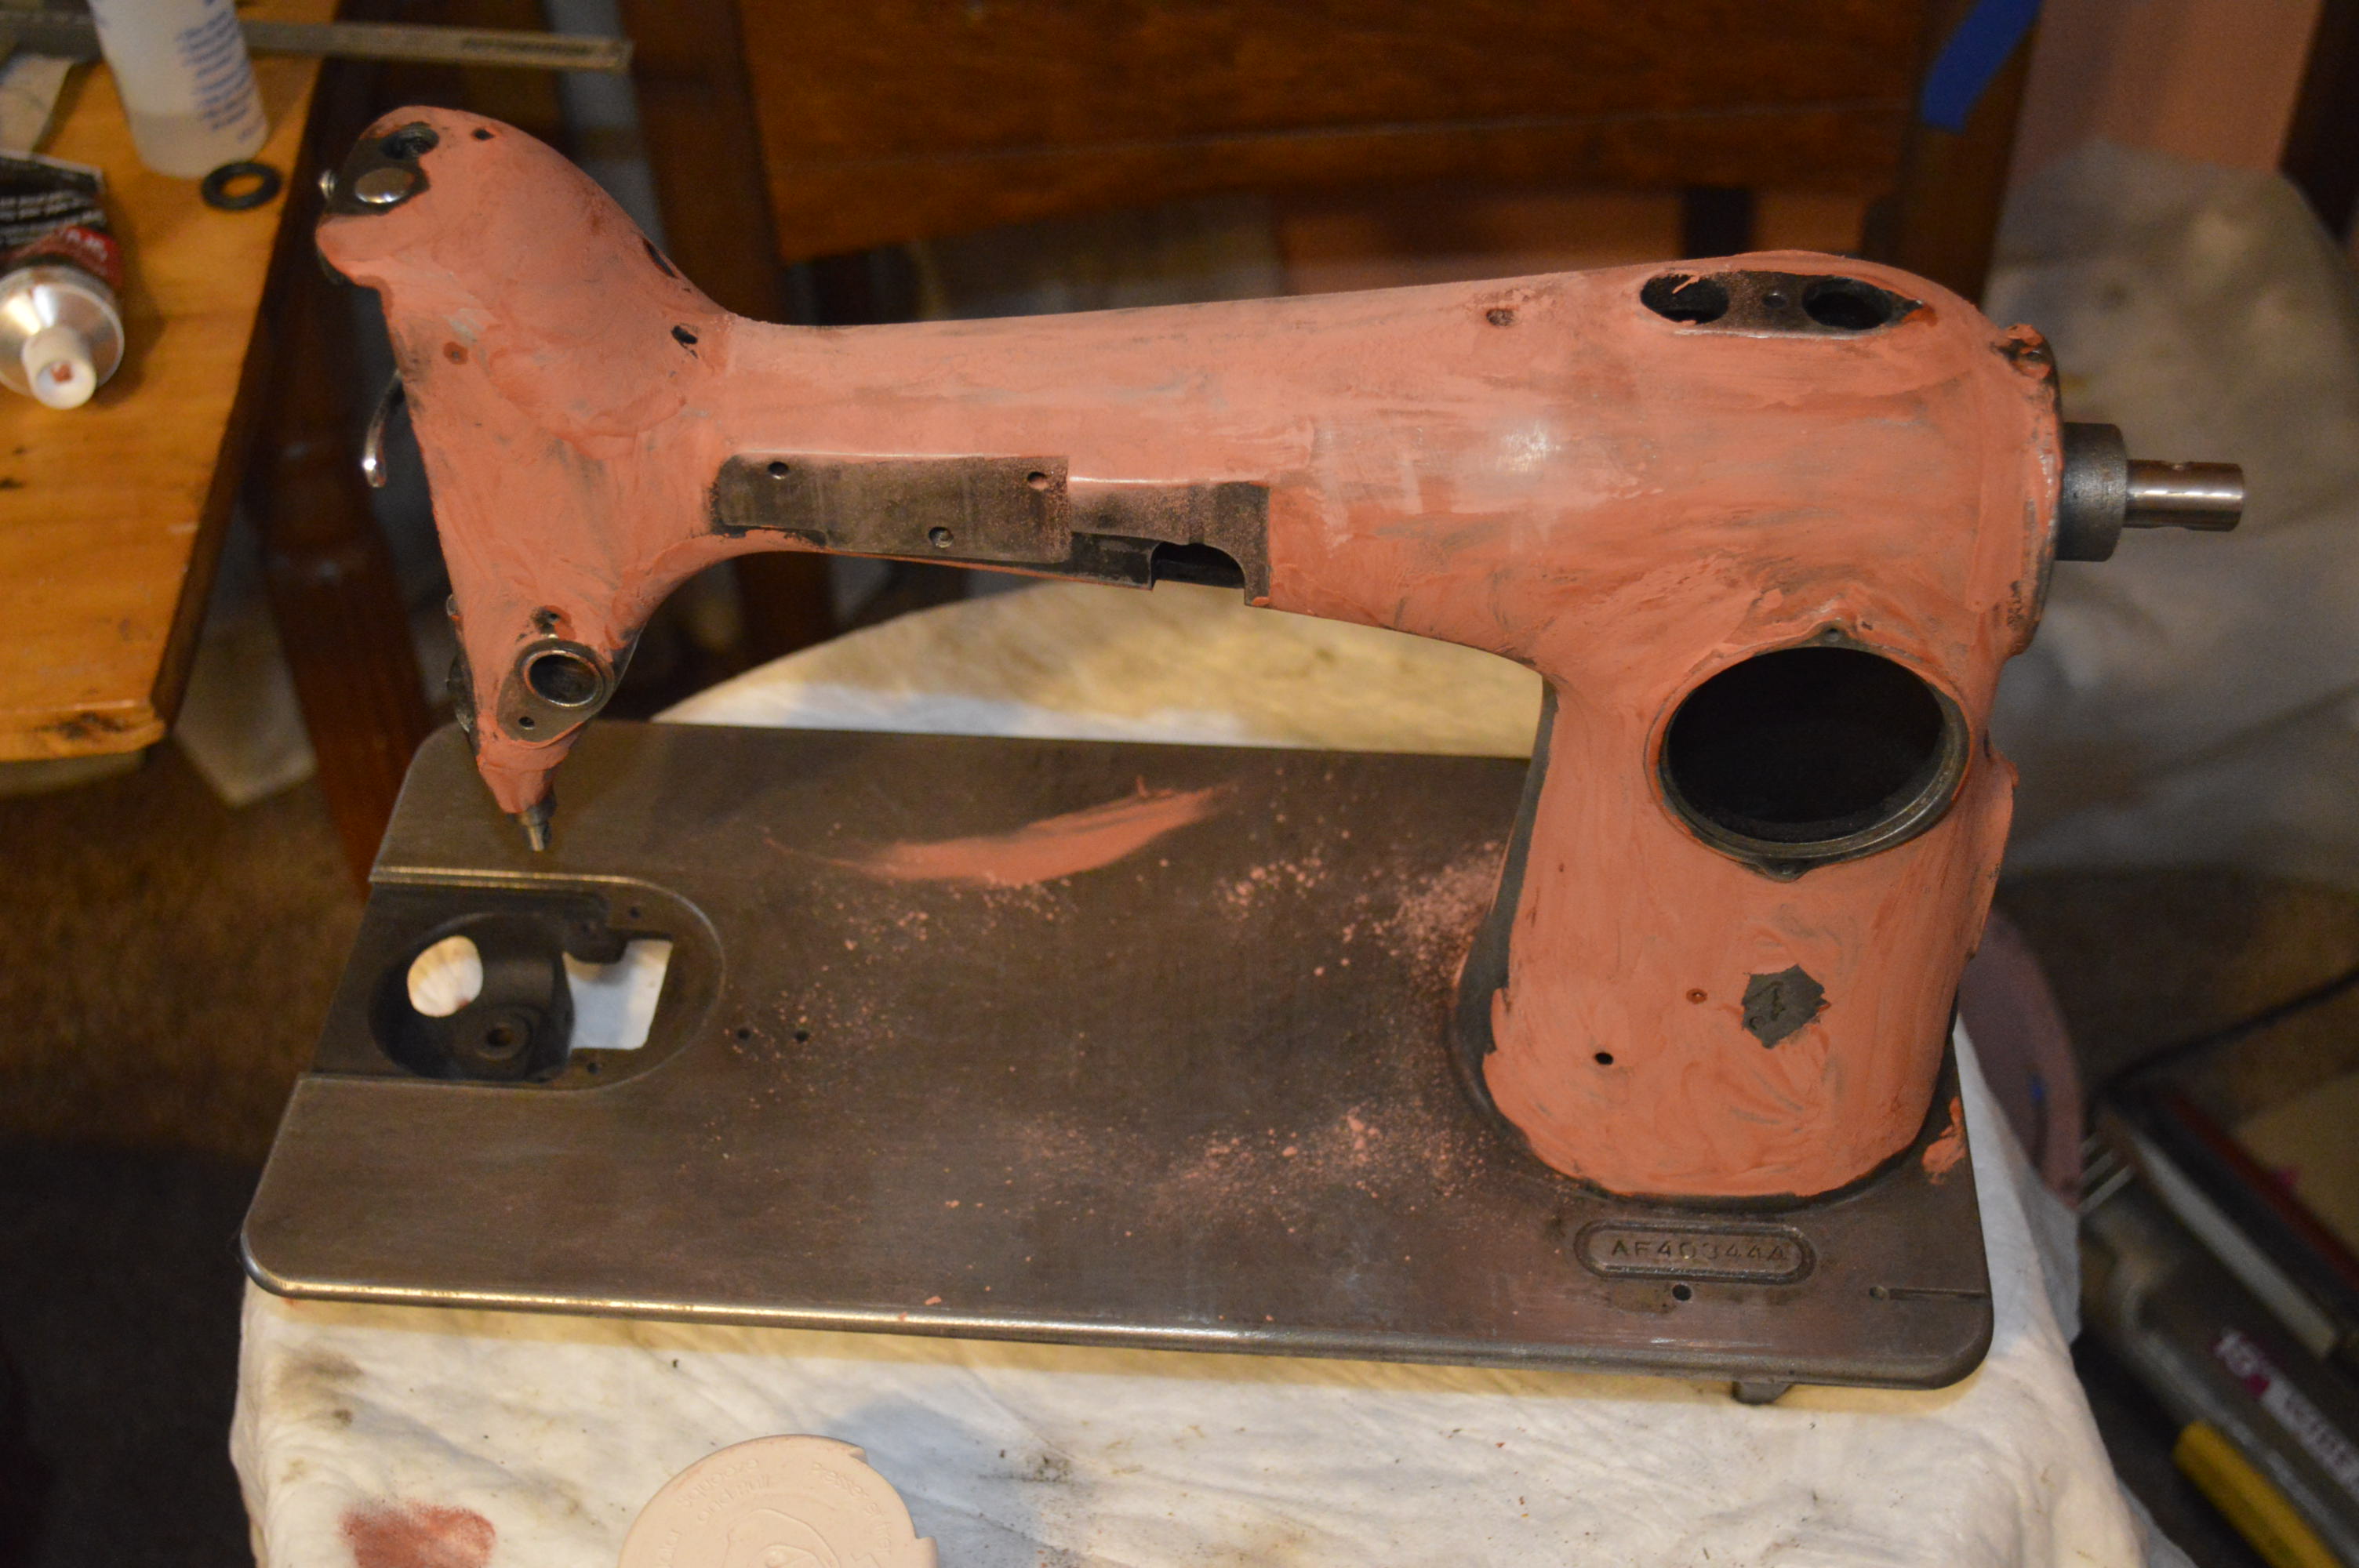
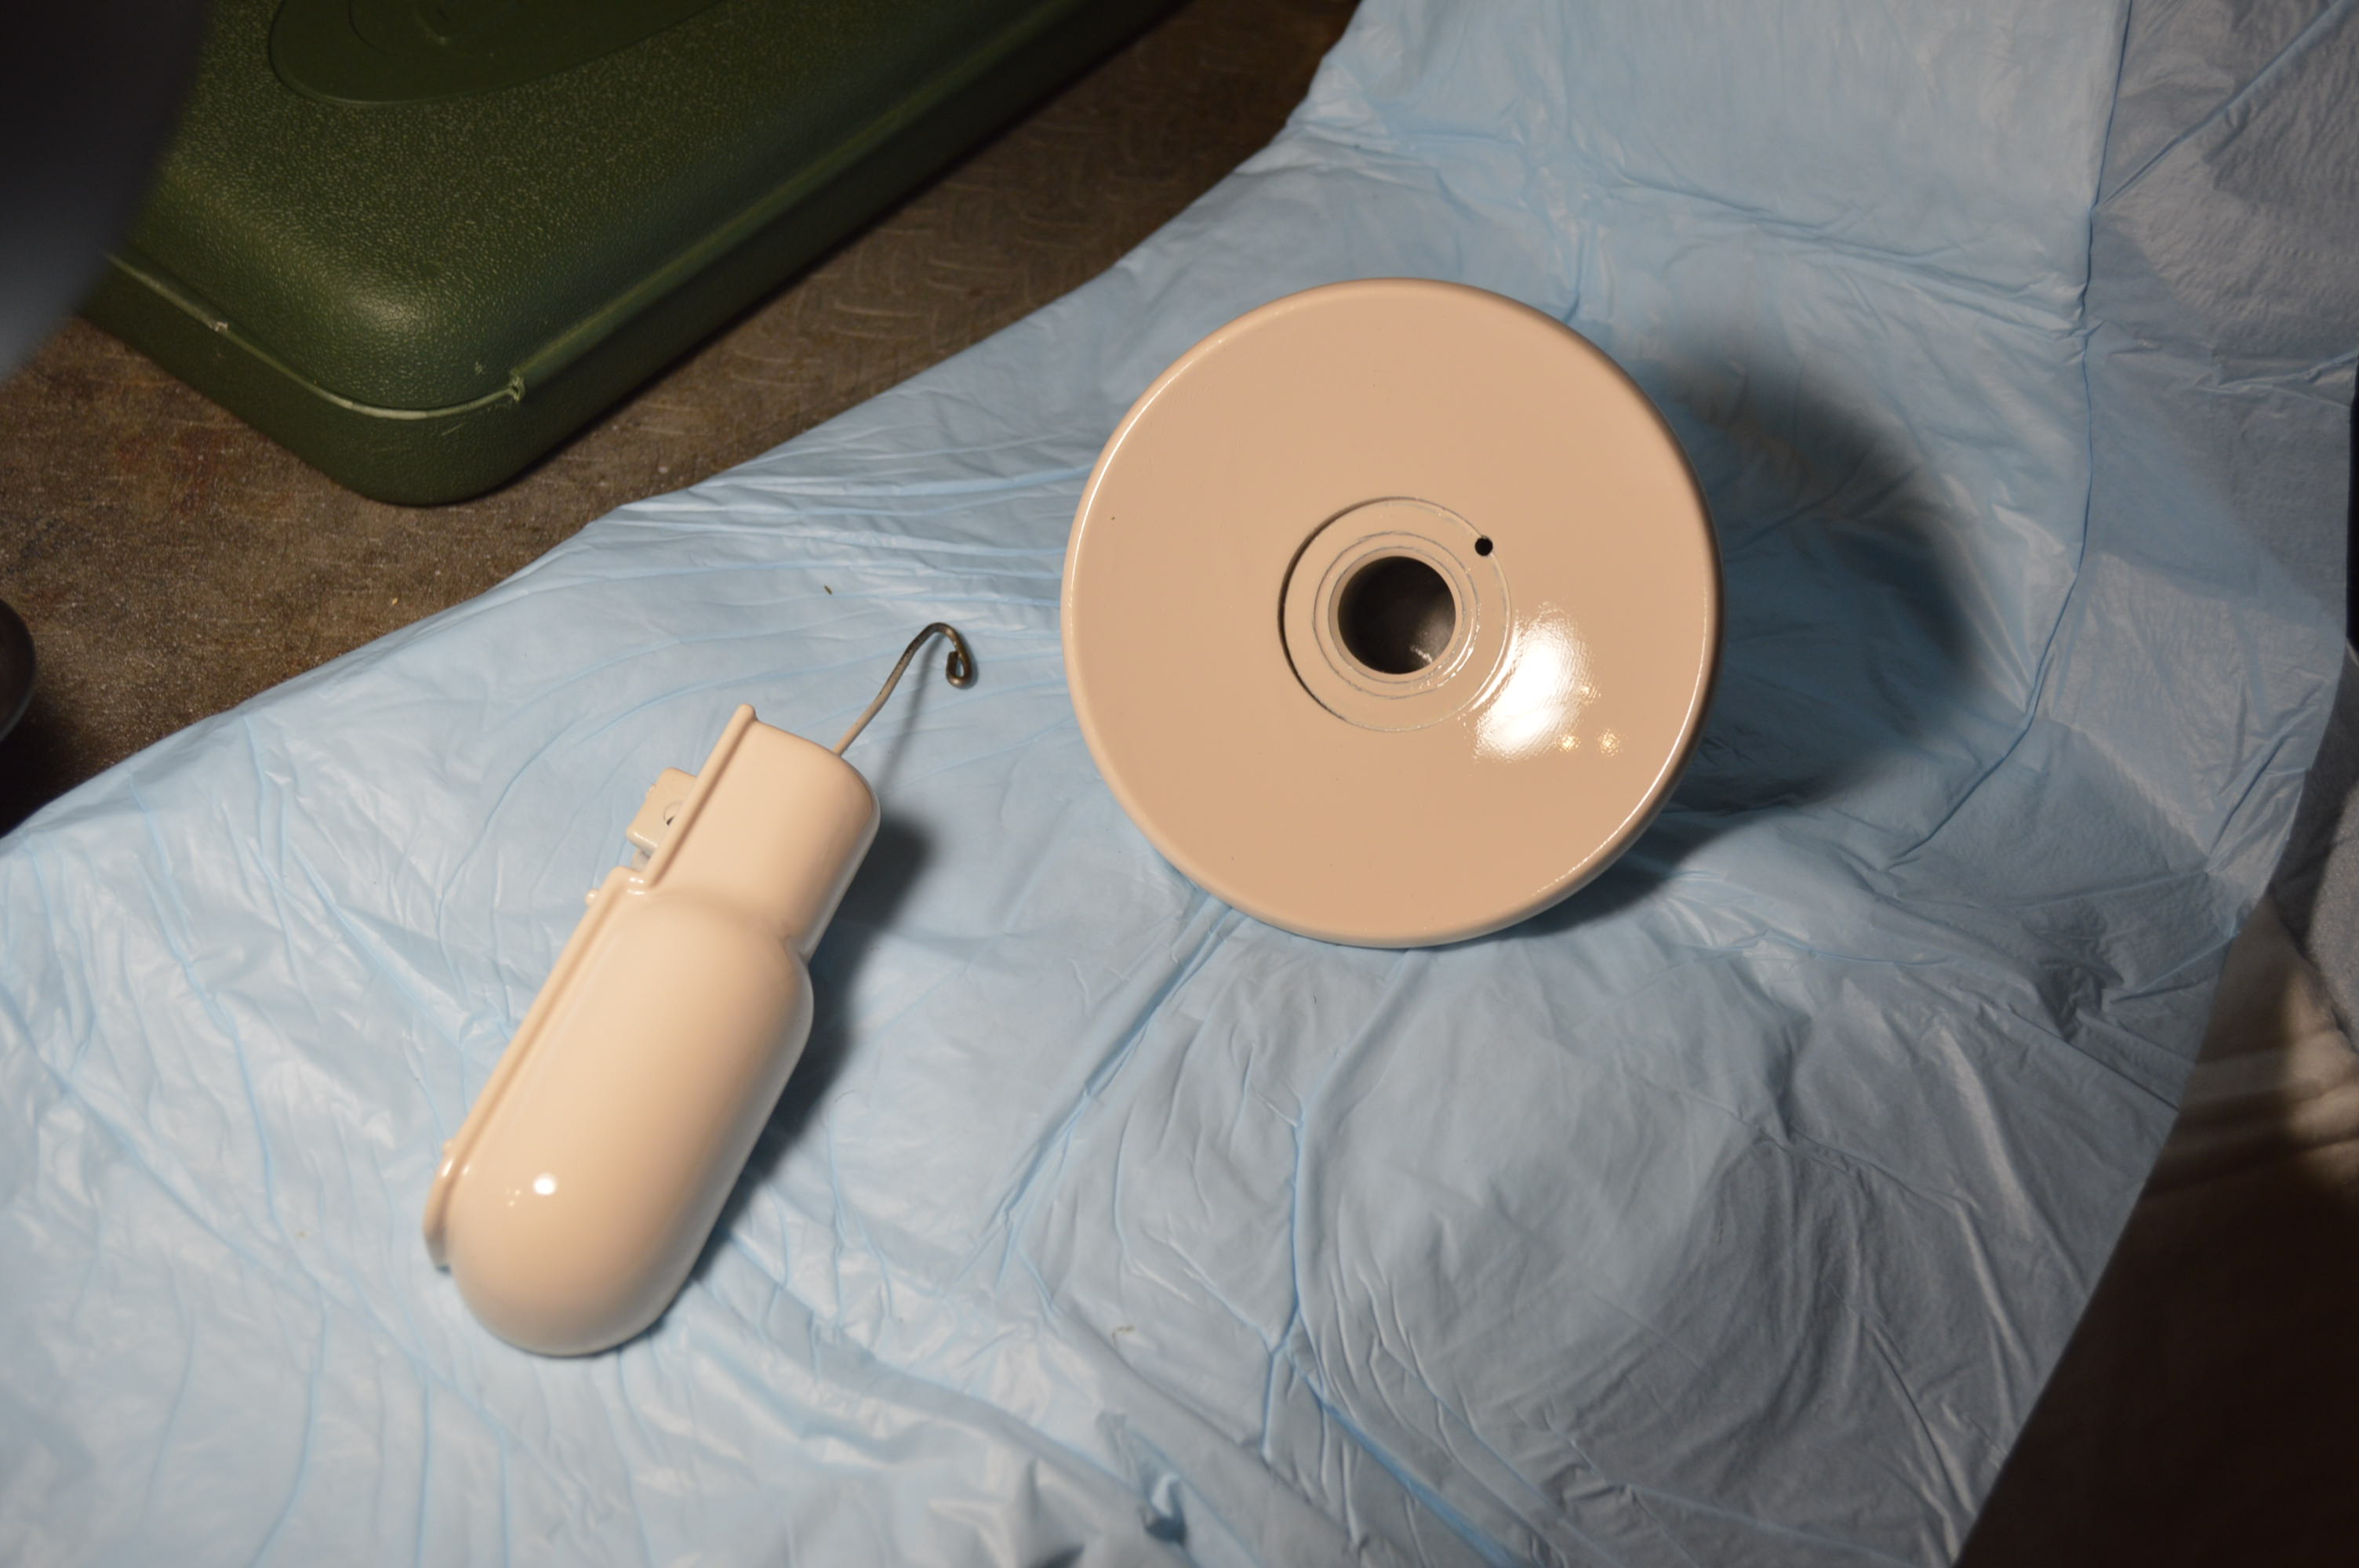
The back plate, top cover, front cover, balance wheel and the body of the machine is cleaned. Then the body of the machine… here I am going to tackle the previously mentioned “stain” in the next step of glaze polishing.
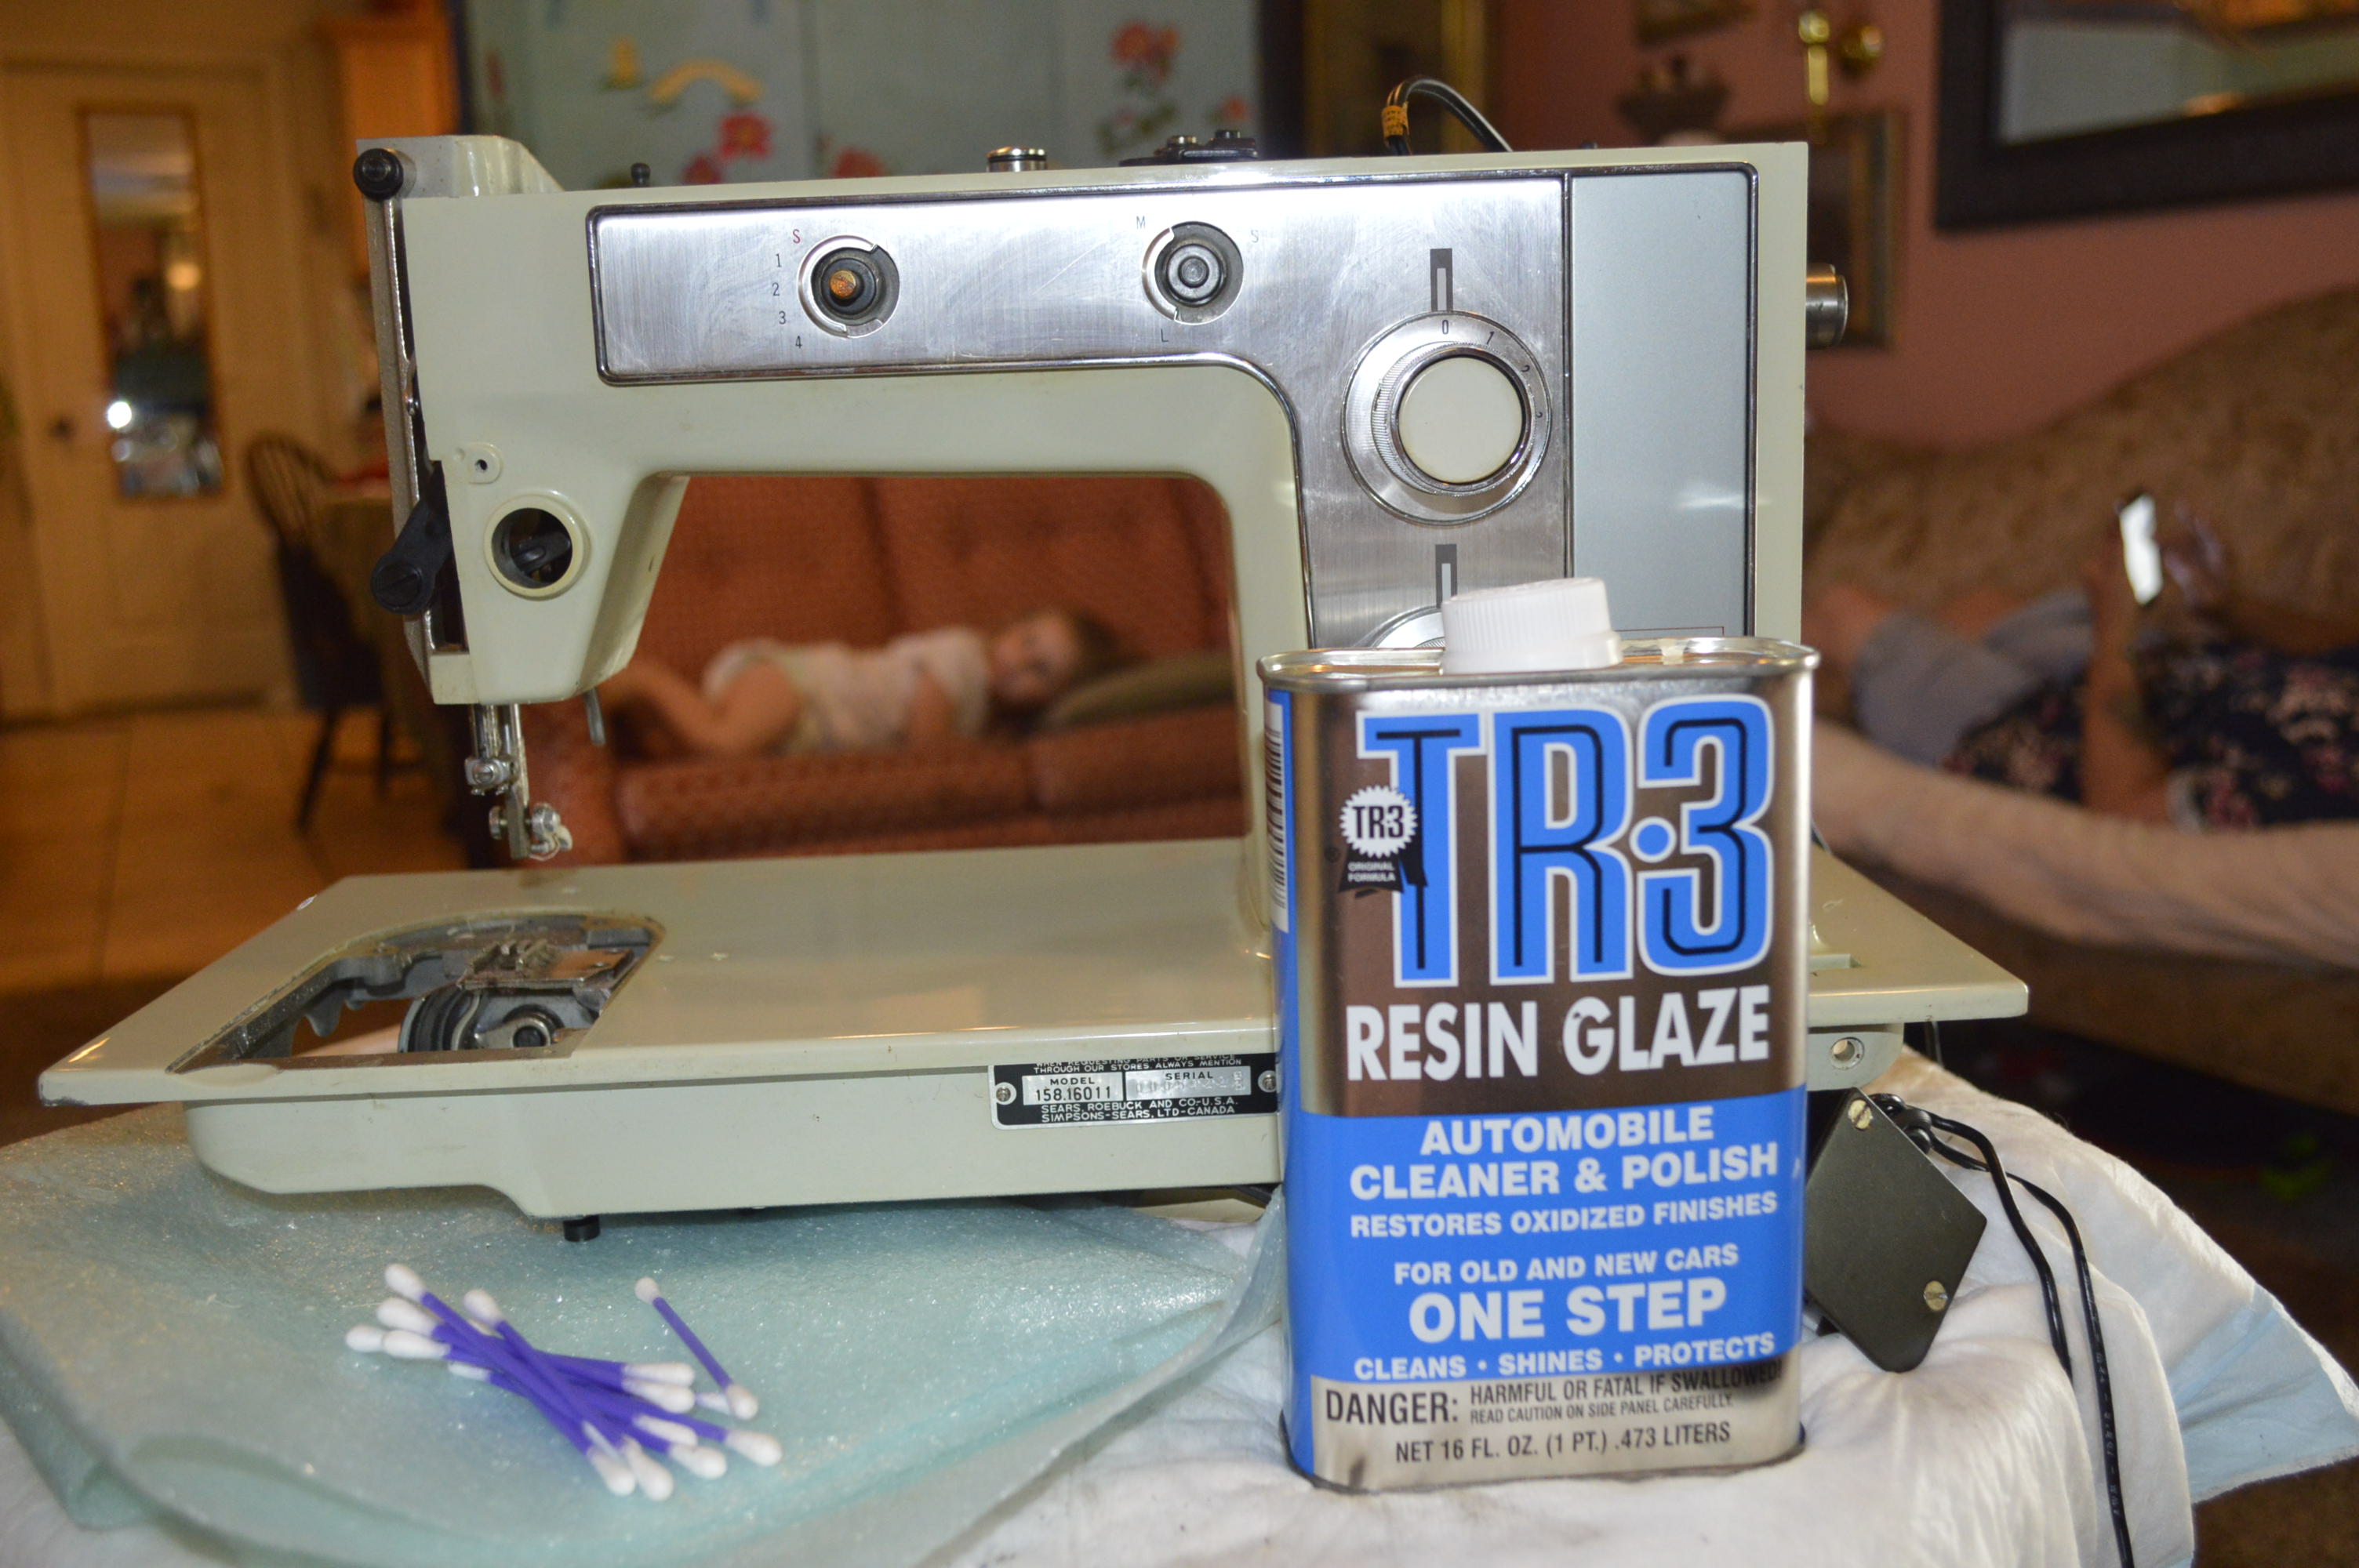
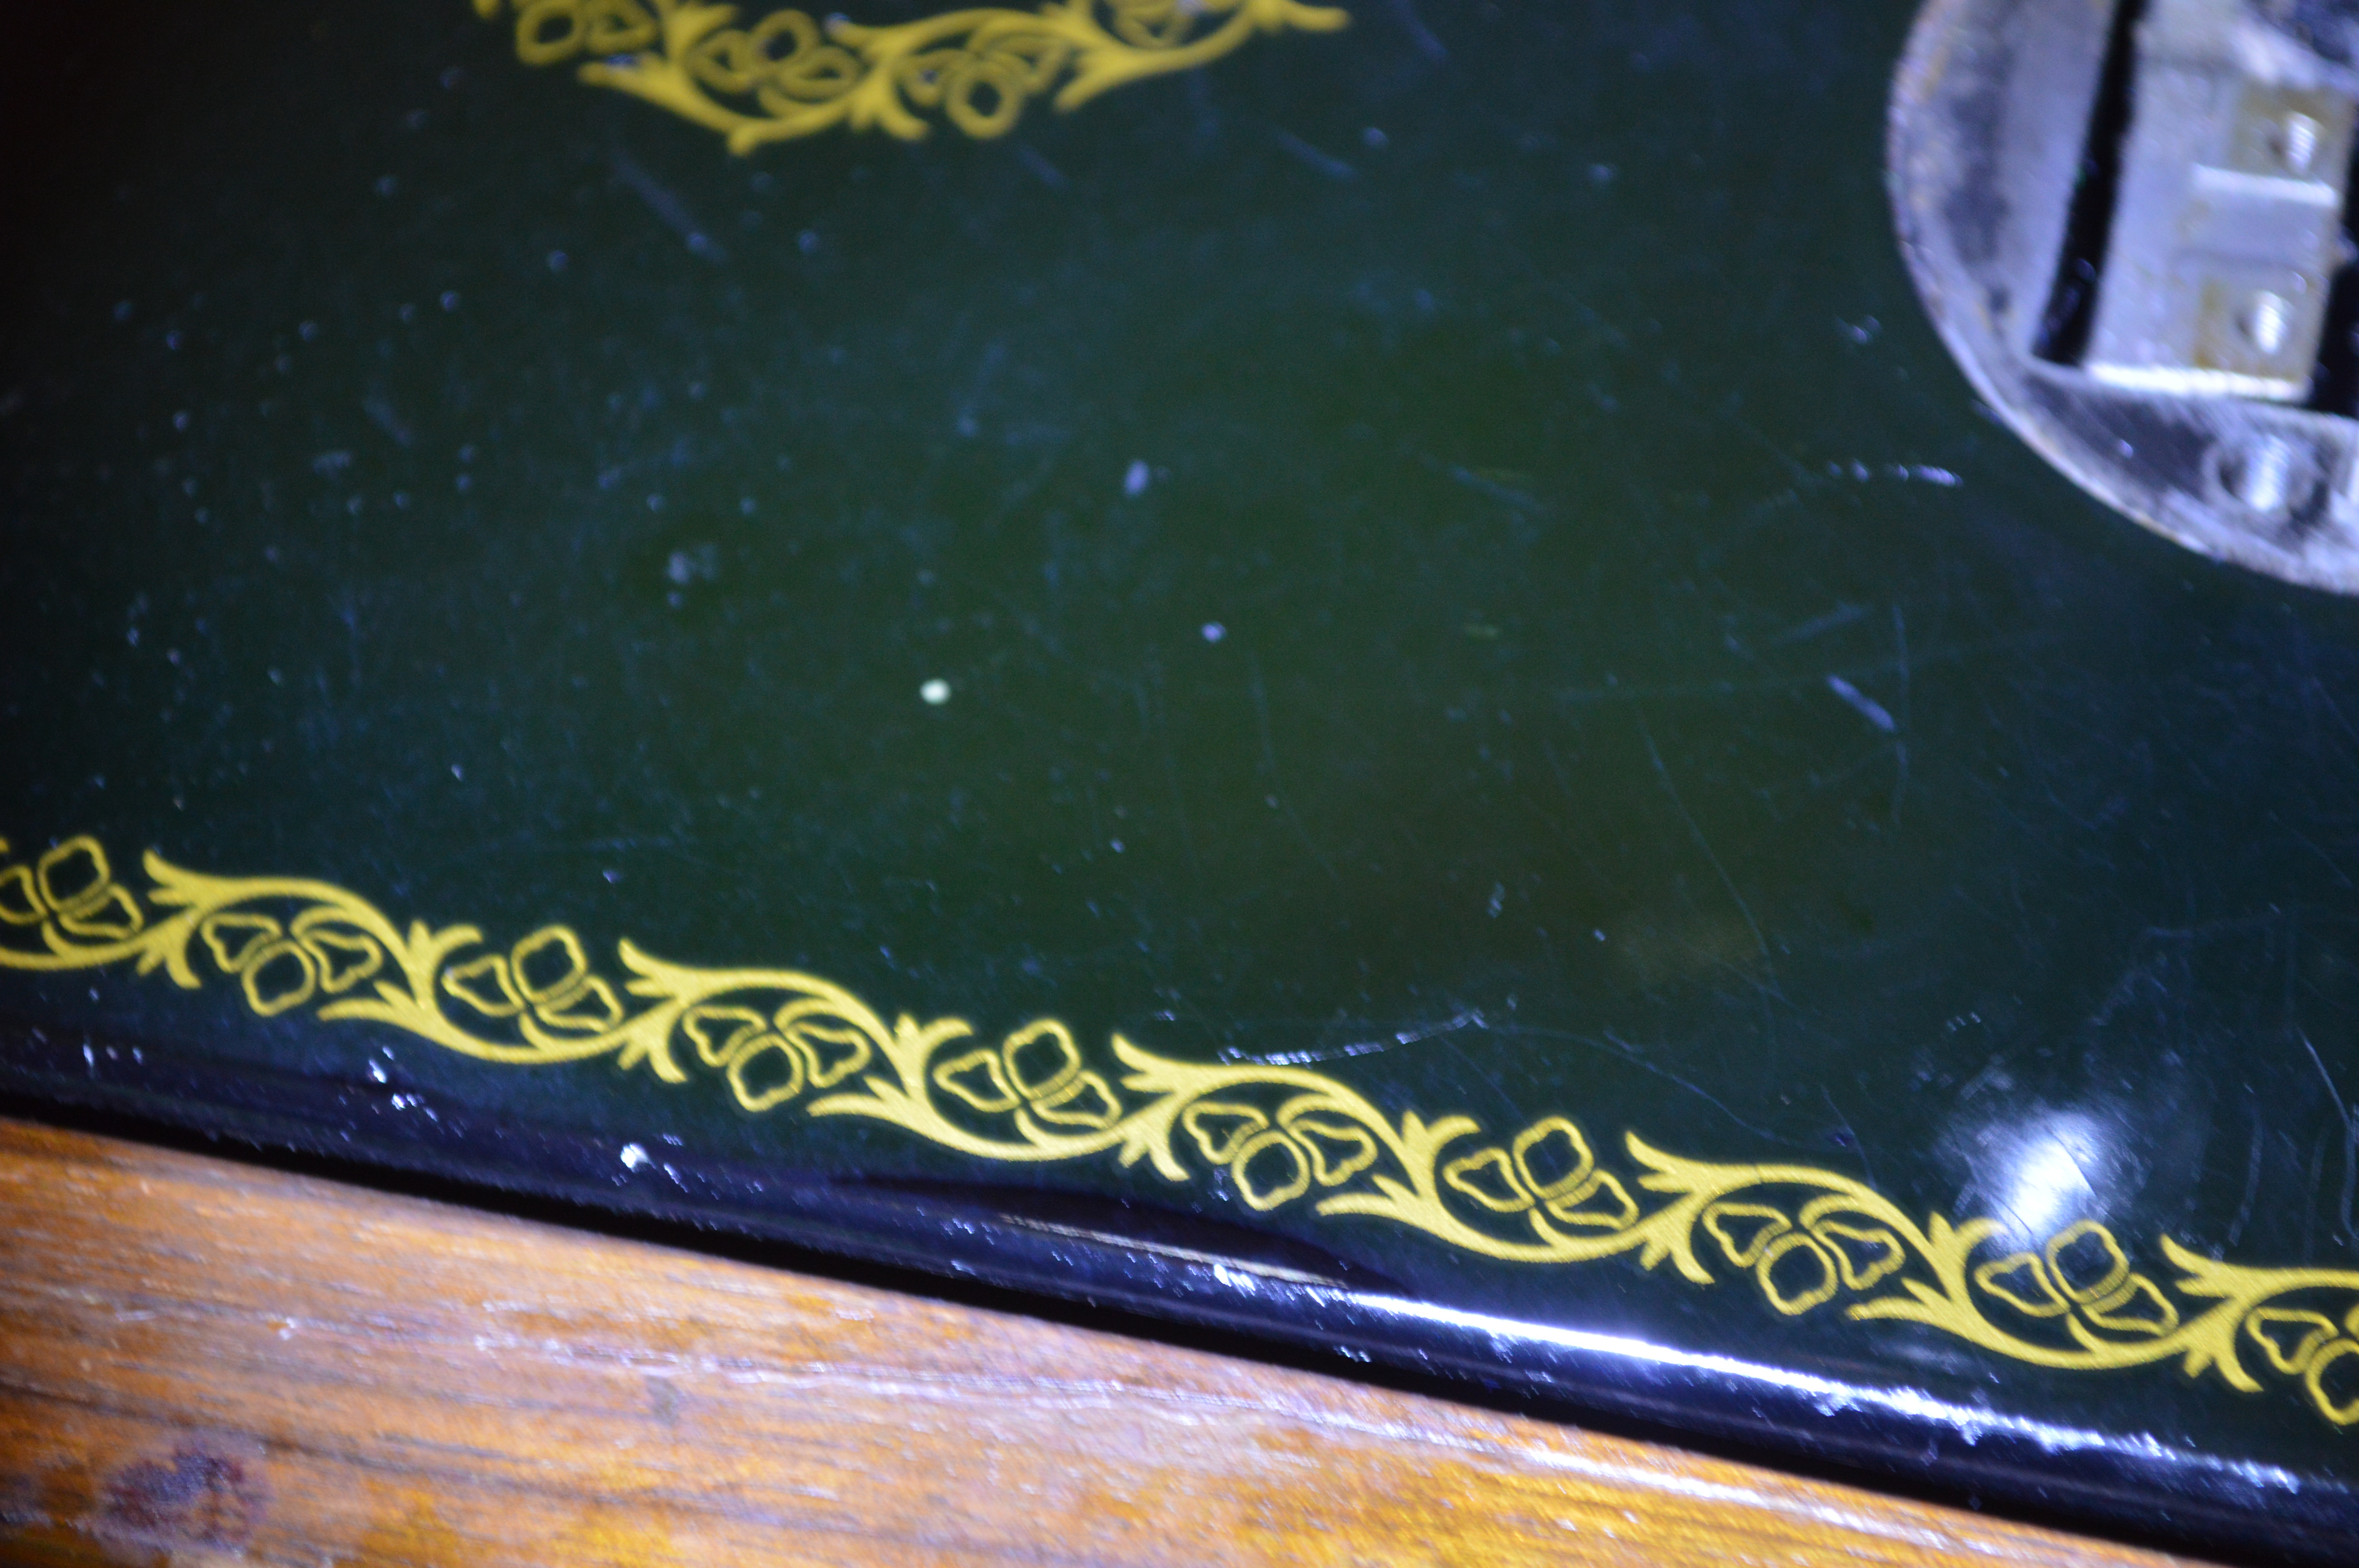
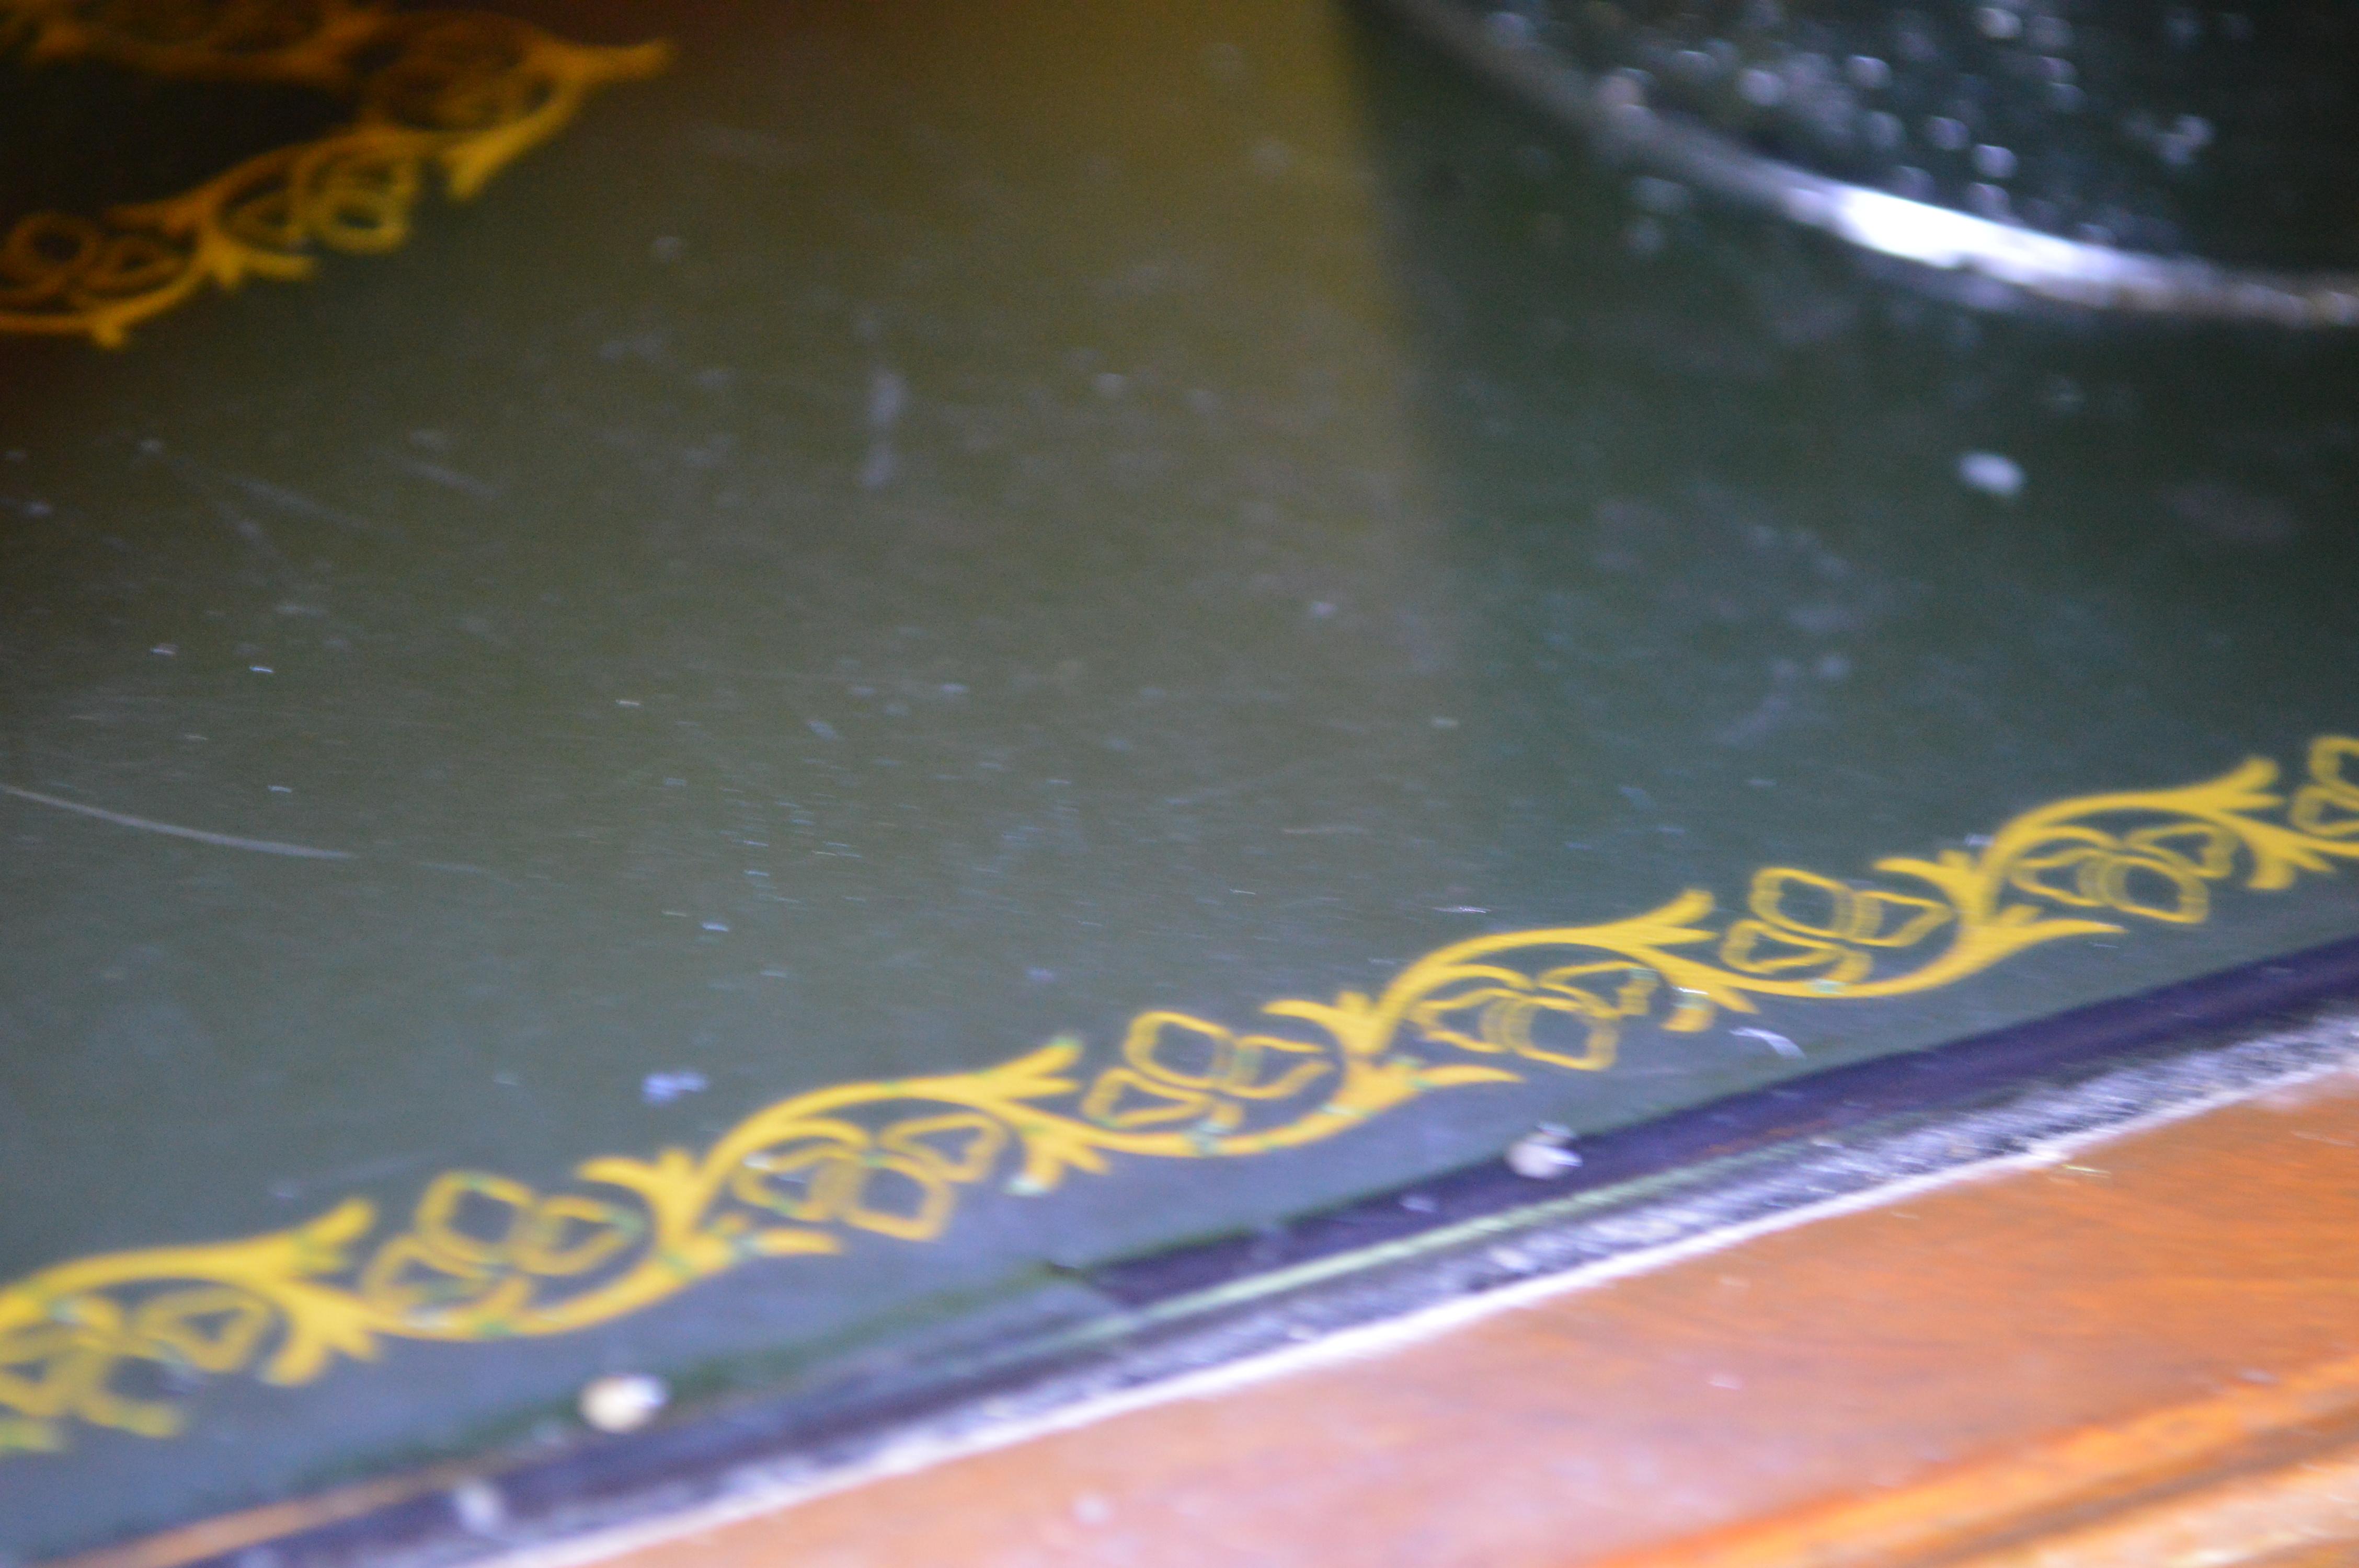
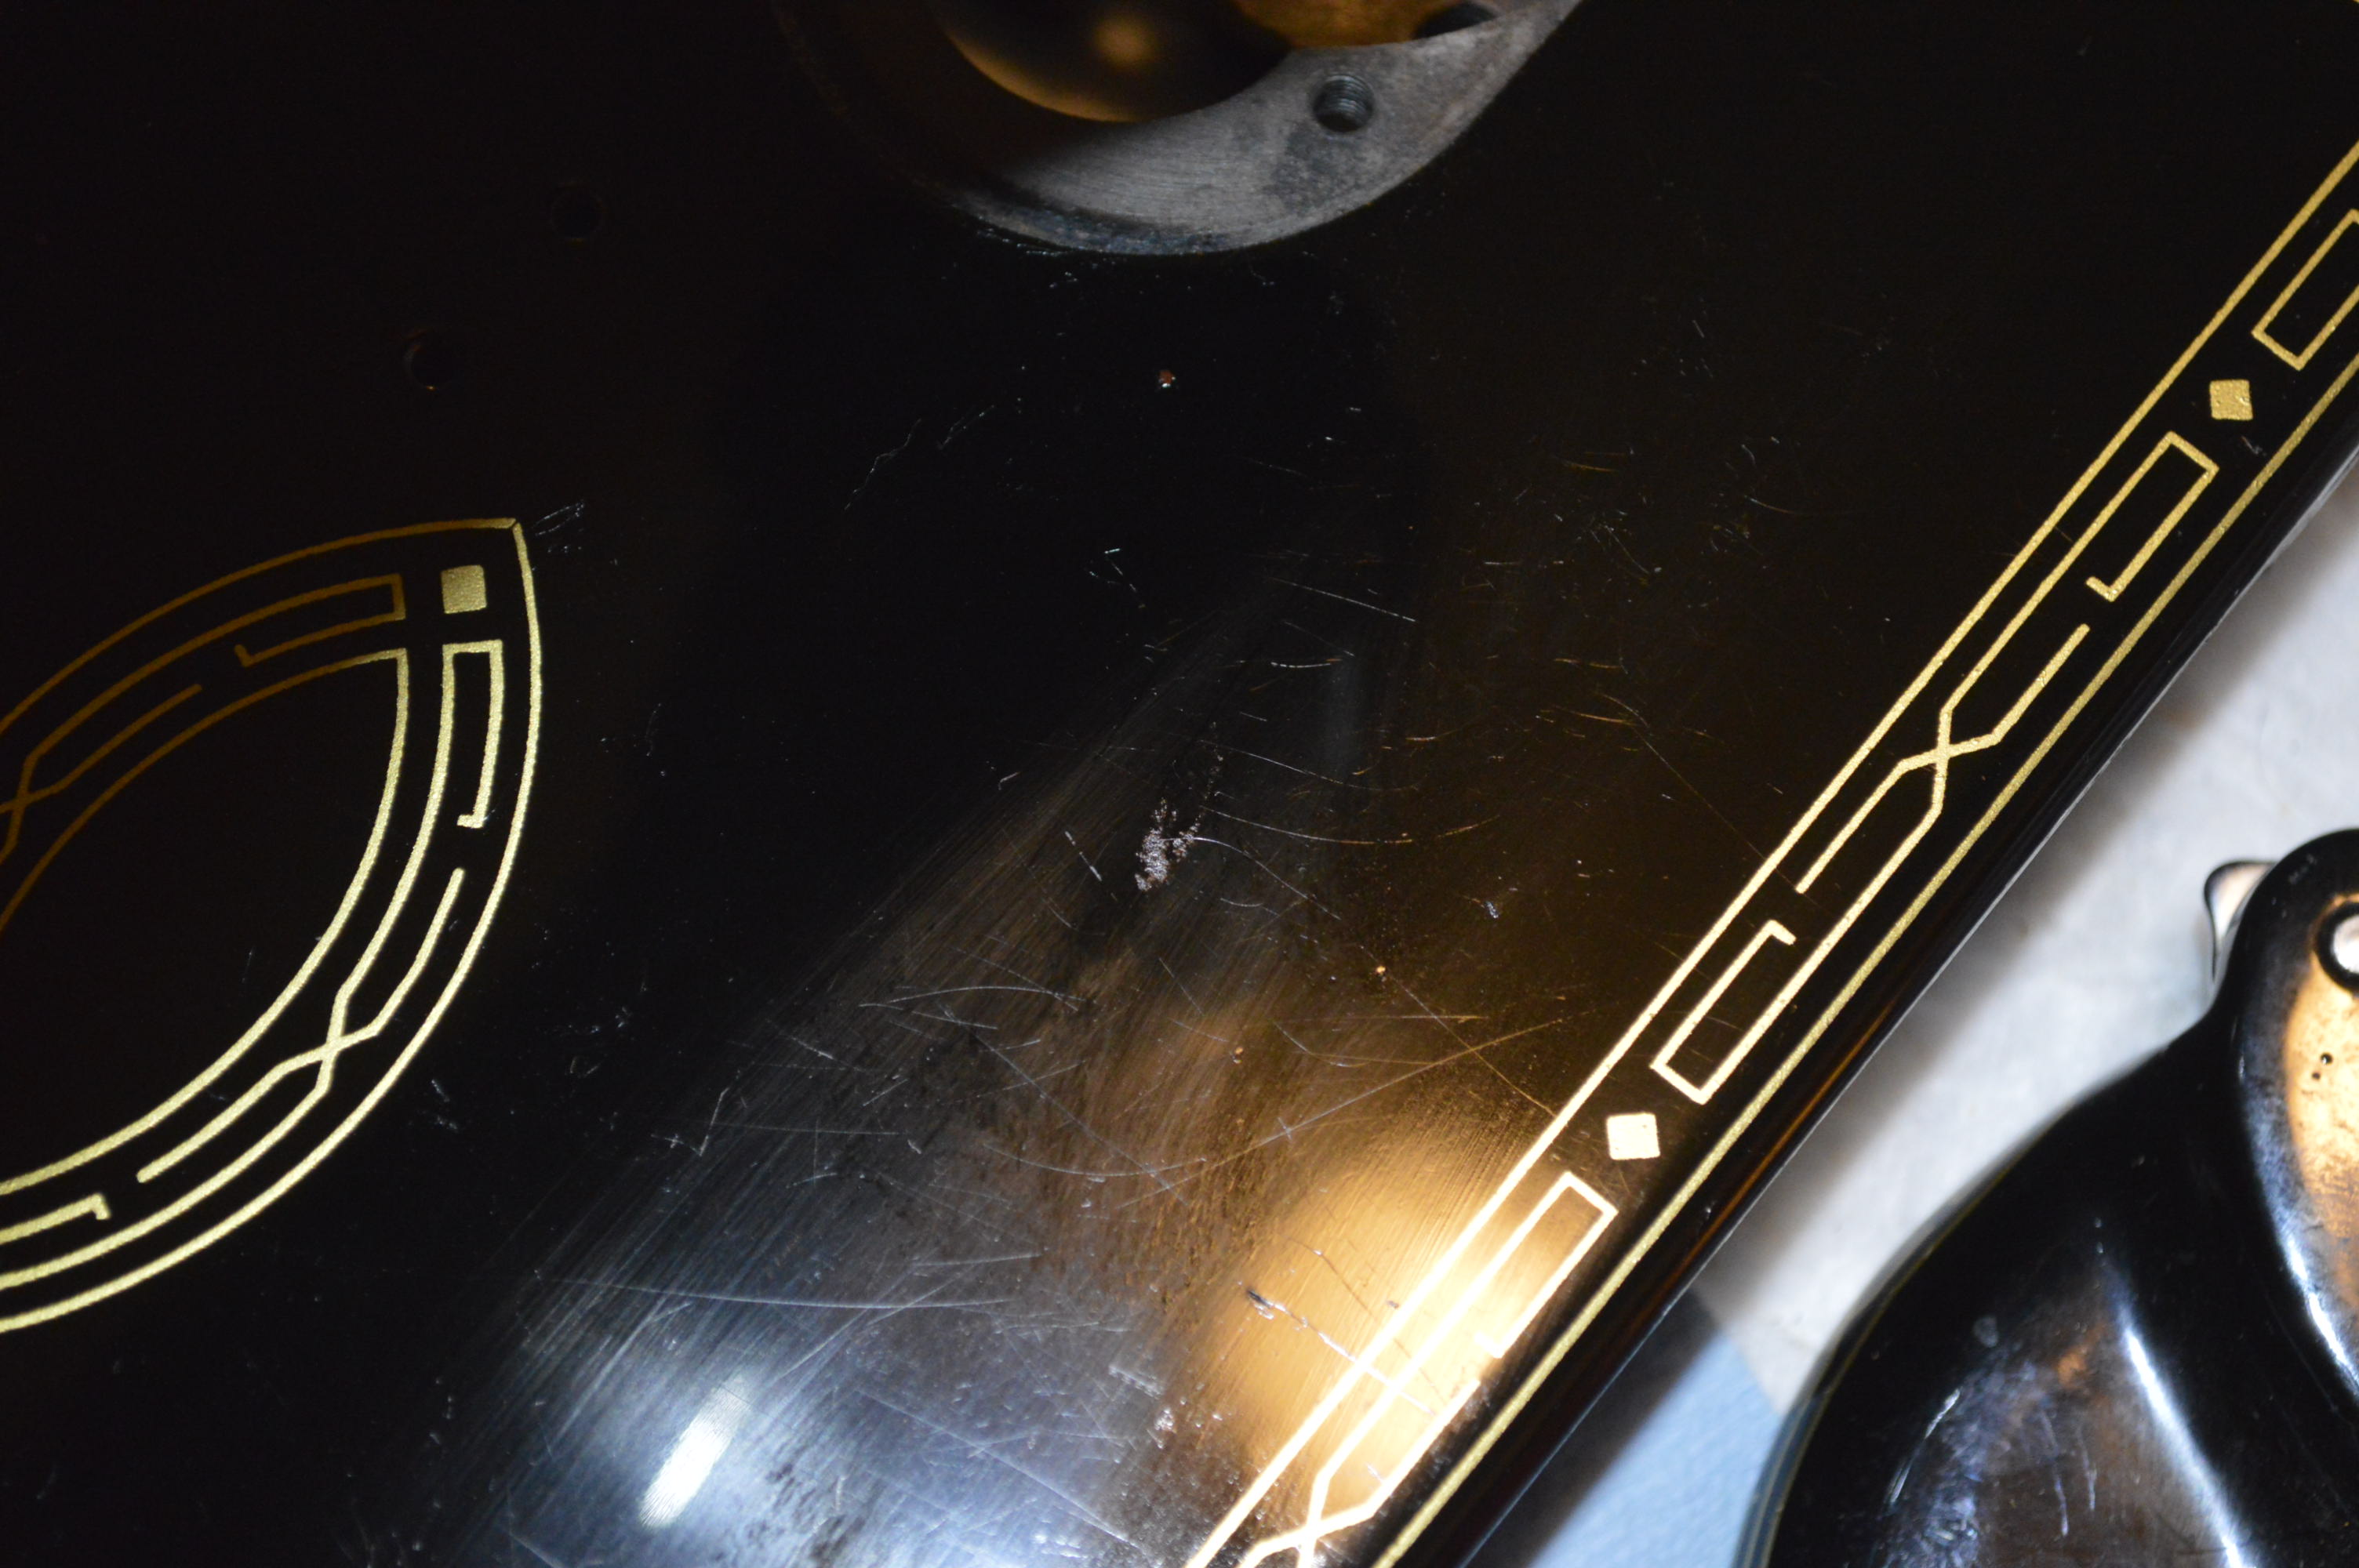
Now the machine is glaze polished with TR3 and then followed by glaze polishing with Meguiar’s Glass Finish polish. The reason I decided to glaze polish the finish twice is in the results. The TR3 is a good glaze polish that provides a very smooth finish on the painted surface of the machine. The Meguiar’s seems to be a finer “cut” polish, and it does a fantastic job of smoothing out the already smooth TR3 finish. The result of each is noticeable, and that alone makes it worth the extra effort in polishing. As expected, the “stain” on the bed, and the “defect” on the top cover was removed in polishing. Again, except for some very small blemishes, the cosmetic appearance is excellent.
All of the parts are reassembled and the moving mechanisms are checked for adjustment. The machine is tested to adjust the tensions and the servicing and cleaning of this Kenmore Model 158.16011 is complete!
Notice the Stain? I bet you can’t!
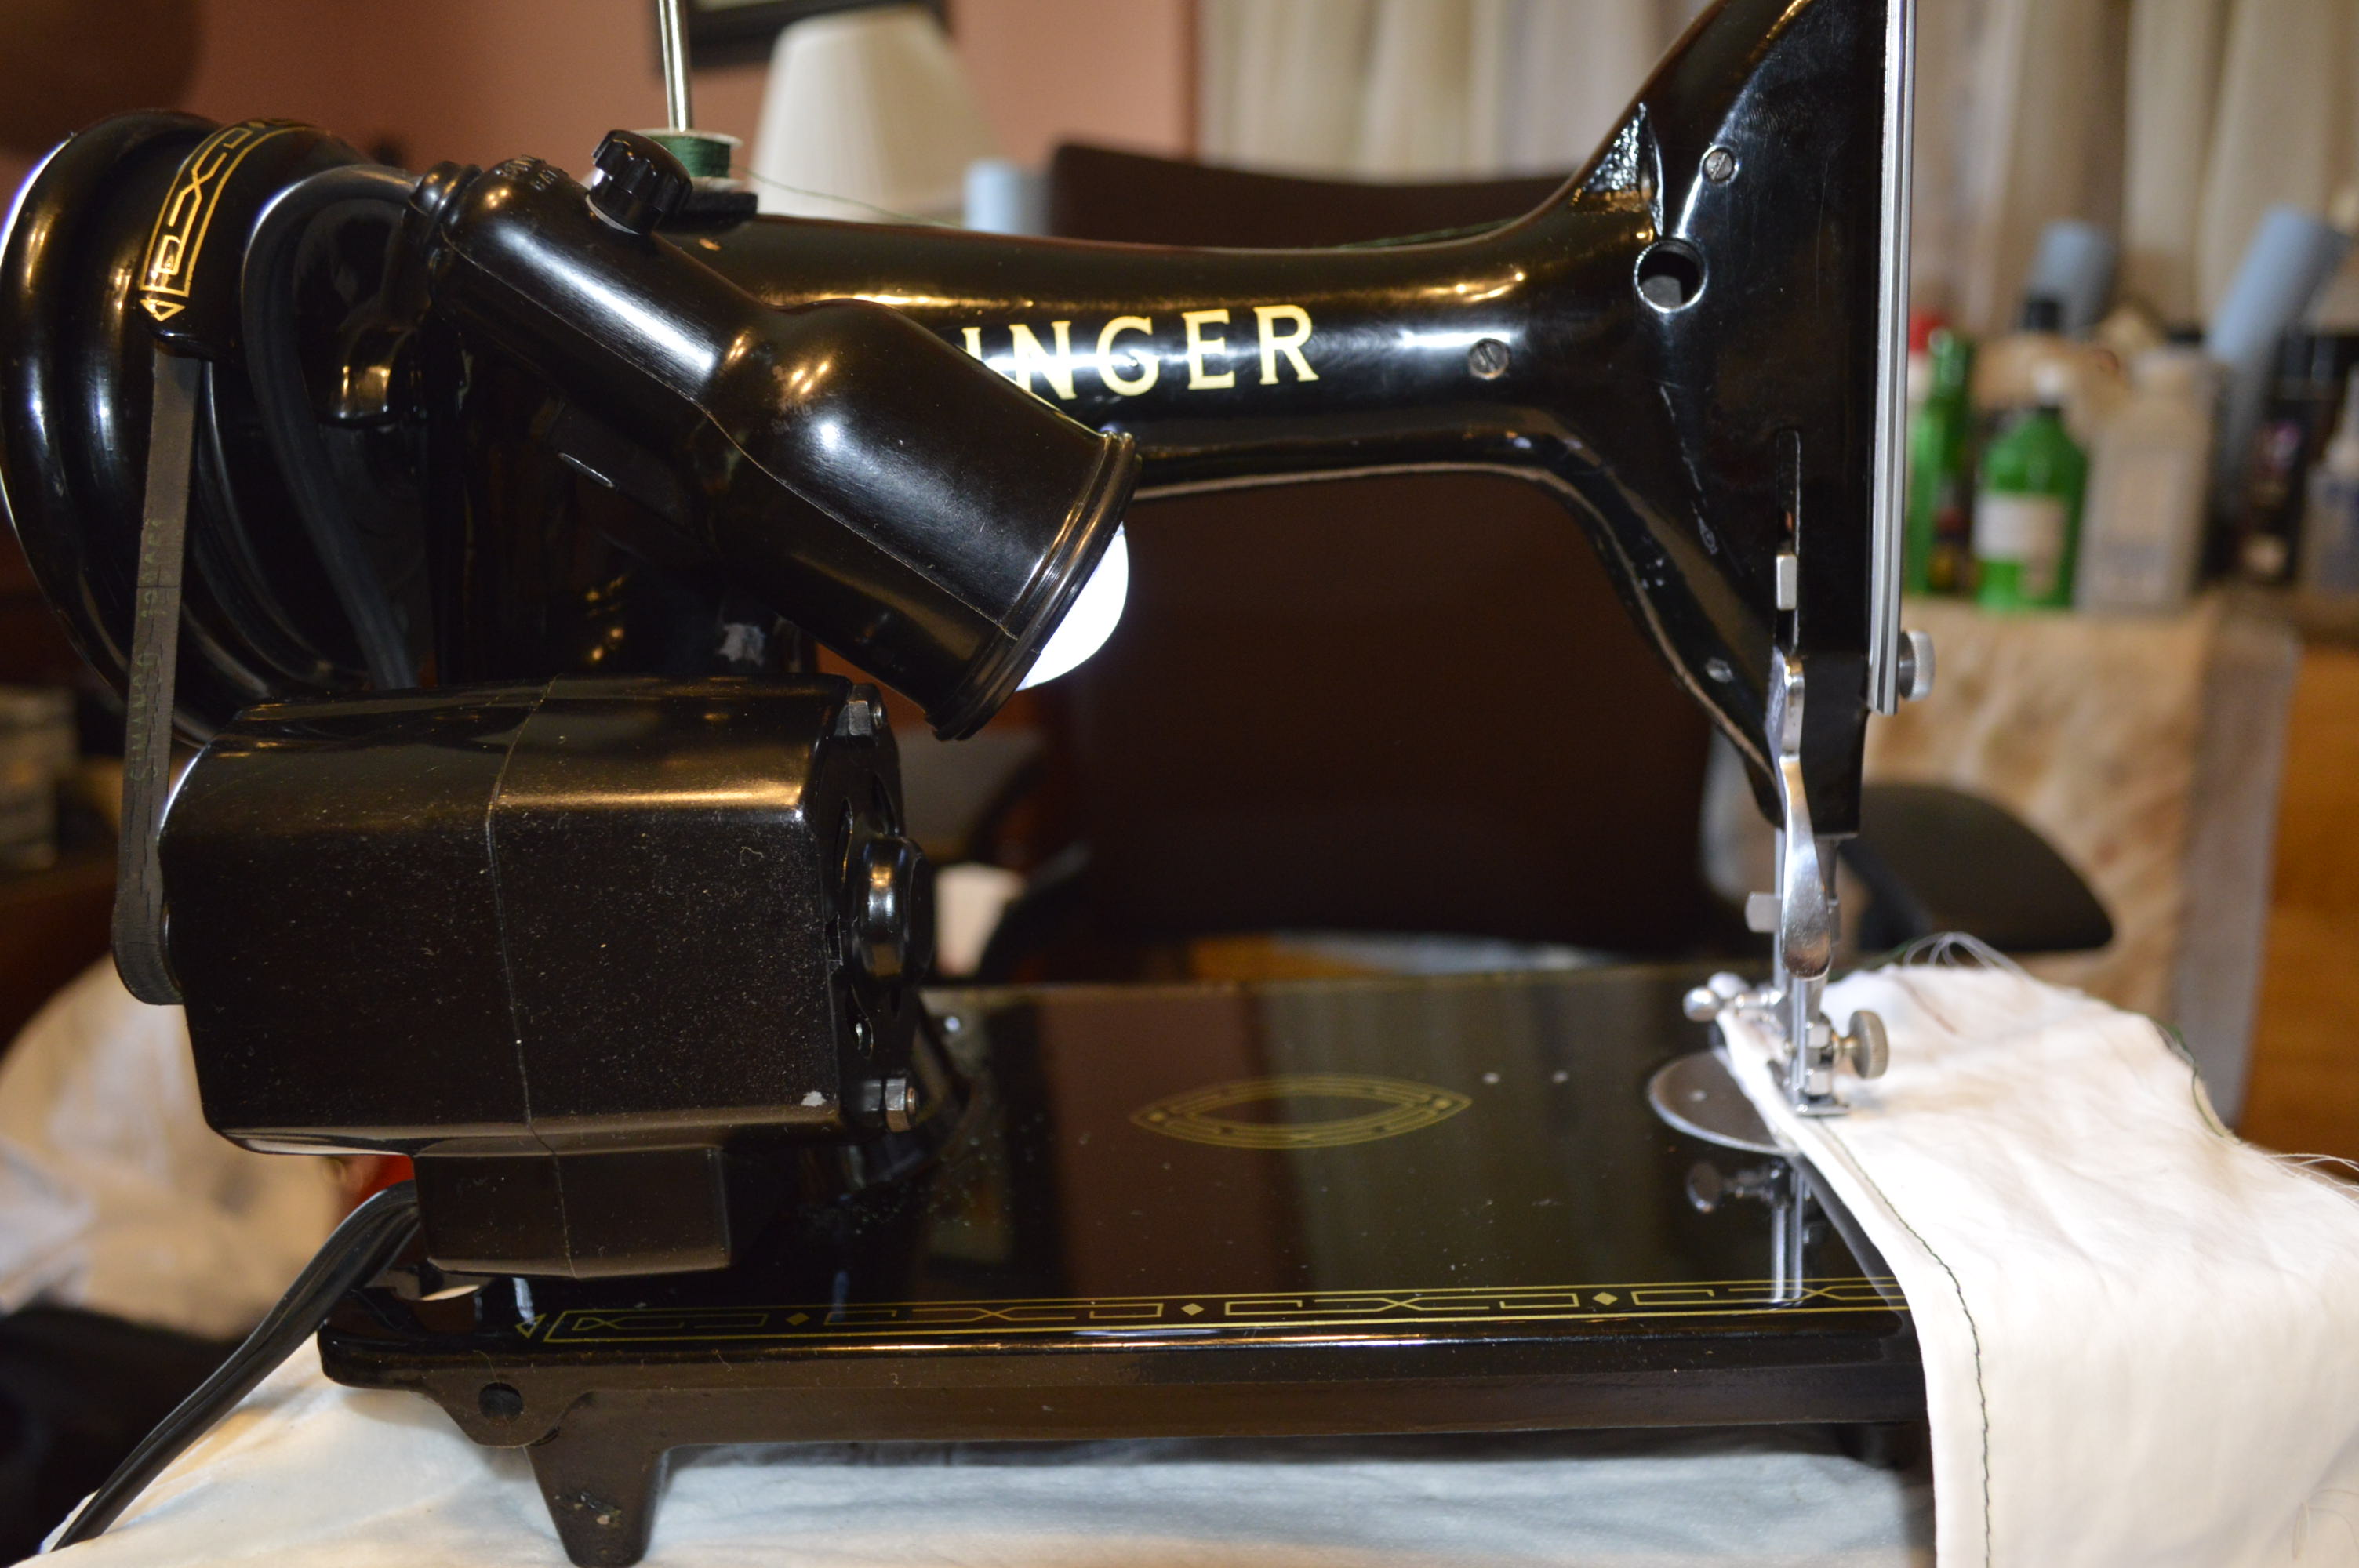
So, the machine turned out beautifully, and it runs extremely well!
This project is fairly straight forward… Cleaning and servicing a Kenmore model 158.1755. The 158.1755 was manufactured in Japan by the Maruzen Sewing Machine Factory. The production run for the 1755 was between 1970 and 1971. The 1755 machine is a versatile and very forgiving all metal sewing machine. Easy to thread, easy to adjust, and easy to sew. It features two built in stretch stitches, along with the standard ziz-zag and straight stitch. The number of decorative and pattern stitches expands to 14 by inserting plastic cam discs into the cam mechanism accessed by a cover plate on the top of the machine. The machine produces a very good and consistent straight stitch and a very nice satin stitch. Pattern cam stitches are very good as well.
Under the hood is an all metal gear driven sewing mechanism. The oscillating shuttle hook is also driven by a set of steel gears. All of this is driven by a powerful yet quiet 1.2 amp motor. Power is delivered to the balance wheel via a double belt reduction drive. The sewing machine’s body is cast aluminum, as is the balance wheel. The top and front cover is made out of metal. The paint is enamel. The needle plate, needle plate insert, and the bobbin cover plate are stainless steel and sized for larger hands and easy access to the bobbin area to insert the bobbin case. All in all, the 1755 is a very robust, tough, strong, powerful, and sturdy sewing machine. But none of this is “special” or “unique” to the Kenmore 158 series line-up. In fact, it is fairly common for a Kenmore and it is one of the reasons that these all metal vintage Kenmore’s are such a good value.
One of the nicest features, besides it’s ability to sew well, is Kenmores are easy to clean and maintain. This particular machine has an unknown history. It showed up with some marks from use, consisting of a few small scratches and a few paint chips on the sewing machine bed. The drive mechanism showed the typical discoloration from oil varnish buildup. The sewing mechanism turned smoothly and all of the stitch functions operated smoothly as well. But… this is not unusual for a Kenmore of this vintage.
After my initial evaluation, I decided that all this machine needed was a full cleaning and servicing. Well… if was just a matter of cosmetic cleaning and oiling, I could stop here. This machine is in store for a little more. Of course, the body of the machine will be cleaned, but he sewing mechanisms will be deep cleaned to remove all traces of old oil and grease. All of the plates, fittings, bobbin assembly, and removable little bits will be ultrasonically cleaned. The motor will be partially disassembled to polish the armature and clean the brushes. The tension assemblies, both the top assembly and the bobbin case, will be disassembled and ultrasonically cleaned. So… here is the process in pictures…
First, all of the covers, the balance wheel, the belts, and the motor is removed from the machine… This allows easier access to clean the internal mechanisms.
Disassembly of the mechanisms is really not necessary so they are cleaned in place. The only assemblies removed are the bobbin winding assembly, the top presser foot adjusting assembly, and the presser bar spring. This makes it easier get into tight places, and it is a laborious process to get all of the parts cleaned and de-greased. For me, the easiest way clean these assemblies is by using a small utility brush and a 20% solution of “Krud Kutter”. Unlike products like 409, Fantastic, Purple Power, or other similar detergents, Krud Kutter is non-toxic and environmentally safe… that means it won’t damage the finish on the sewing machine. Still, out of an abundance of caution I don’t allow any detergent to sit on the enameled surface too long, so wiping any drips or runs is important. It is also important to keep detergent from getting into the oil holes in the parts provided for routine oiling. This is easy to do by covering the oil hole with a cotton swab as the parts are being cleaned. After cleaning the assemblies in the needle bar area, the cam and drive mechanisms in the sewing machine arm, and the assemblies under the bed, these areas are sprayed with a light coat of WD-40. This displaces any lingering water and detergent, and leaves a protective film.
The next step is to clean the shuttle hook gear box and re-grease the gears… The yellow stuff is old grease and it is removed with dental picks and a small blade screw driver. After cleaning off the residue with a stiff utility brush, the gears are re-greased with Tri-Flow grease.
before…
After…
Did you notice how clean the bed mechanisms are? The next step is to service the motor… This only requires the motor brush and rear motor cover removal.
Armature will be polished in place.Polished and ready for reassembly
After reassembly and oiling, comes the disassembly and cleaning of the tension assemblies.
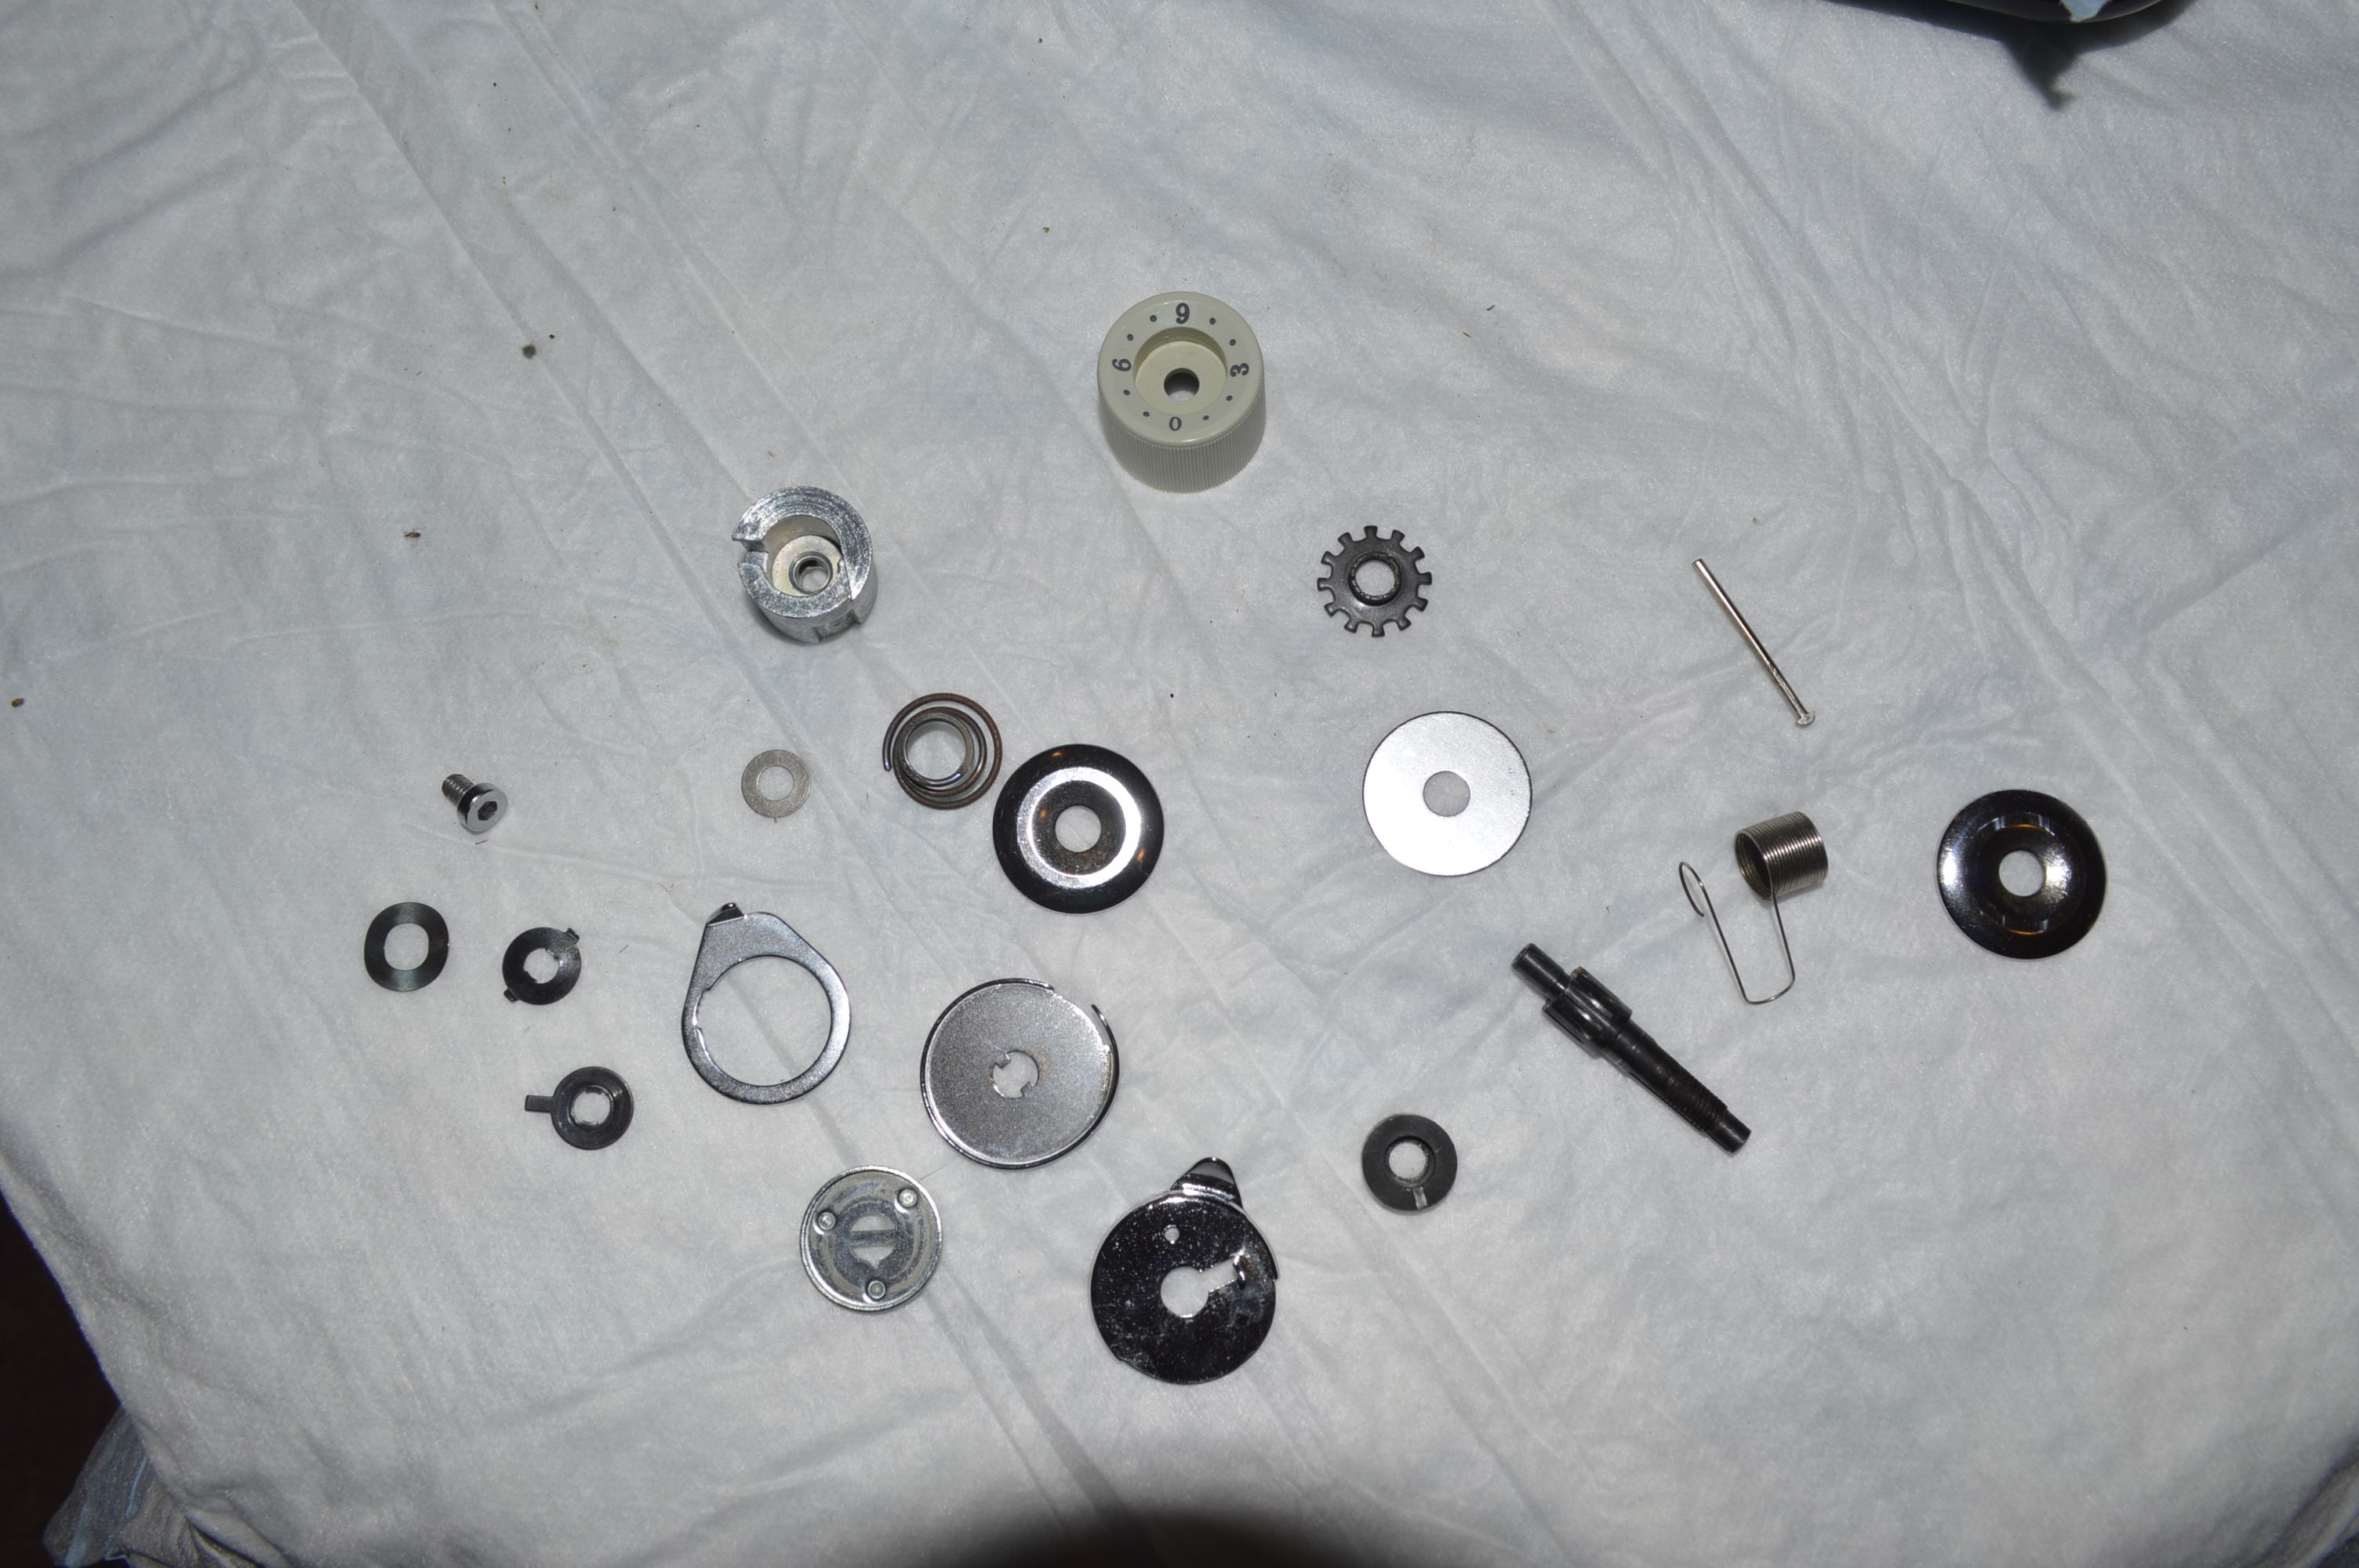
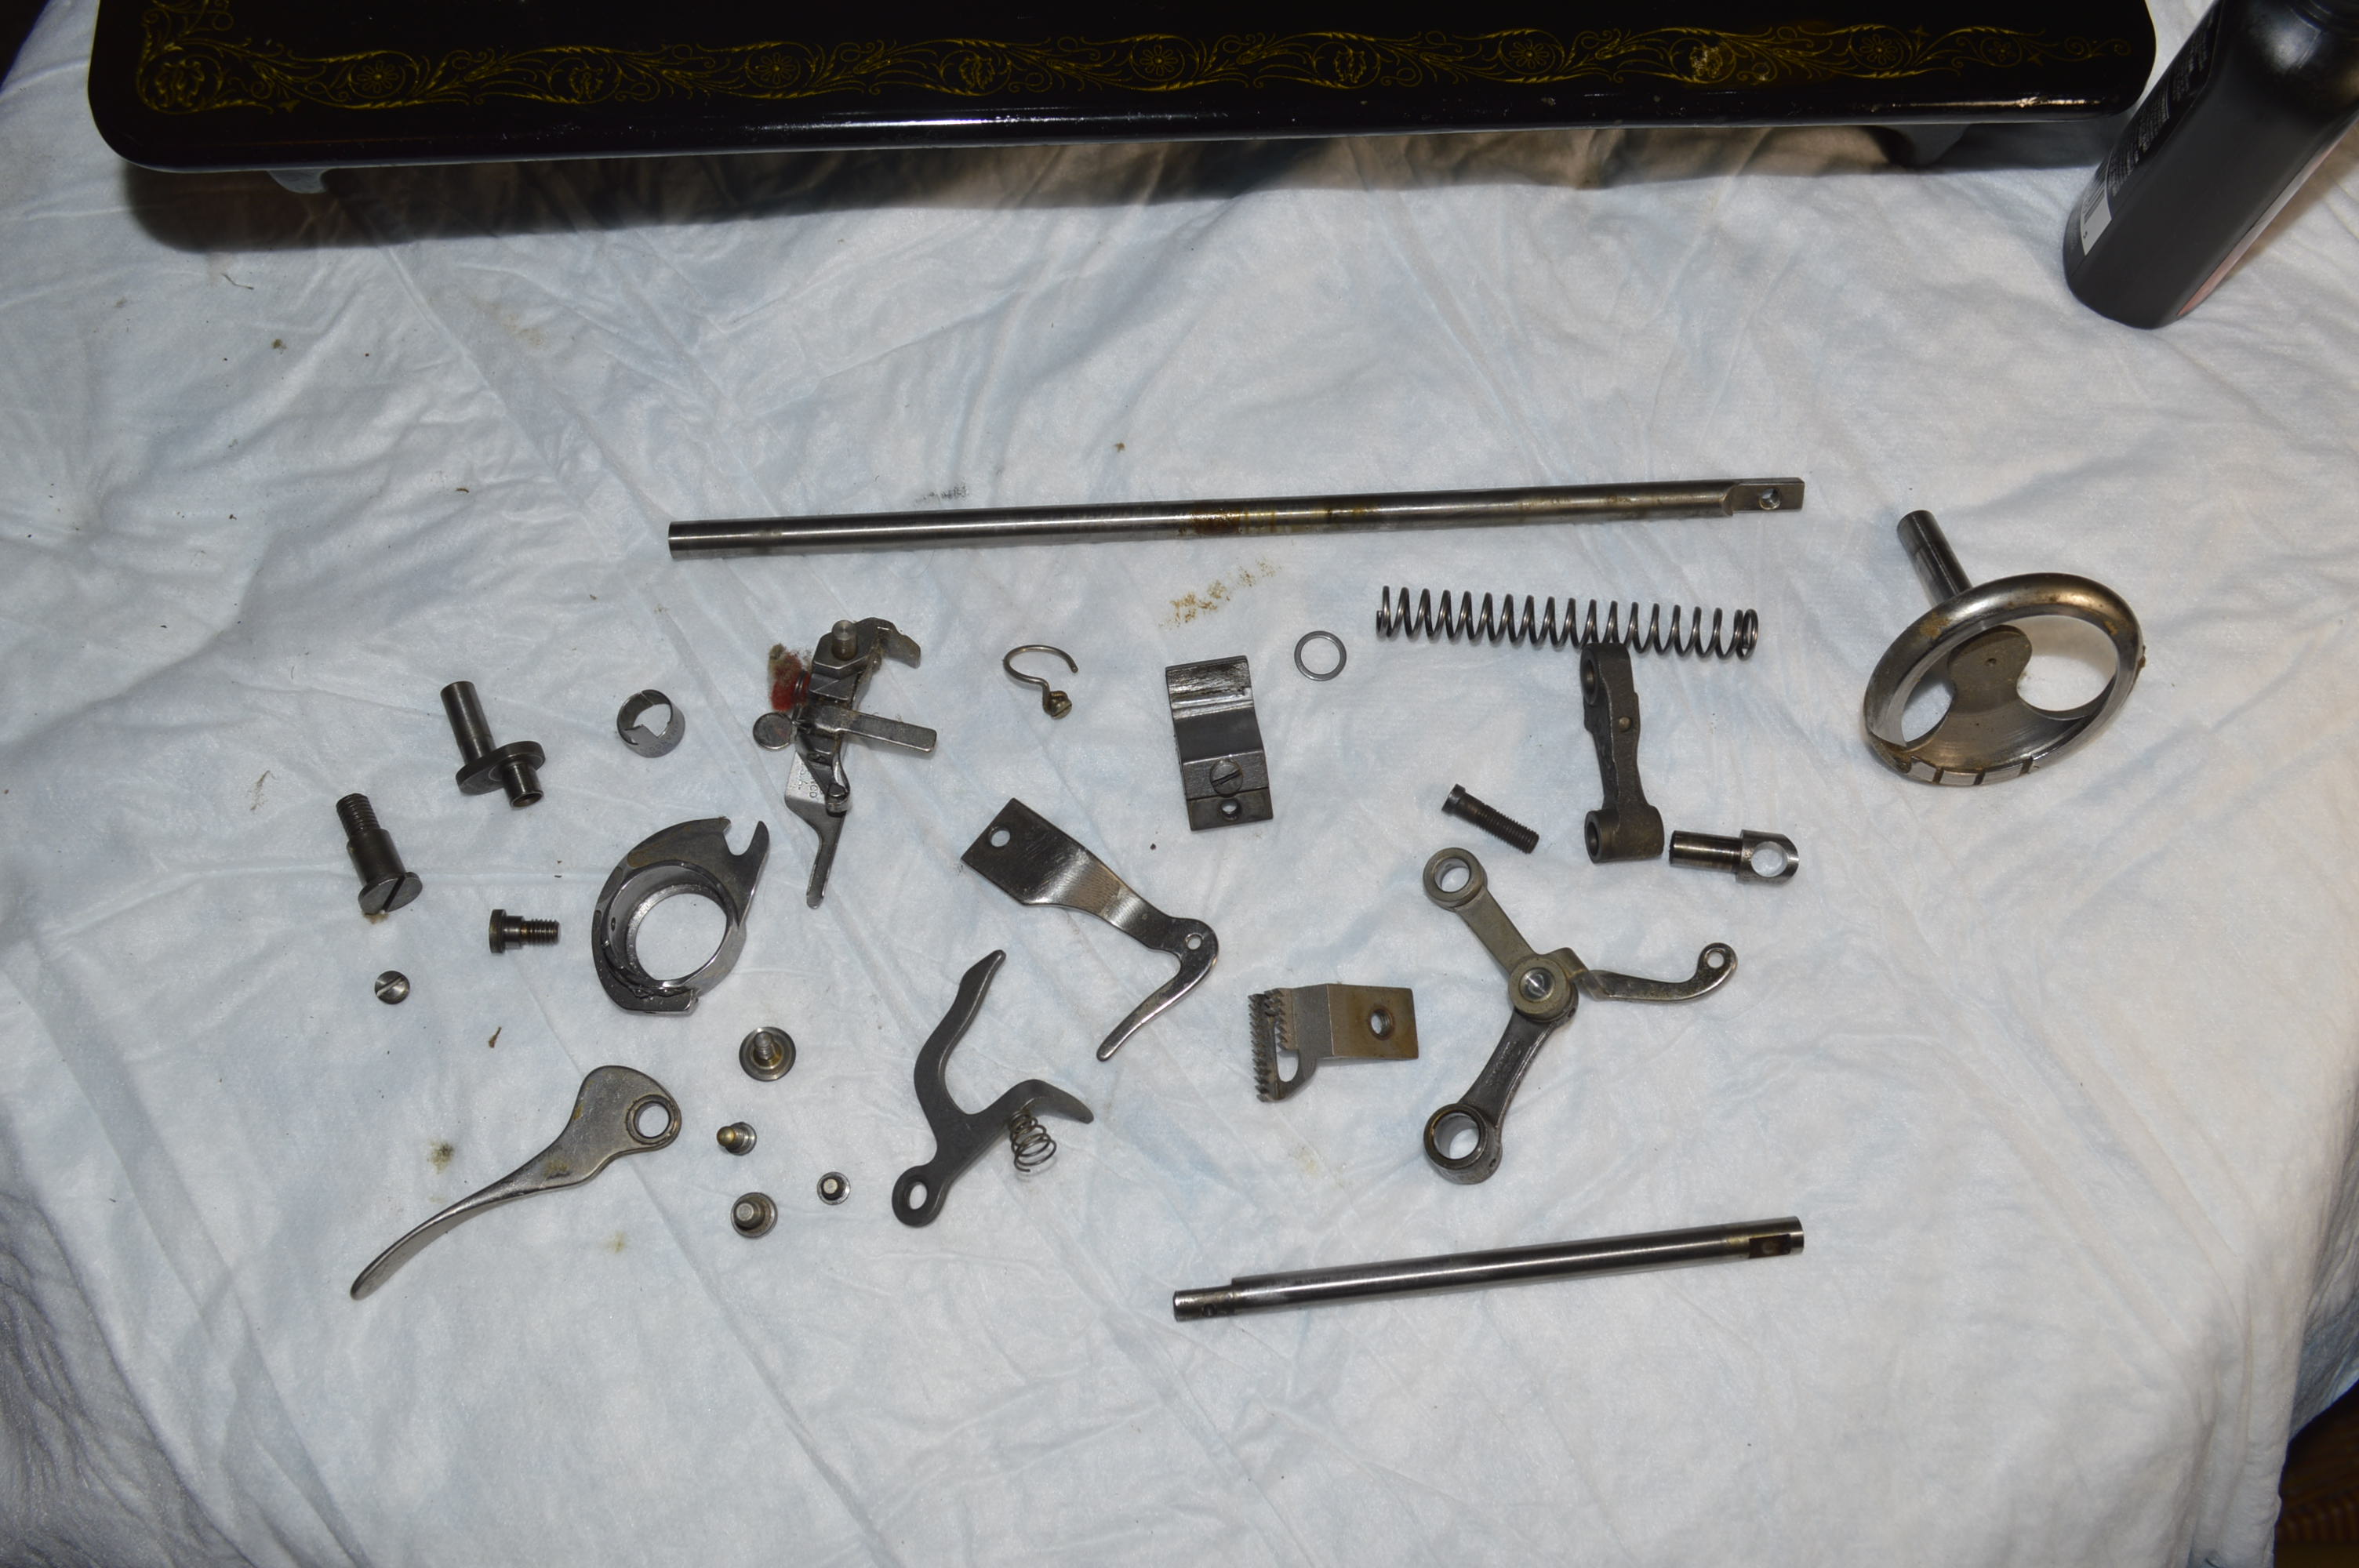
Top Tension Parts Laid Out in Order Before Cleaning
After cleaning…
After Cleaning
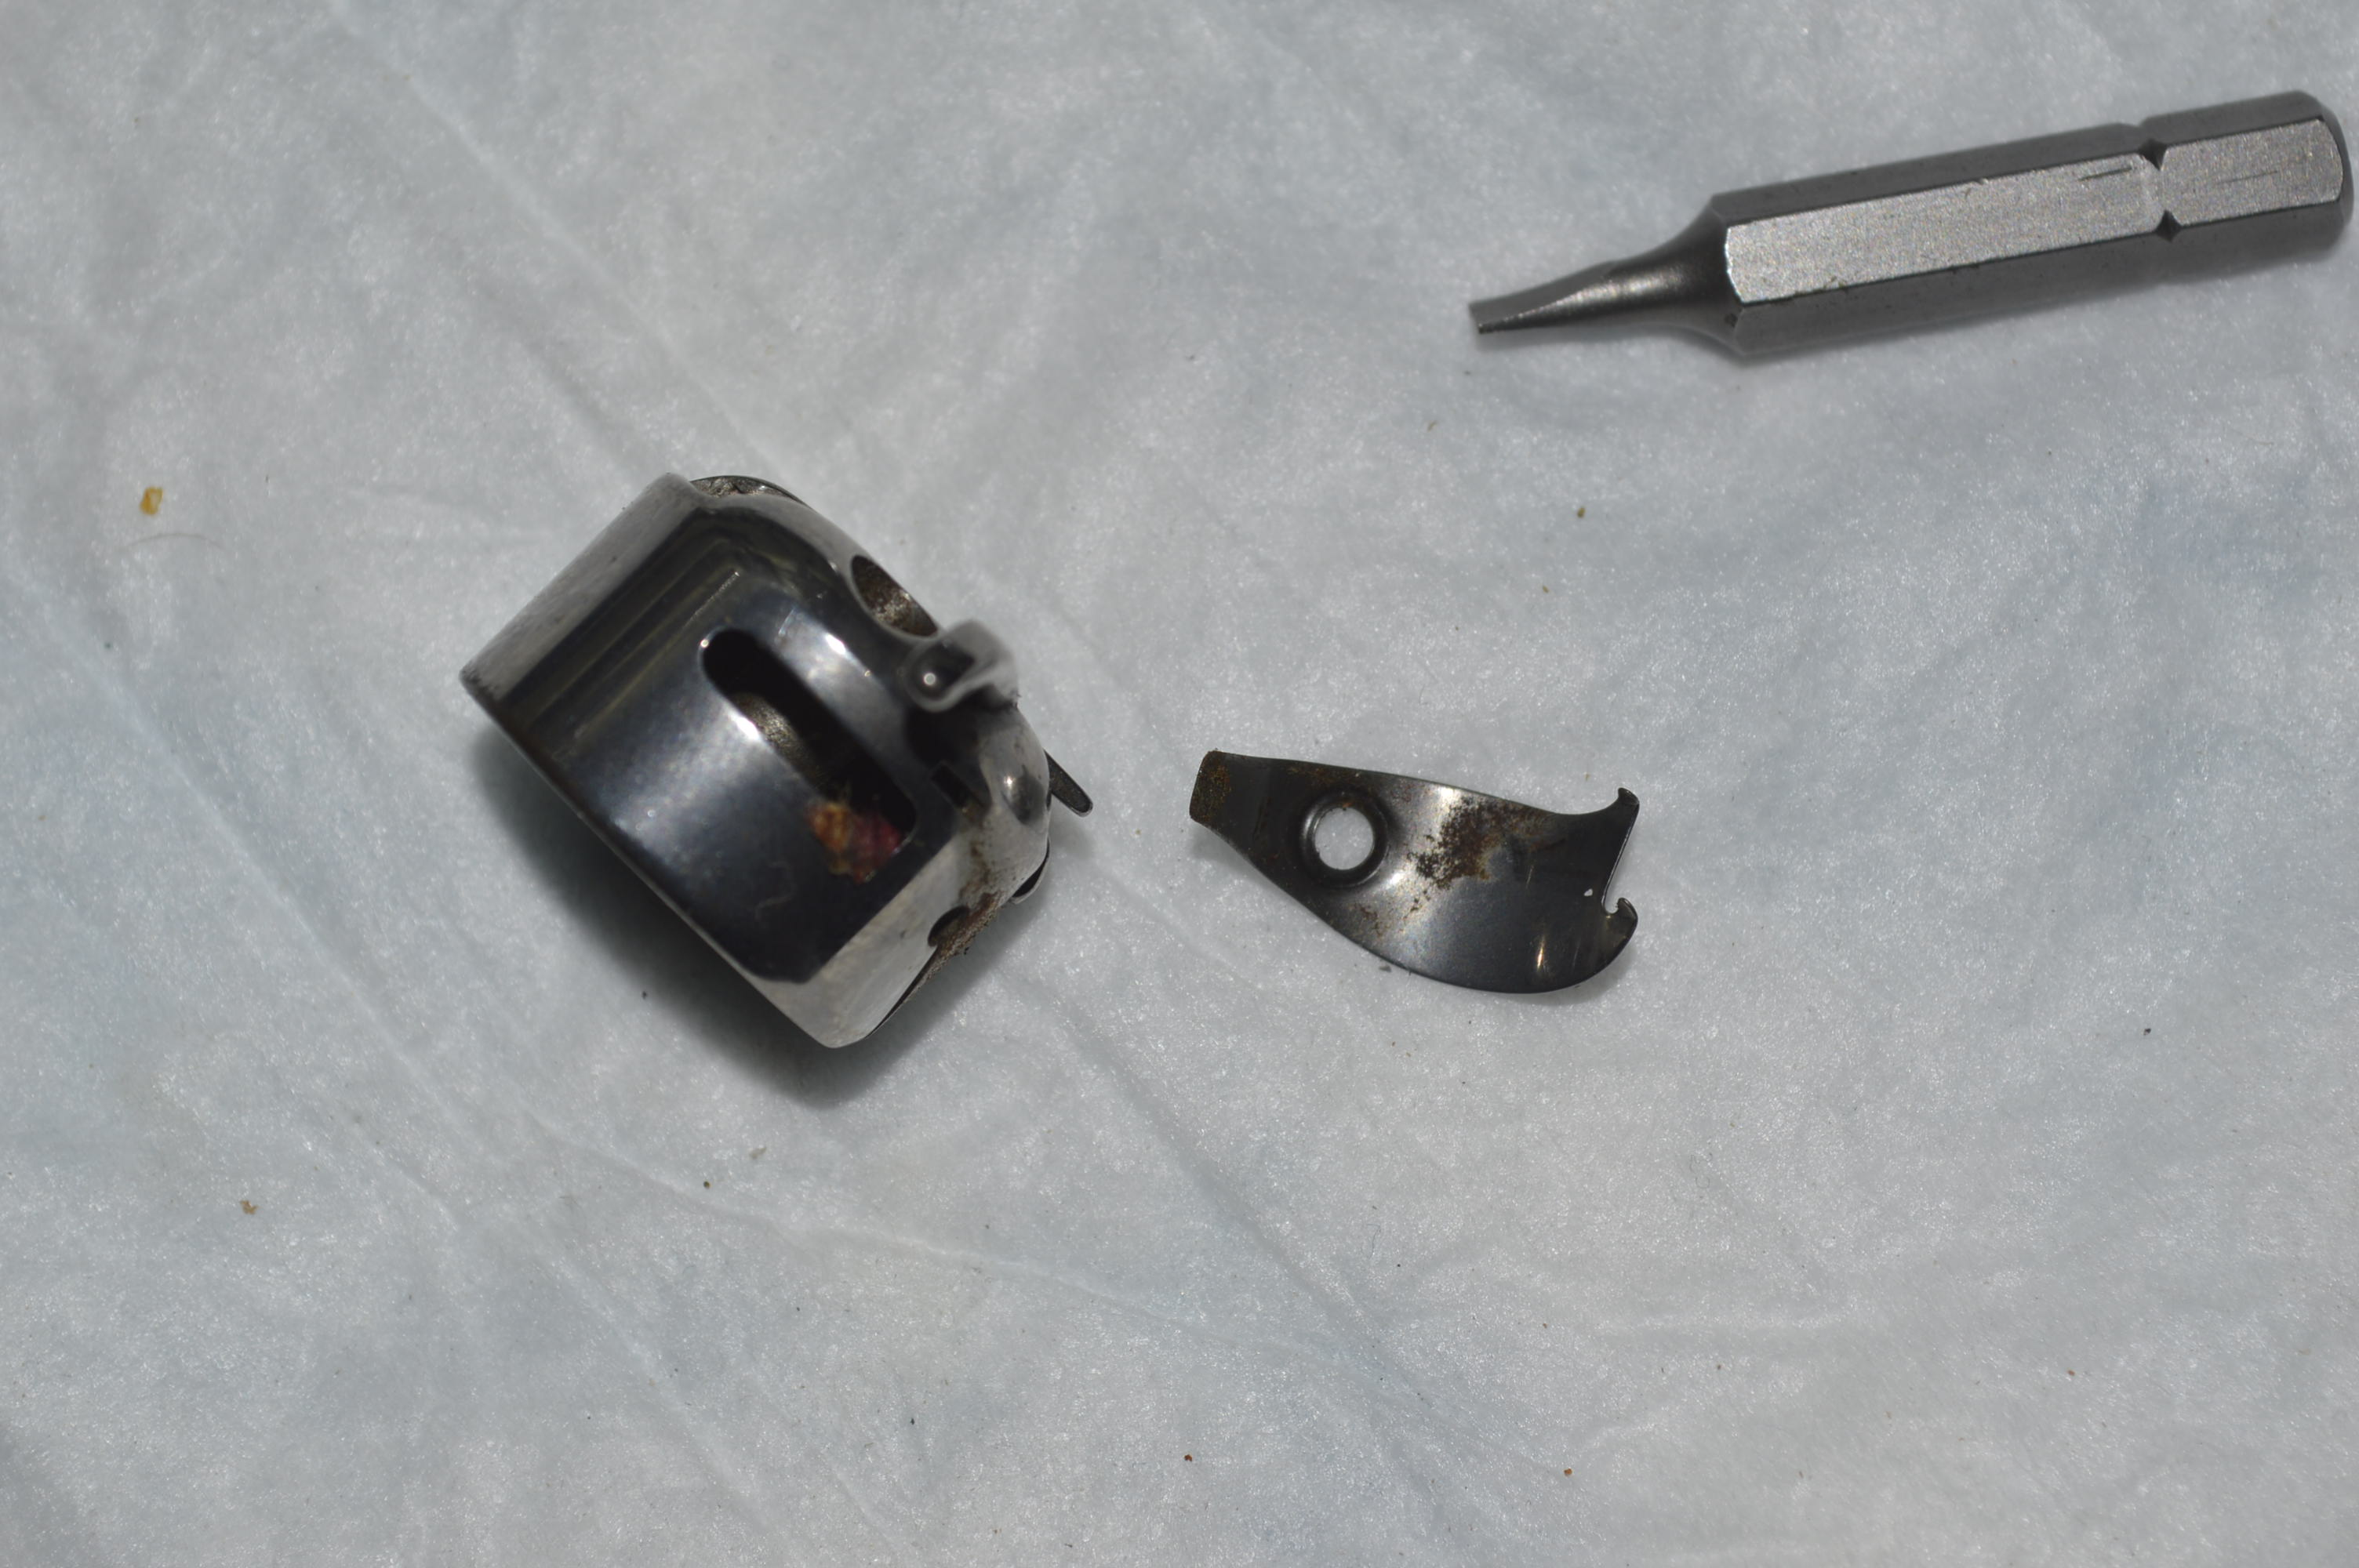
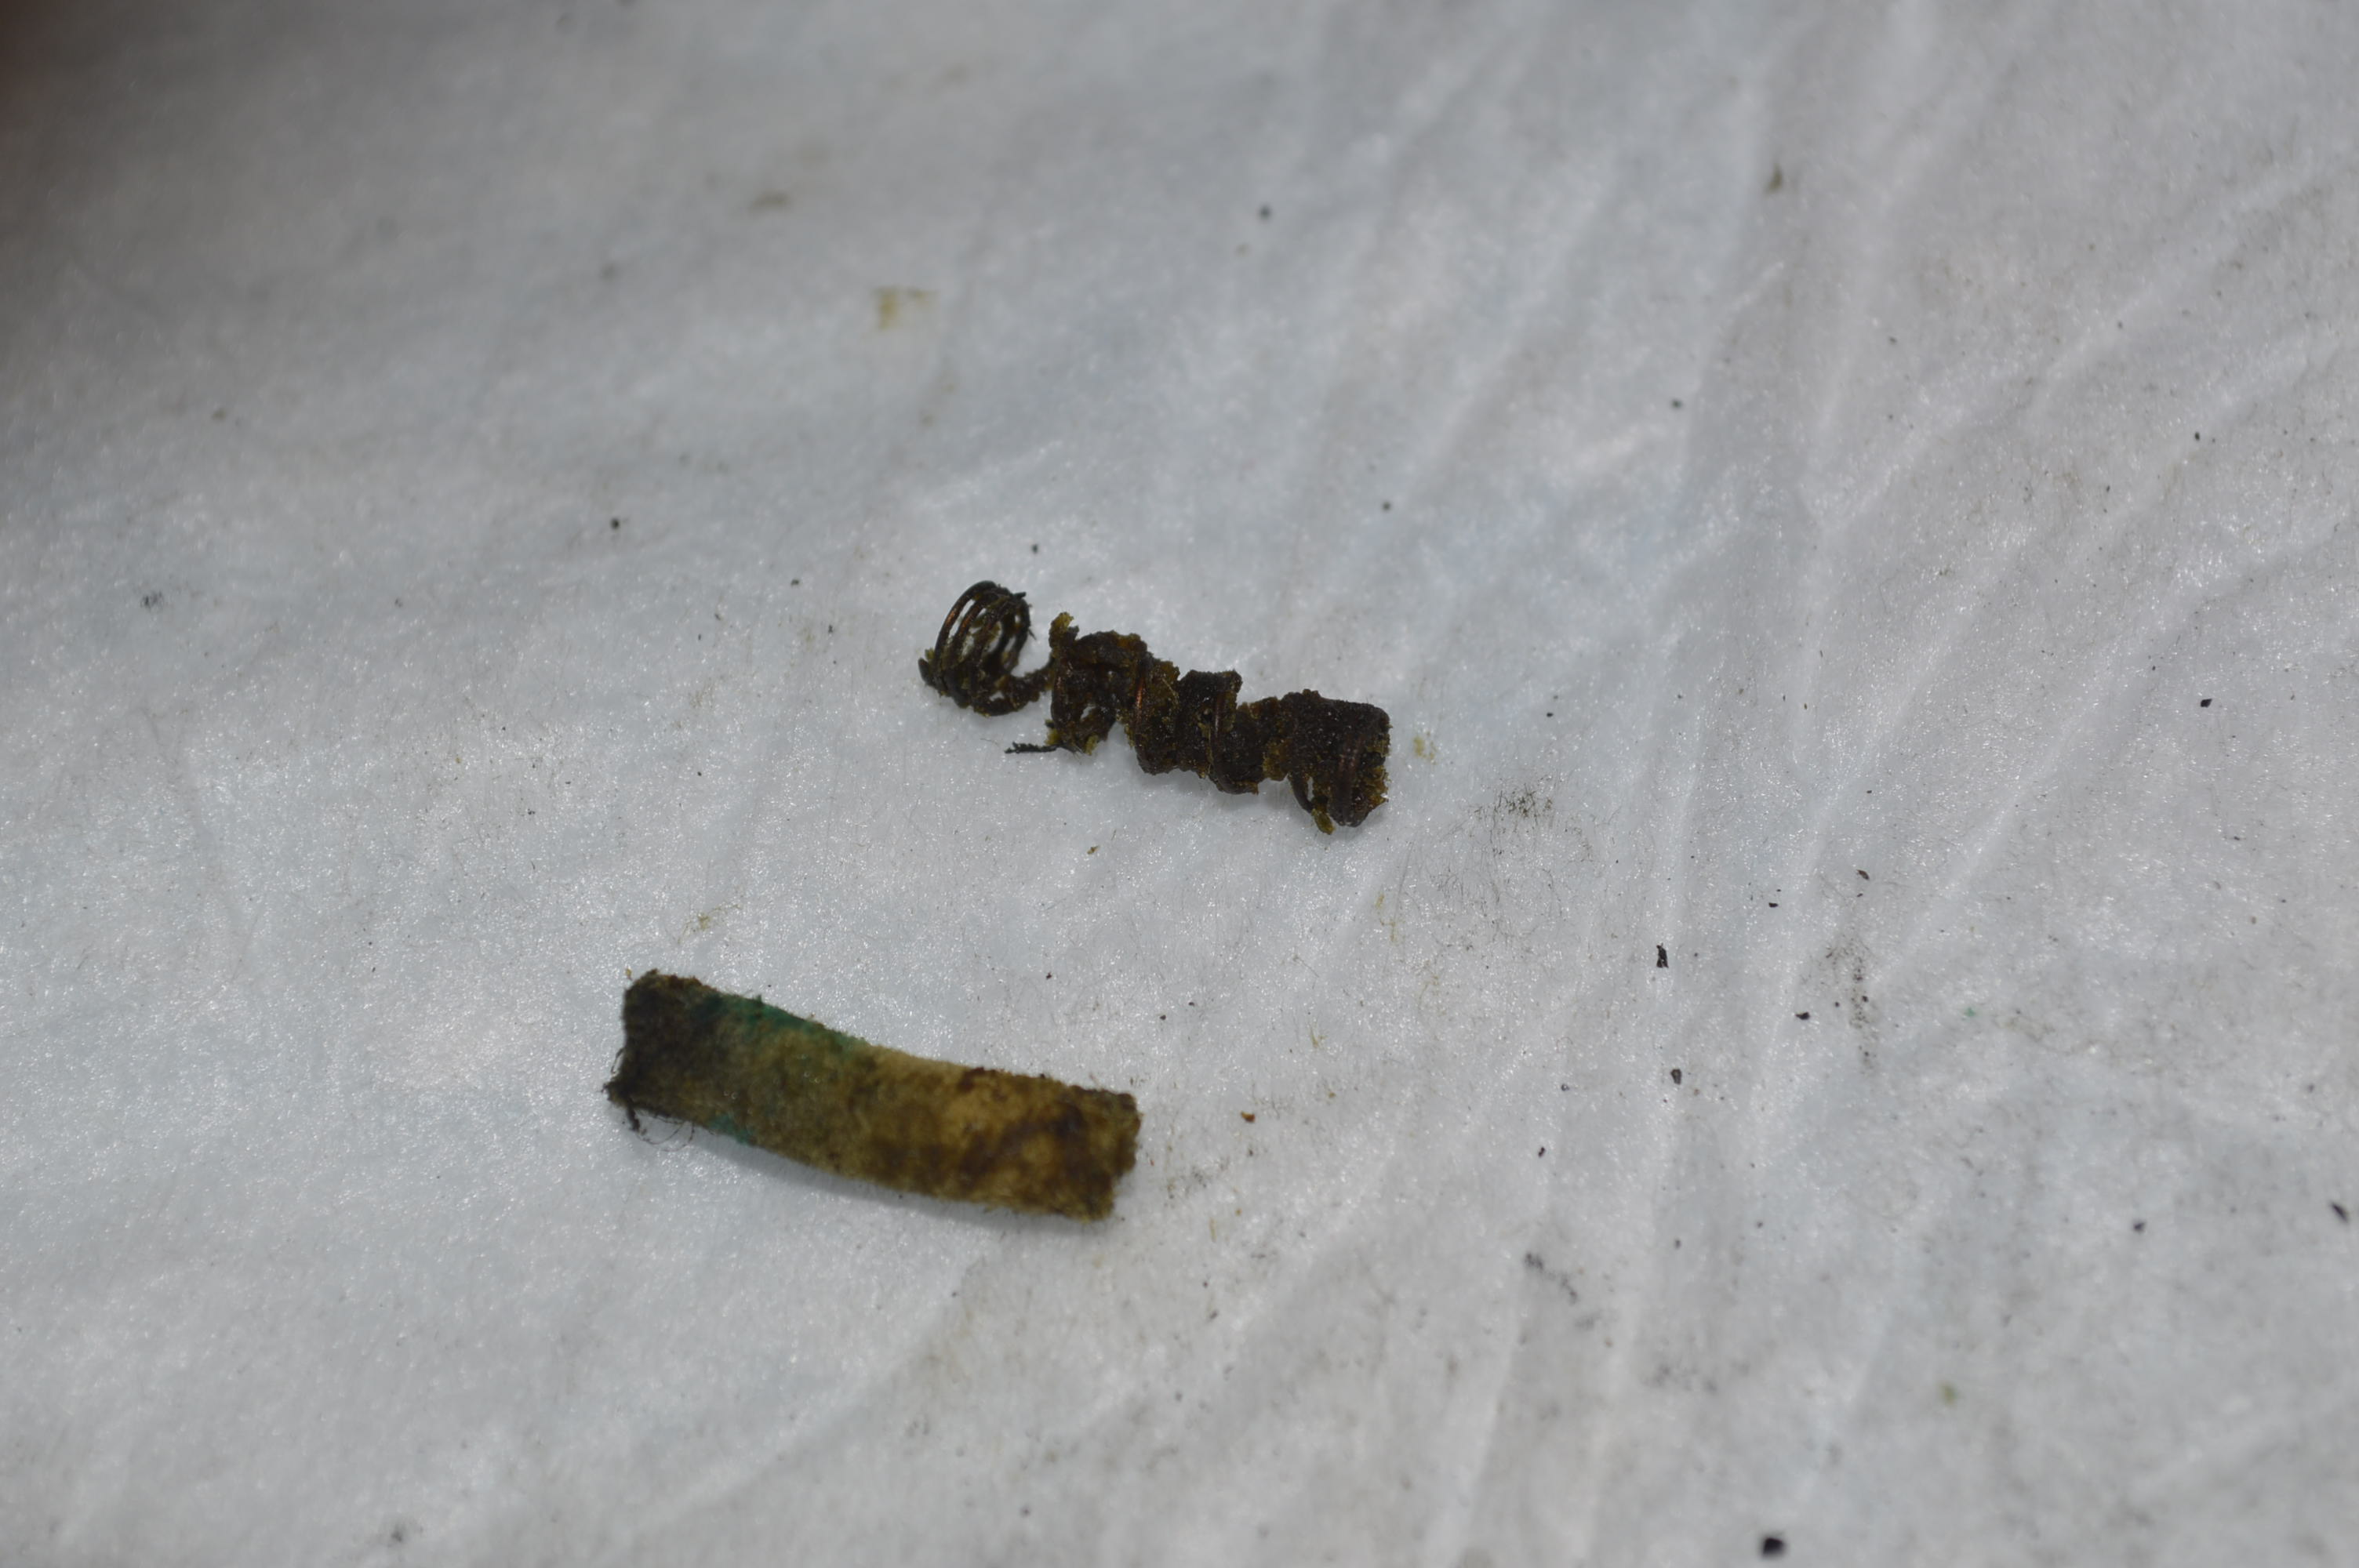
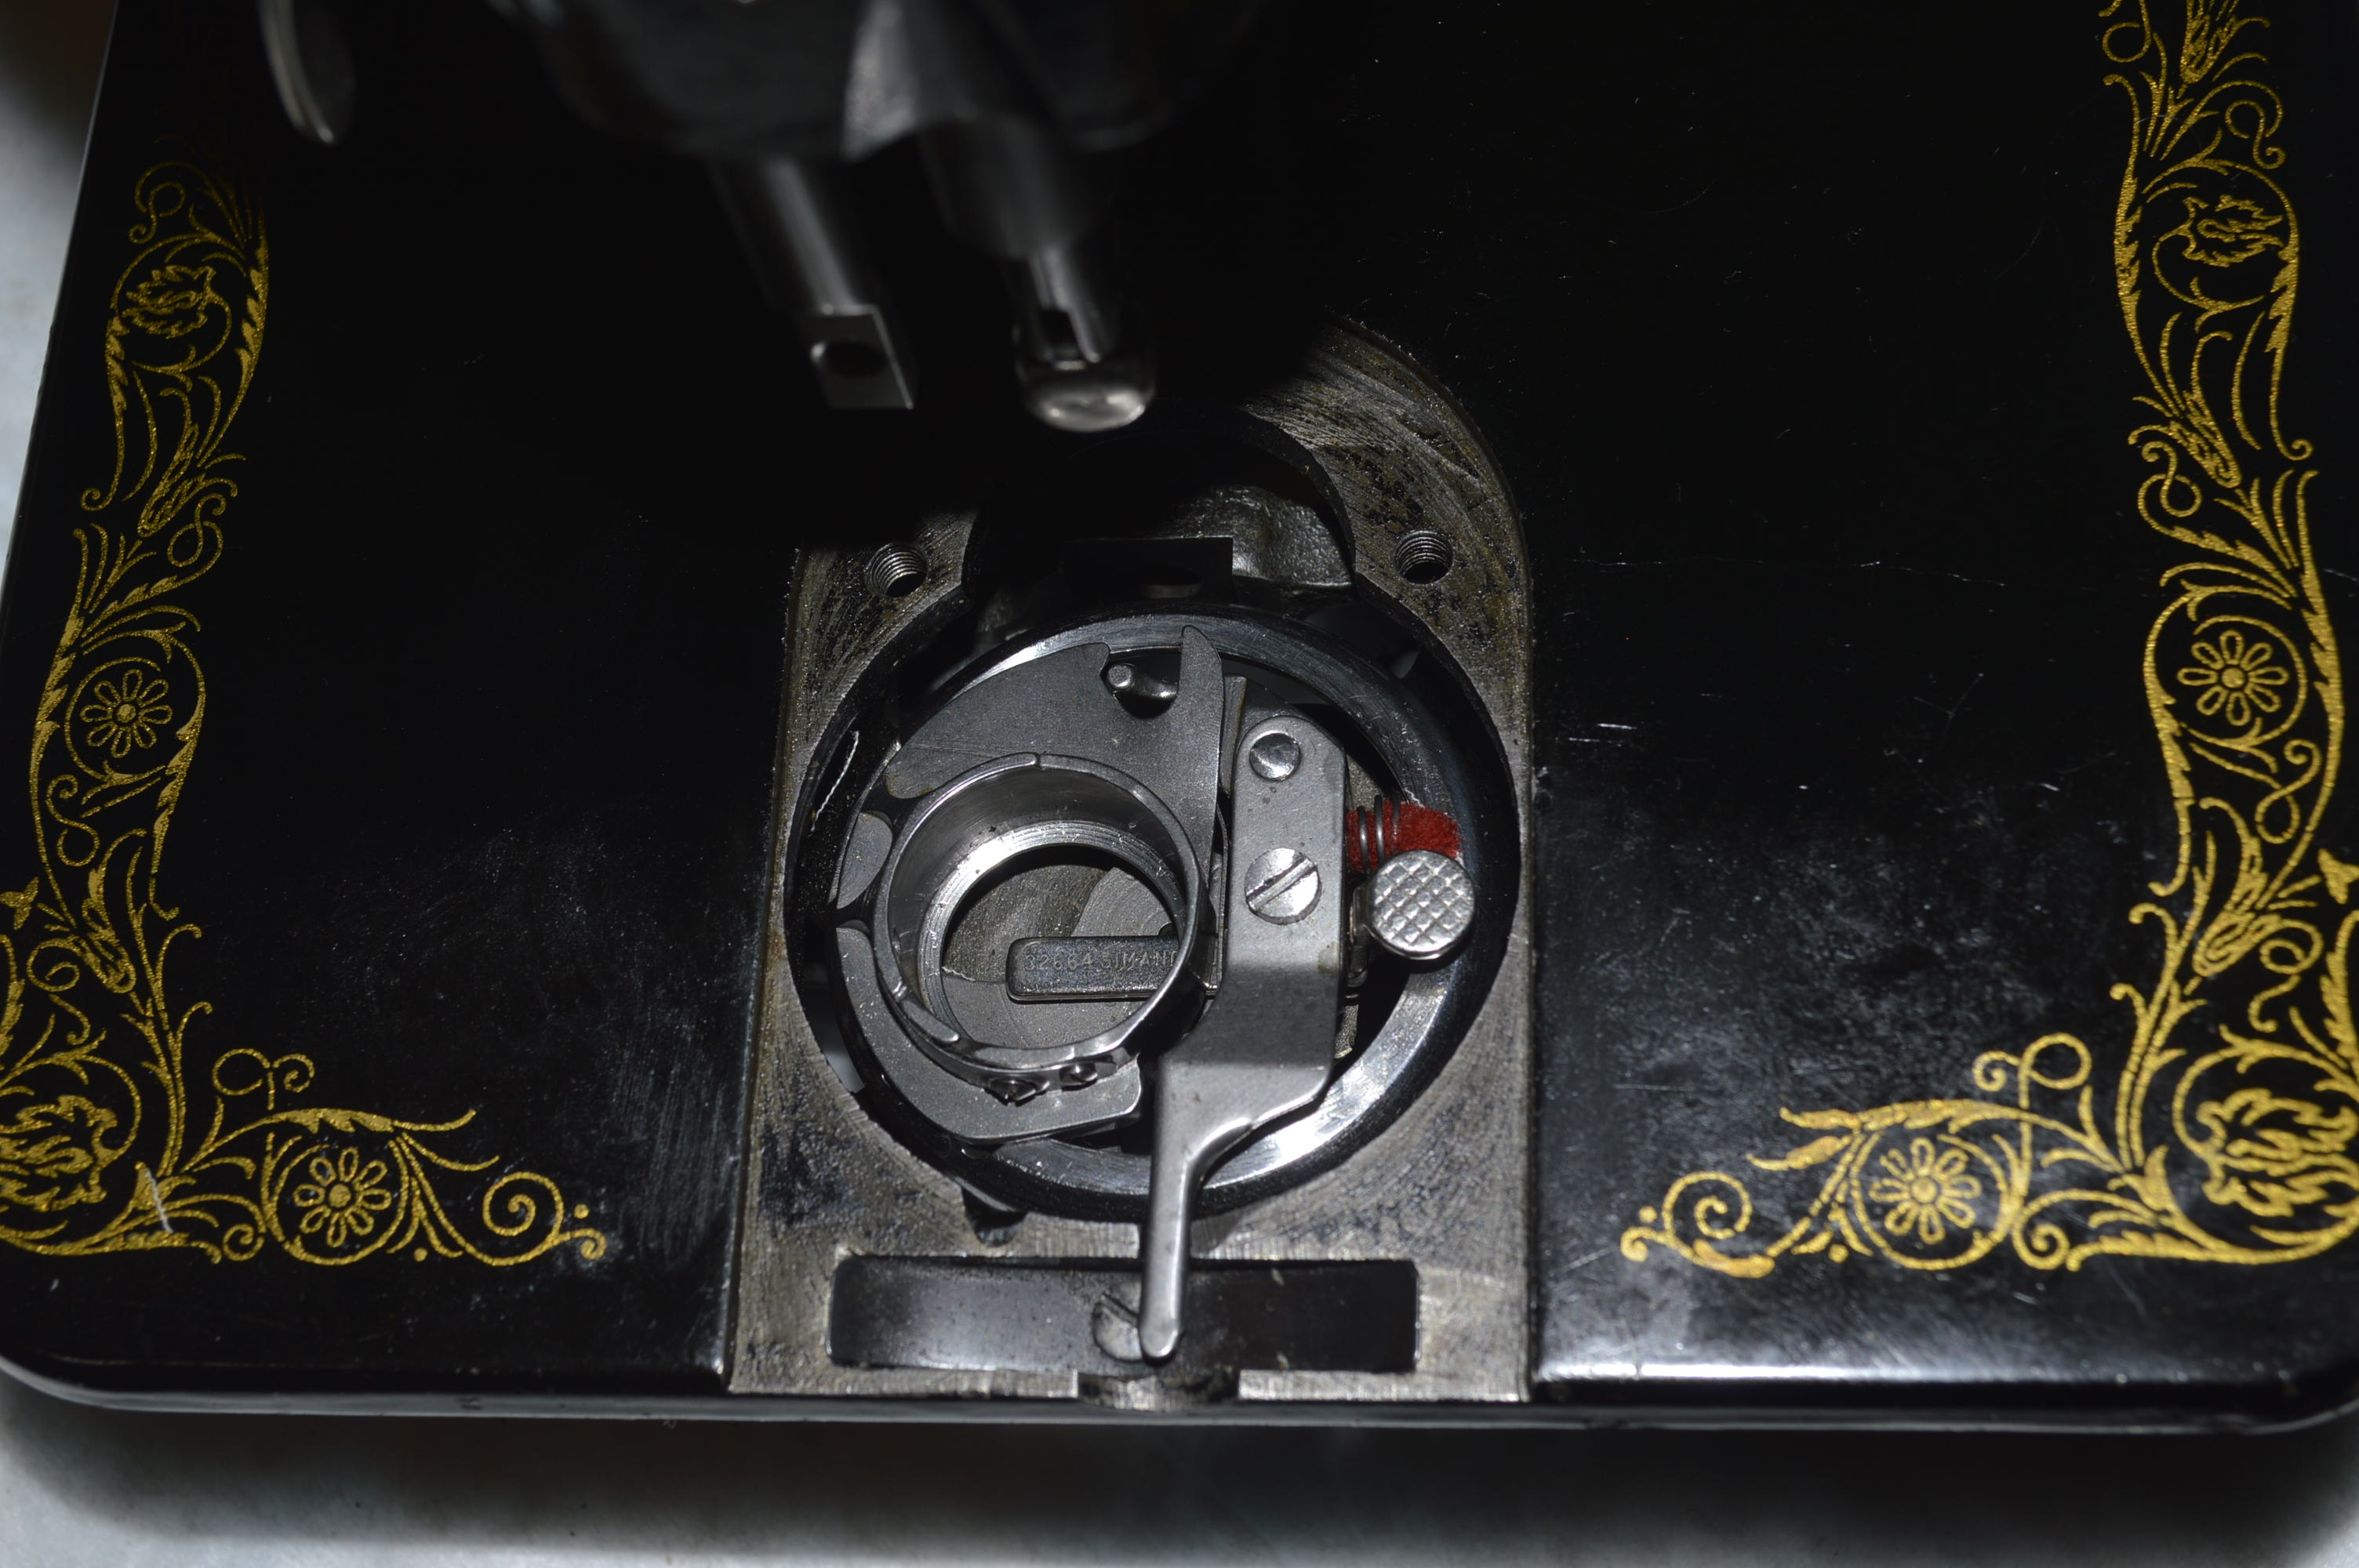
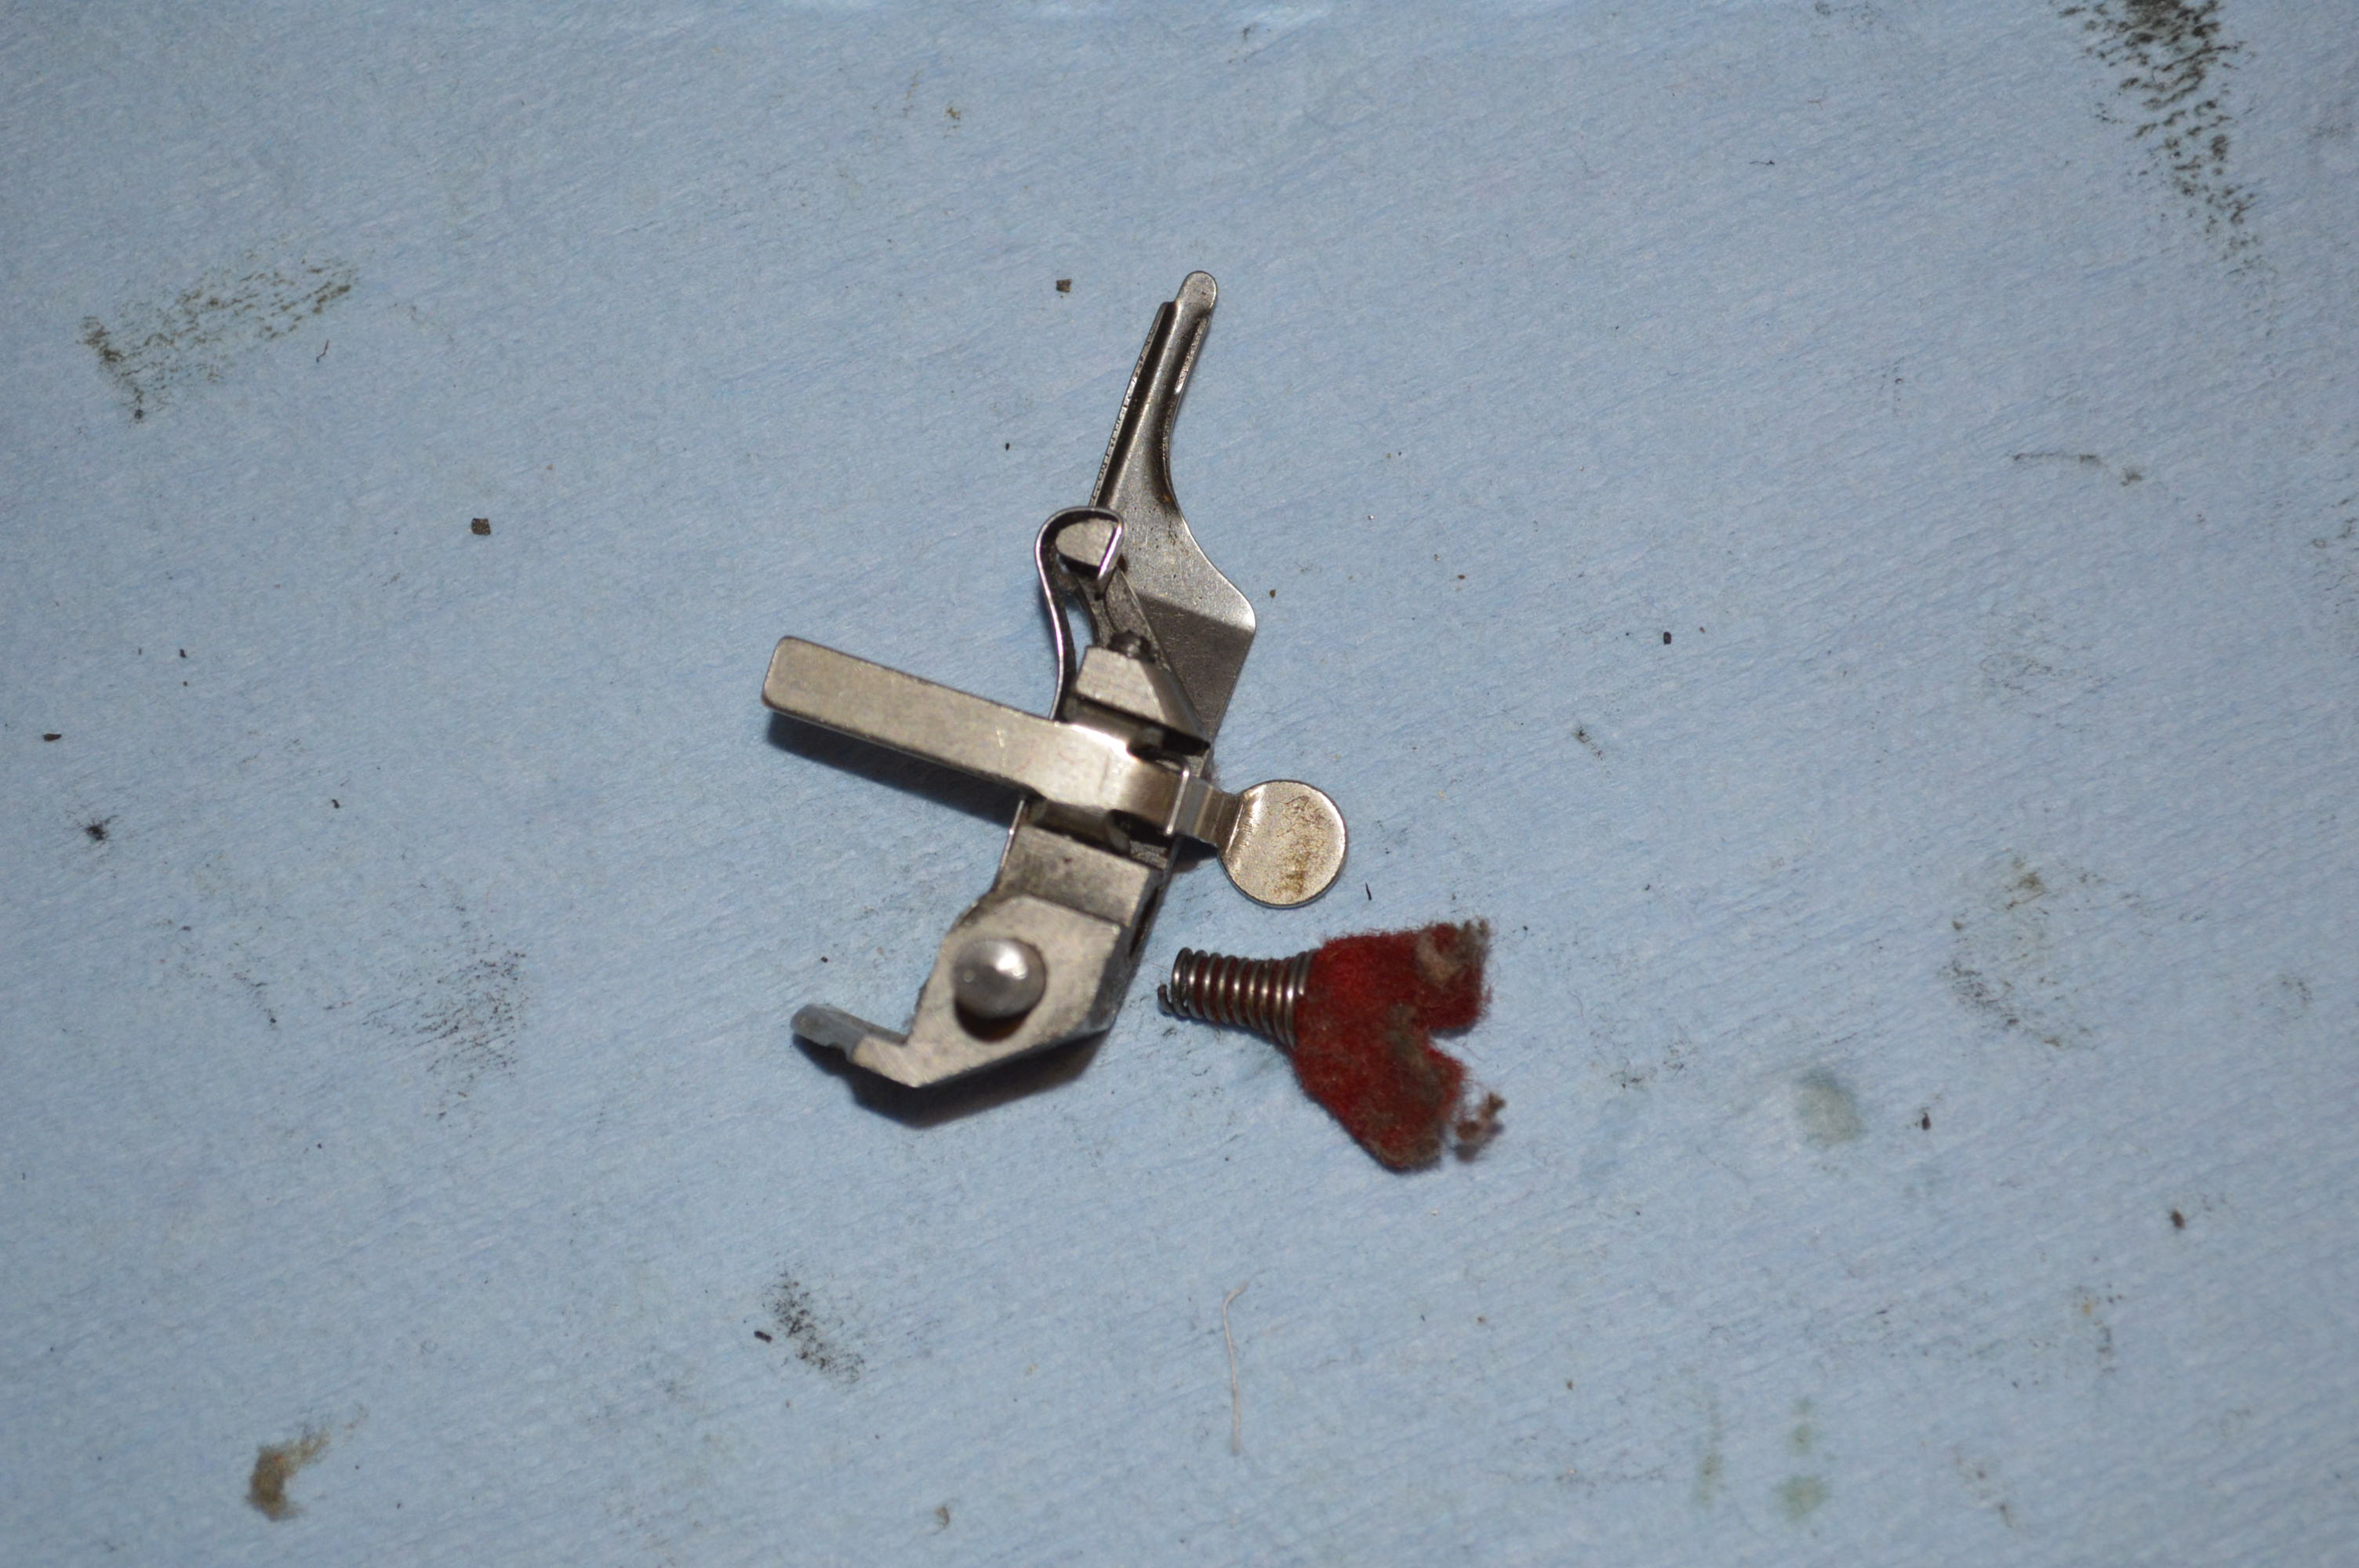
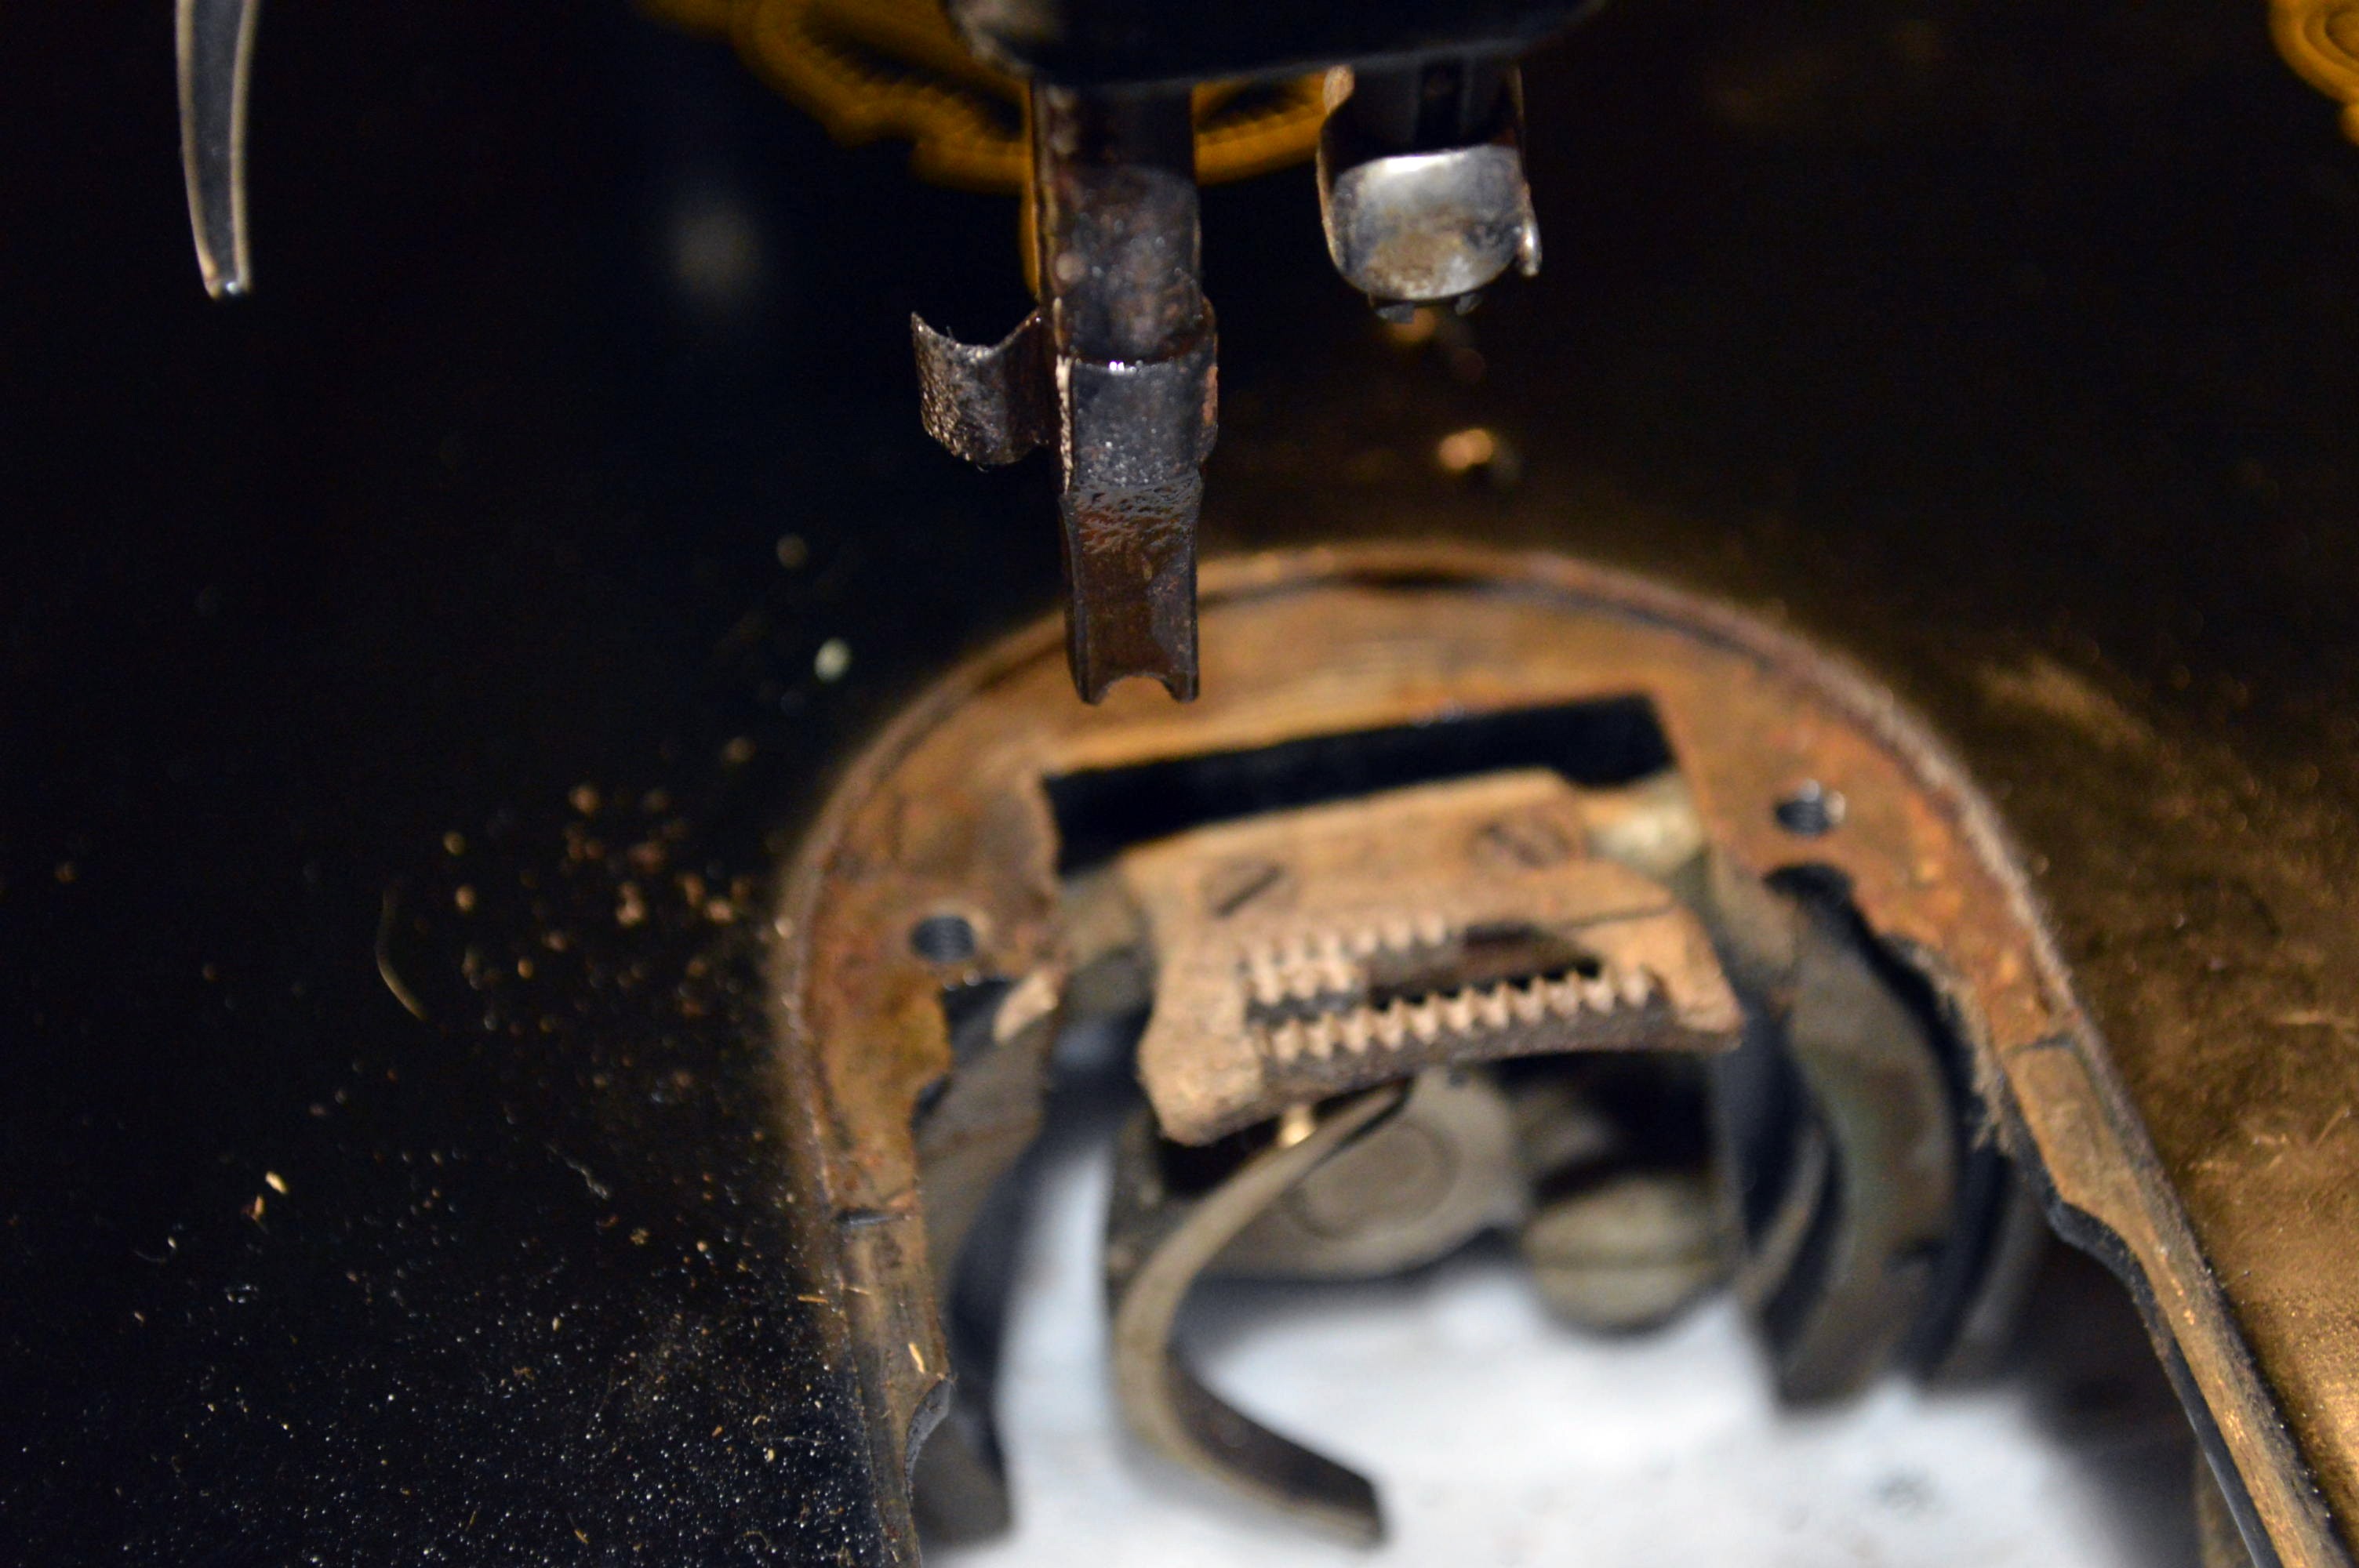
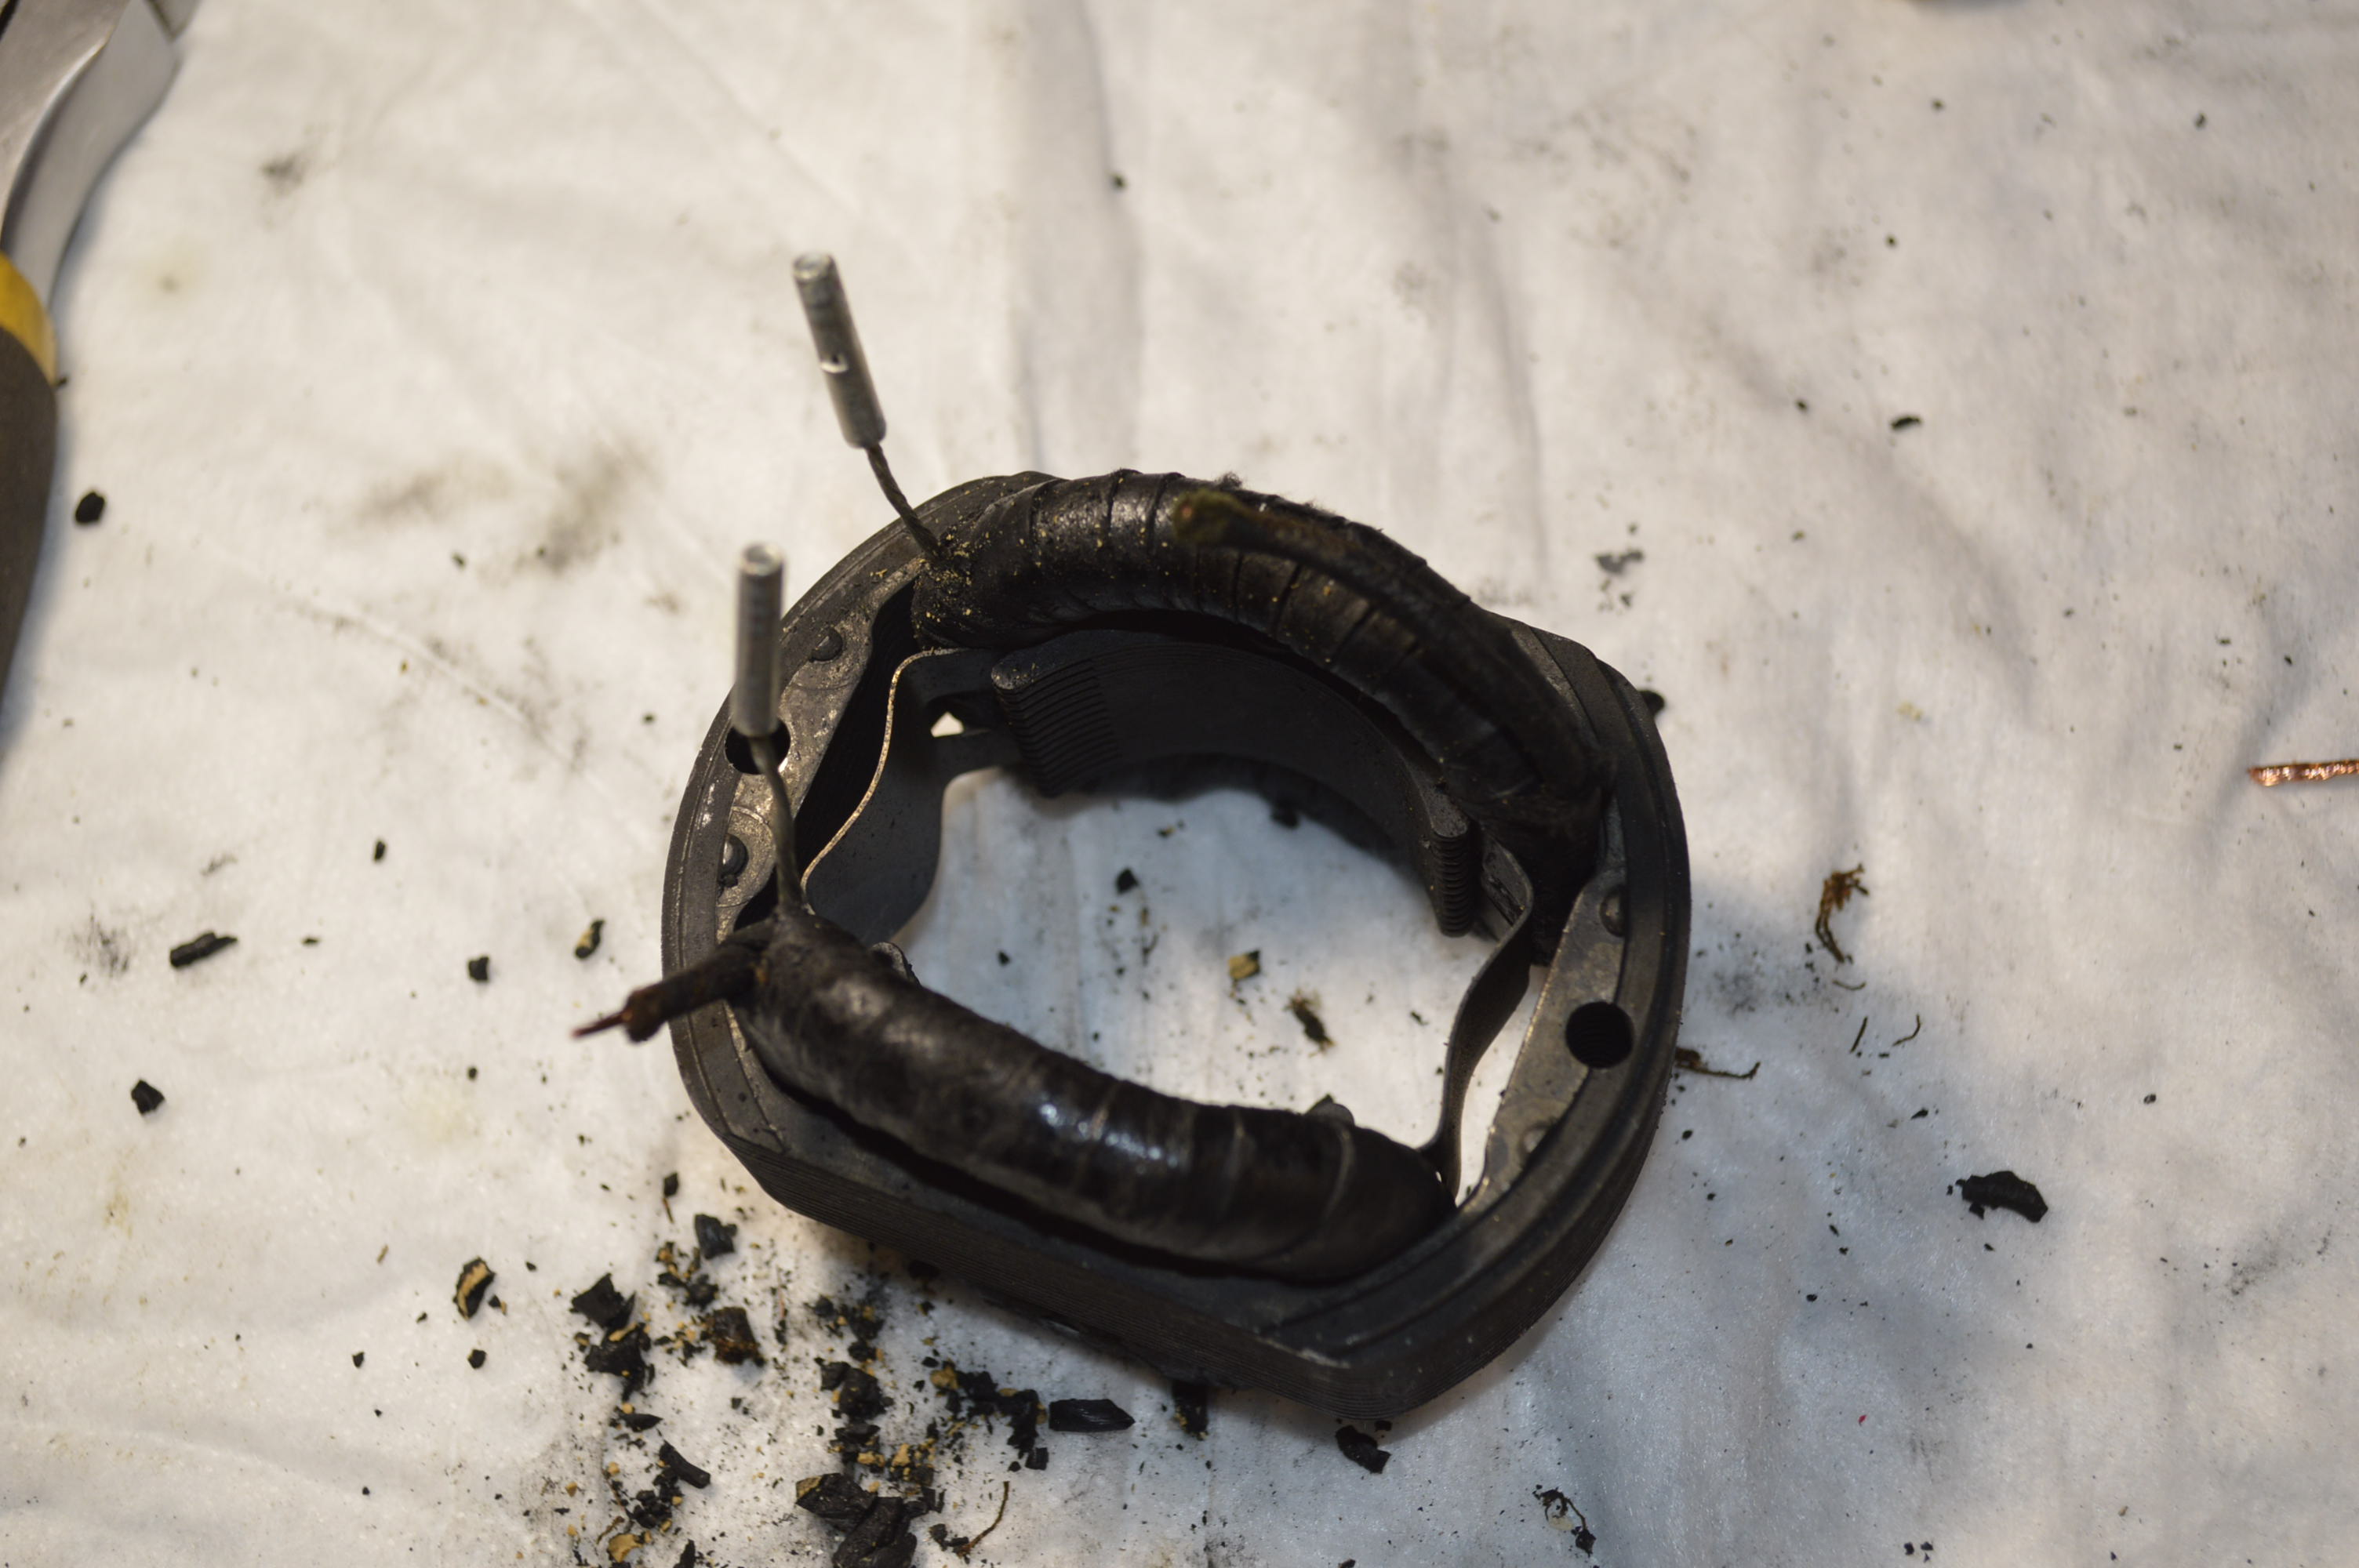
The next picture is important to show… it shows what can hide in the bobbin case and wreaks havoc with getting a good tension balance and/or intermittent tension problems. If you find yourself having to adjust the top tension repeatedly while sewing a project, this may be the culprit… If you think this may be your problem, and don’t want to mess with a very small screw and adjustments, just replace it… they are pretty cheap.
Before…
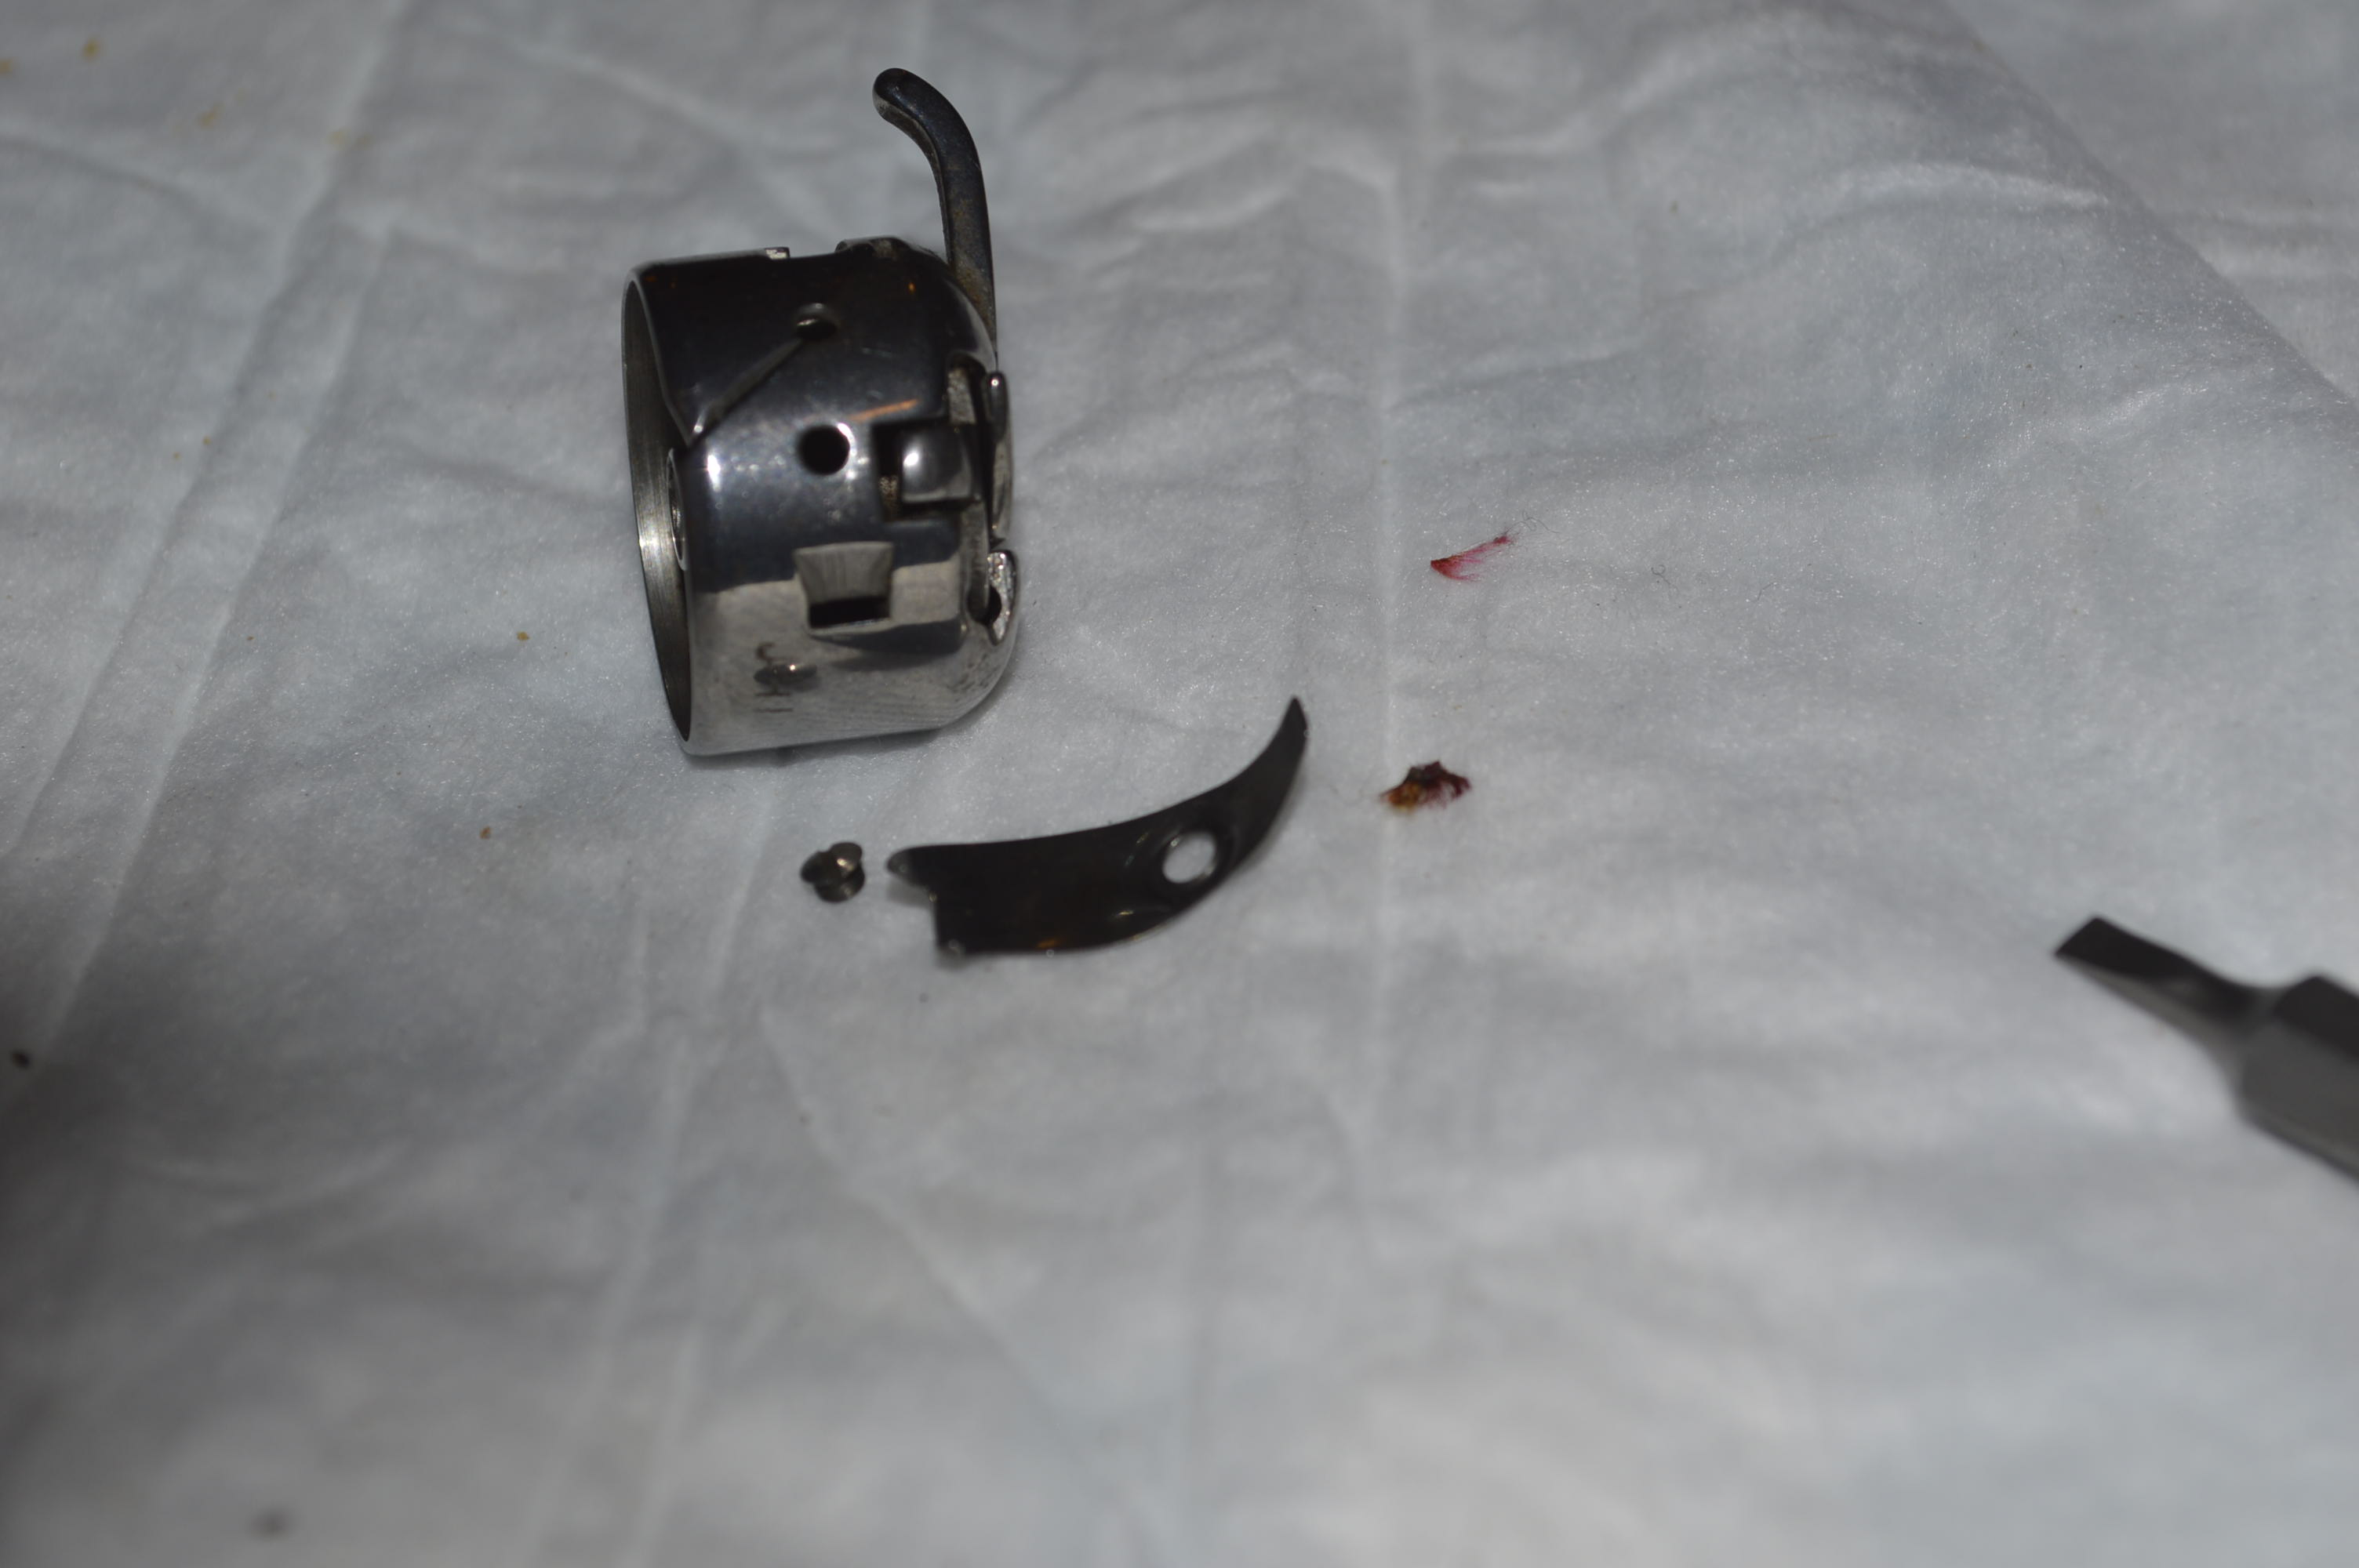
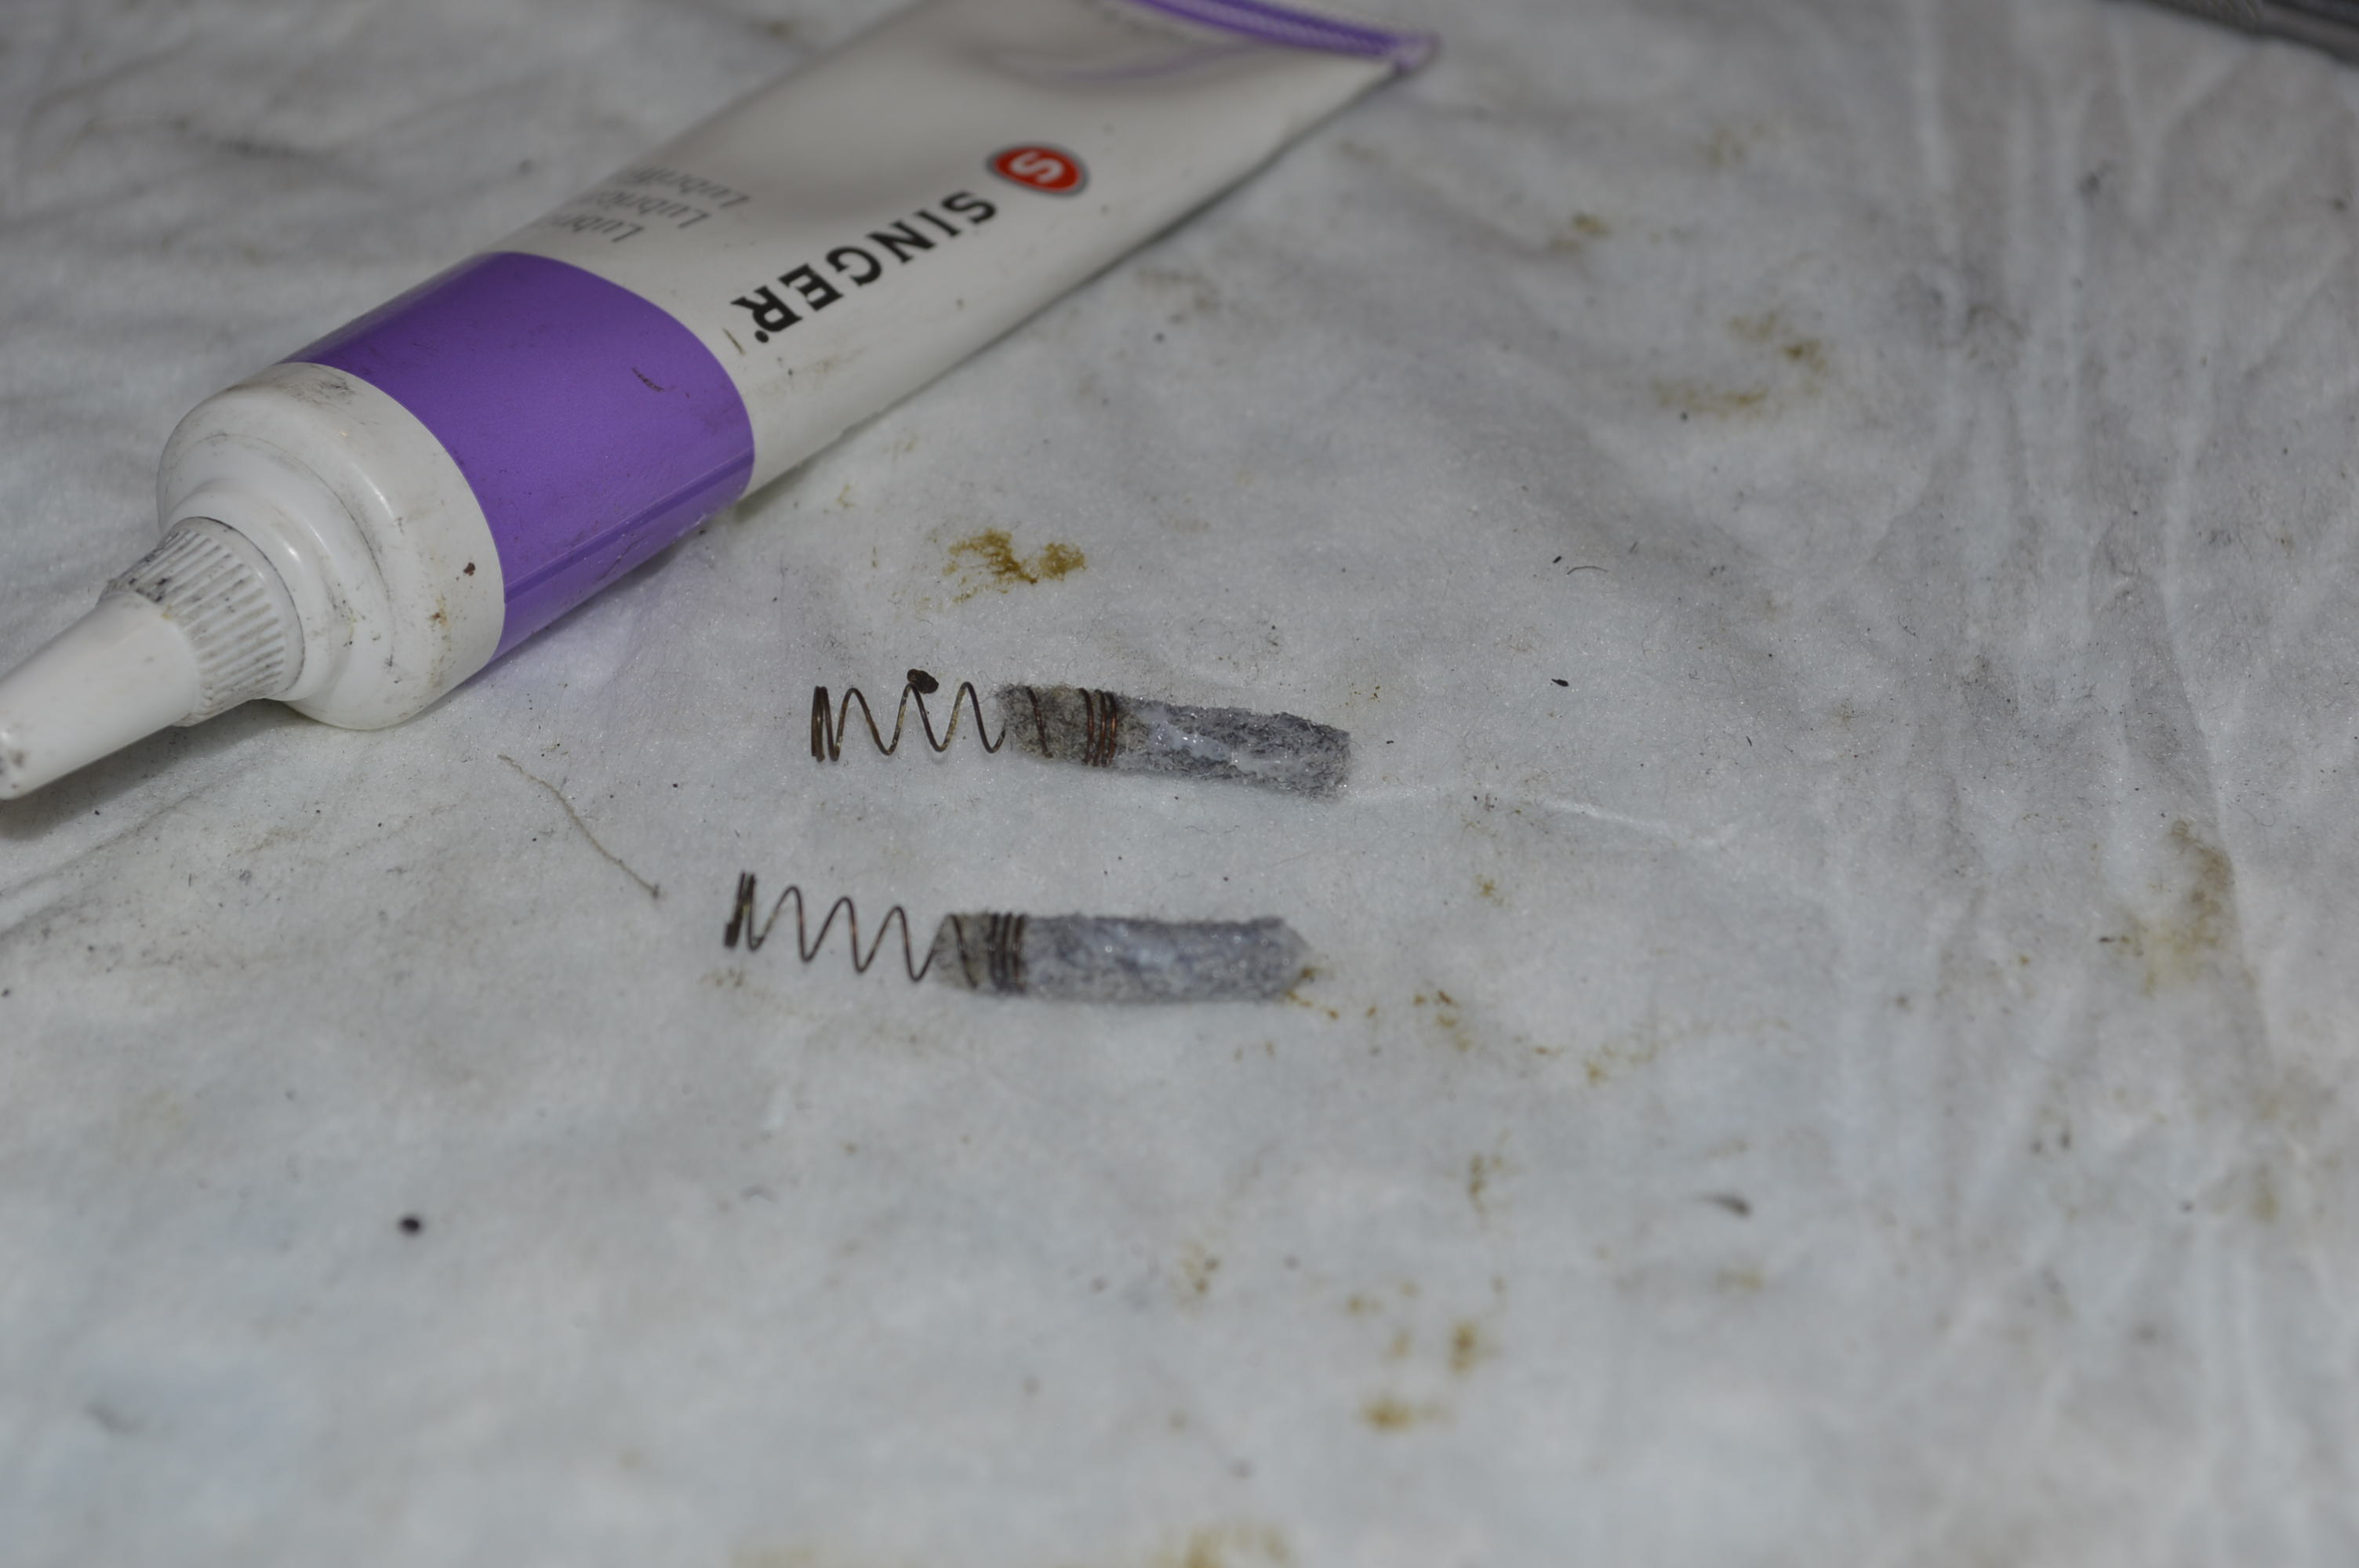
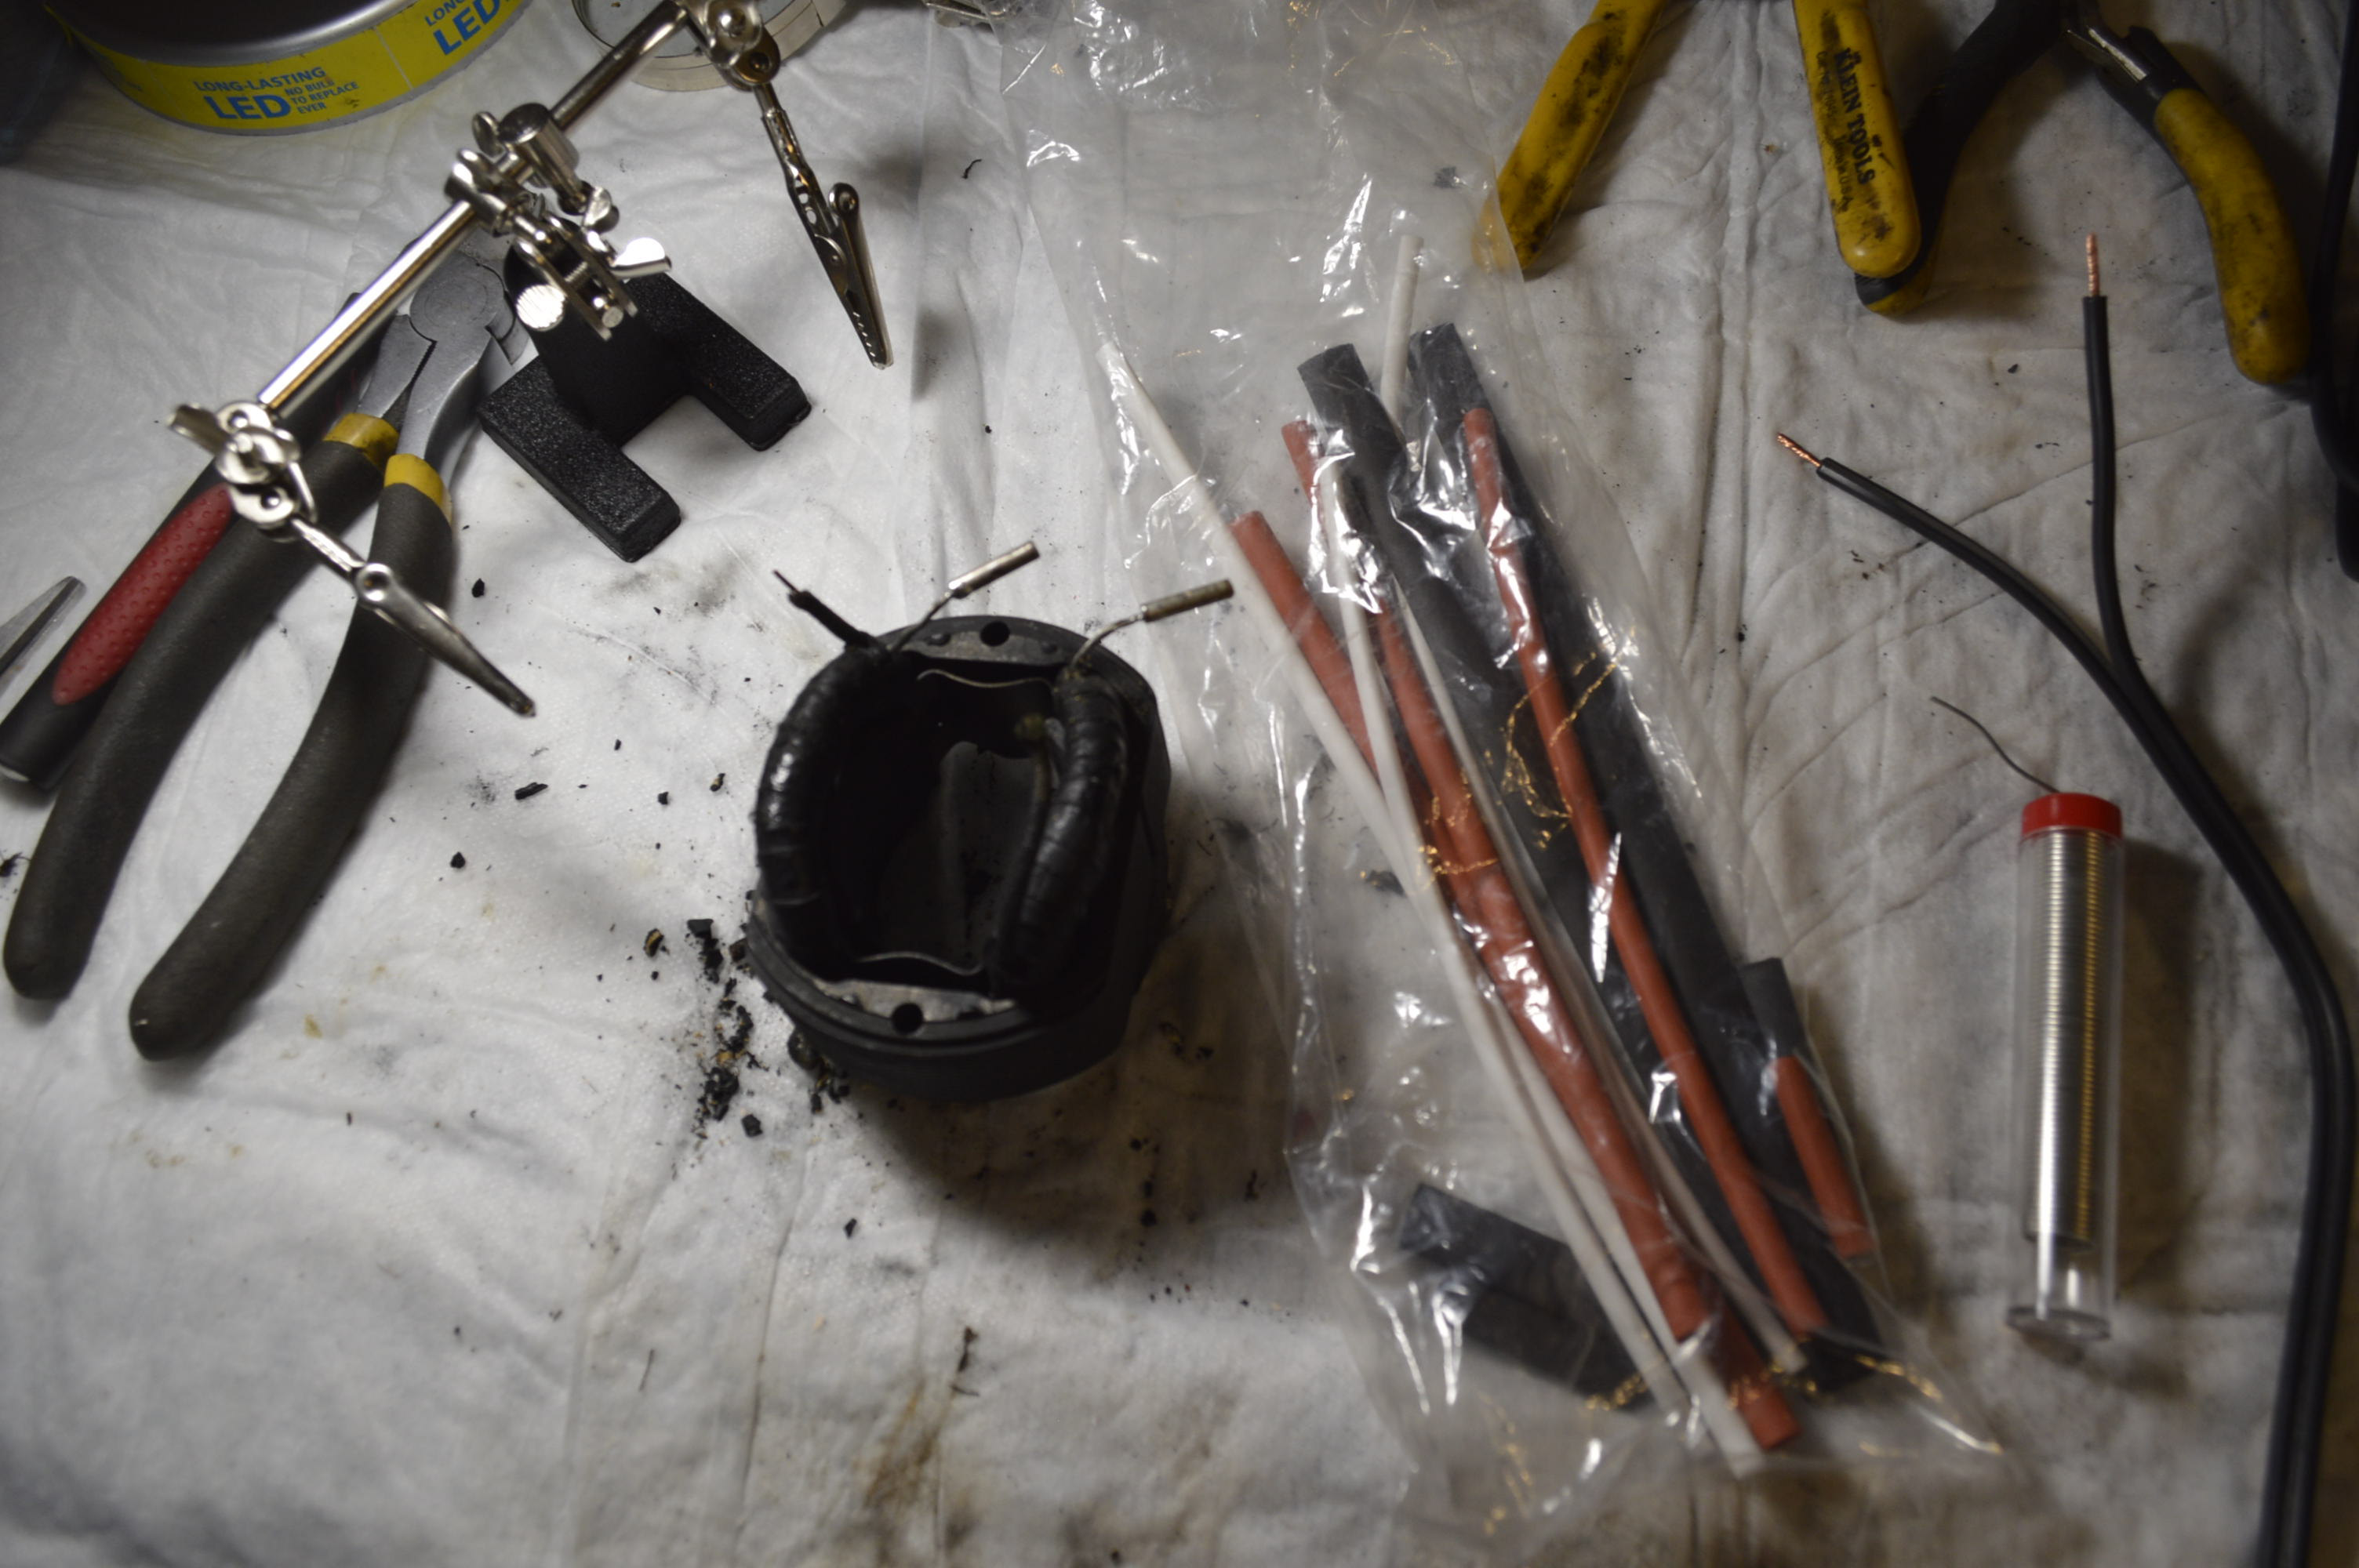
The small leaf spring performs the same task as the tension discs in the top tension mechanism. It is adjusted with a small screw to regulate the clamping force, or “drag” on the bobbin thread. If you look closely, you will see corrosion on the bobbin case, and crud on the leaf spring… all of it is directly in the thread path. Often overlooked, this is a very important part of servicing a sewing machine. After a soft bristle steel wire wheel, it is good as new.
Good as new…
The top tension parts after cleaning…
Meanwhile… all of the parts removed earlier have been ultrasonically cleaned… Then soaked in WD-40 (except the bobbin tire). A further step is taken with the bobbin winding assembly. It is soaked in 99% alcohol to remove any trace of the WD-40.
All of the part are reassembled on the machine, and attention is turned to cleaning the exterior of the machine… Not much to say here except the machine case, covers, and balance wheel are cleaned of any dirt and old oil. Kenmore enamel paint is tough and looks great when clean.
After the machine is assembled, it is lubricated with tri-flow oil, adjusted for thread balance and feed dog operation, adjusted, tested, and…. That’s it!
The result is a quiet, powerful, smooth running sewing machine that makes a stitch as good as new… and it will for another very long time.
Well, I hope you gleaned some good information and tips regarding the steps you may take to clean your Kenmore.
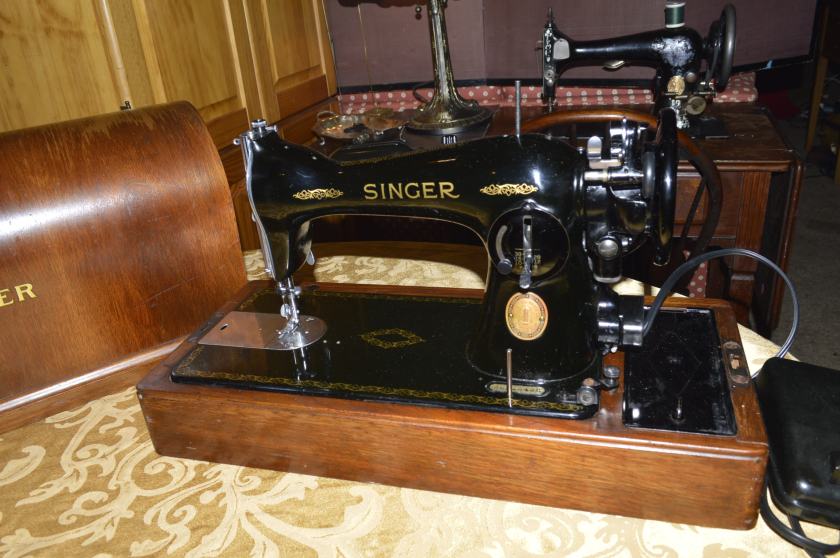
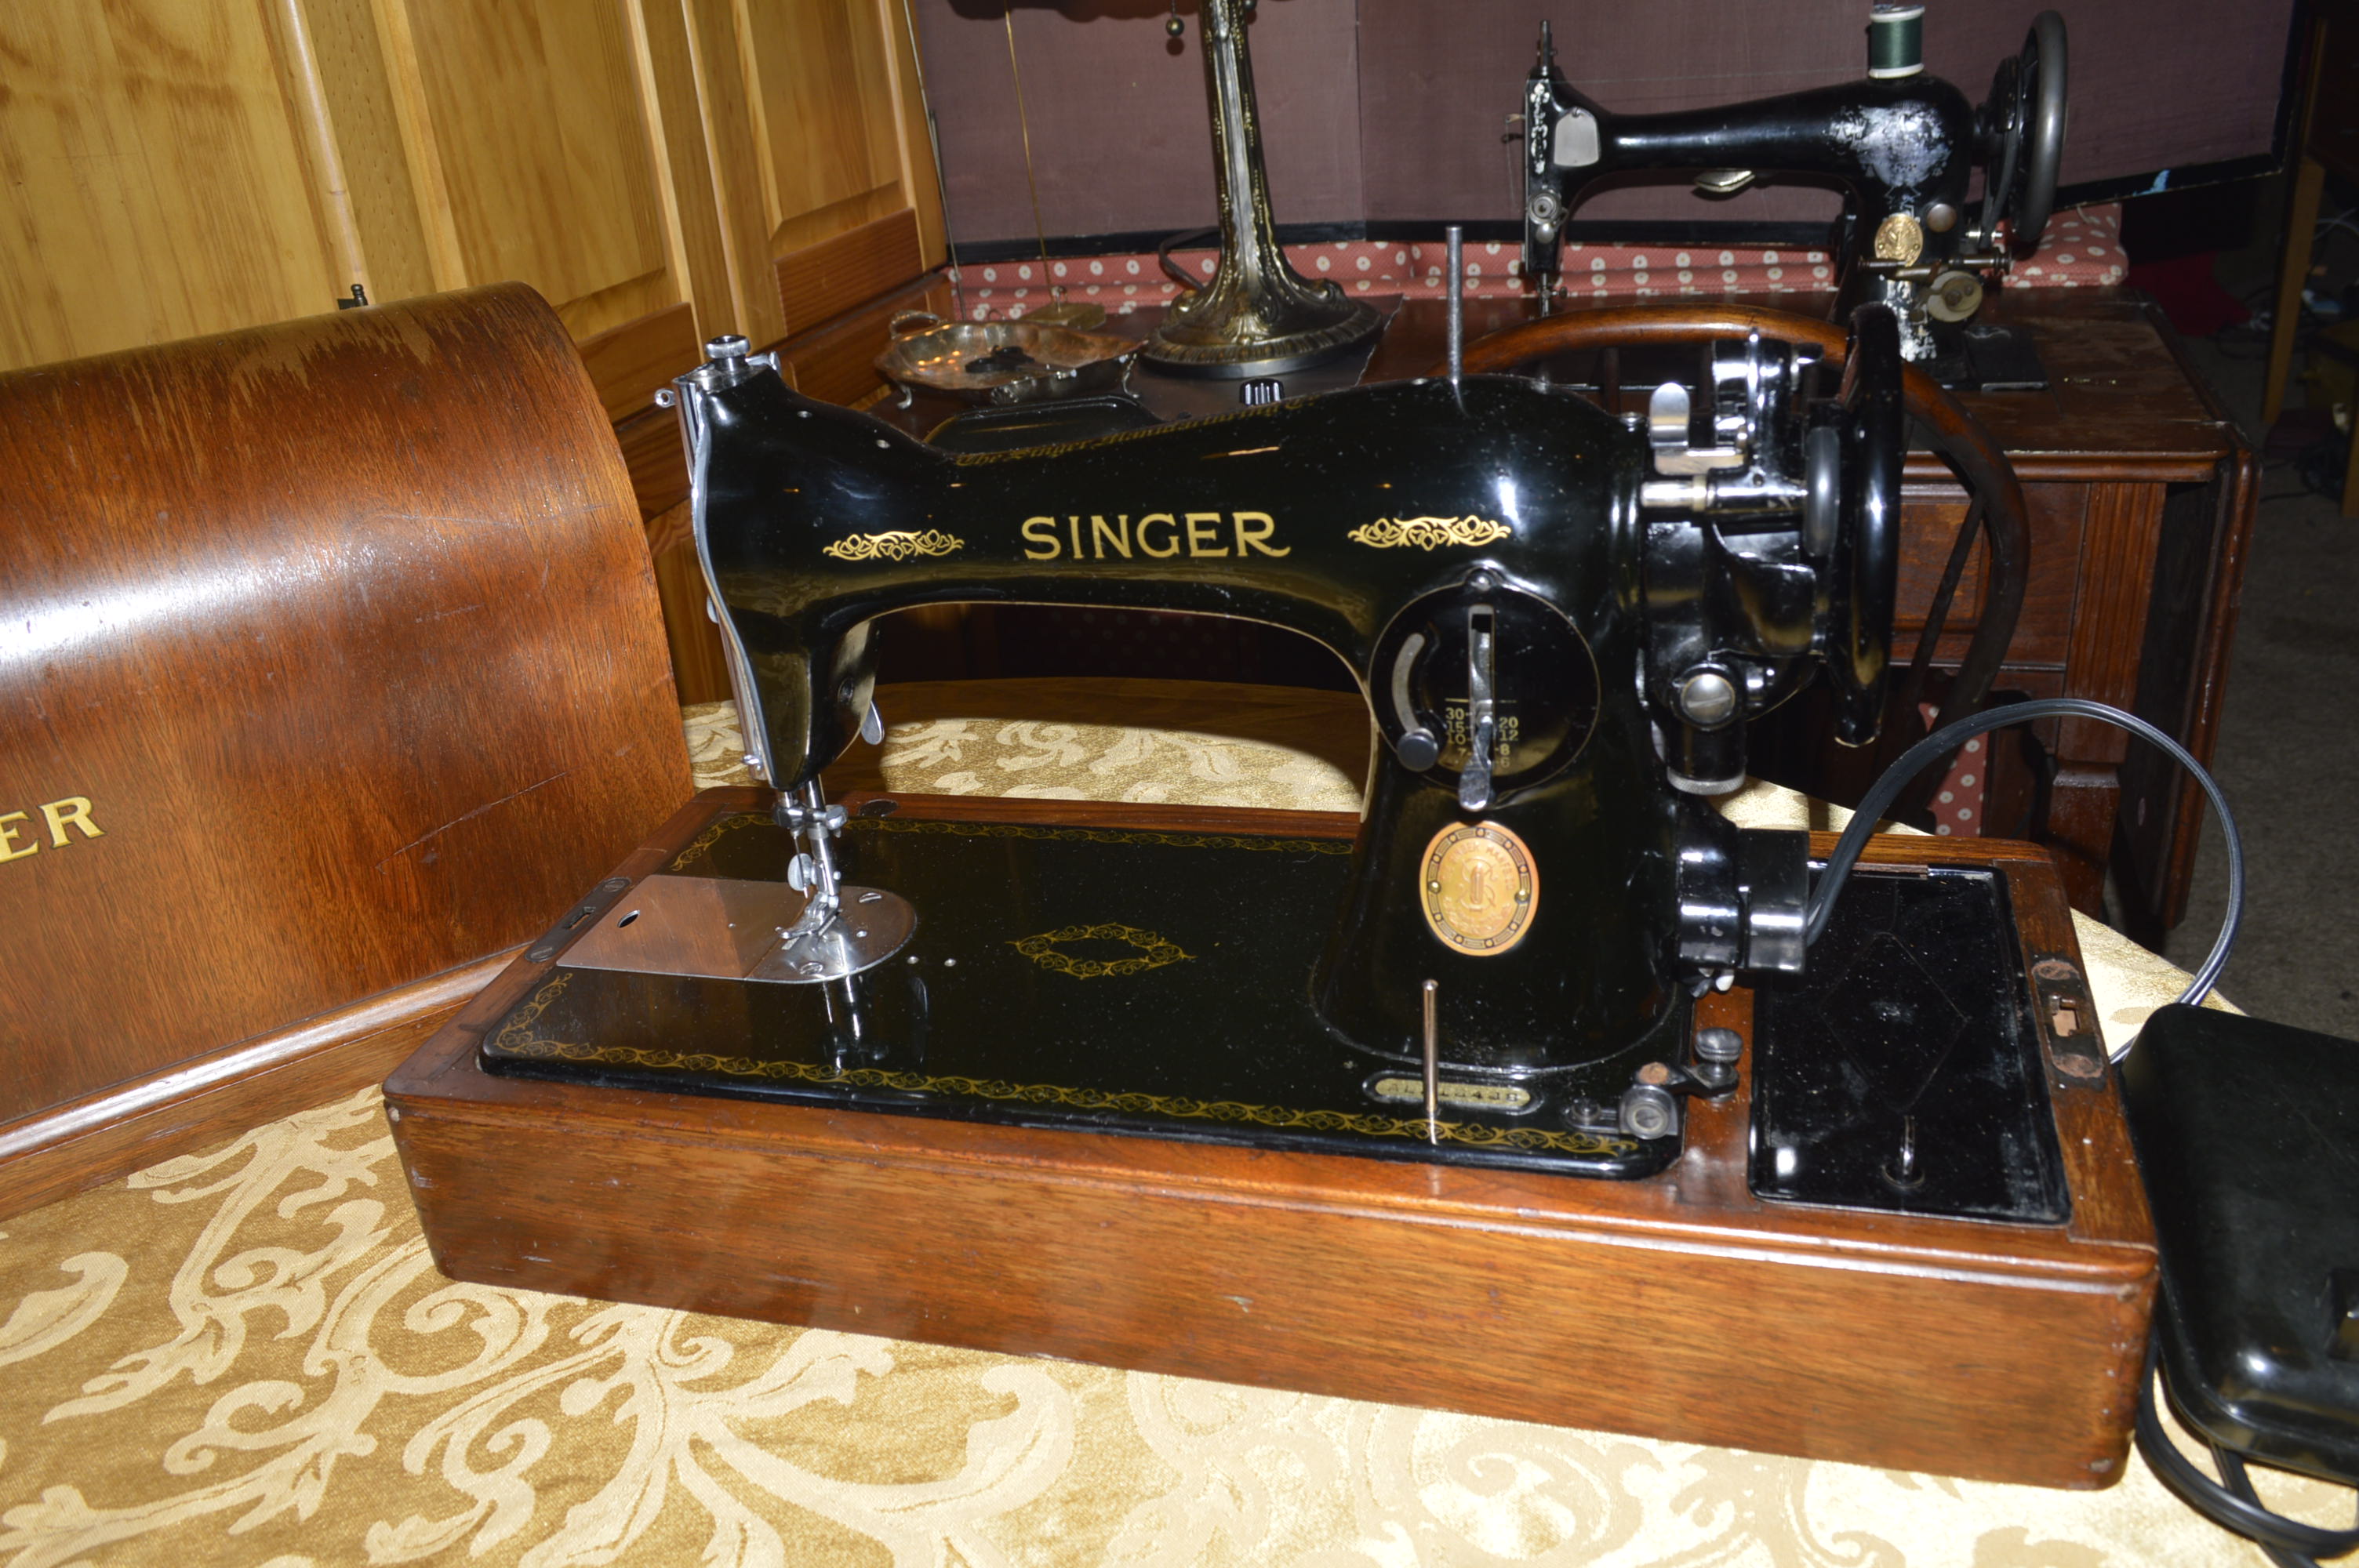
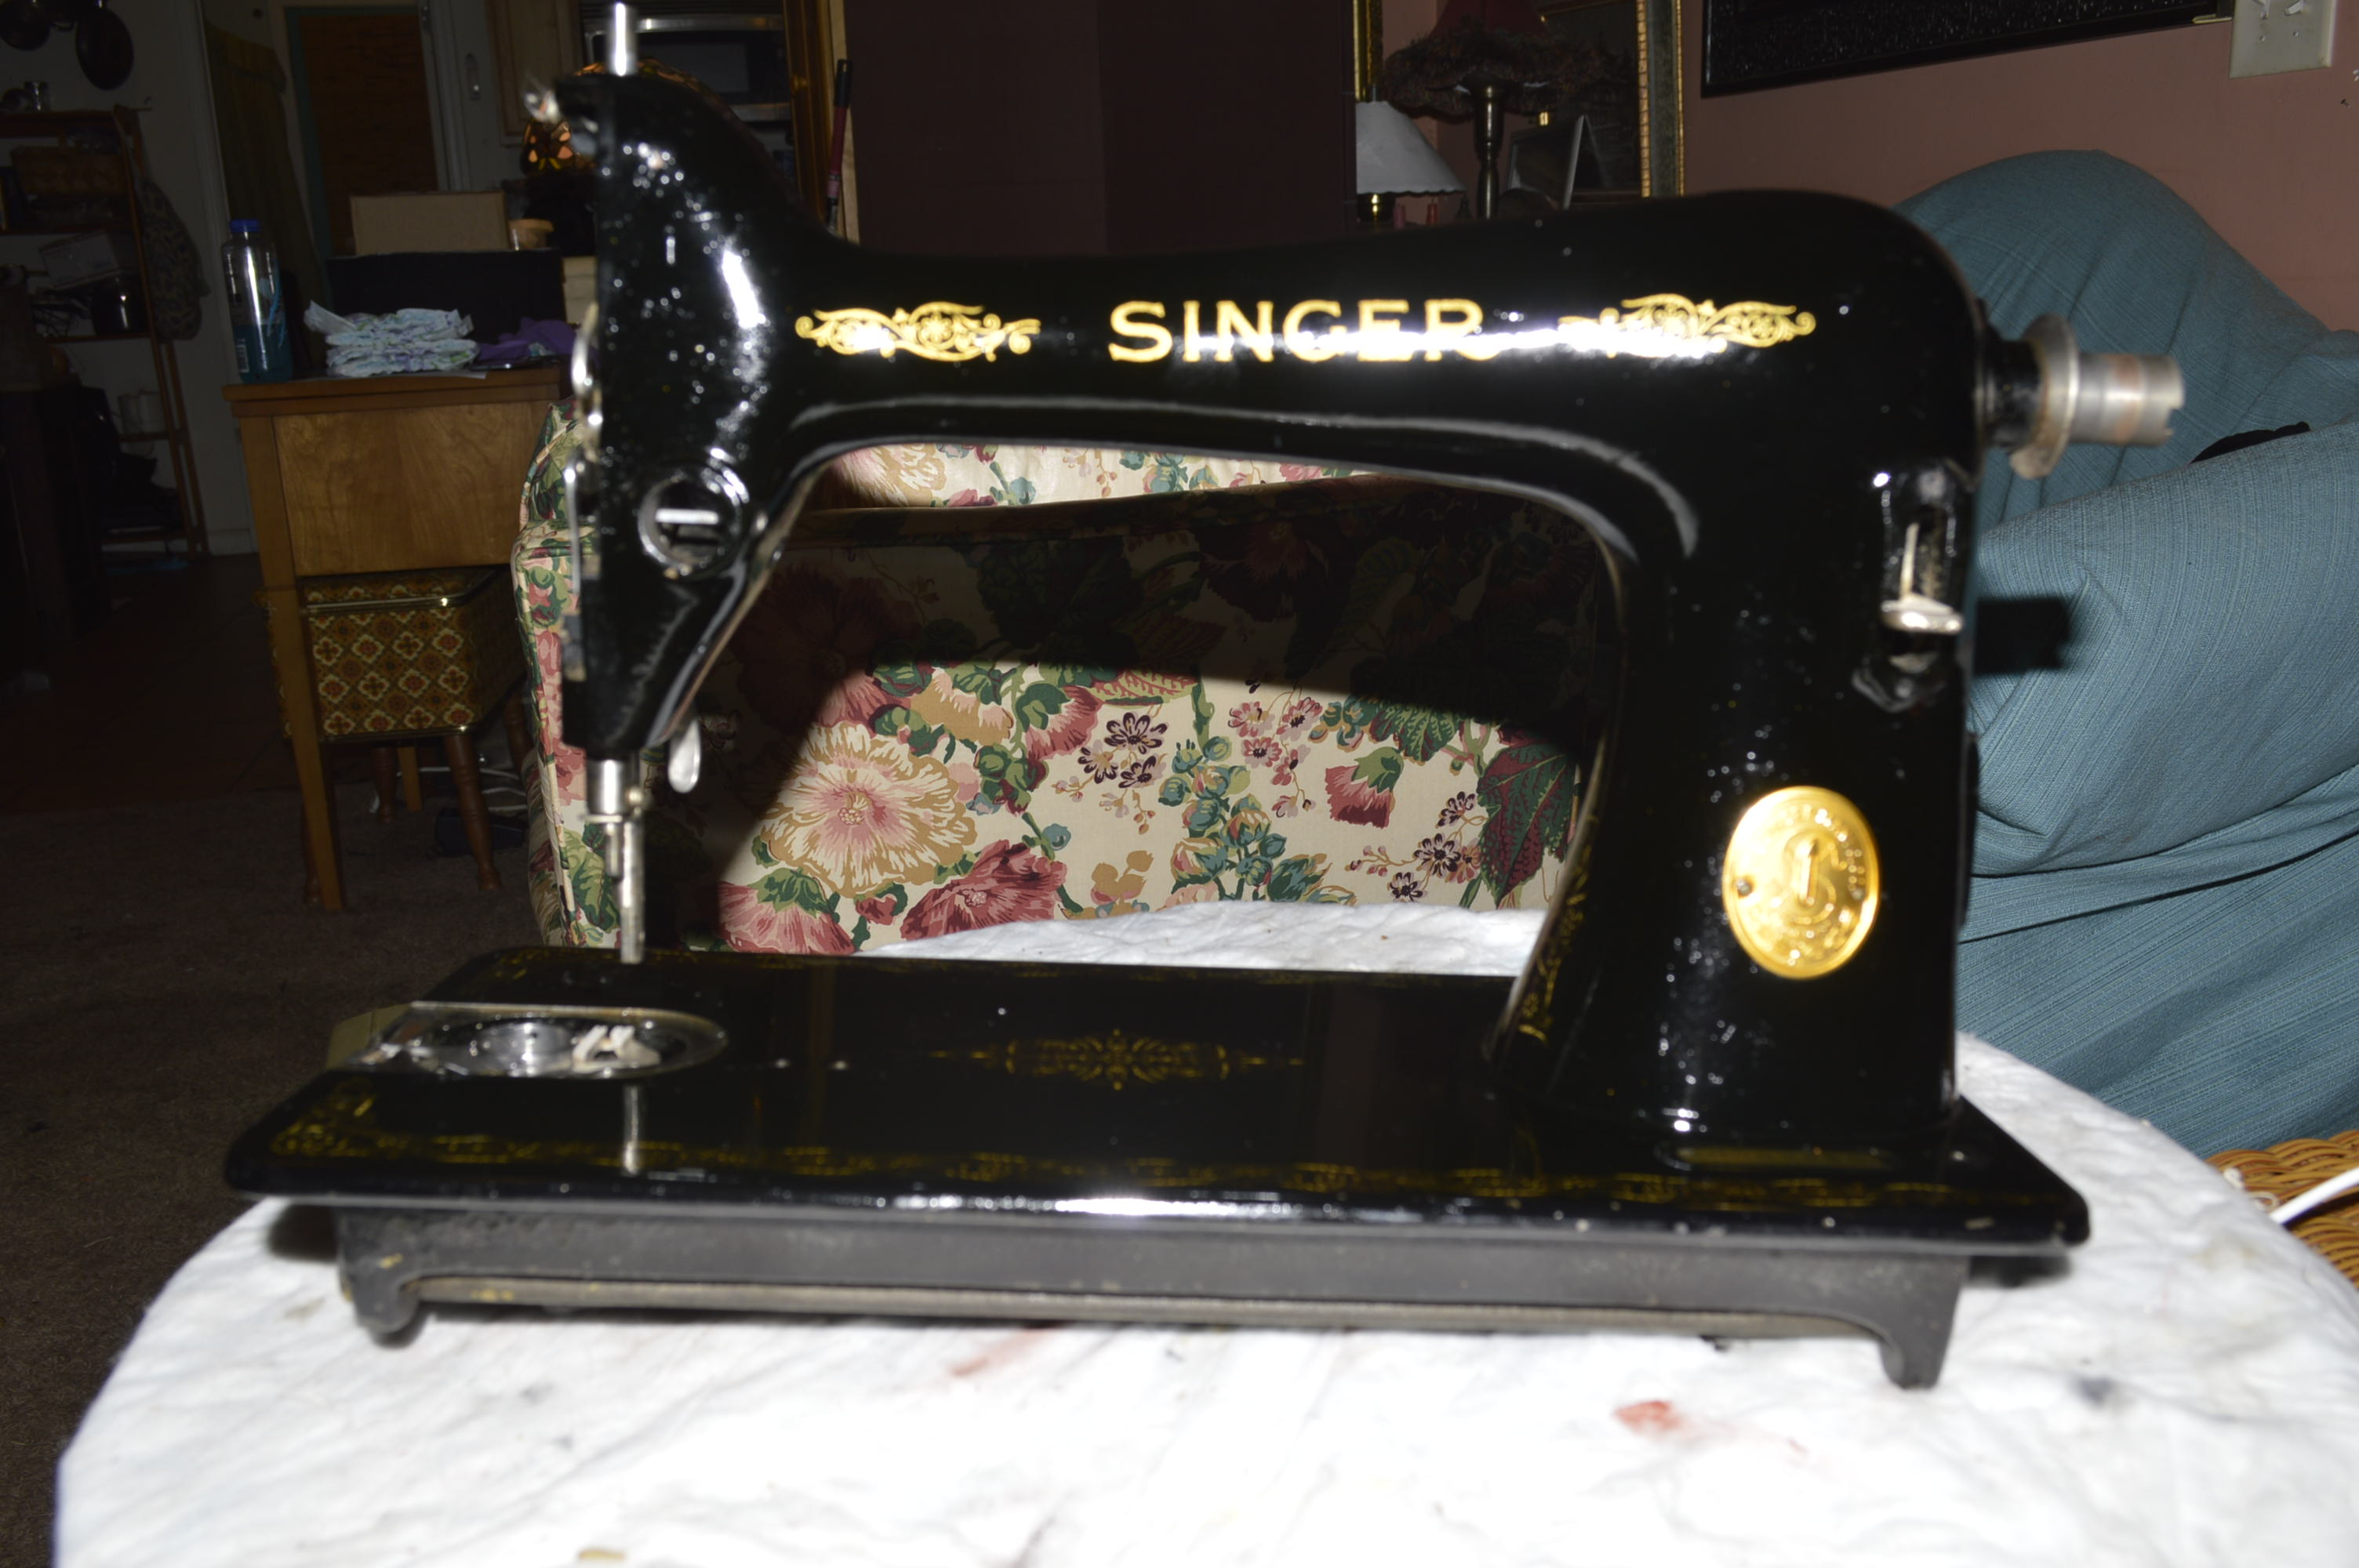
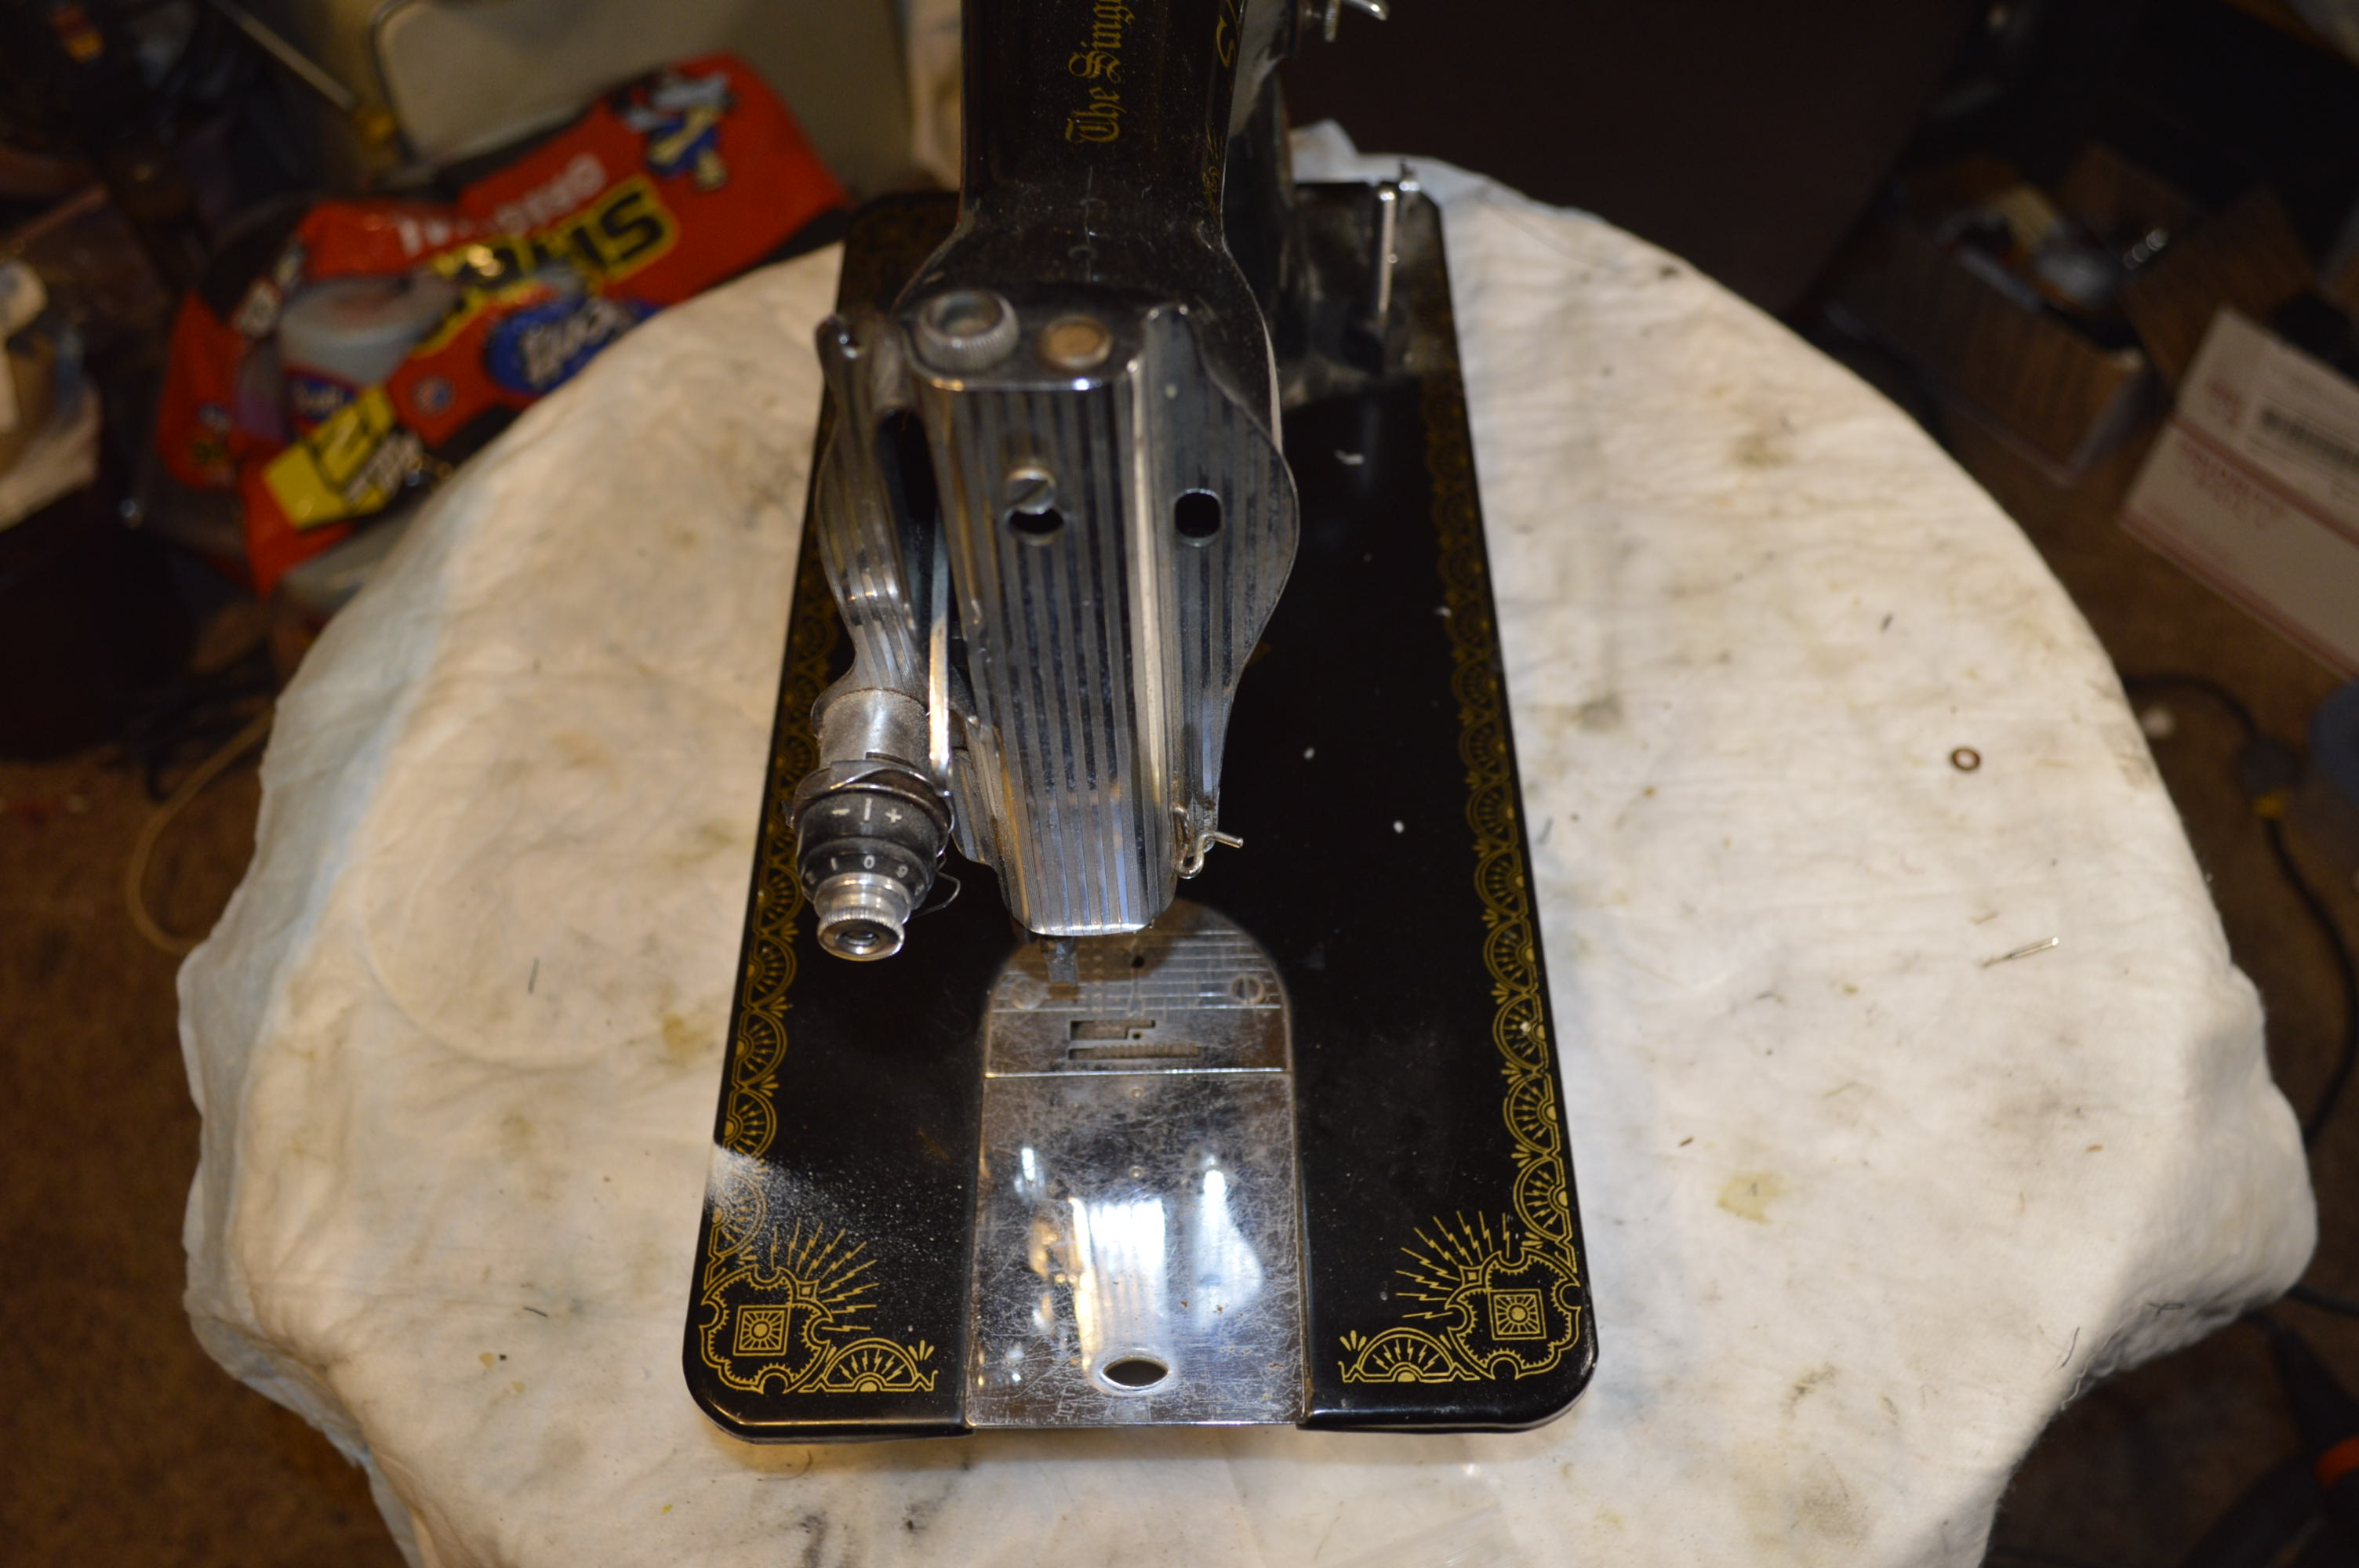
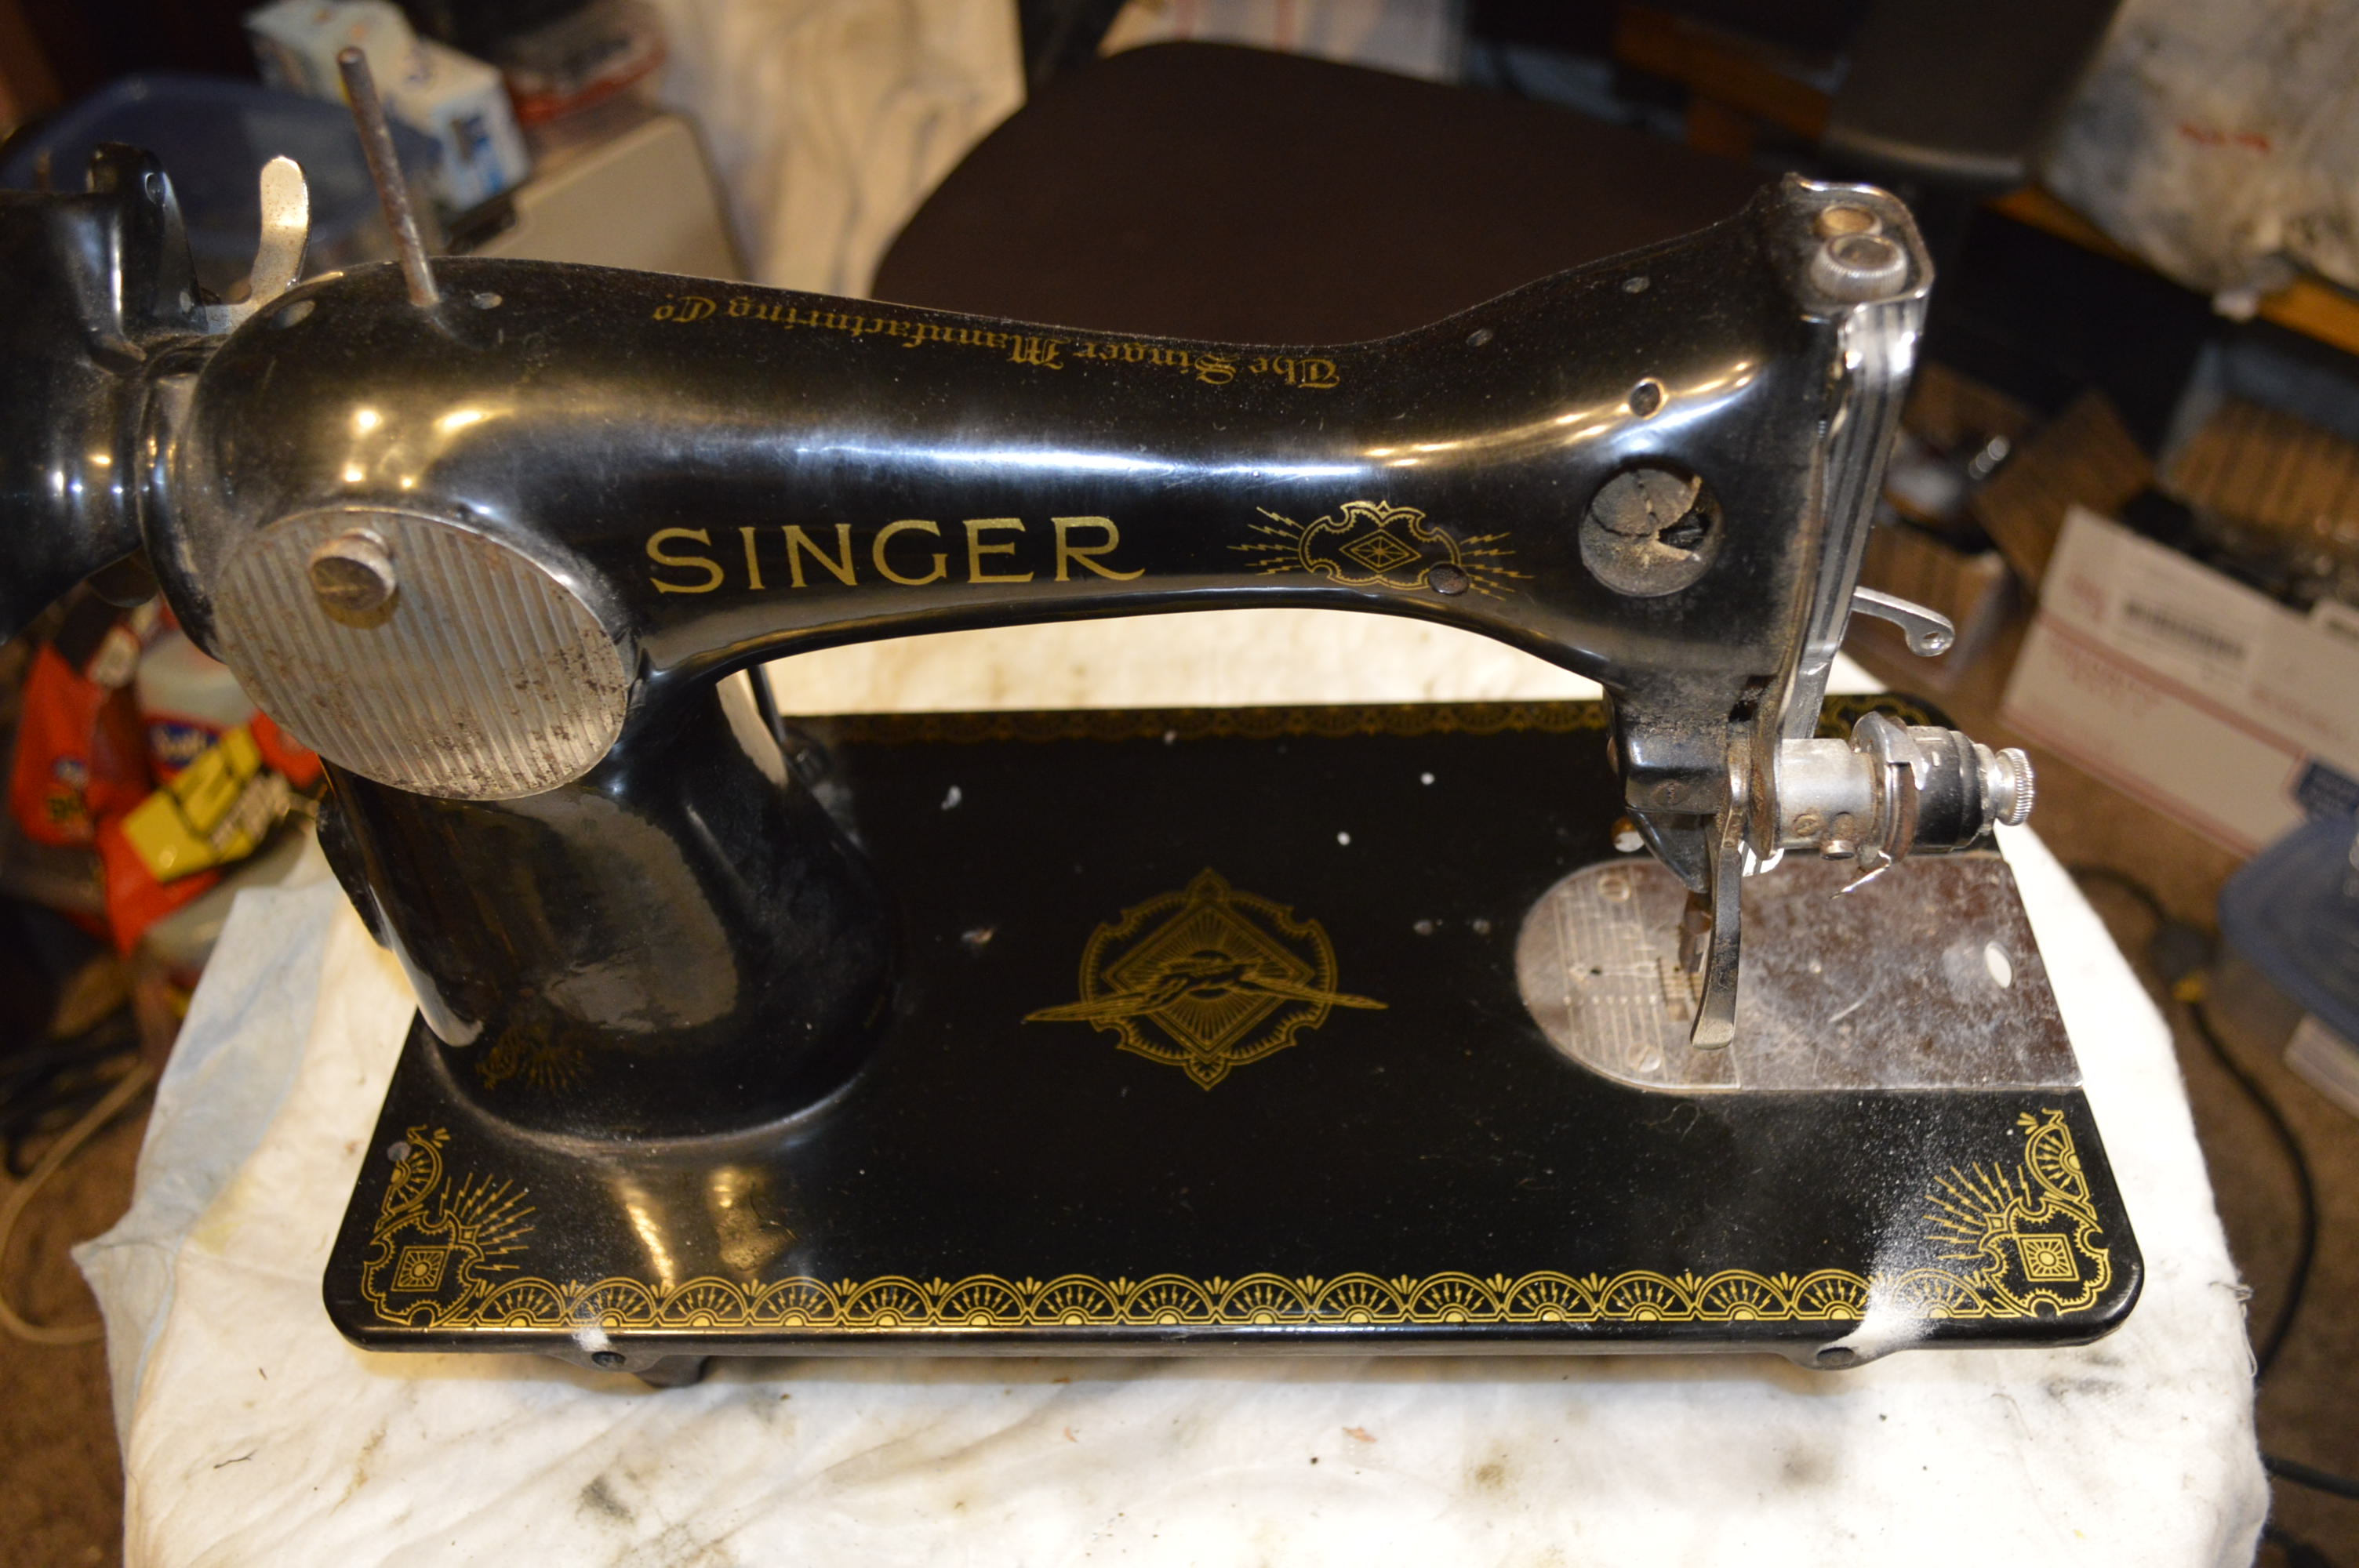
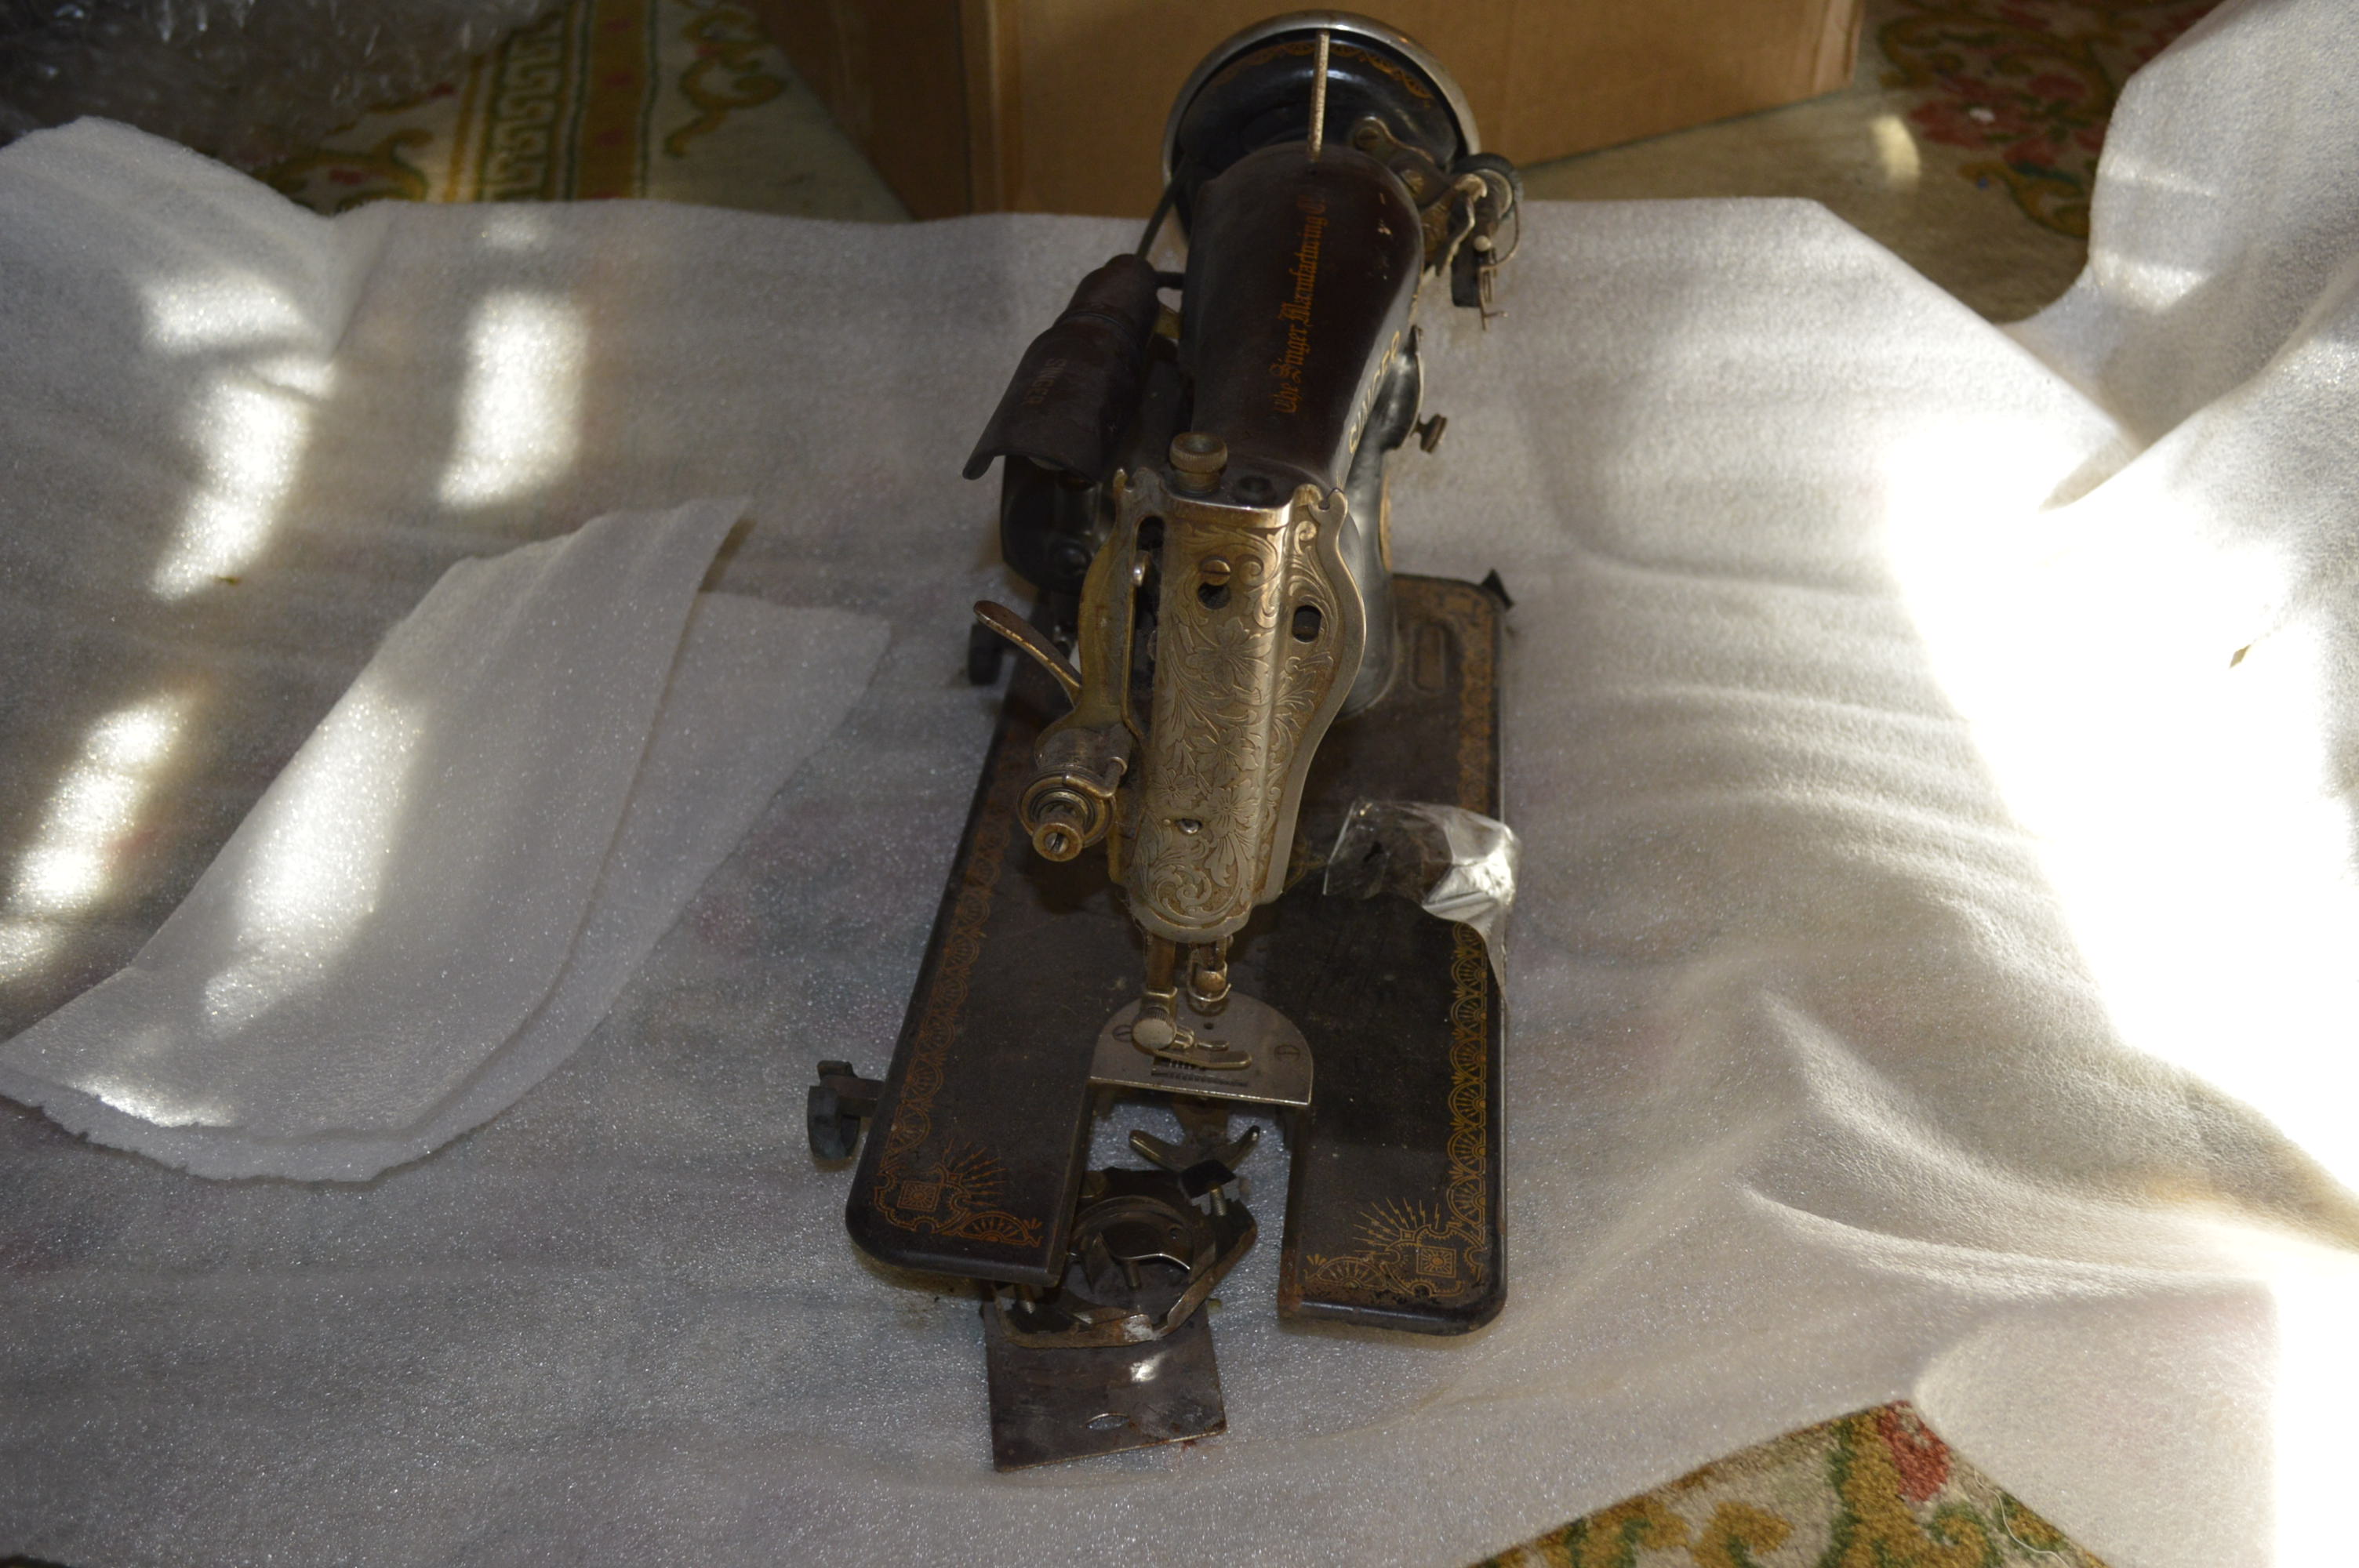
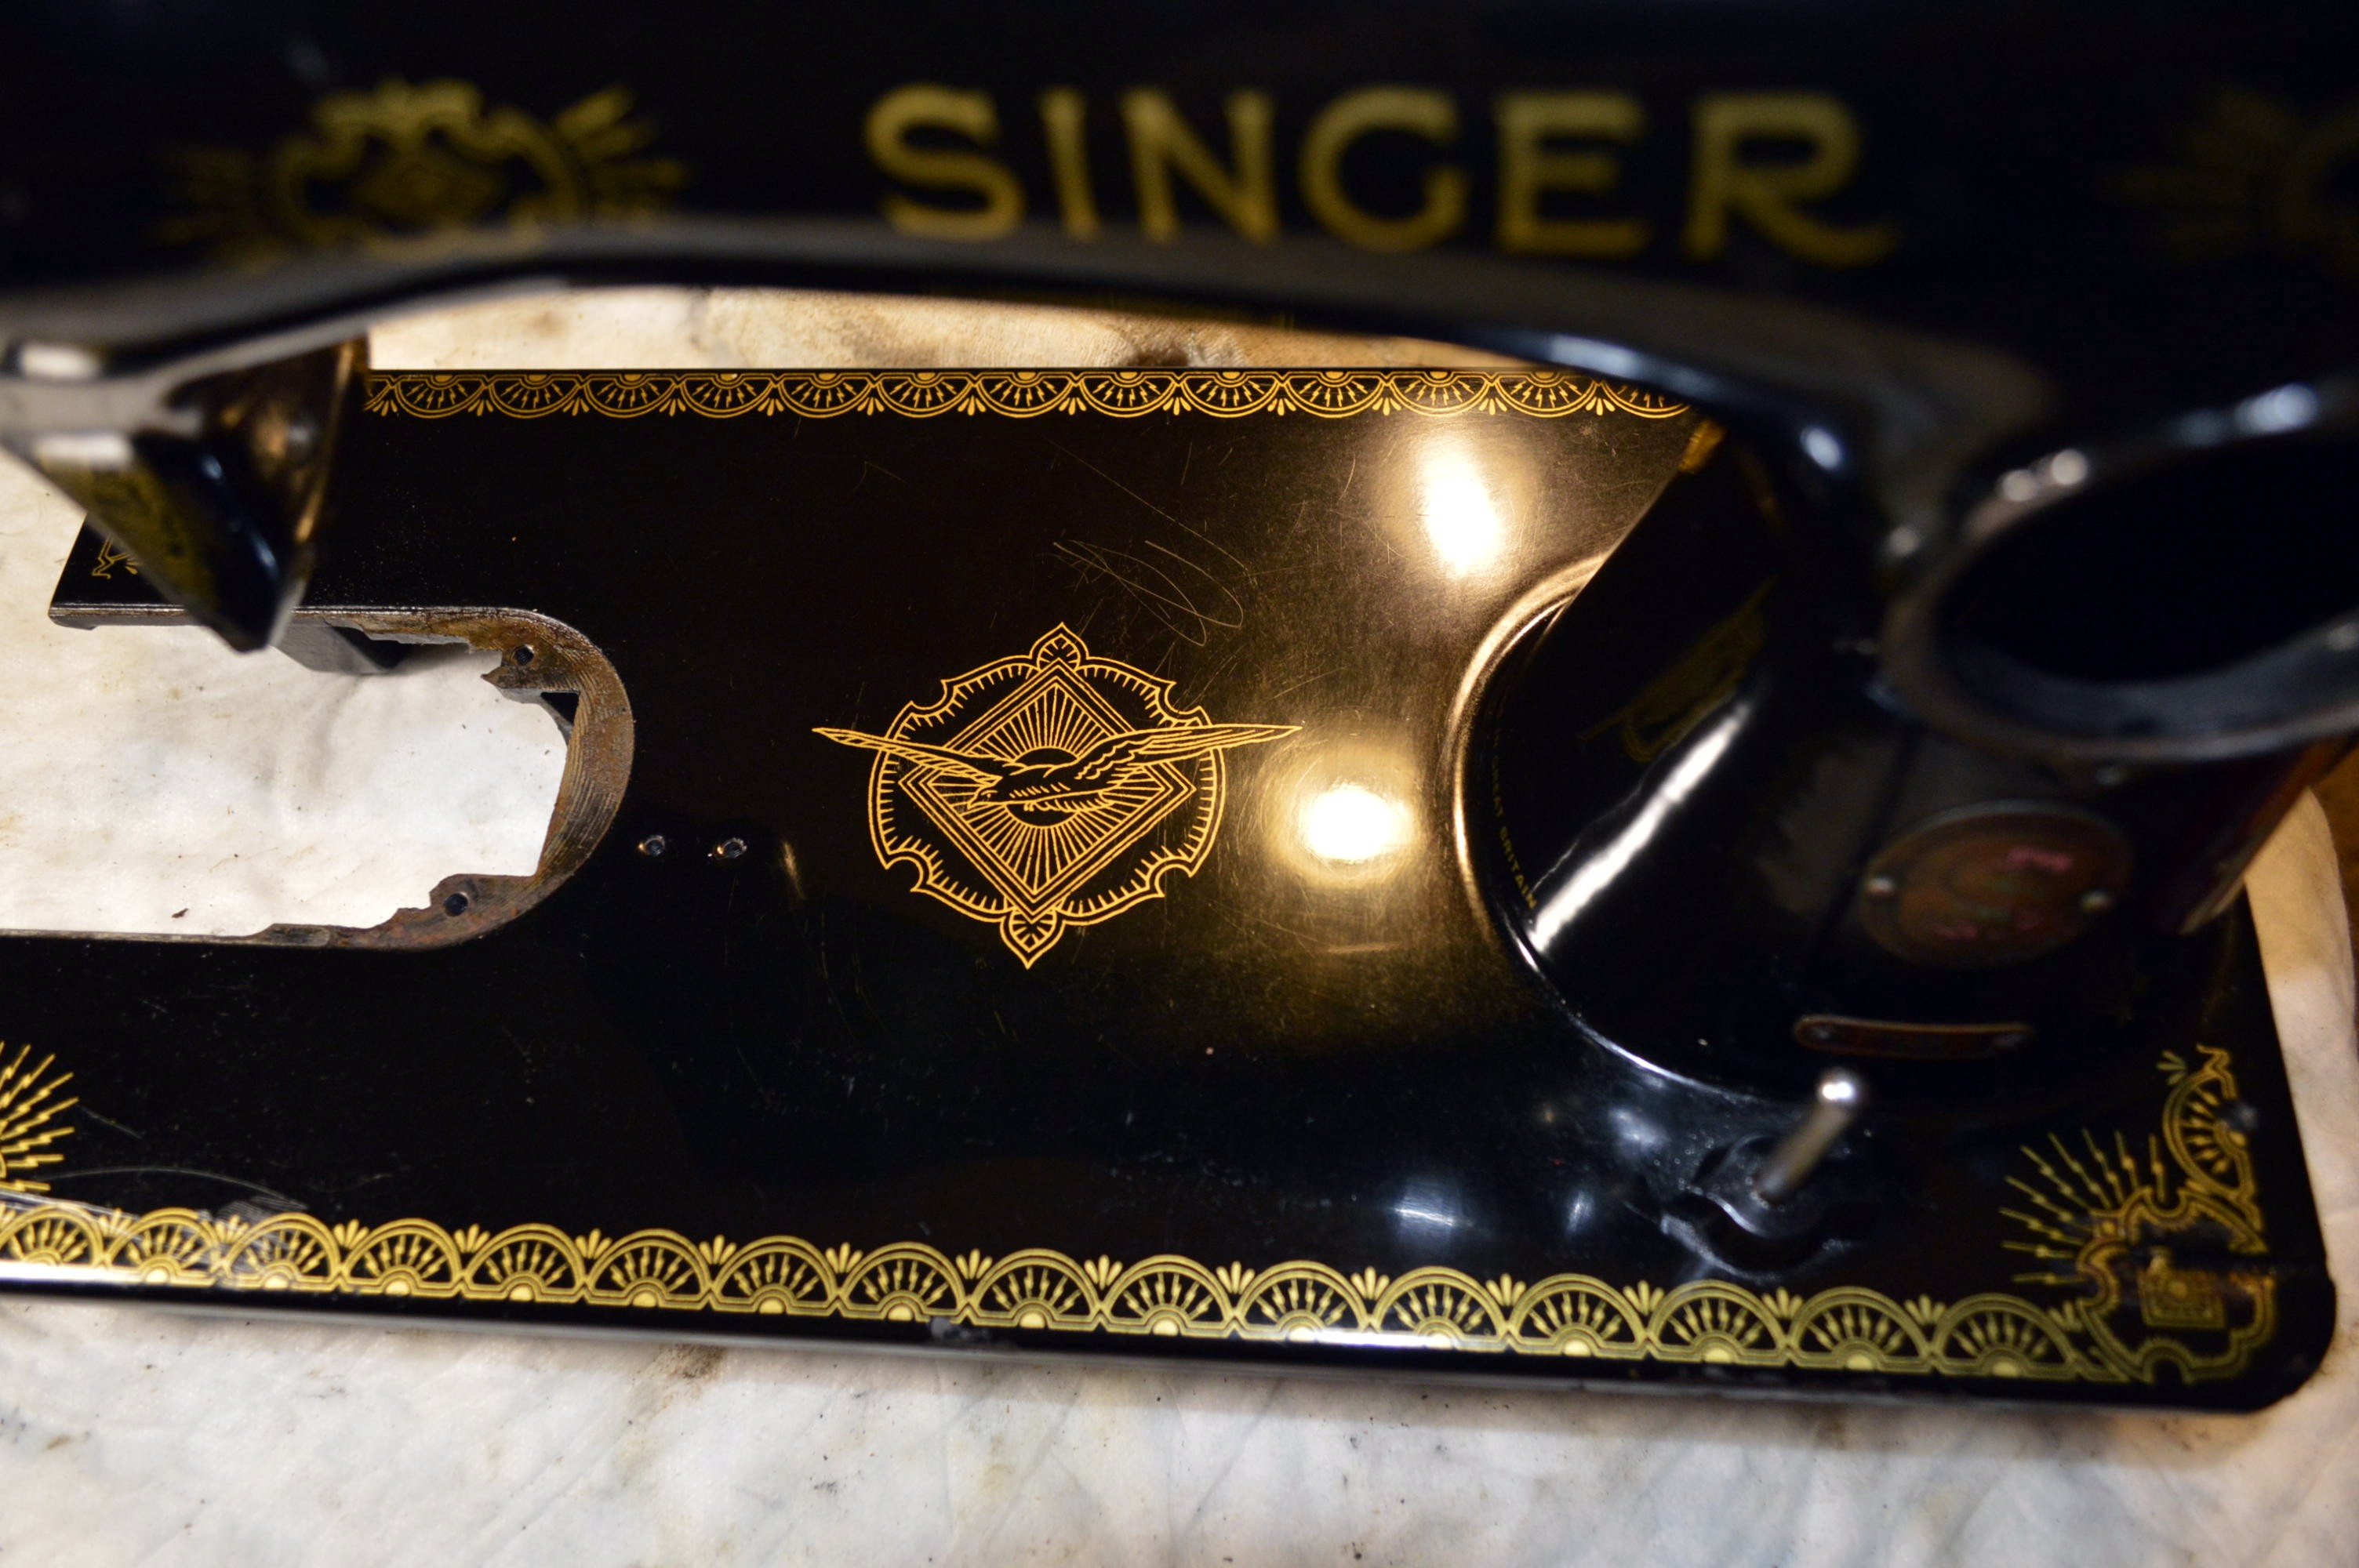
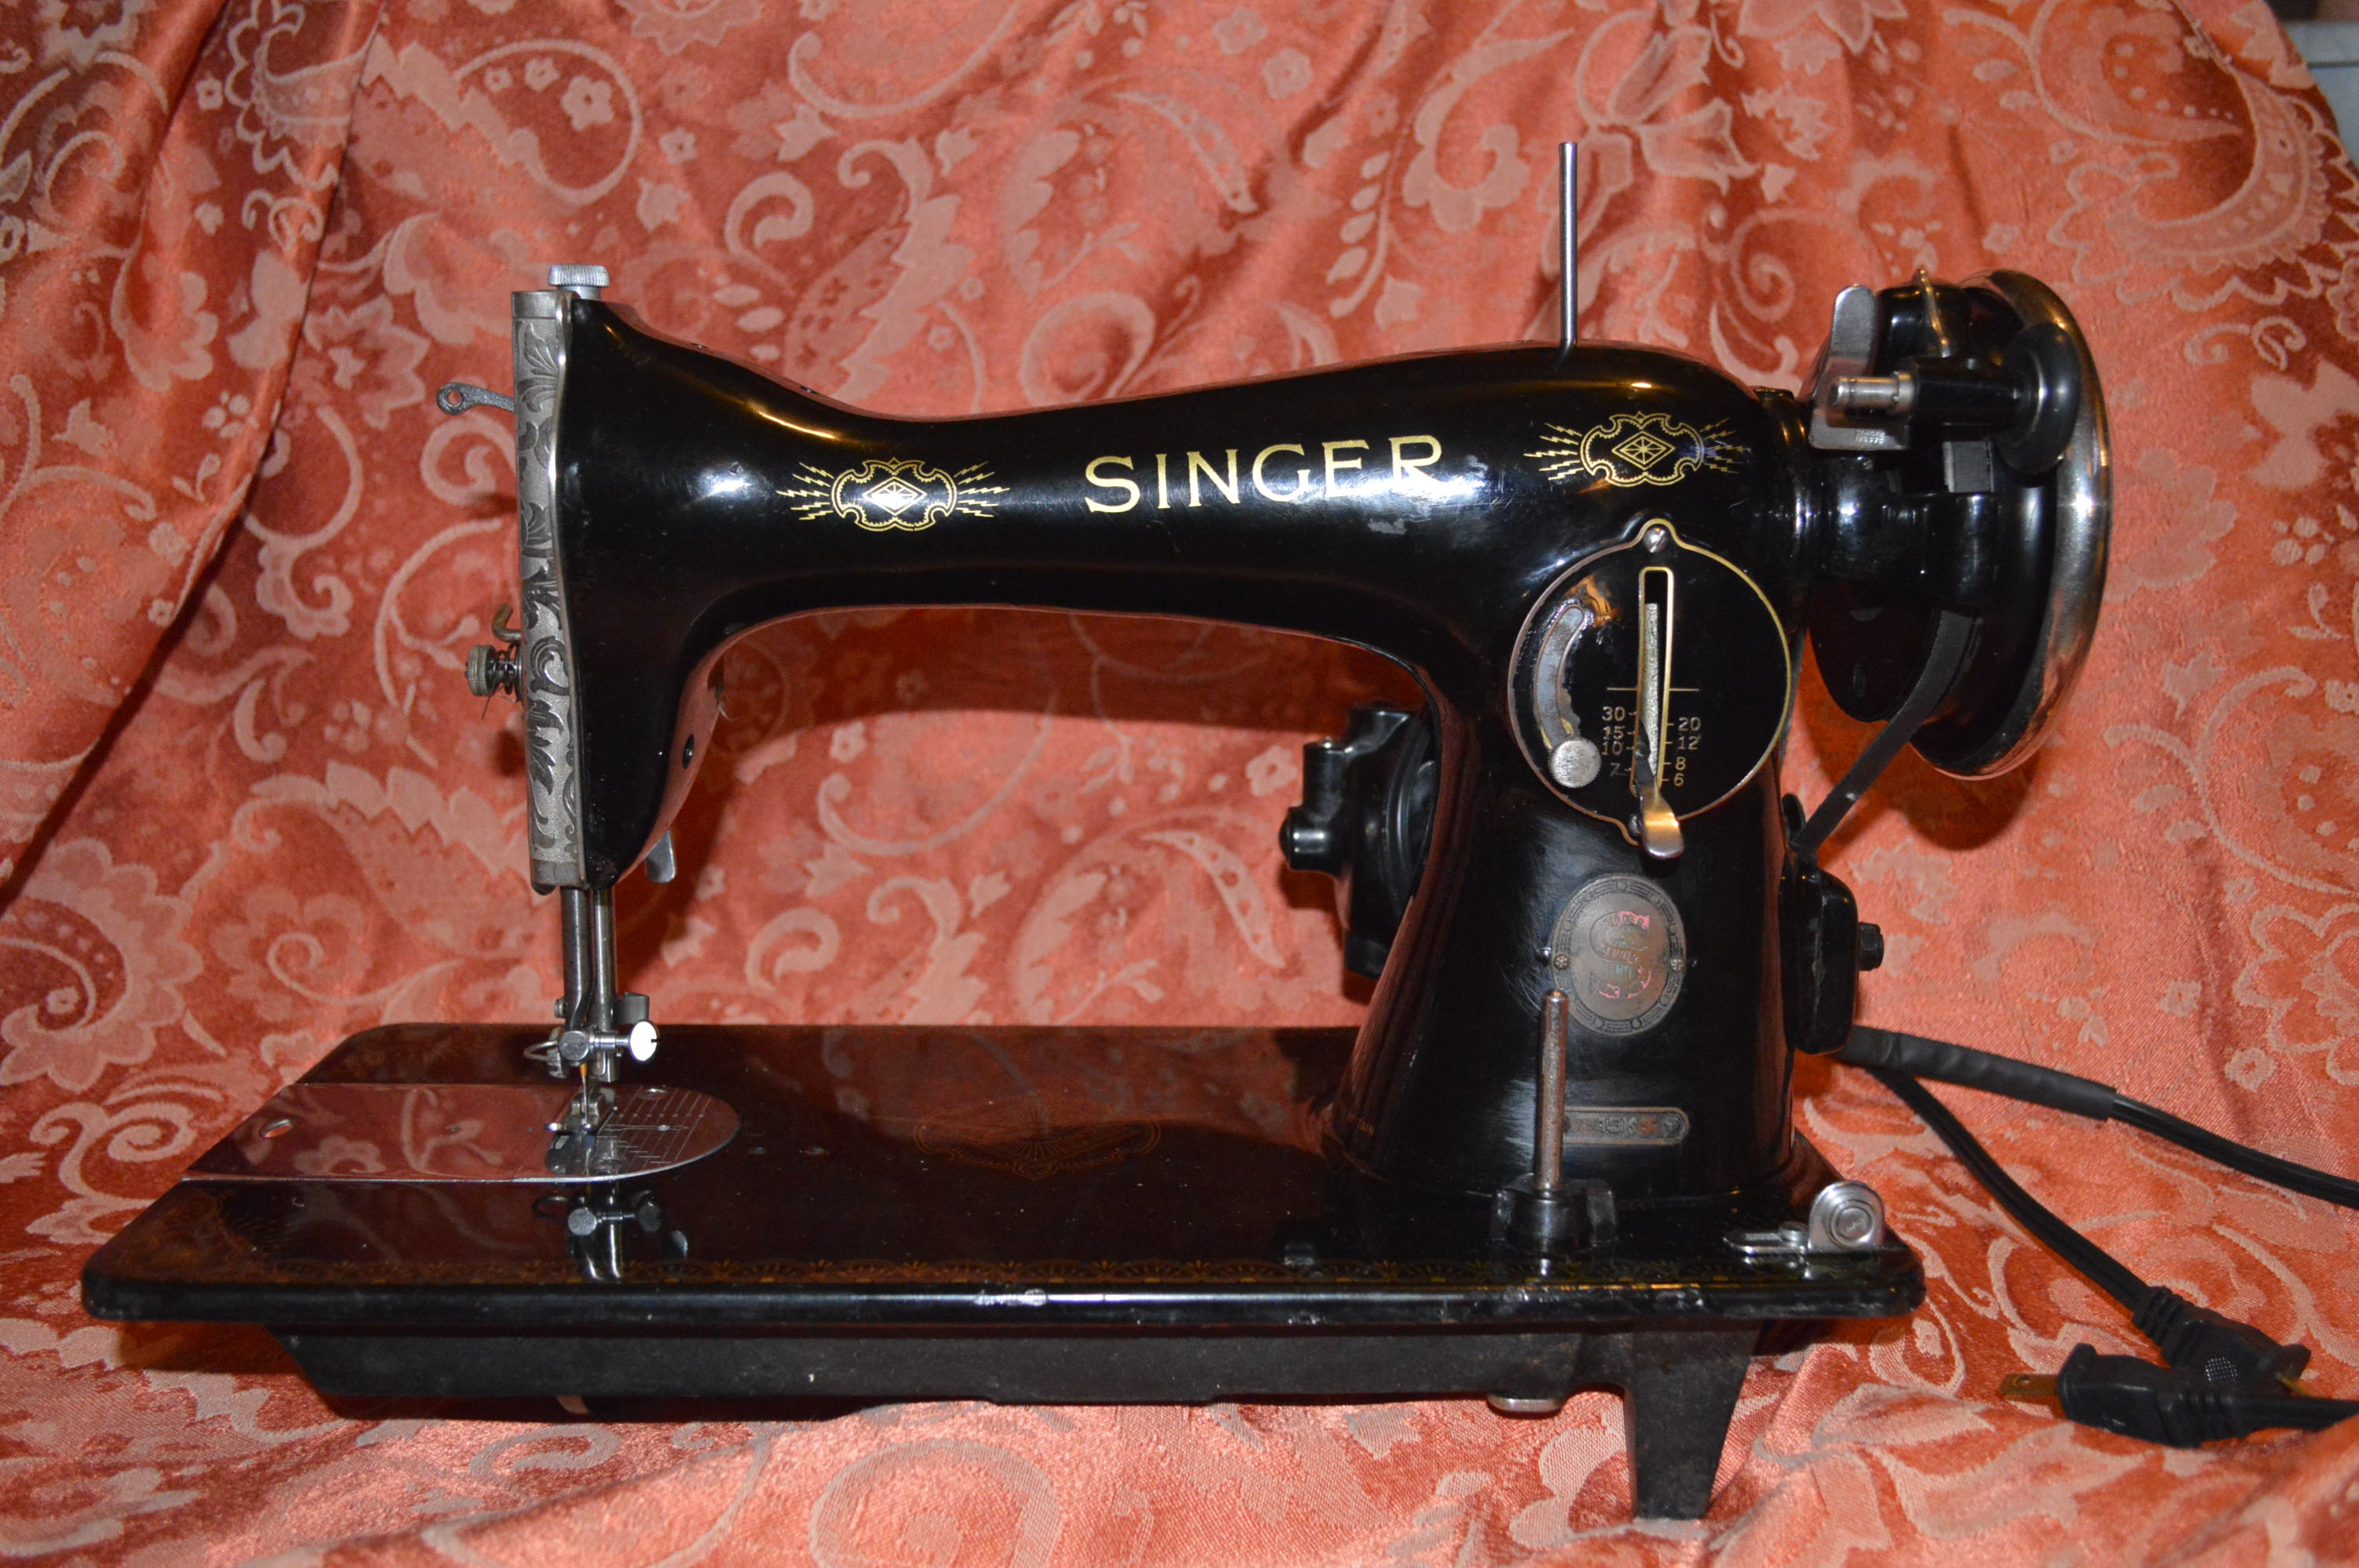
The next project is a Singer 15-91 sewing machine born on December 18, 1952. She shares her birthday with 49,999 sisters. If I had to guess, I would say that she was manufactured in Singer’s factory at the North Pole. I am of course kidding, but Singer did have factories all over the world. I can only imagine what a wonderful surprise she was to some lucky person to open on Christmas day!
I won’t say much about the 15-91 in general, except to say it was one of the longest manufactured model Singer made, spanning almost 100 years. The model 15 is also the most copied sewing machine design in the world… hands down. In fact, the model 15 clones are still in production in various country’s and can be purchased new even today, (no, it is not a Singer, and it is not made to the same strict tolerances Singer’s are so known for). That’s quite a resume.
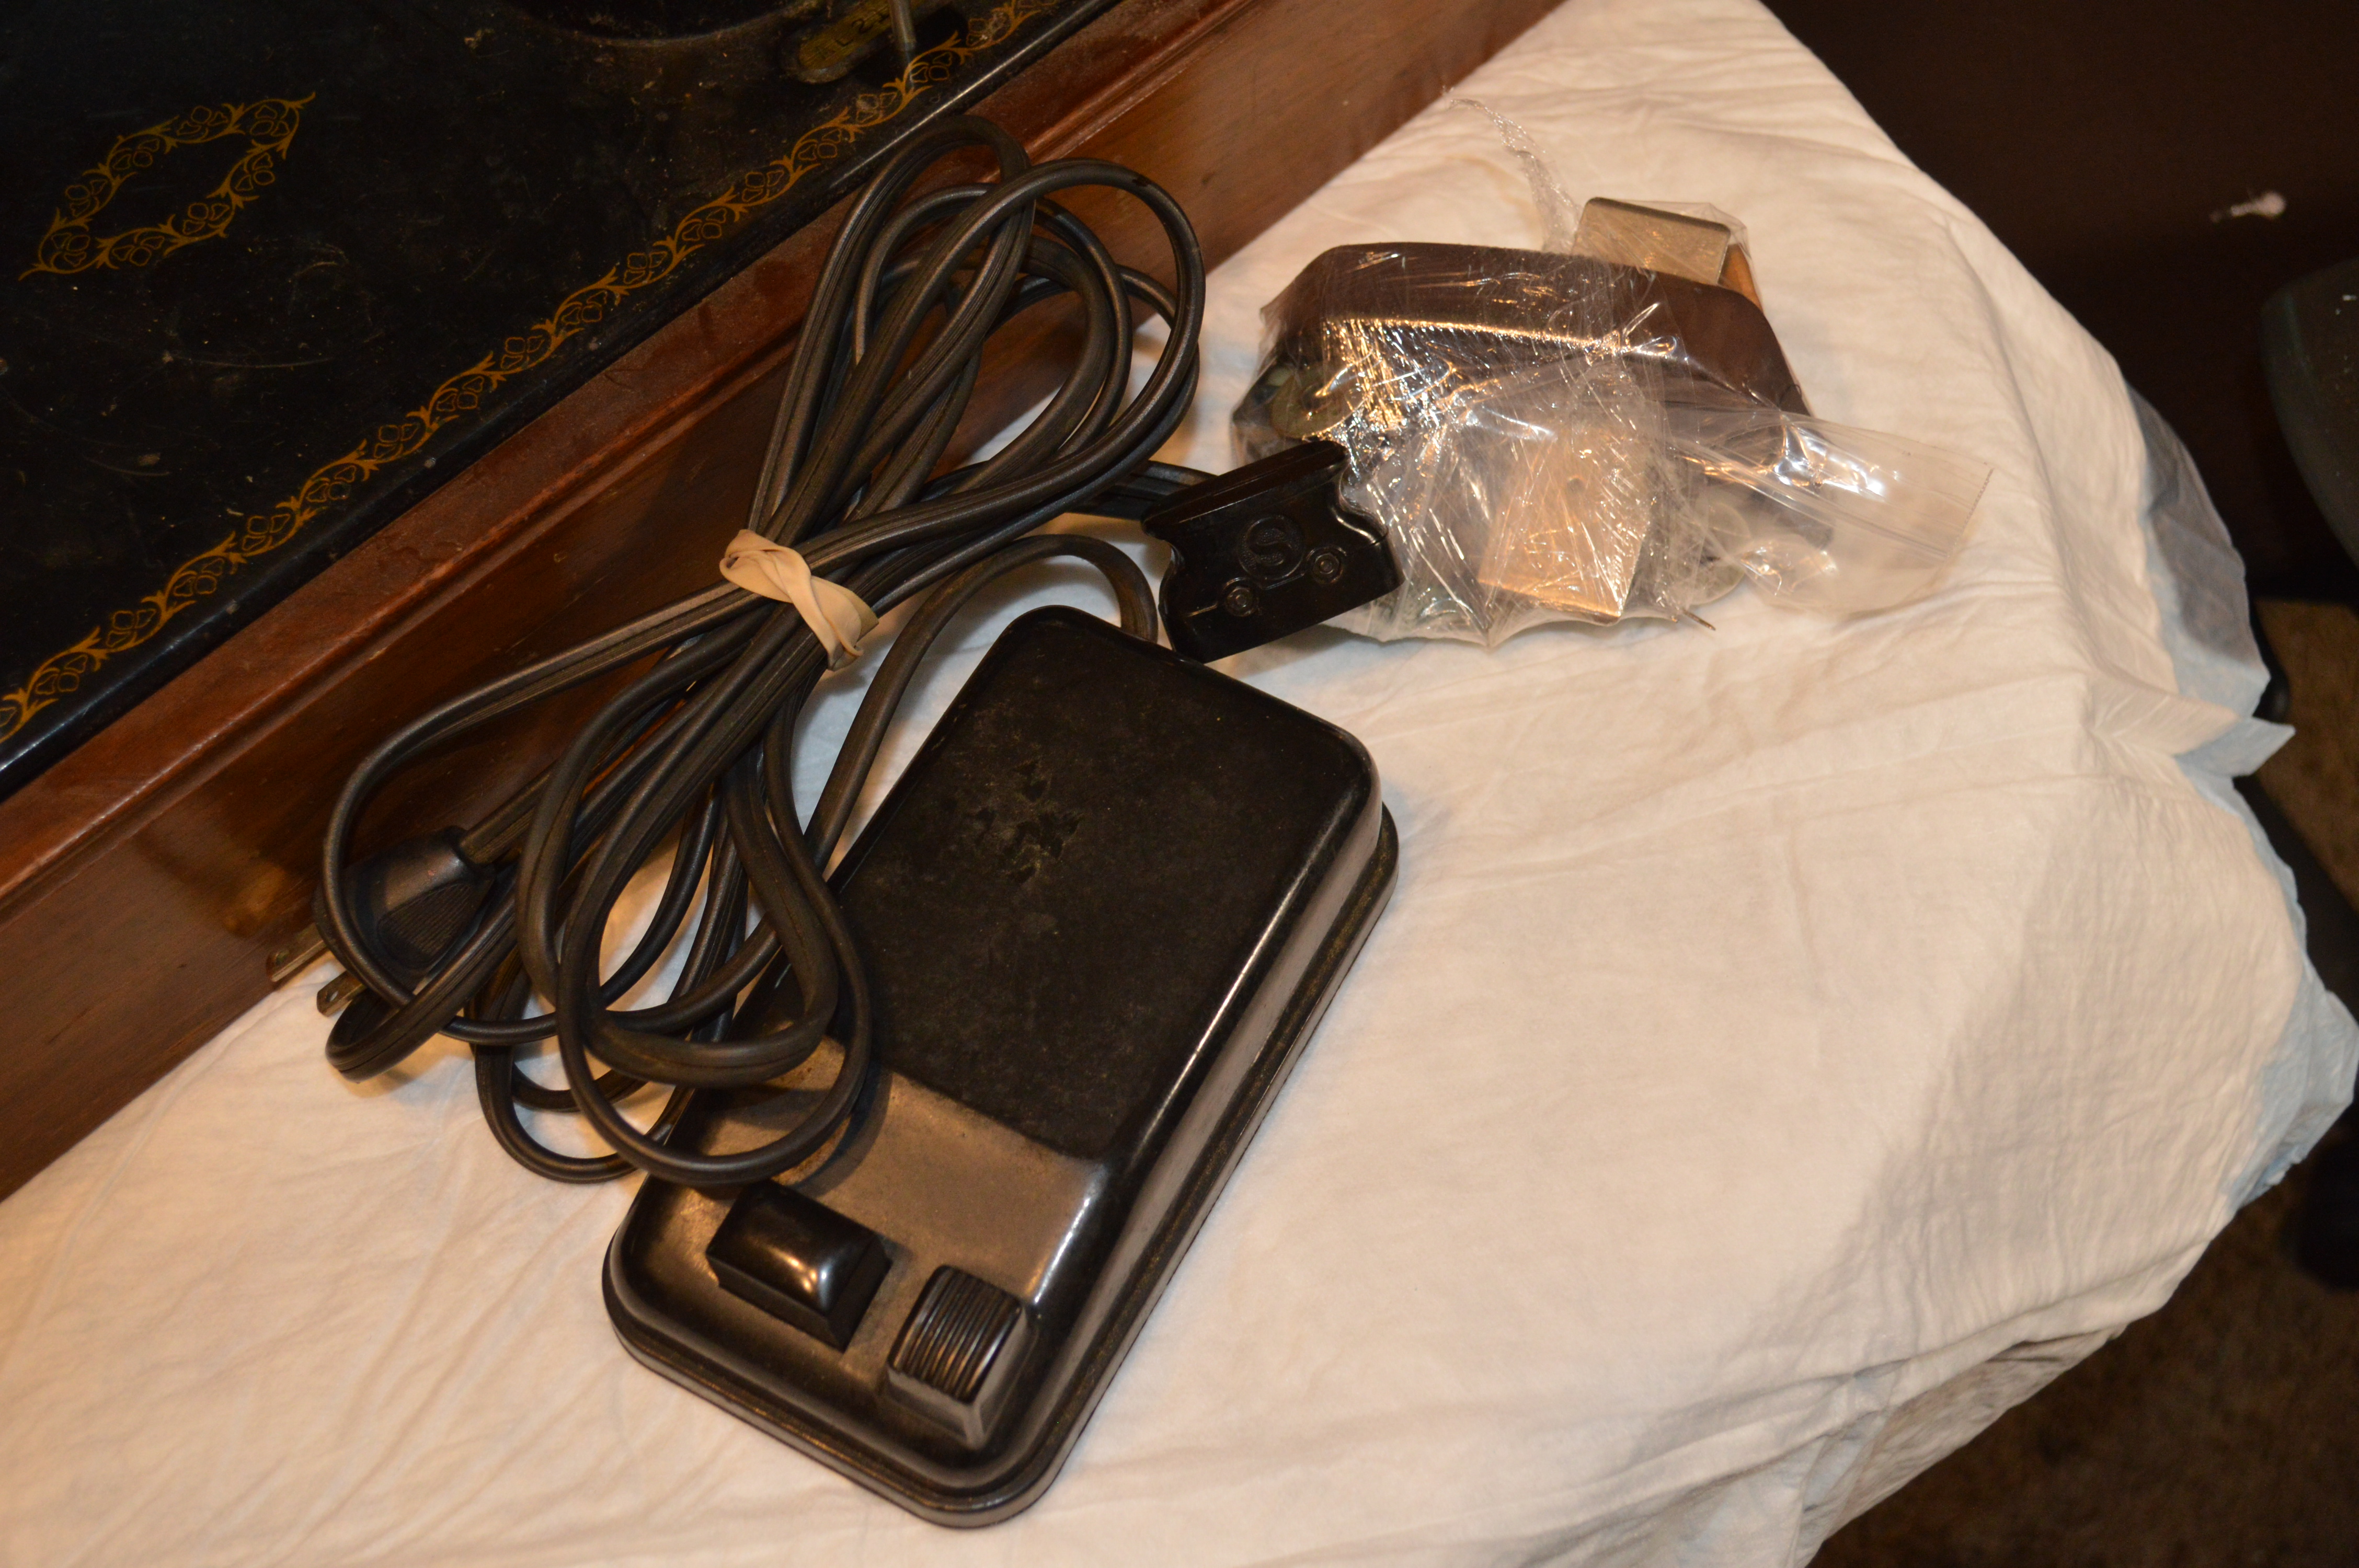
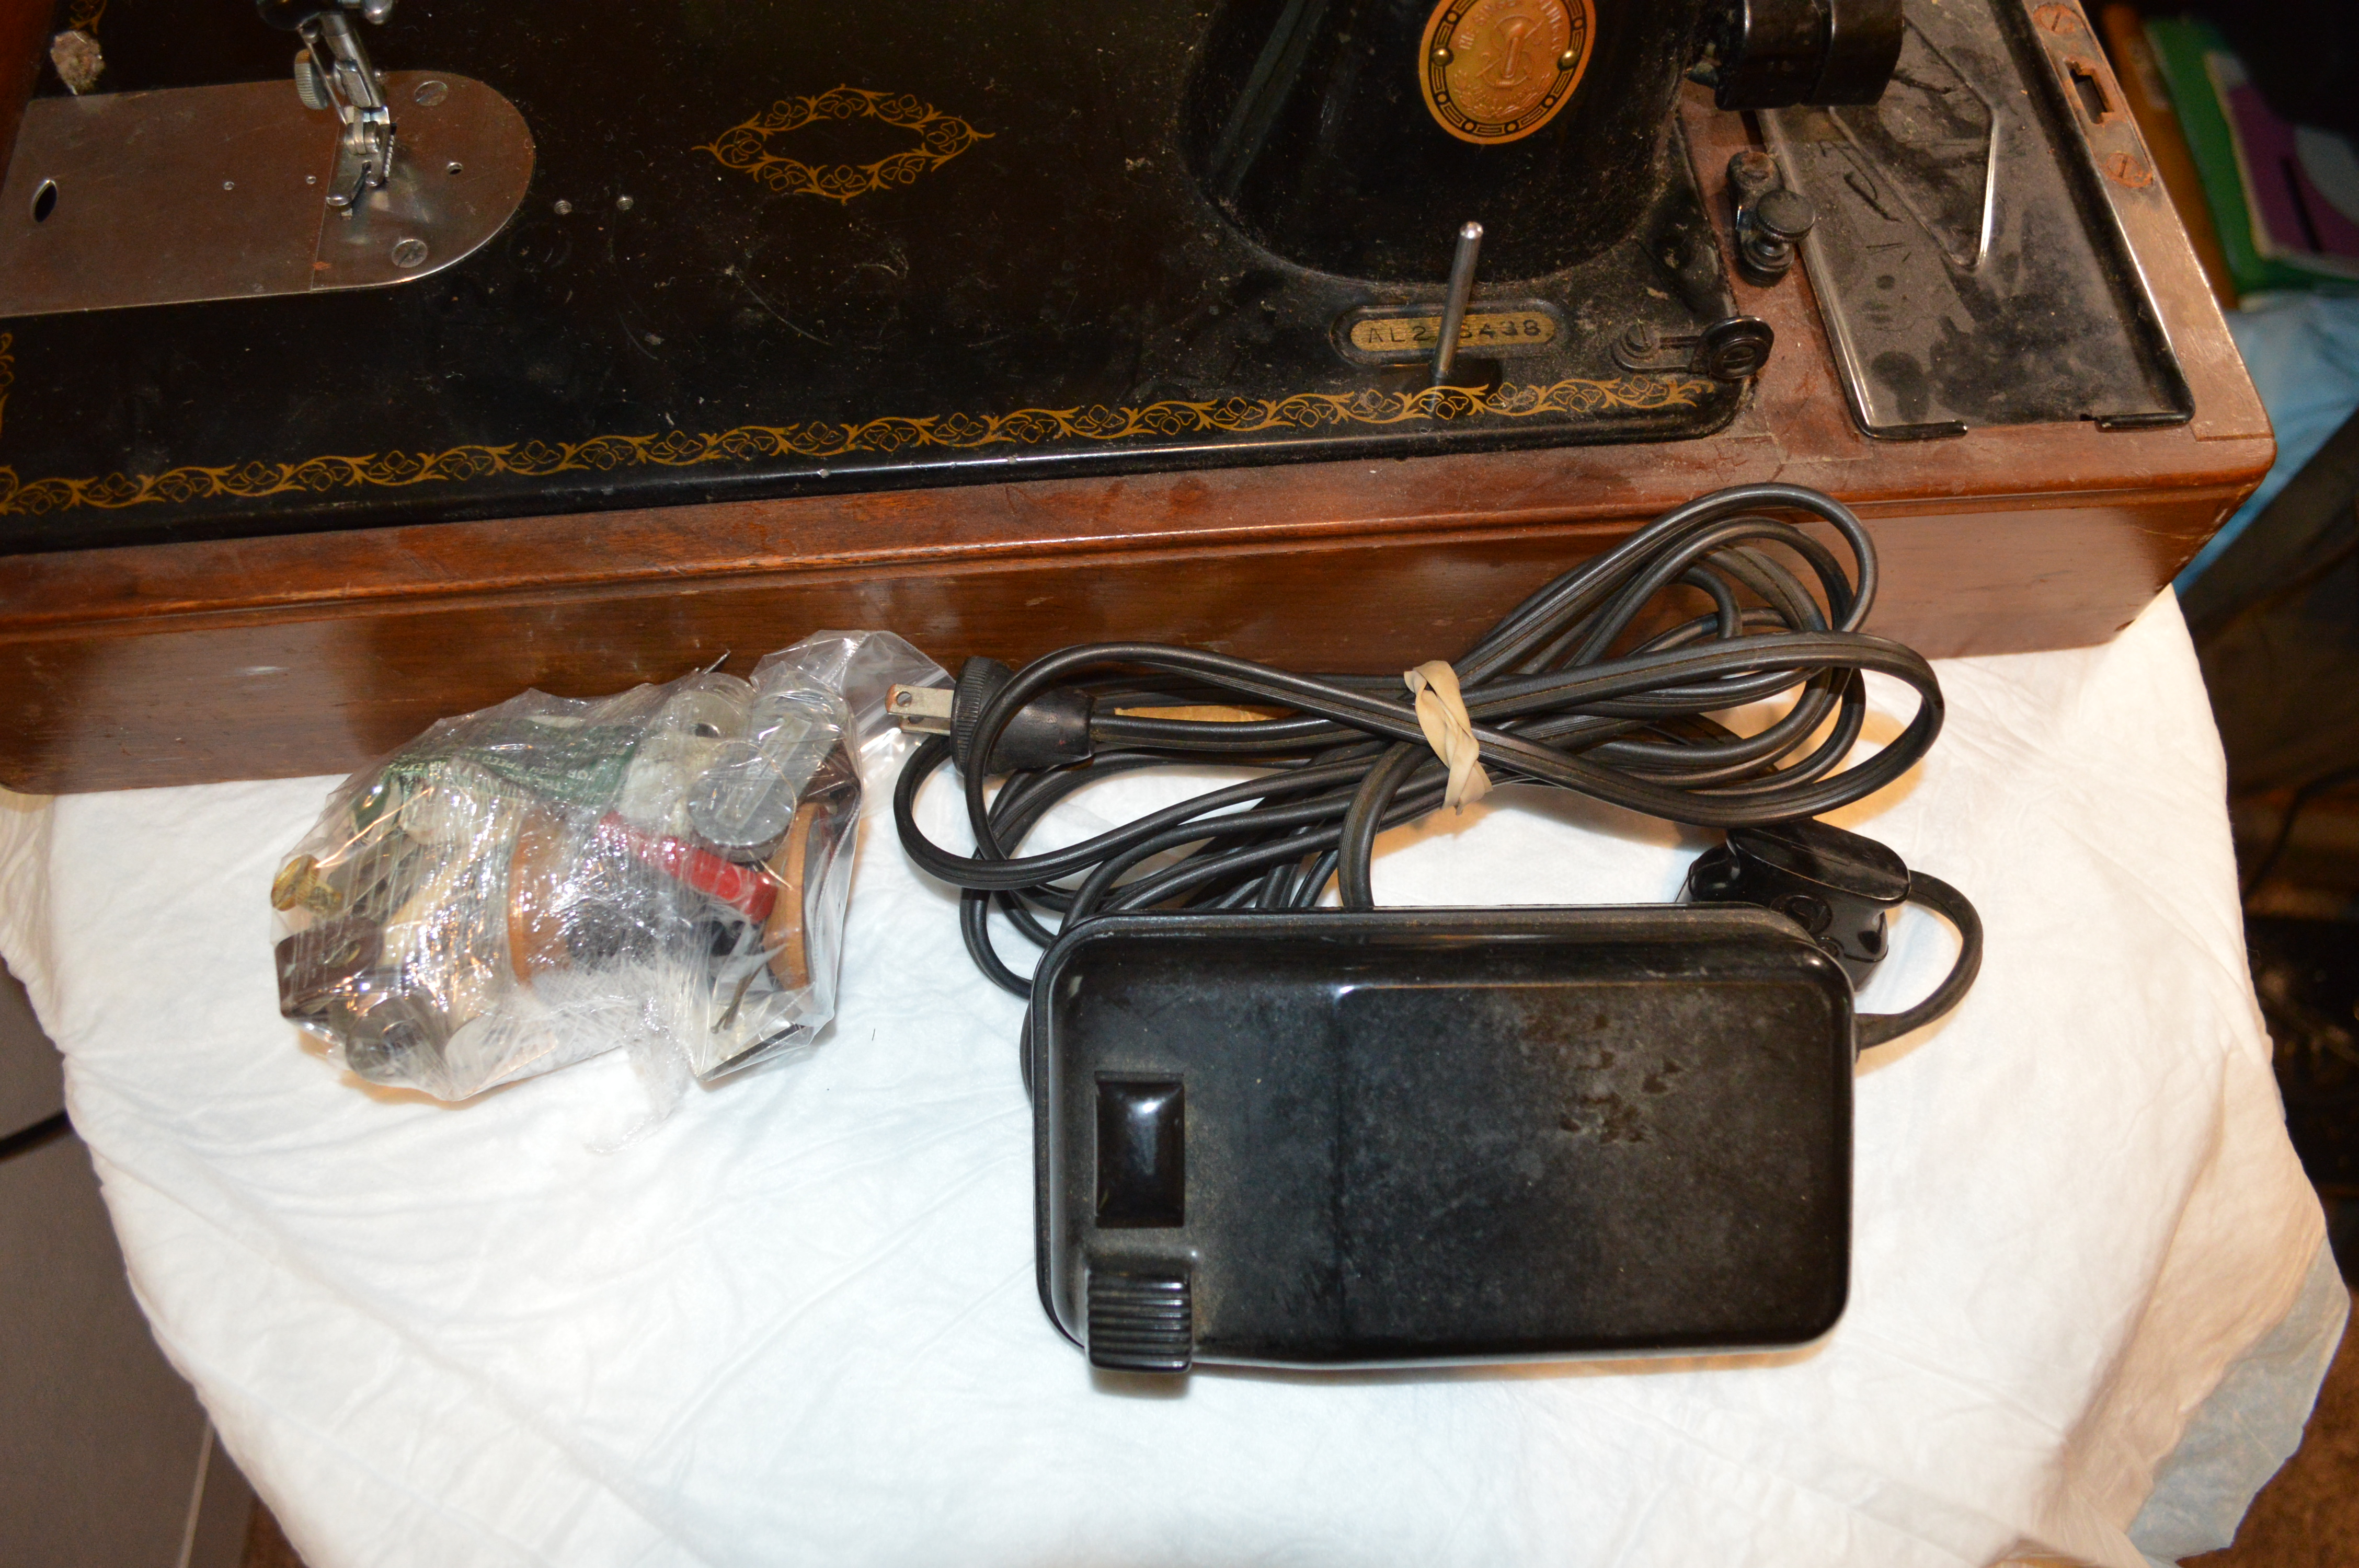
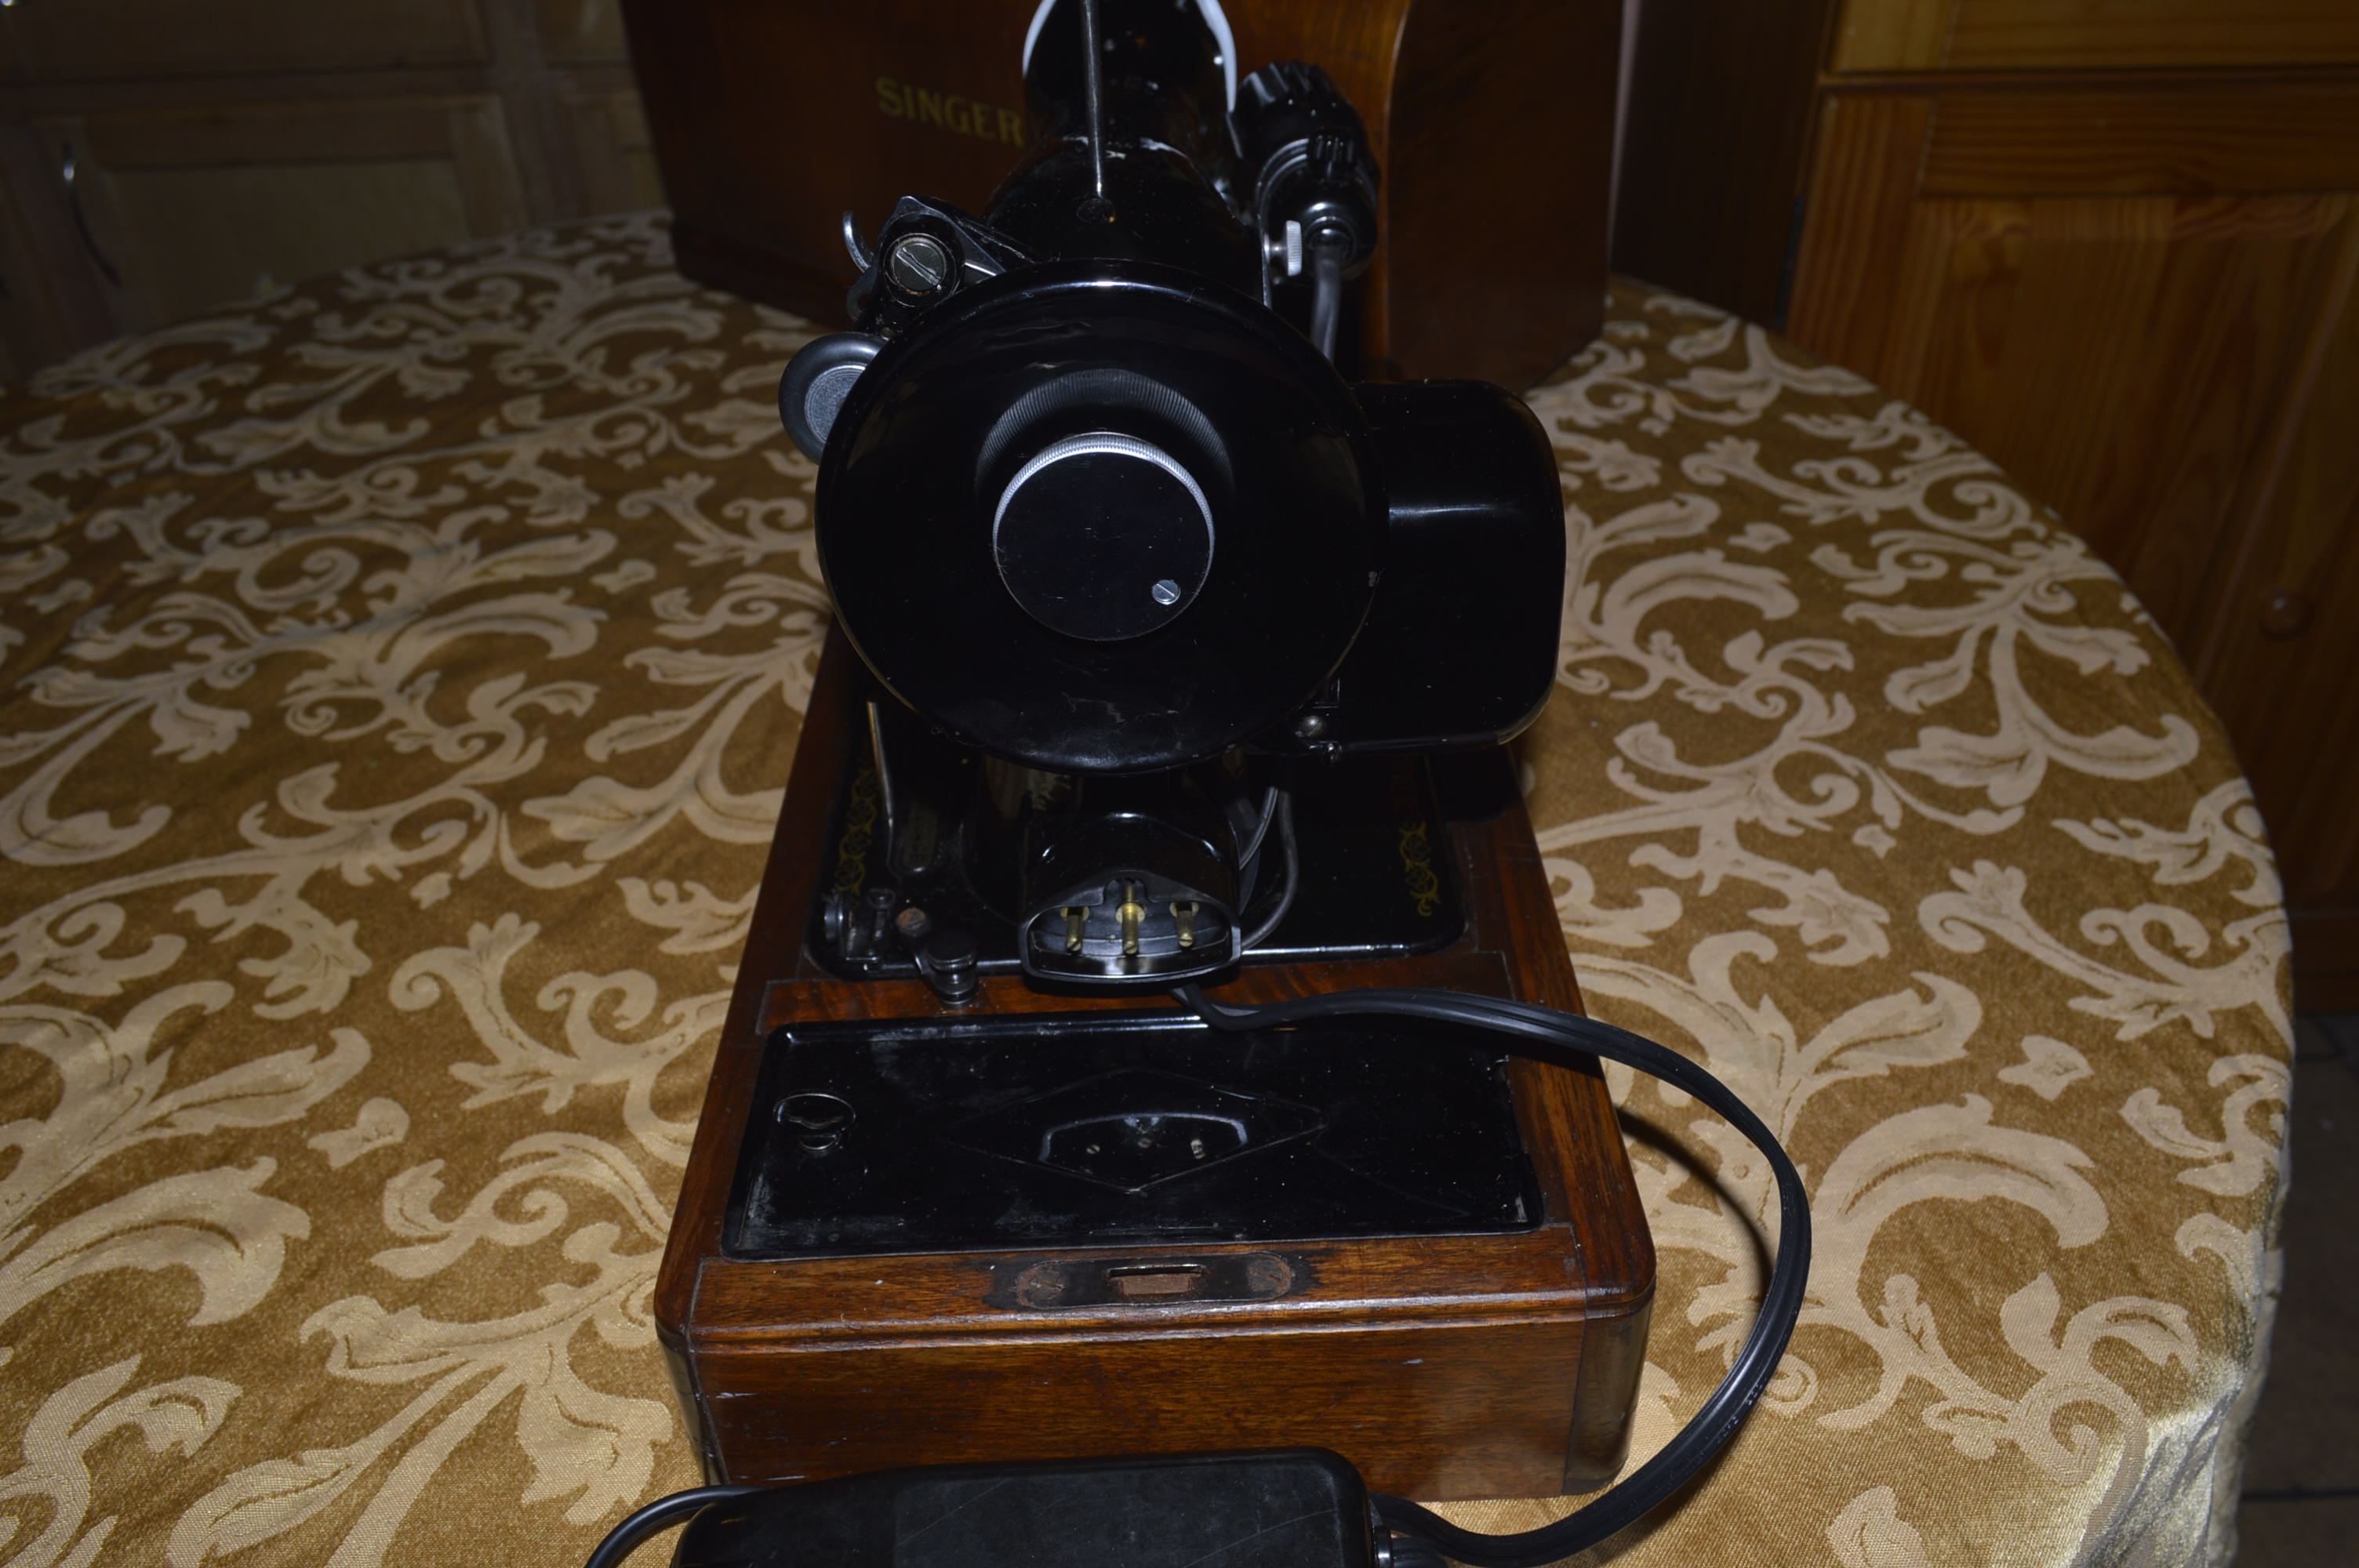
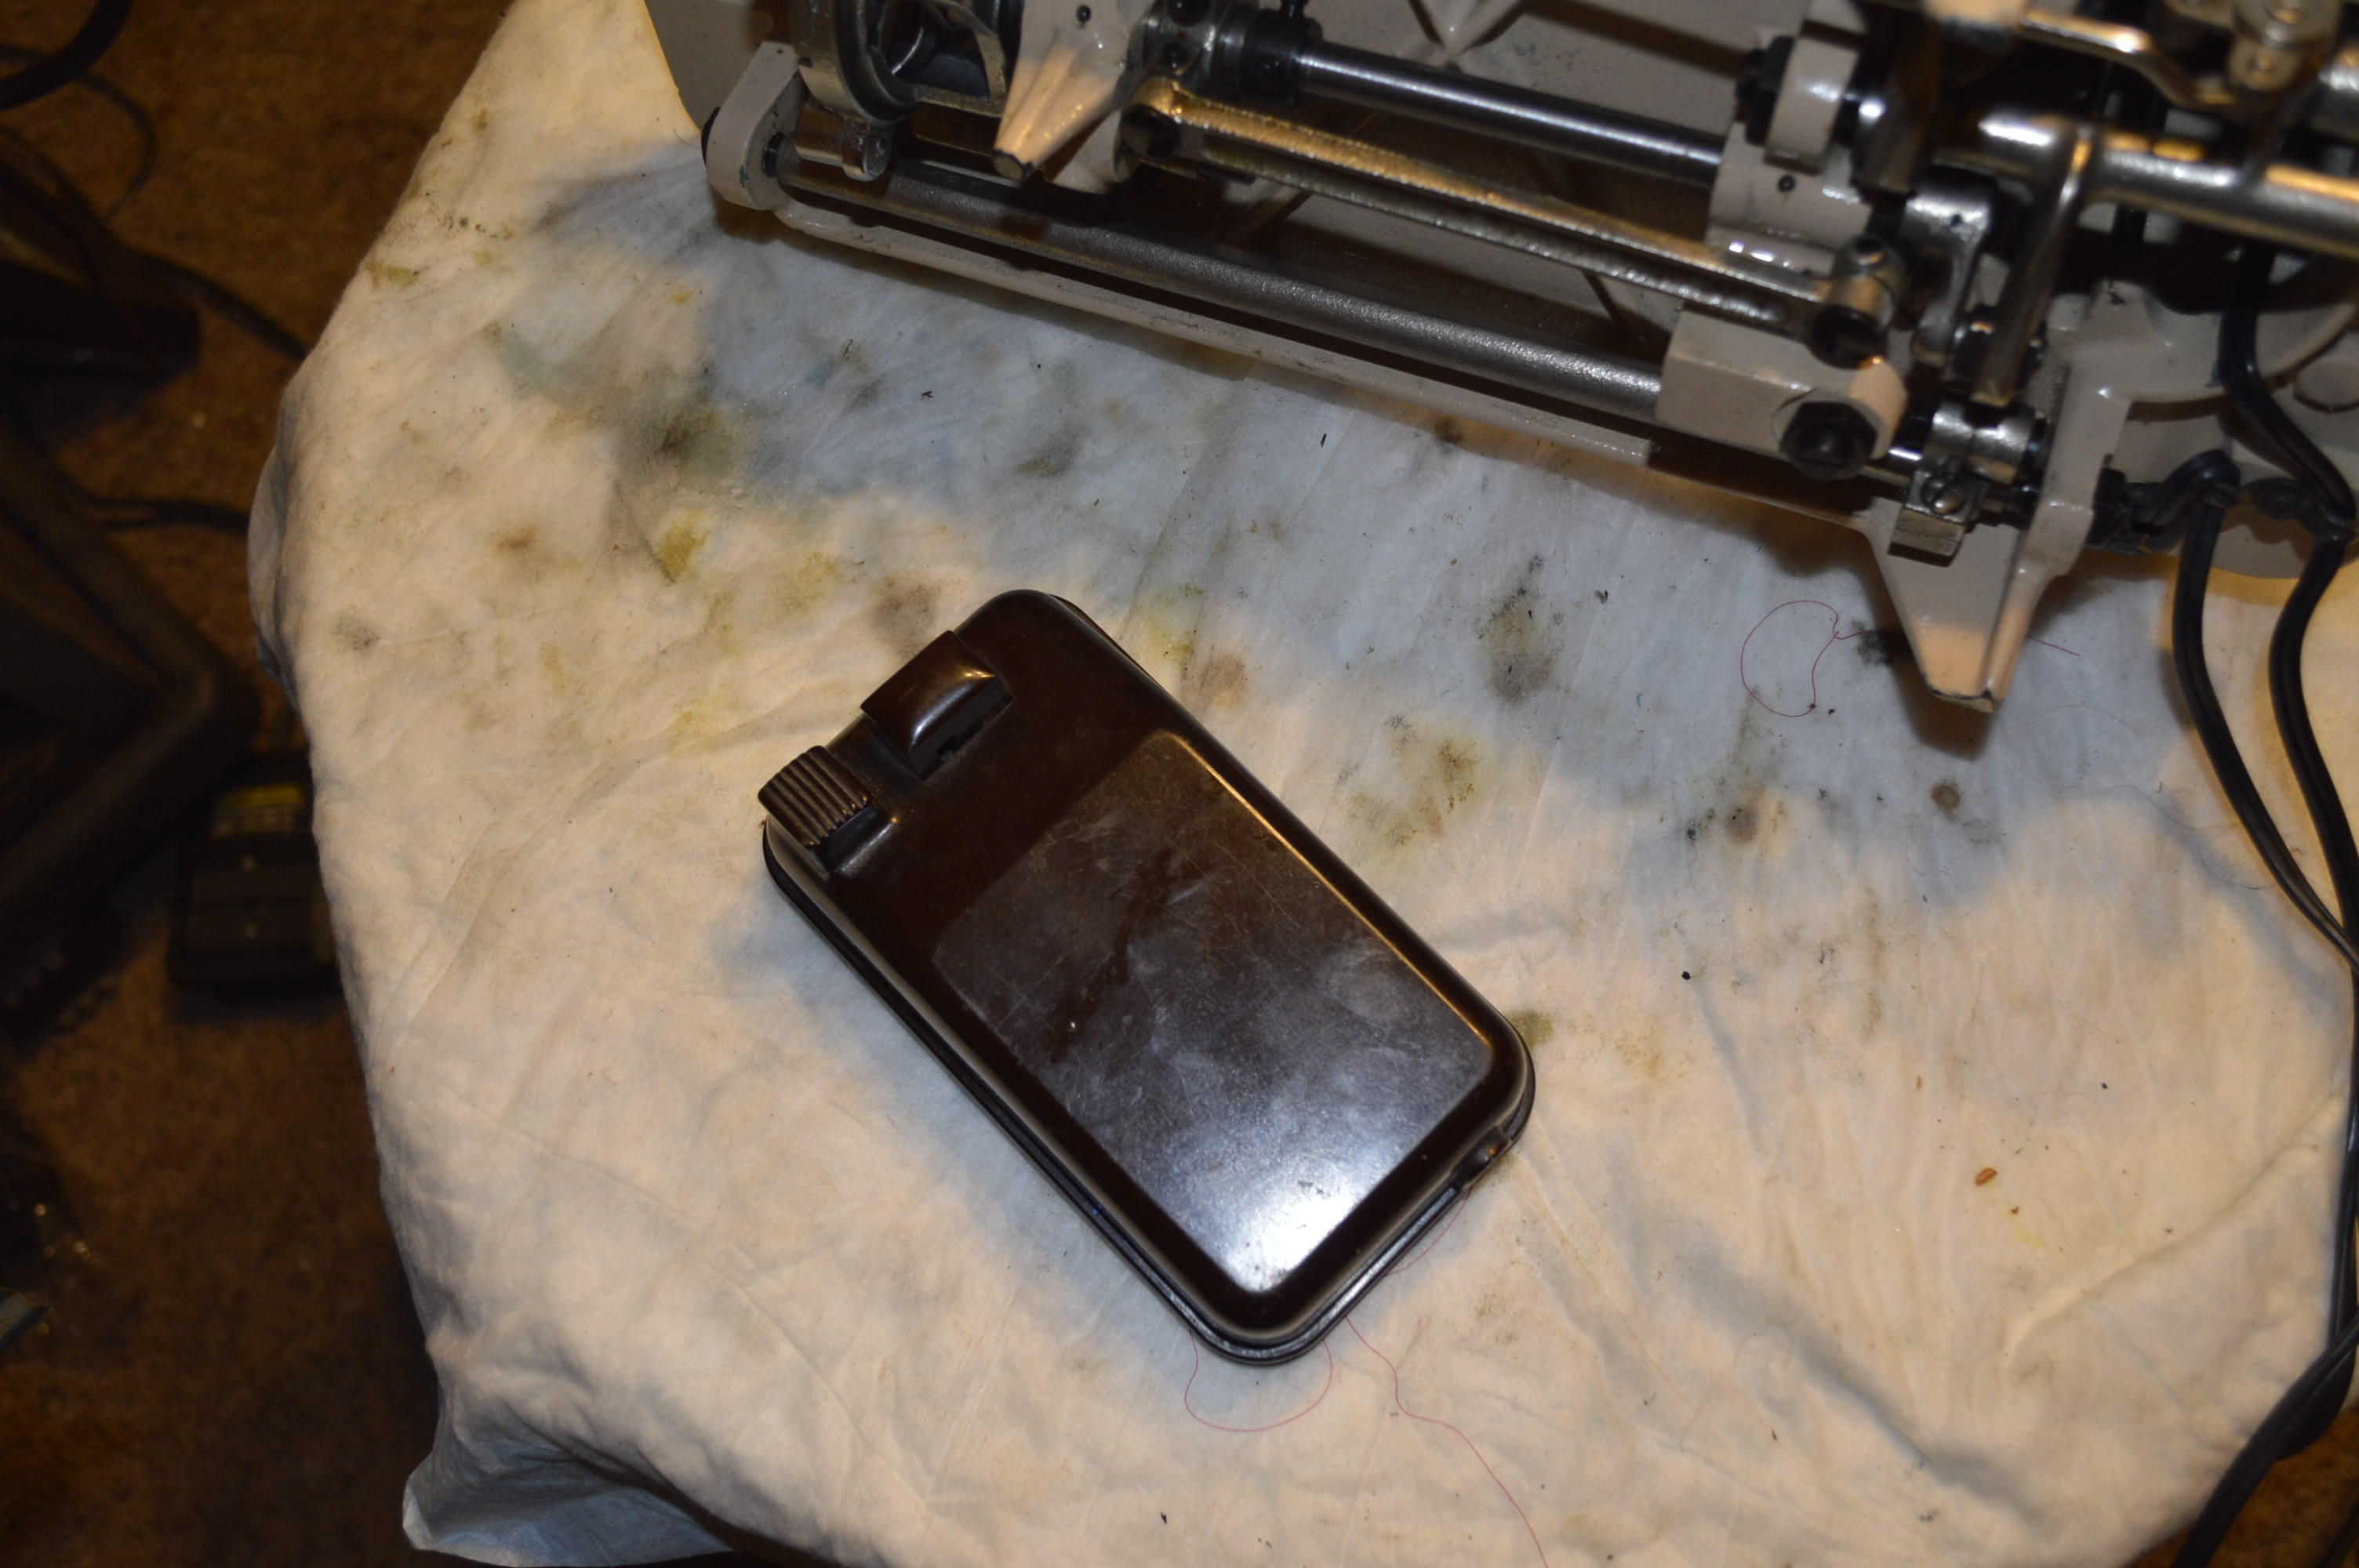
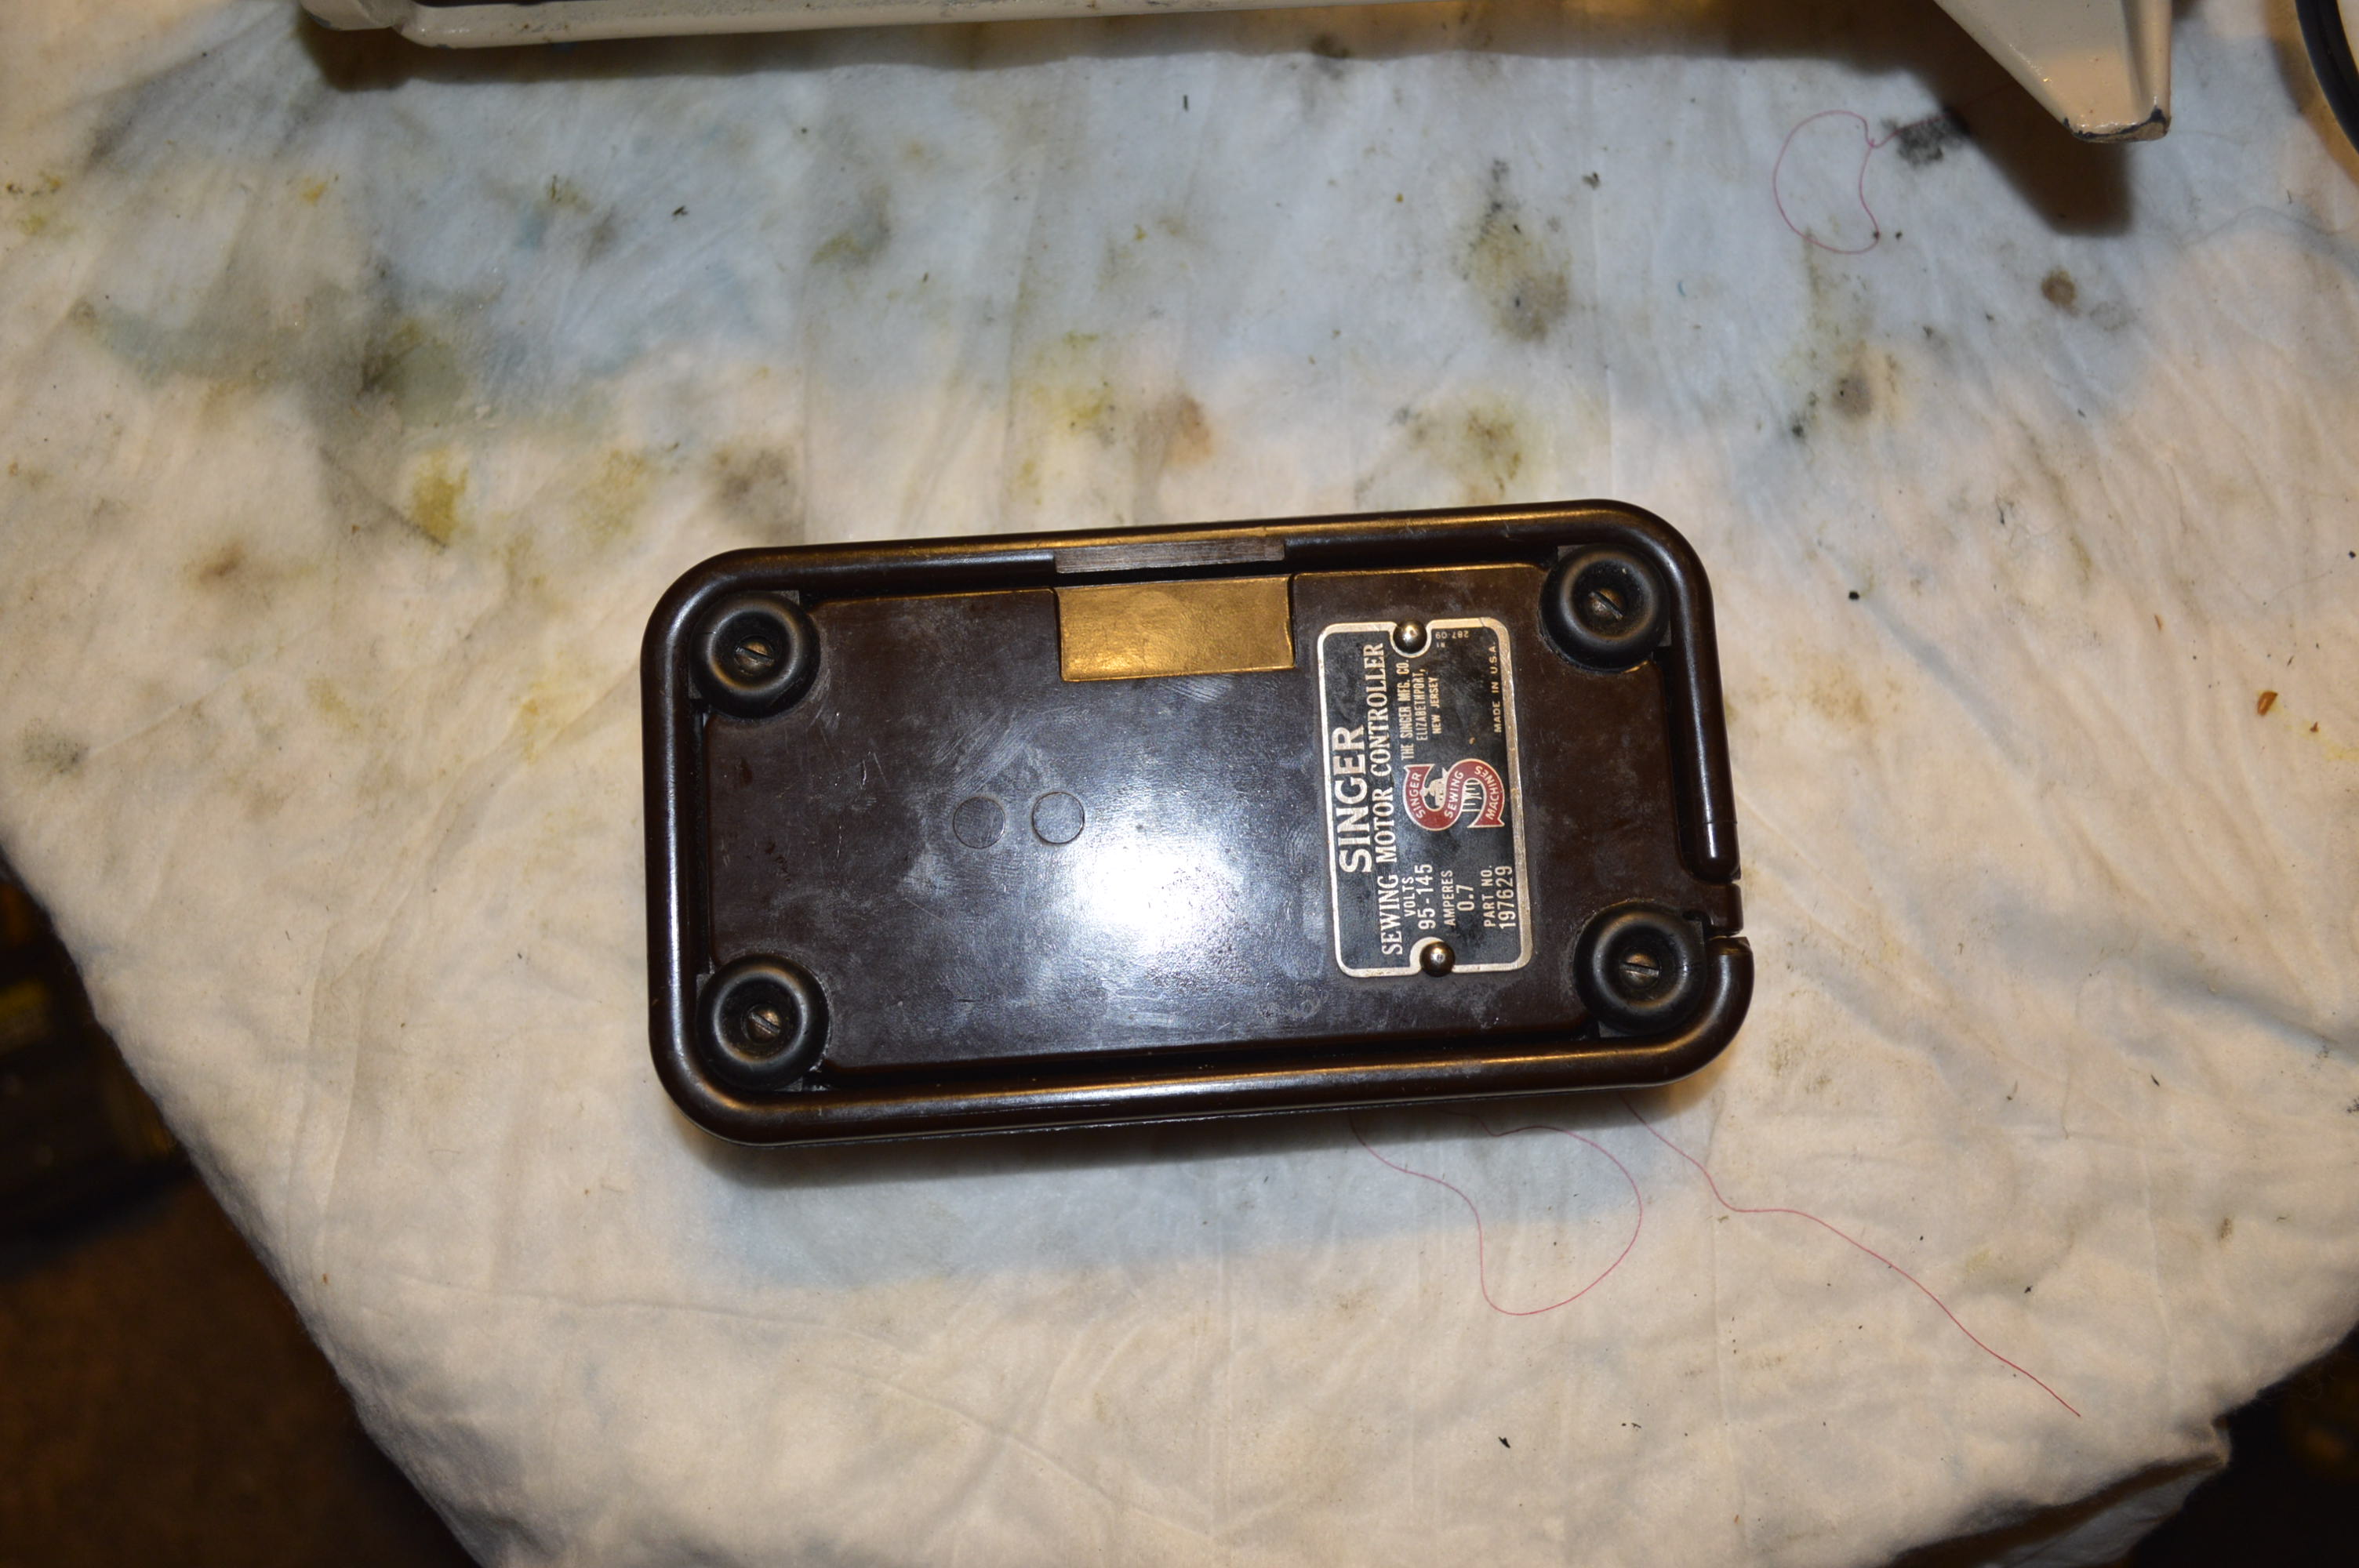
This 15-91 was delivered in a Bentwood case, a few bits and pieces wrapped up in a plastic baggie, and a Singer carbon pile foot controller.
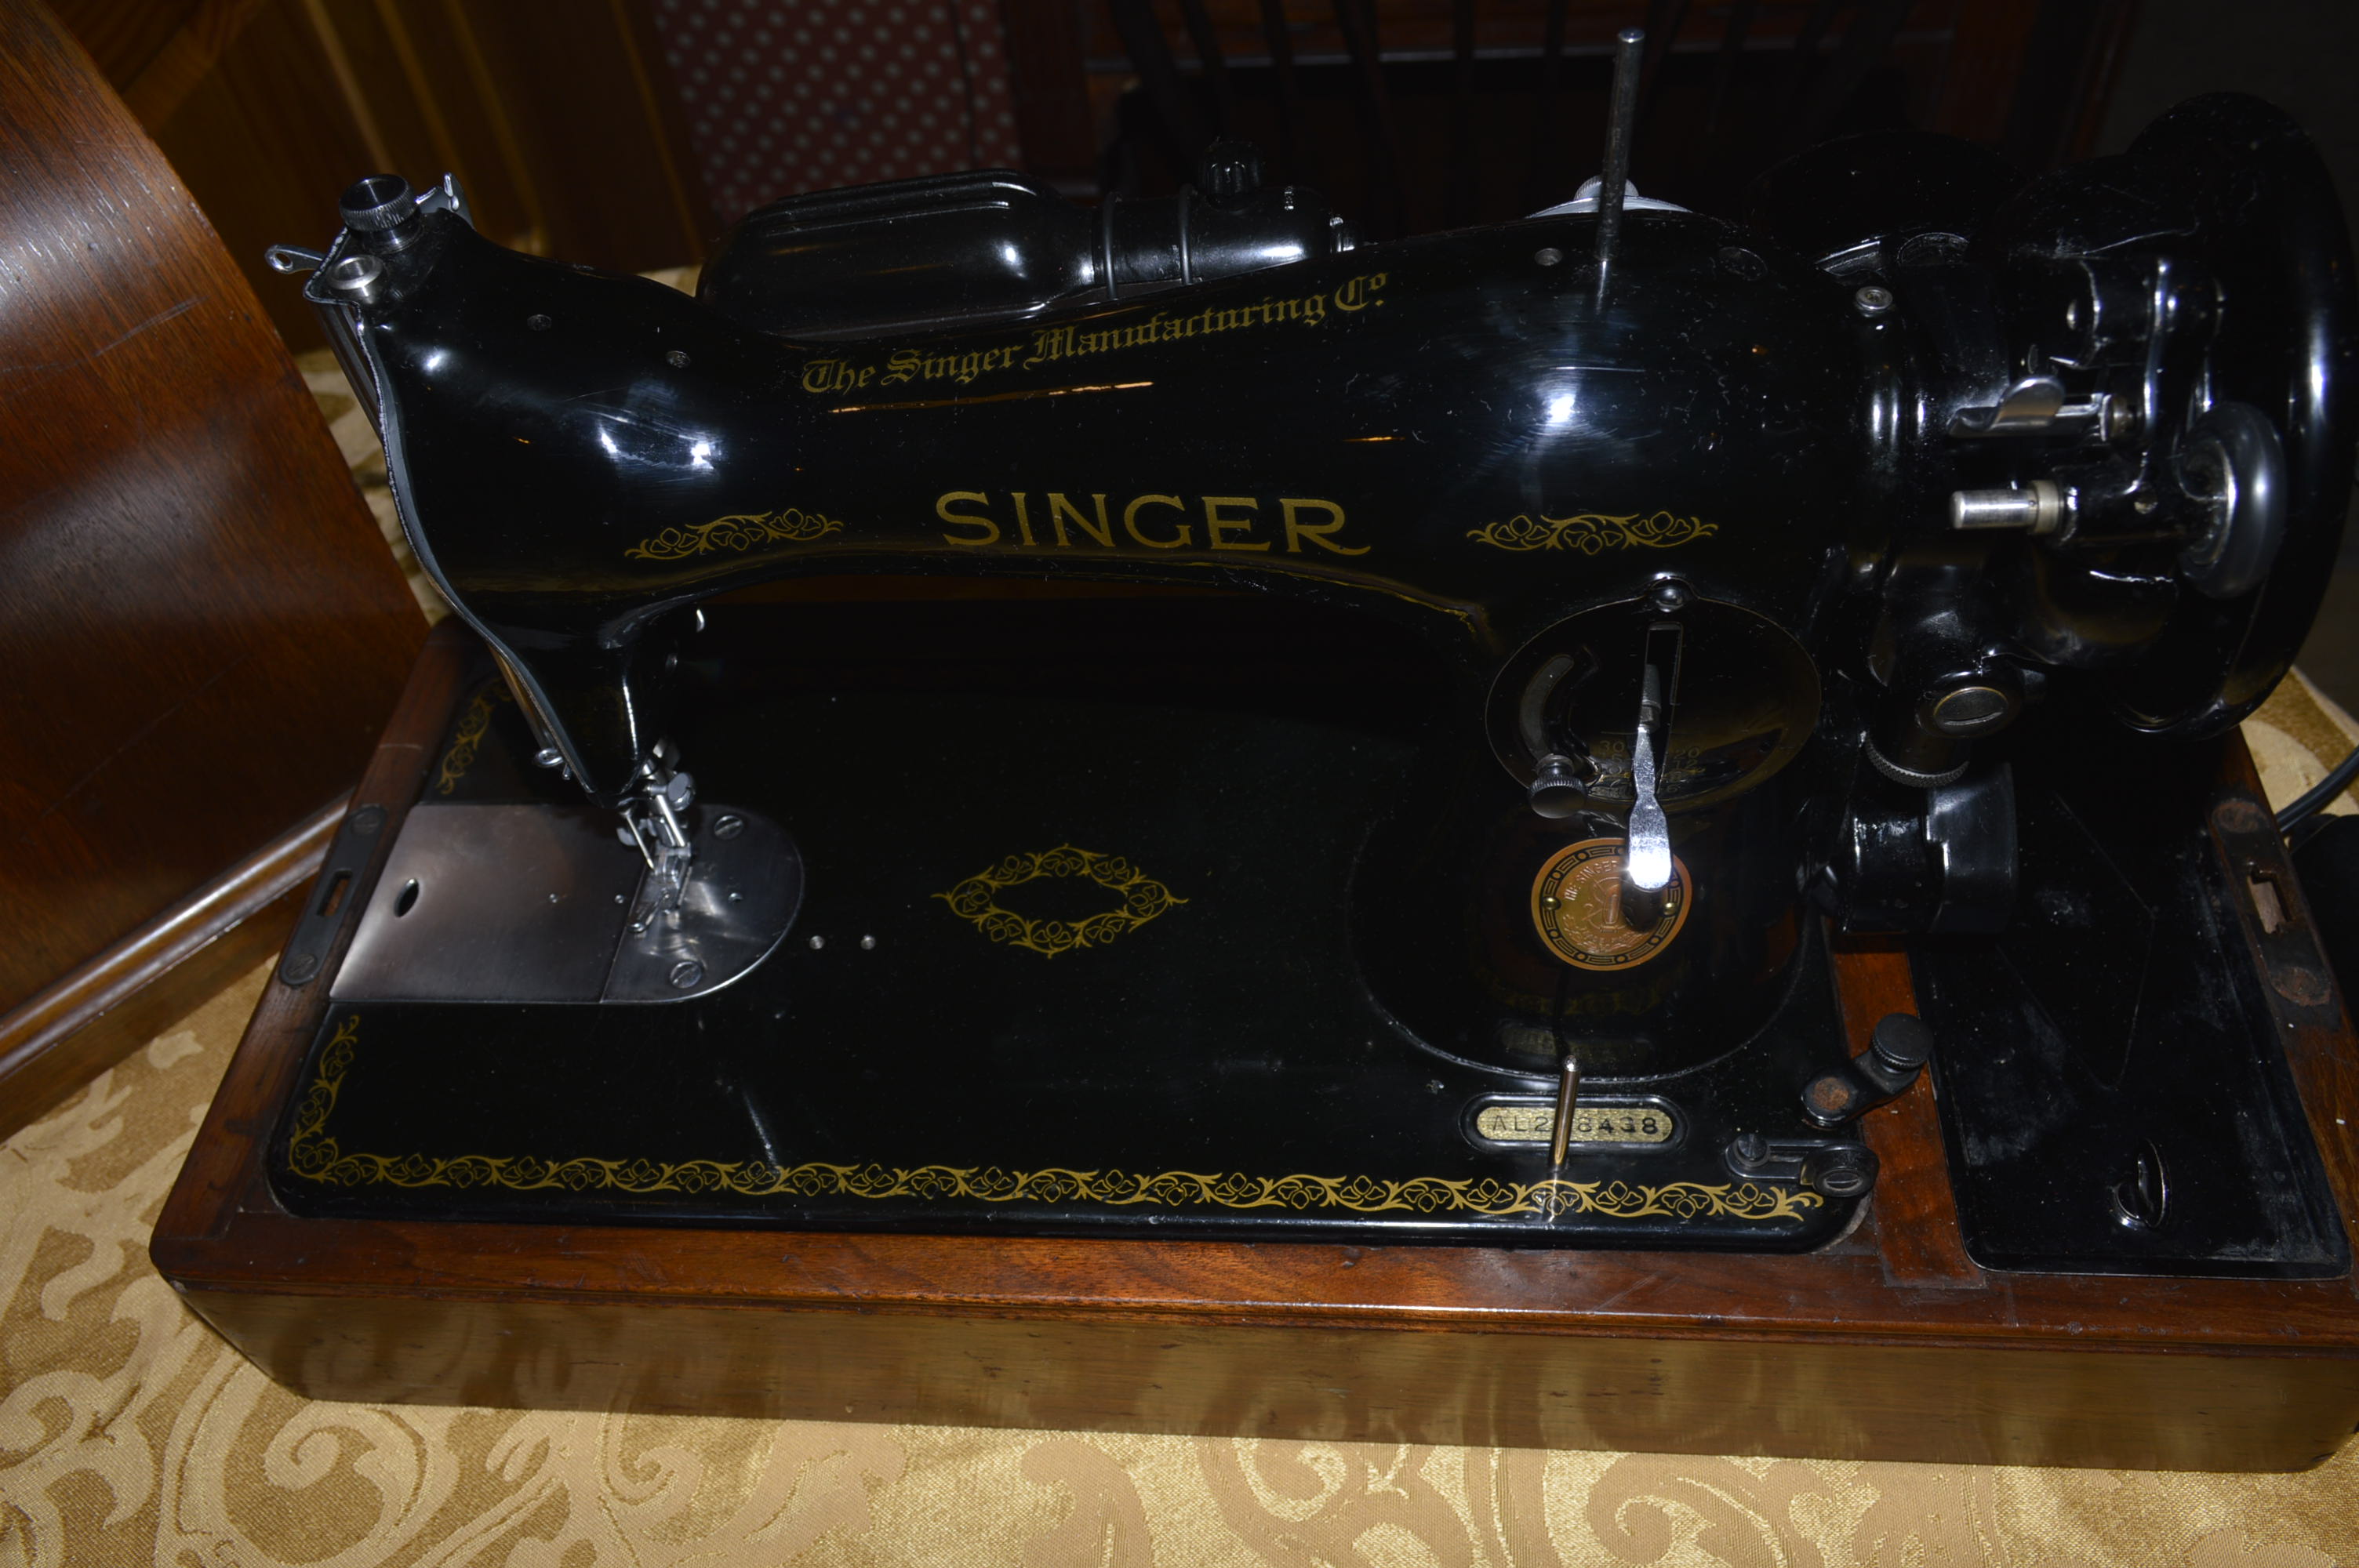
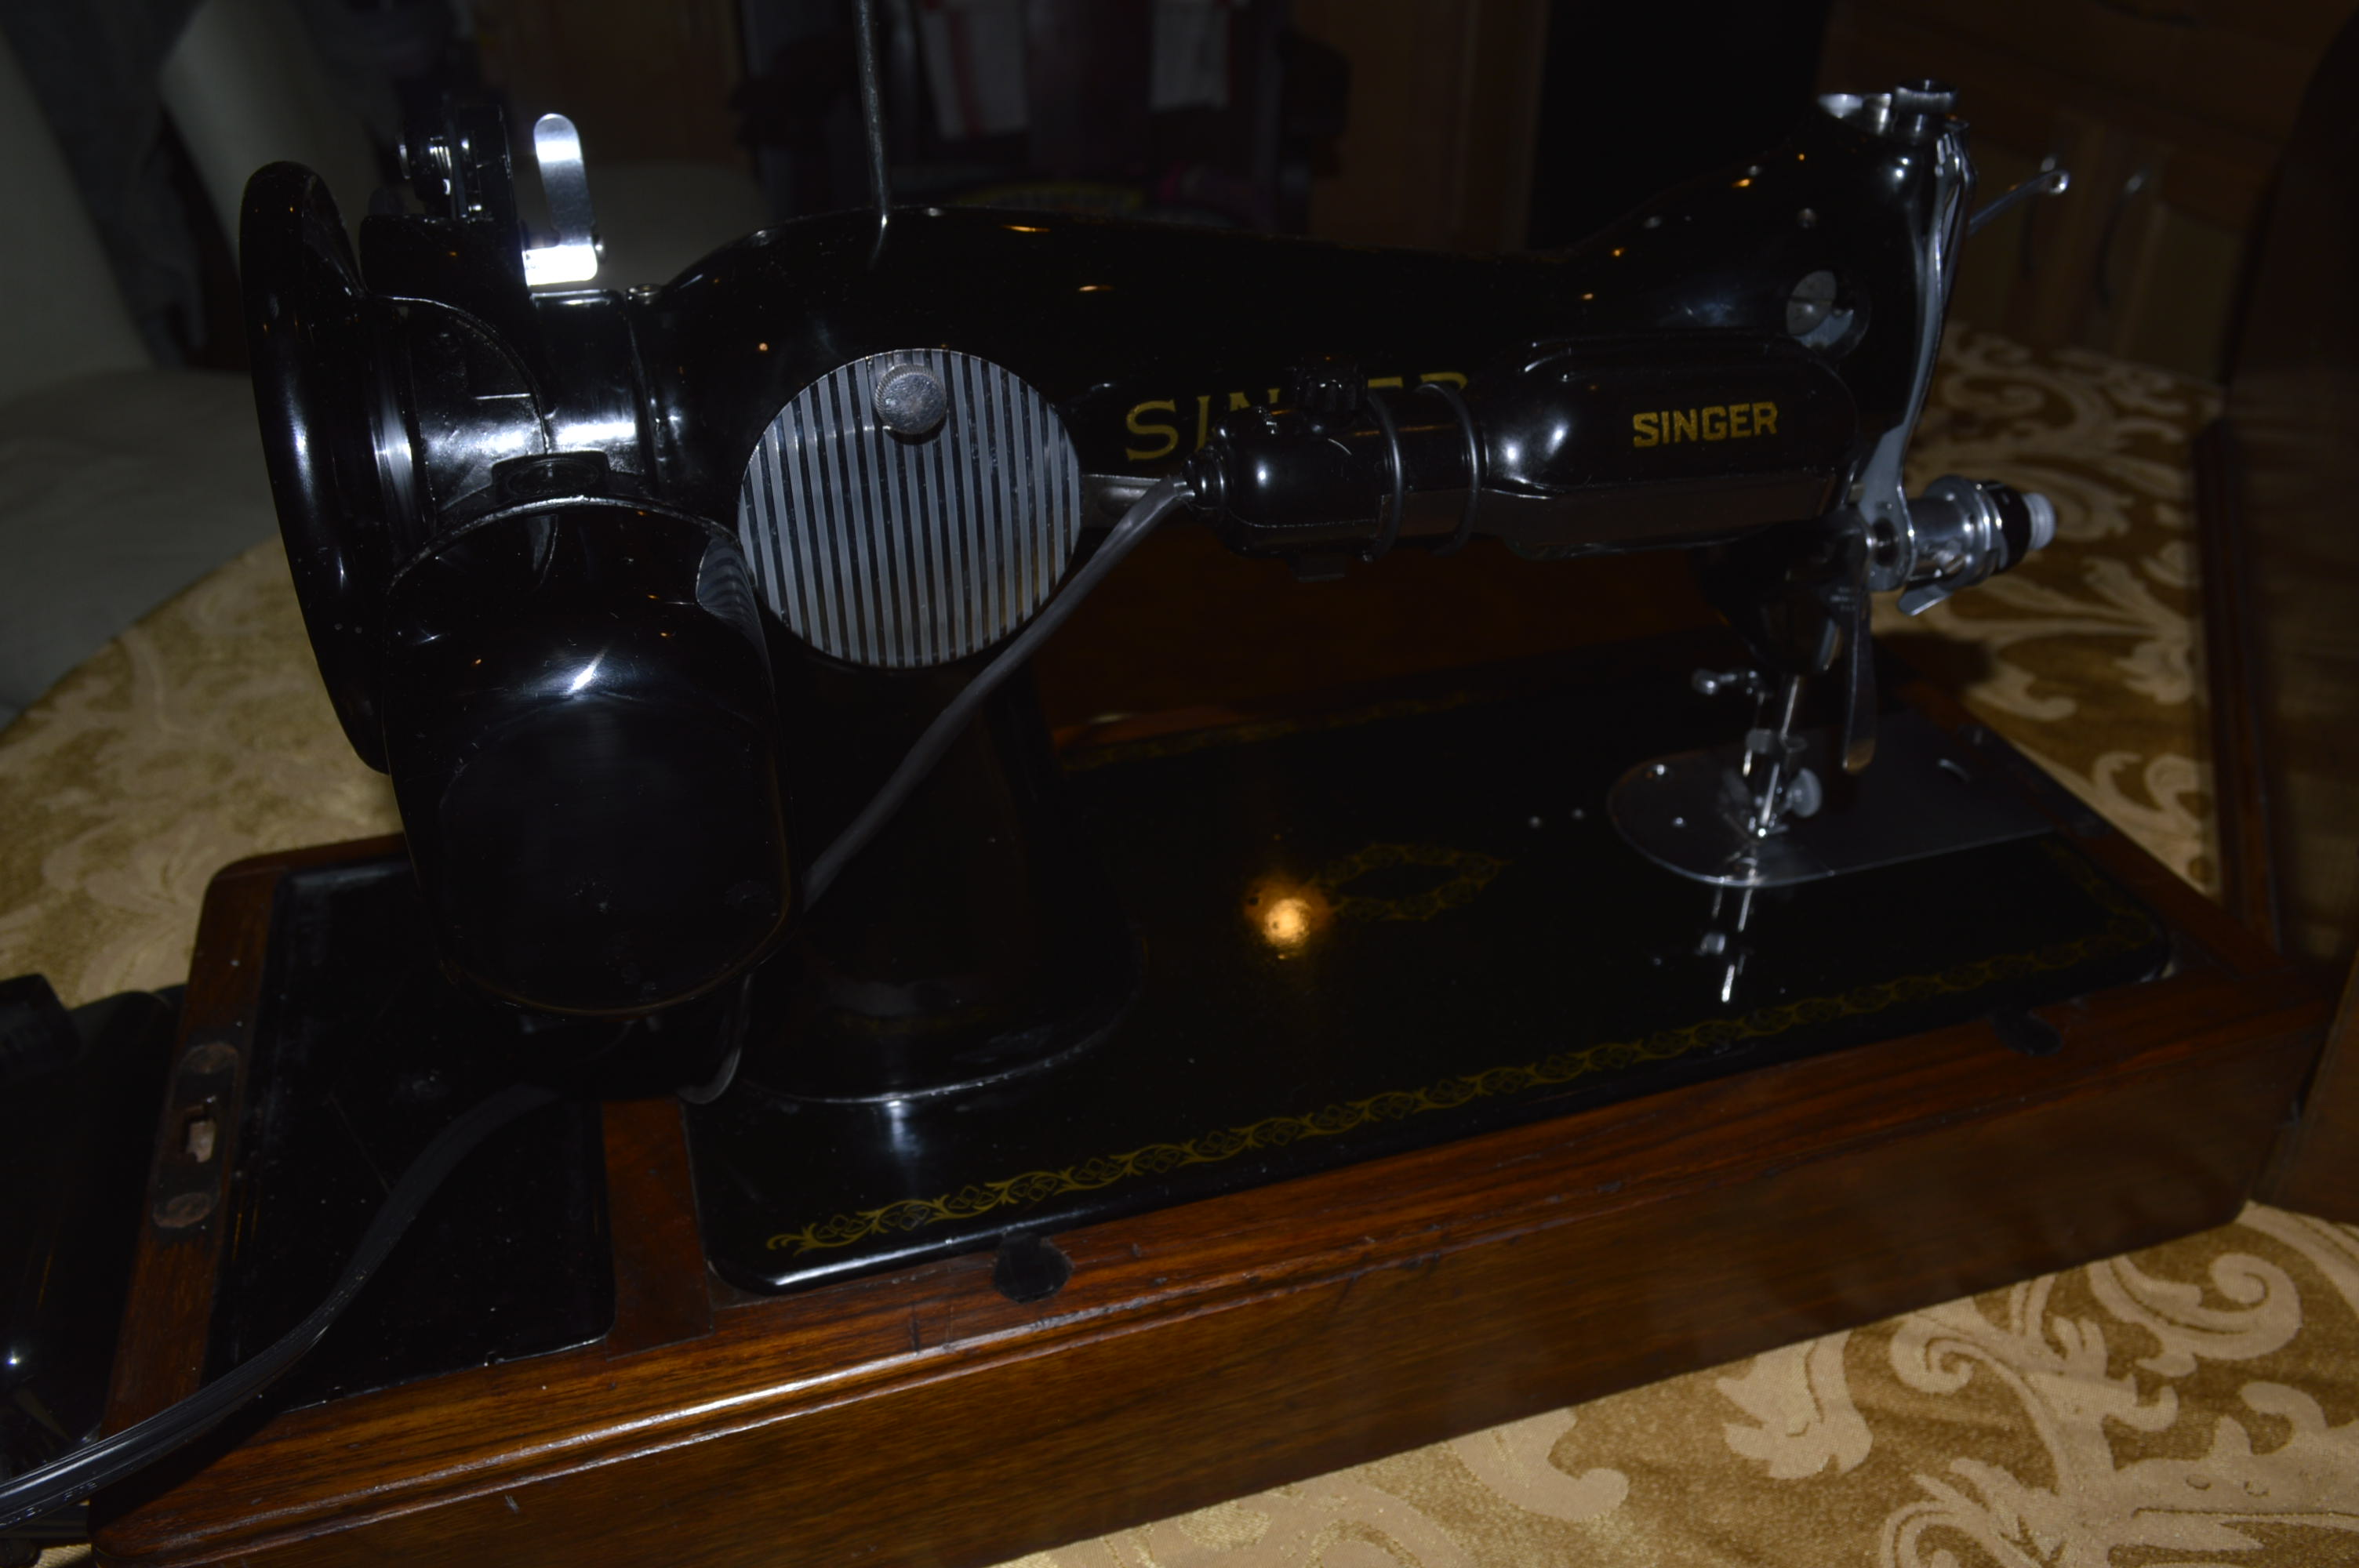
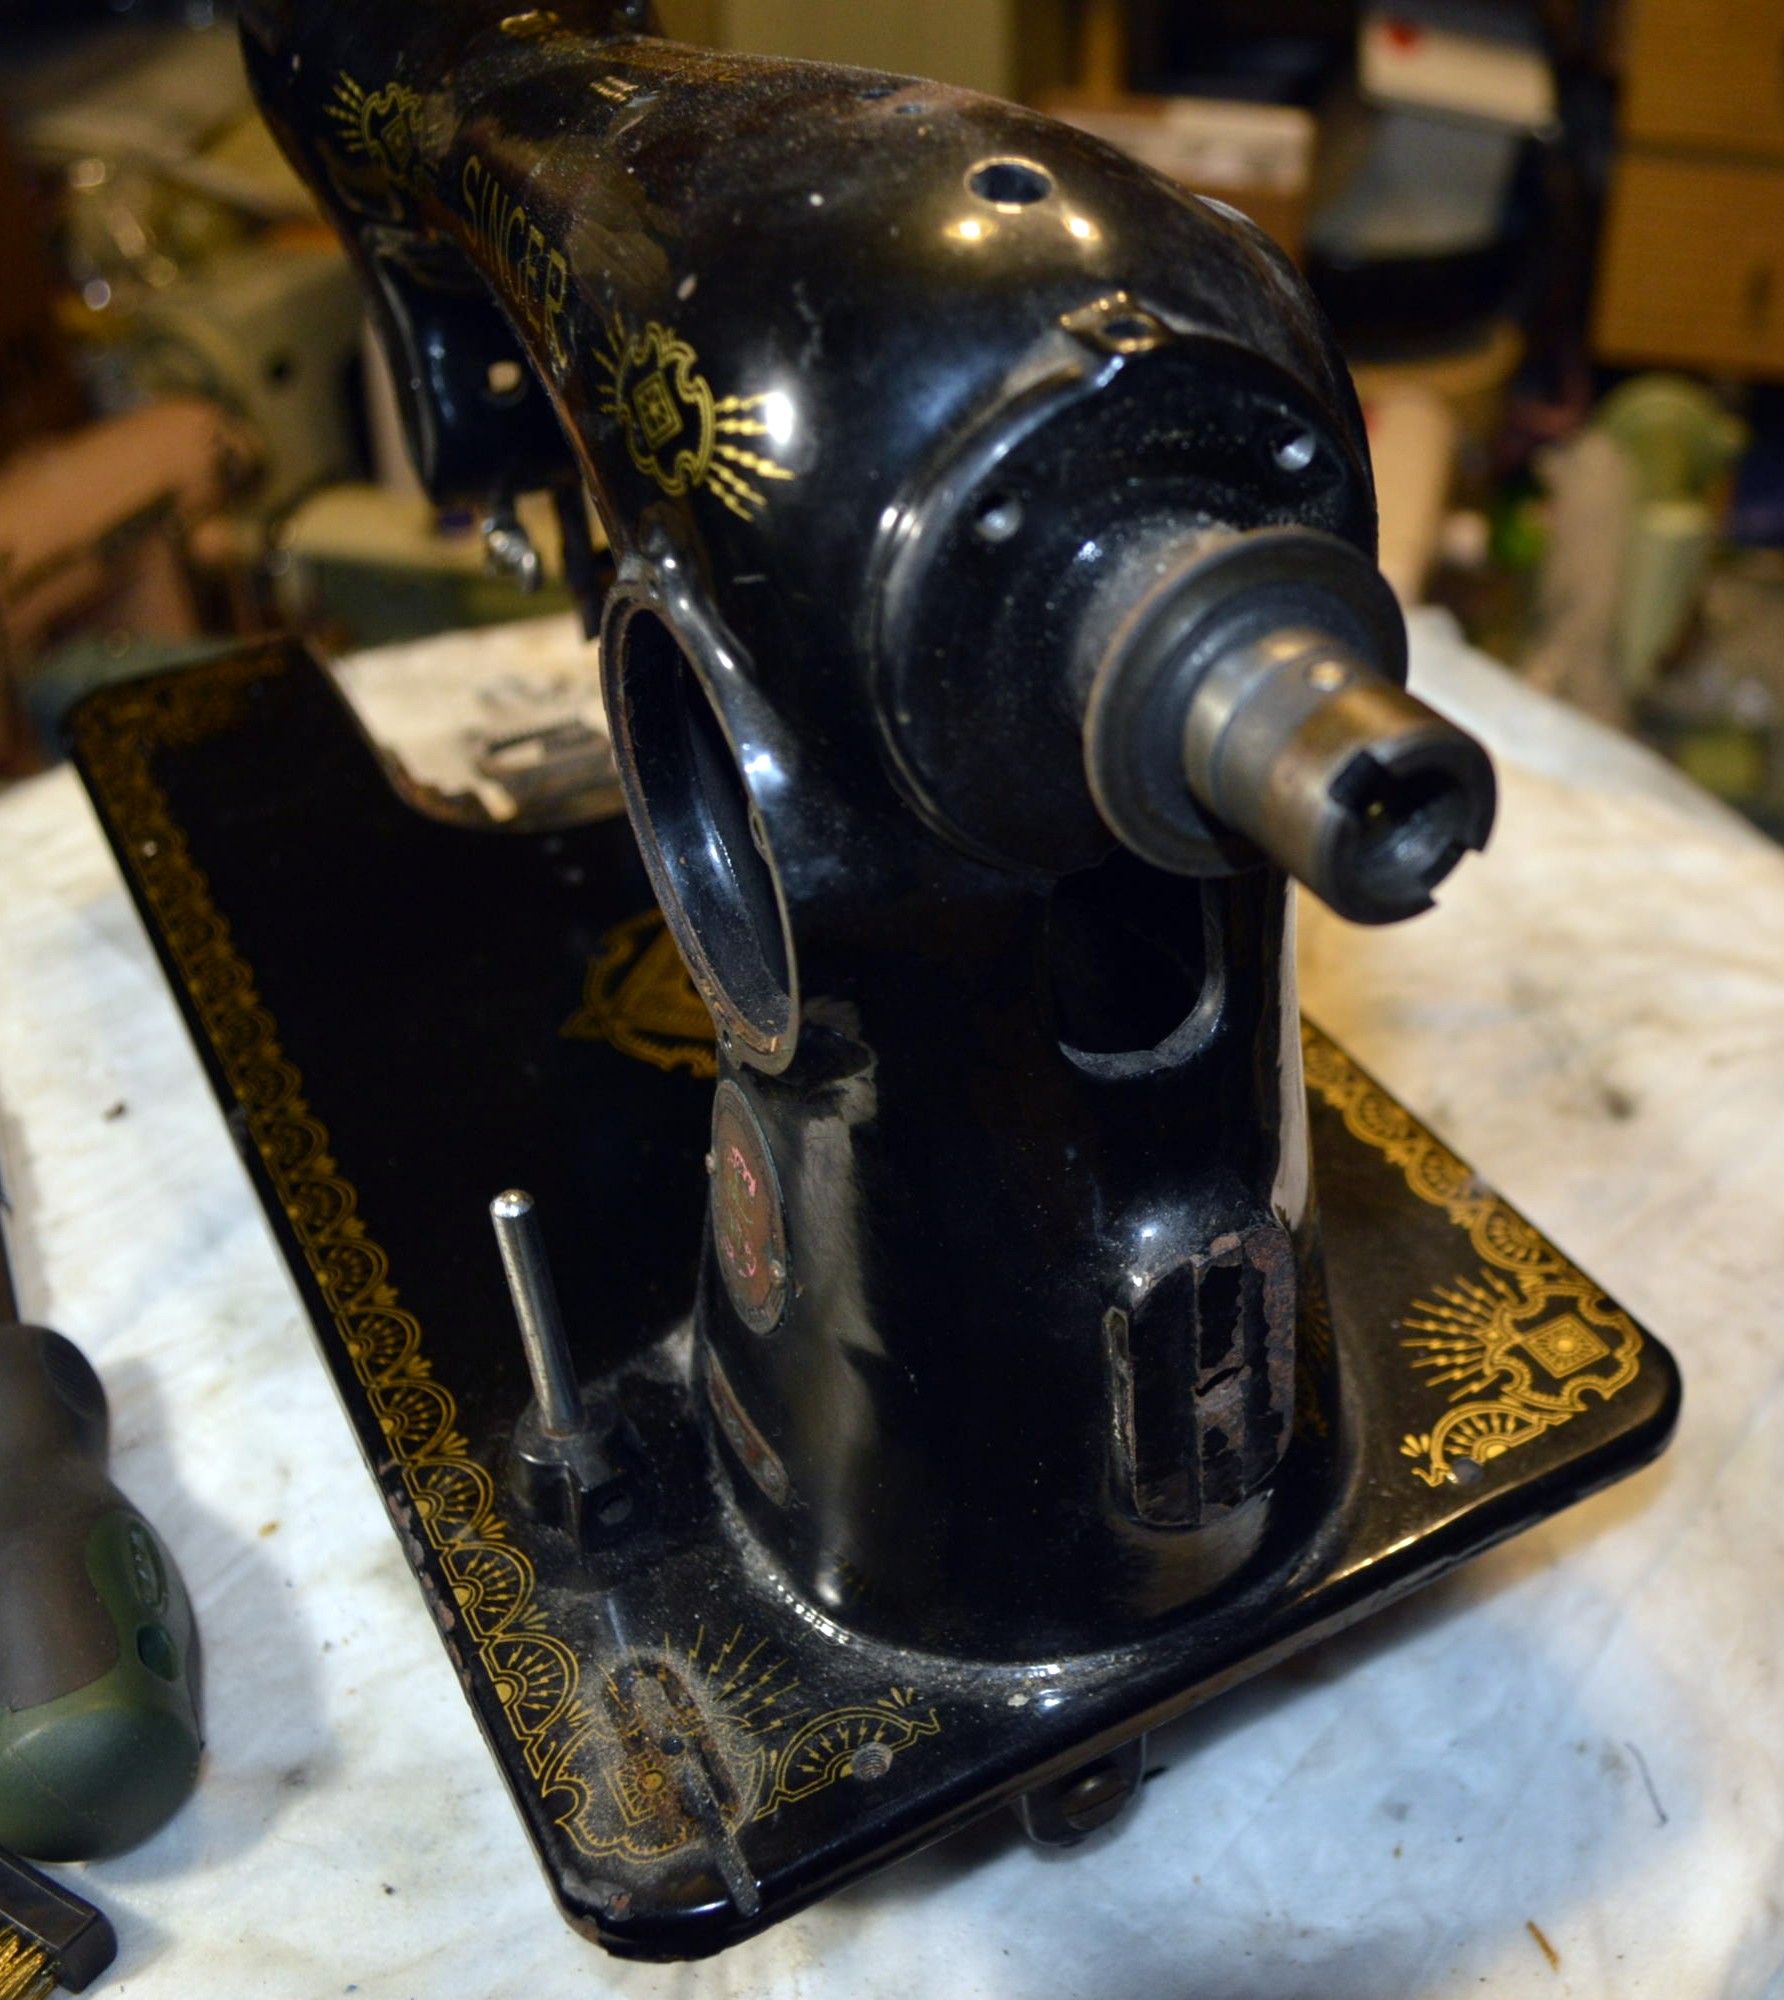
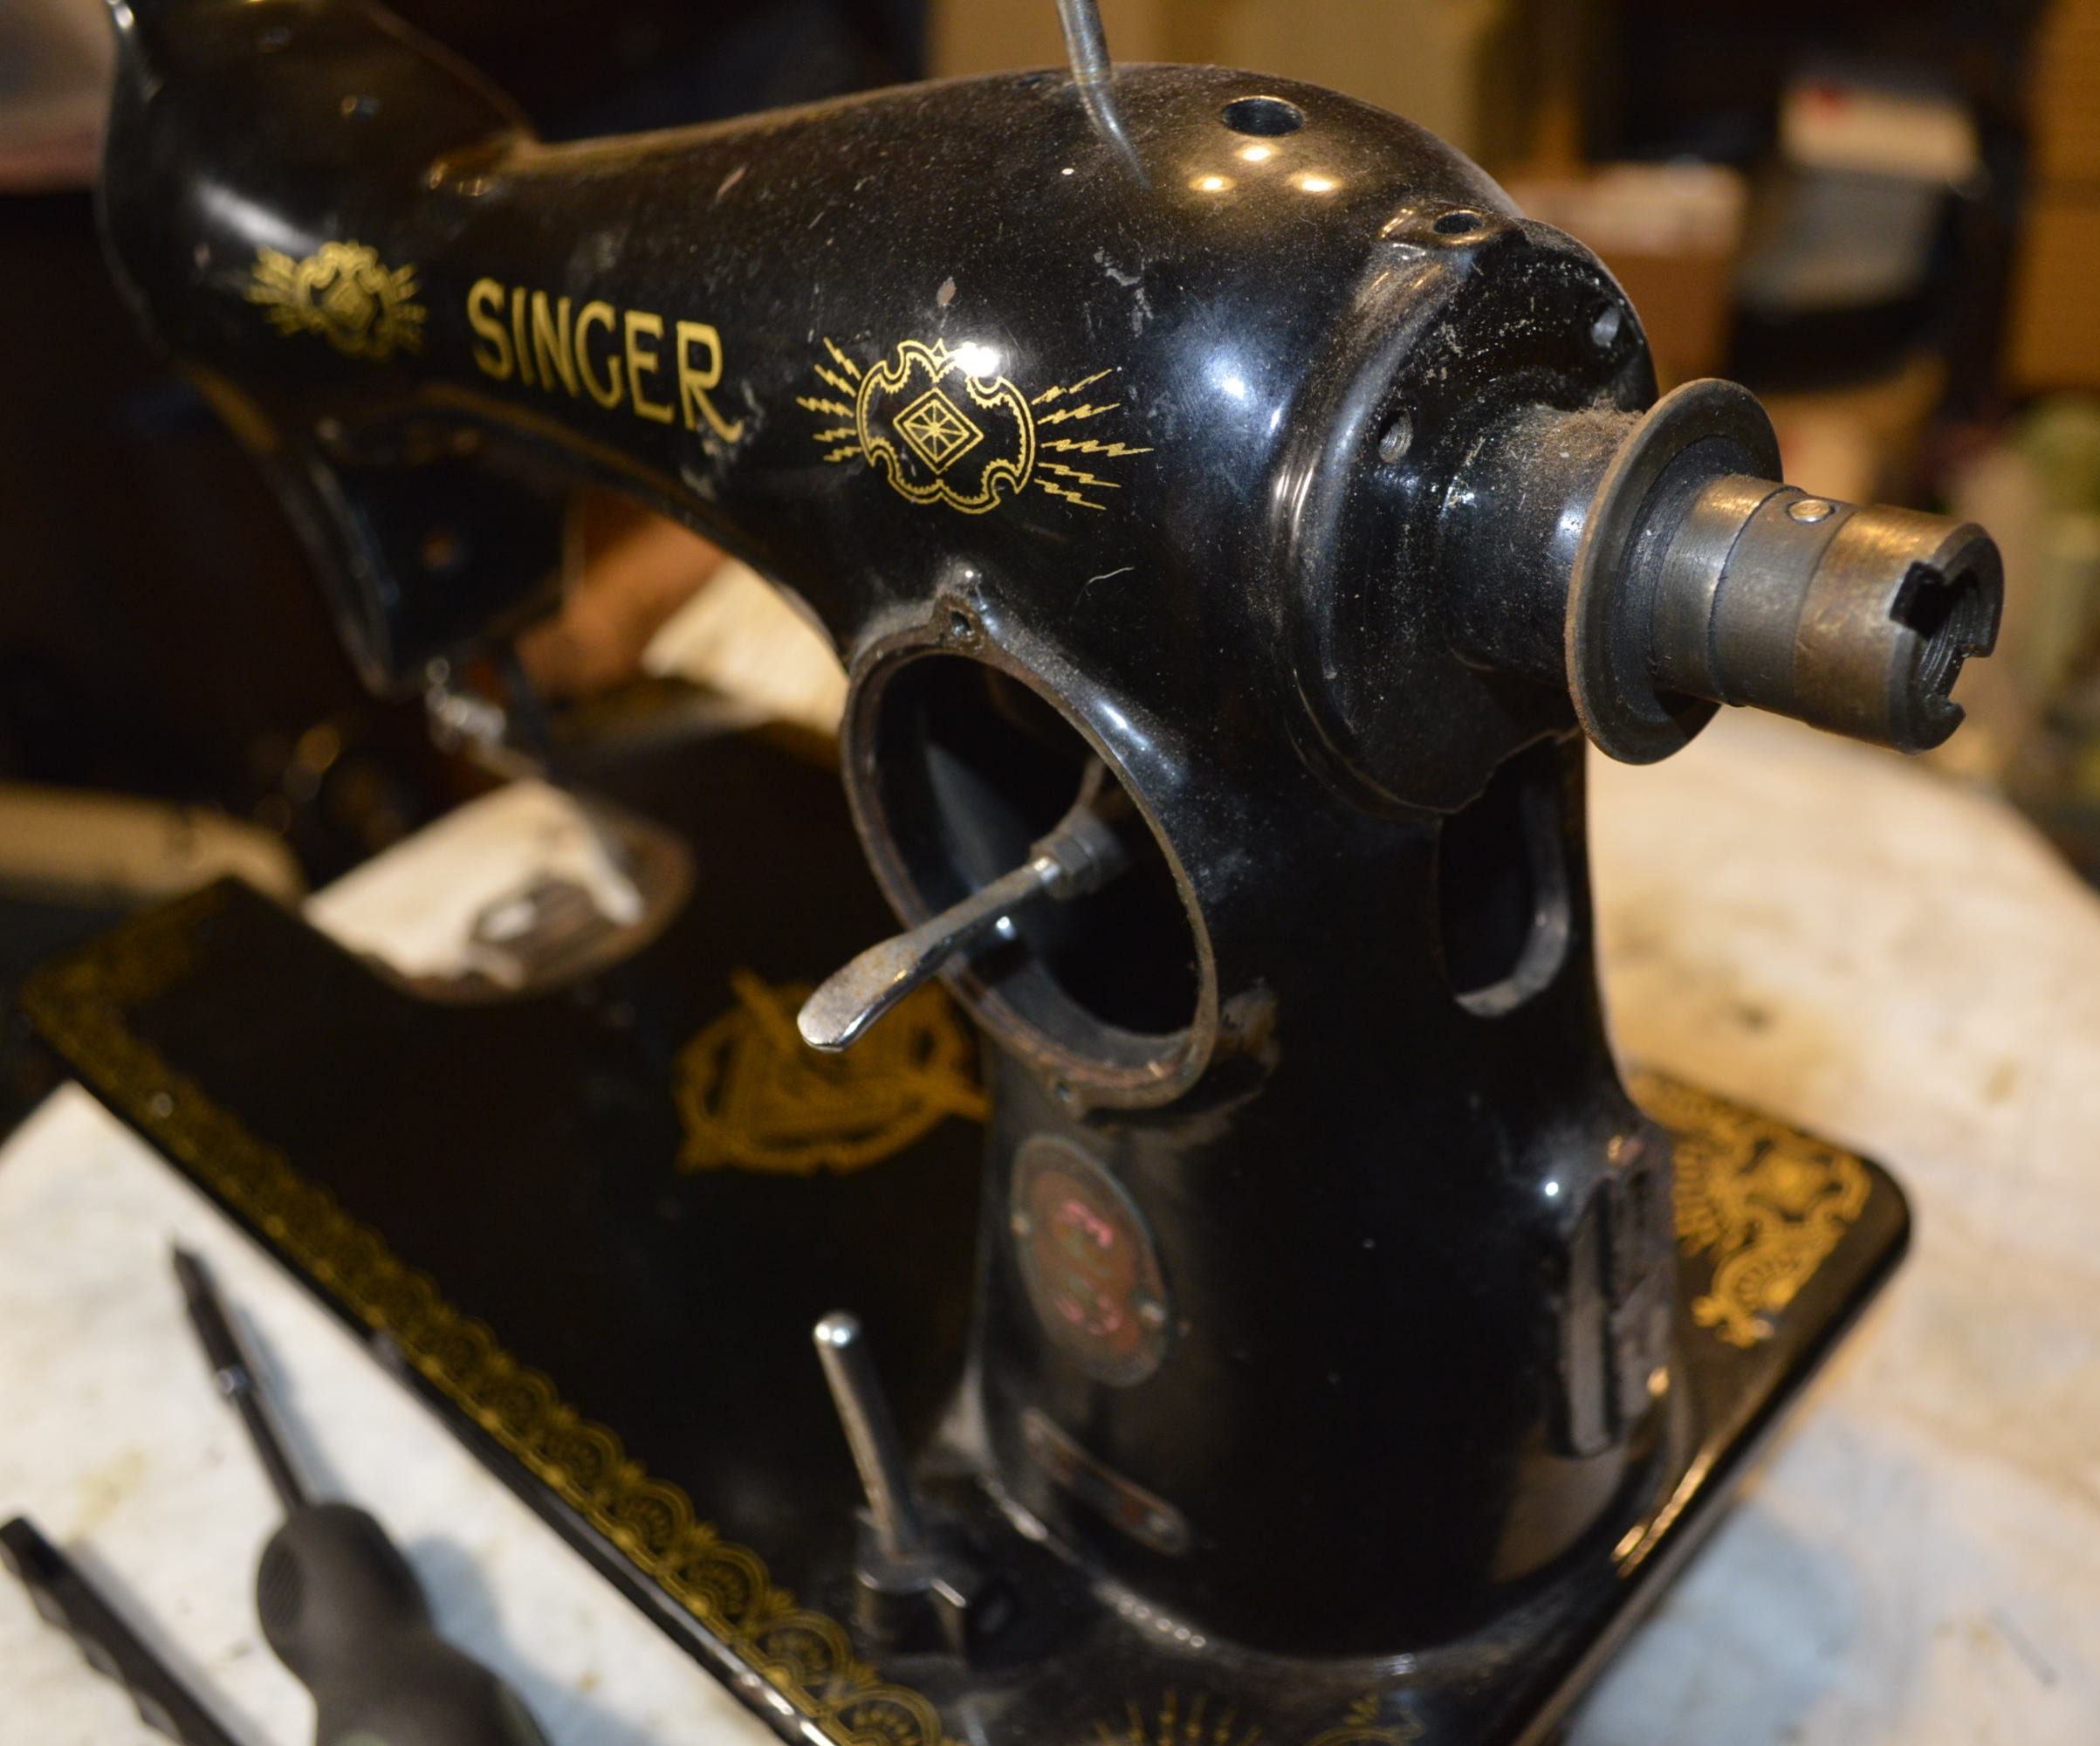
All of the nickel plated parts and covers are in great condition. Upon first inspection, the decals show only a slight amount of wear, and the finish on the bed shows it is in good (but not great) condition… we will see if we can improve on that.
The case is also in good condition with a few scratches and small dings. These can also be improved on. No, the handle isn’t missing… it is in the little plastic baggie with other bits and surprises.
The first step is to clean the body of the machine. Because I am going way past just cleaning with this reconditioning, I am removing everything I can for ultrasonic cleaning. Dusting with a dry paint brush is always done first, followed by cleaning with sewing machine oil.
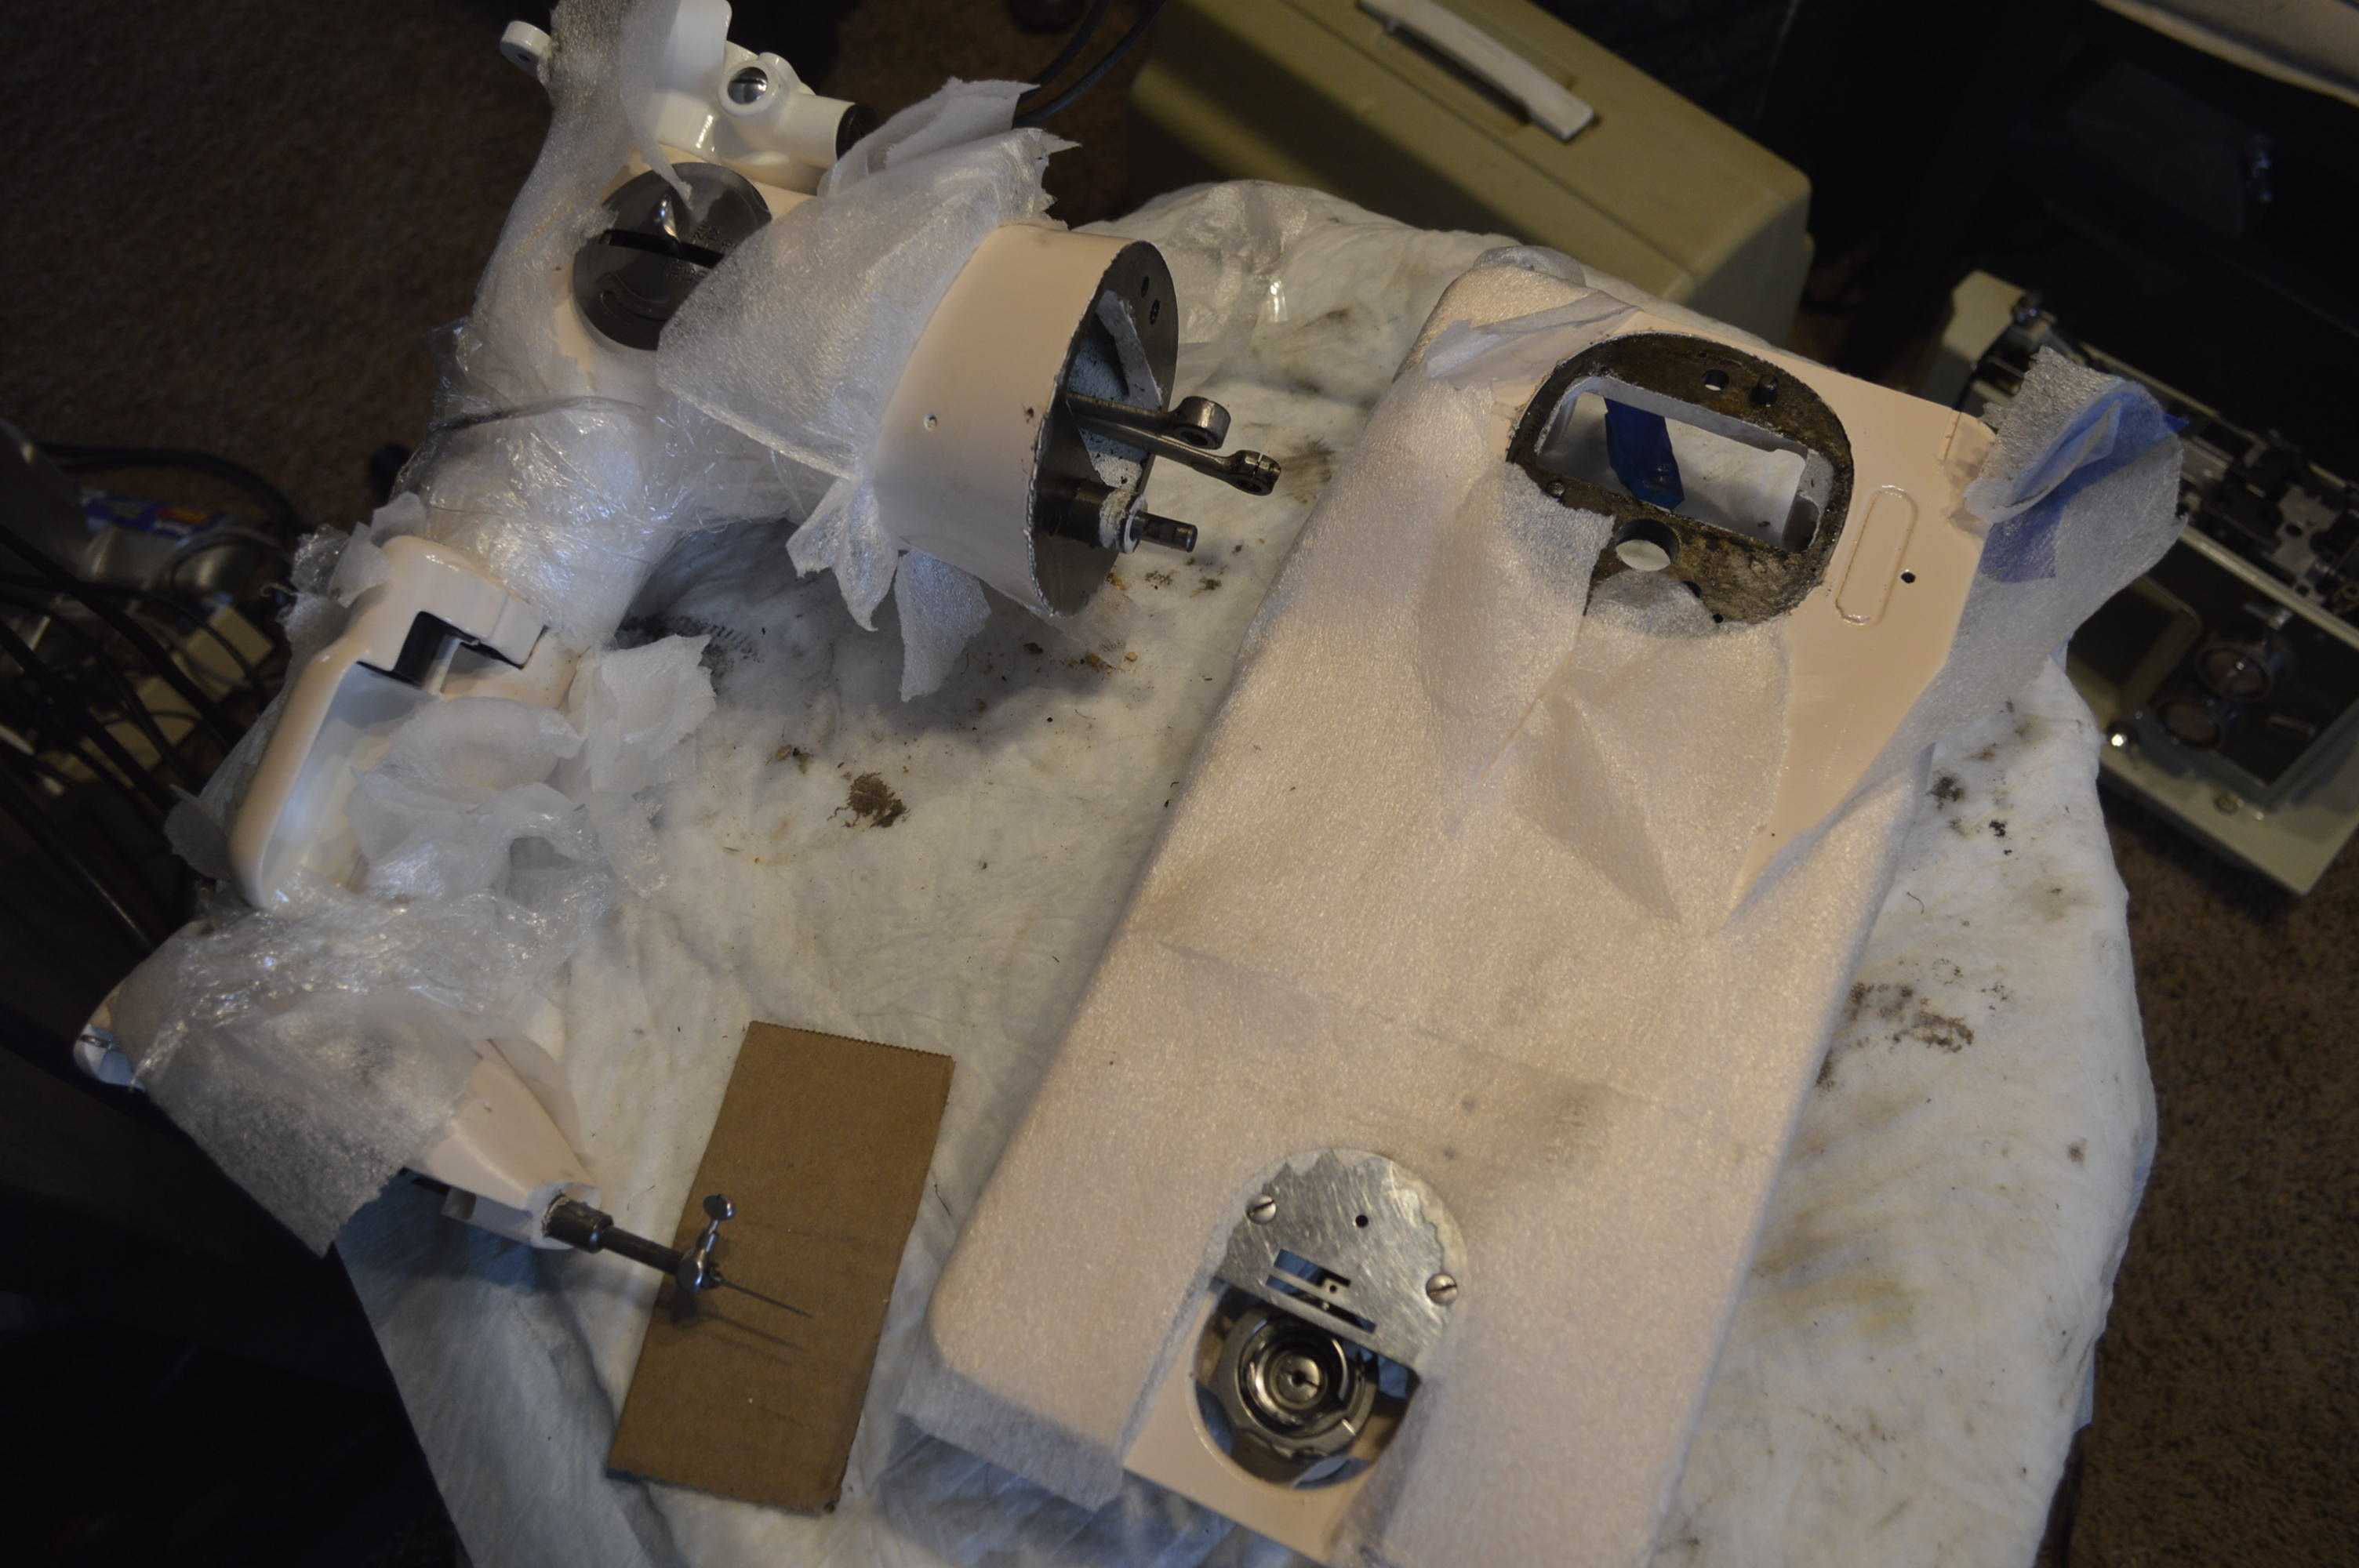
These parts are removed…
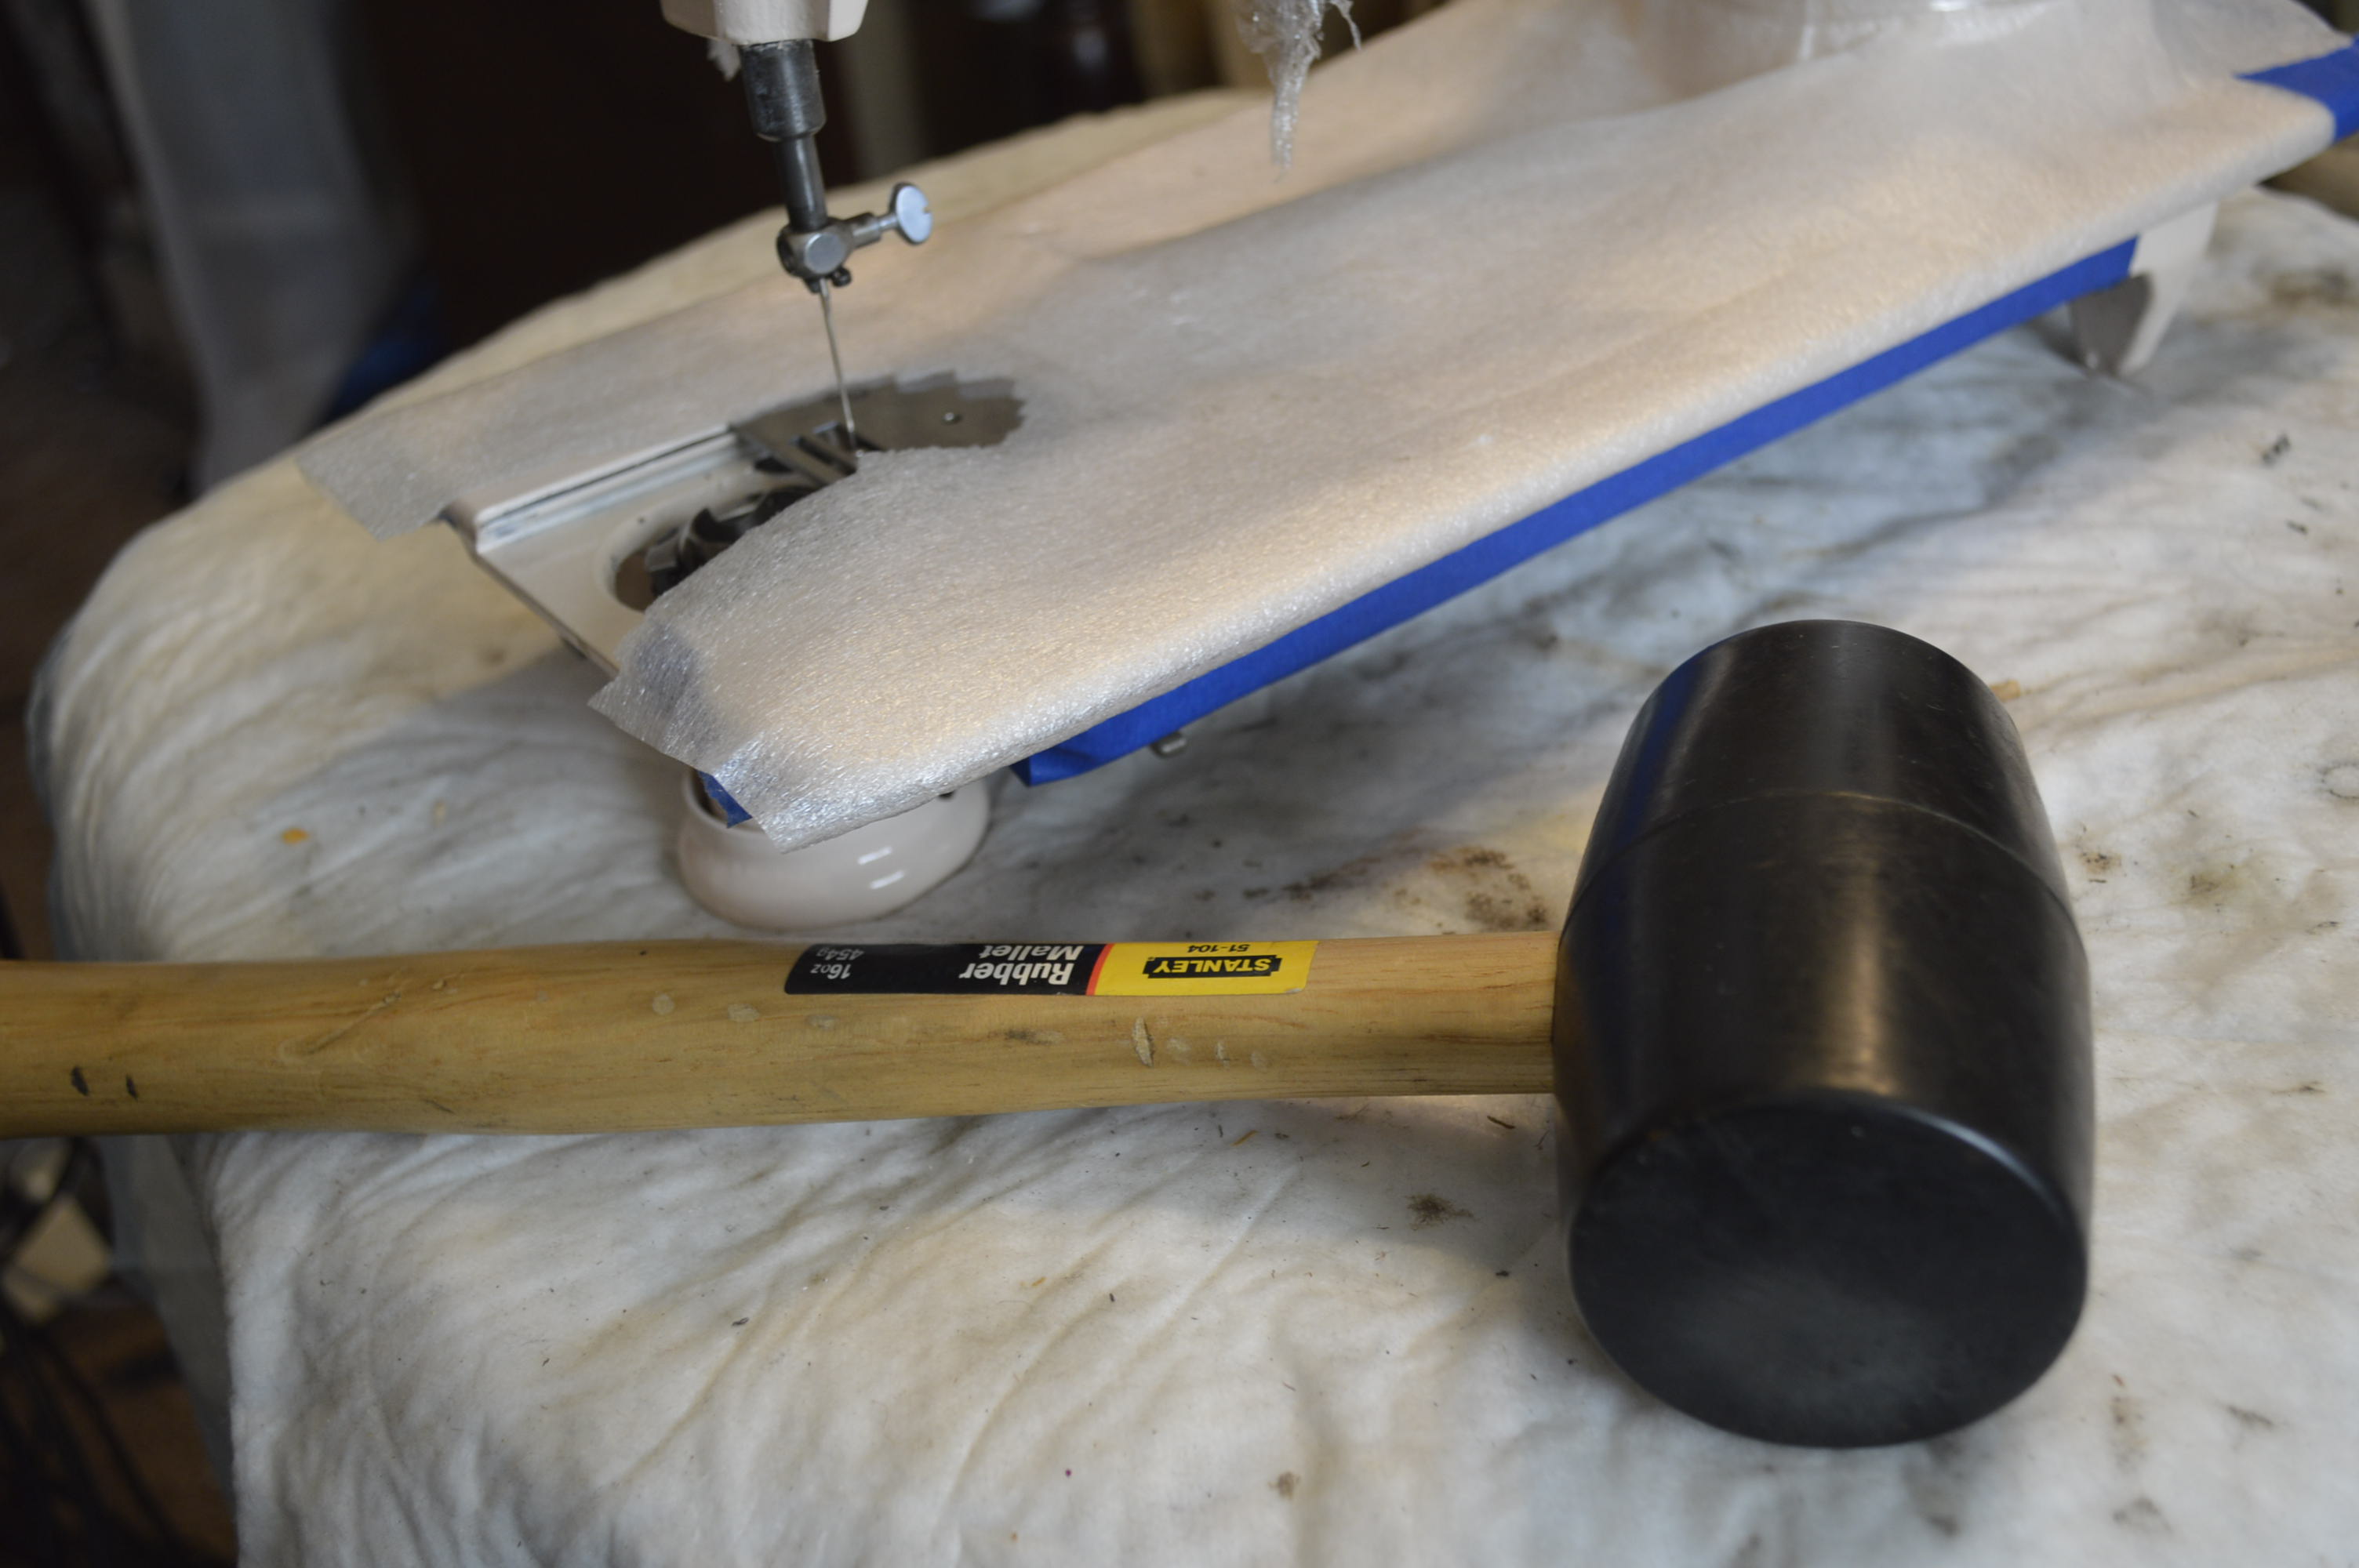
I also remove the spool pins (don’t unless you intend to replace them). They will be replaced because they are press fit, and removal will provide much better access for cleaning the body of the machine. The motor is also removed. A word of caution on removing the motor. There are 2 screws that cannot be loosened by hand. Many a screw head has been bunged up trying this. So often, that there are replacement screws available for purchase. I use an impact driver, but to loosen these, you can use a good tight fitting screwdriver and a hammer. By simultaneously pressing the screwdriver tight against the screw, twisting the screwdriver in a loosening motion (counterclockwise), and gently rapping on the end of the screwdriver handle, the screw will loosen with the impact… don’t hit it HARD, or miss with the hammer!
After the machine is cleaned with sewing machine oil, it looks much better…
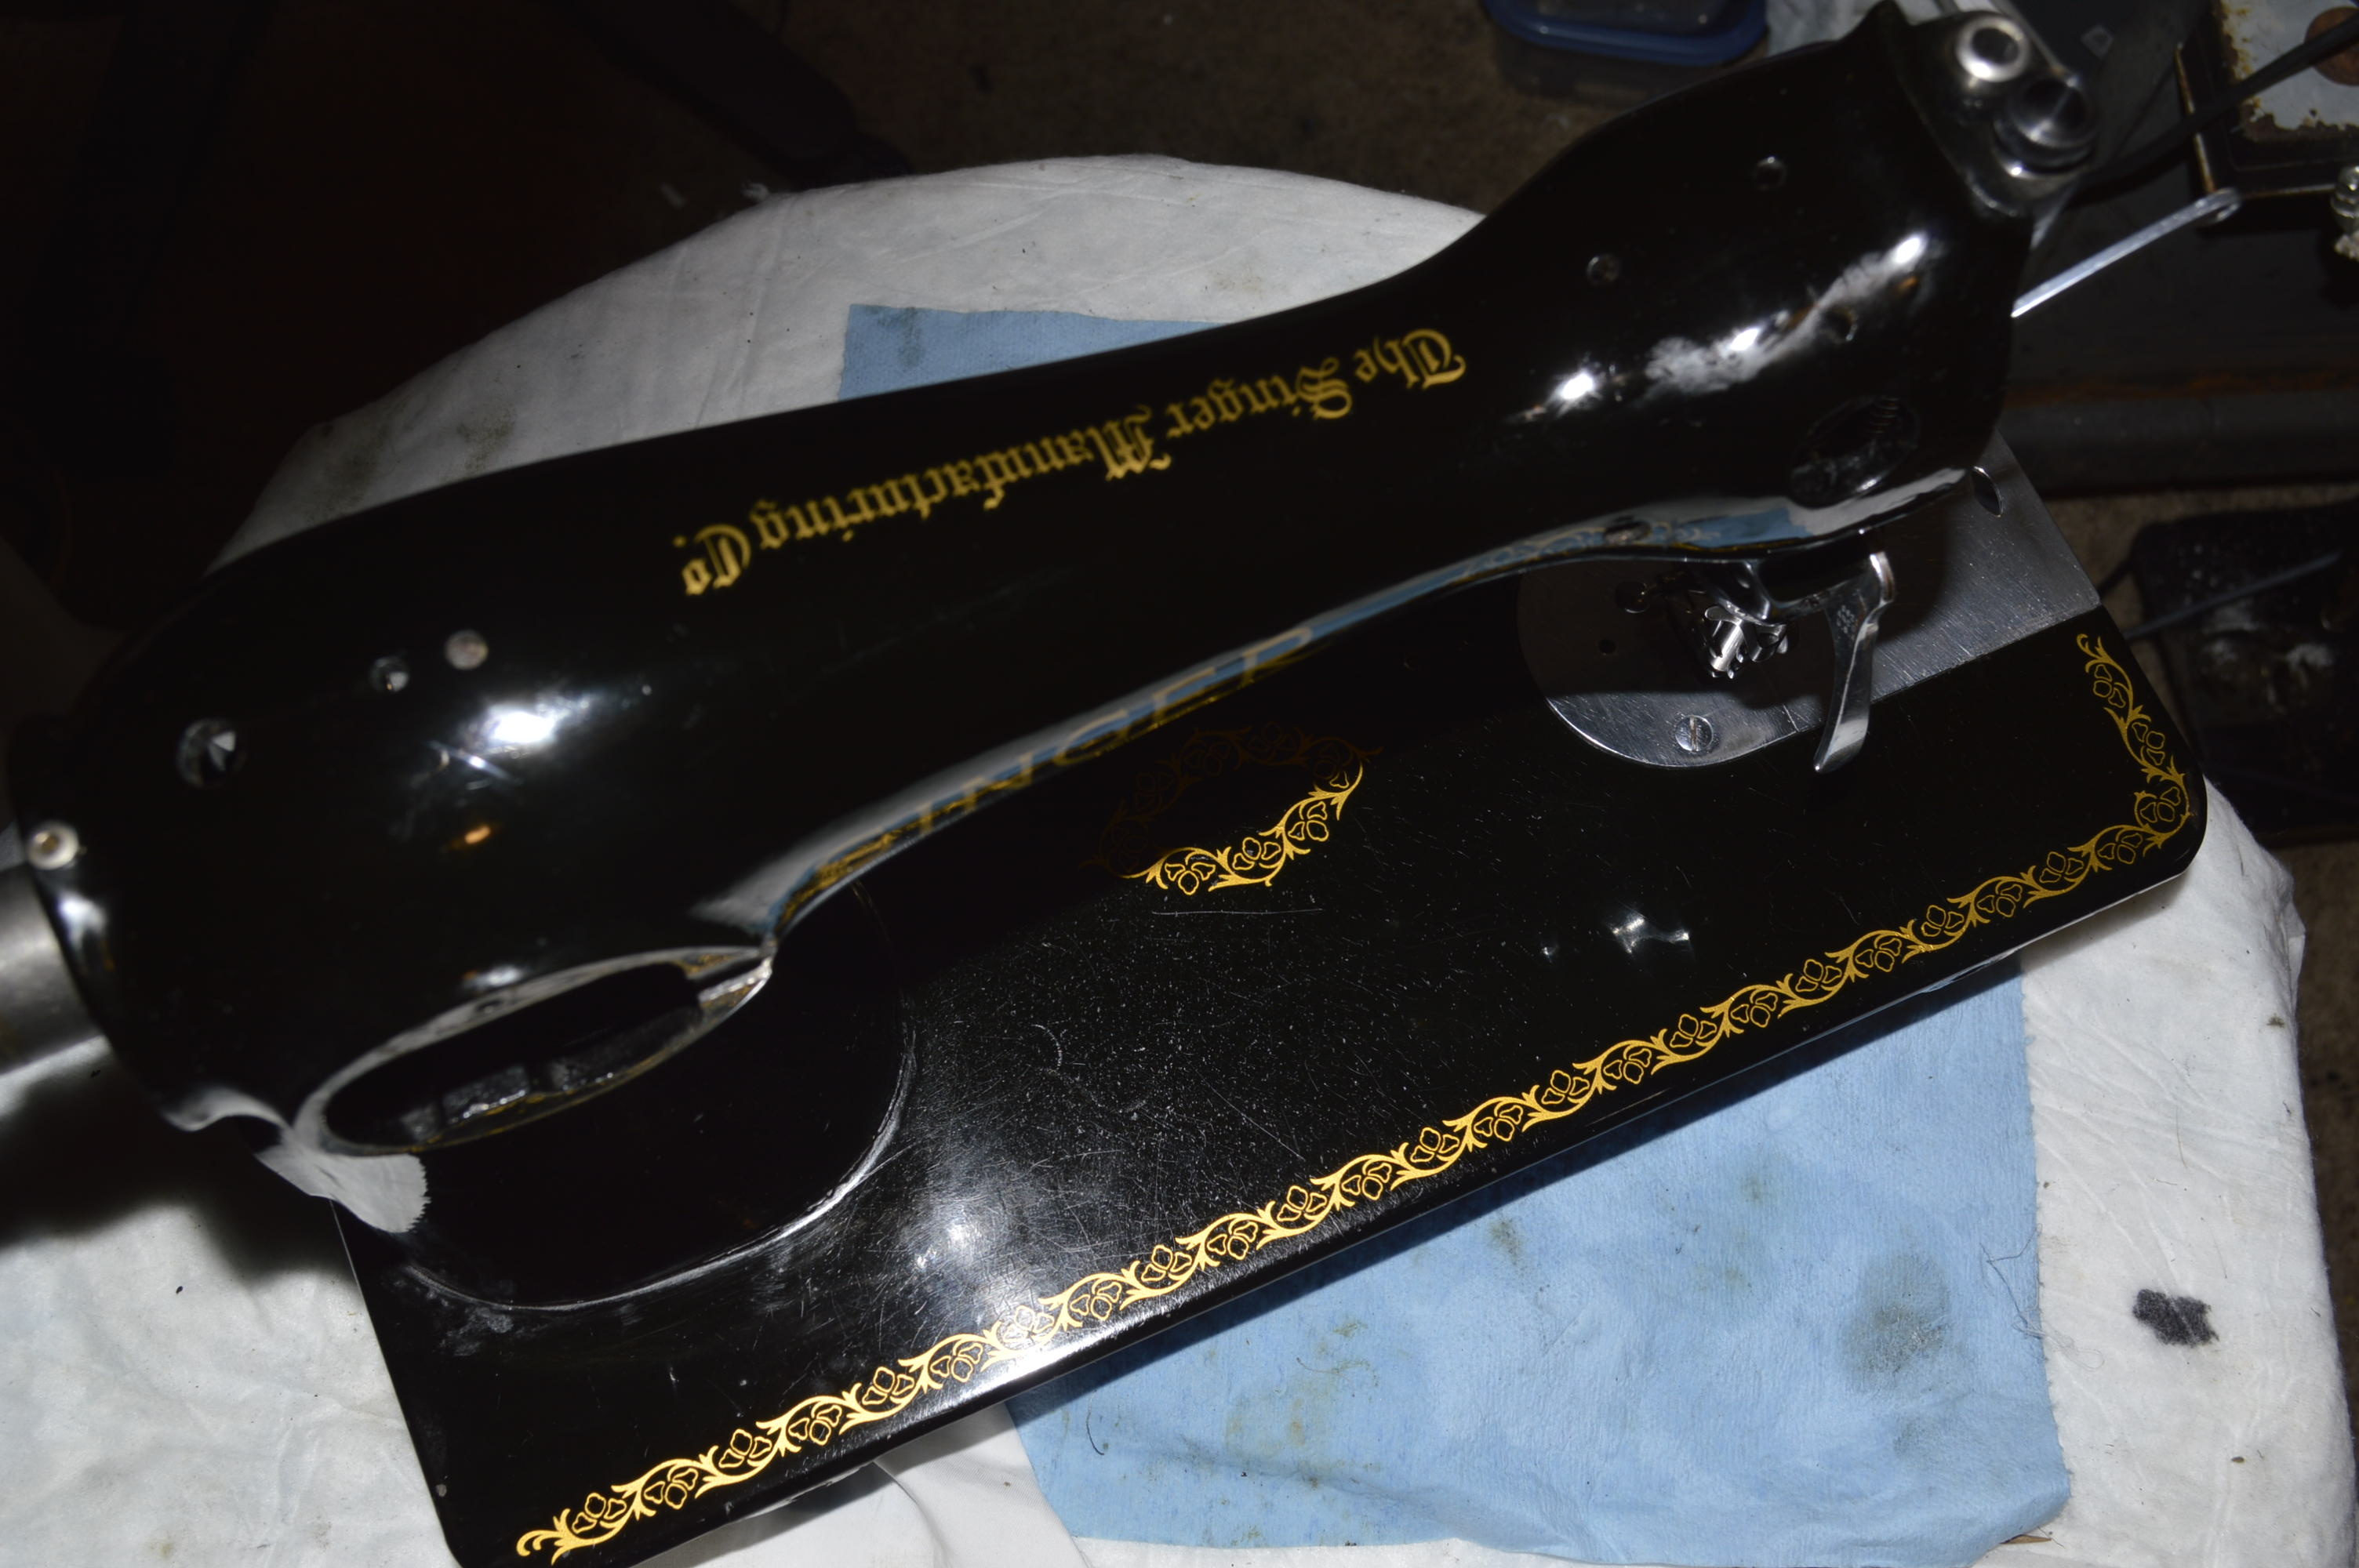
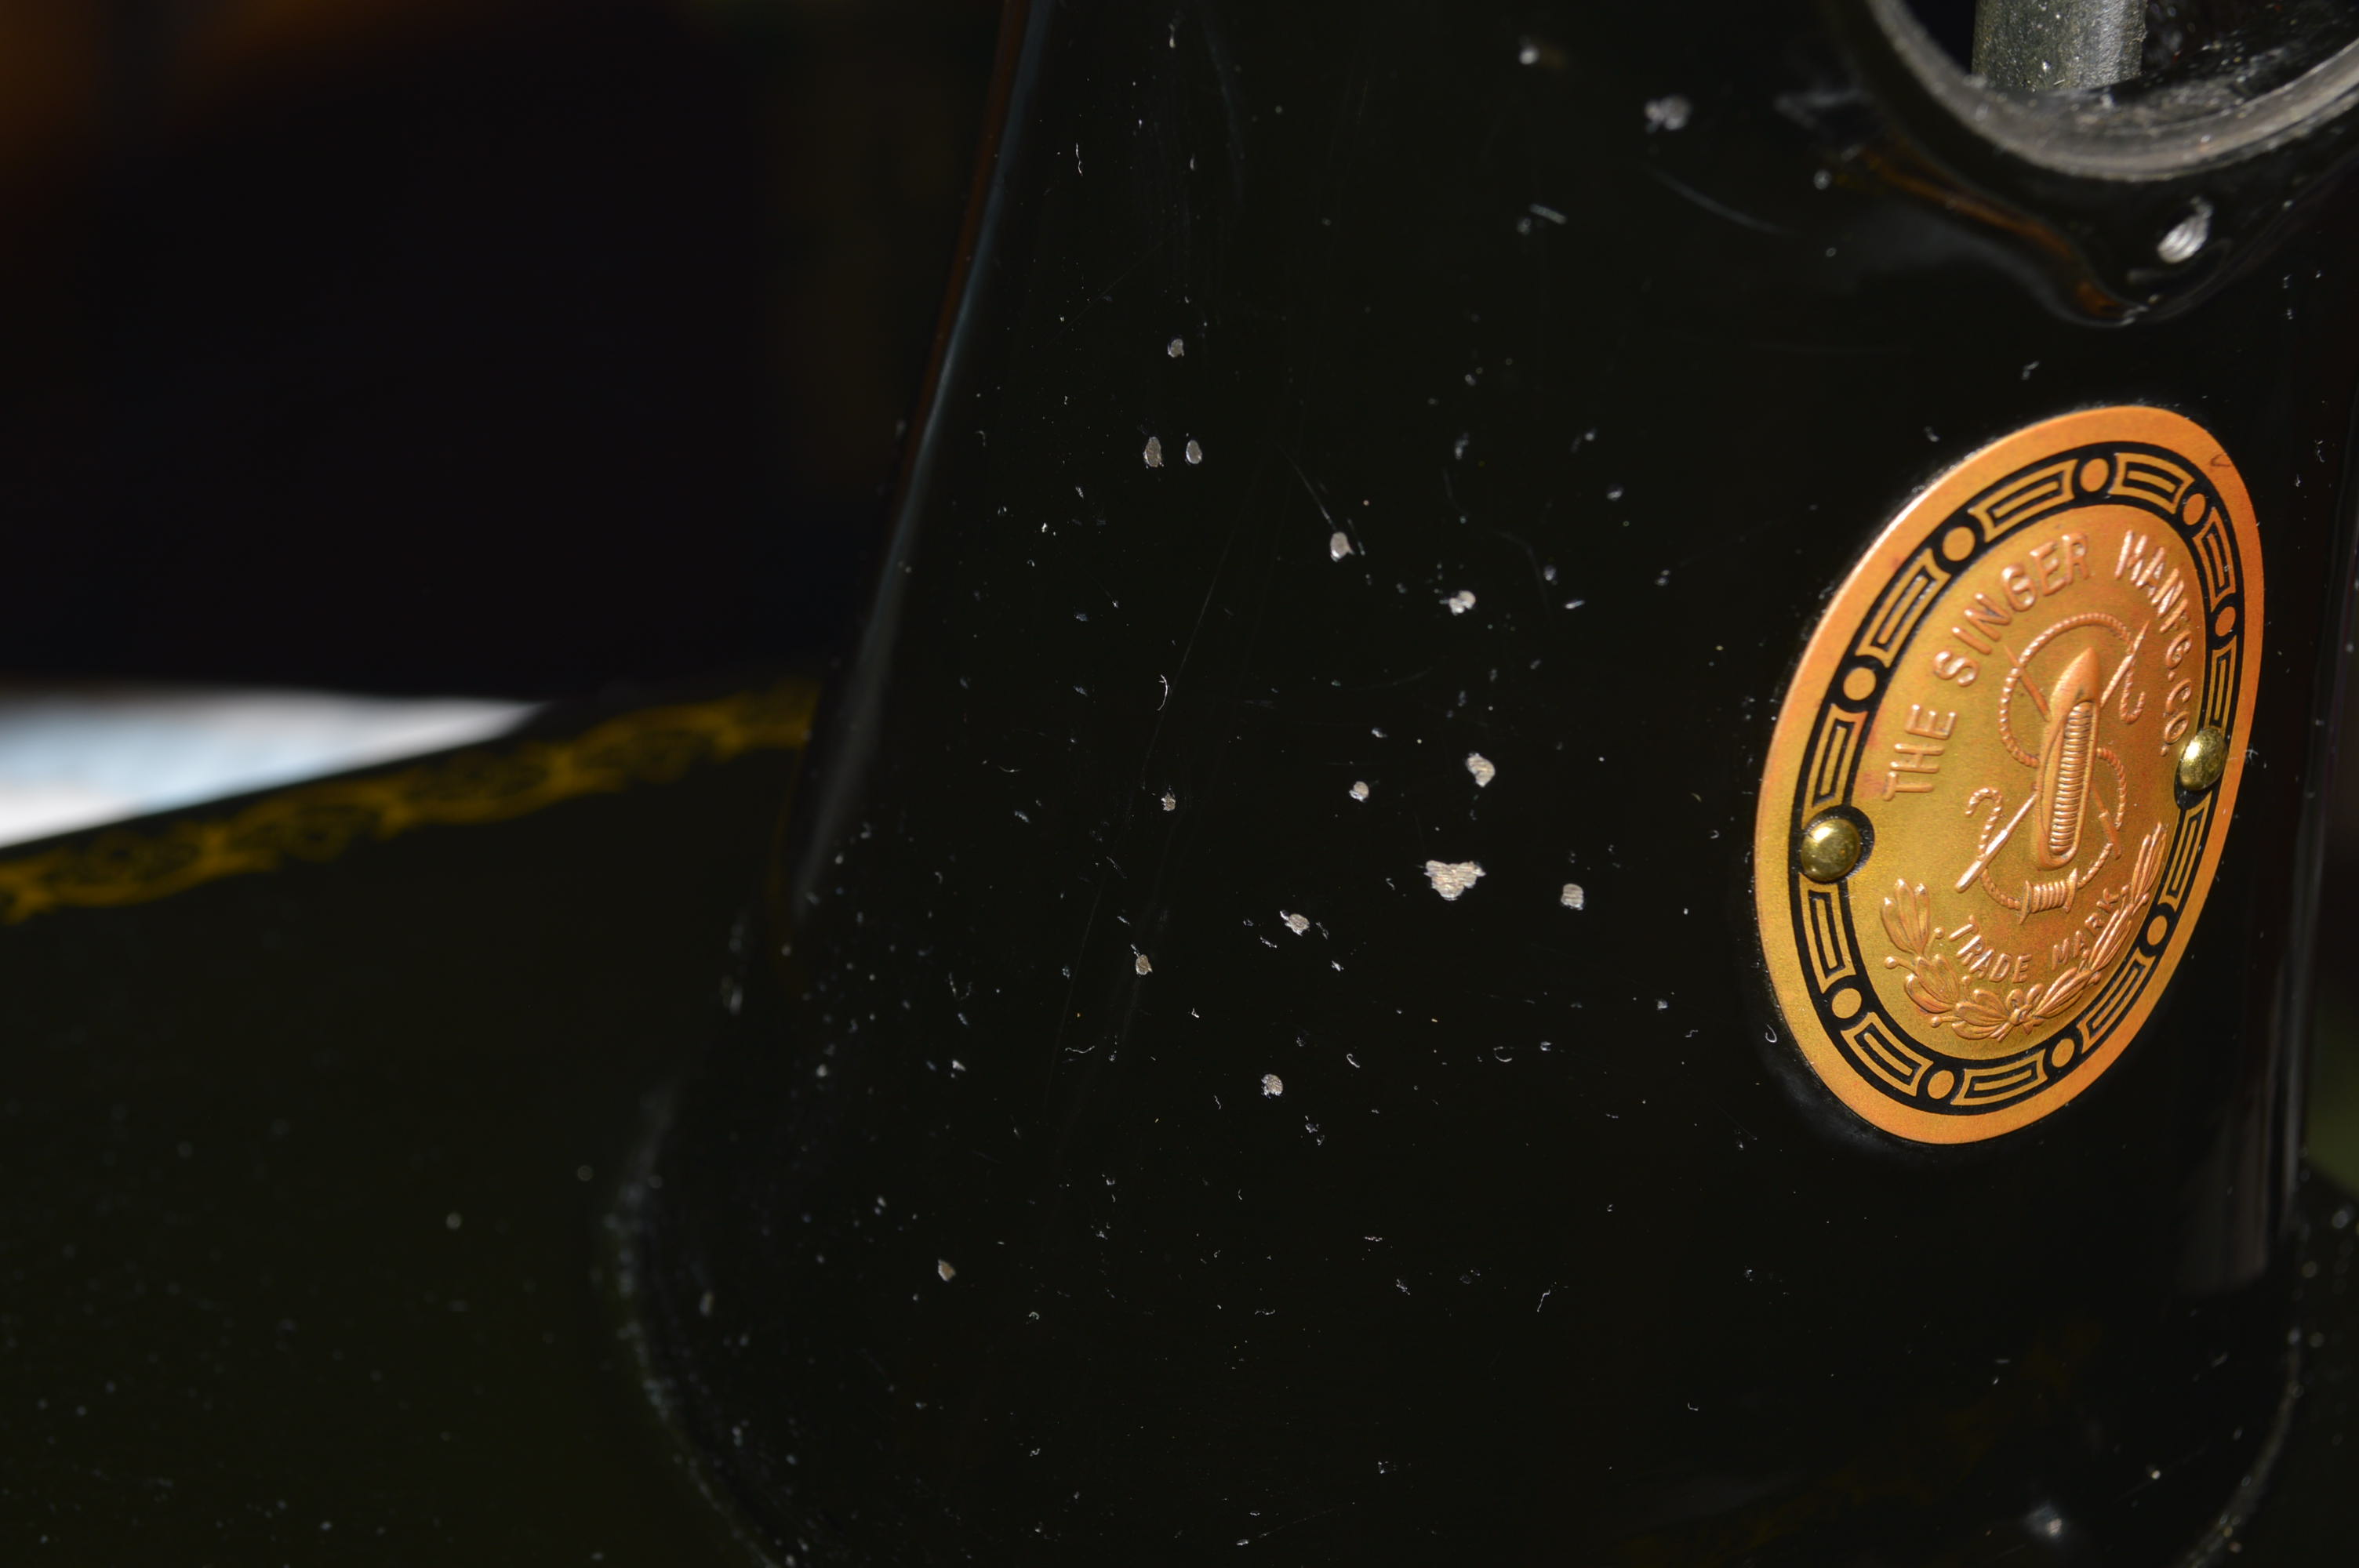
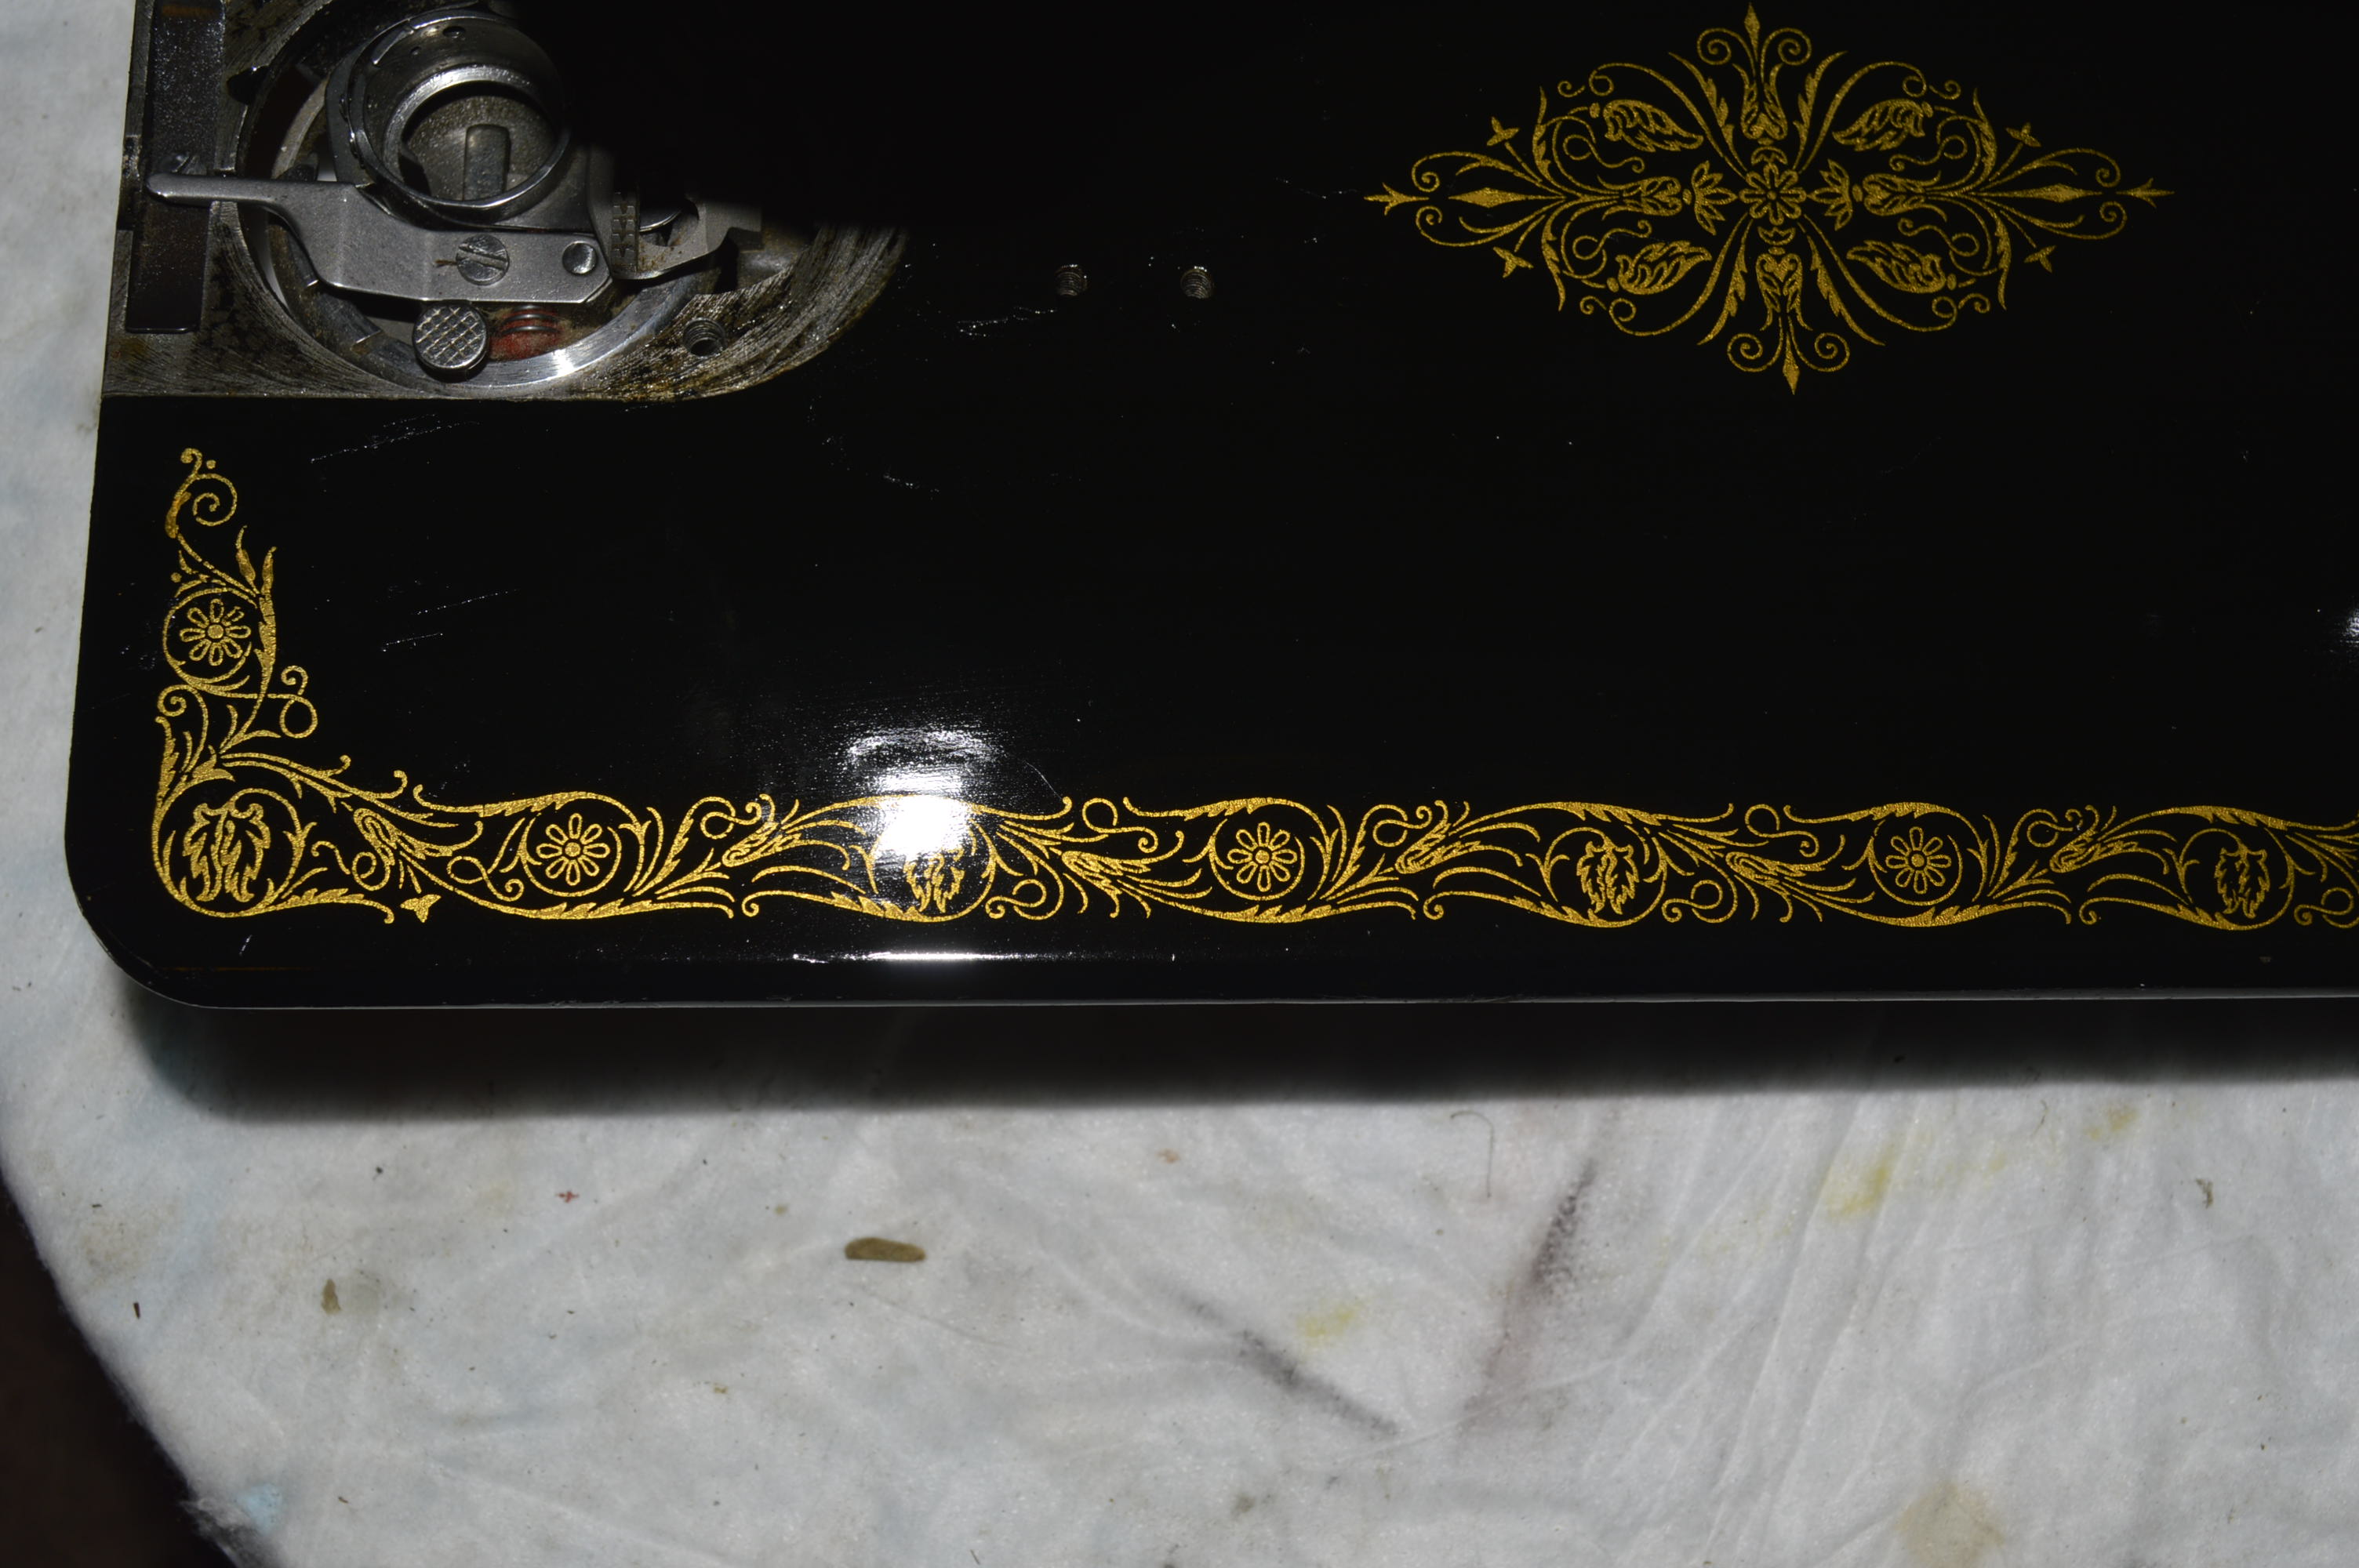
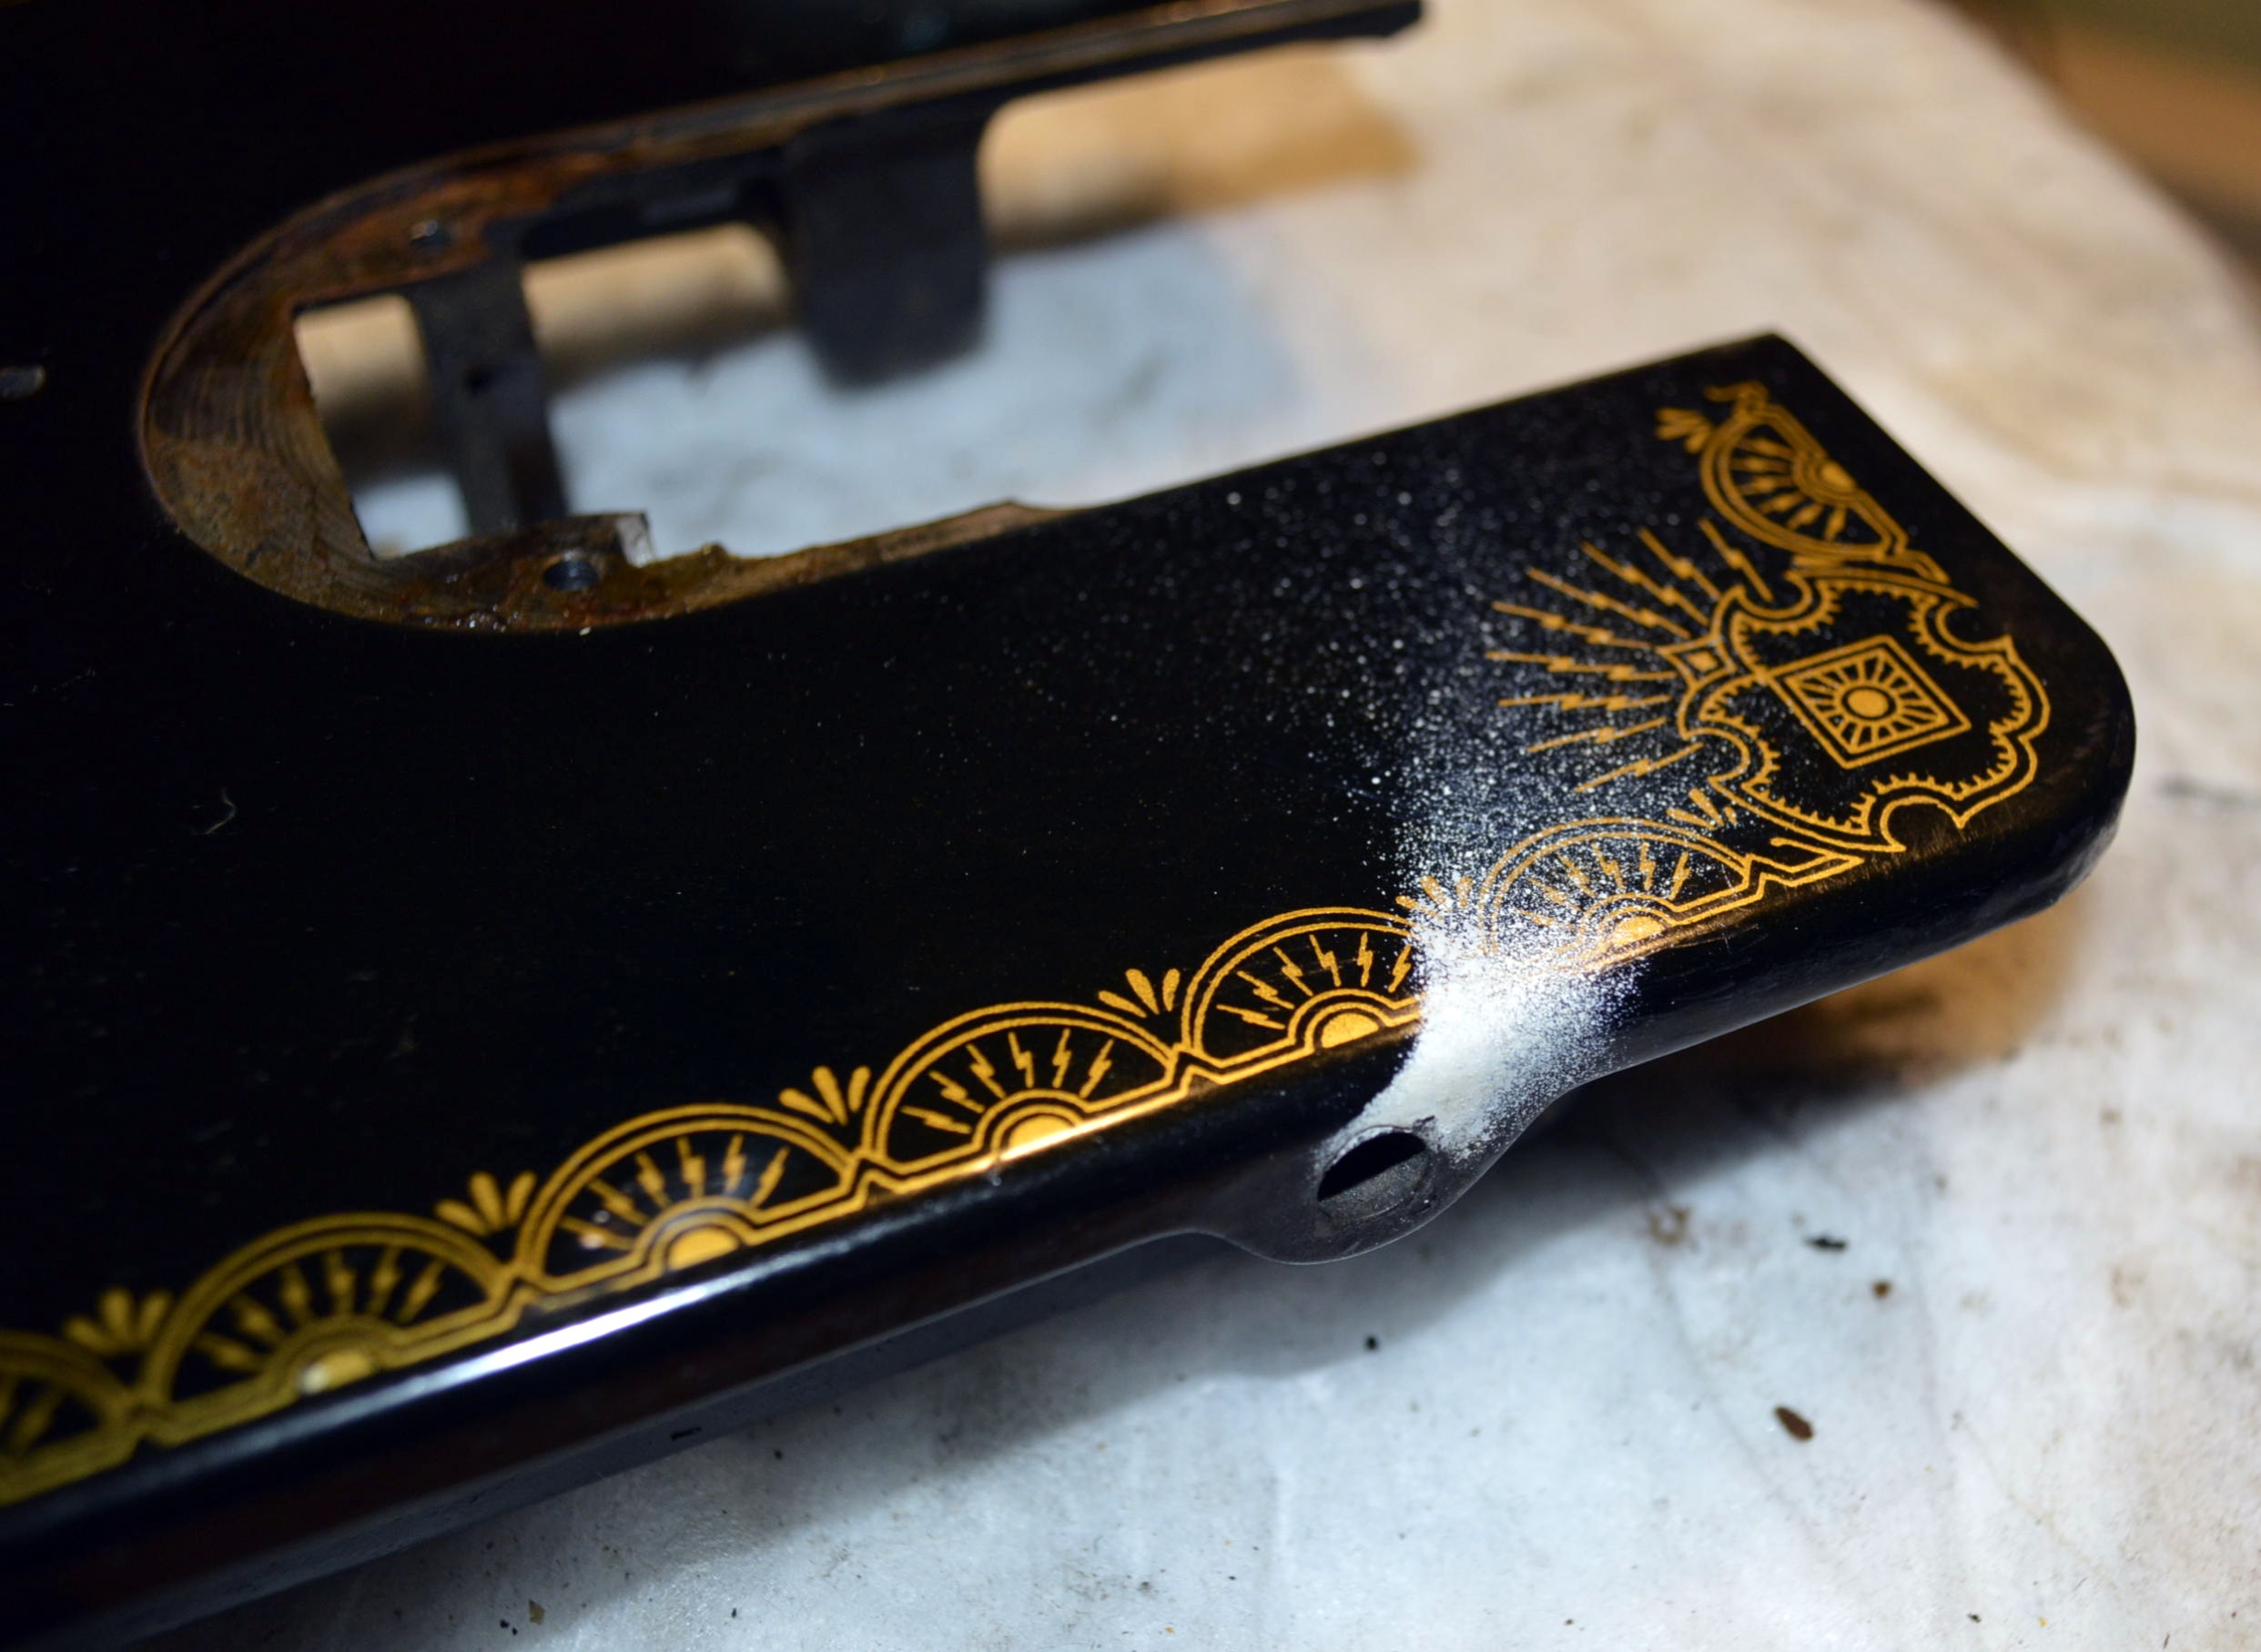
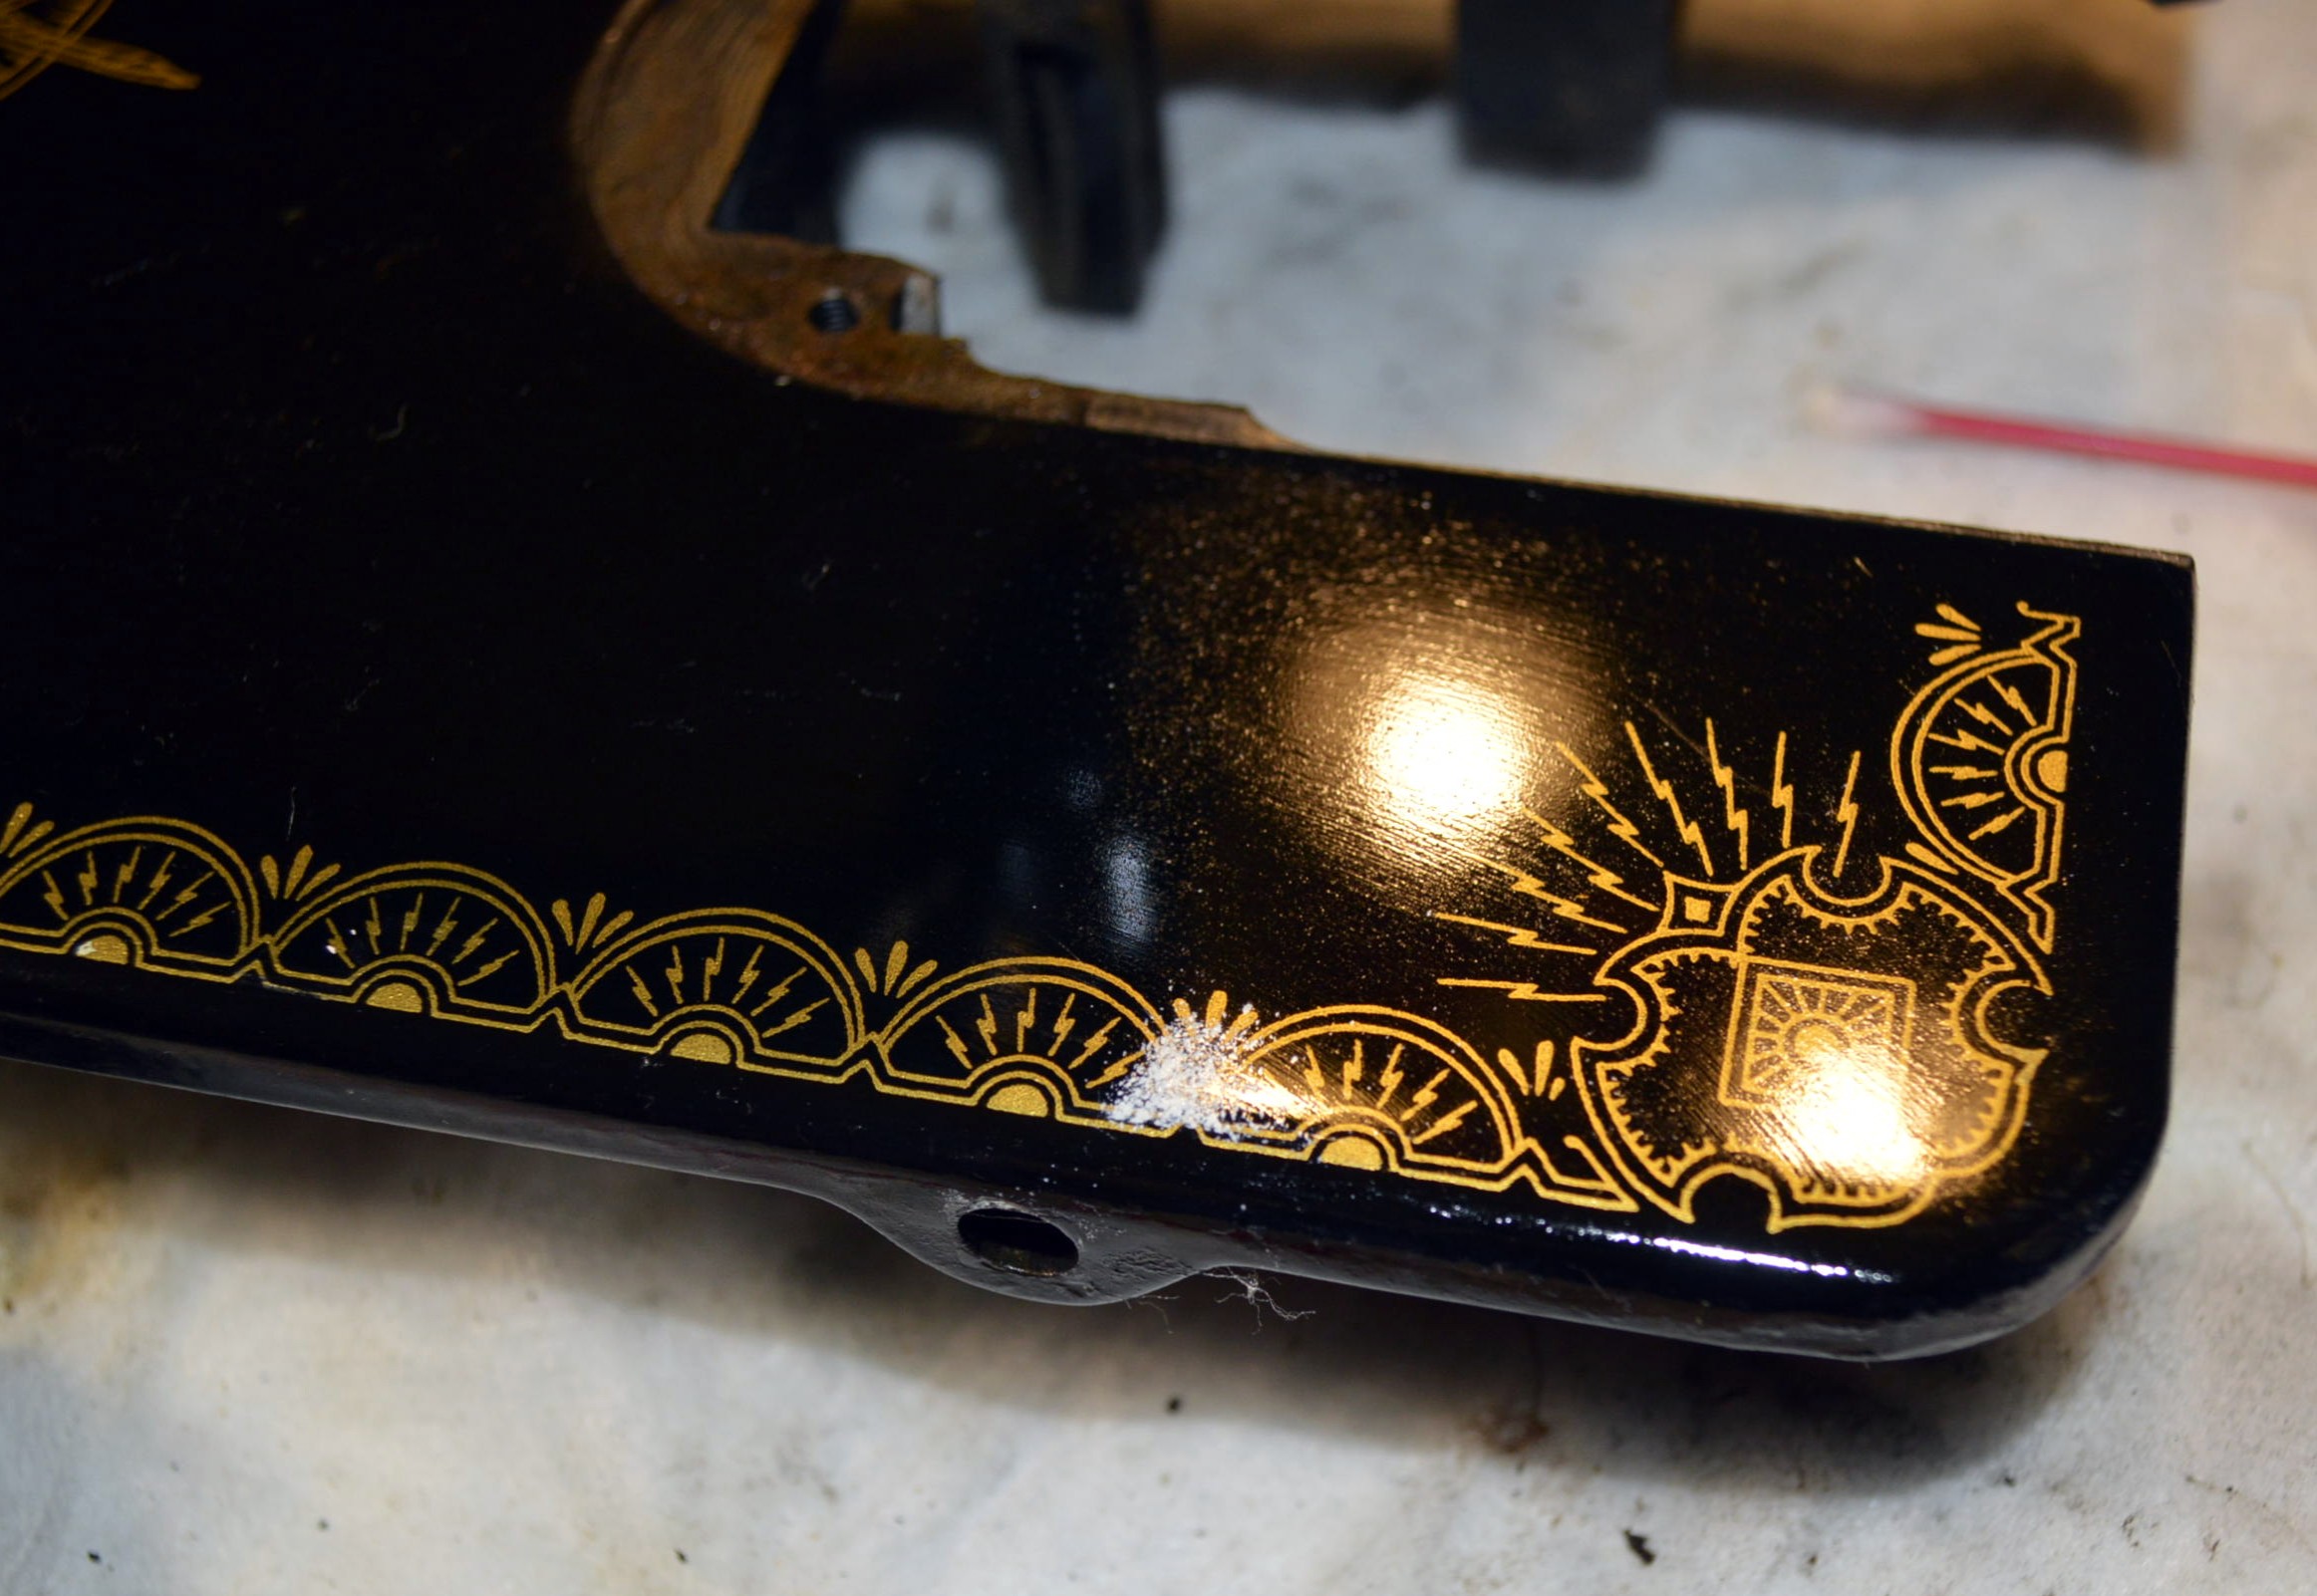
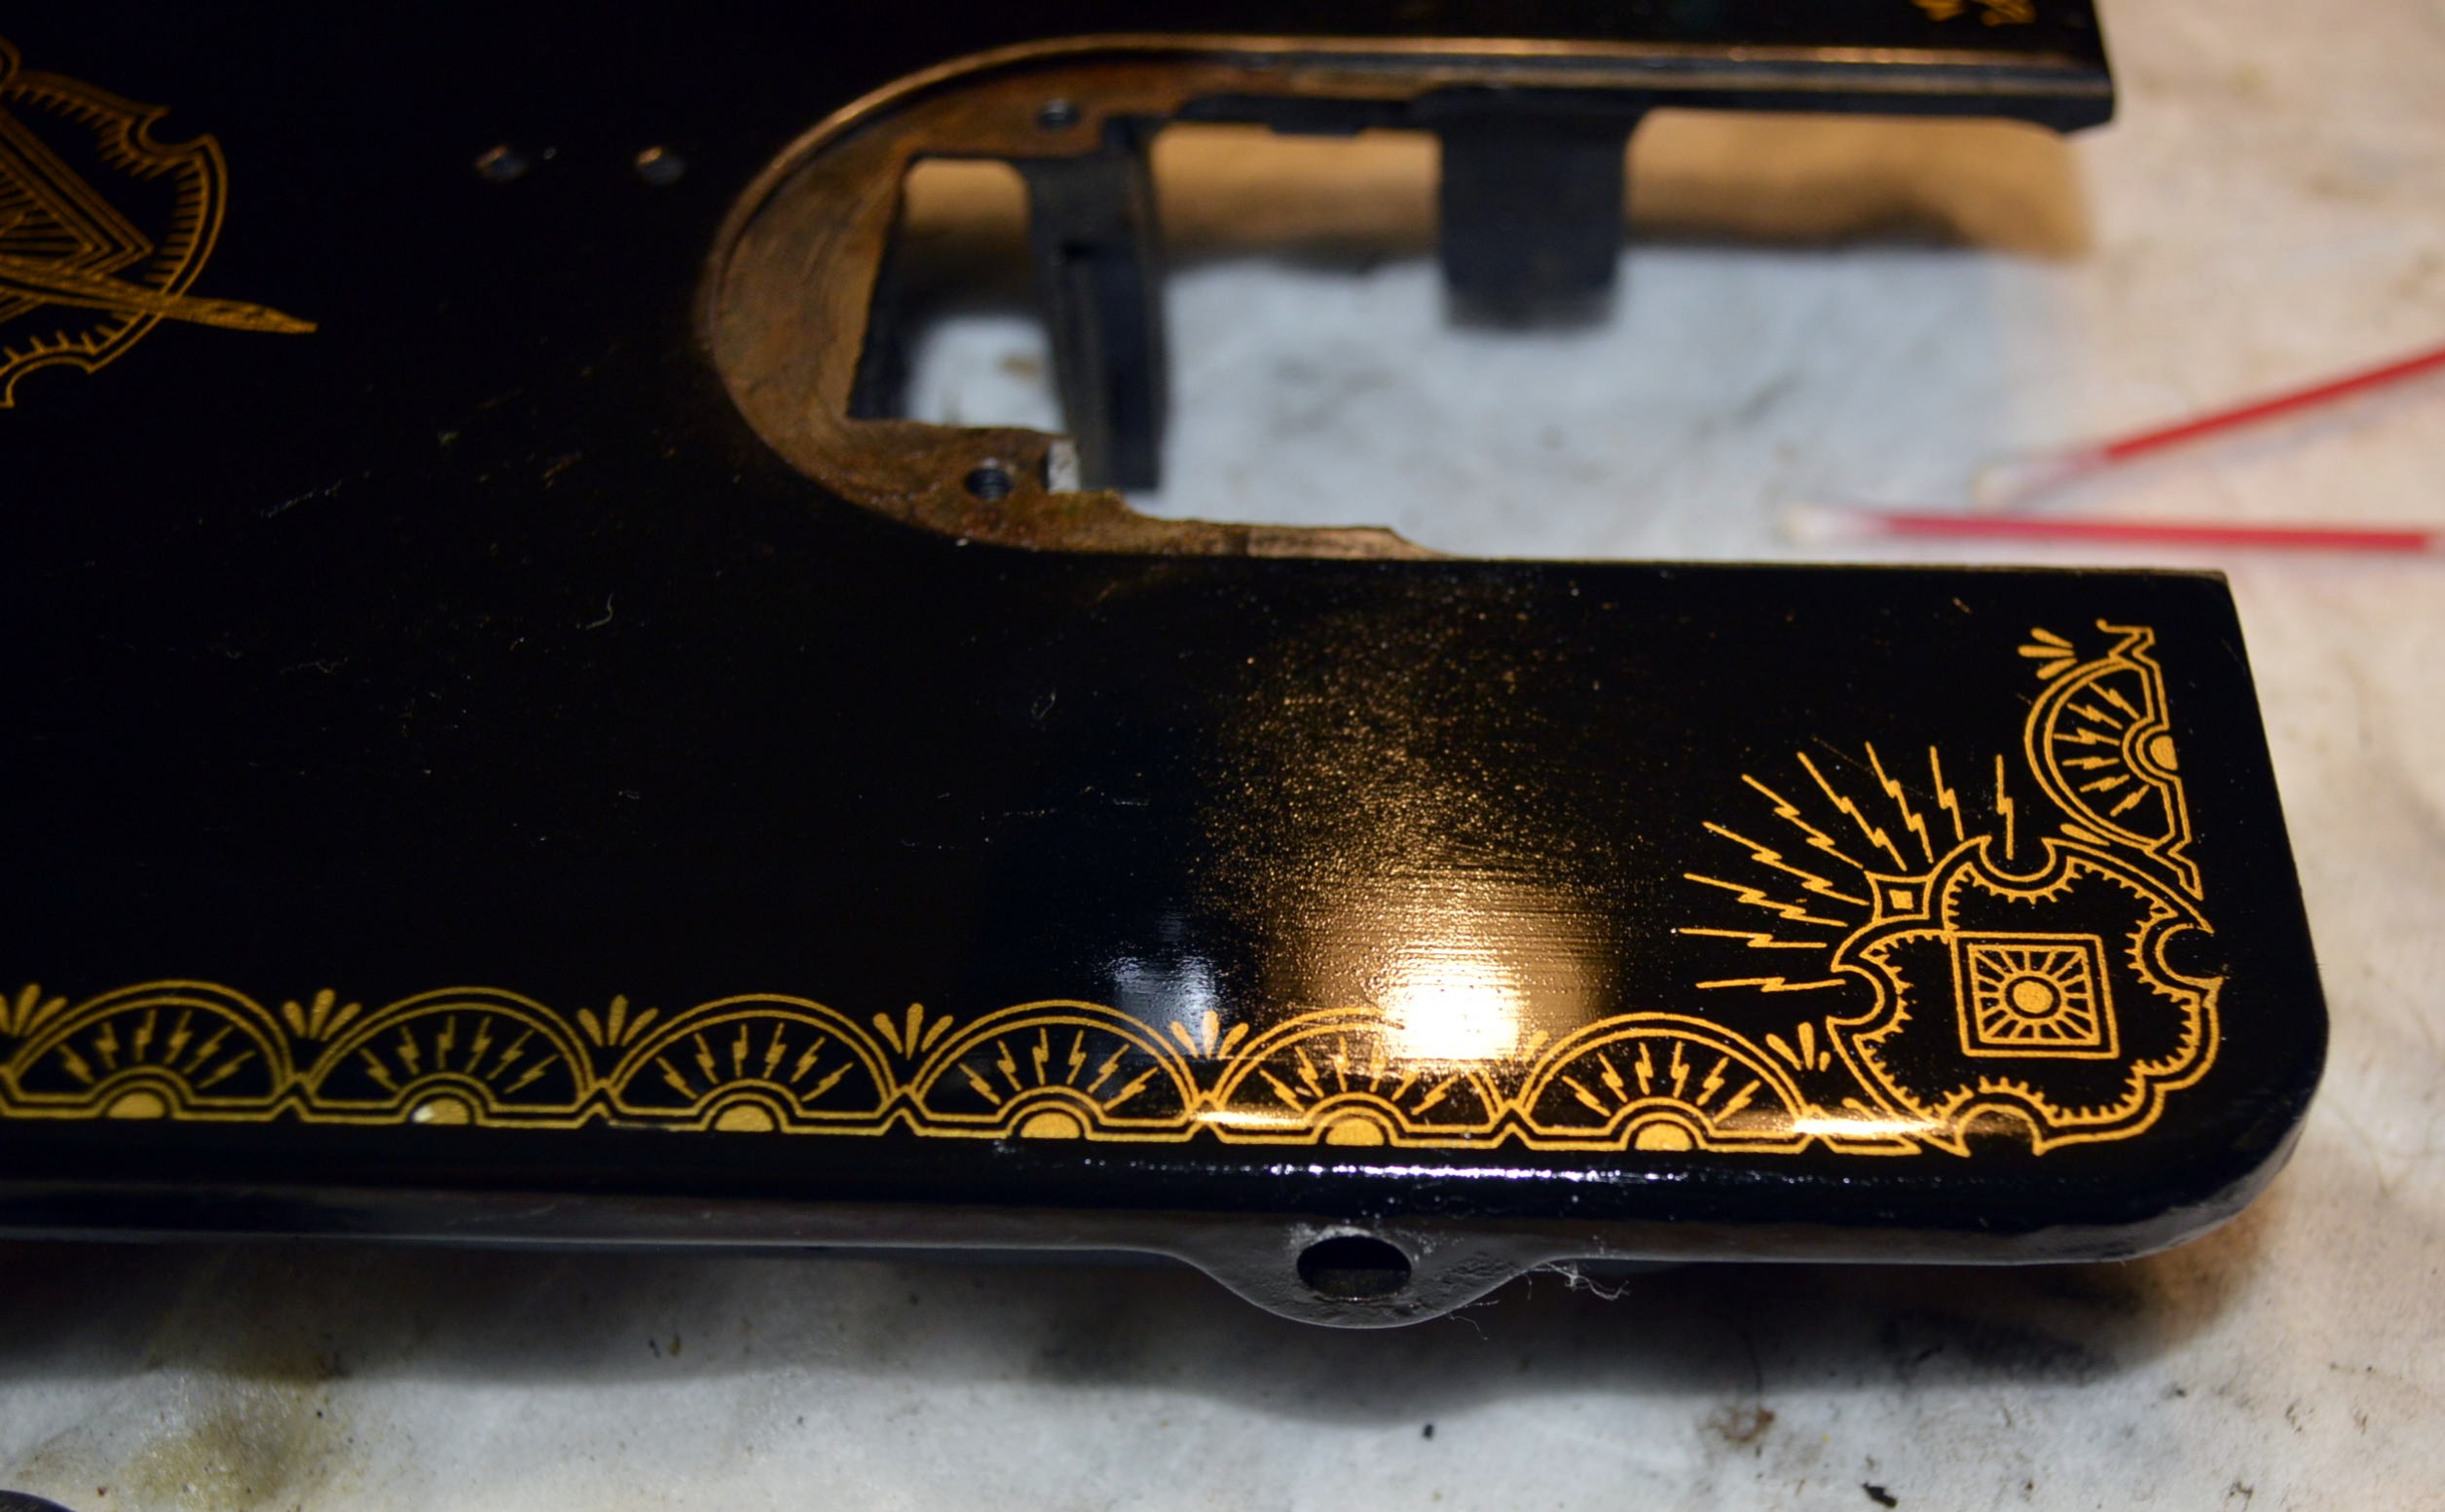
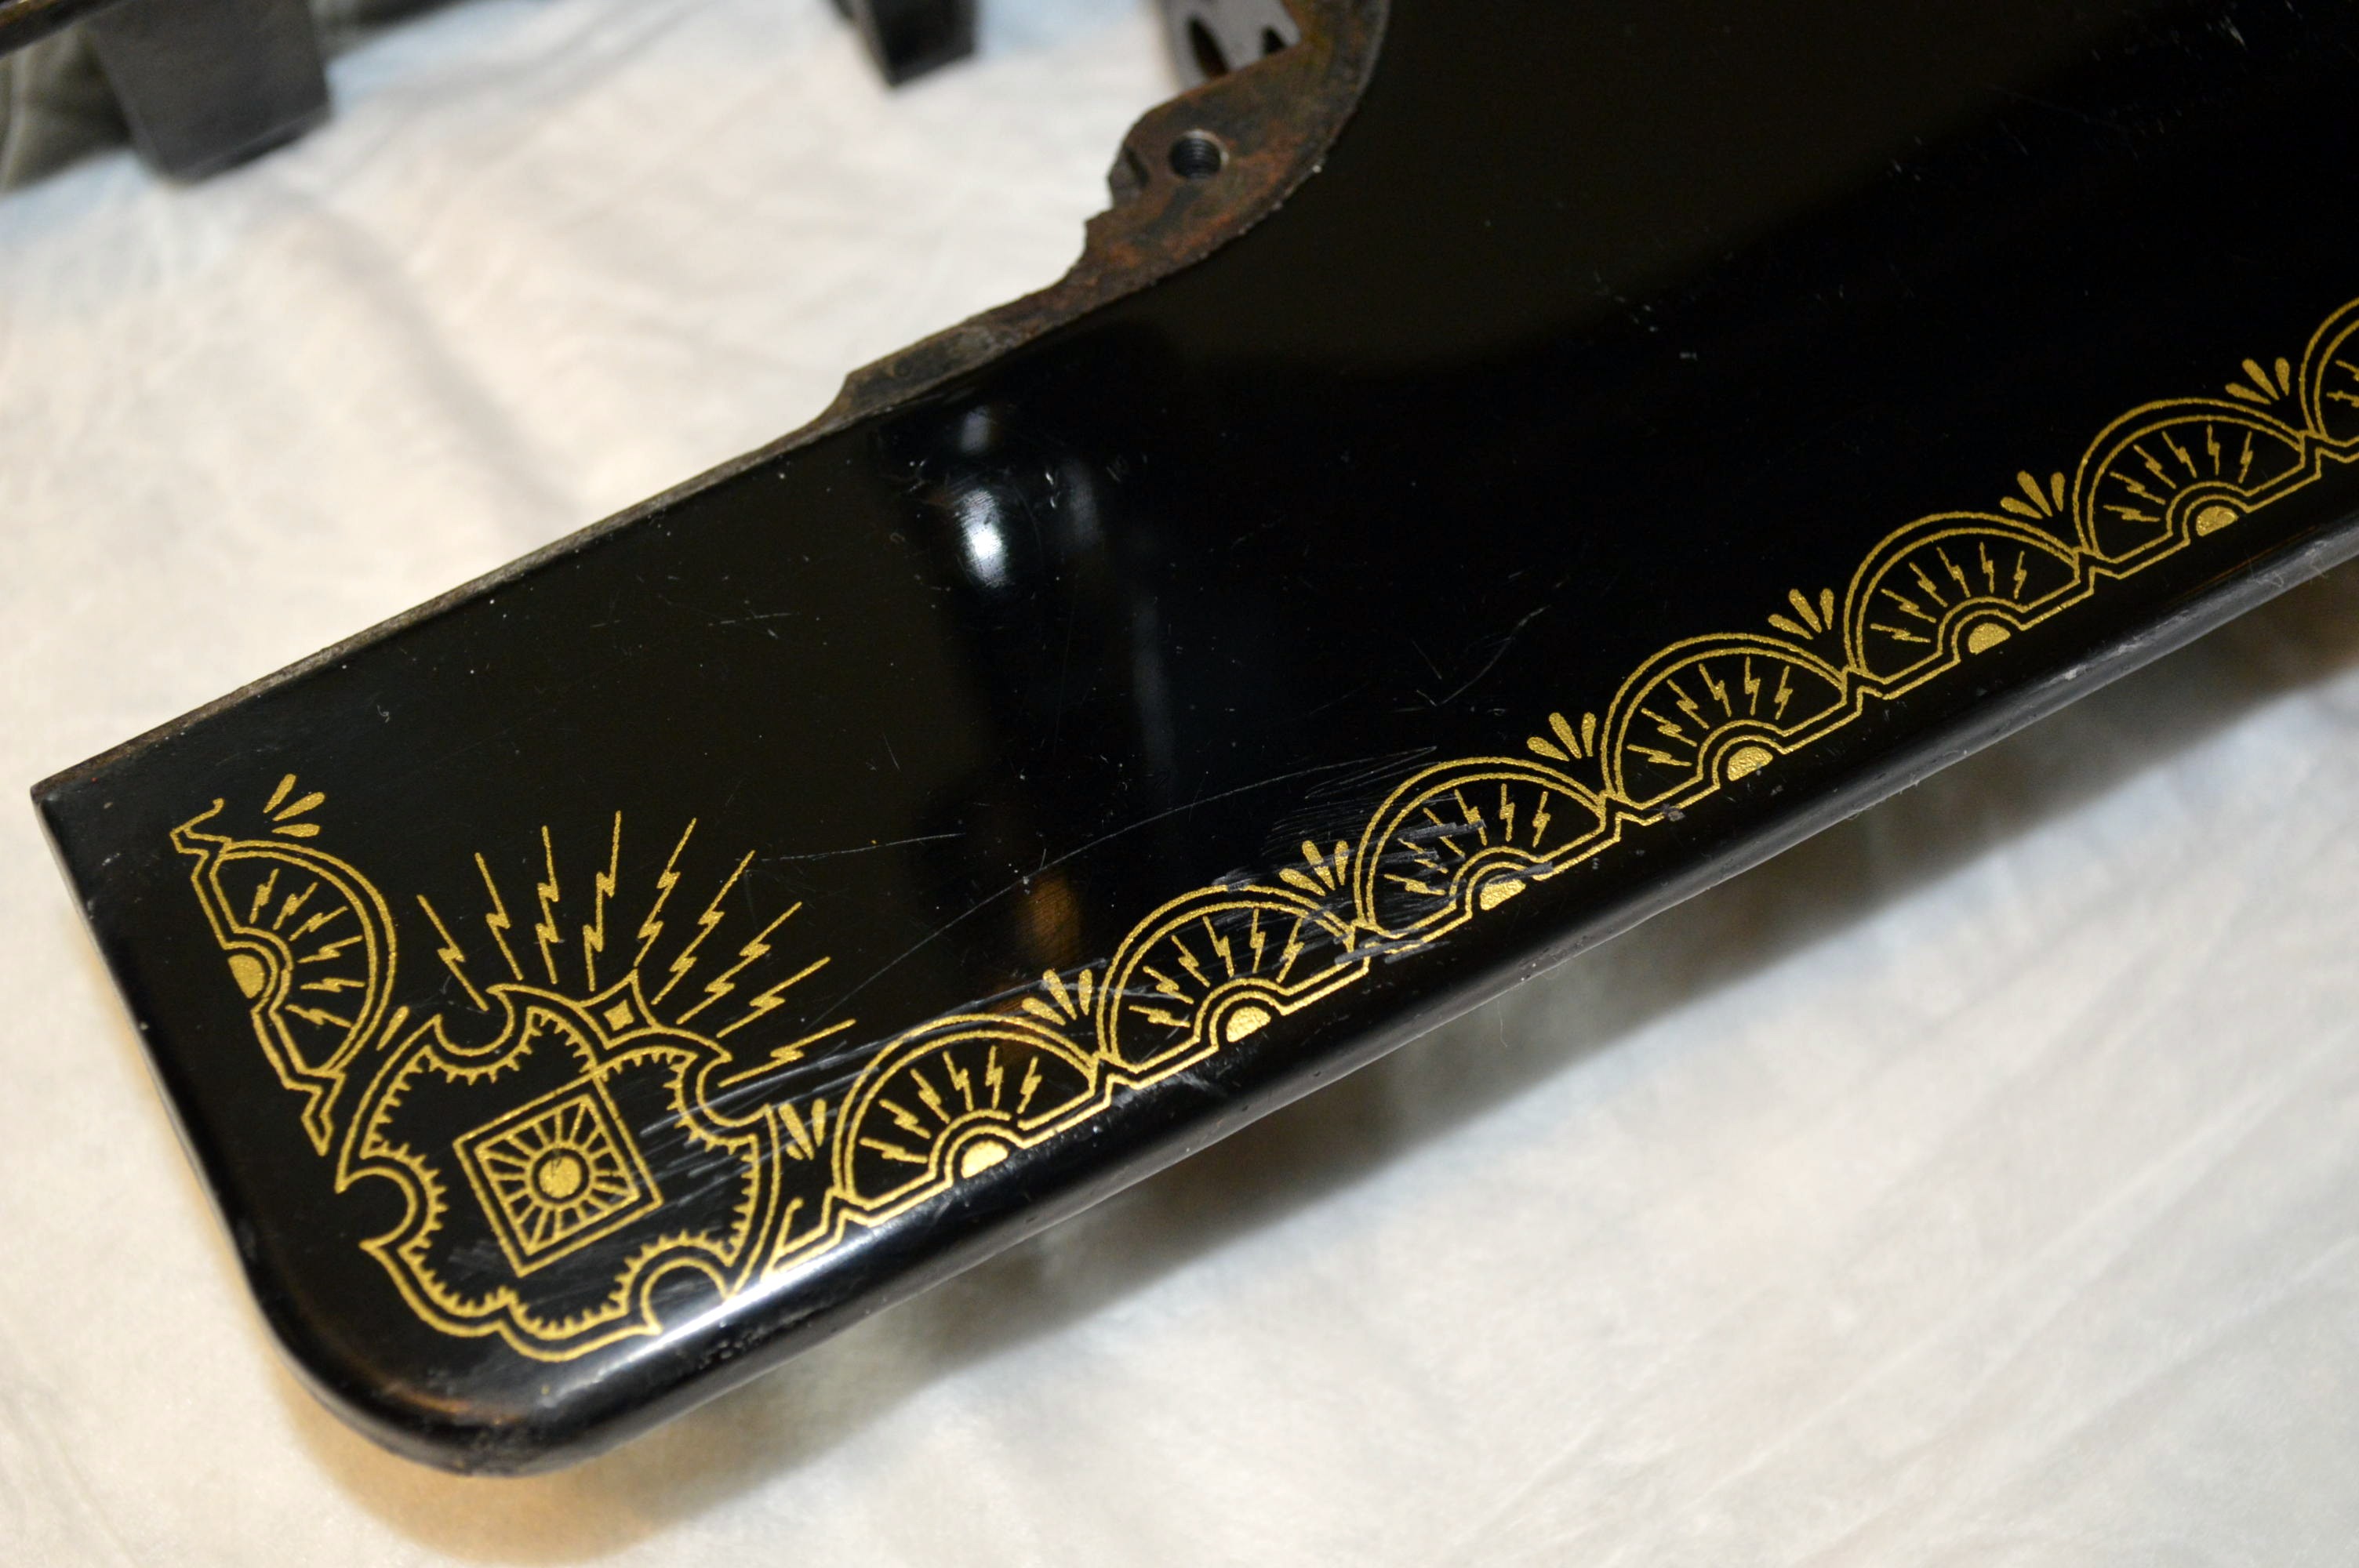
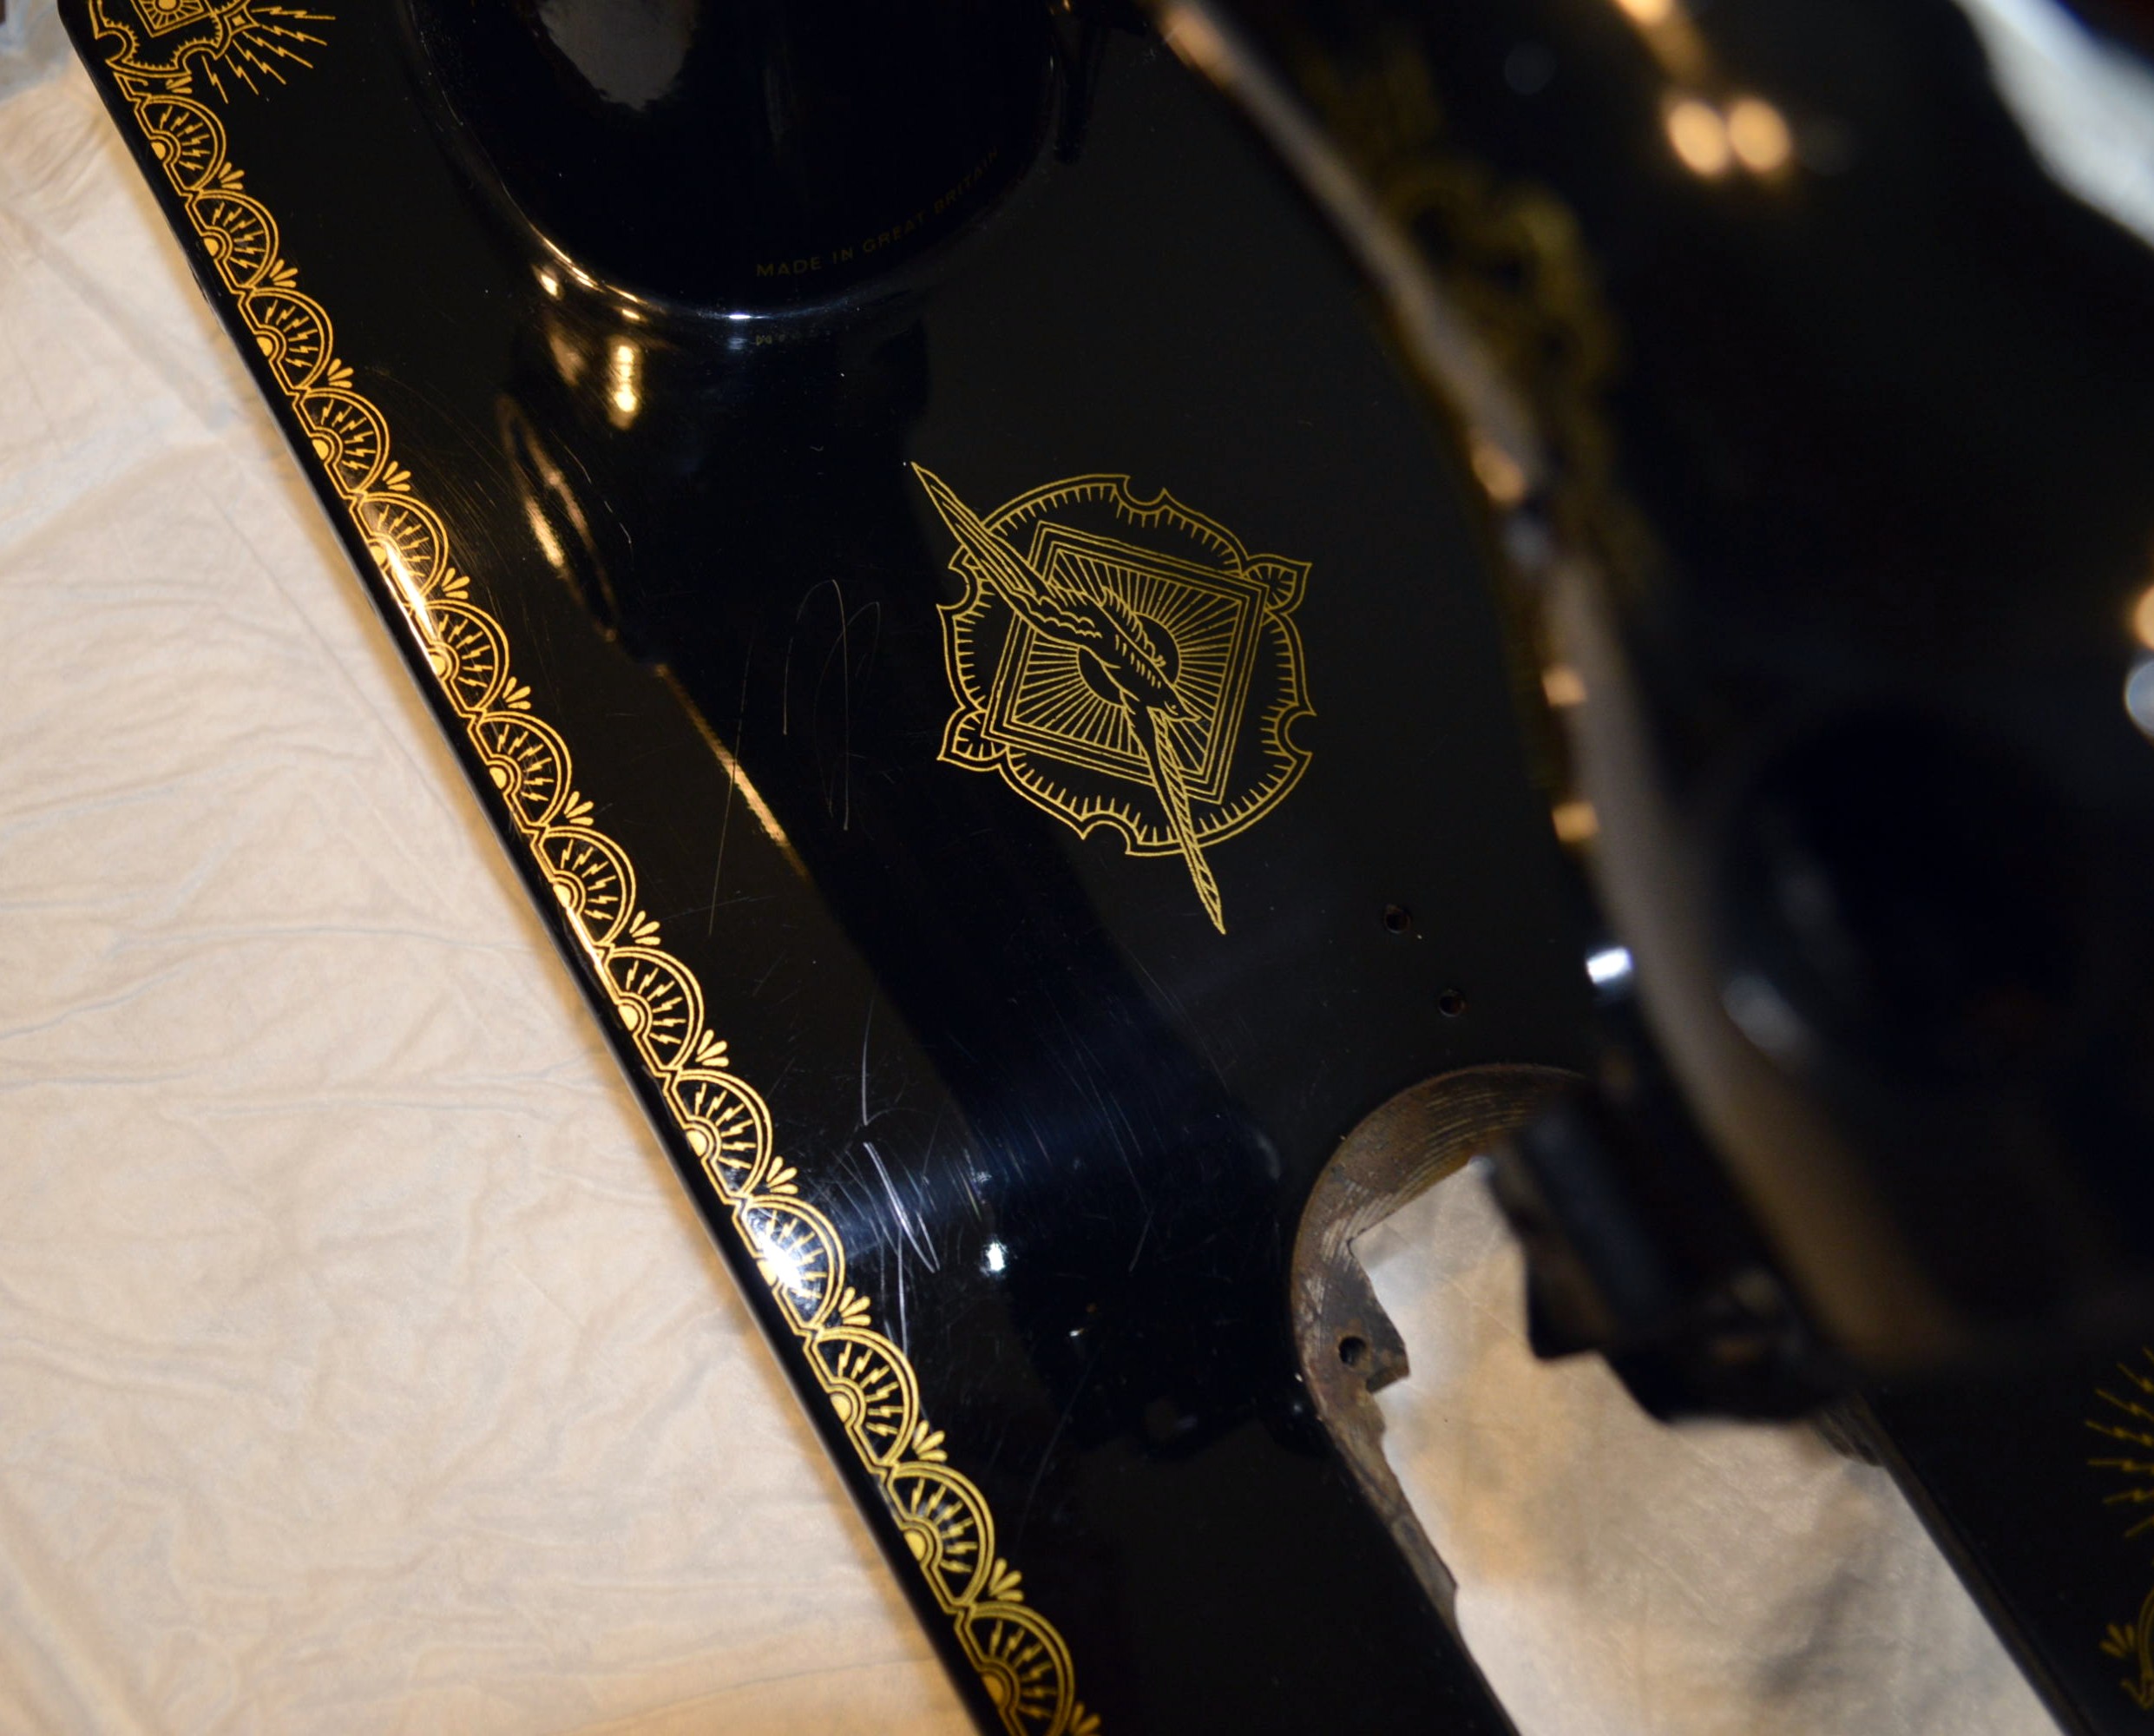
Now the machine is cleaned with sewing machine oil, The finish can be evaluated to see if it can be safely cleaned “deeper”. I have talked about this before, but I have yet shown the process in pictures… But first, just how black is a japanned finished Singer sewing machine? Look at these pictures and you will see why I ask.
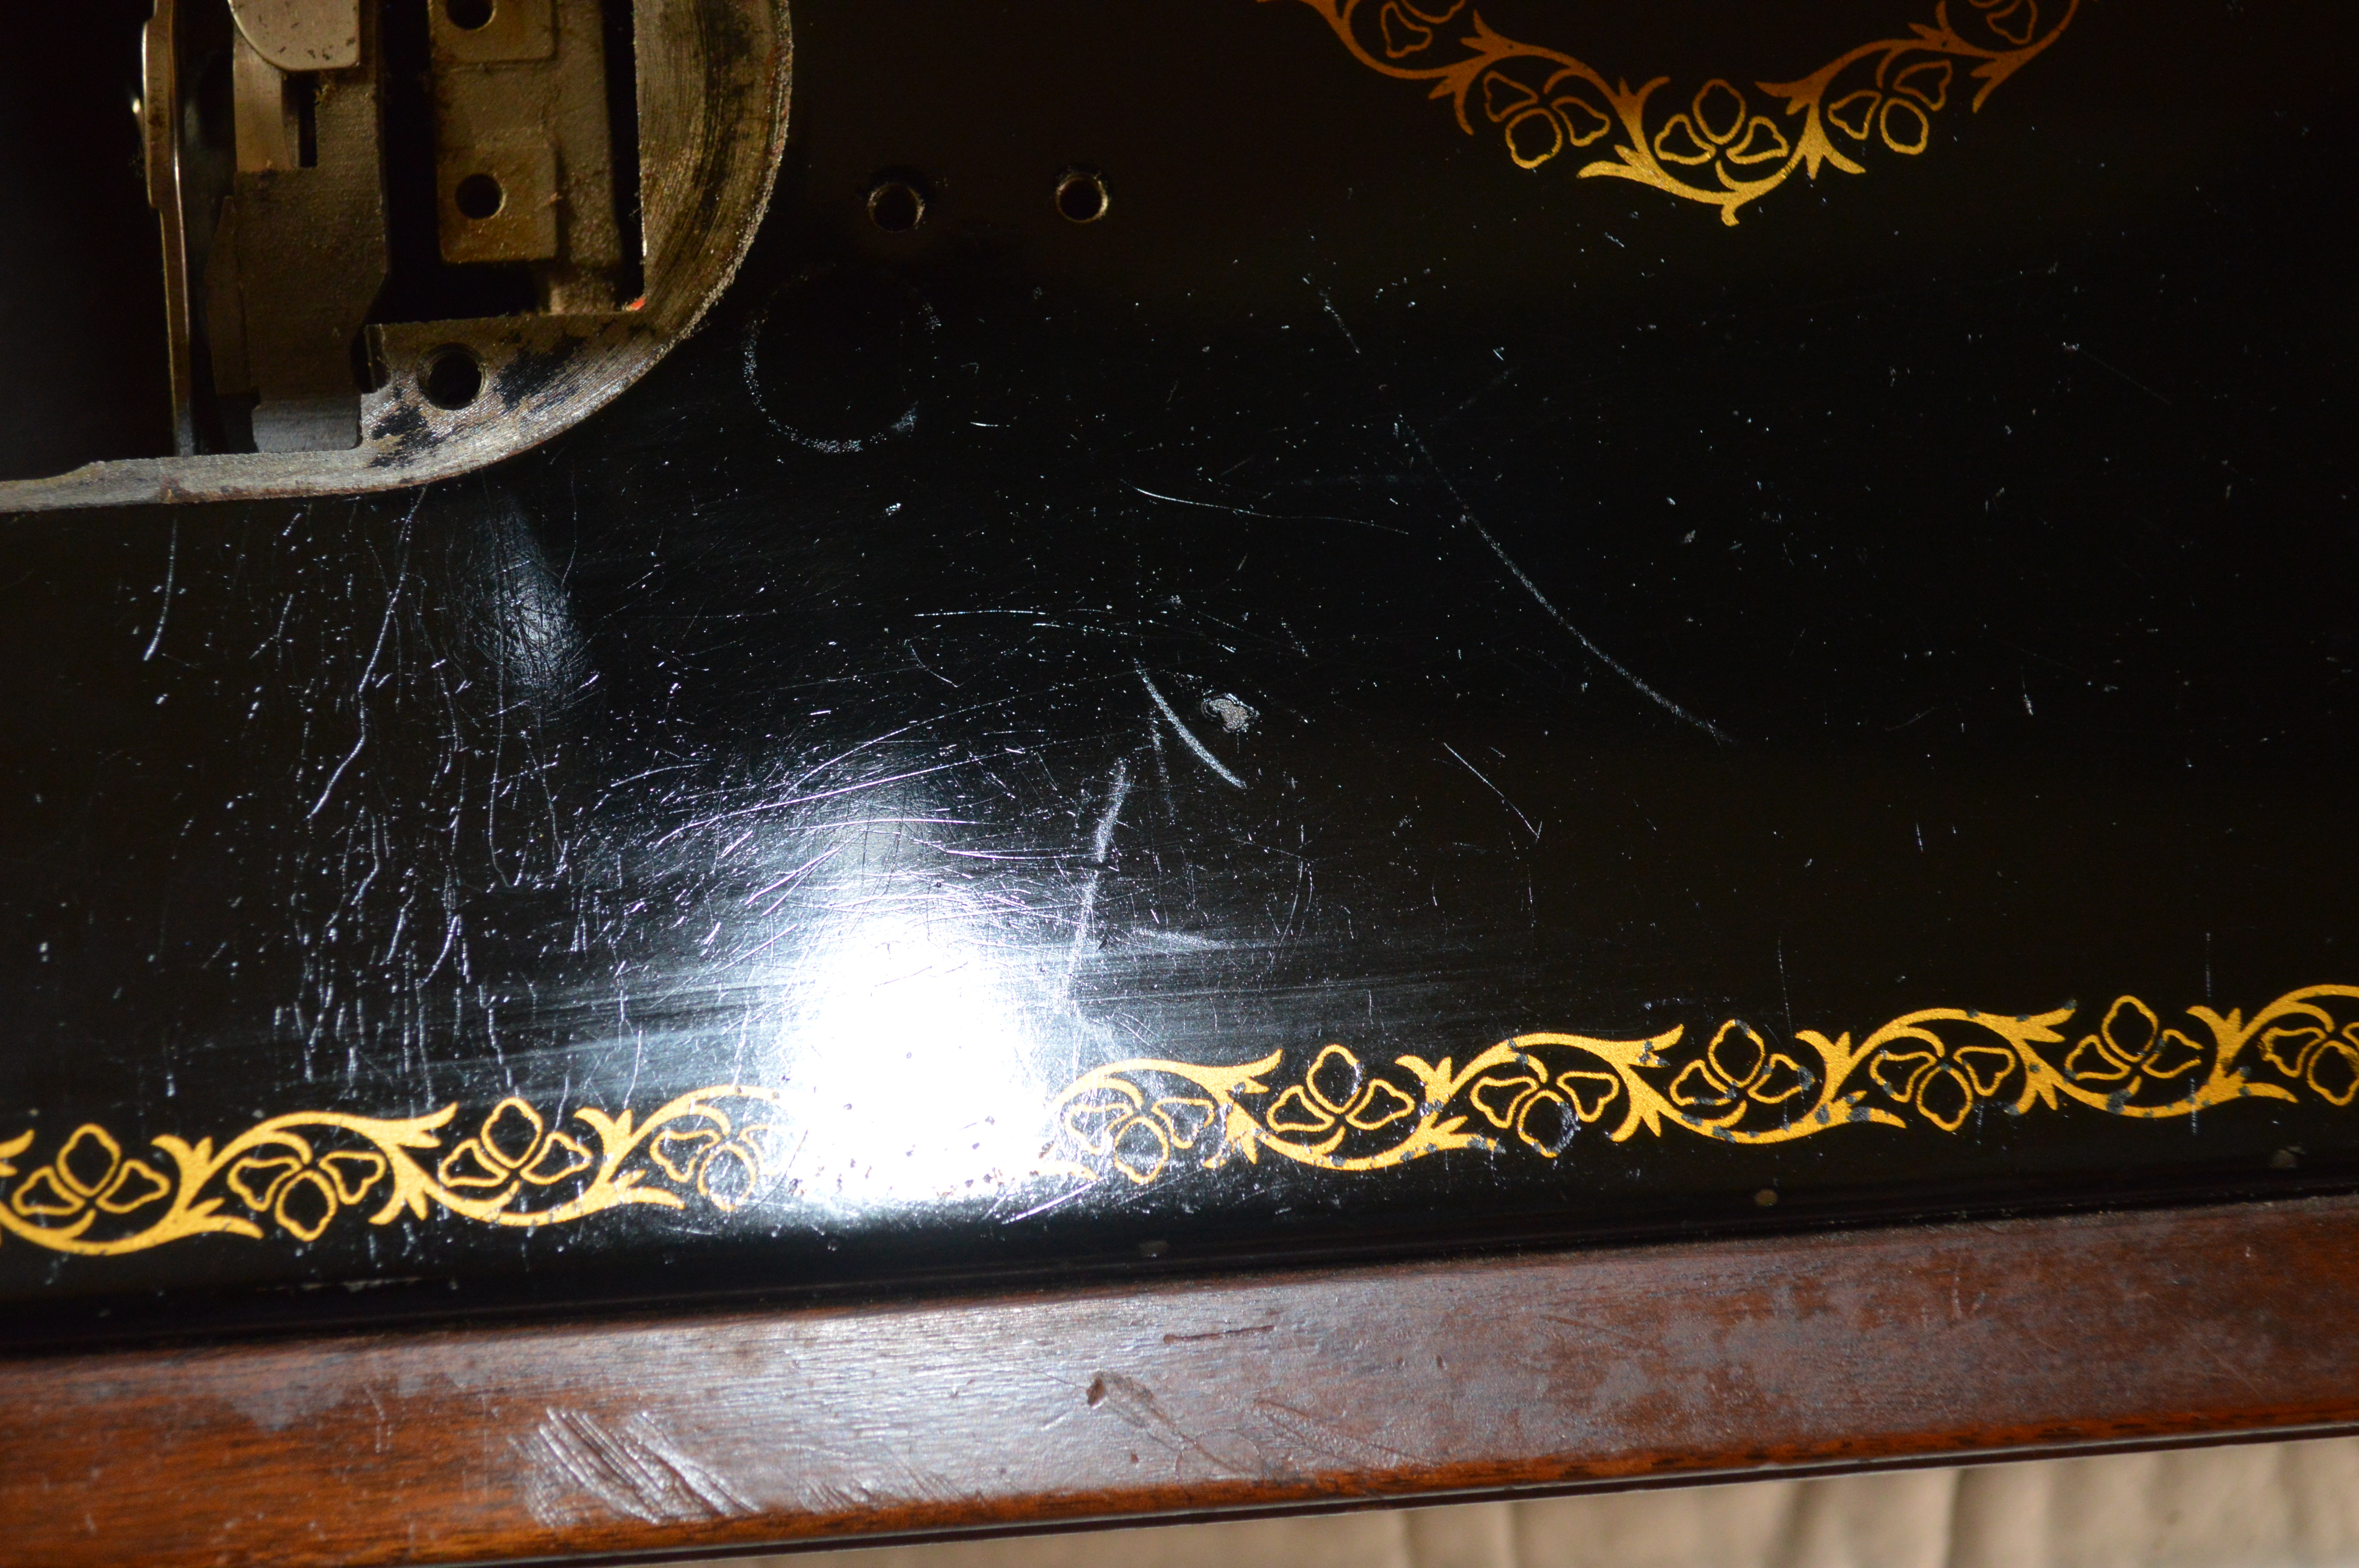
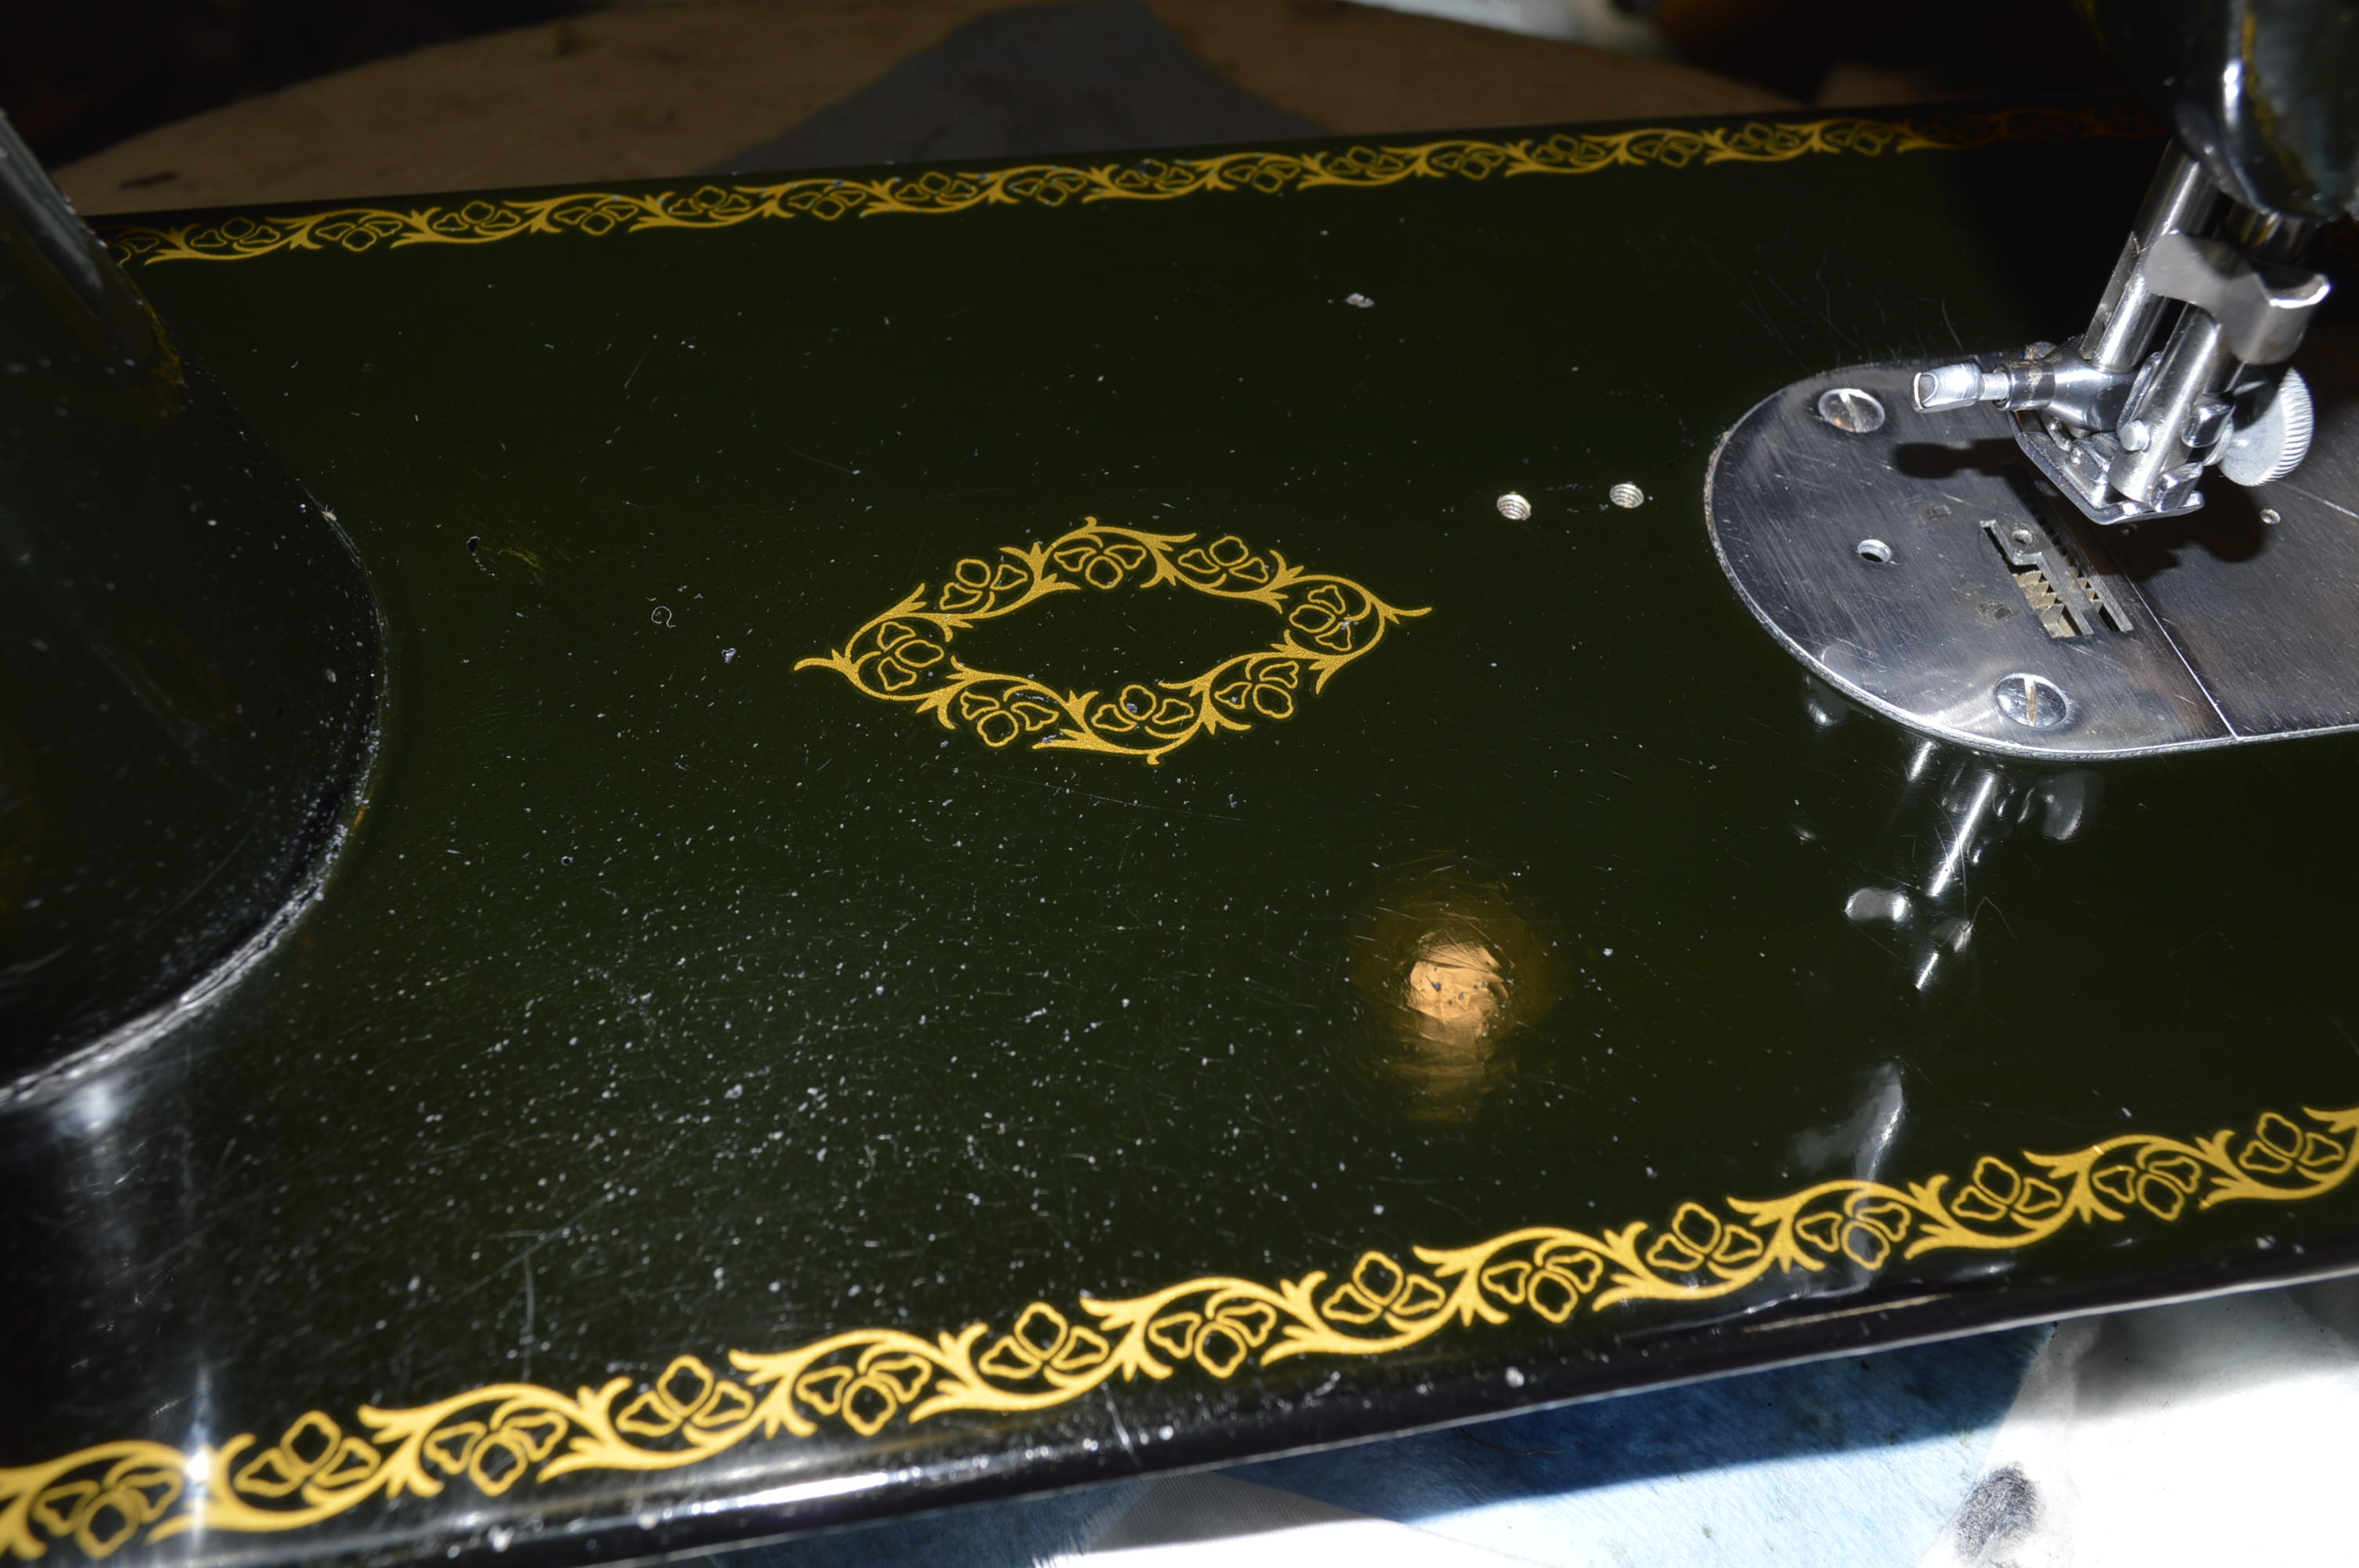
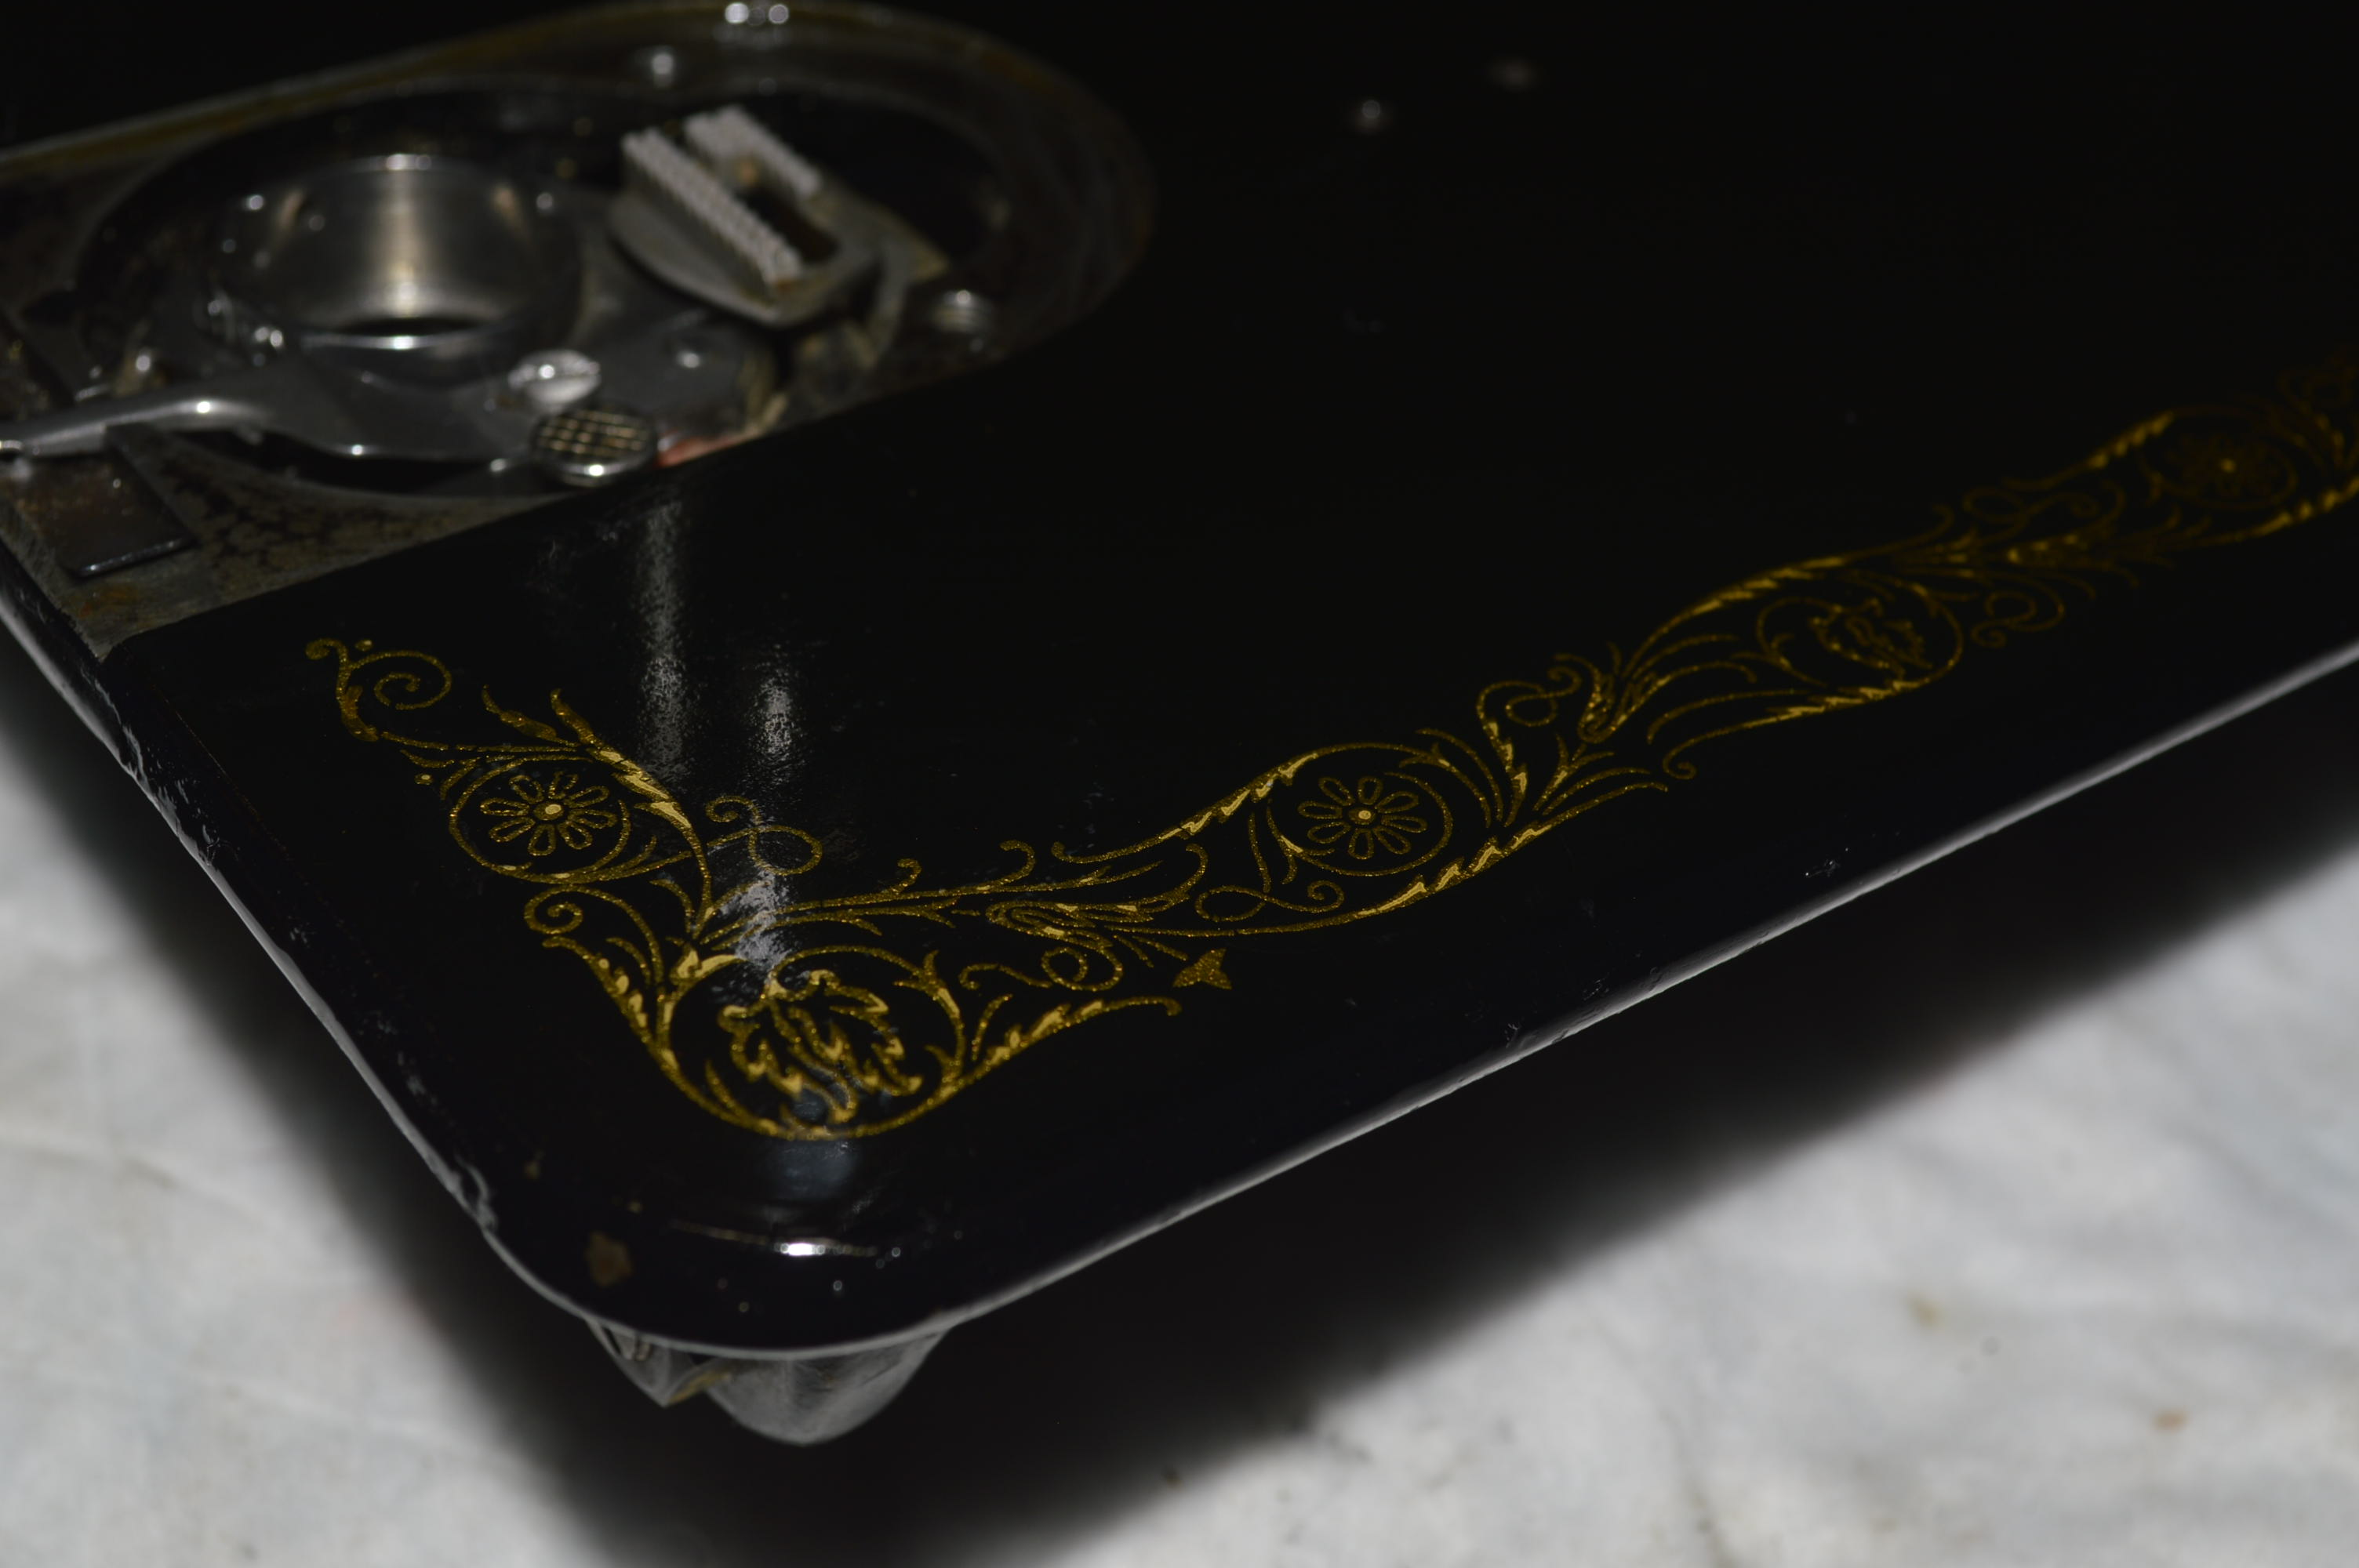
What I want you to focus on in these pictures is the green hue… see it? I took these pictures without the camera flash while I was shining a flashlight on the painted finish. This green hue is the shellac coating Singer applied over the black japanned finish. It is invisible in normal light unless you look very closely for it. This shellac coating is what protects the lacquer finish, and more importantly, the decals from damage. Loss of the shellac coating is normal wear and tear, and it is a good indicator of how the machine was used. Not surprisingly, machines in excellent condition will show an even green hue over the complete body of the machine. Otherwise, looking at the machine in normal light, it is pretty darn black.
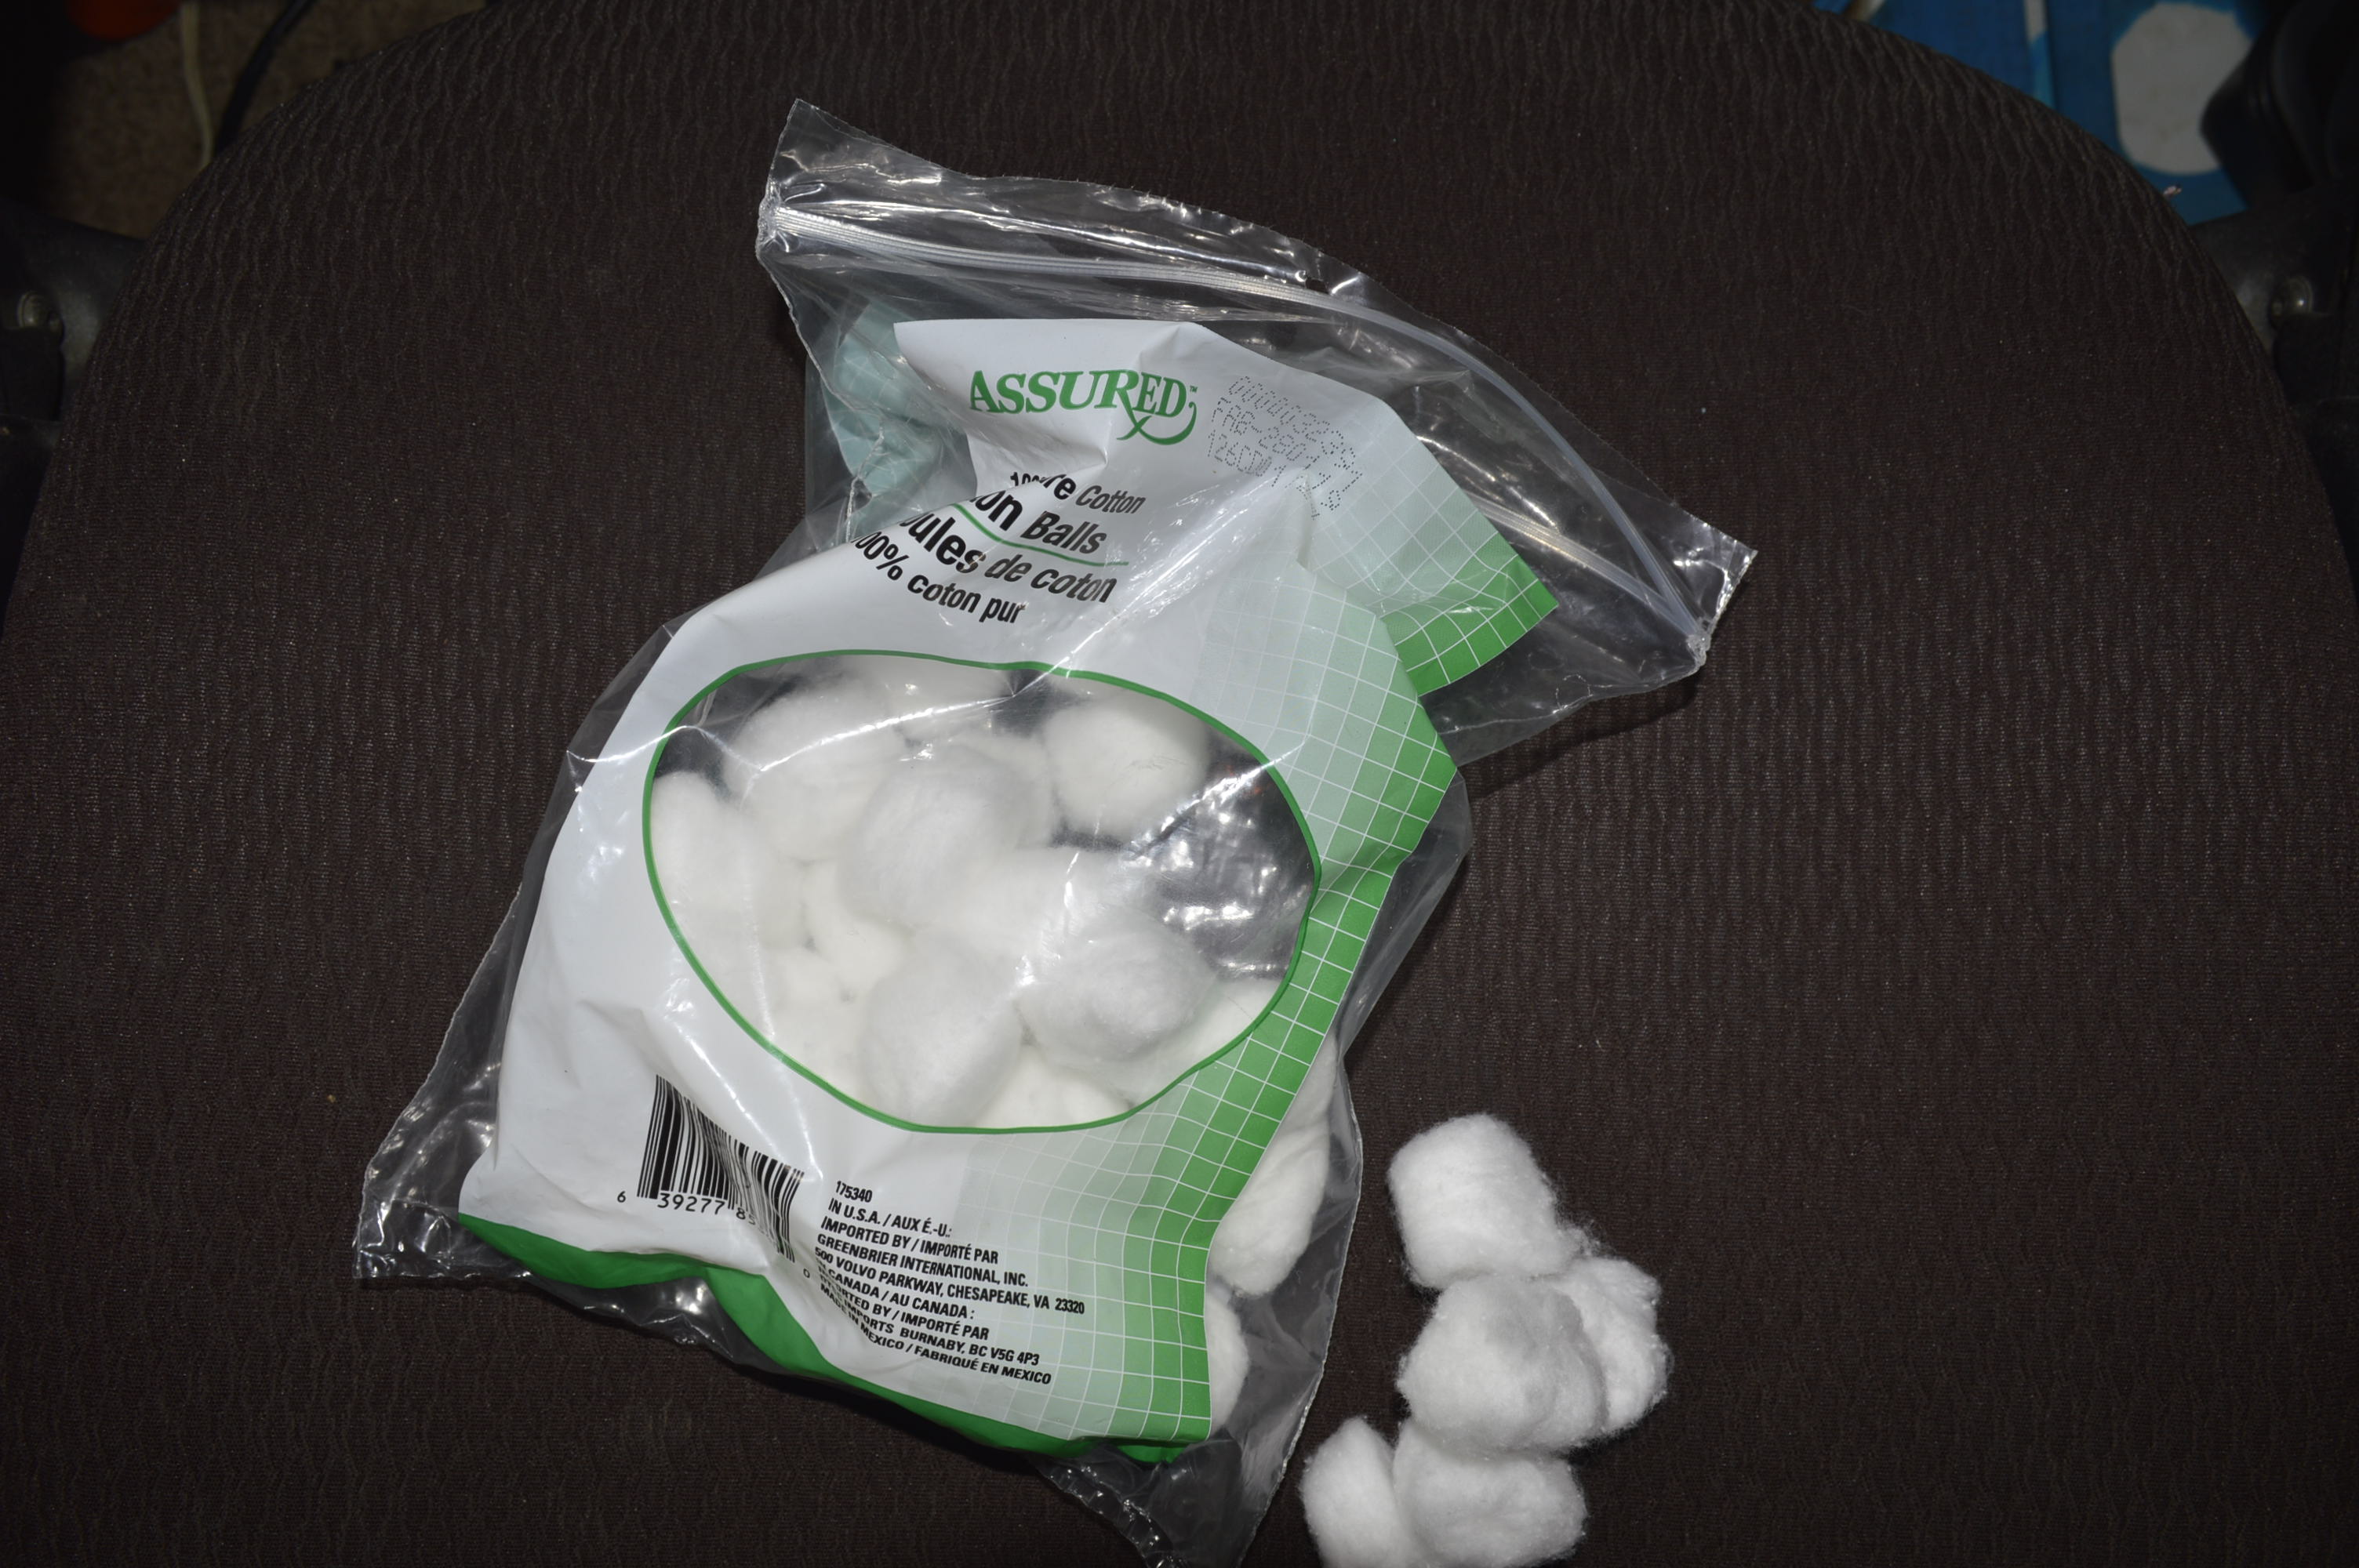
If you look at the bottom two pictures, you can see a strip along the edge of the bed that is blacker than the adjacent area. This is where the shellac coating has been worn away and is exposing the unprotected paint finish. If this extended over the decals, they too would be exposed and easily damaged if the machine is cleaned aggressively. Sewing machine oil will not damage the decals in these areas if they are GENTLY cleaned… Cotton balls and sewing machine oil. Don’t go any further cleaning if you are concerned about the decals, because decal damage cannot be reversed. Even if you stop here, the machine looks much better and you have nourished the finish.
Fortunately, the shellac coating is in good condition on this machine, and I can continue the next step in cleaning. Using cotton balls and GoJo, (GoJo is a lanolin based hand cleaner formulated for removing grease and oil). I clean the entire machine, working in small areas using cotton balls and lightly rubbing in a circular motion. The cotton balls must be changed frequently because they pick up dirt that I don’t want to get spread over a large area and result in micro scratches. After cleaning a small area, I go over it with a clean cotton ball to remove the GoJo. Yep, its a lot of cotton balls. I go over the machine twice to get it cleaned and follow up with a light rubbing with a cotton cloth to remove any residue. This is as far as I will go until after the rest of the reconditioning is complete, and all but the motor and covers are reassembled. Then comes the final steps of polishing and waxing (or applying oil over the surface). There are a lot of finger prints on the machine between now and then that I only need to remove once. Here is the machine after deep cleaning.
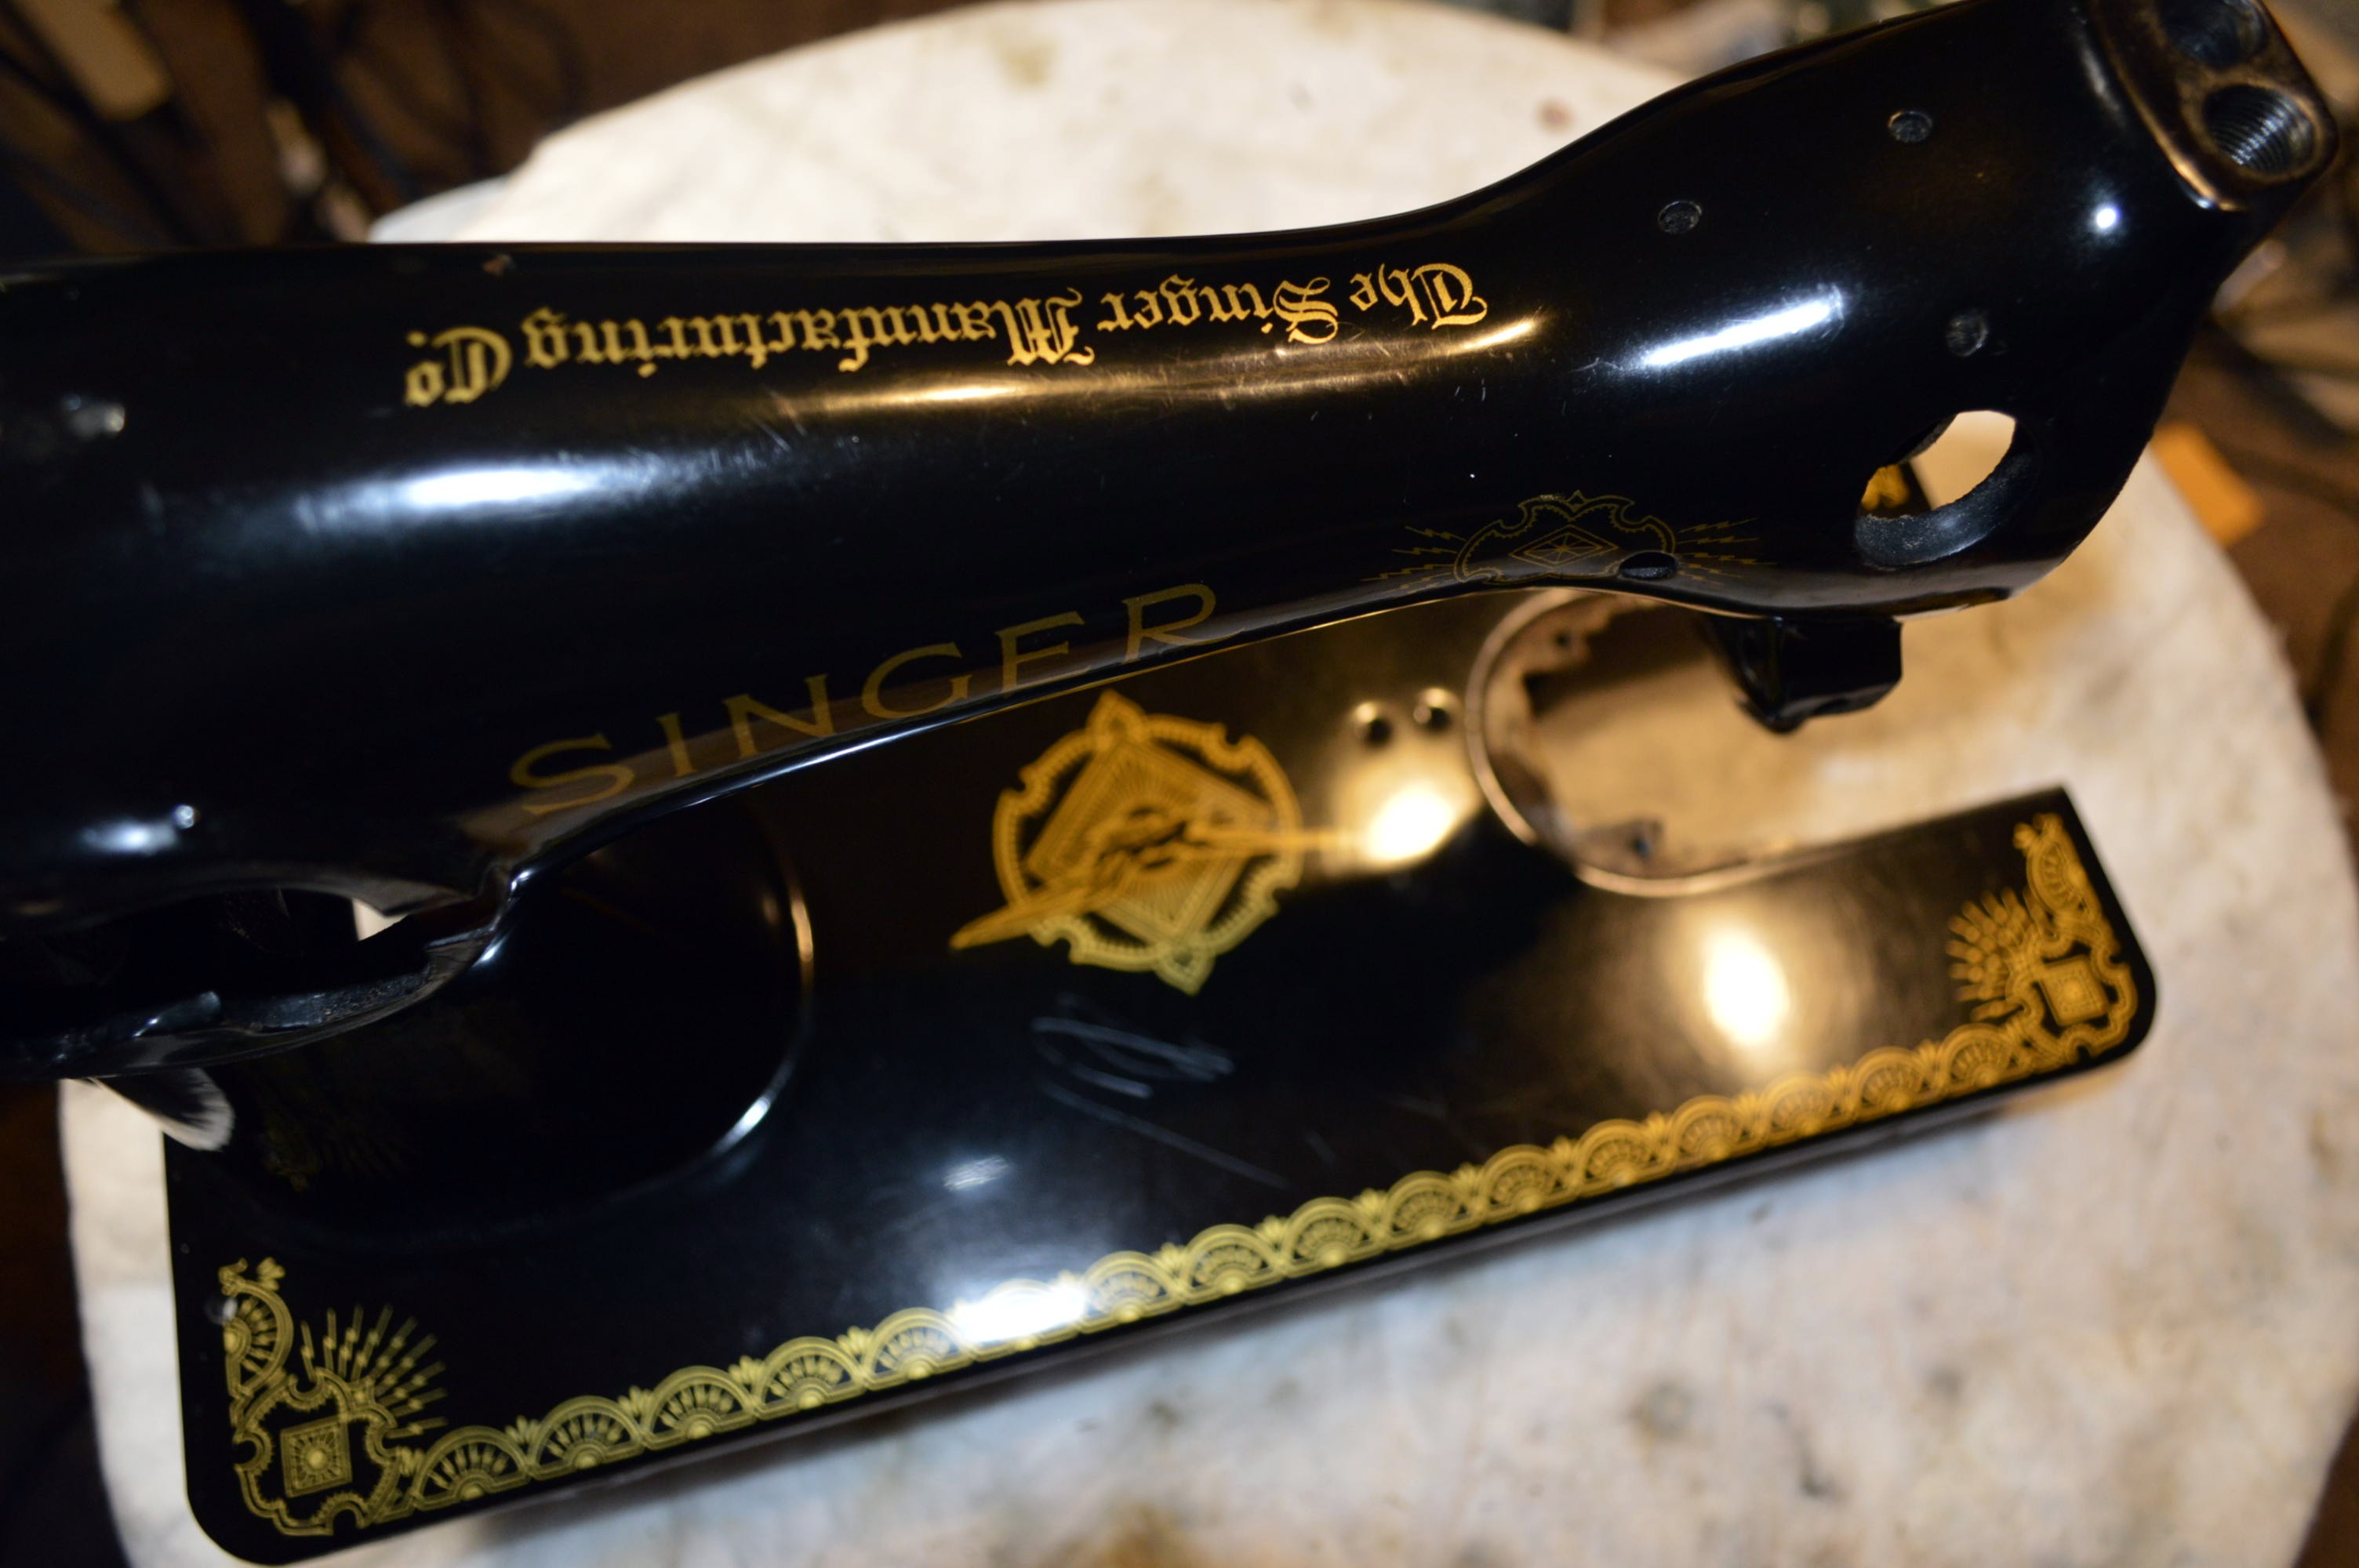
The definition and color of the decals is revealed, and the surface has a good luster.
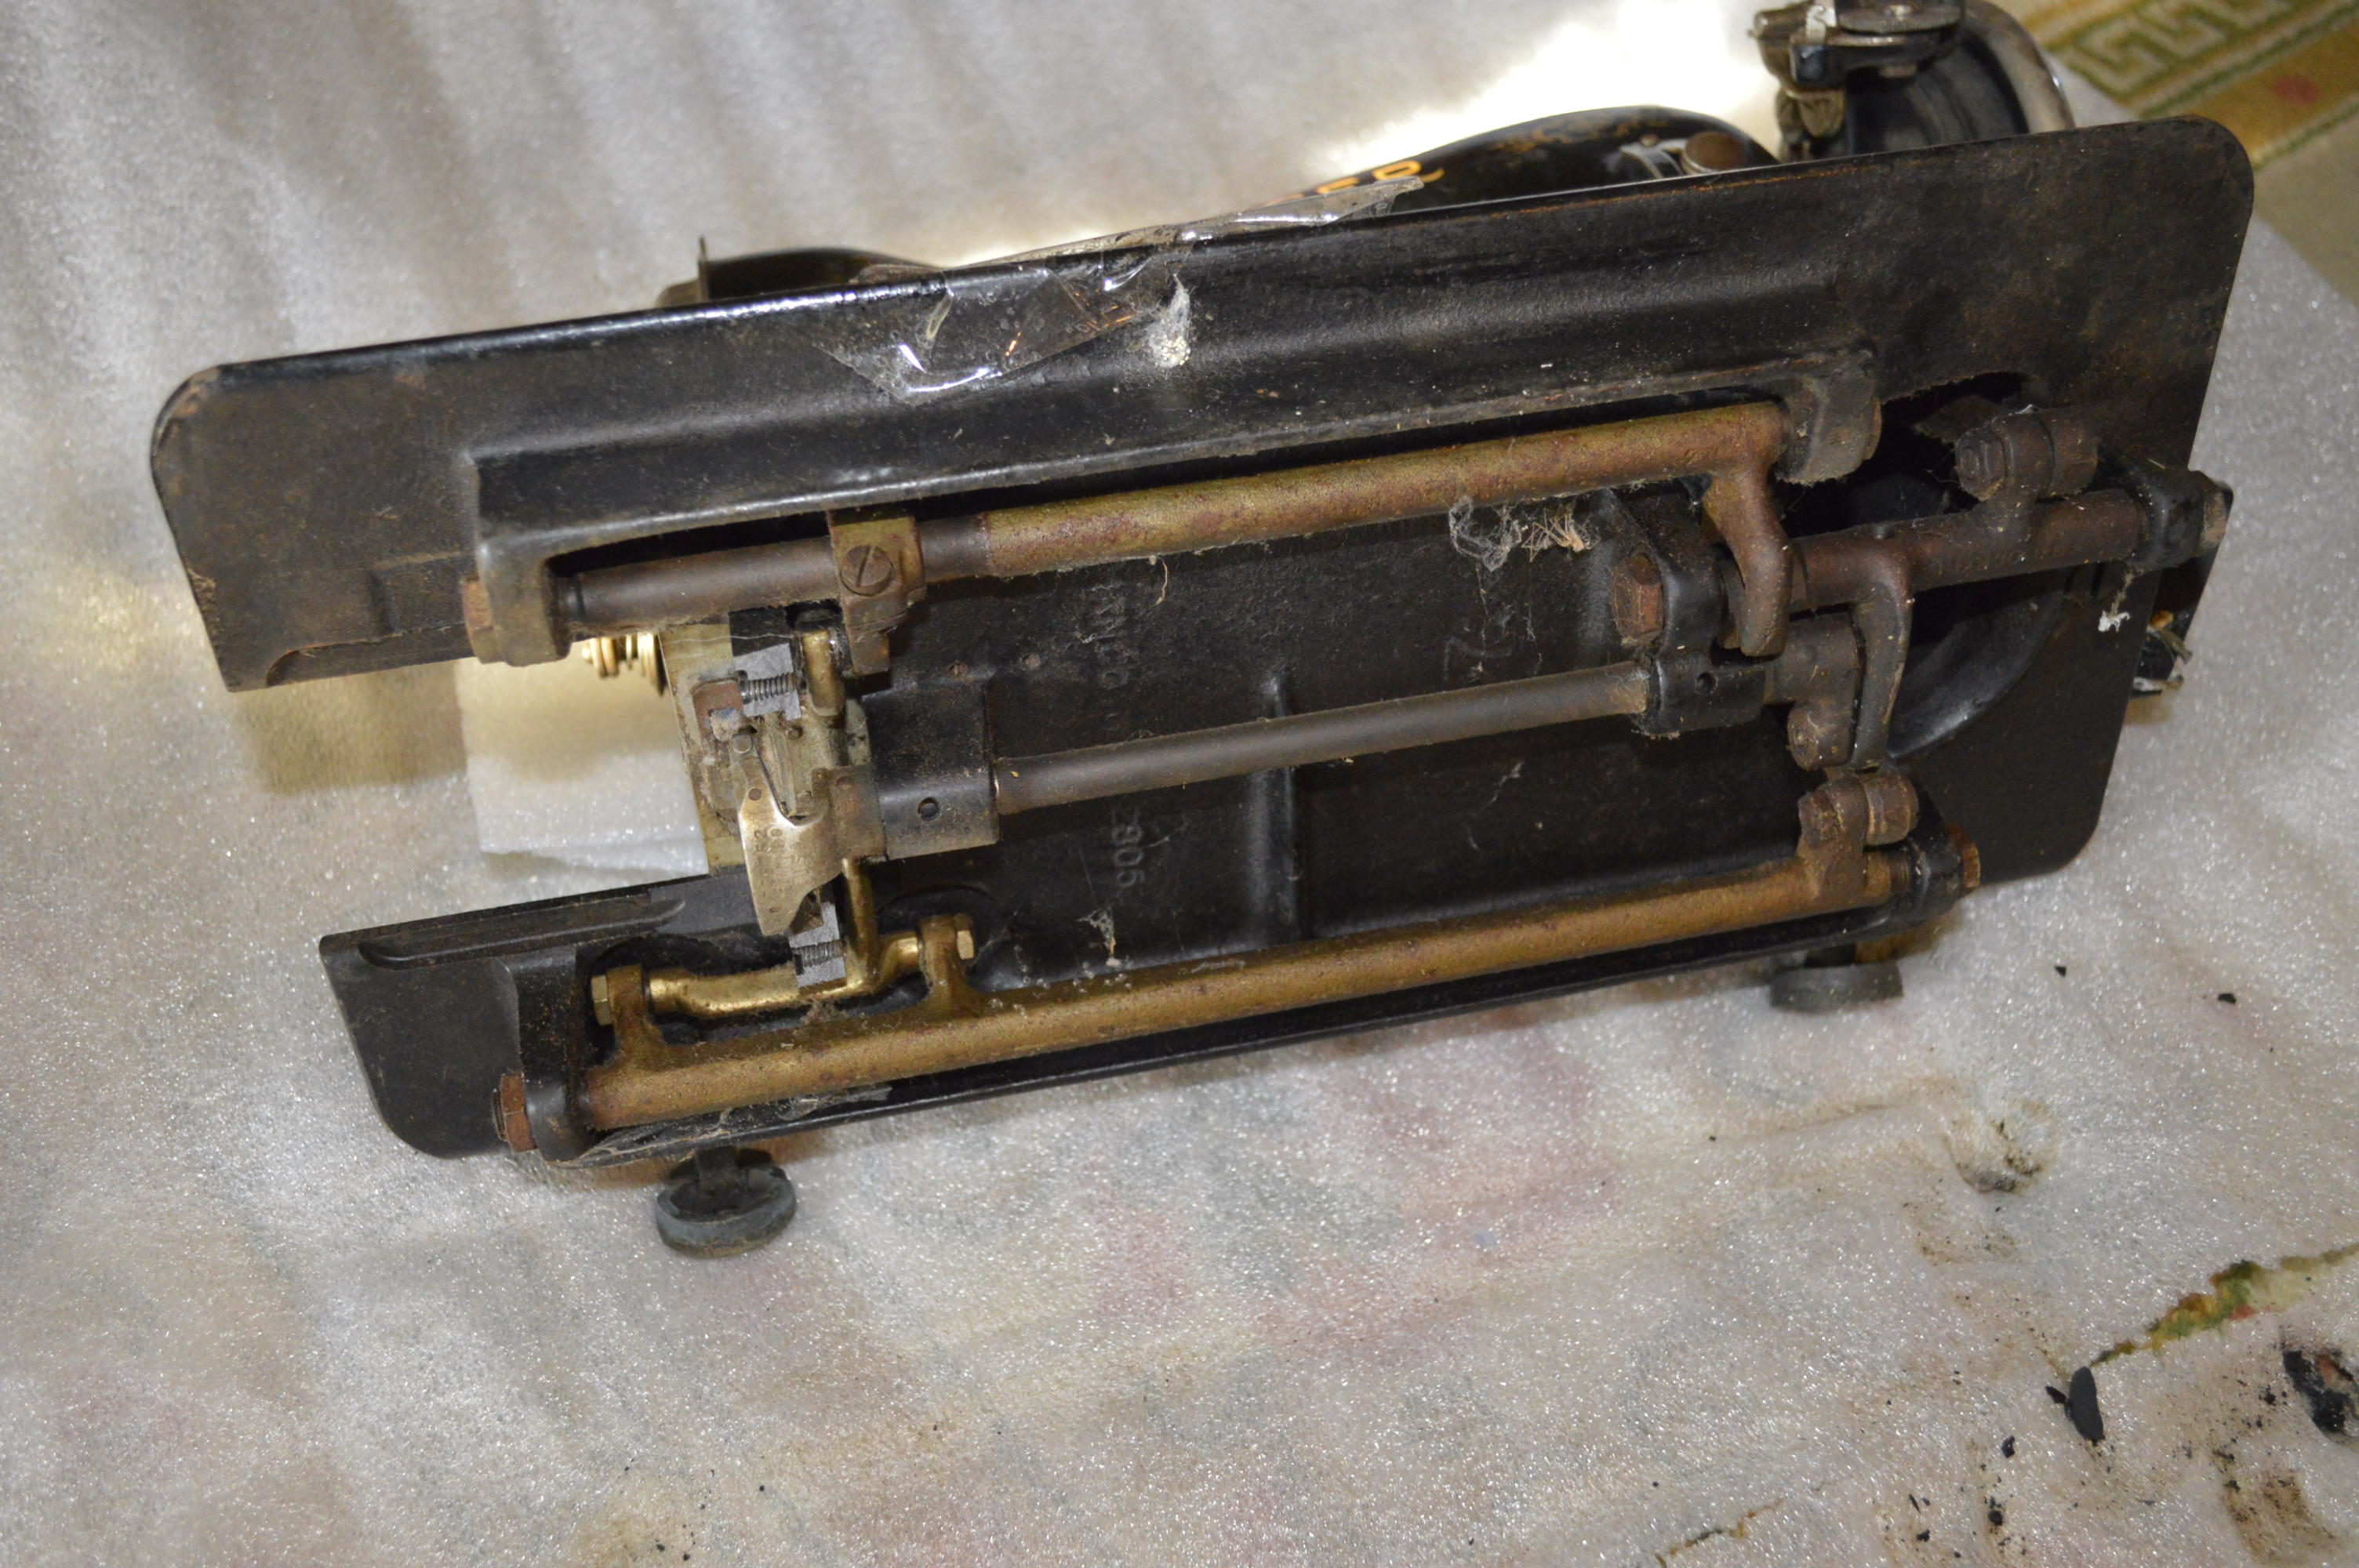
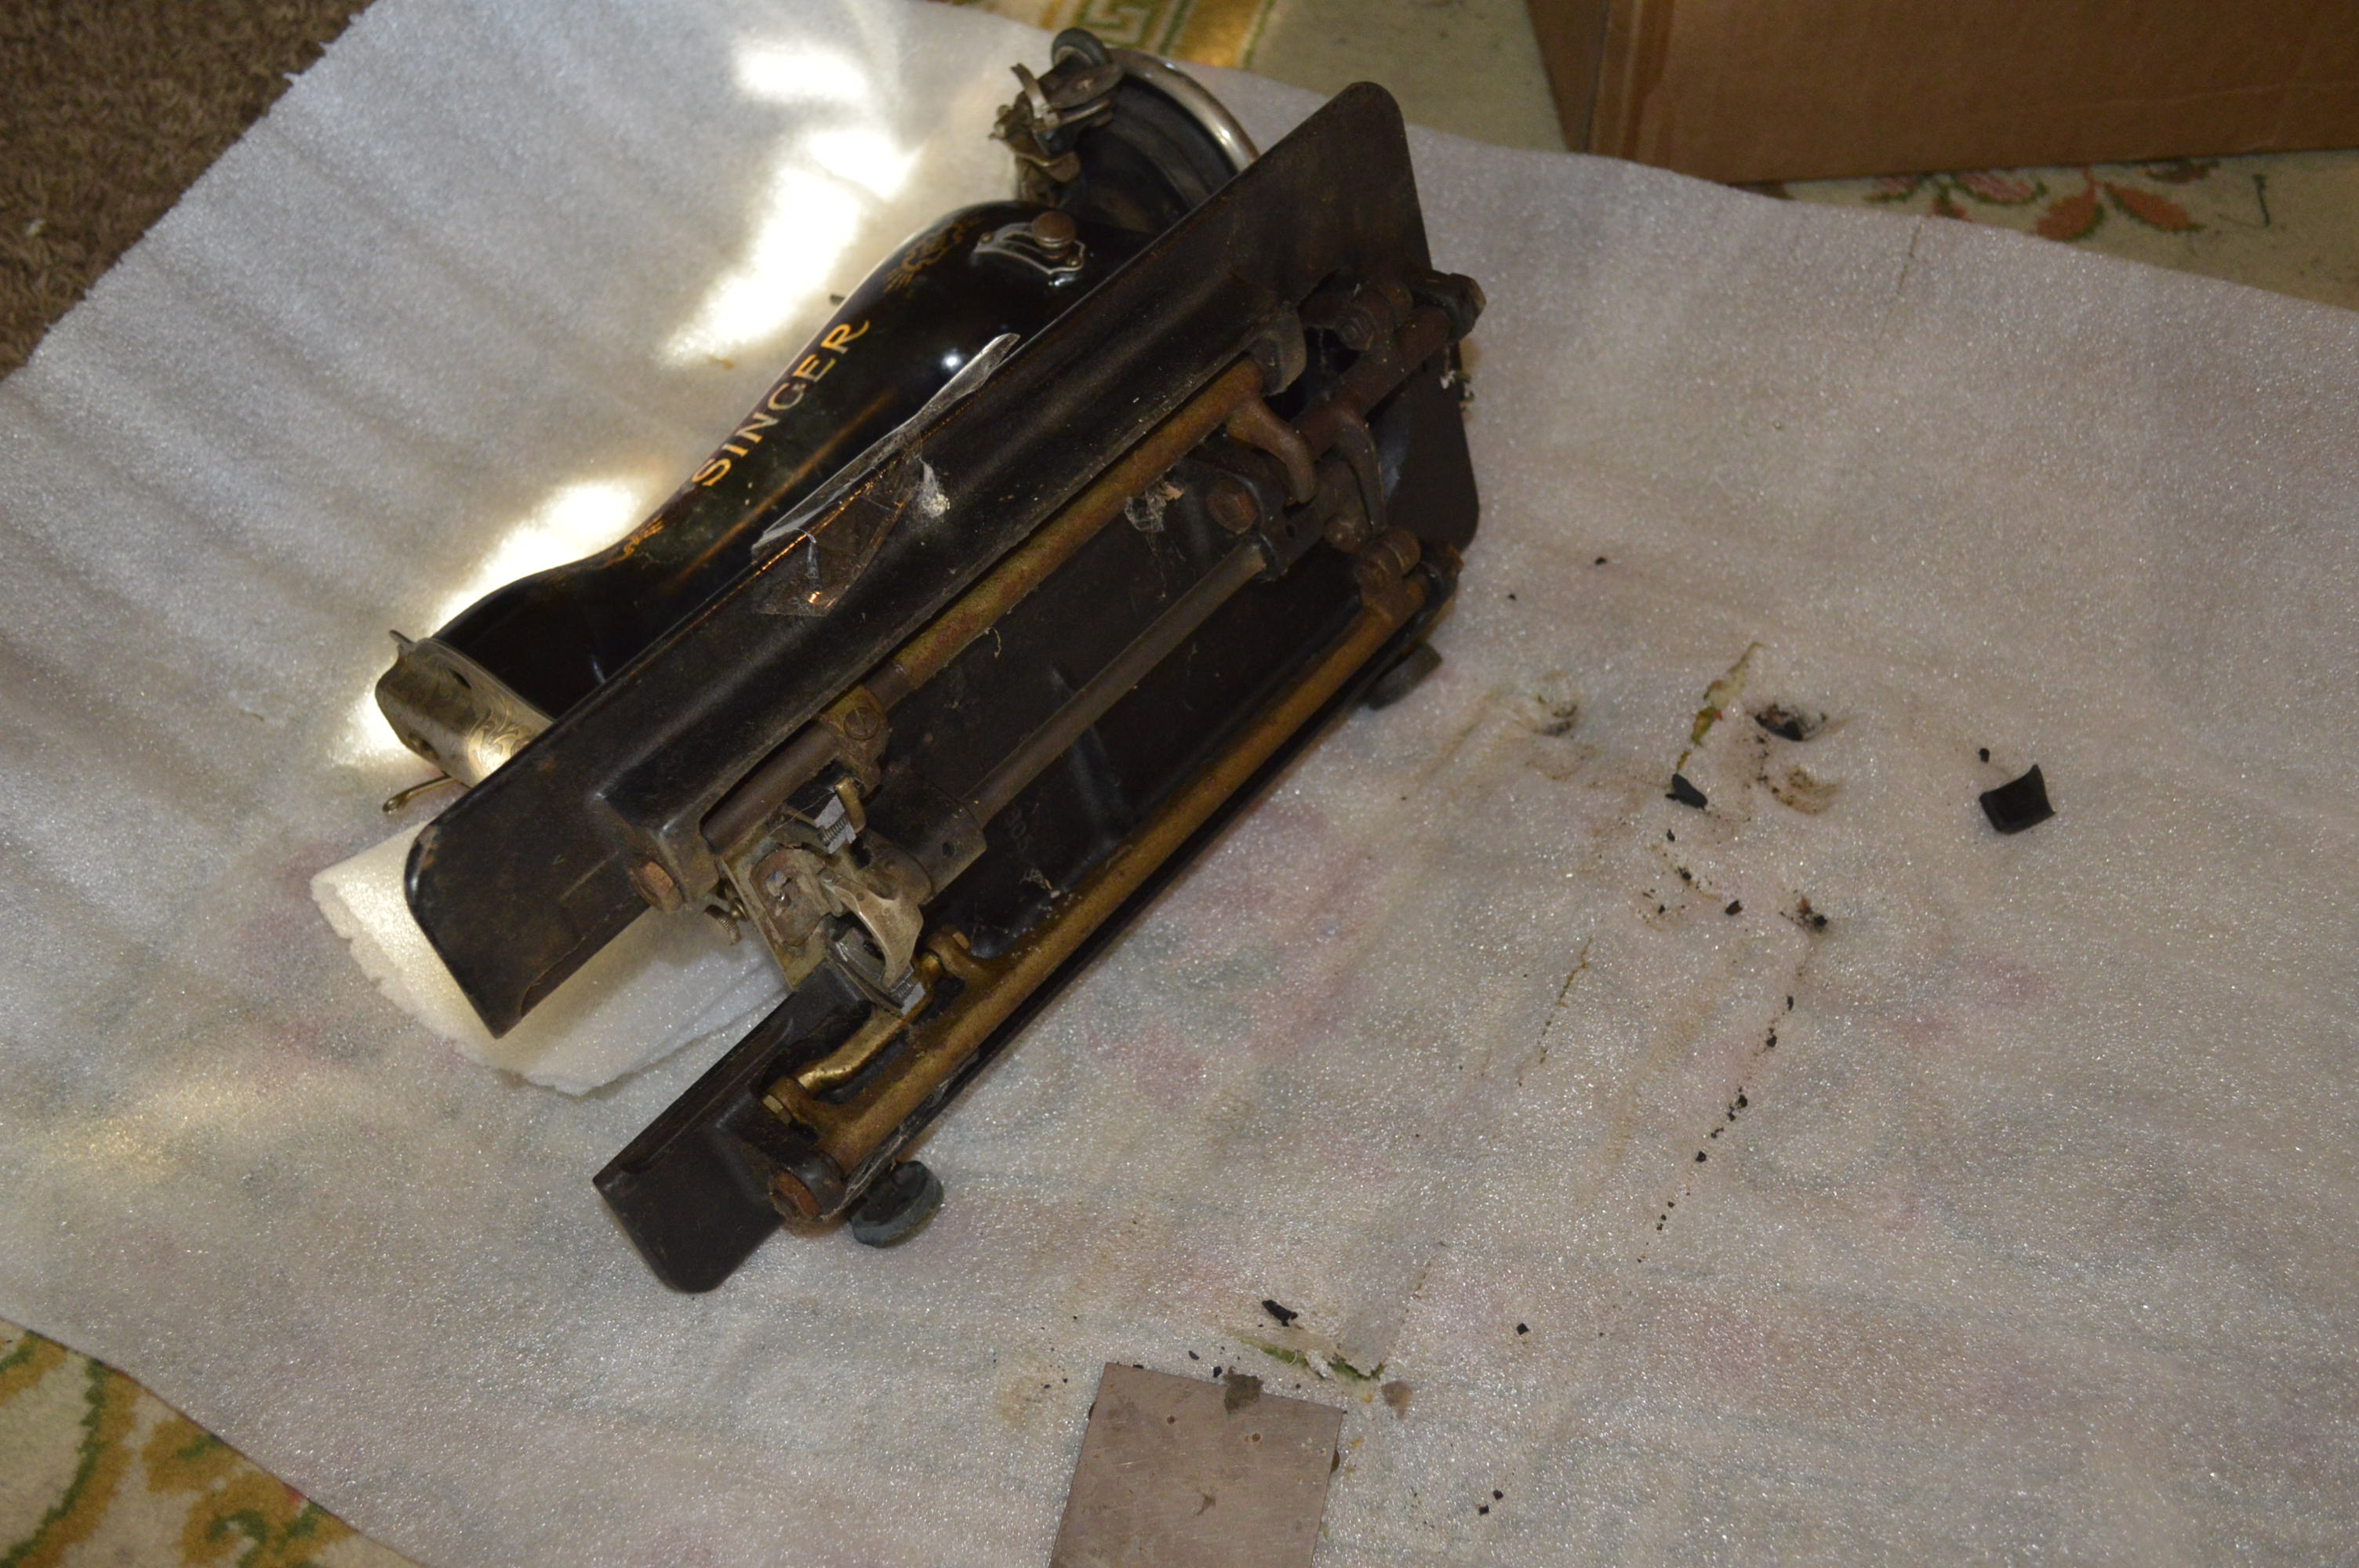
The rest of the reconditioning progresses with the removal of all moving parts and assemblies.
Before…
After…
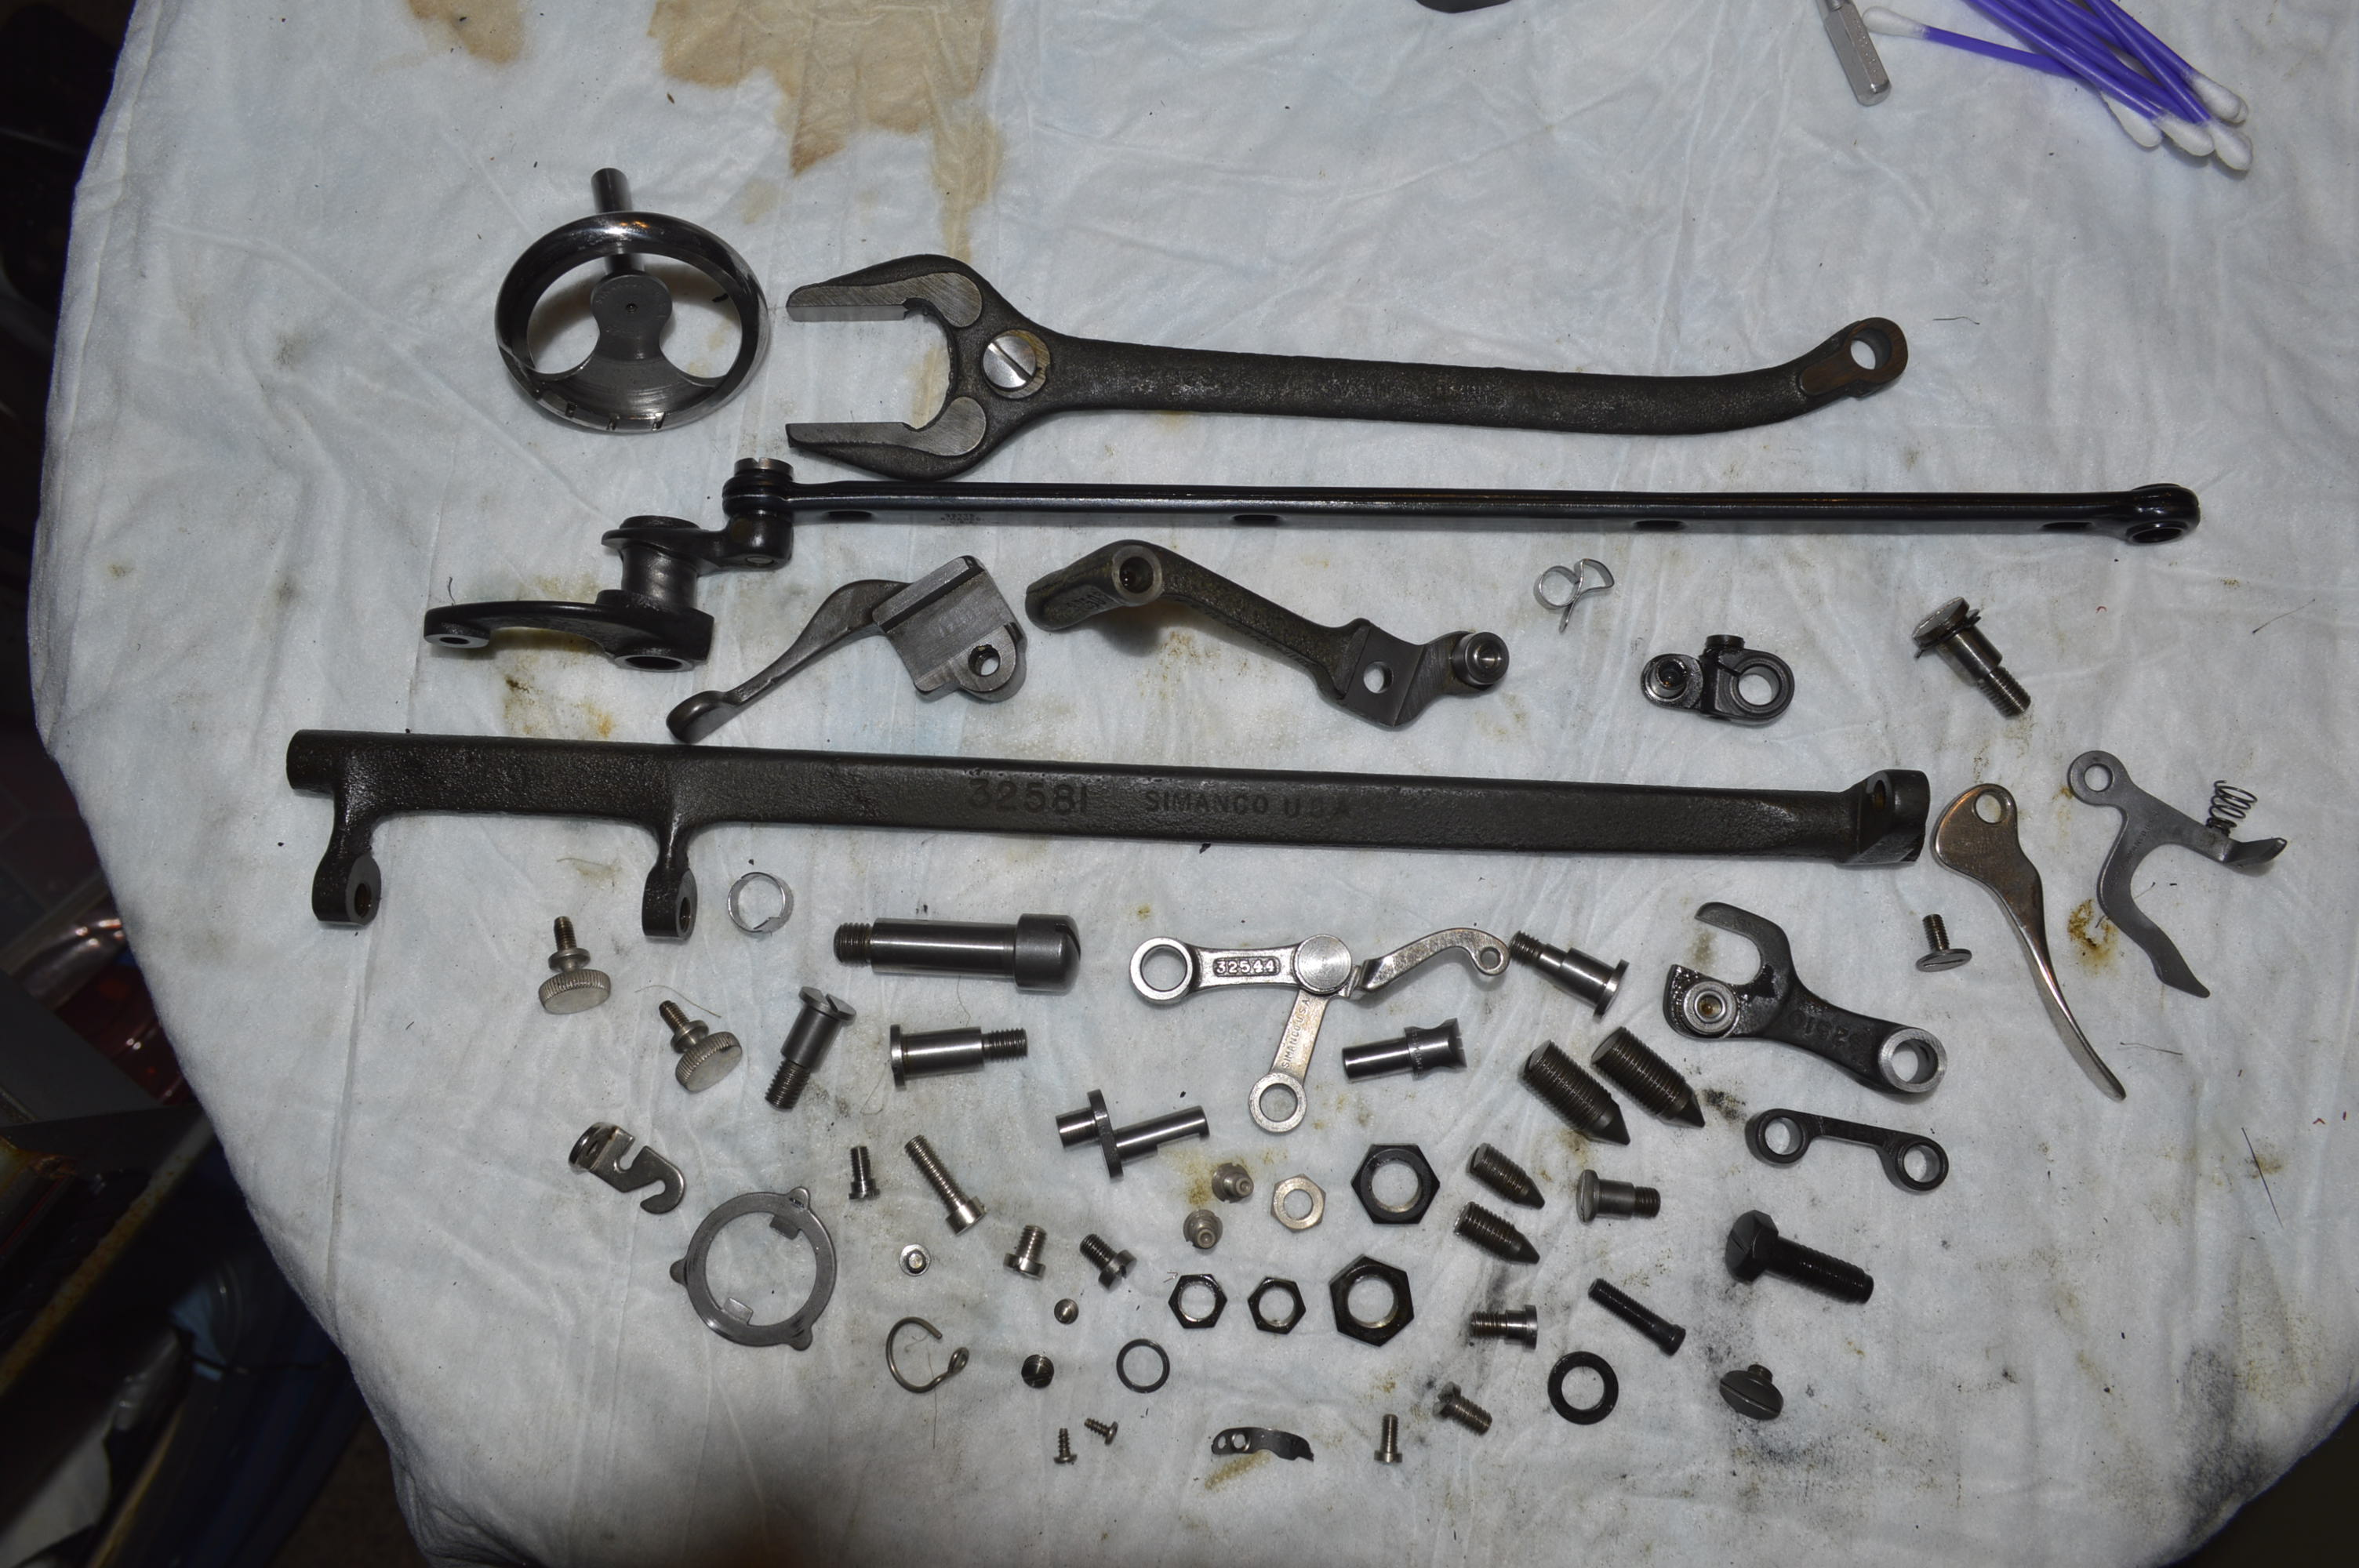
The parts are all laid out for cleaning, keeping the top mechanism bits and bottom mechanism bits separate. Only because it is easier to manage and assemble that way…
Bottom pieces ready for cleaning…
Lets take a closer look at what we are actually cleaning, and why.
Look at these parts closely, the pieces to the left and top of the picture are parts that mate and fit inside of other parts. If you look closely, you will see a brown film on the outside and inside of these pieces. Cleaning is not just about the outside, in fact, its cleaning the inside that counts.
This is the hook shaft that spins in a bushing cast into the body of the machine. See the old oil varnish?
This is the stitch length shaft fork, again, notice the oiled surfaces that are coated with old oil varnish. These must be cleaned.
The same goes for the parts disassembled in the head of the machine. The reason it is important to clean these parts is what sets this level of reconditioning apart from “cleaning and servicing”. All of these parts can be cleaned in the machine and look great. But, cleaning the exterior of these parts will not improve or extend the life of the machine one bit. The fact is, all of the work done by the machine is done where parts connect, and rub, and rotate. These bearing surfaces are inaccessible to cleaning without complete disassembly.
A Singer sewing machine is very forgiving with respect to lubrication, but its not immune. Over time, a film of old oil or varnish will affect the machine. This machine operated smoothly before disassembly, all of that old oil and varnish was there, but it was not noticeable. For my part, cleaning the outside of a mechanism doesn’t change a thing, that’s not where the work gets done. Reconditioning a sewing machine on the other hand is much more than cleaning for appearance. Reconditioning is cleaning to the greatest extent possible, and cleaning parts for the greatest effect possible. This means cleaning parts in the places that make a difference. This means complete disassembly.
I could skip these steps and still have a smooth running machine. But, it does make a difference… a BIG difference. When these parts are cleaned and the bearing surfaces polished, the machine will be noticeably smoother running, and it will remain so for many years.
Tip of the Day…
Disassembling a sewing machine results in keeping track of many small screws. Many look similar but are different enough that they must be put back in the right place. Here’s’ a trick that helps do that.
After removing a screw from a part, put the screw back in the place where it came from. This is easy to do, and it can be done in just about every place a screw can be removed. I hope this helps you keep things straight if you disassemble something so you don’t have to worry about getting them confused.
After cleaning, the parts are wiped with a shop towel and prepped for assembly. Notice the difference?
The hook shaft is also polished until it is glassy smooth.
All of the parts are assembled back in the machine. None of the adjustments are made at this point, so they oiled but not tightened just yet.
Next comes the motor.
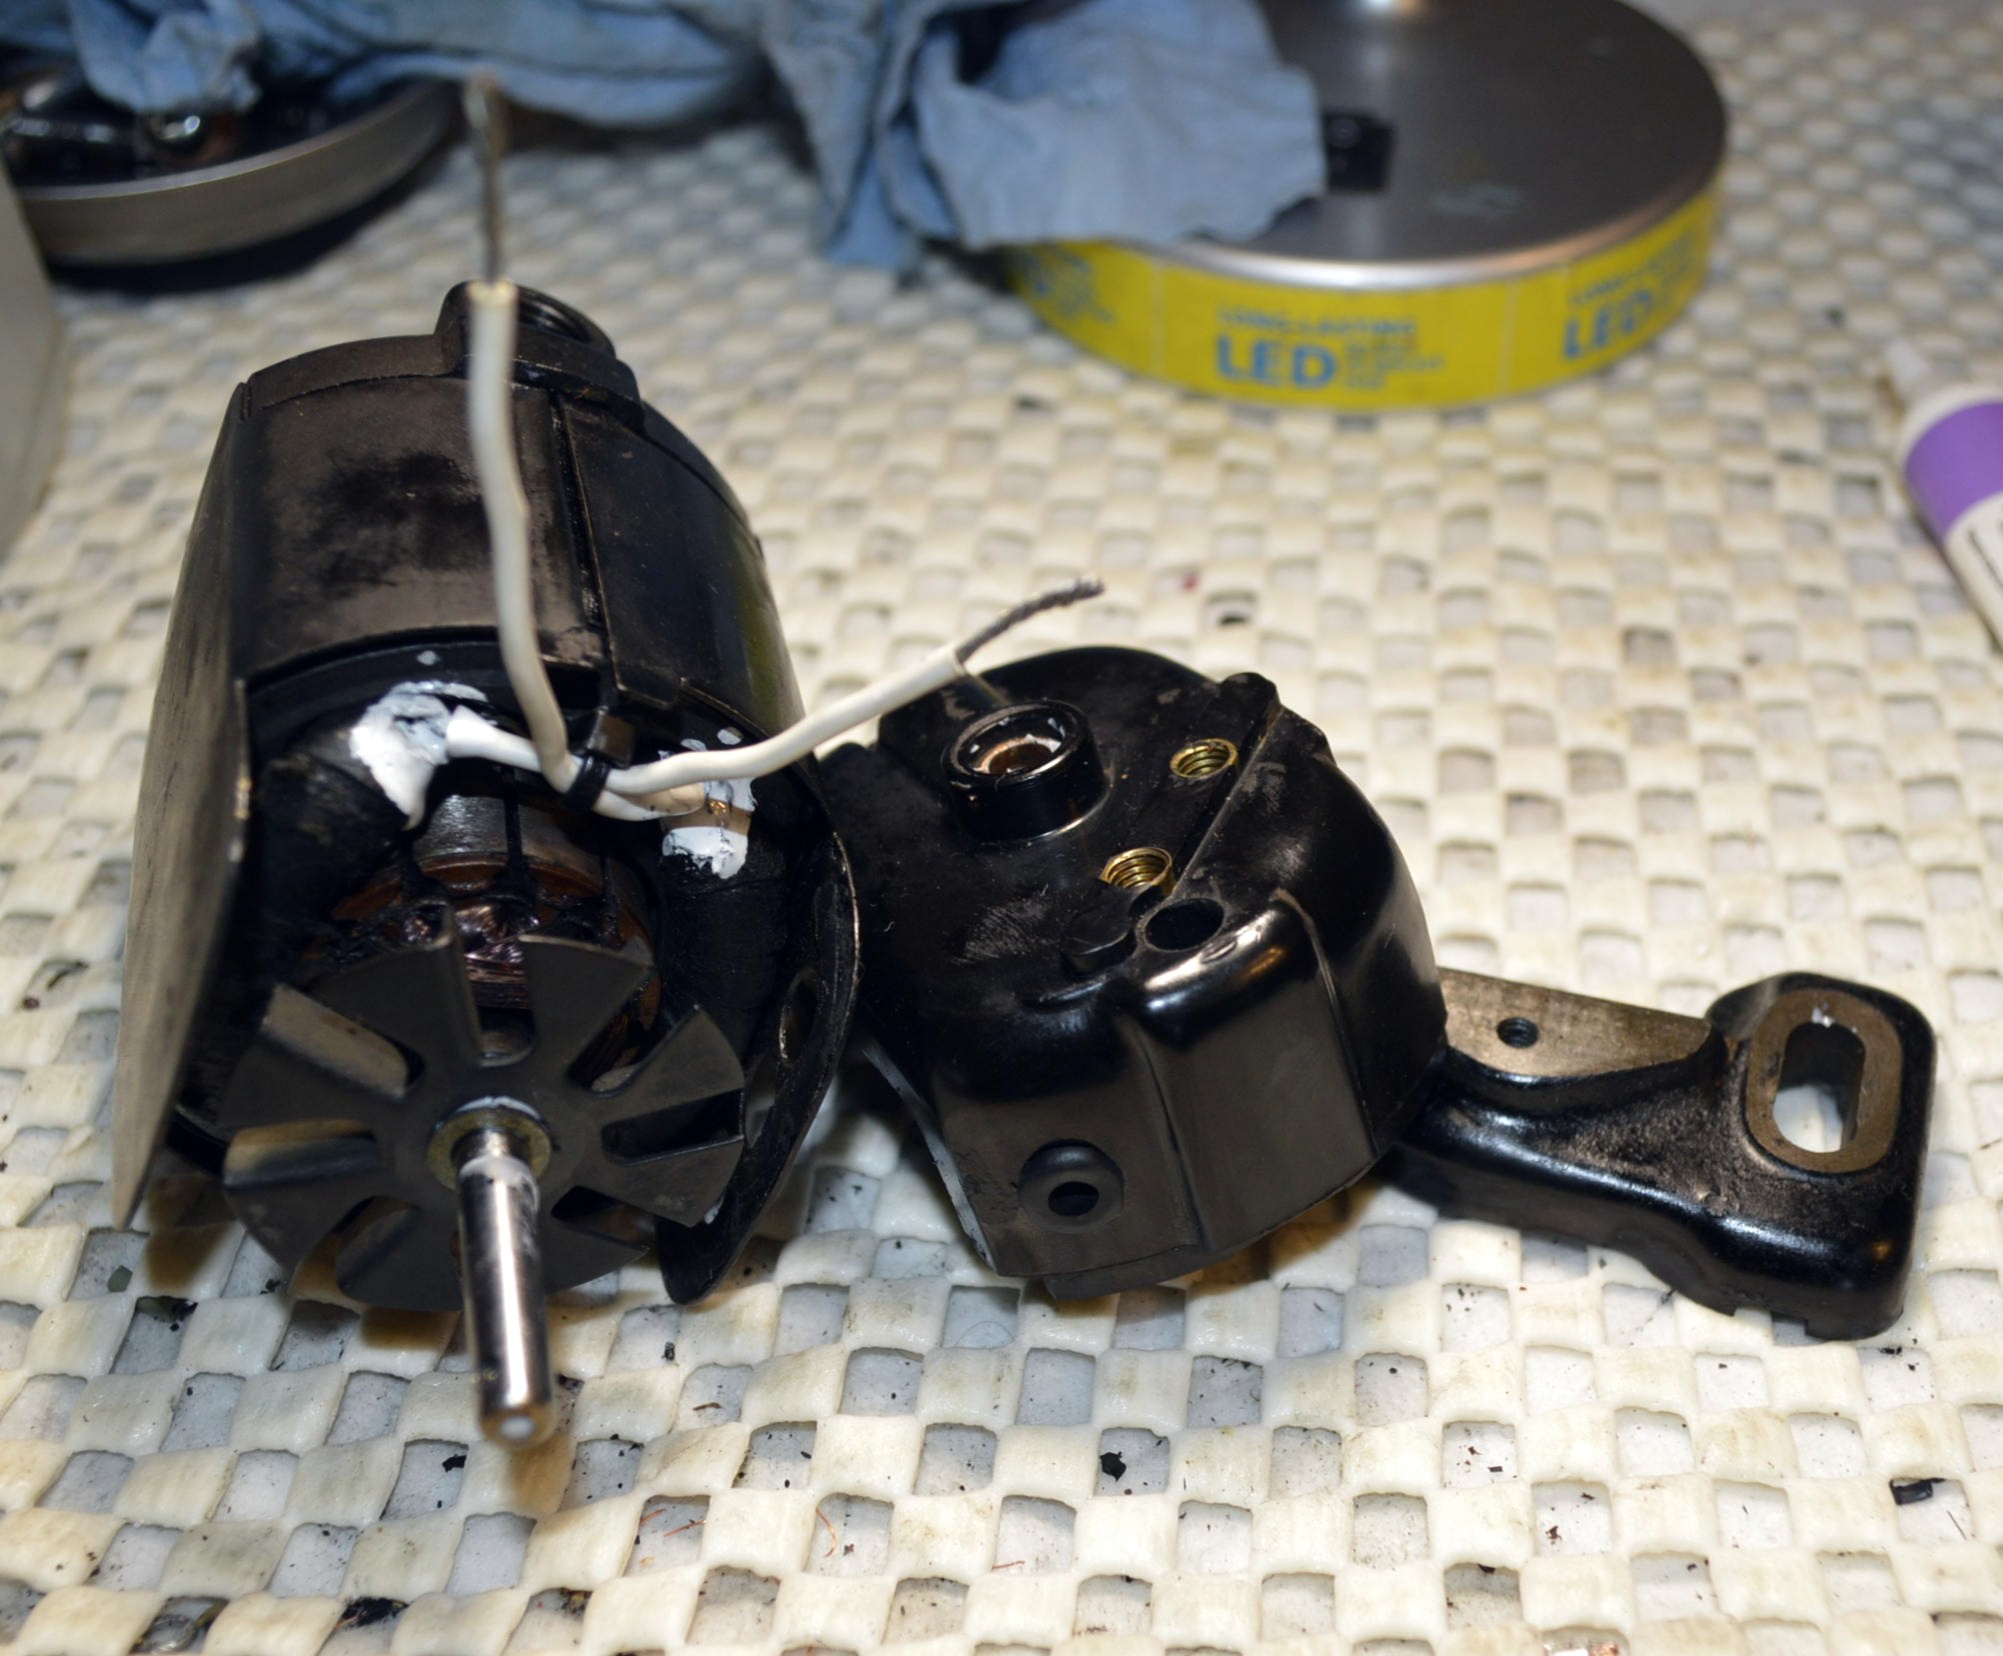
It is disassembled…
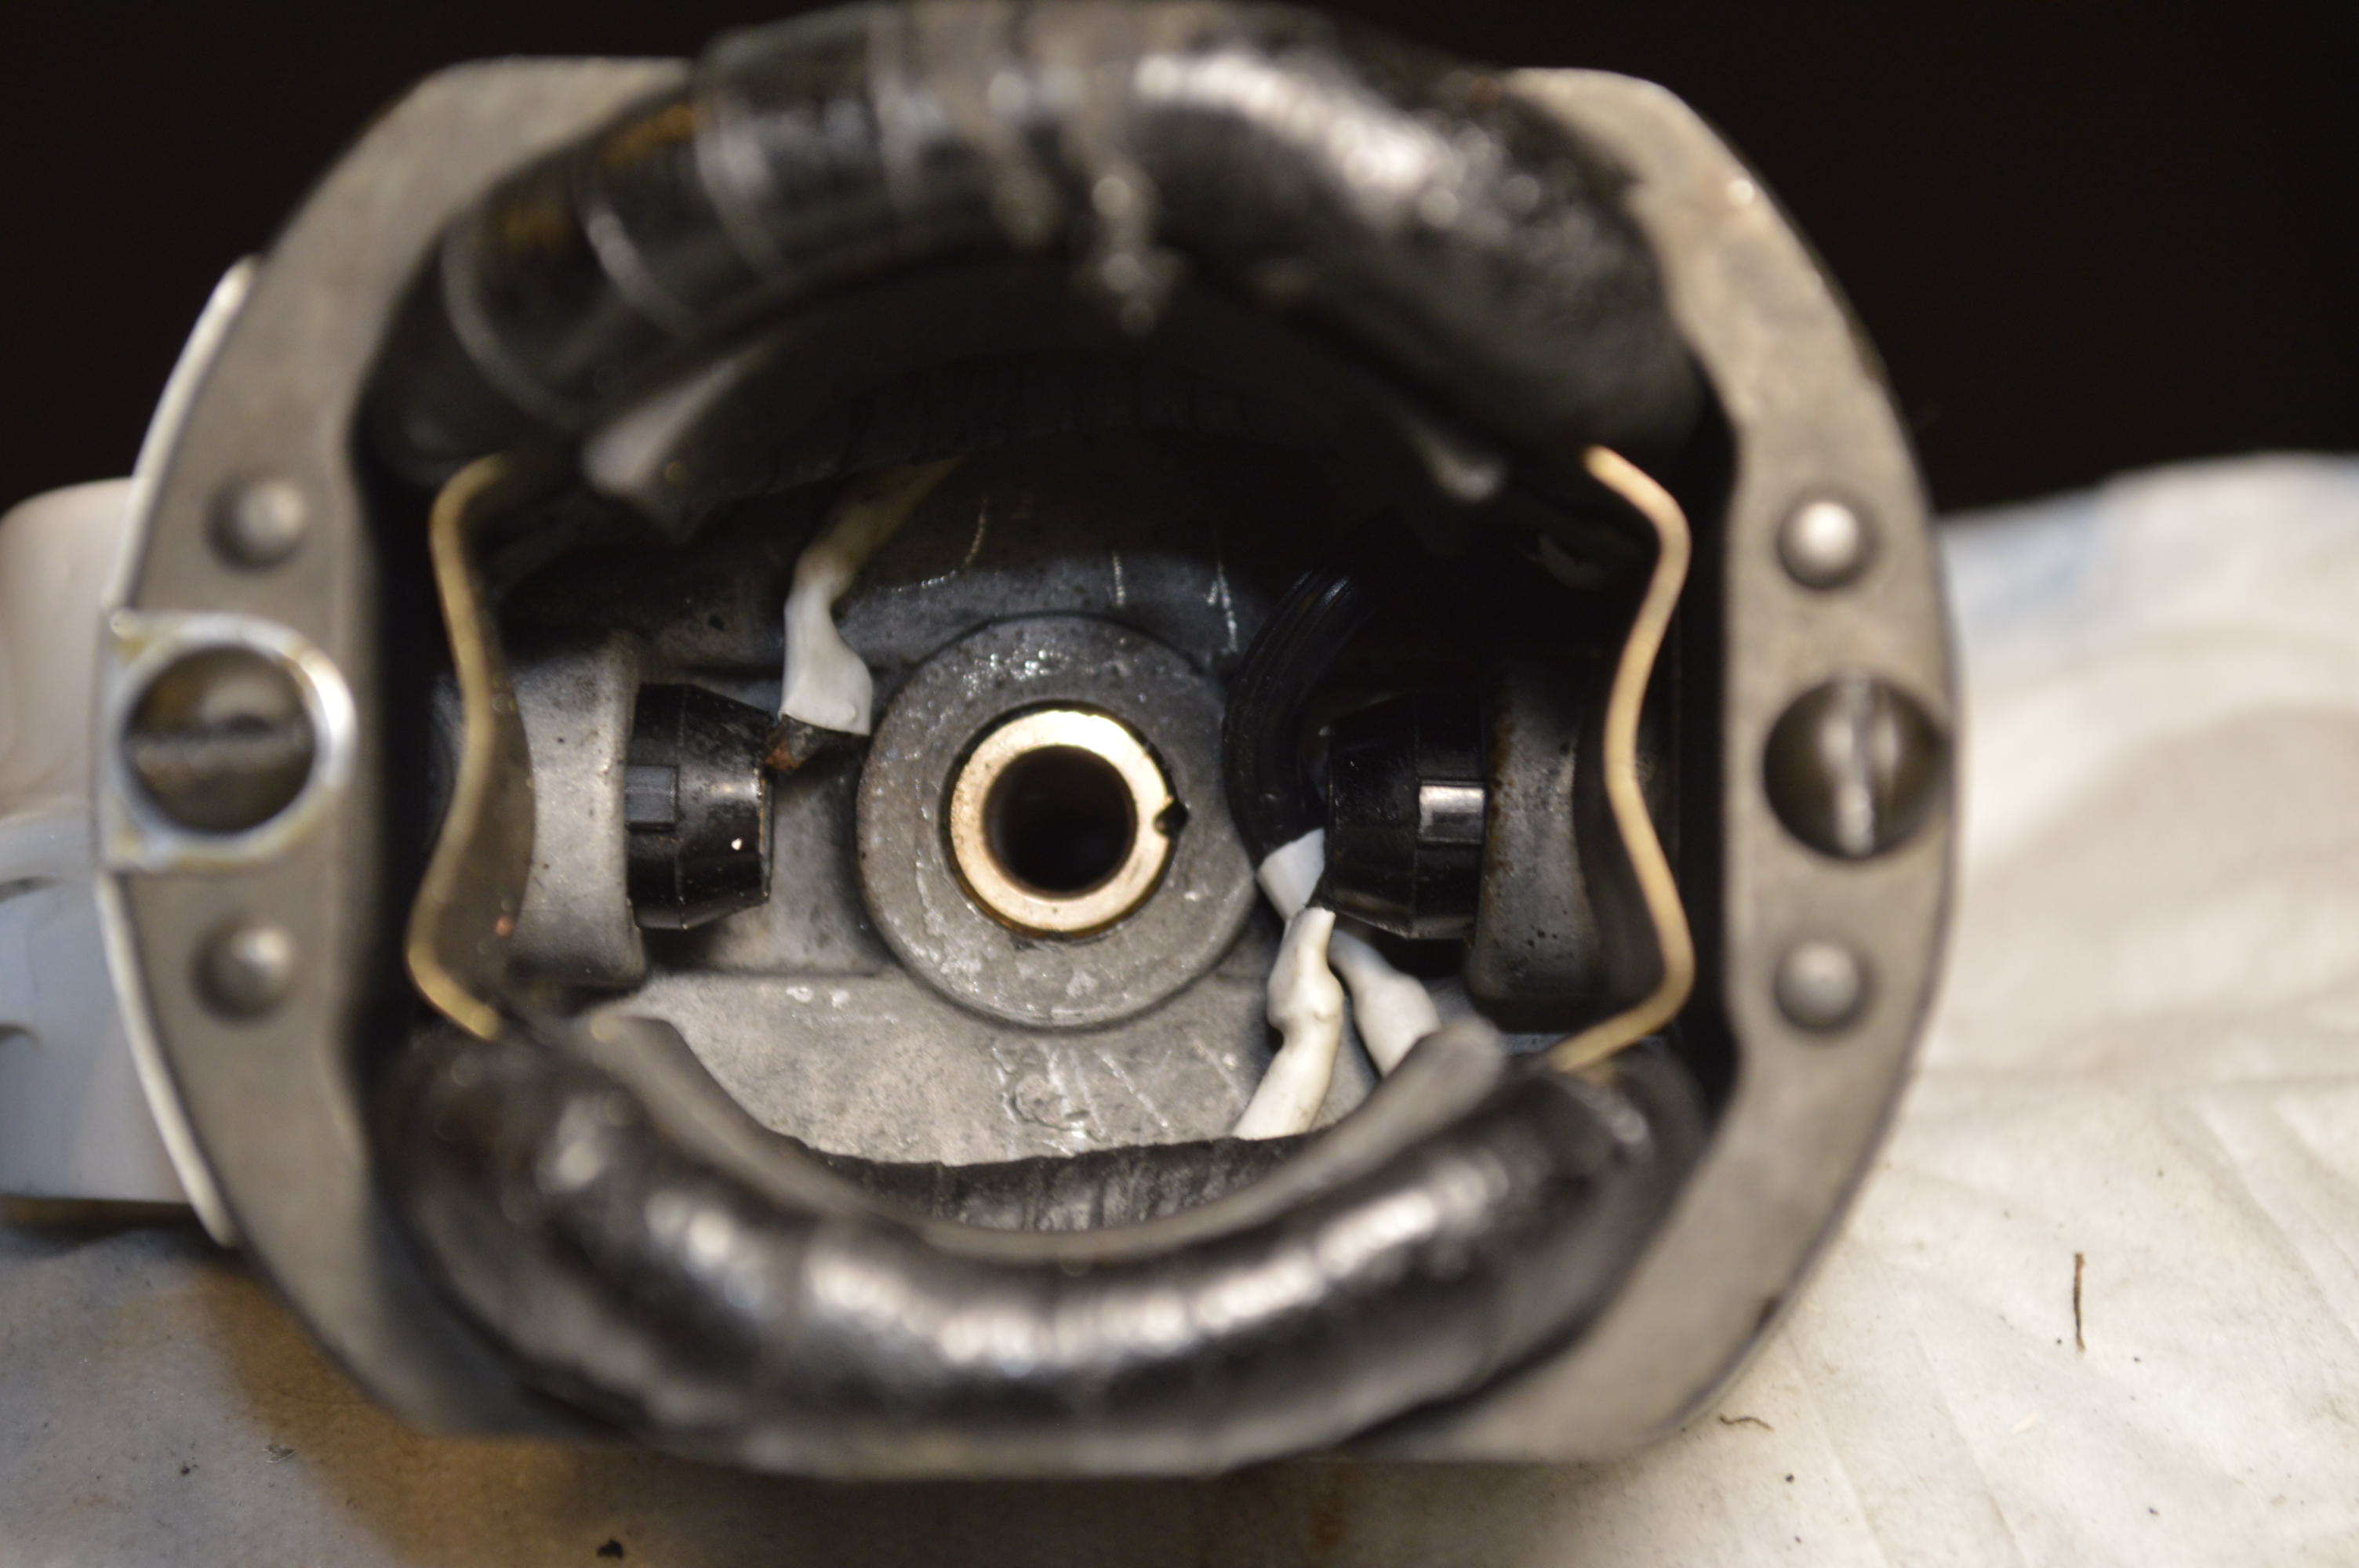
The wires are cracked and will be replaced.
For this rebuild, I decided to remove the stator windings (the larger coil of wire, its what the armature rotates in) from the motor housing. This involves removing the brush holders. They are captured in the housing and must be removed from pulling them out of the housing, This requires de-soldering the wires on the brush holders.
Location of small screws that tighten against the brush tubes… loosen these before attempting to remove the brush tubes!
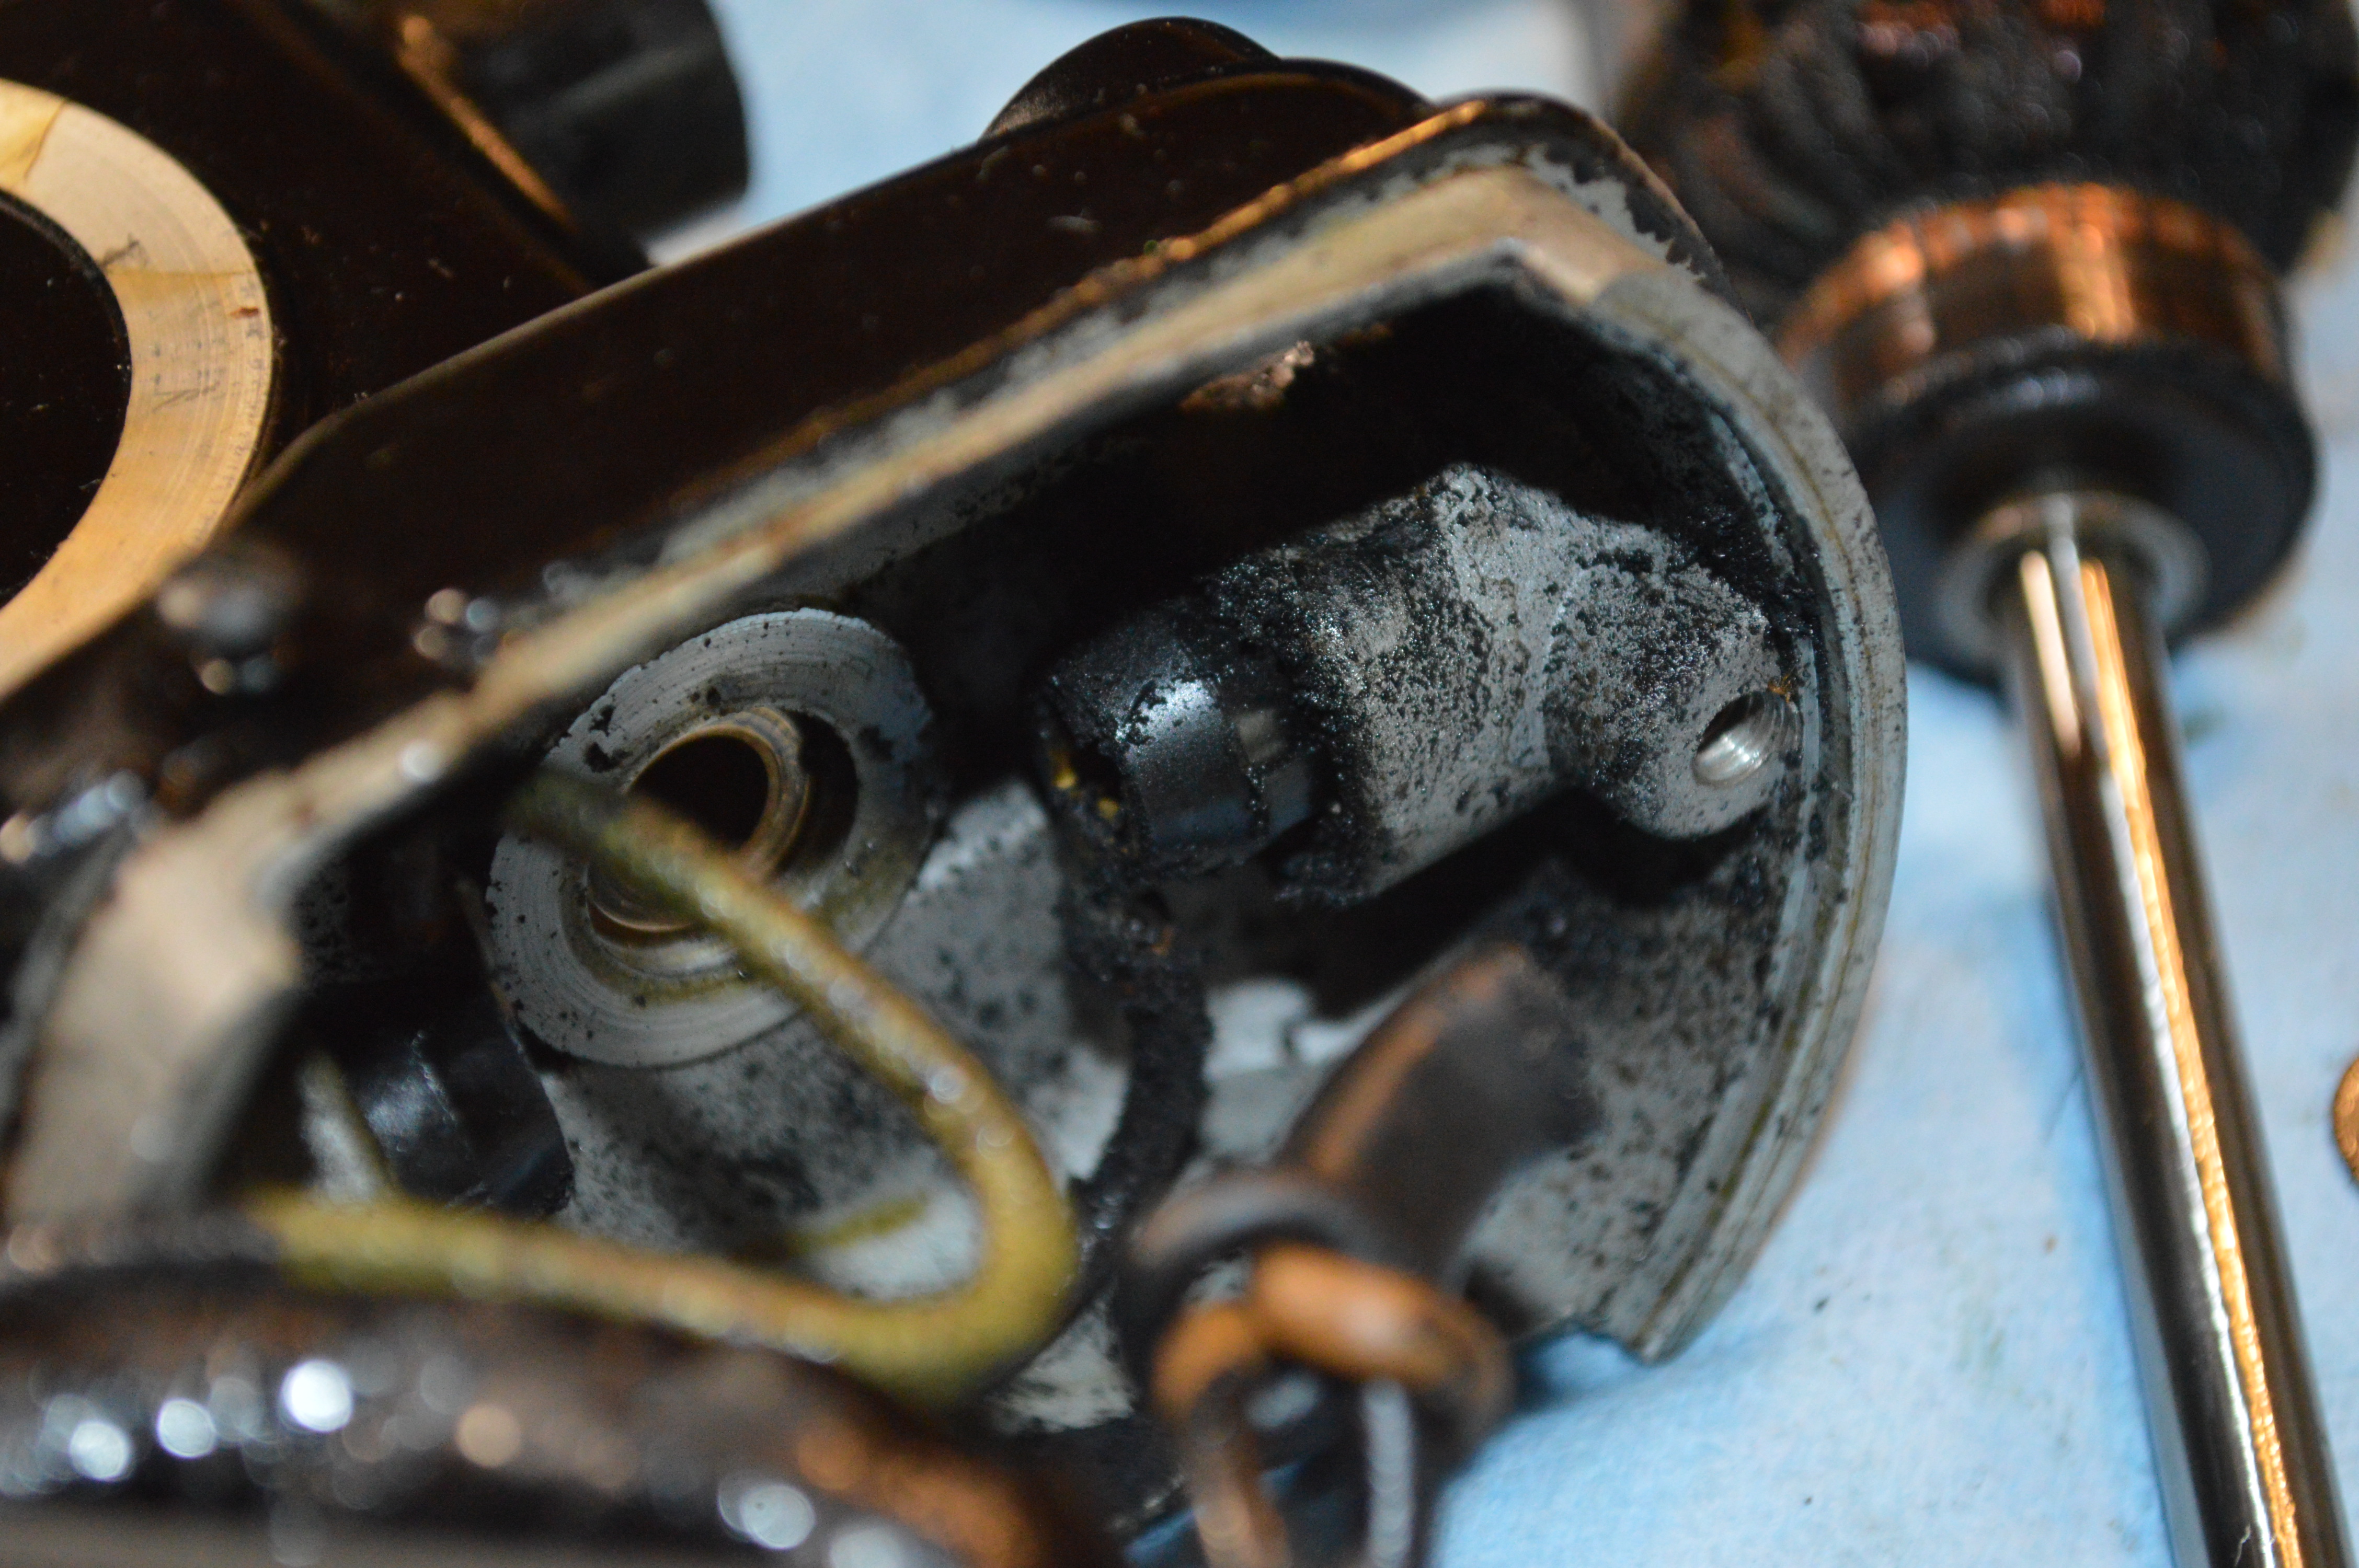
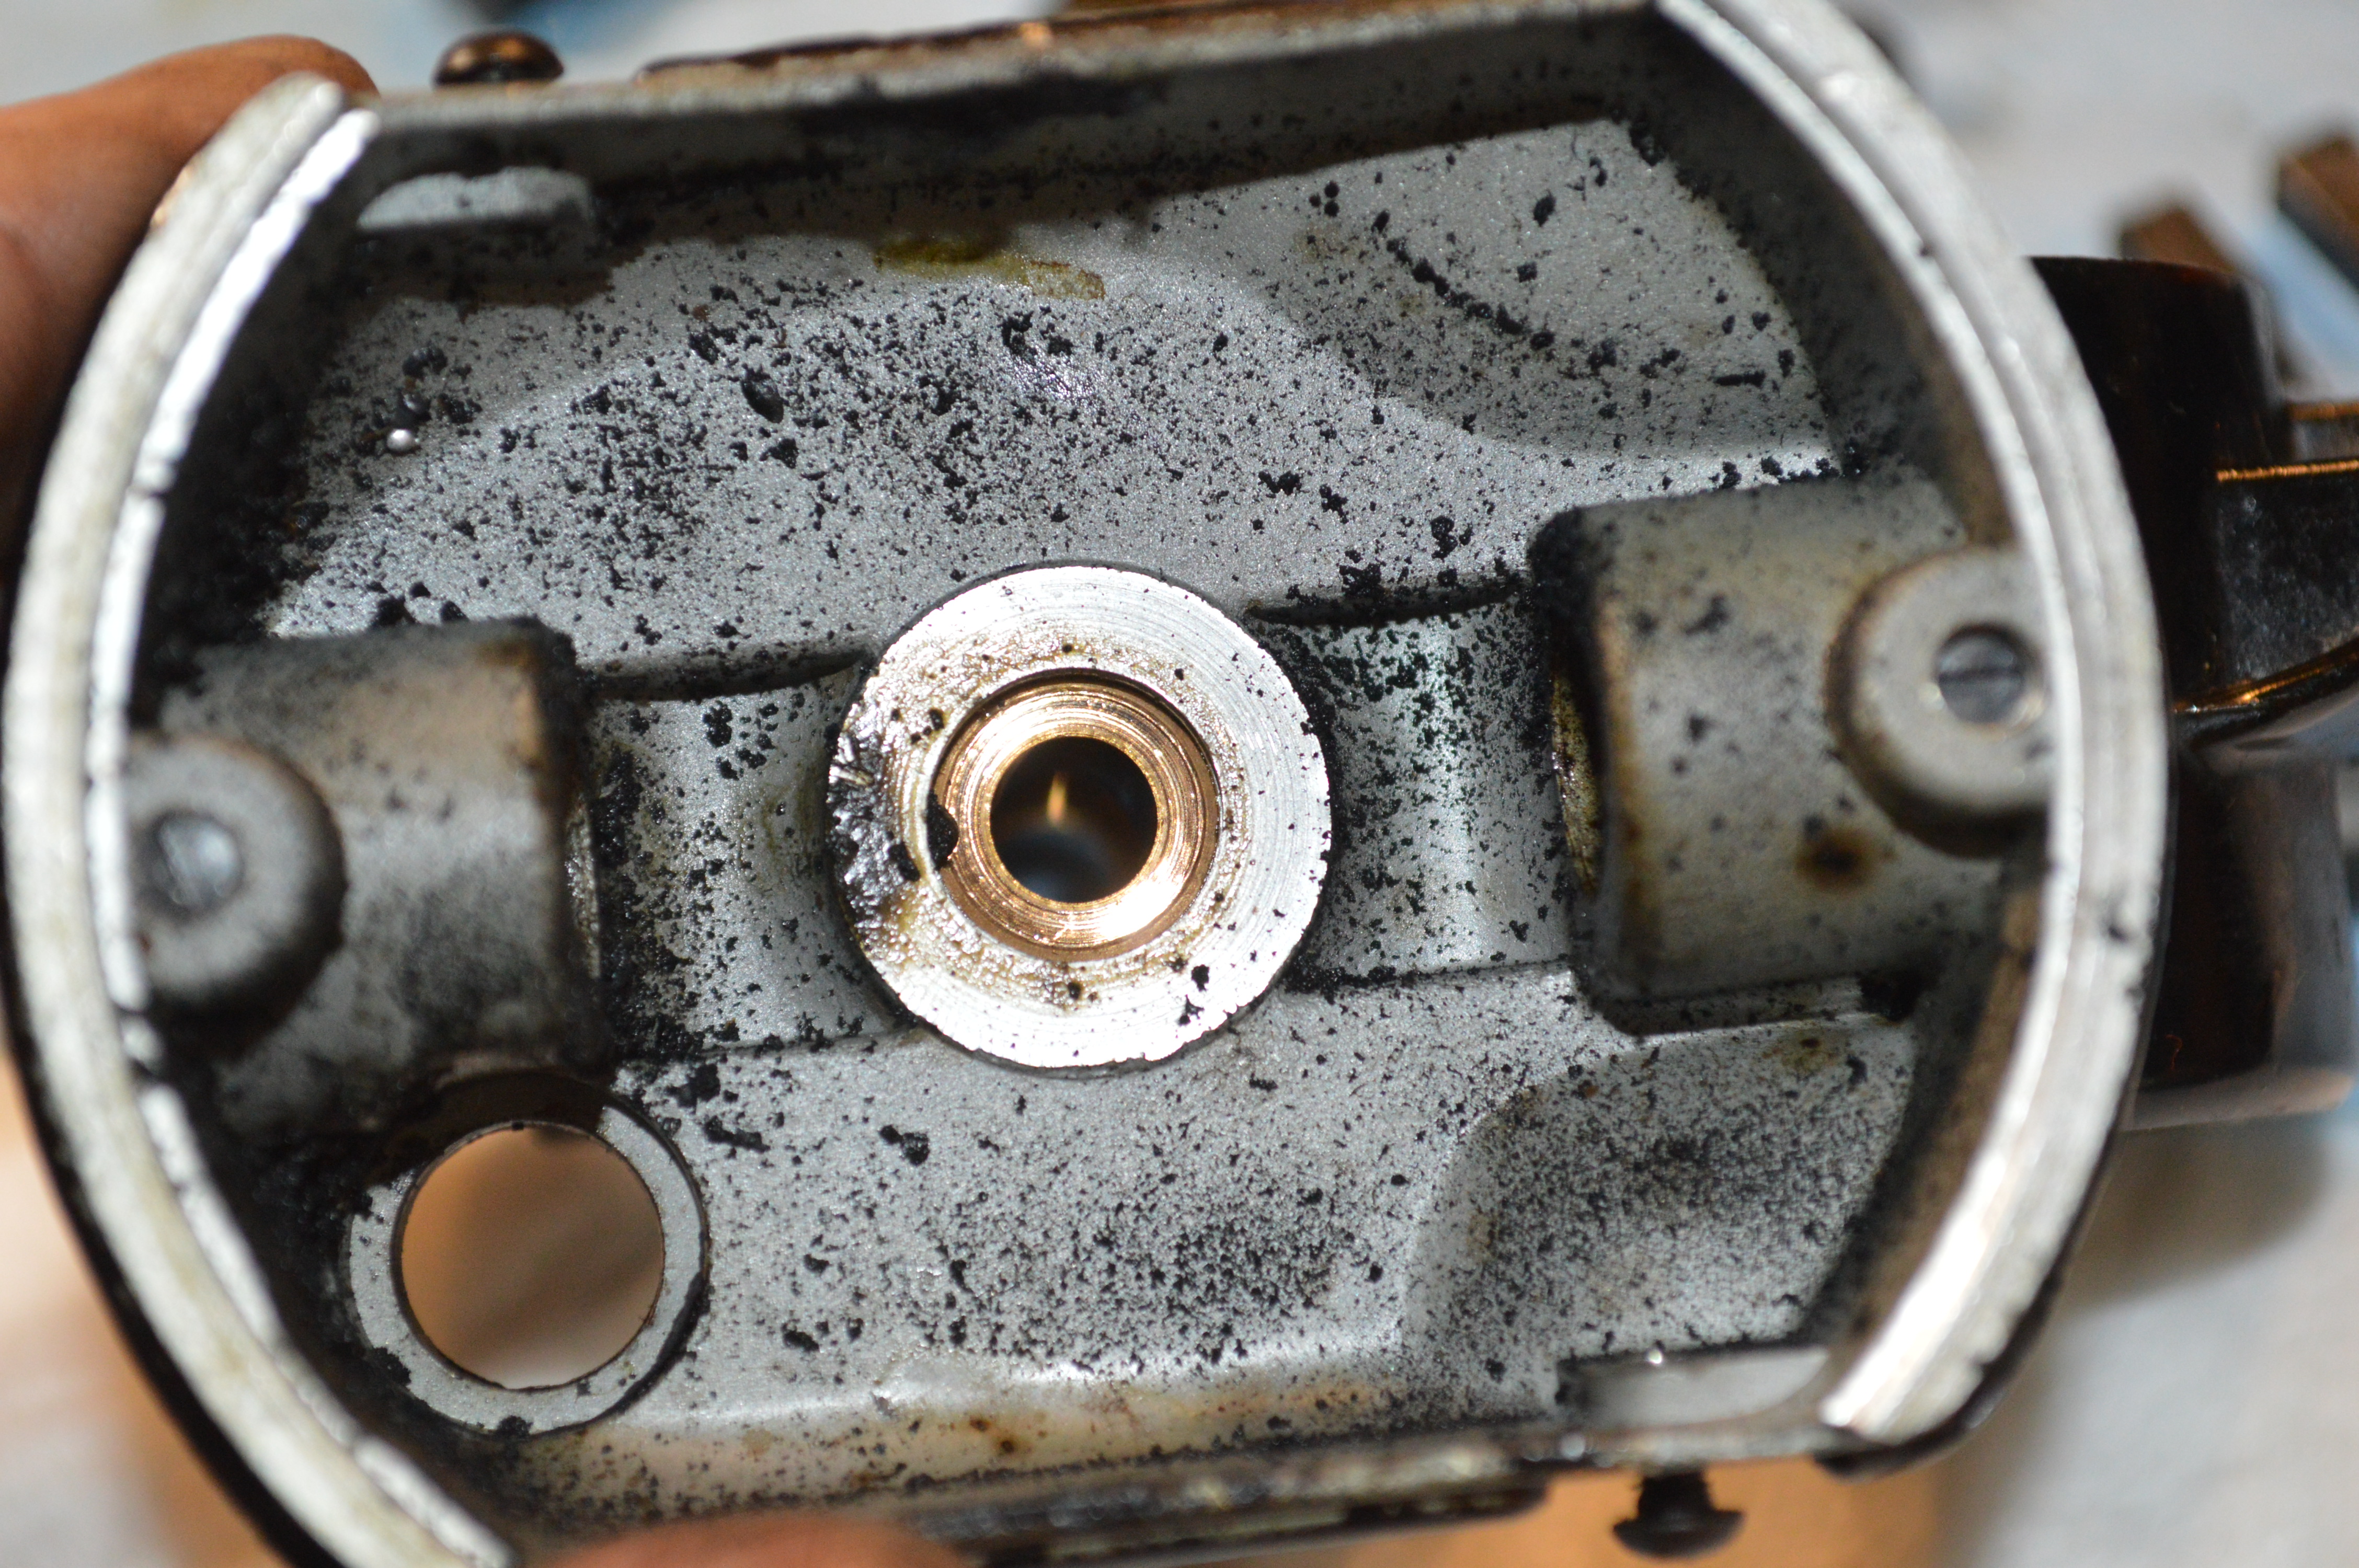
Now everything can be cleaned thoroughly, starting with motor housing and removing the old grease from the grease tubes… first by picking it out, then soaking the housing in kerosene, and finishing it up with compressed air
Old Grease
Debris inside of Housing
But first, I want to point your attention to the tip of the tooth pick in the next picture.
FYI… The tip of the tooth pick is touching a small hole in the bushing that is drilled thru to the grease tubes. This is almost always clogged and is cleaned out by pushing the toothpick thru the hole.
The motor housing is cleaned…
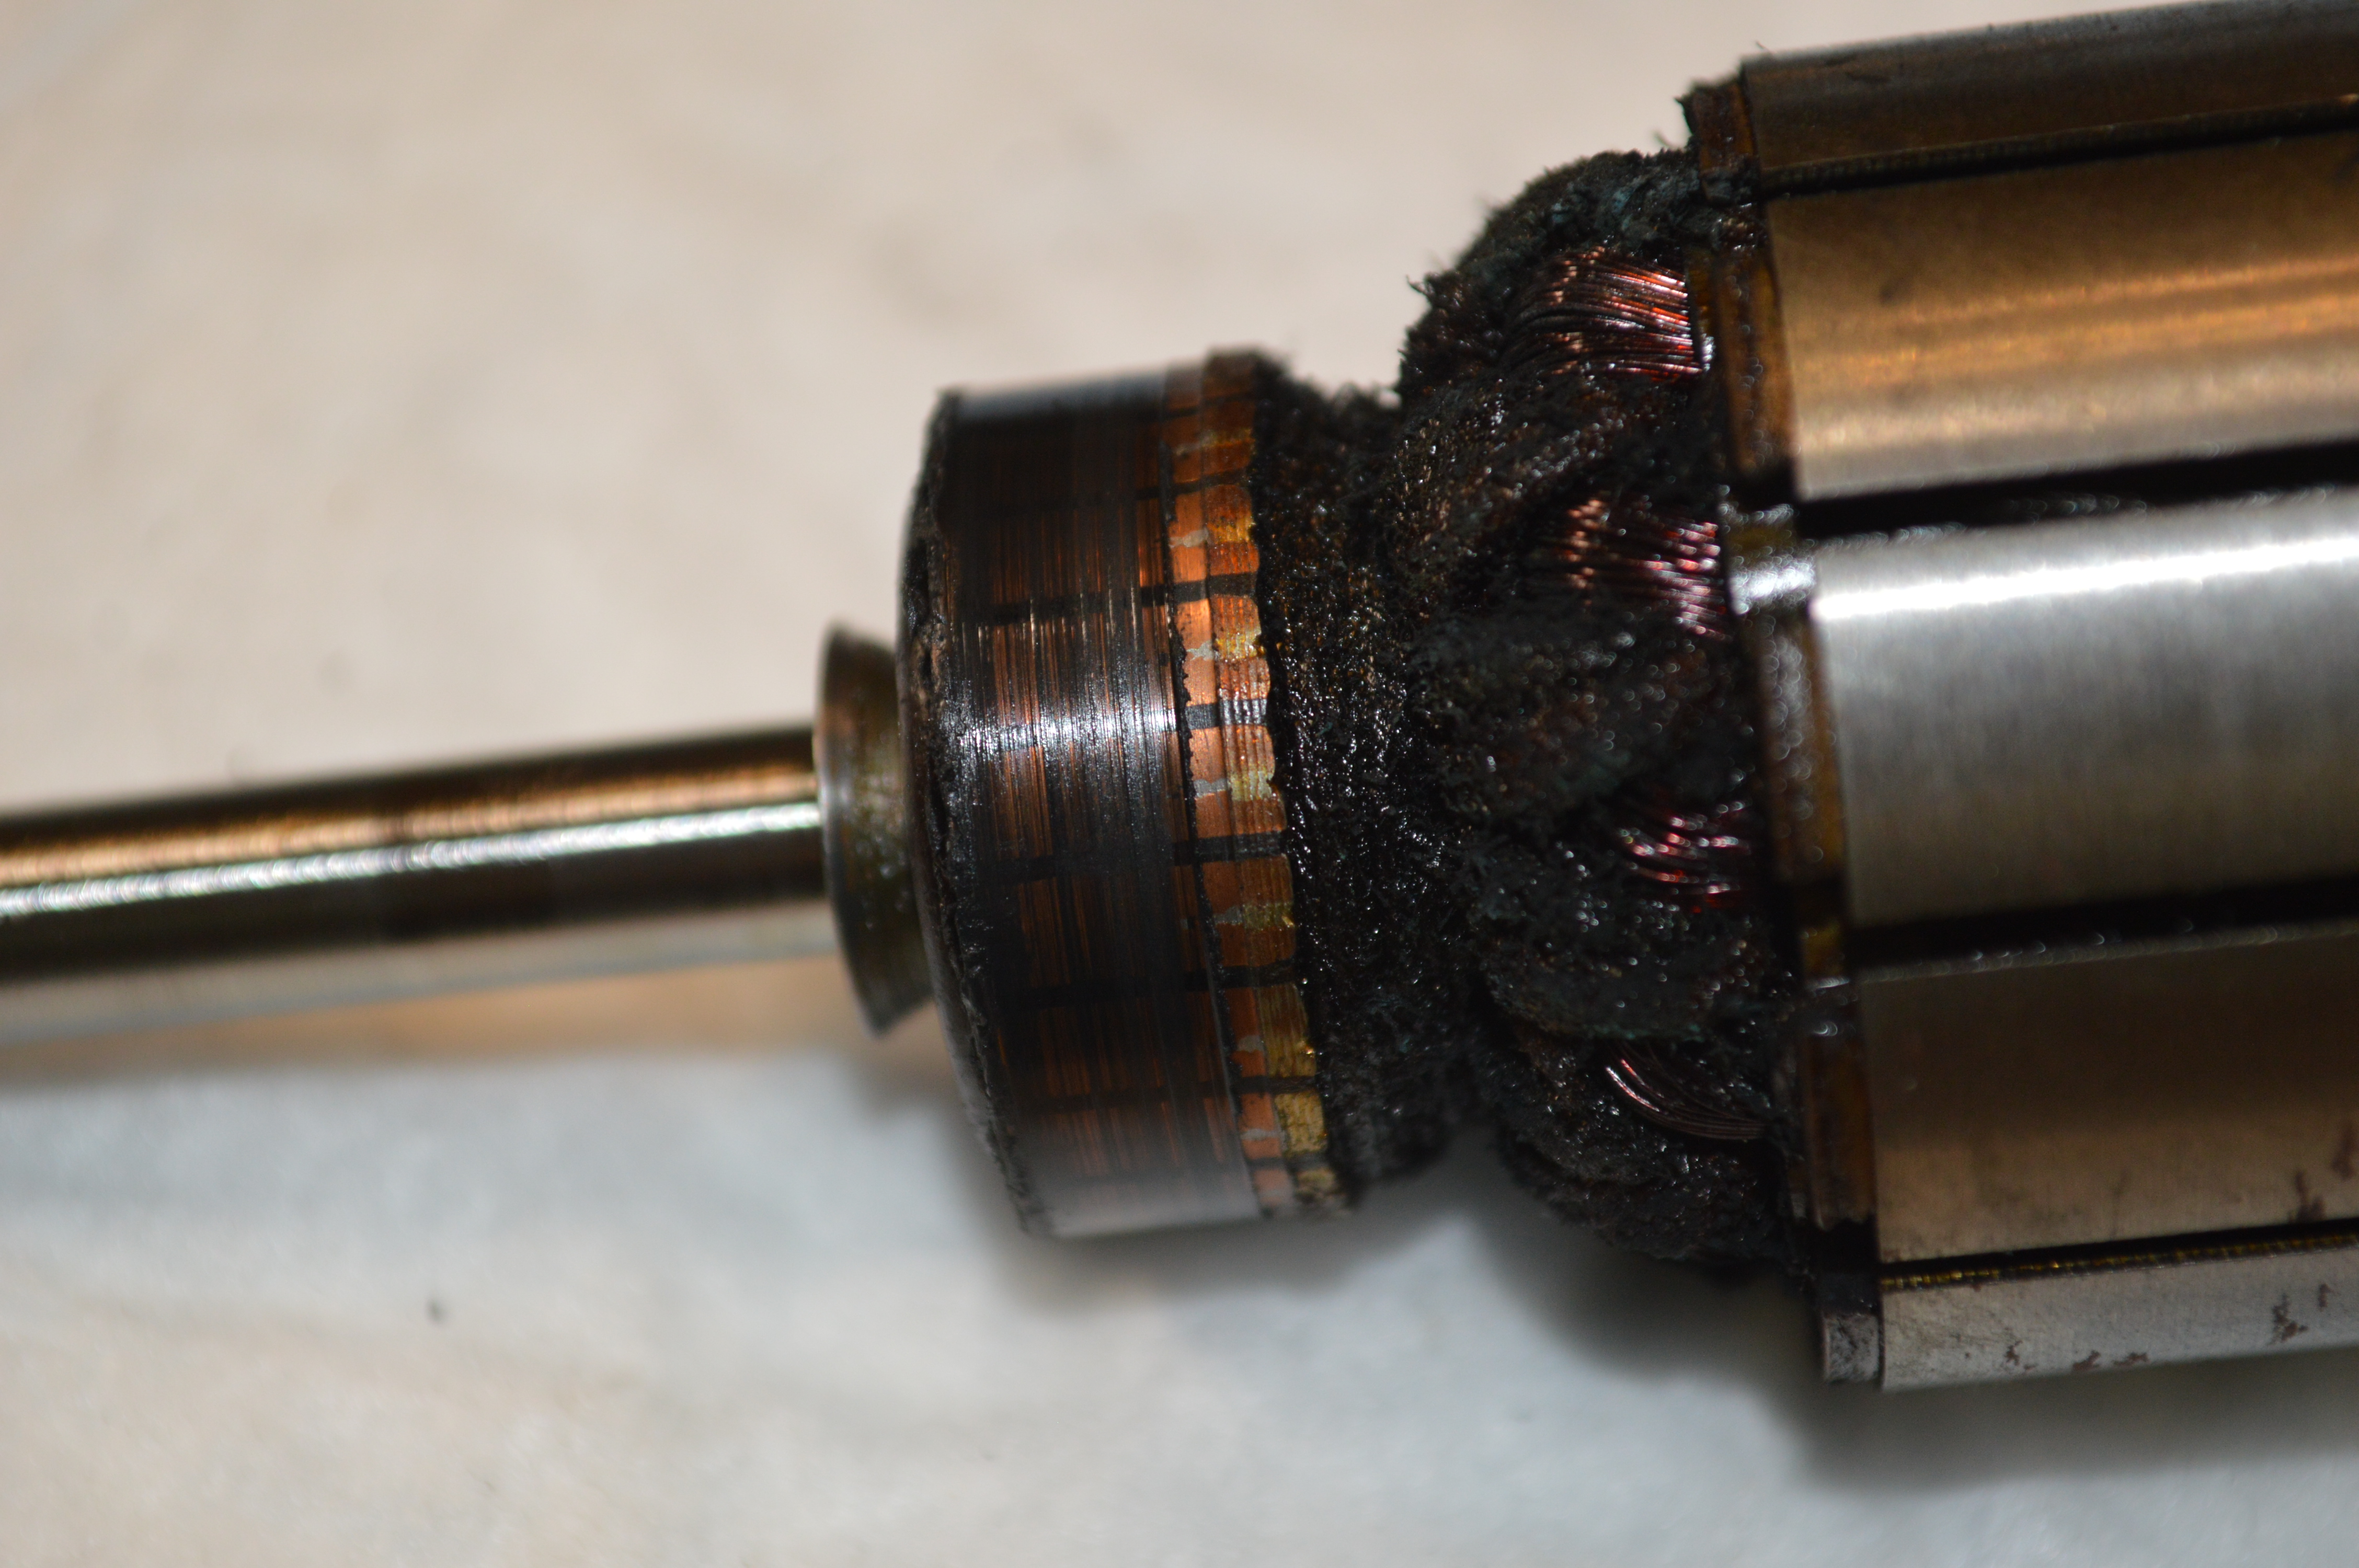
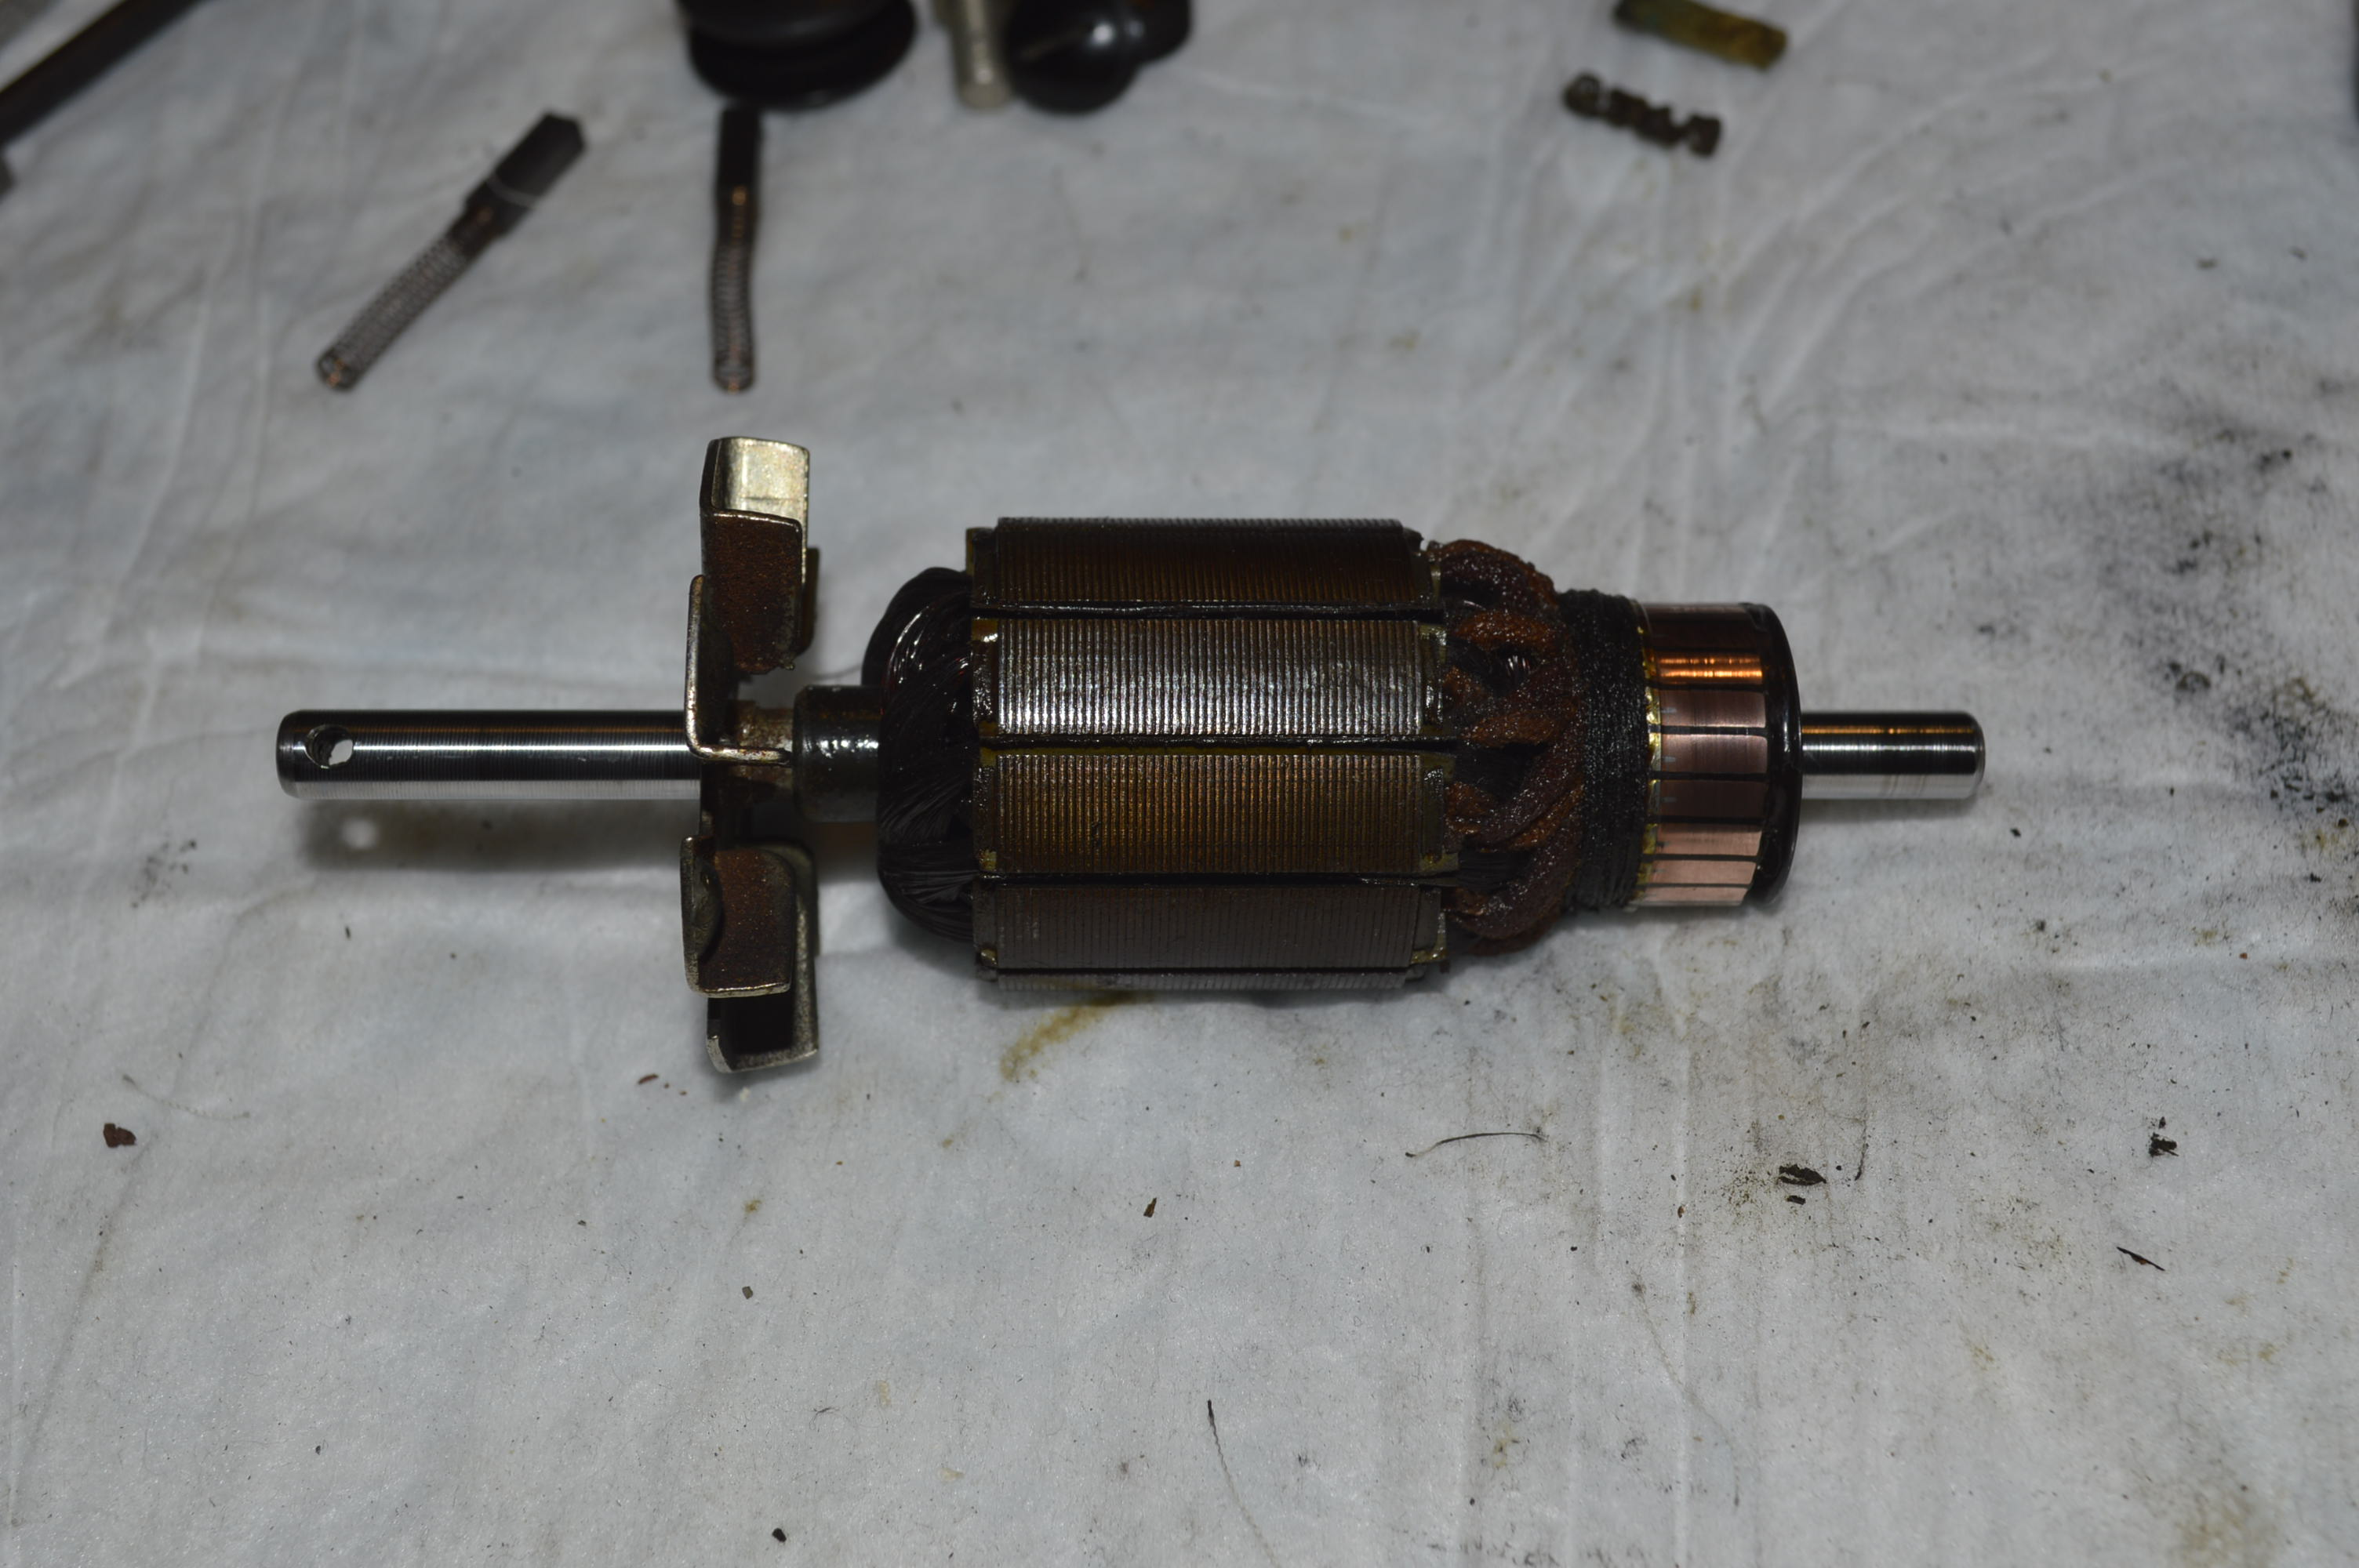
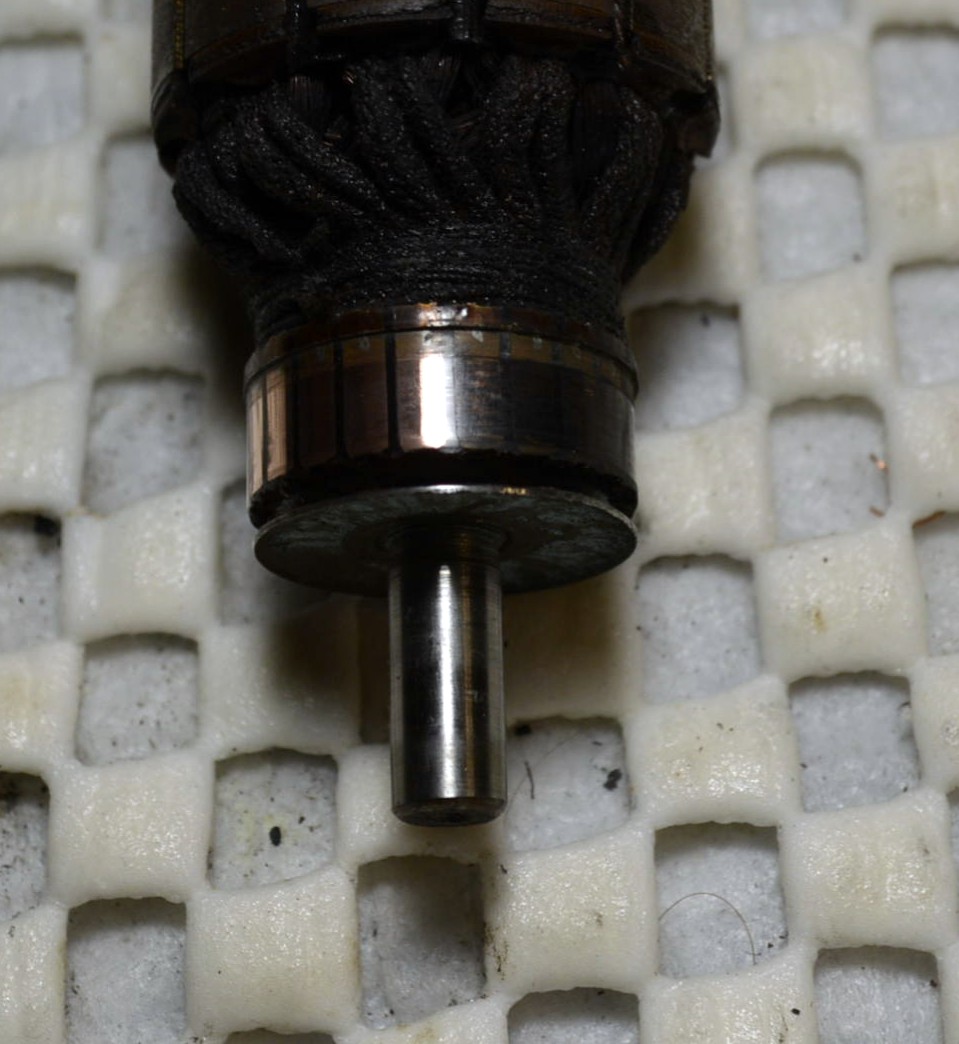
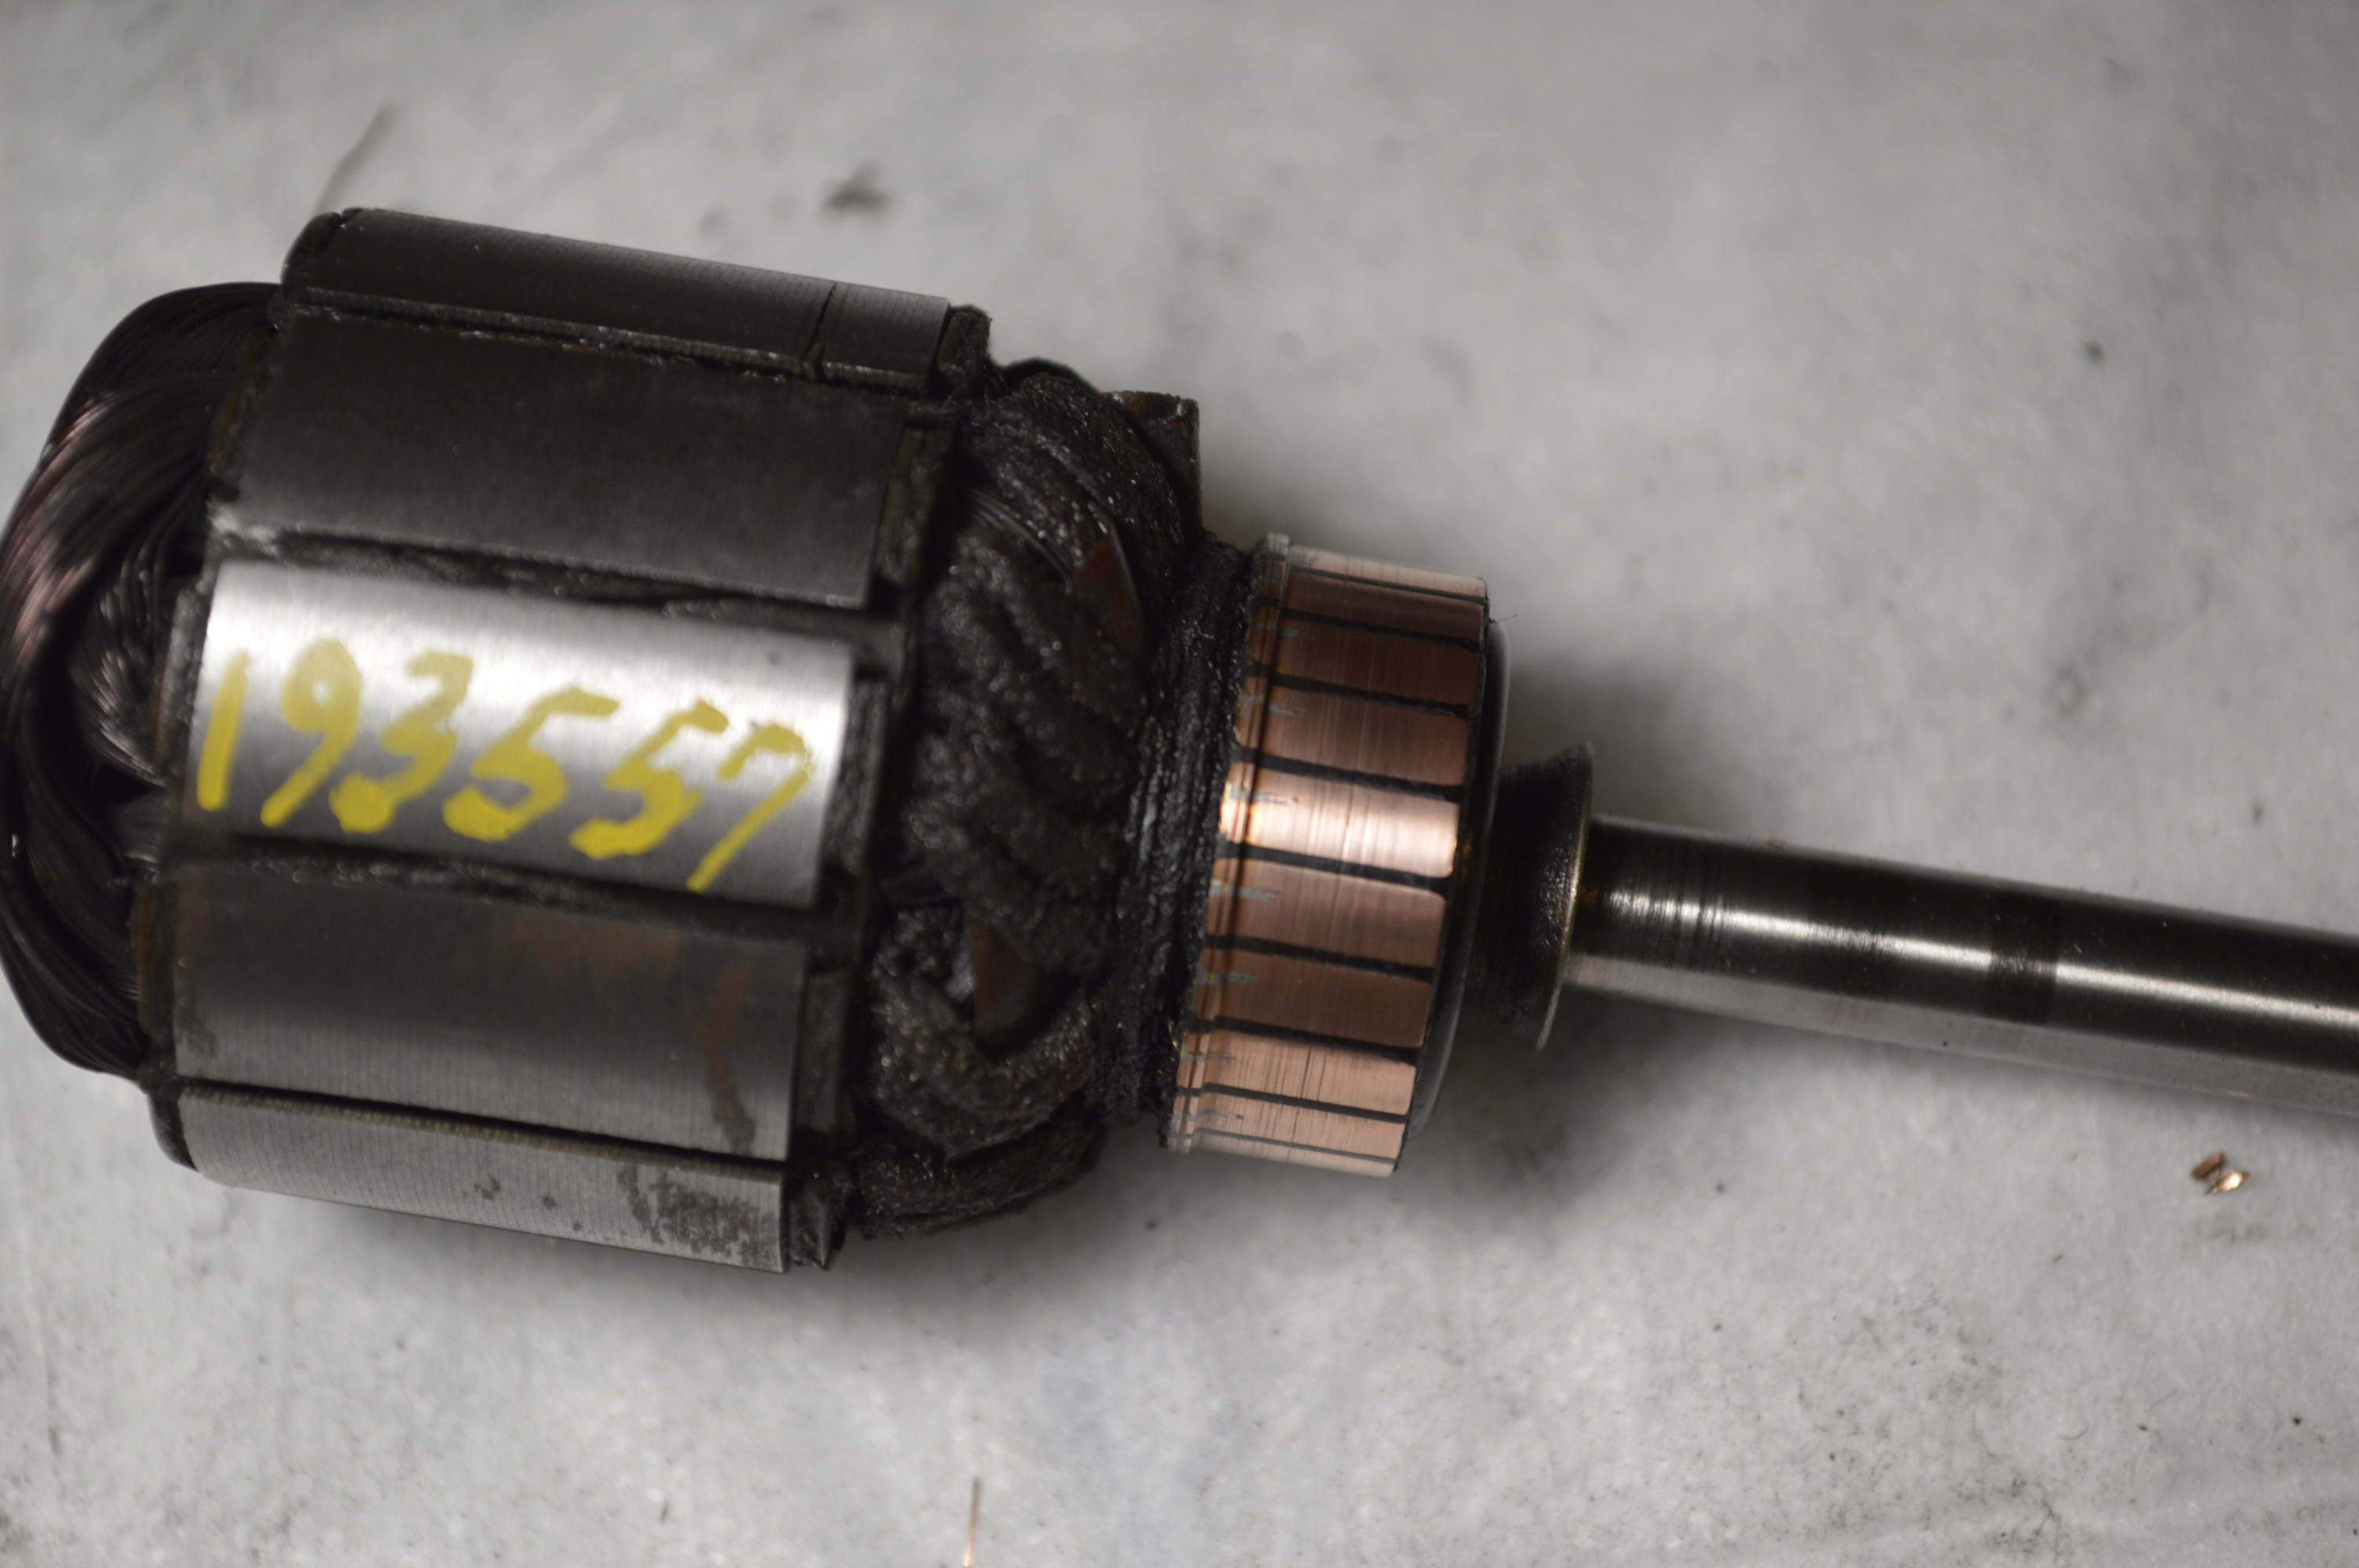
Next the motor armature is polished…
Before
After
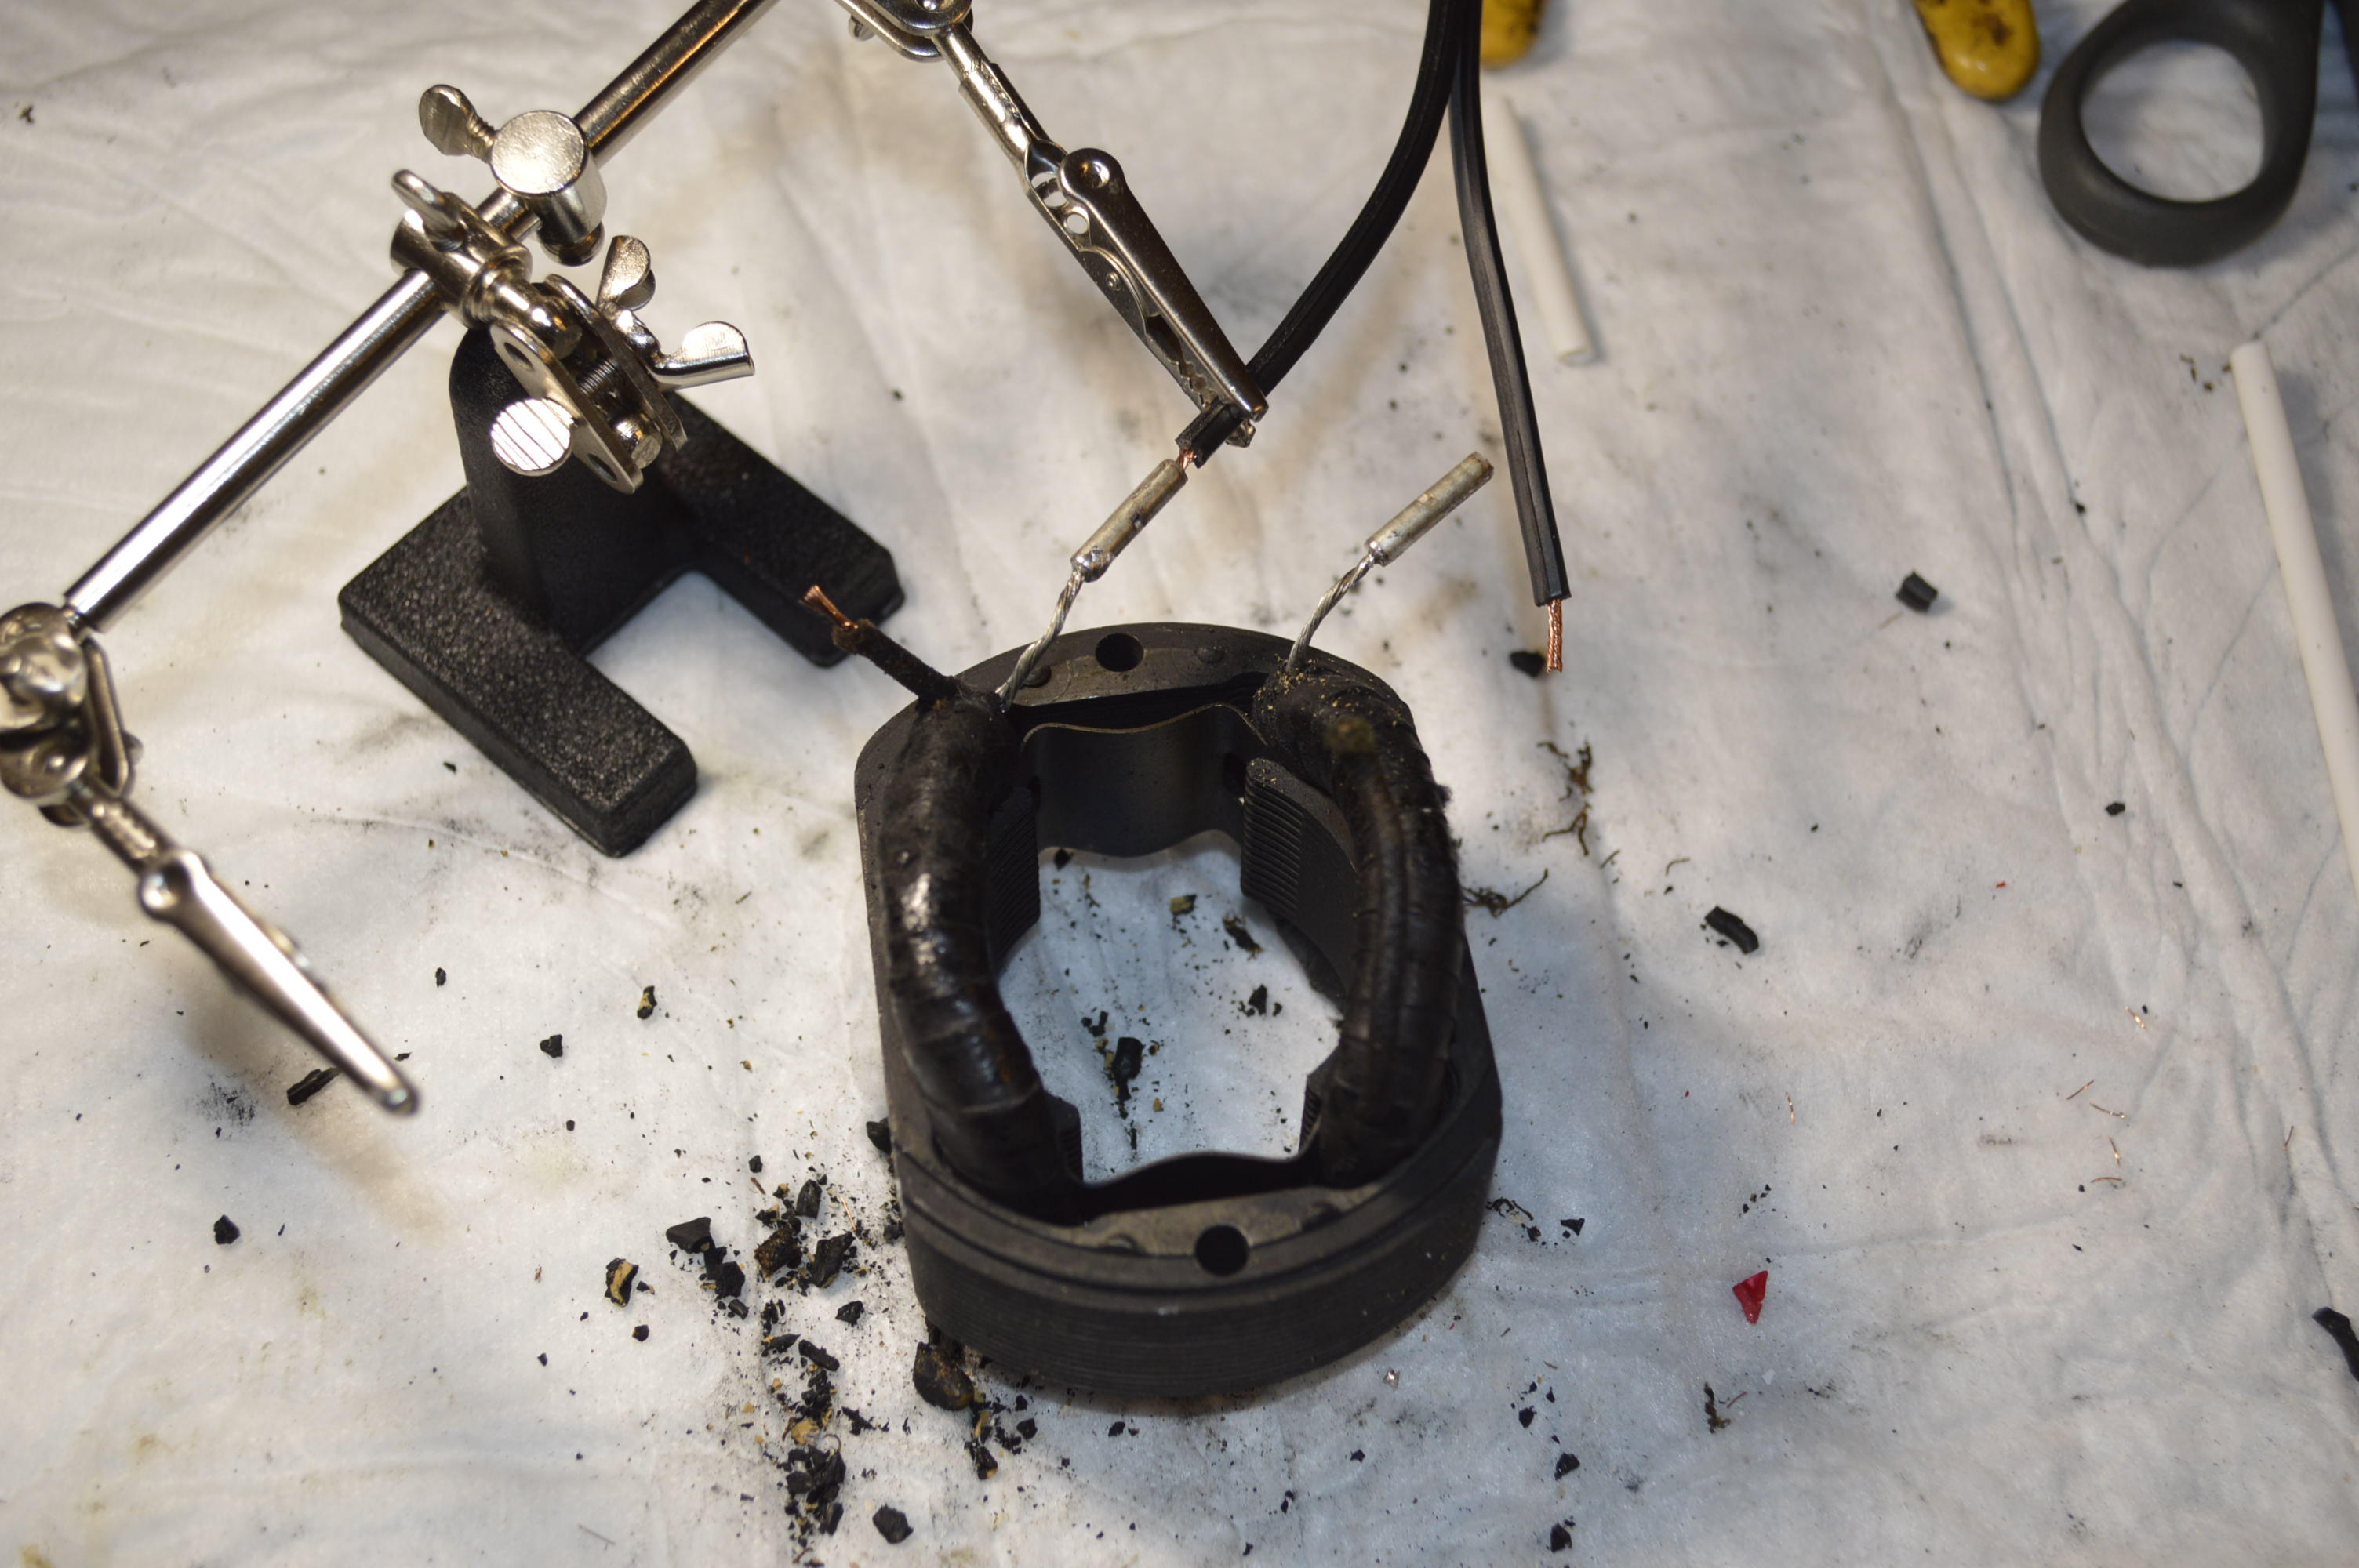
The stator coil (and the armature) is sprayed with an electronics component cleaning spray. All of the other parts are thoroughly cleaned, and the assembly begins.
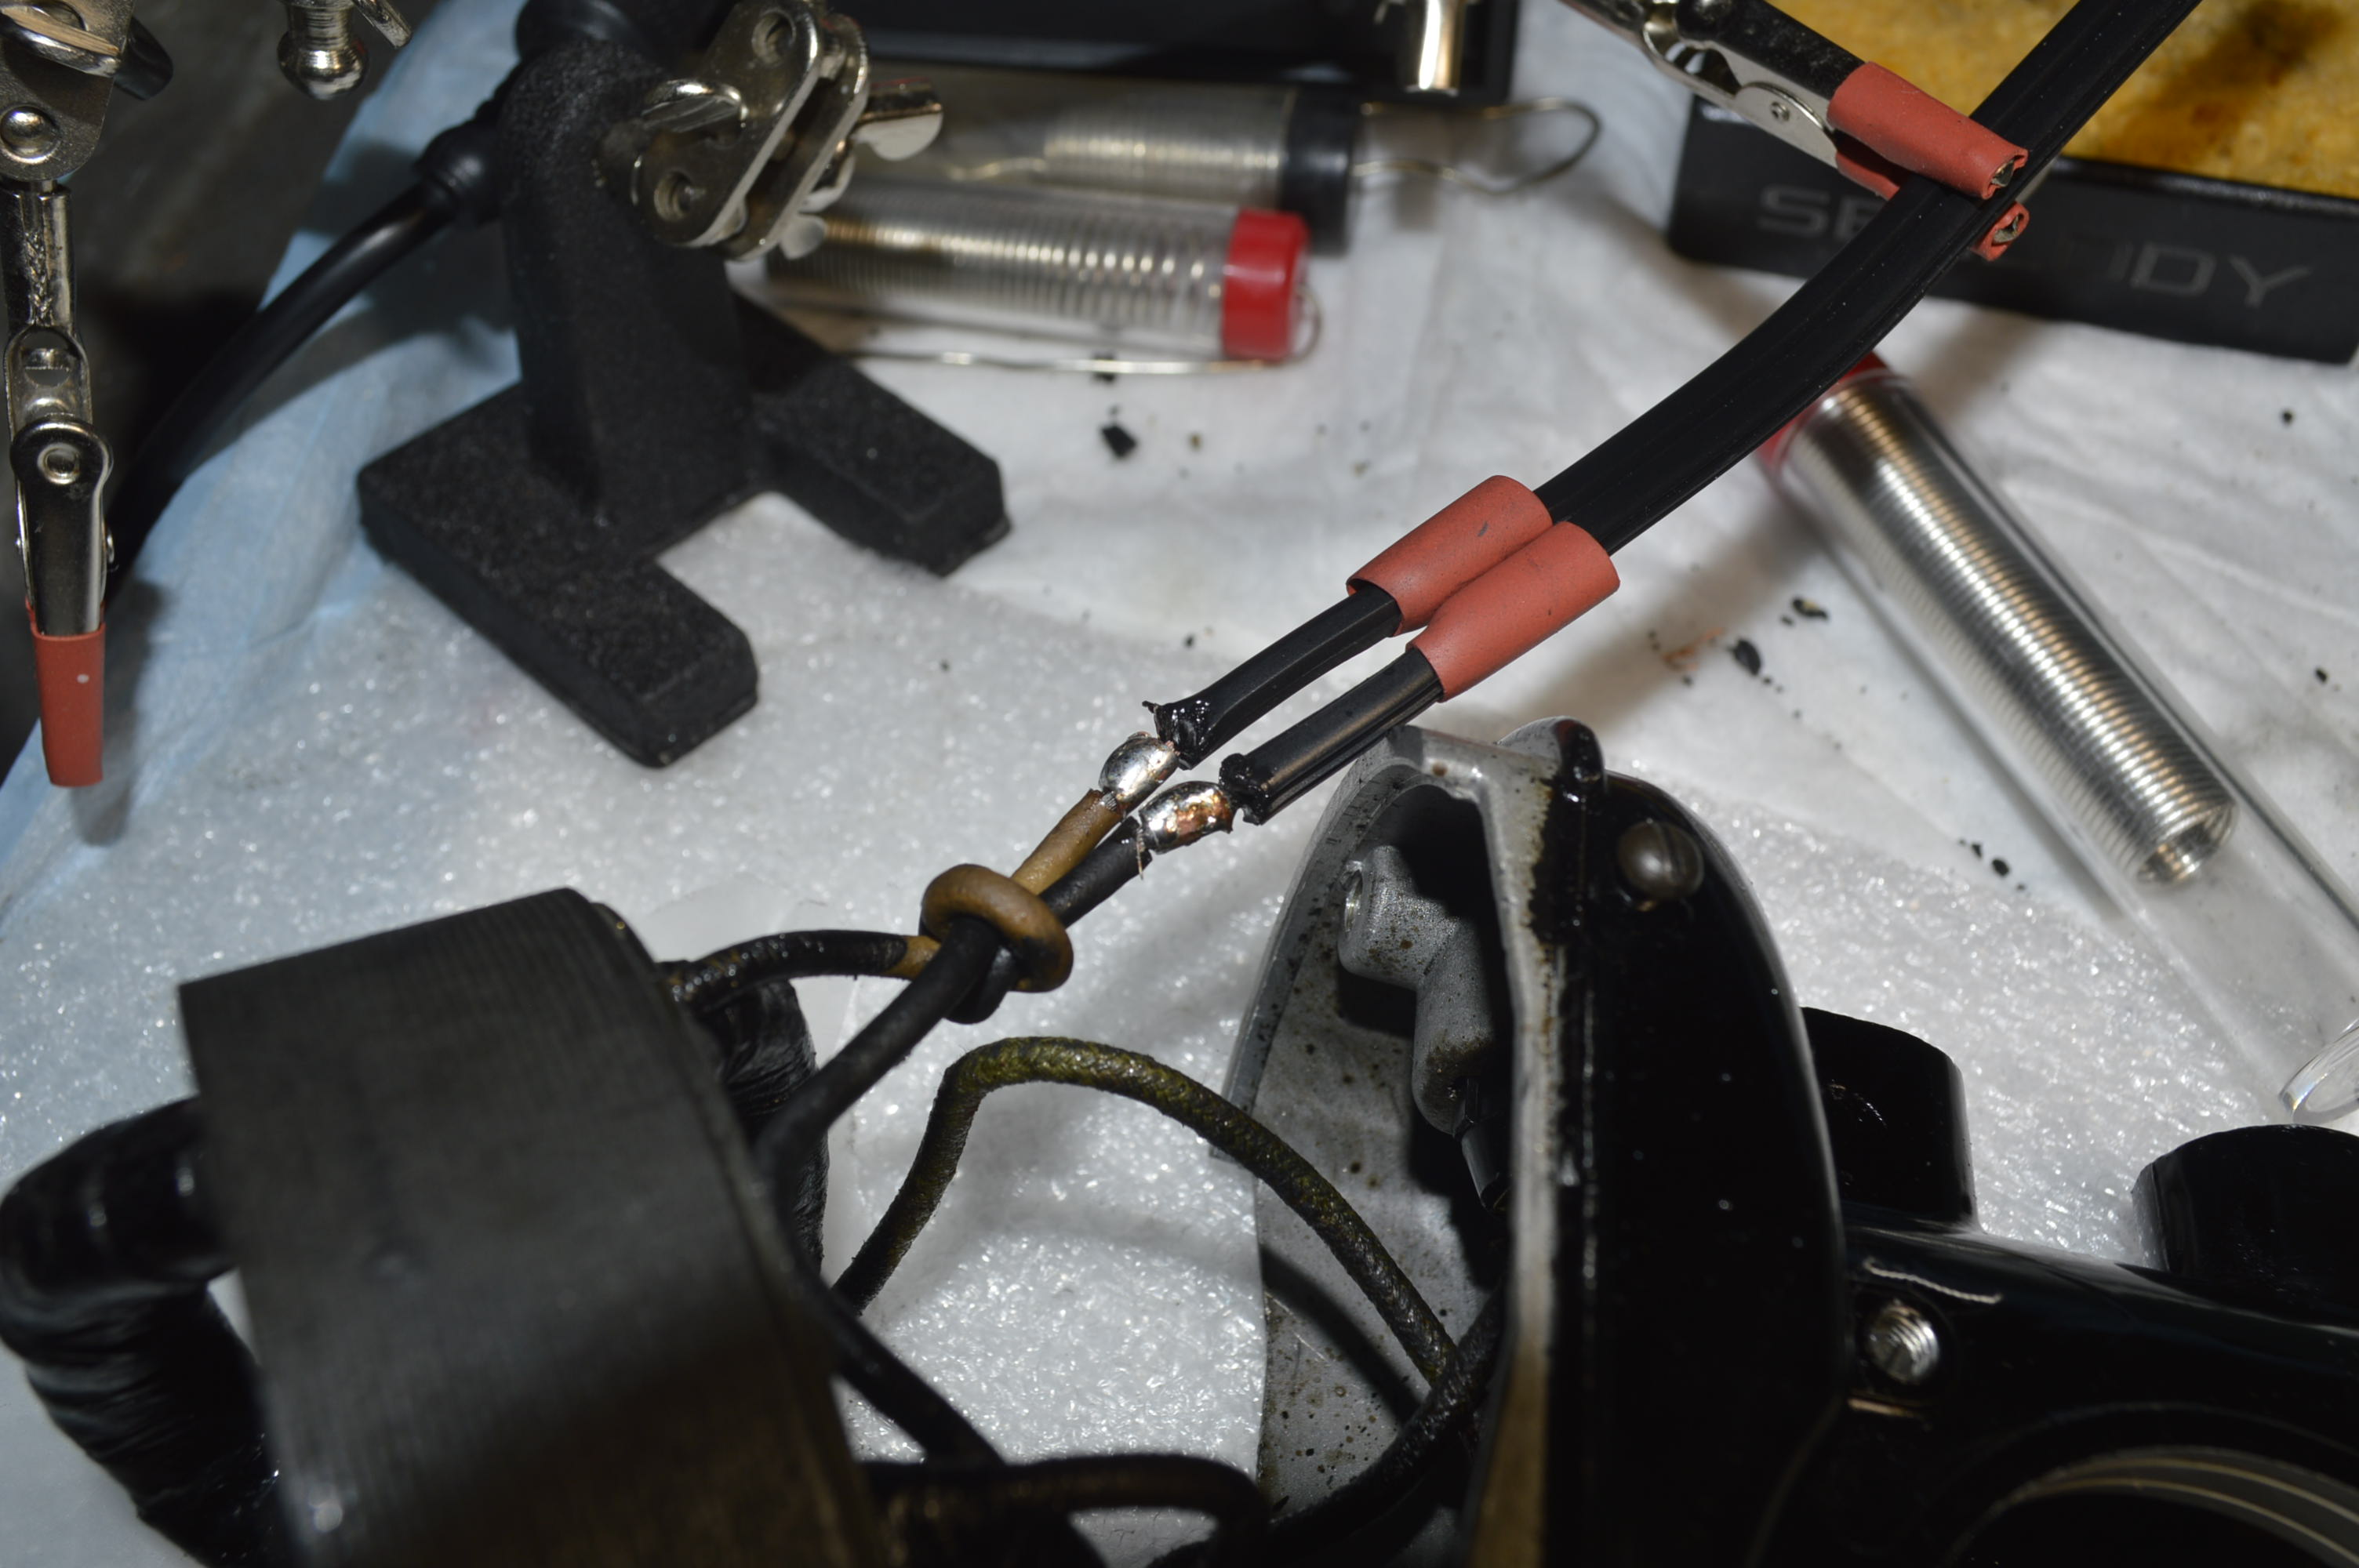
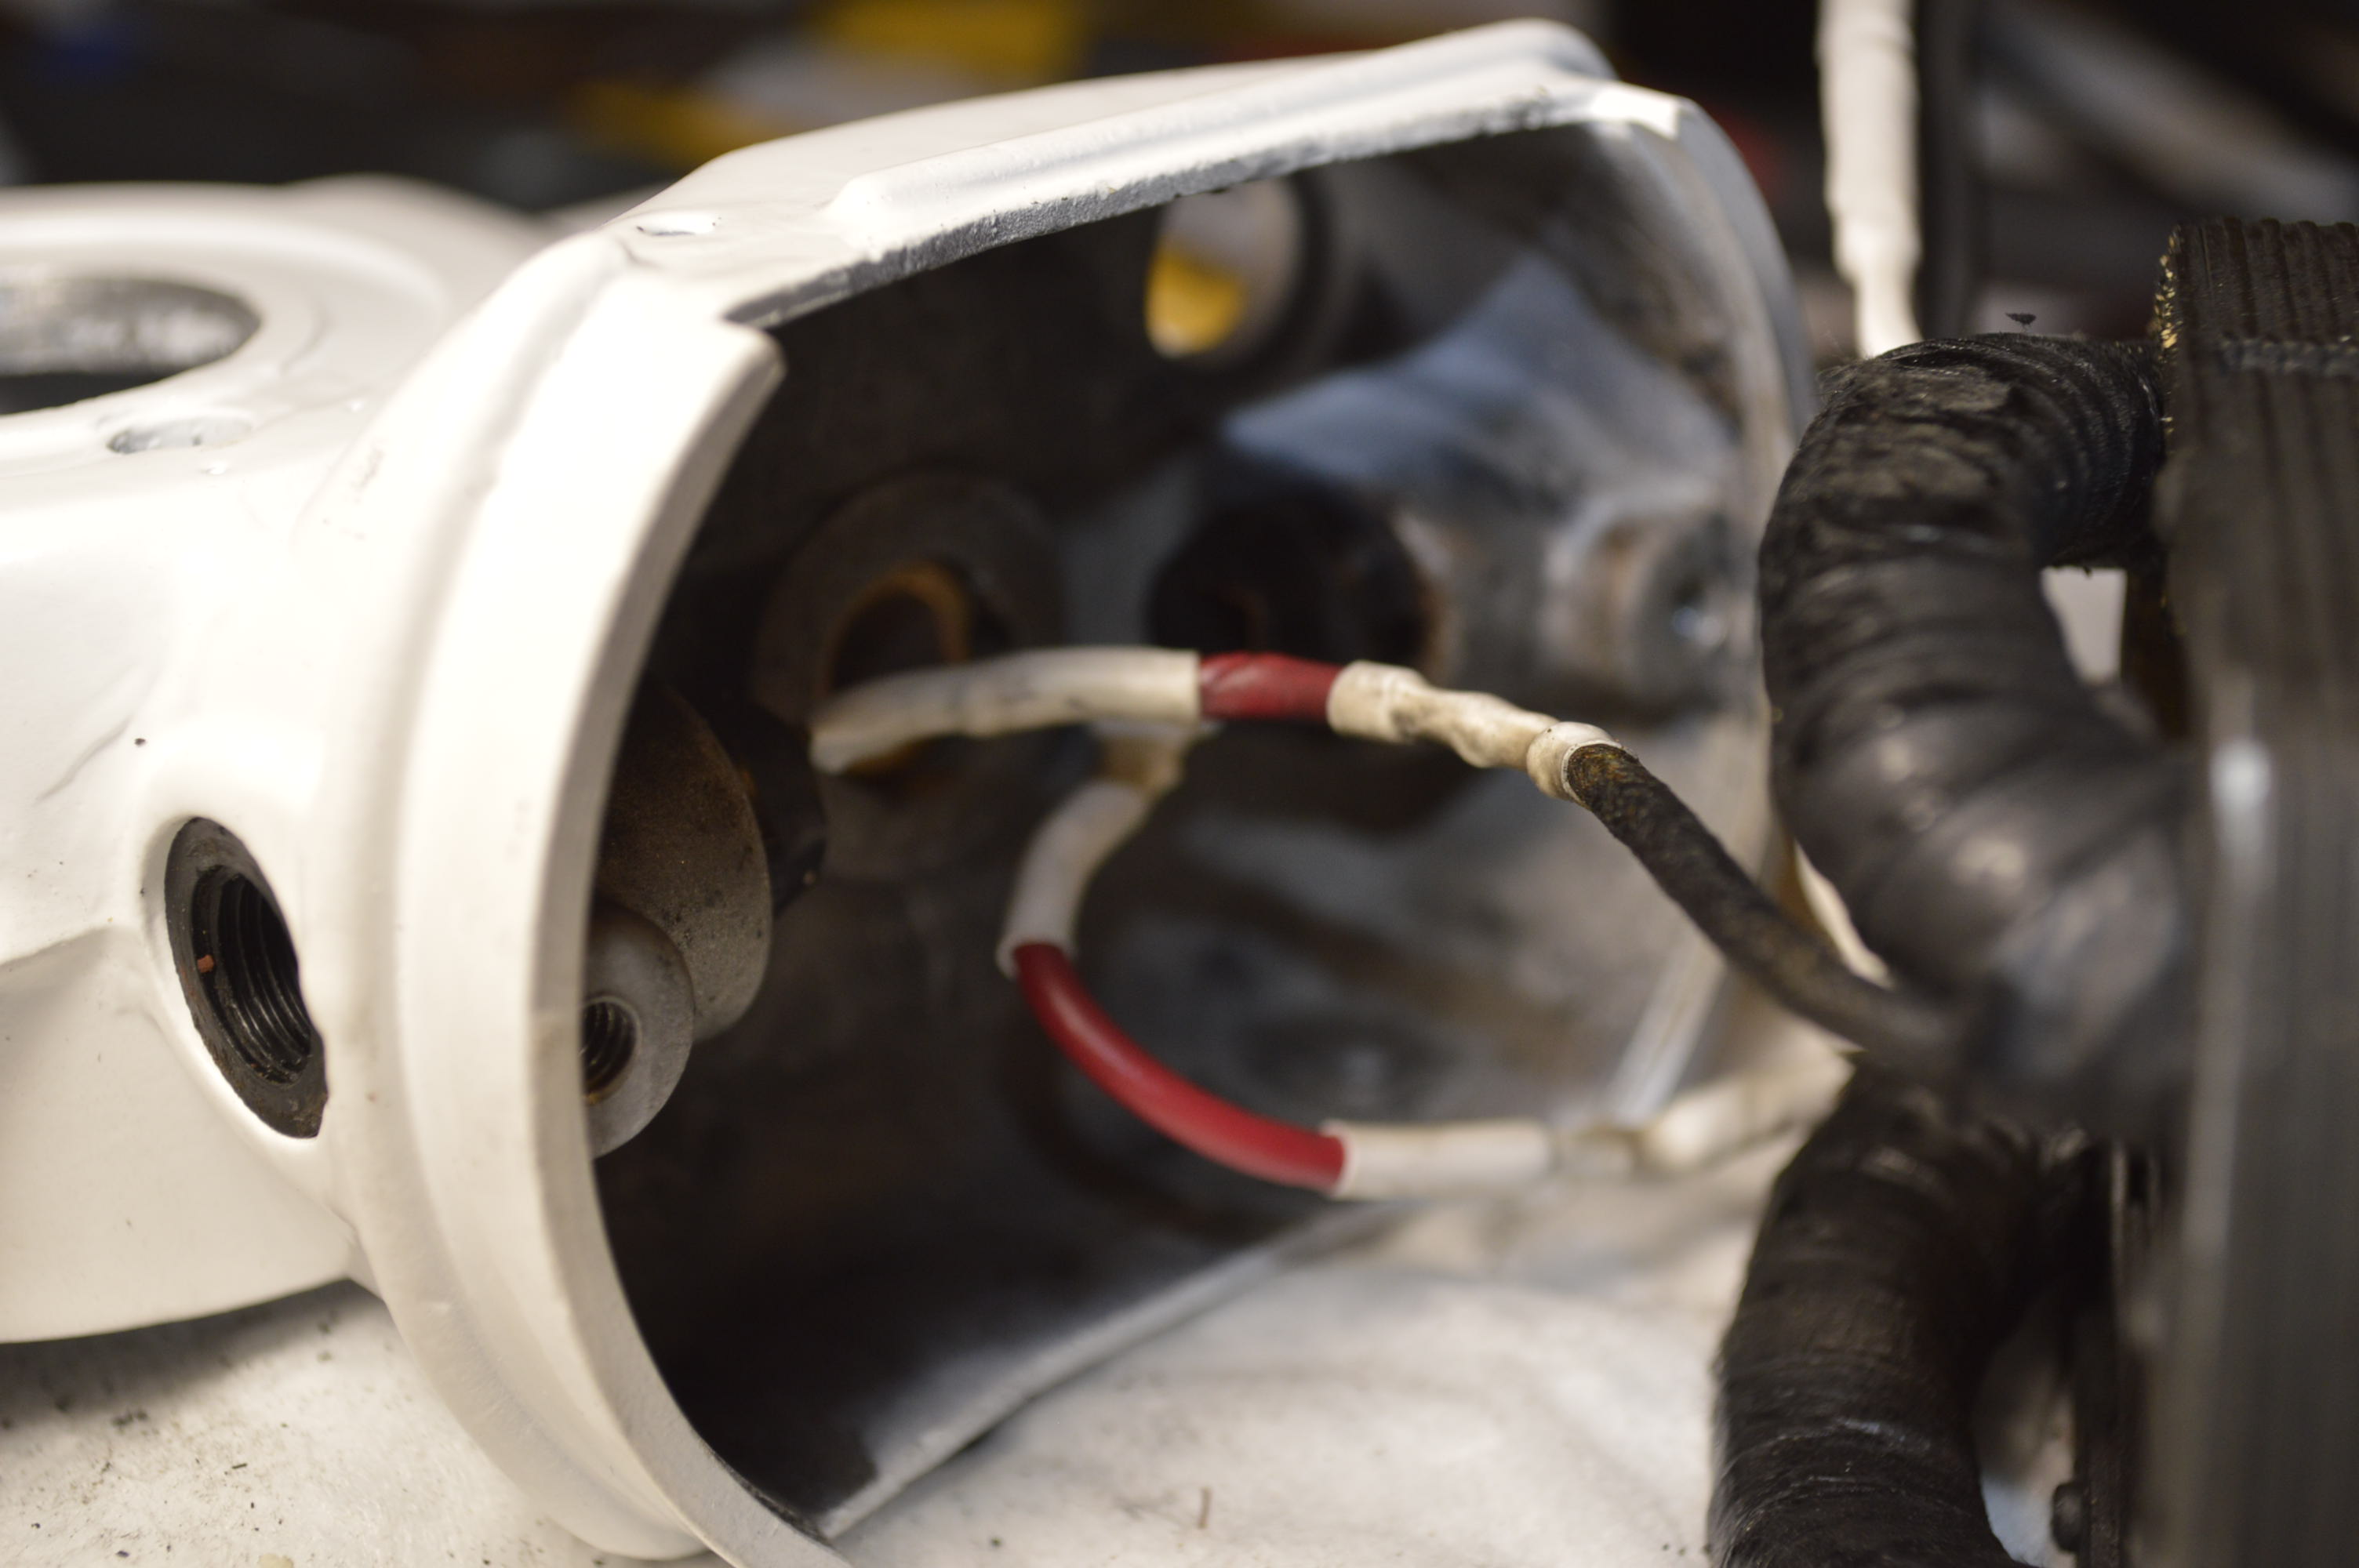
The brush holders are reinstalled, and the stator wires are soldered to the brush holders. The primary wires are next, new wires are soldered to the stator wires, and heat shrink tubing is used to insulate the solder joint.
Shrink tubing
soldered
Solder sleeves
For this connection, I use solder sleeves for a smooth strong joint.
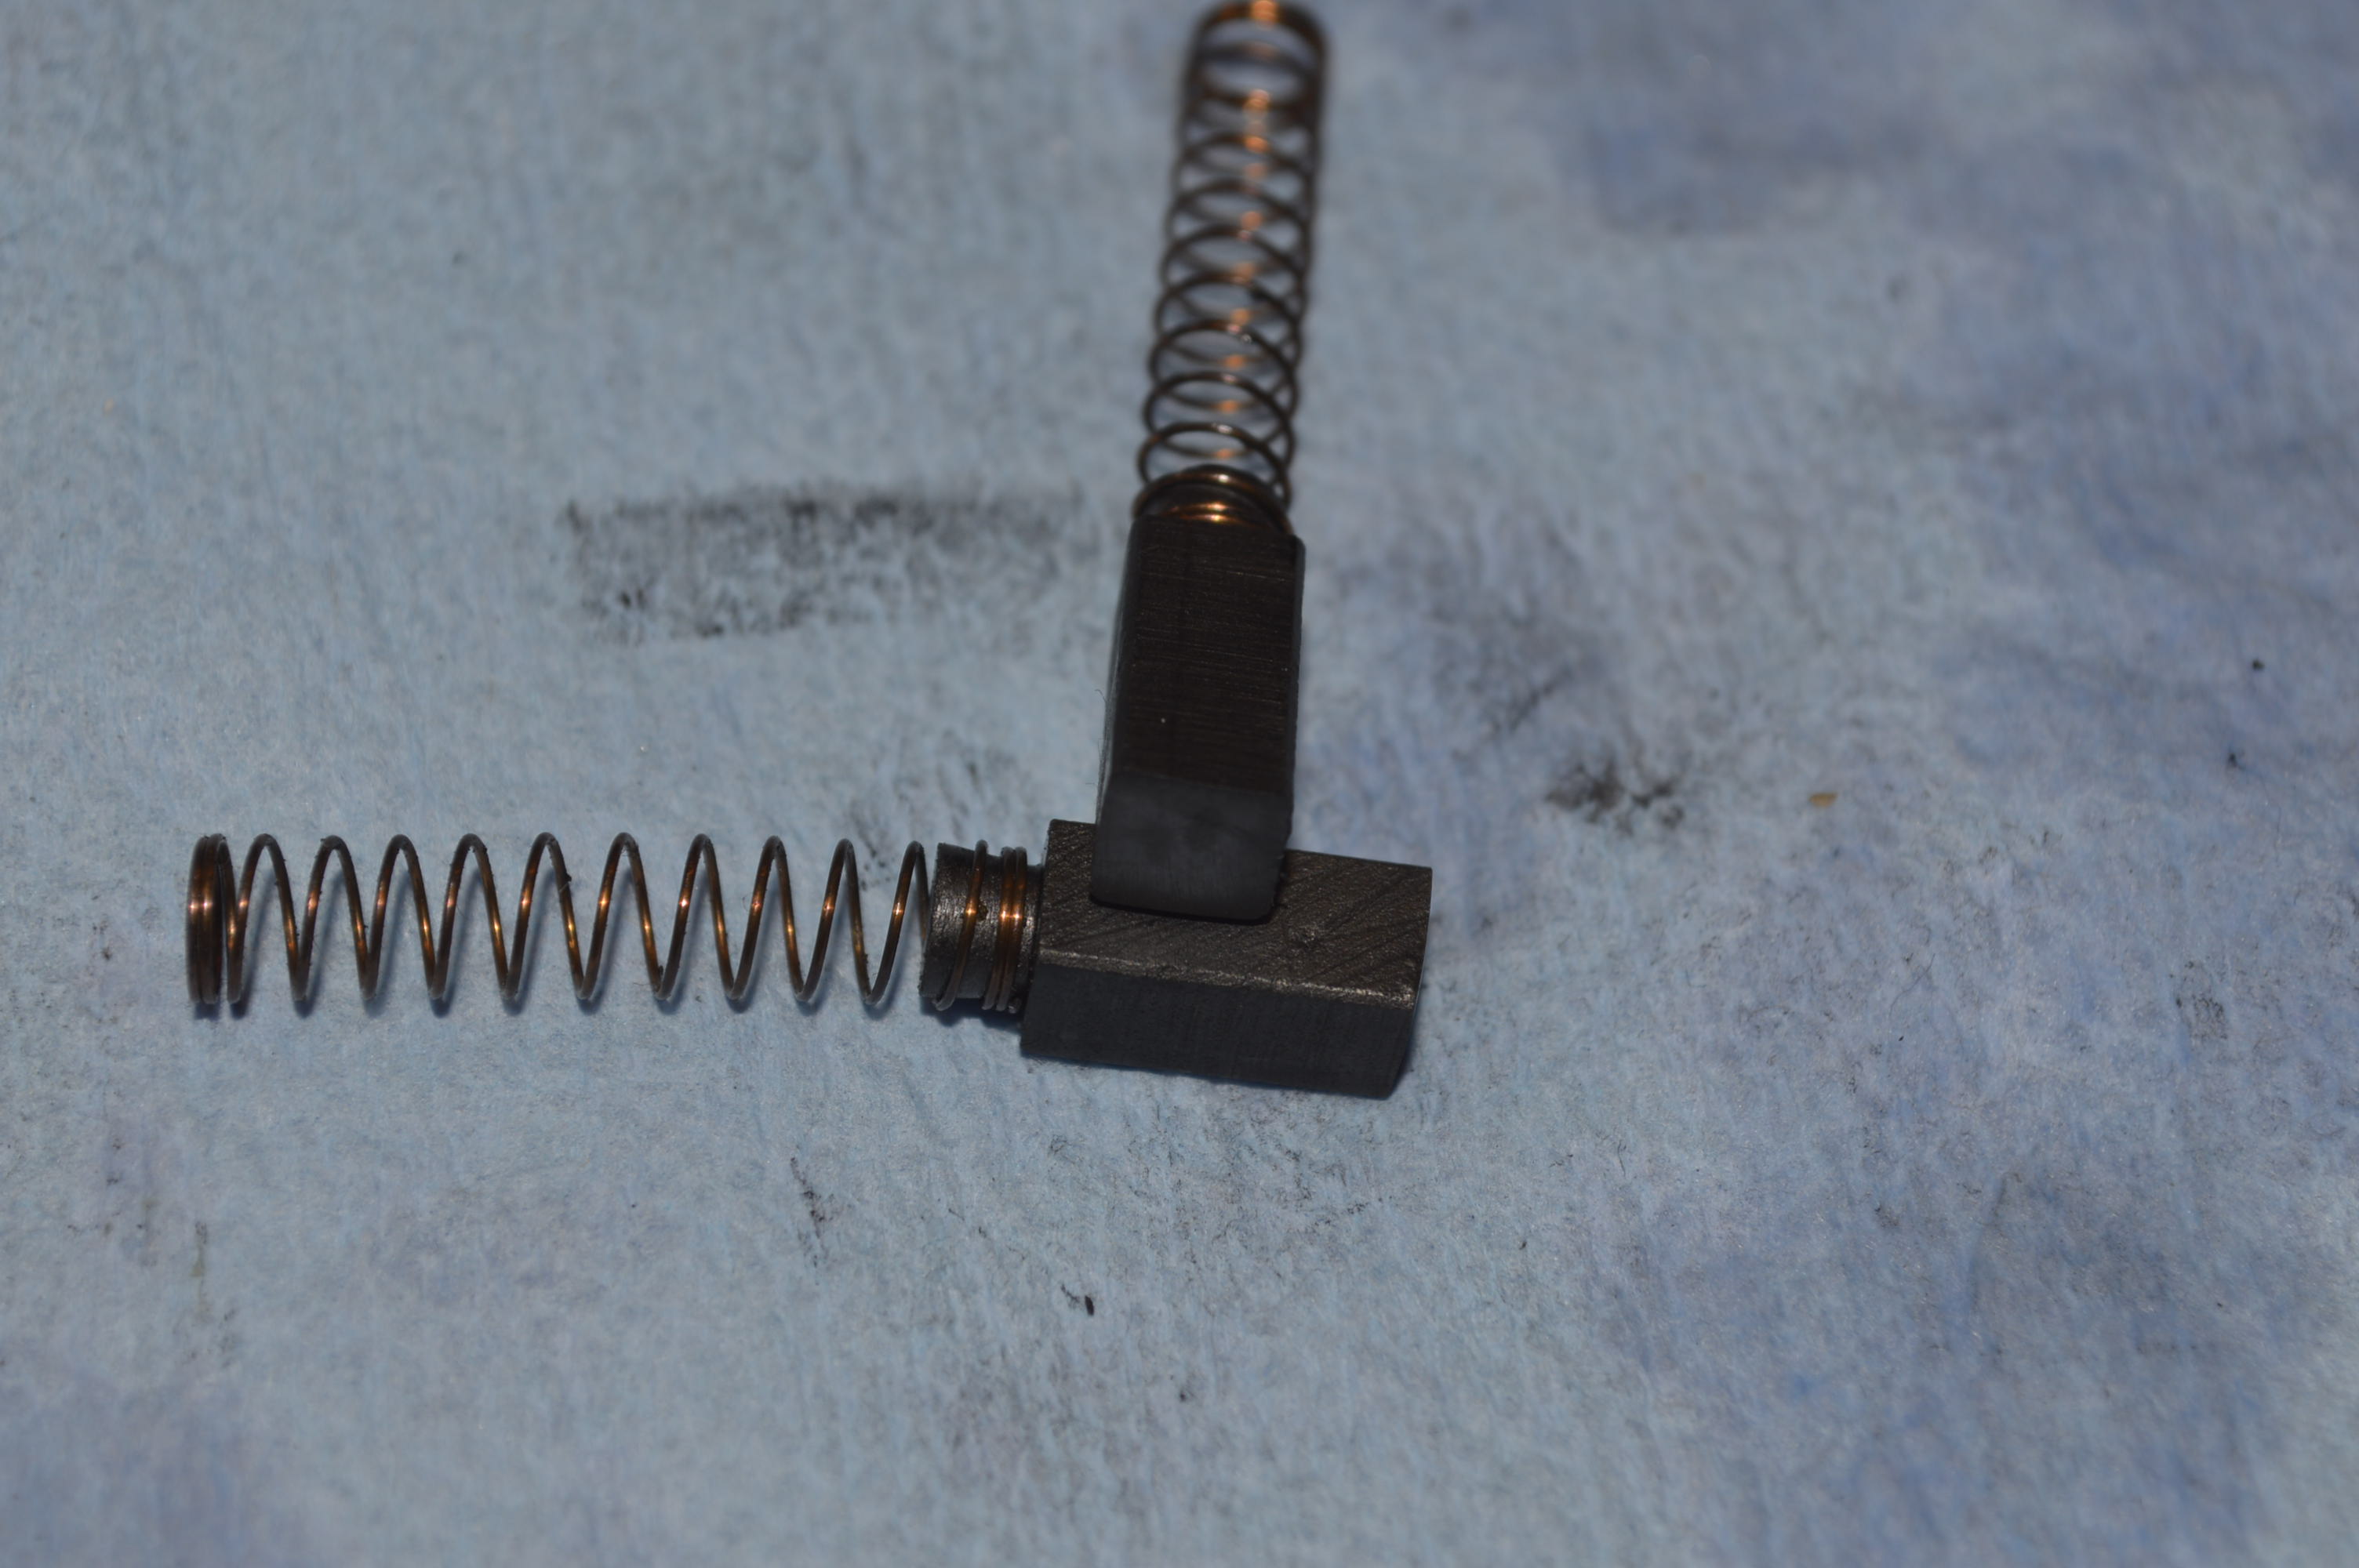
Now the motor brushes are reconditioned… they are still in good condition, but the brushes will be cleaned and then squared at the ends.
Before…
Cleaned…
And squared…
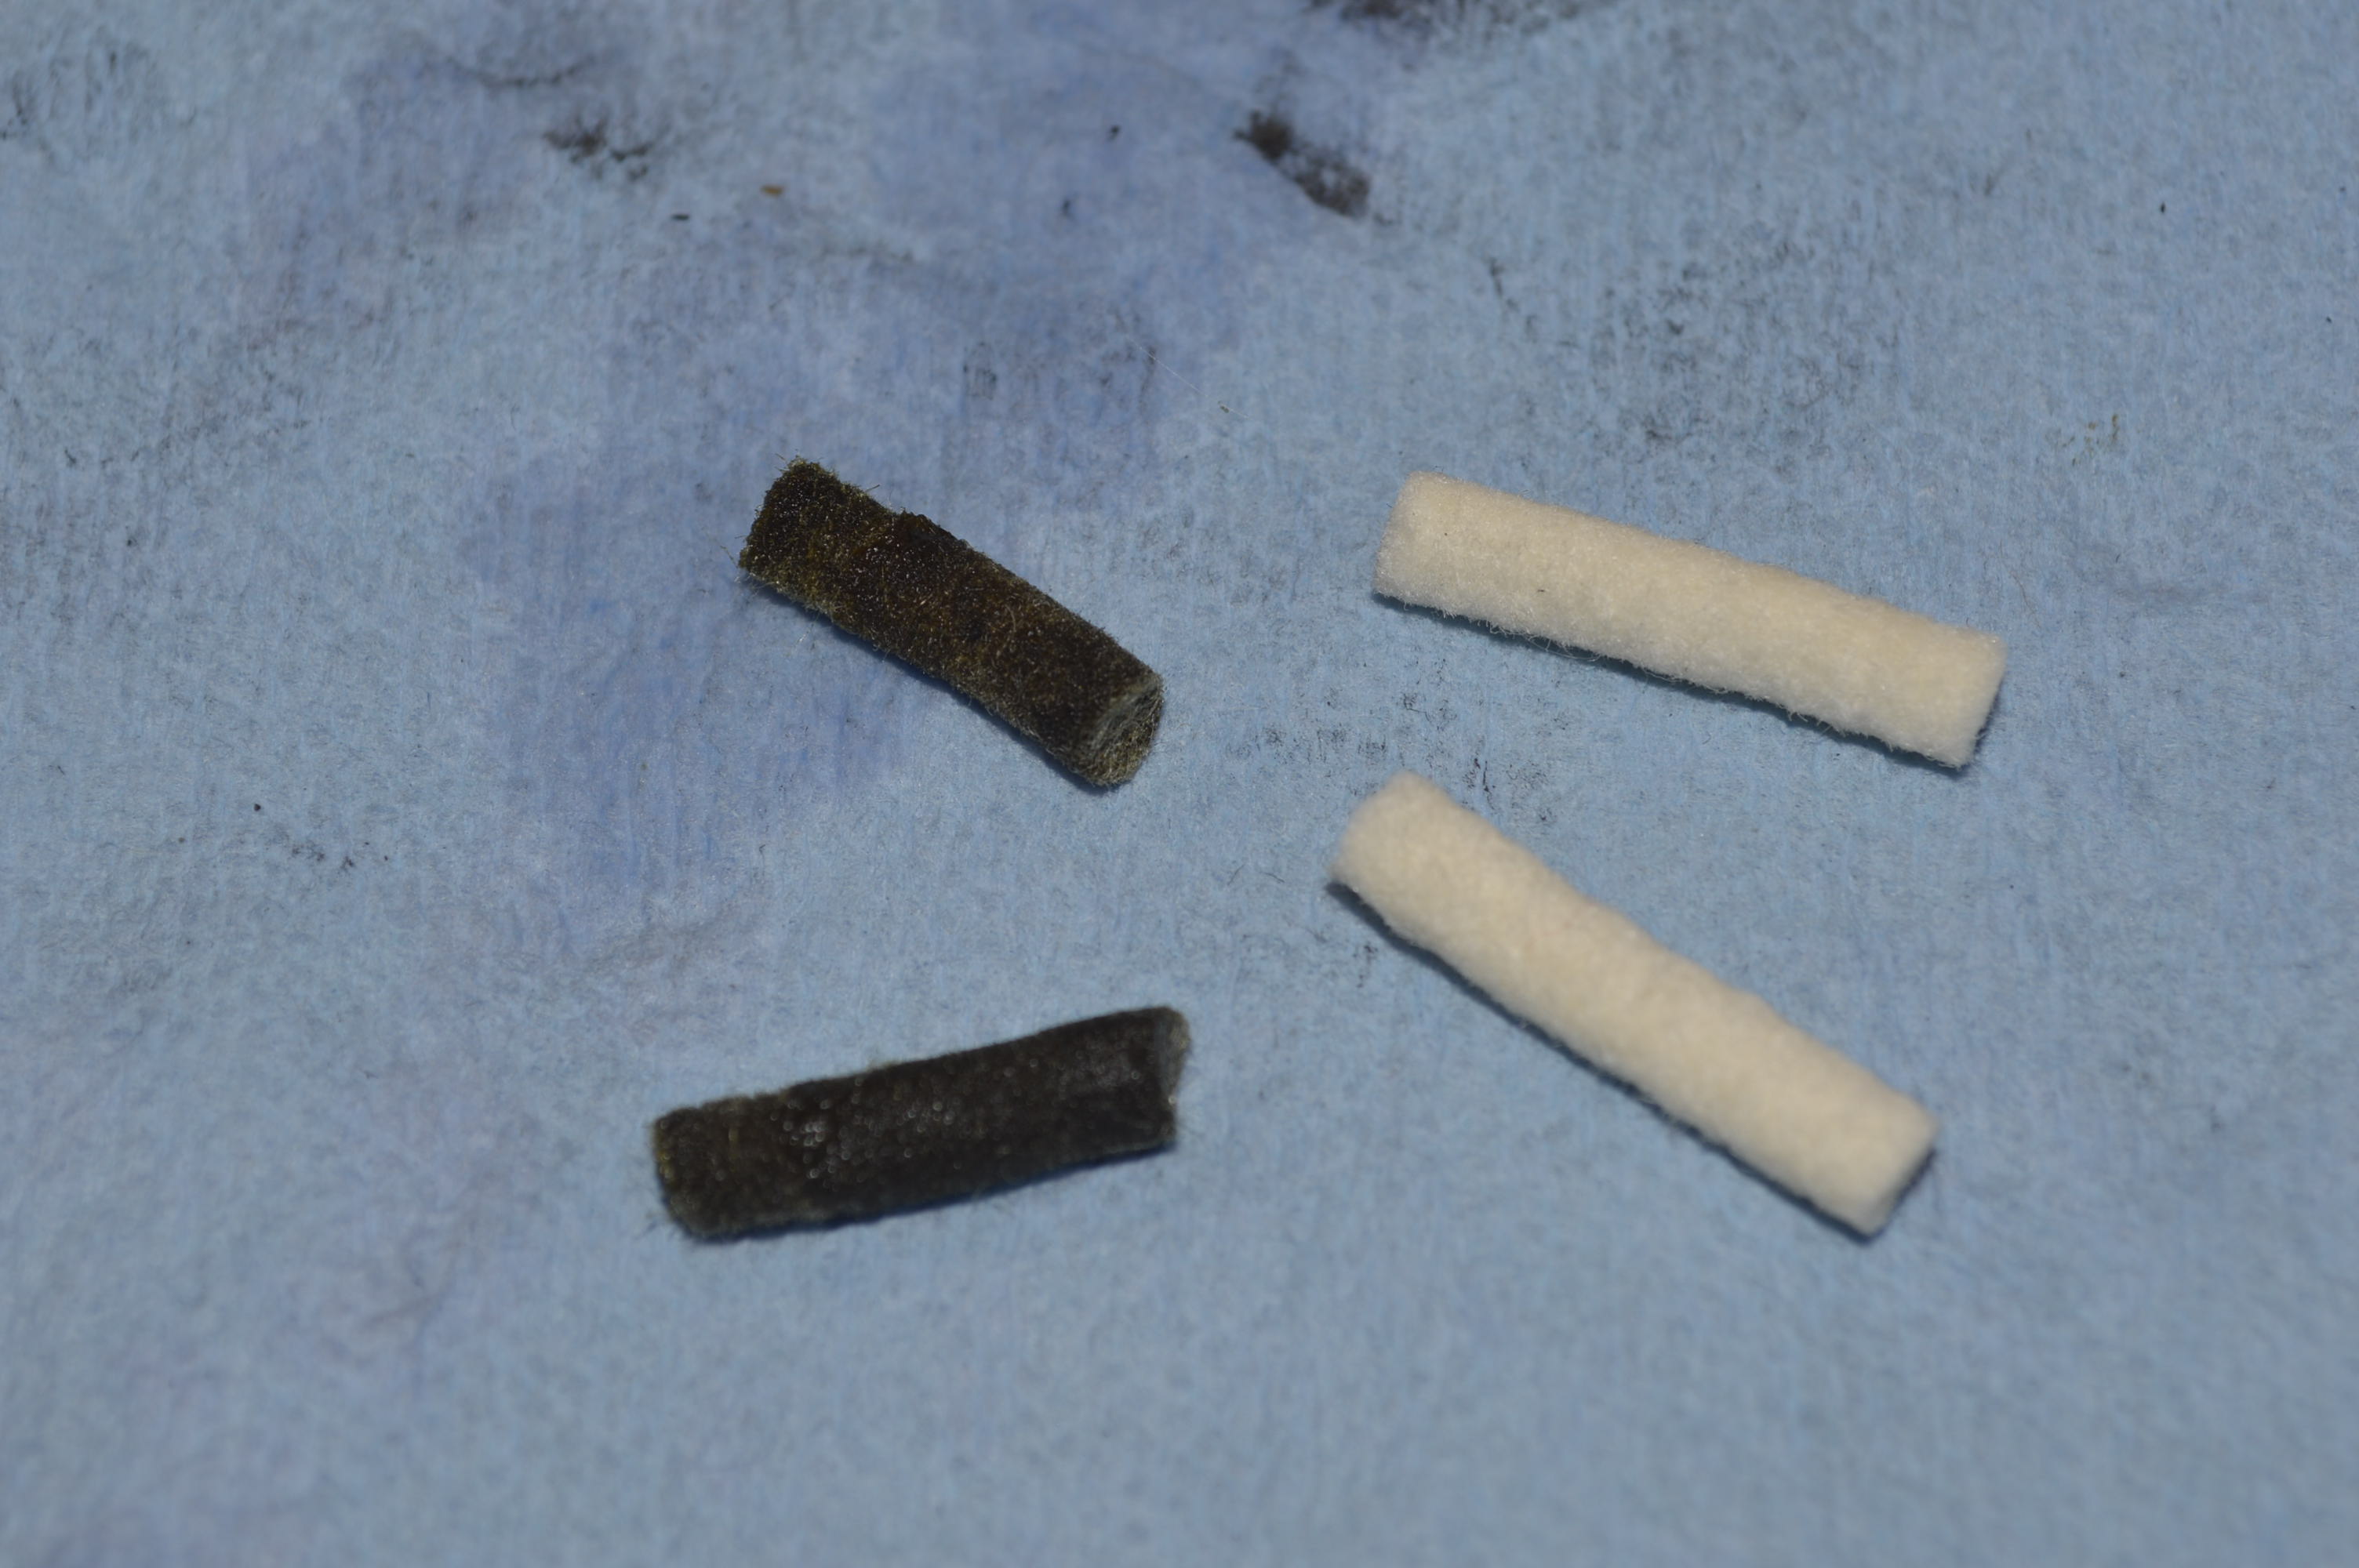
The grease wicks are replaced…
And the motor is reassembled, the wicks are lubricated with singer motor lube and the grease tubes are filled with singer motor lube as well.
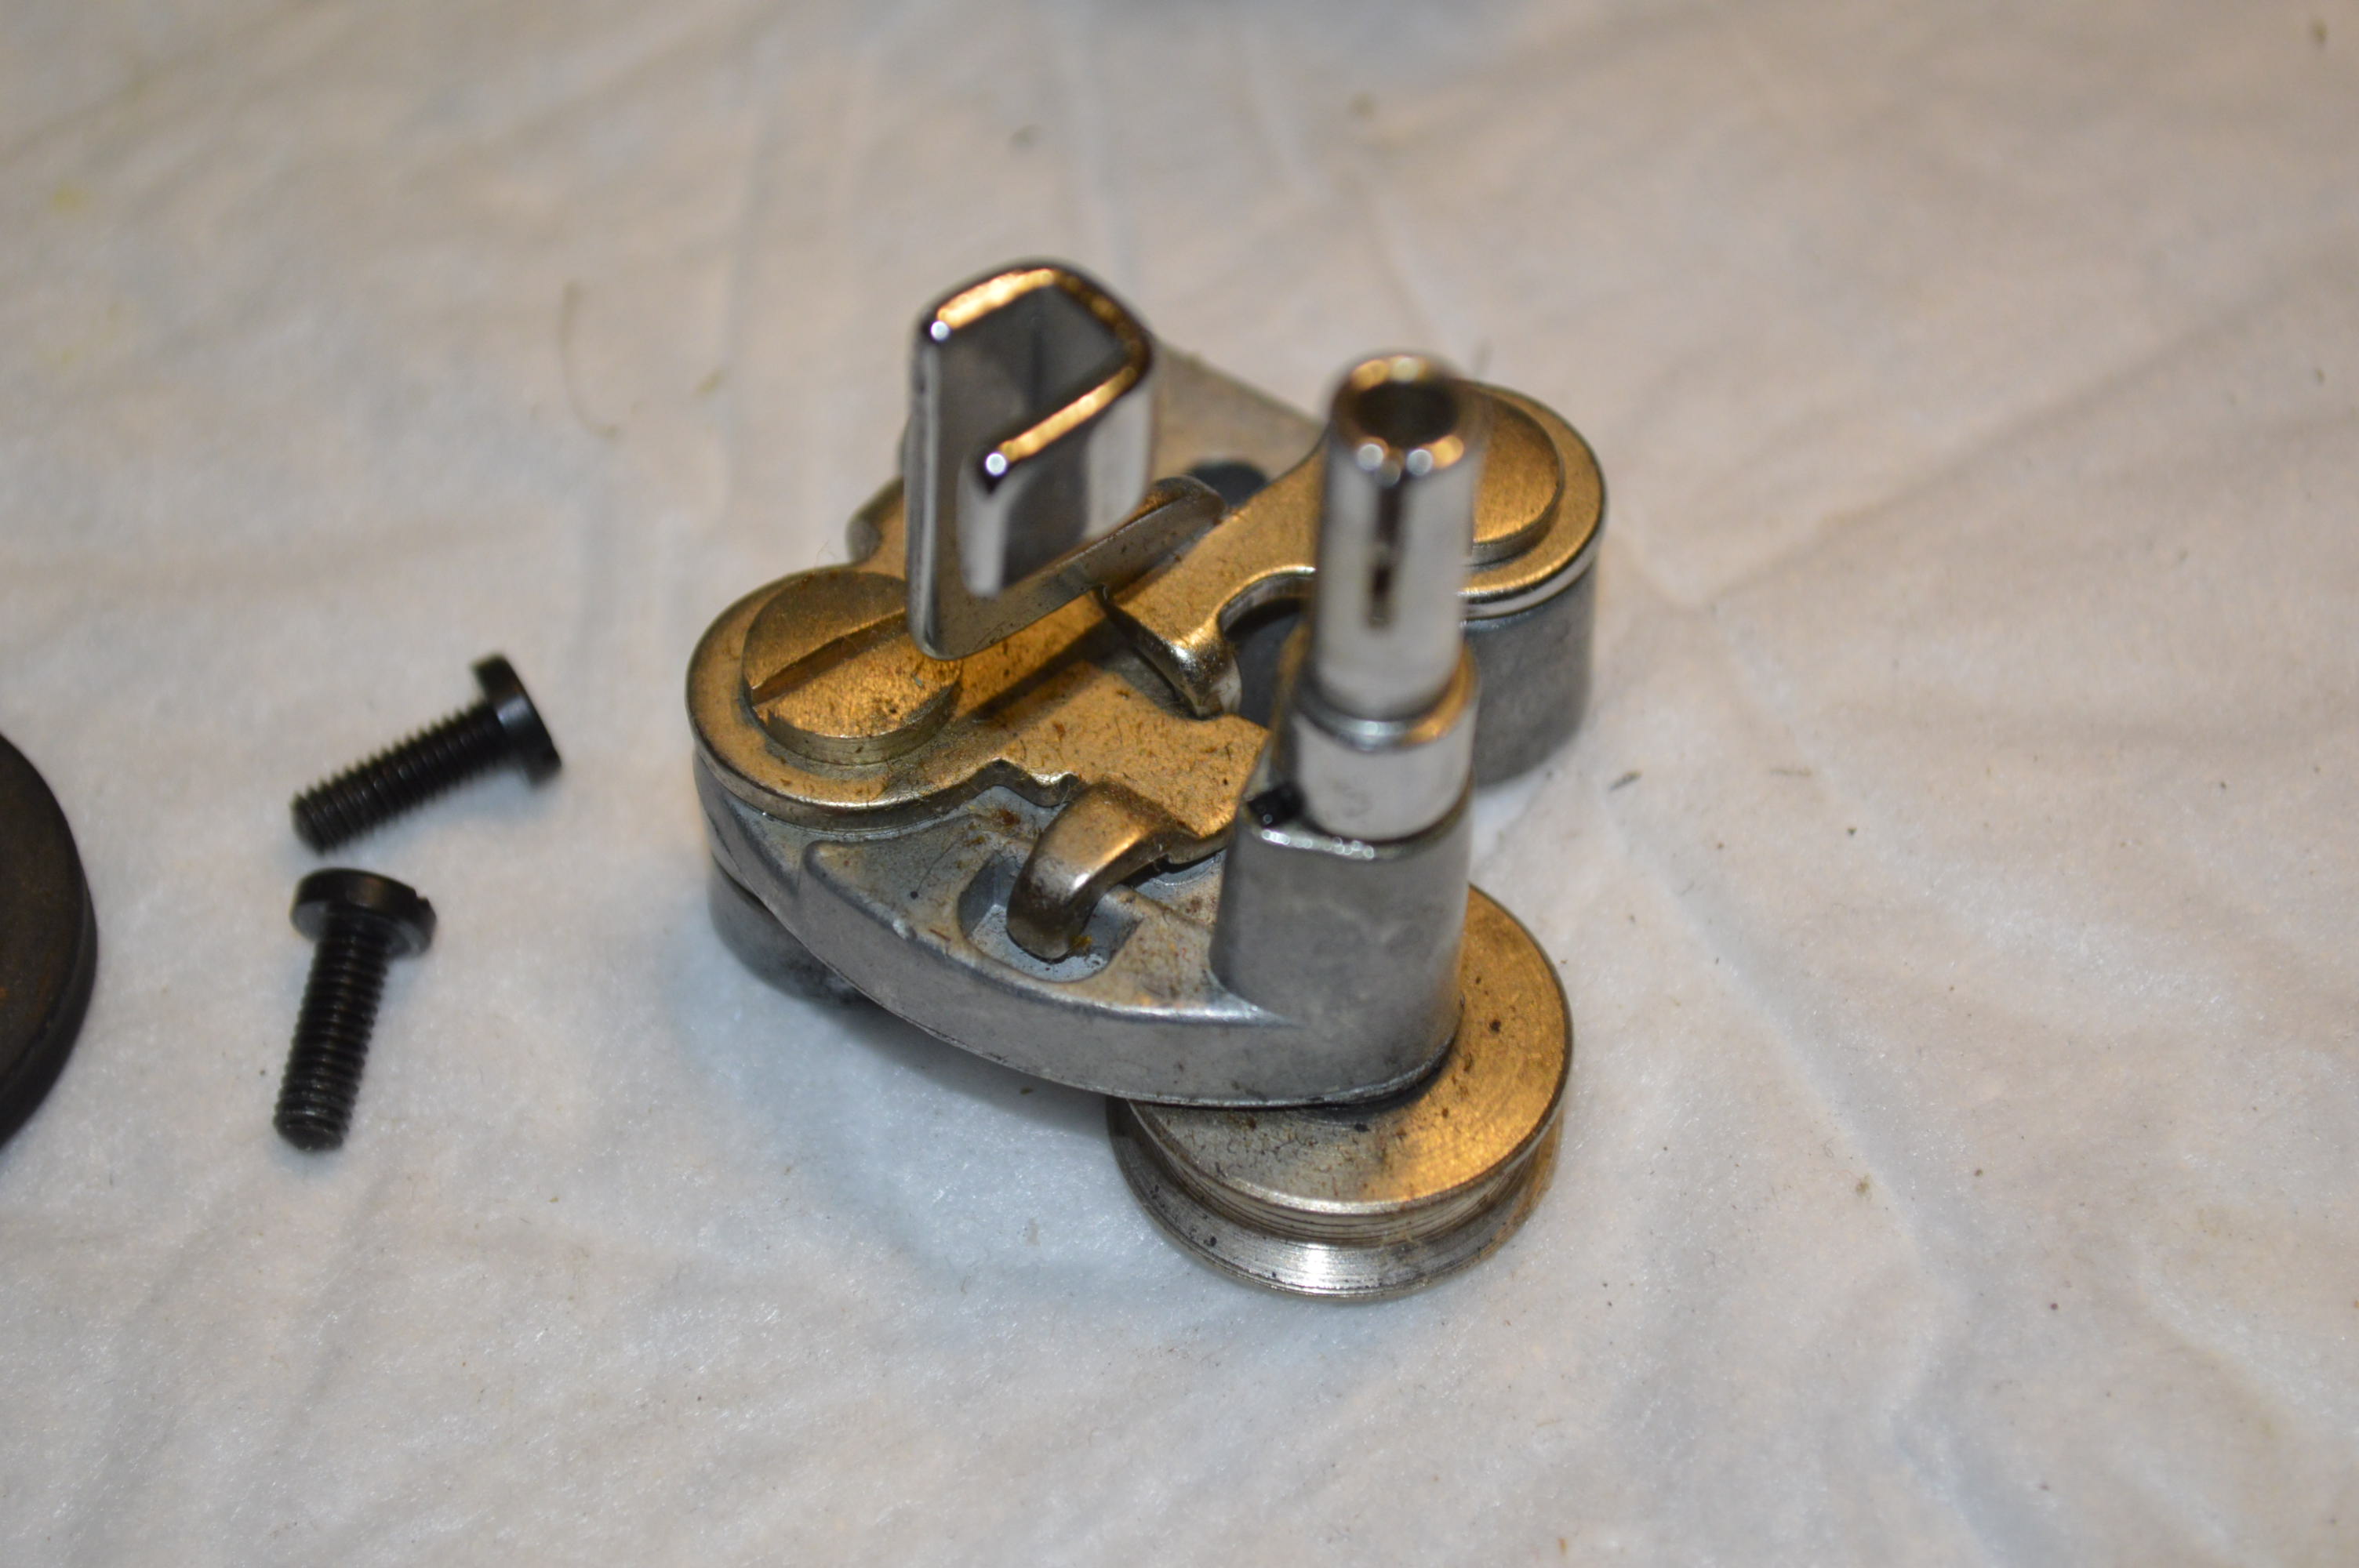
The next step is cleaning the shock absorbing mechanism in the balance wheel. this is a pretty straight forward process. The balance wheel has a spring behind the gear and it is disassembled.
Before…
Before
Disassembled for Cleaning…
After…
Cleaned
Assembled
Similarly, the bobbin winding assembly is disassembled and cleaned… Please forgive my lack of pictures… they were lost!
Next comes assembly of the sewing head. The parts are laid out for ultrasonic cleaning.
After cleaning these parts, all of the old oil and varnish is gone. Unfortunately I lost the pictures of the cleaned parts as well, but the results are the same as the bottom parts. But, the needle bar and presser foot bar are taken another step and are polished.
BeforeAfter
The head is reassembled. The needle bar is adjusted, but the presser bar will be adjusted after the needle plate cover is back on the machine.
At this stage, all of the adjustments to the sewing mechanisms are made, these include the feed dog height, feed dog clearance side to side and front to back, the rocker assemblies are set and everything tightened.
Next comes the polishing. The whole purpose of reconditioning is to perform mechanical reconditioning to make the machine sew like it did when it was new, and to bring the original finish to the best condition possible. In other words, you still have an original machine. This means that regardless of how much work you do, or how much you want to make your machine look like new, it is not a reasonable expectation. The best you can do is make your machine look as good as it can. We only select machines in great cosmetic condition to start with. This will assure a beautiful finished reconditioned sewing machine in the end. Even then, all machines of this vintage will have some cosmetic defects… some scratches, some chips, some crazing… some something.
This machine has a great finish to start with, but the final polishing will bring out the best it can be. I have found that to realize this result, it actually takes two applications of glaze polish. The first is with a product called TR3, which is a show car glaze polish. This will bring out a beautiful deep shine in the black lacquer paint. The second application is with a product called Meguire’s Mirror Glaze. I have found that the Mequire’s is a finer cut polish, and when it is applied over the already fine polished finish achieved with the TR3, it really brings out the depth of the finish.
Tip of the Day… (yep, its a different day)… When polishing your beautiful black lacquered vintage Singer, Work on a small area at a time, use cotton balls, and a back and forth rubbing motion with the glaze polish. Change cotton balls frequently but don’t change direction… expect to use a LOT of cotton balls. Then, follow up with cotton rounds to remove the glaze left by the polish. Cotton rounds are easier to hold onto and buff a wider area than cotton balls.
Come on… You know this is a cotton Ball!
Cotton Rounds
Did you notice the green hue in one of the pictures? The camera flash picked this up and it tells me the machine is CLEAN.
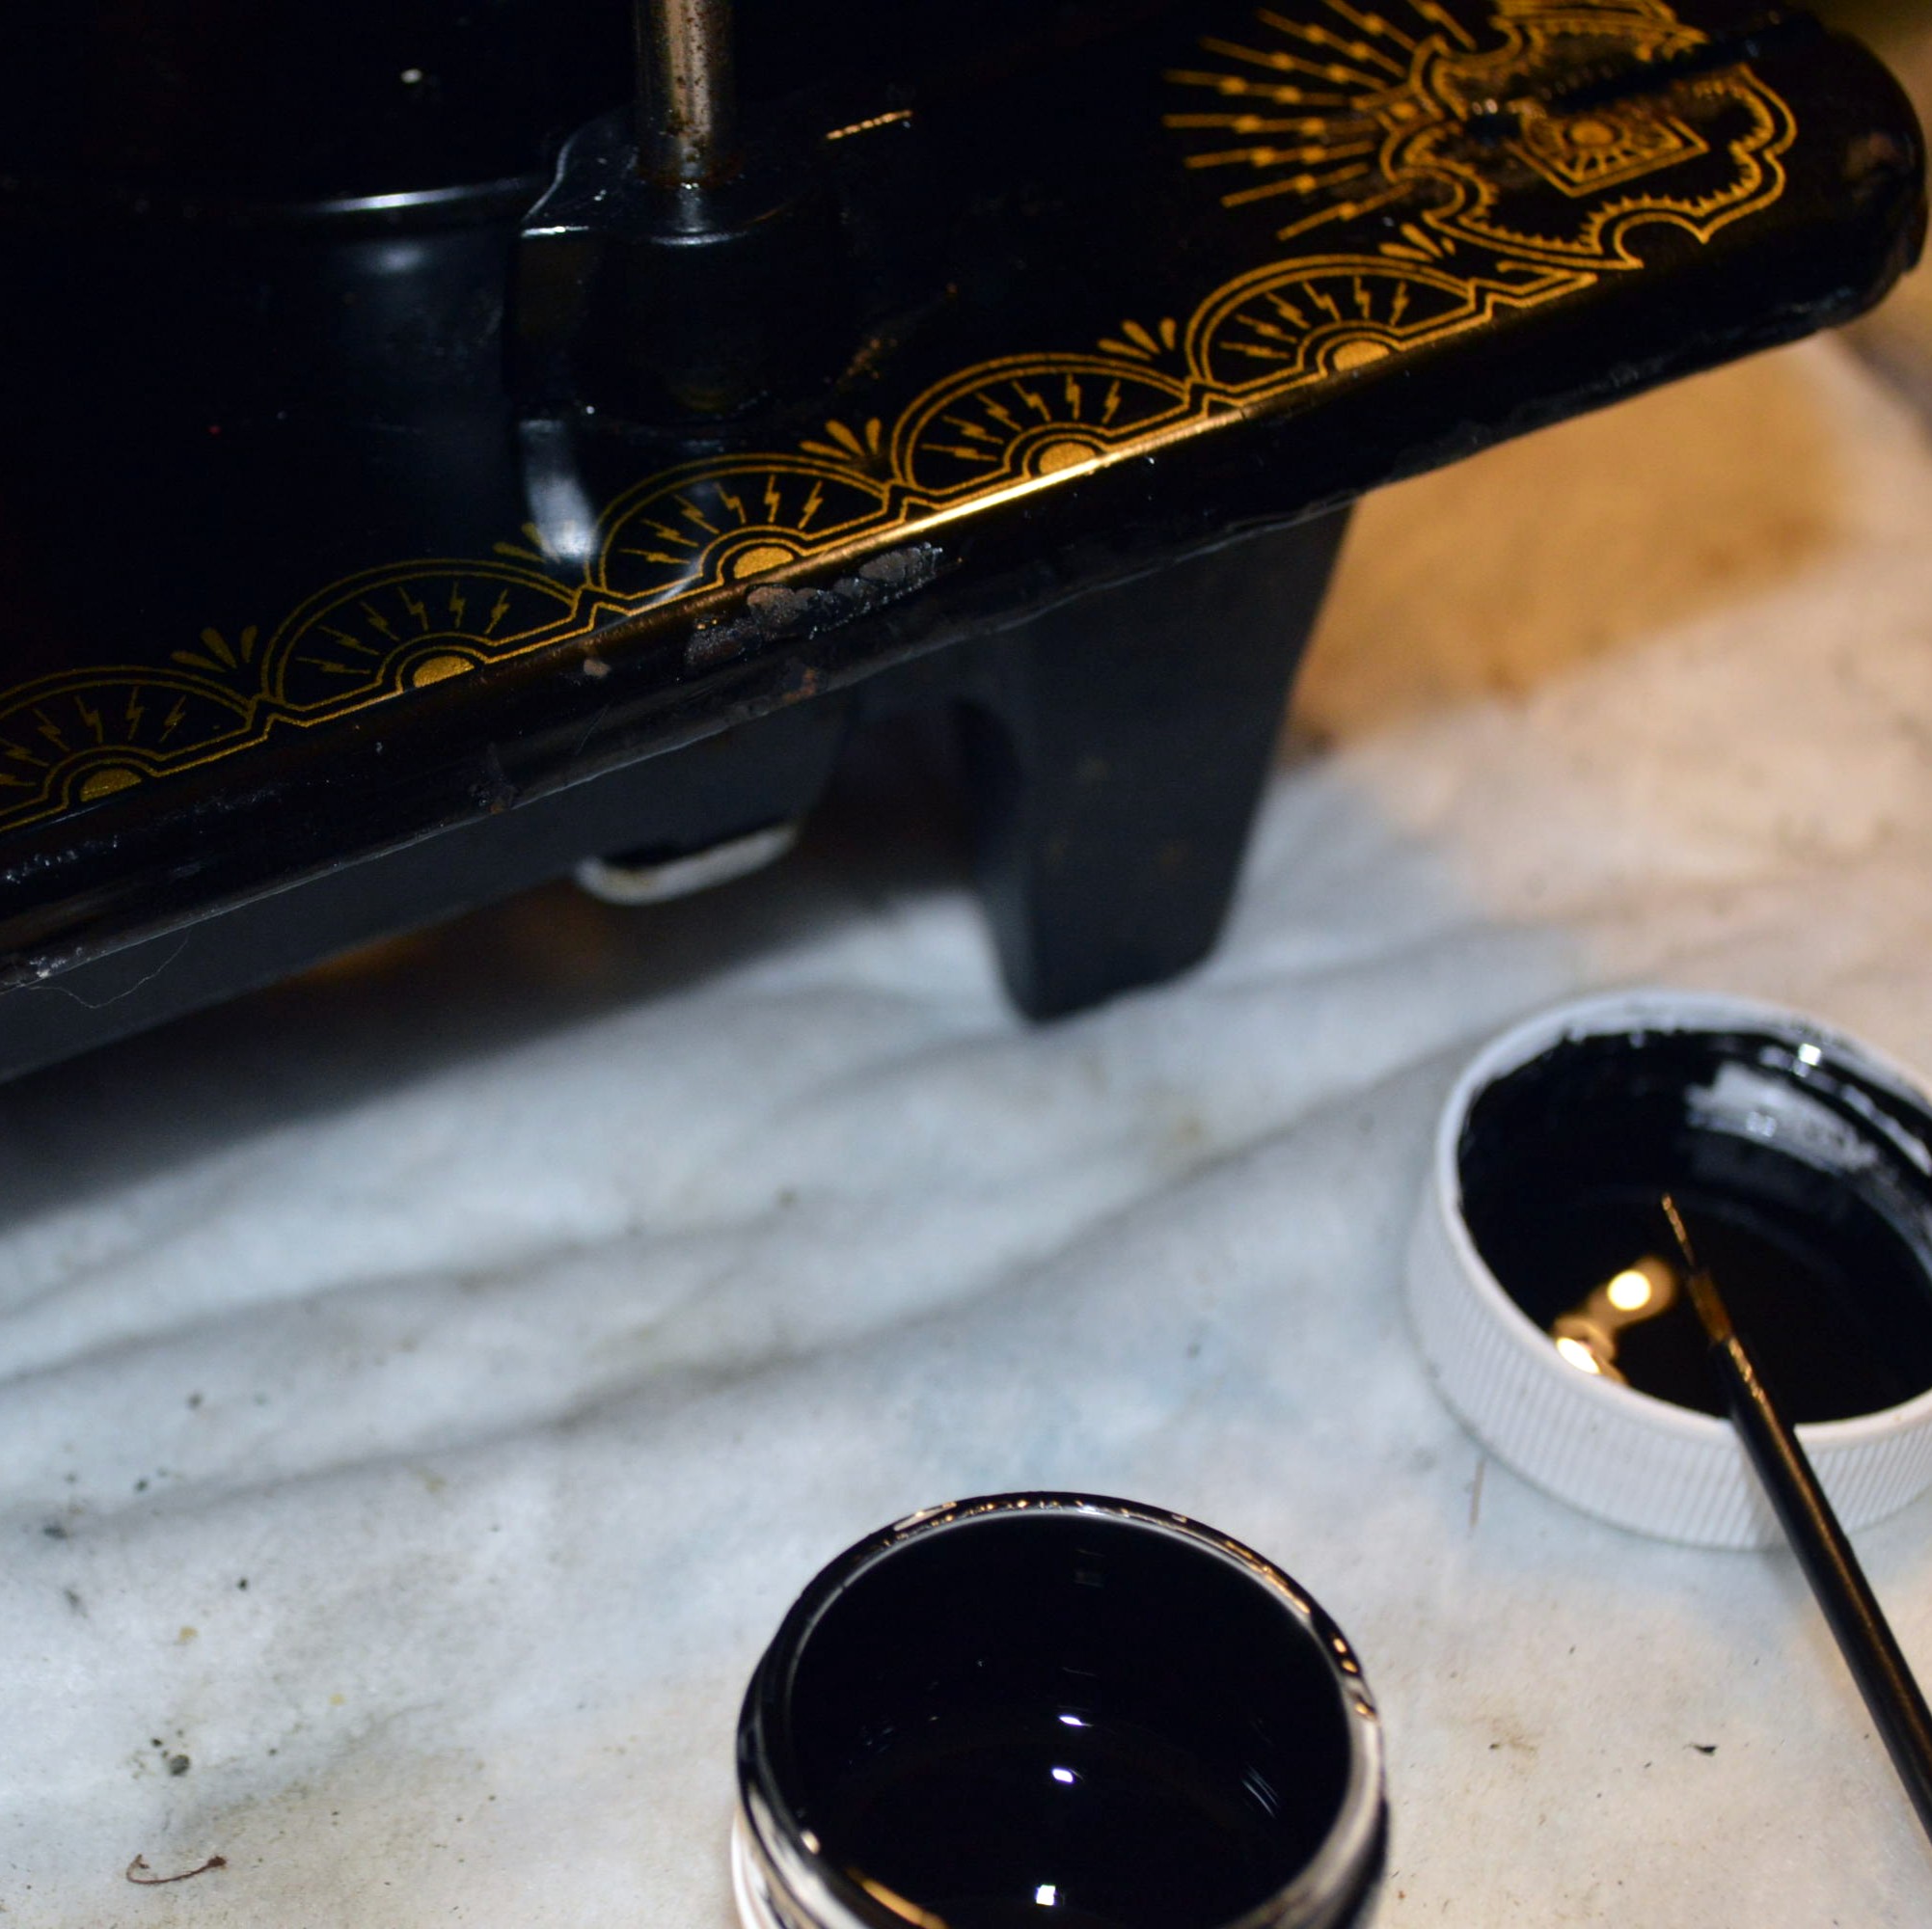
Next comes the paint matching, like most machines of this vintage, there are small “chips” in the paint. These will be corrected with “lamp black” paint. It’s detail work, but I think worth the effort.
Before
The process is simple, using a small brush, a flashlight to illuminate the chips, lamp black paint, and time, they are filled in one by one with a little dab of paint from the brush.
After a day or so, the body of the machine will be glaze polished again, and the chip repairs blended as well as they can be. While they can still be seen with close inspection, they look MUCH better.
After
Meanwhile, the tension mechanisms are disassembled, ultrasonically cleaned, and reassembled…
Note that there are two pictures here. That is because a sewing machine has two tension assemblies. The top tension regulator that we are all familiar with, and a bobbin tension mechanism that many people don’t know about, and have never fooled with. While the top tension is important, a balanced stitch requires the bottom tension to be adjusted properly. In fact, the bobbin tension is very important, It is a simple assembly consisting of a small leaf spring that can be tightened against the bobbin case. This clamps the bobbin thread against the bobbin case, and voila! Tension is achieved… But, it is important to disassemble and clean this as well. A little gunk or bits of packed thread will adversely affect the bobbin thread tension and can cause a host of (often intermittent) tension problems.
Because these parts control thread tension and are therefore in the thread path, the tension dics, bobbin case, and leaf spring are soaked in alcohol to remove any trace of oil before reassembly.
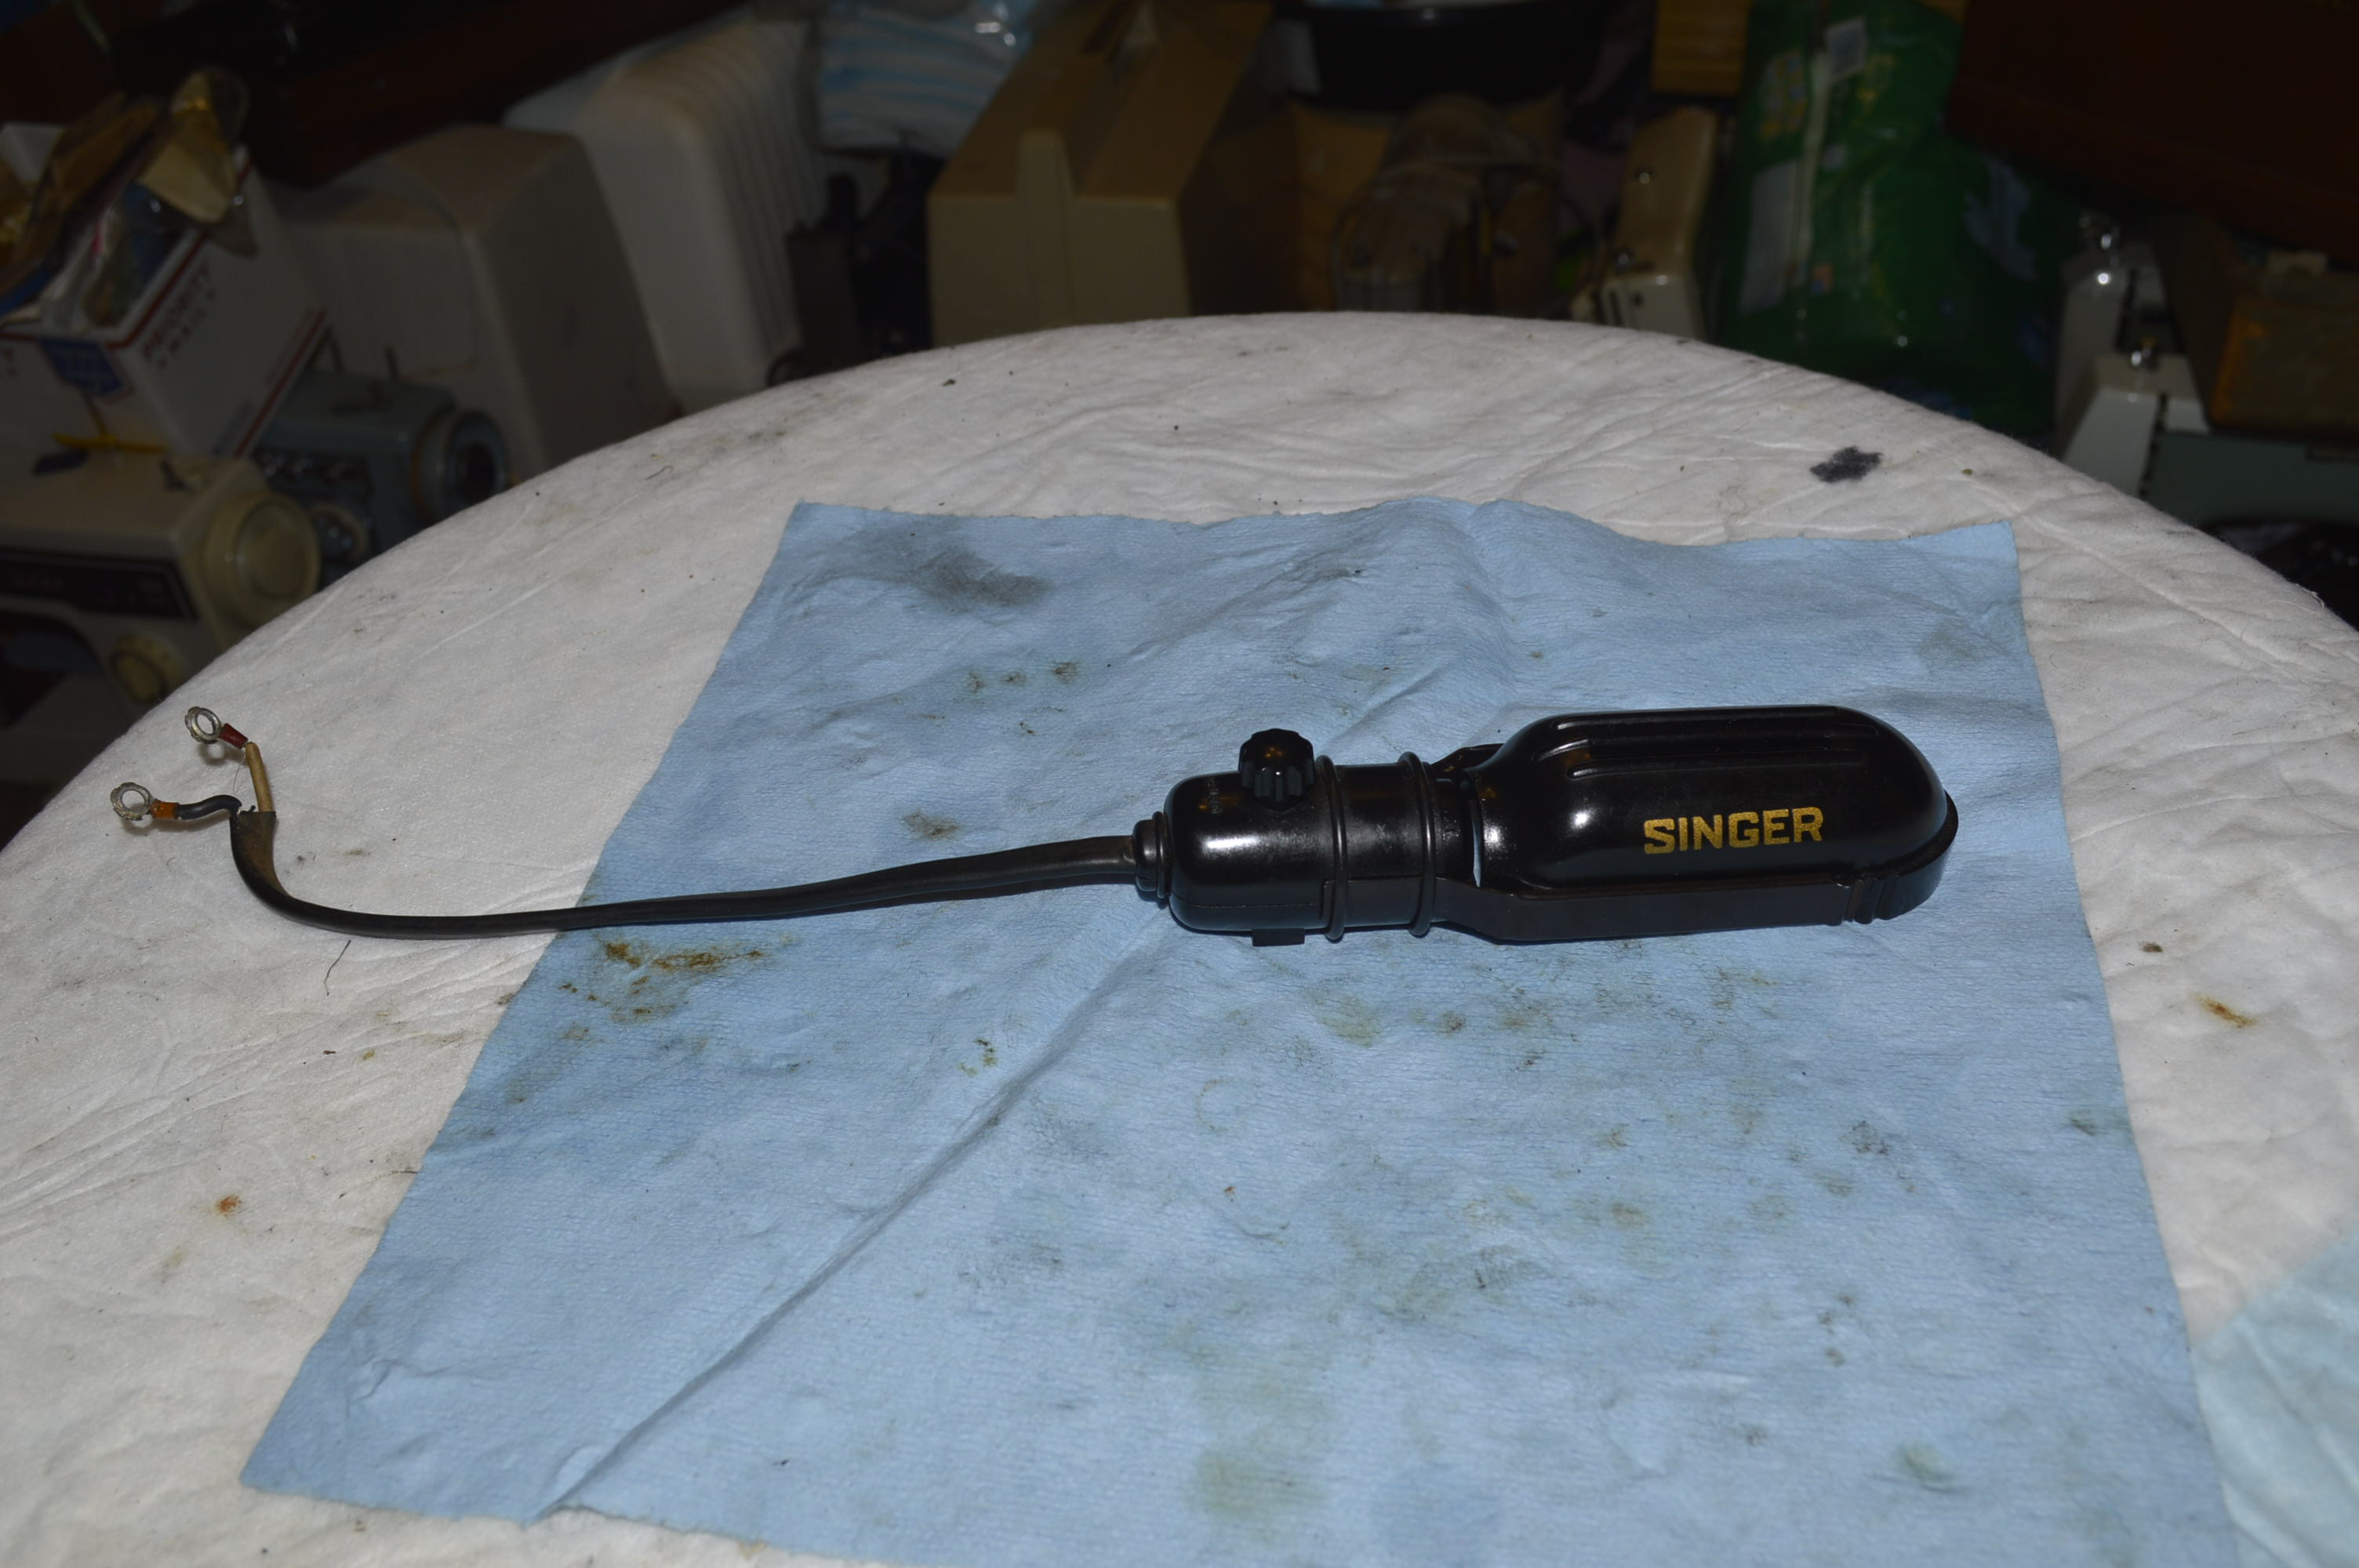
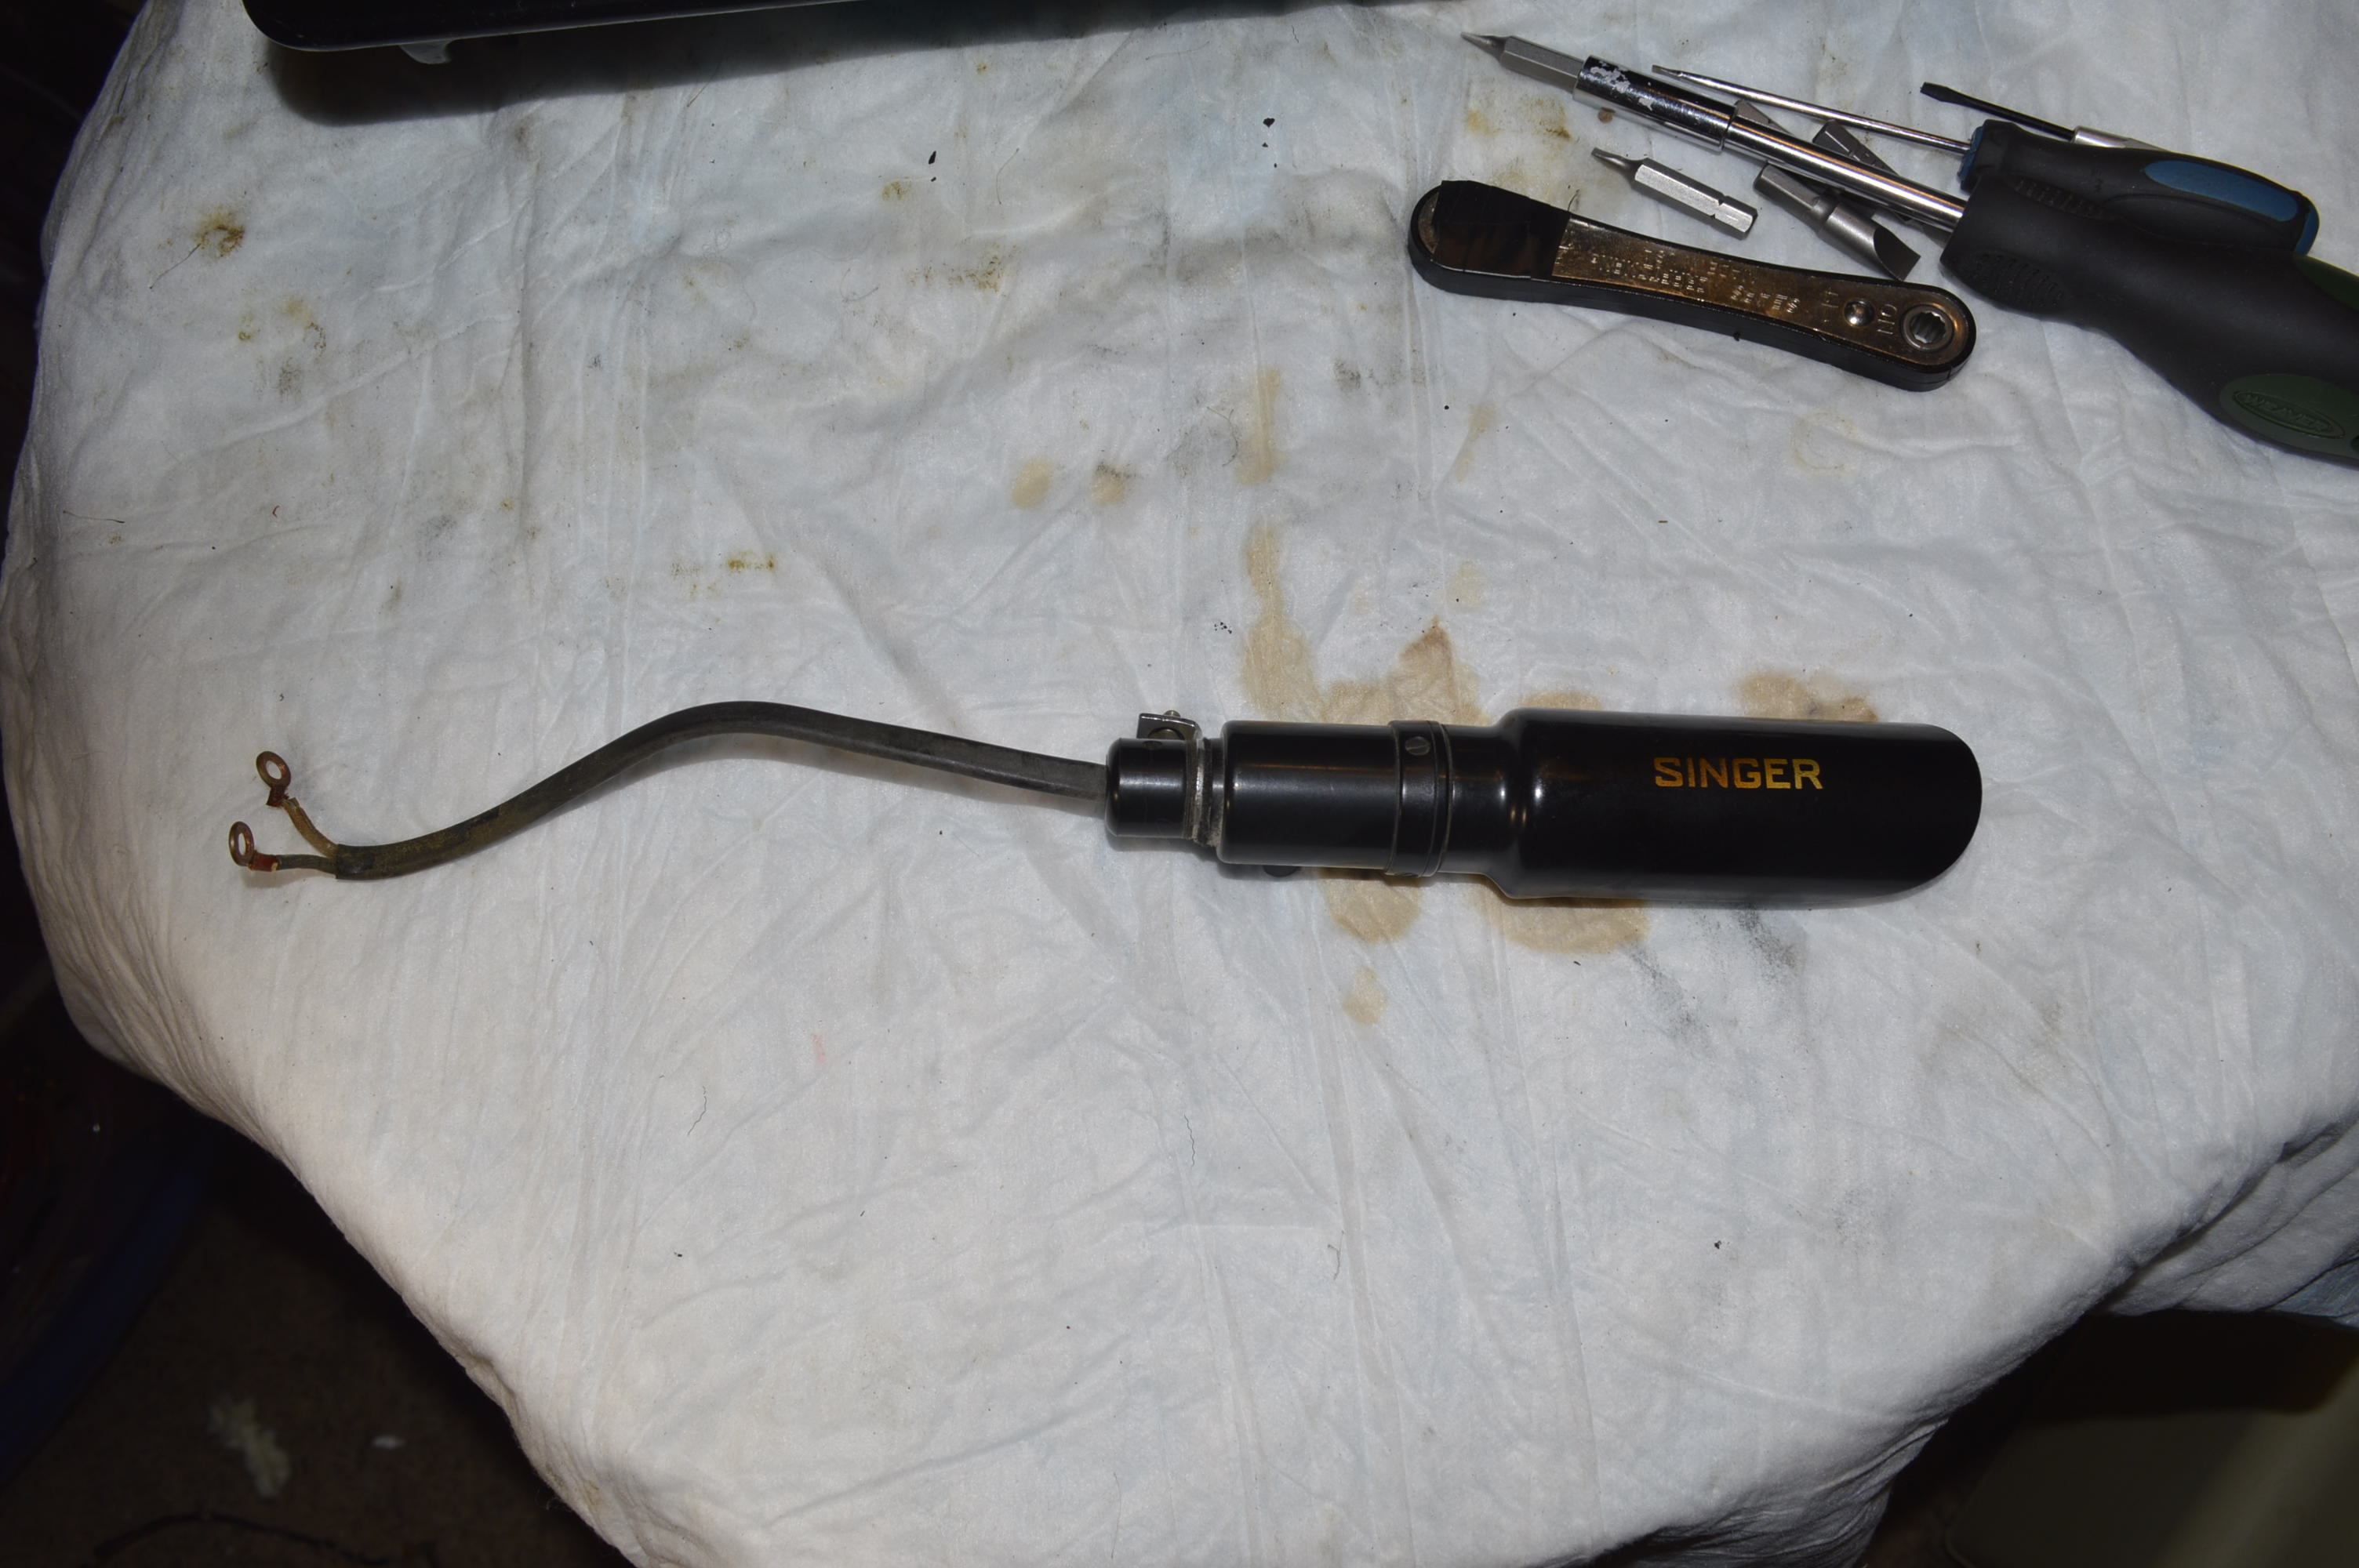
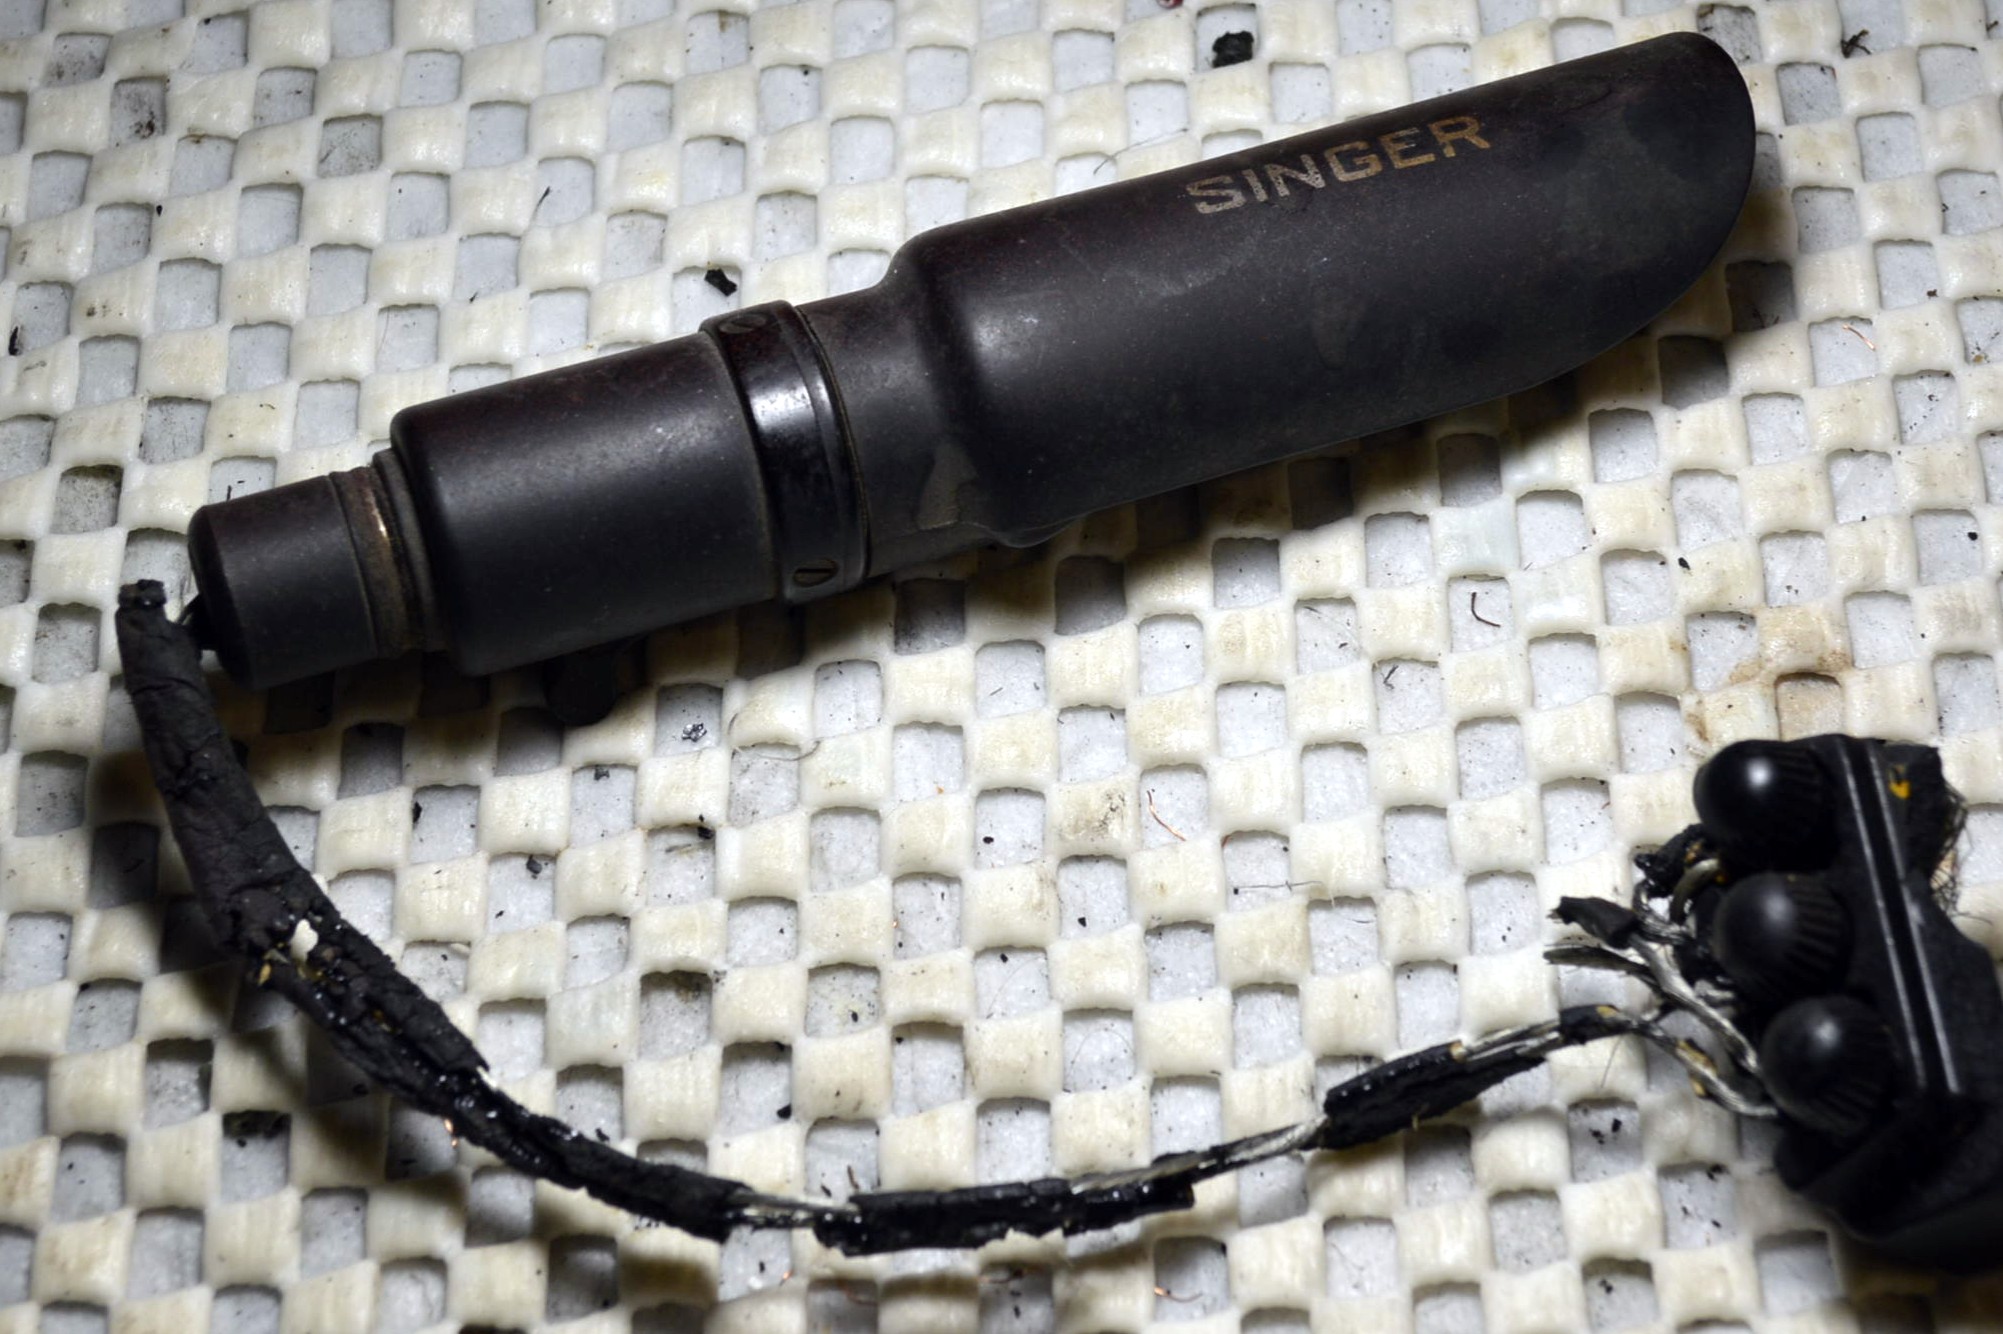
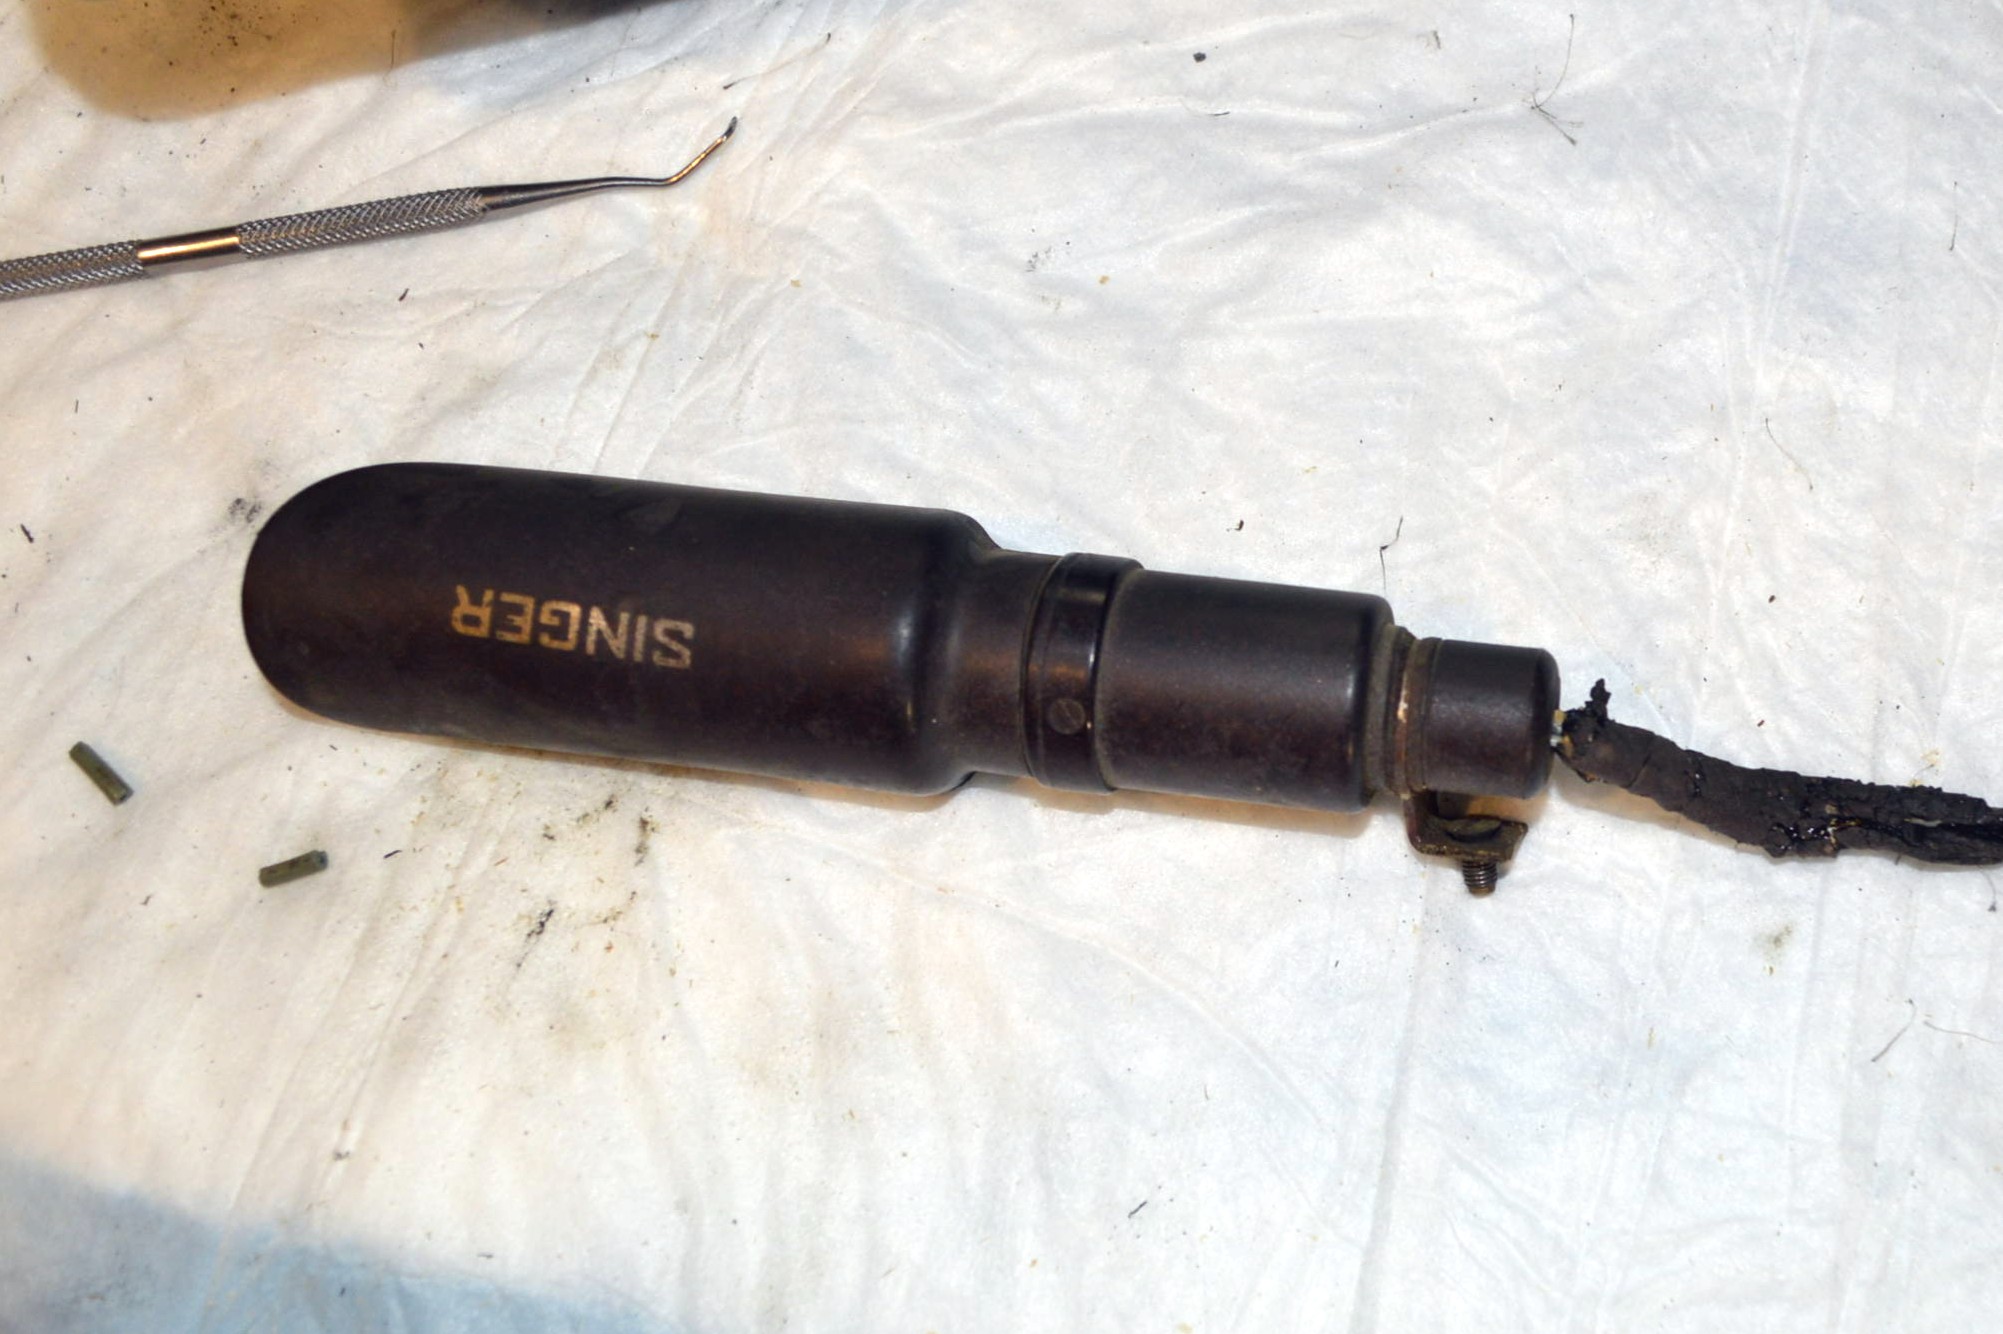
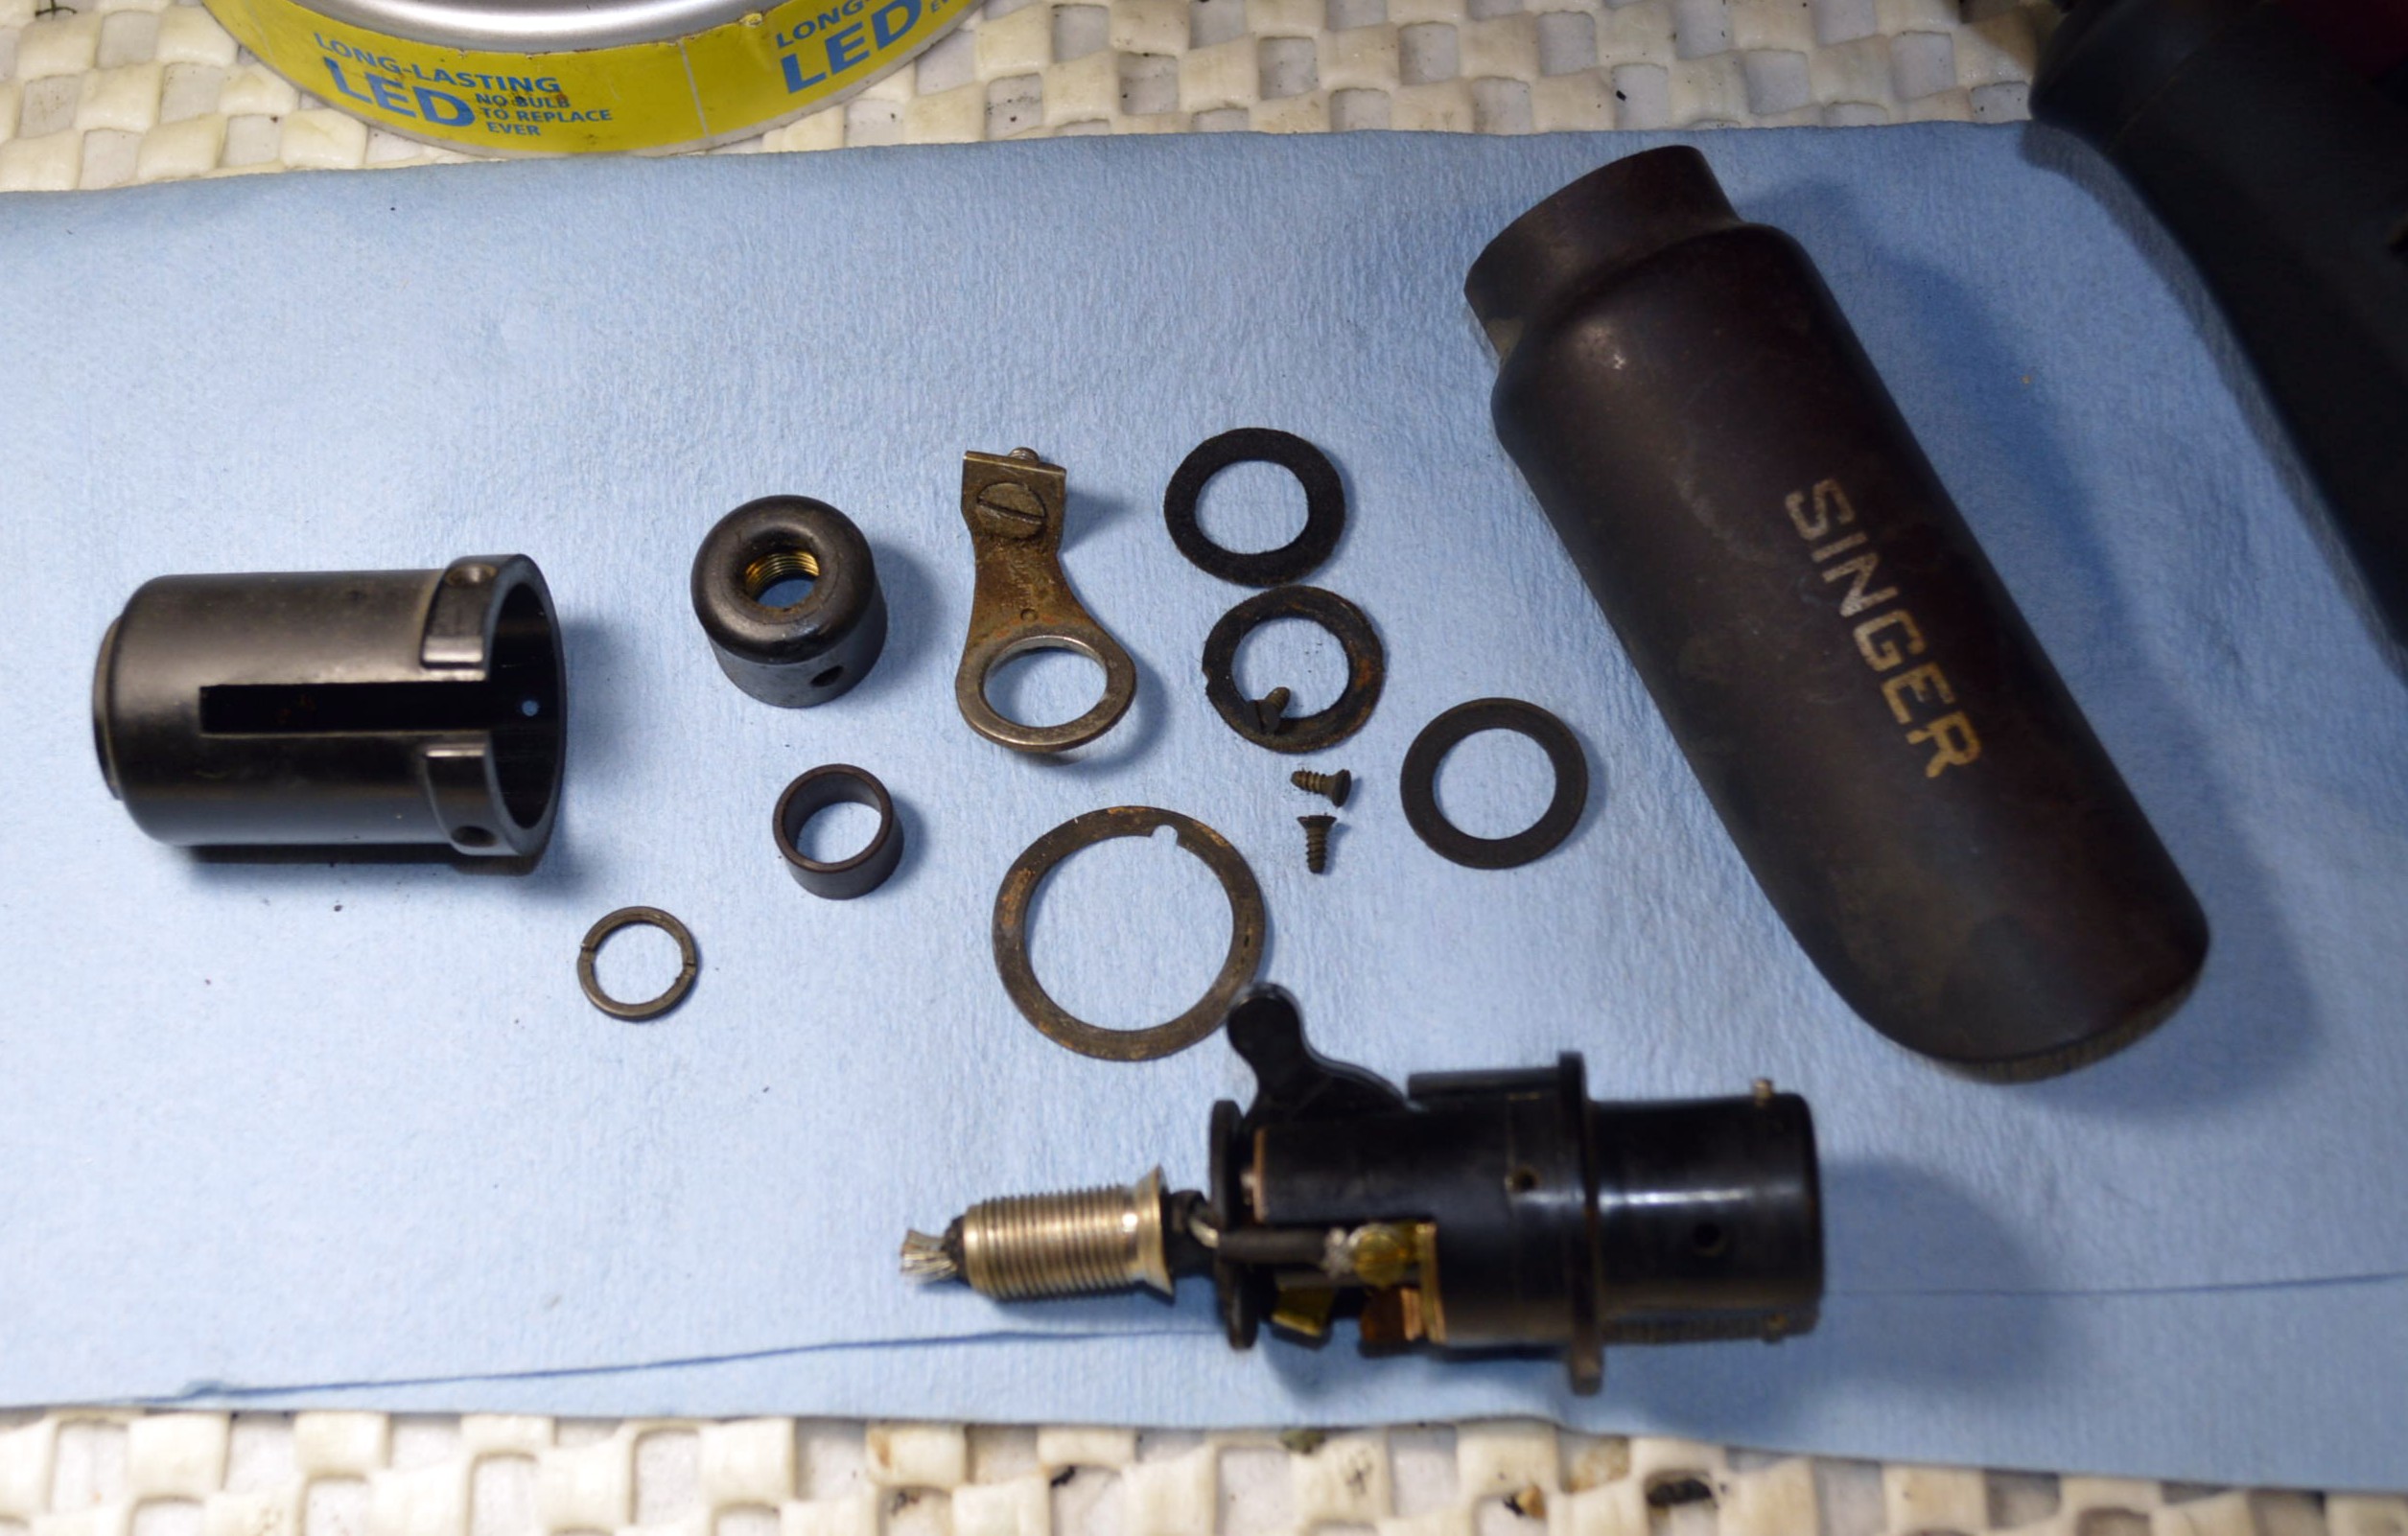
Then comes the light.
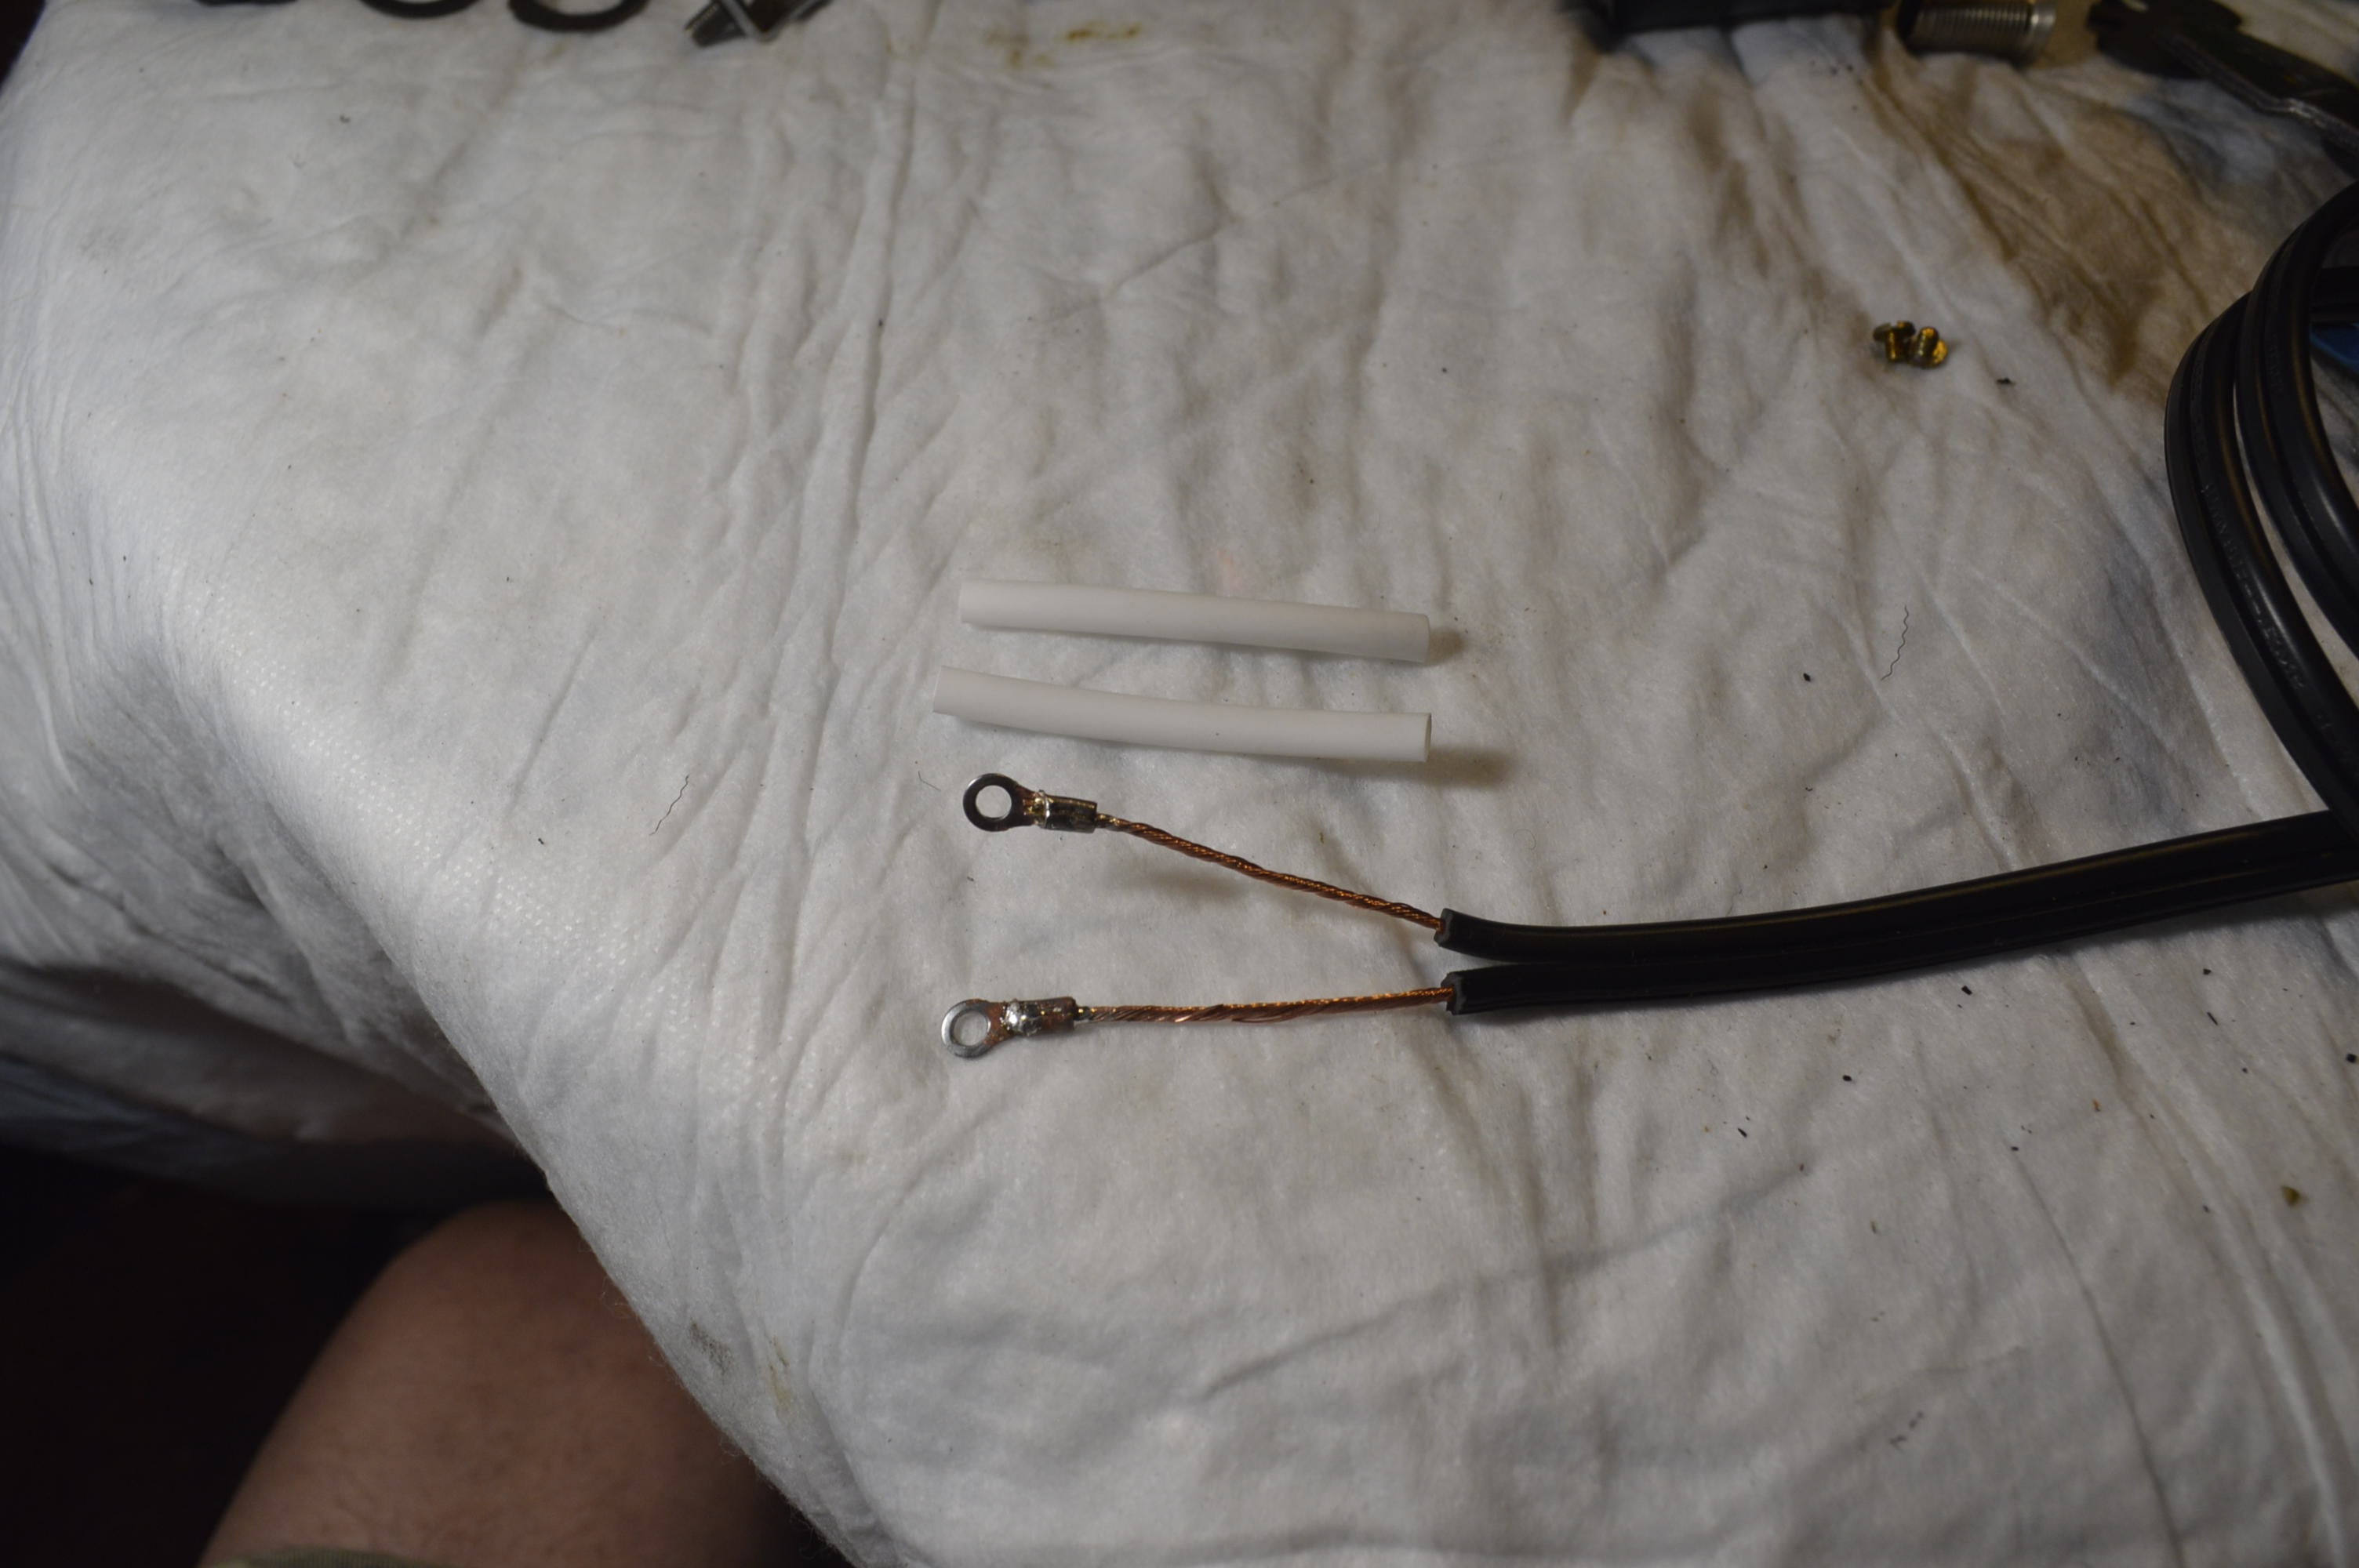
The light fixture wiring is brittle and must be replaced.
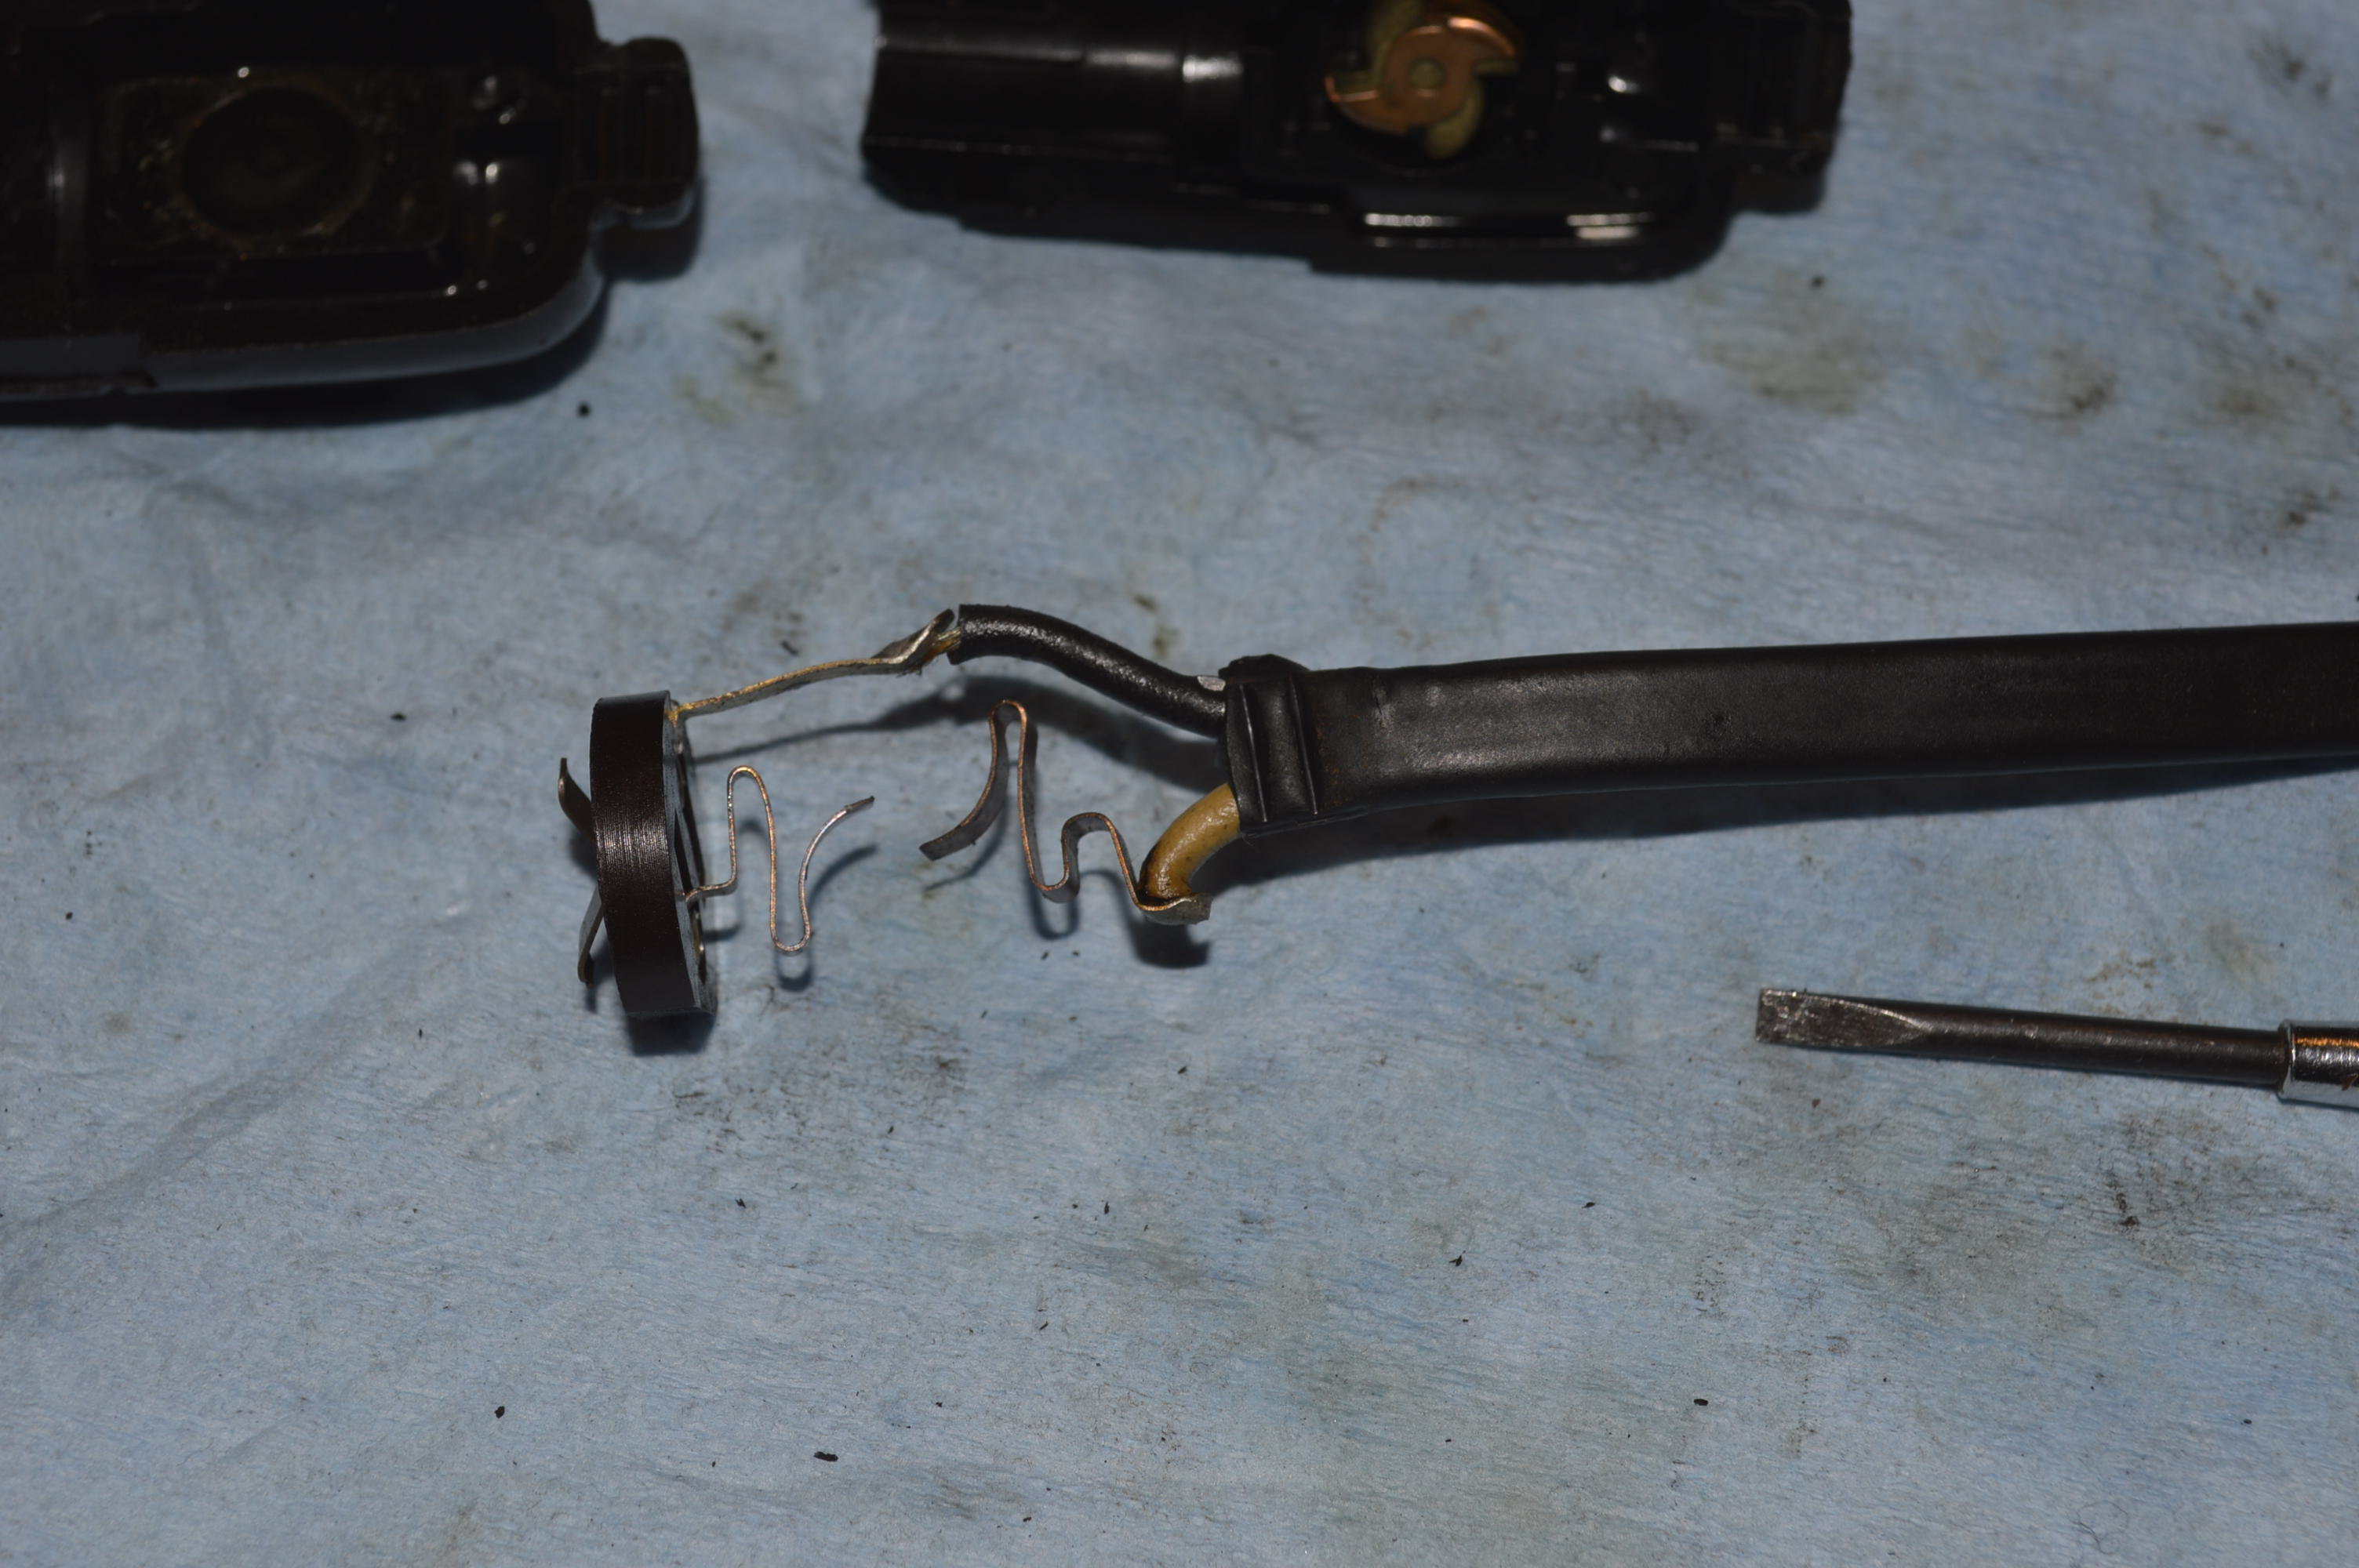
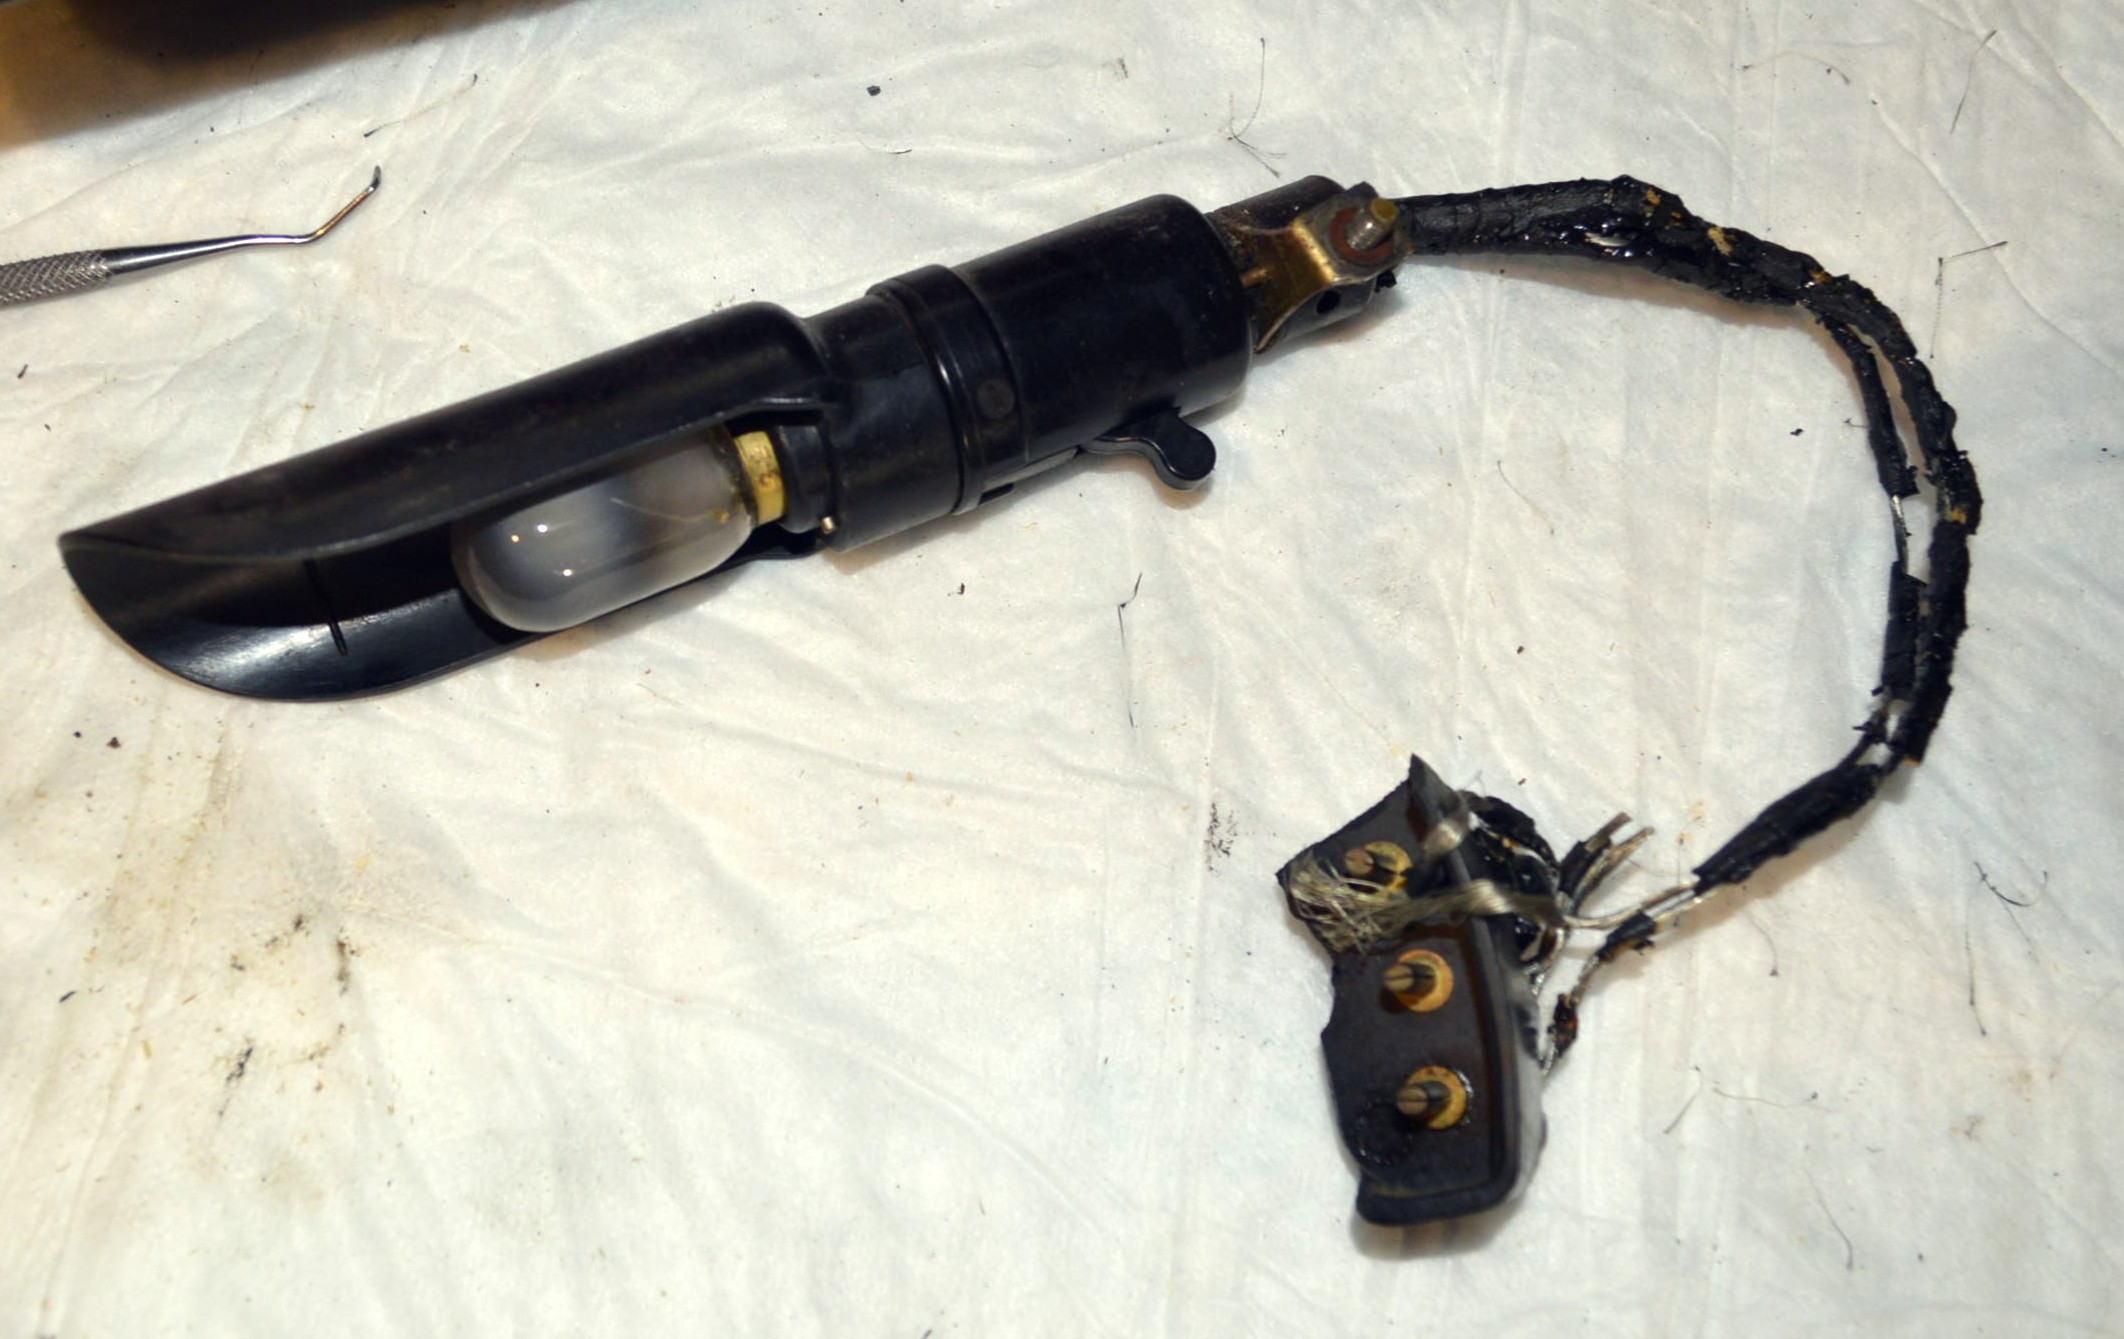
The light is disassembled…
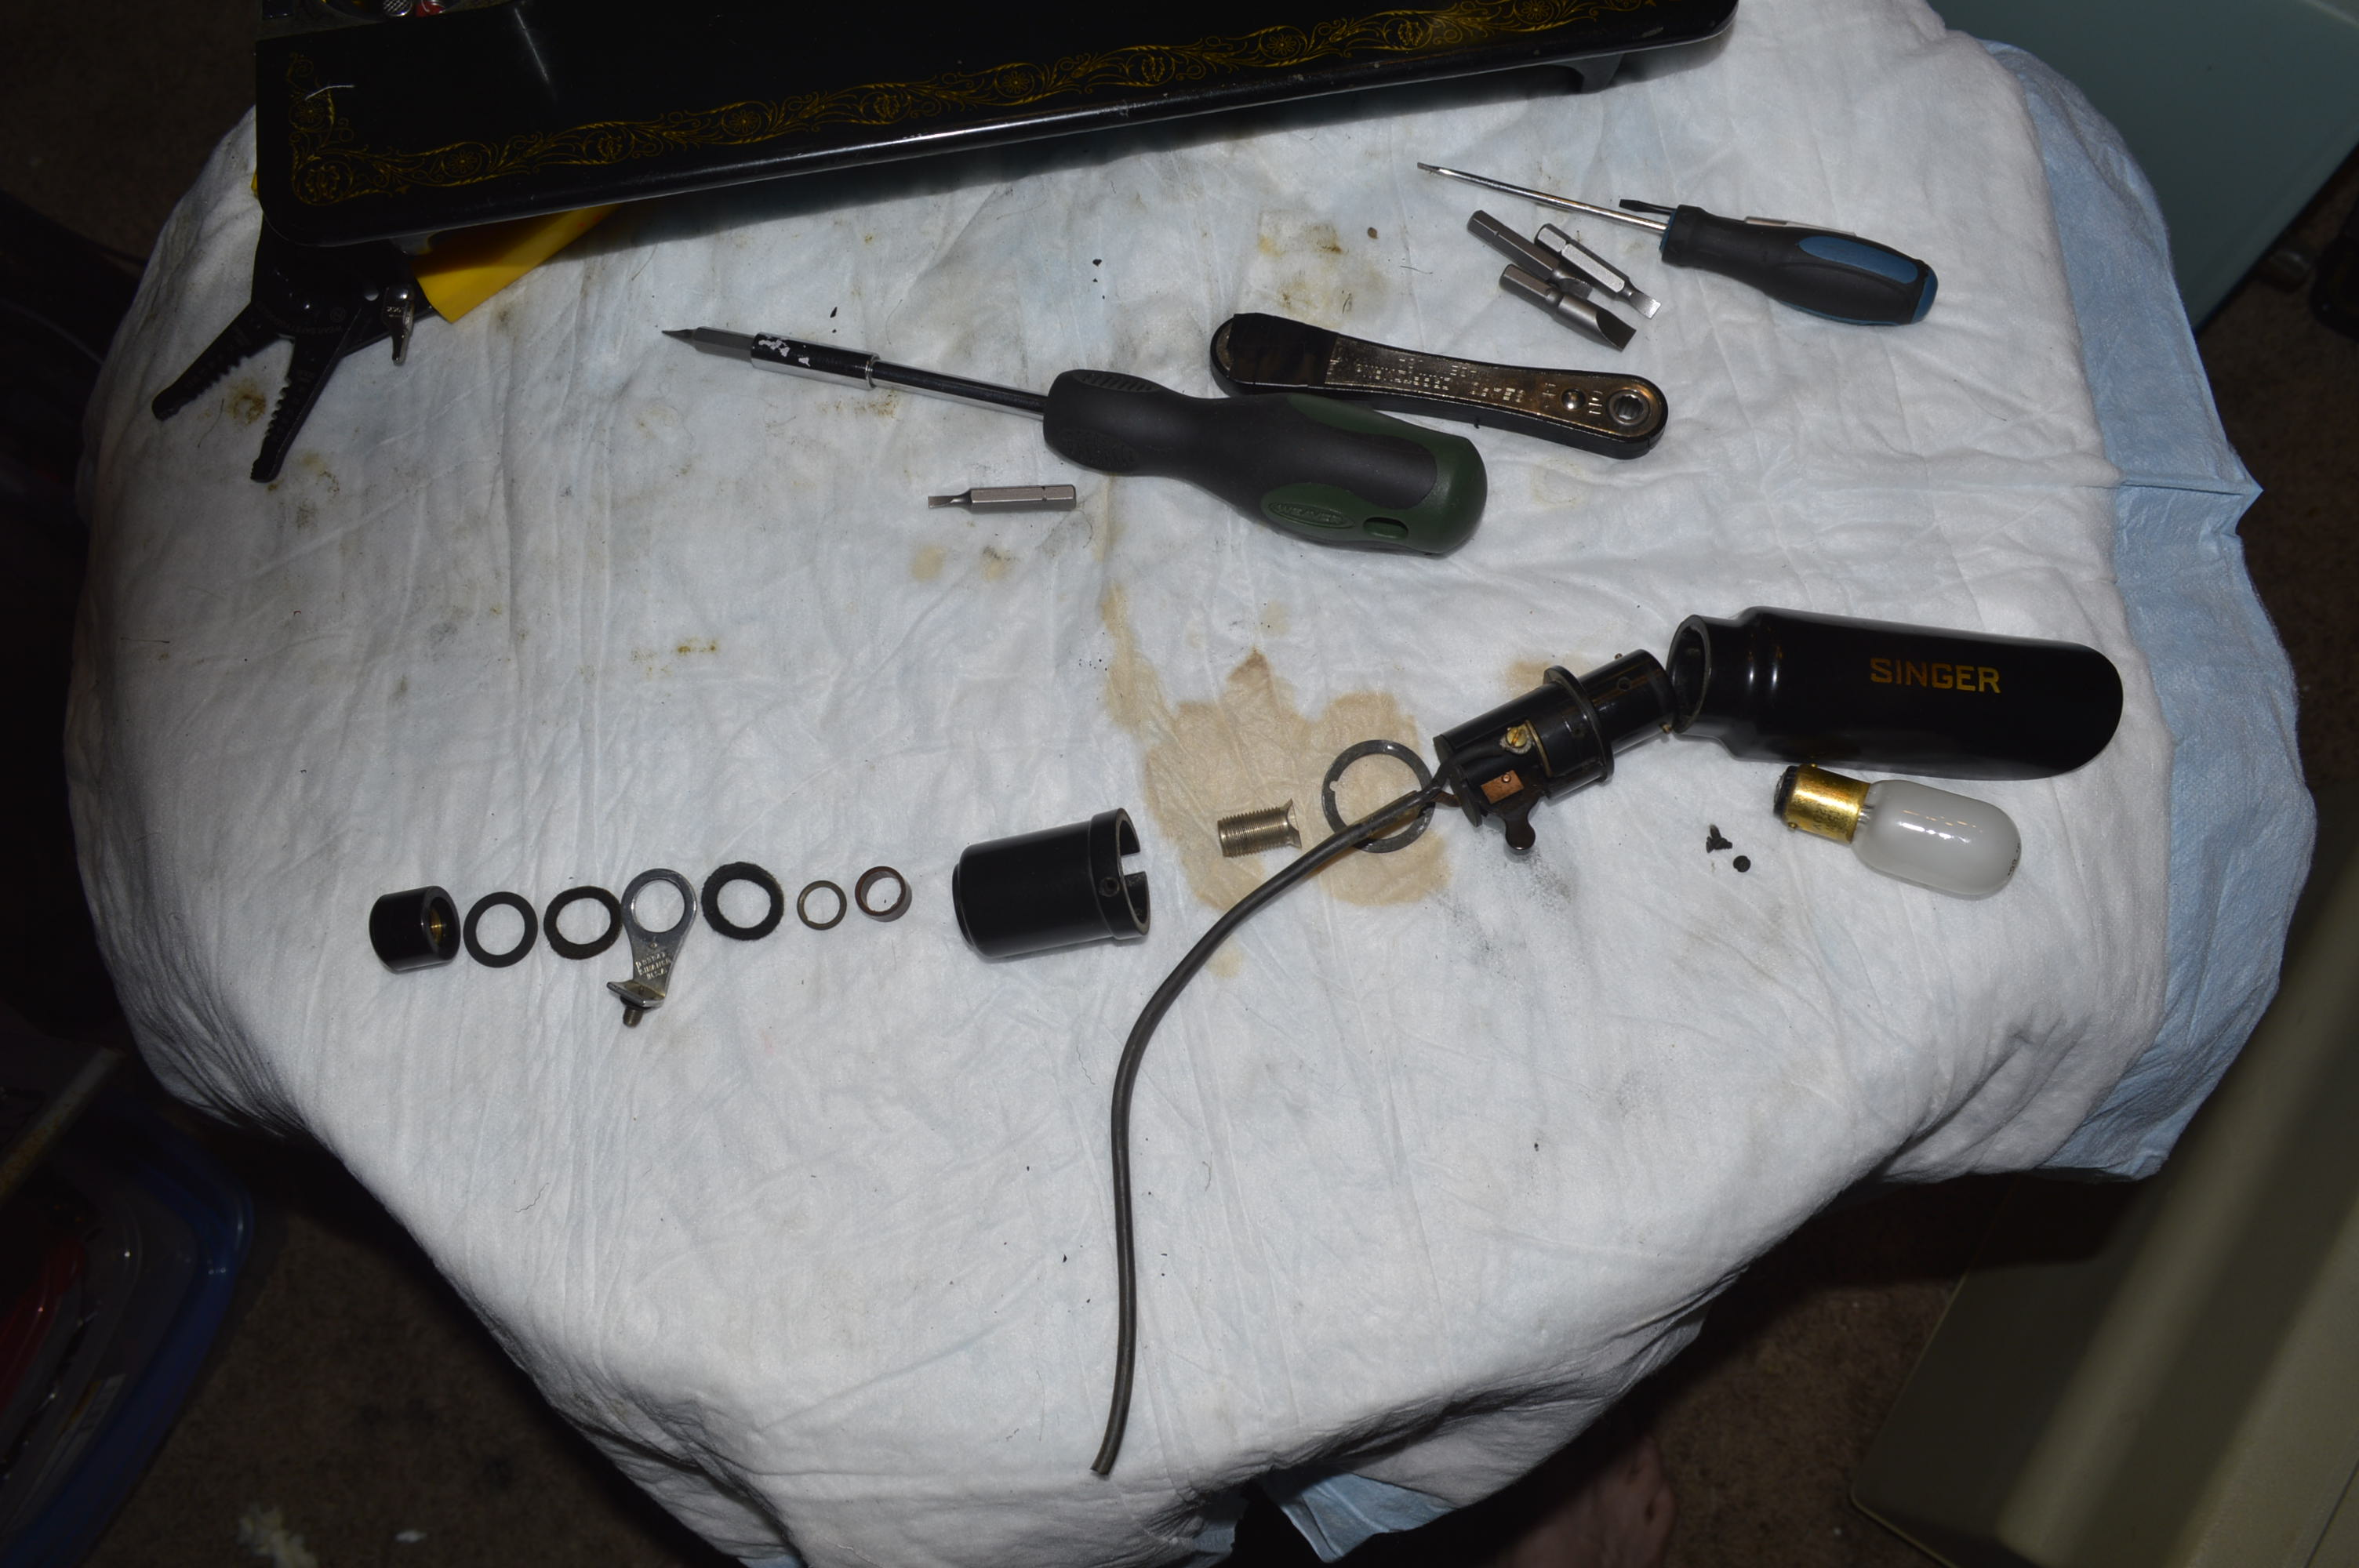
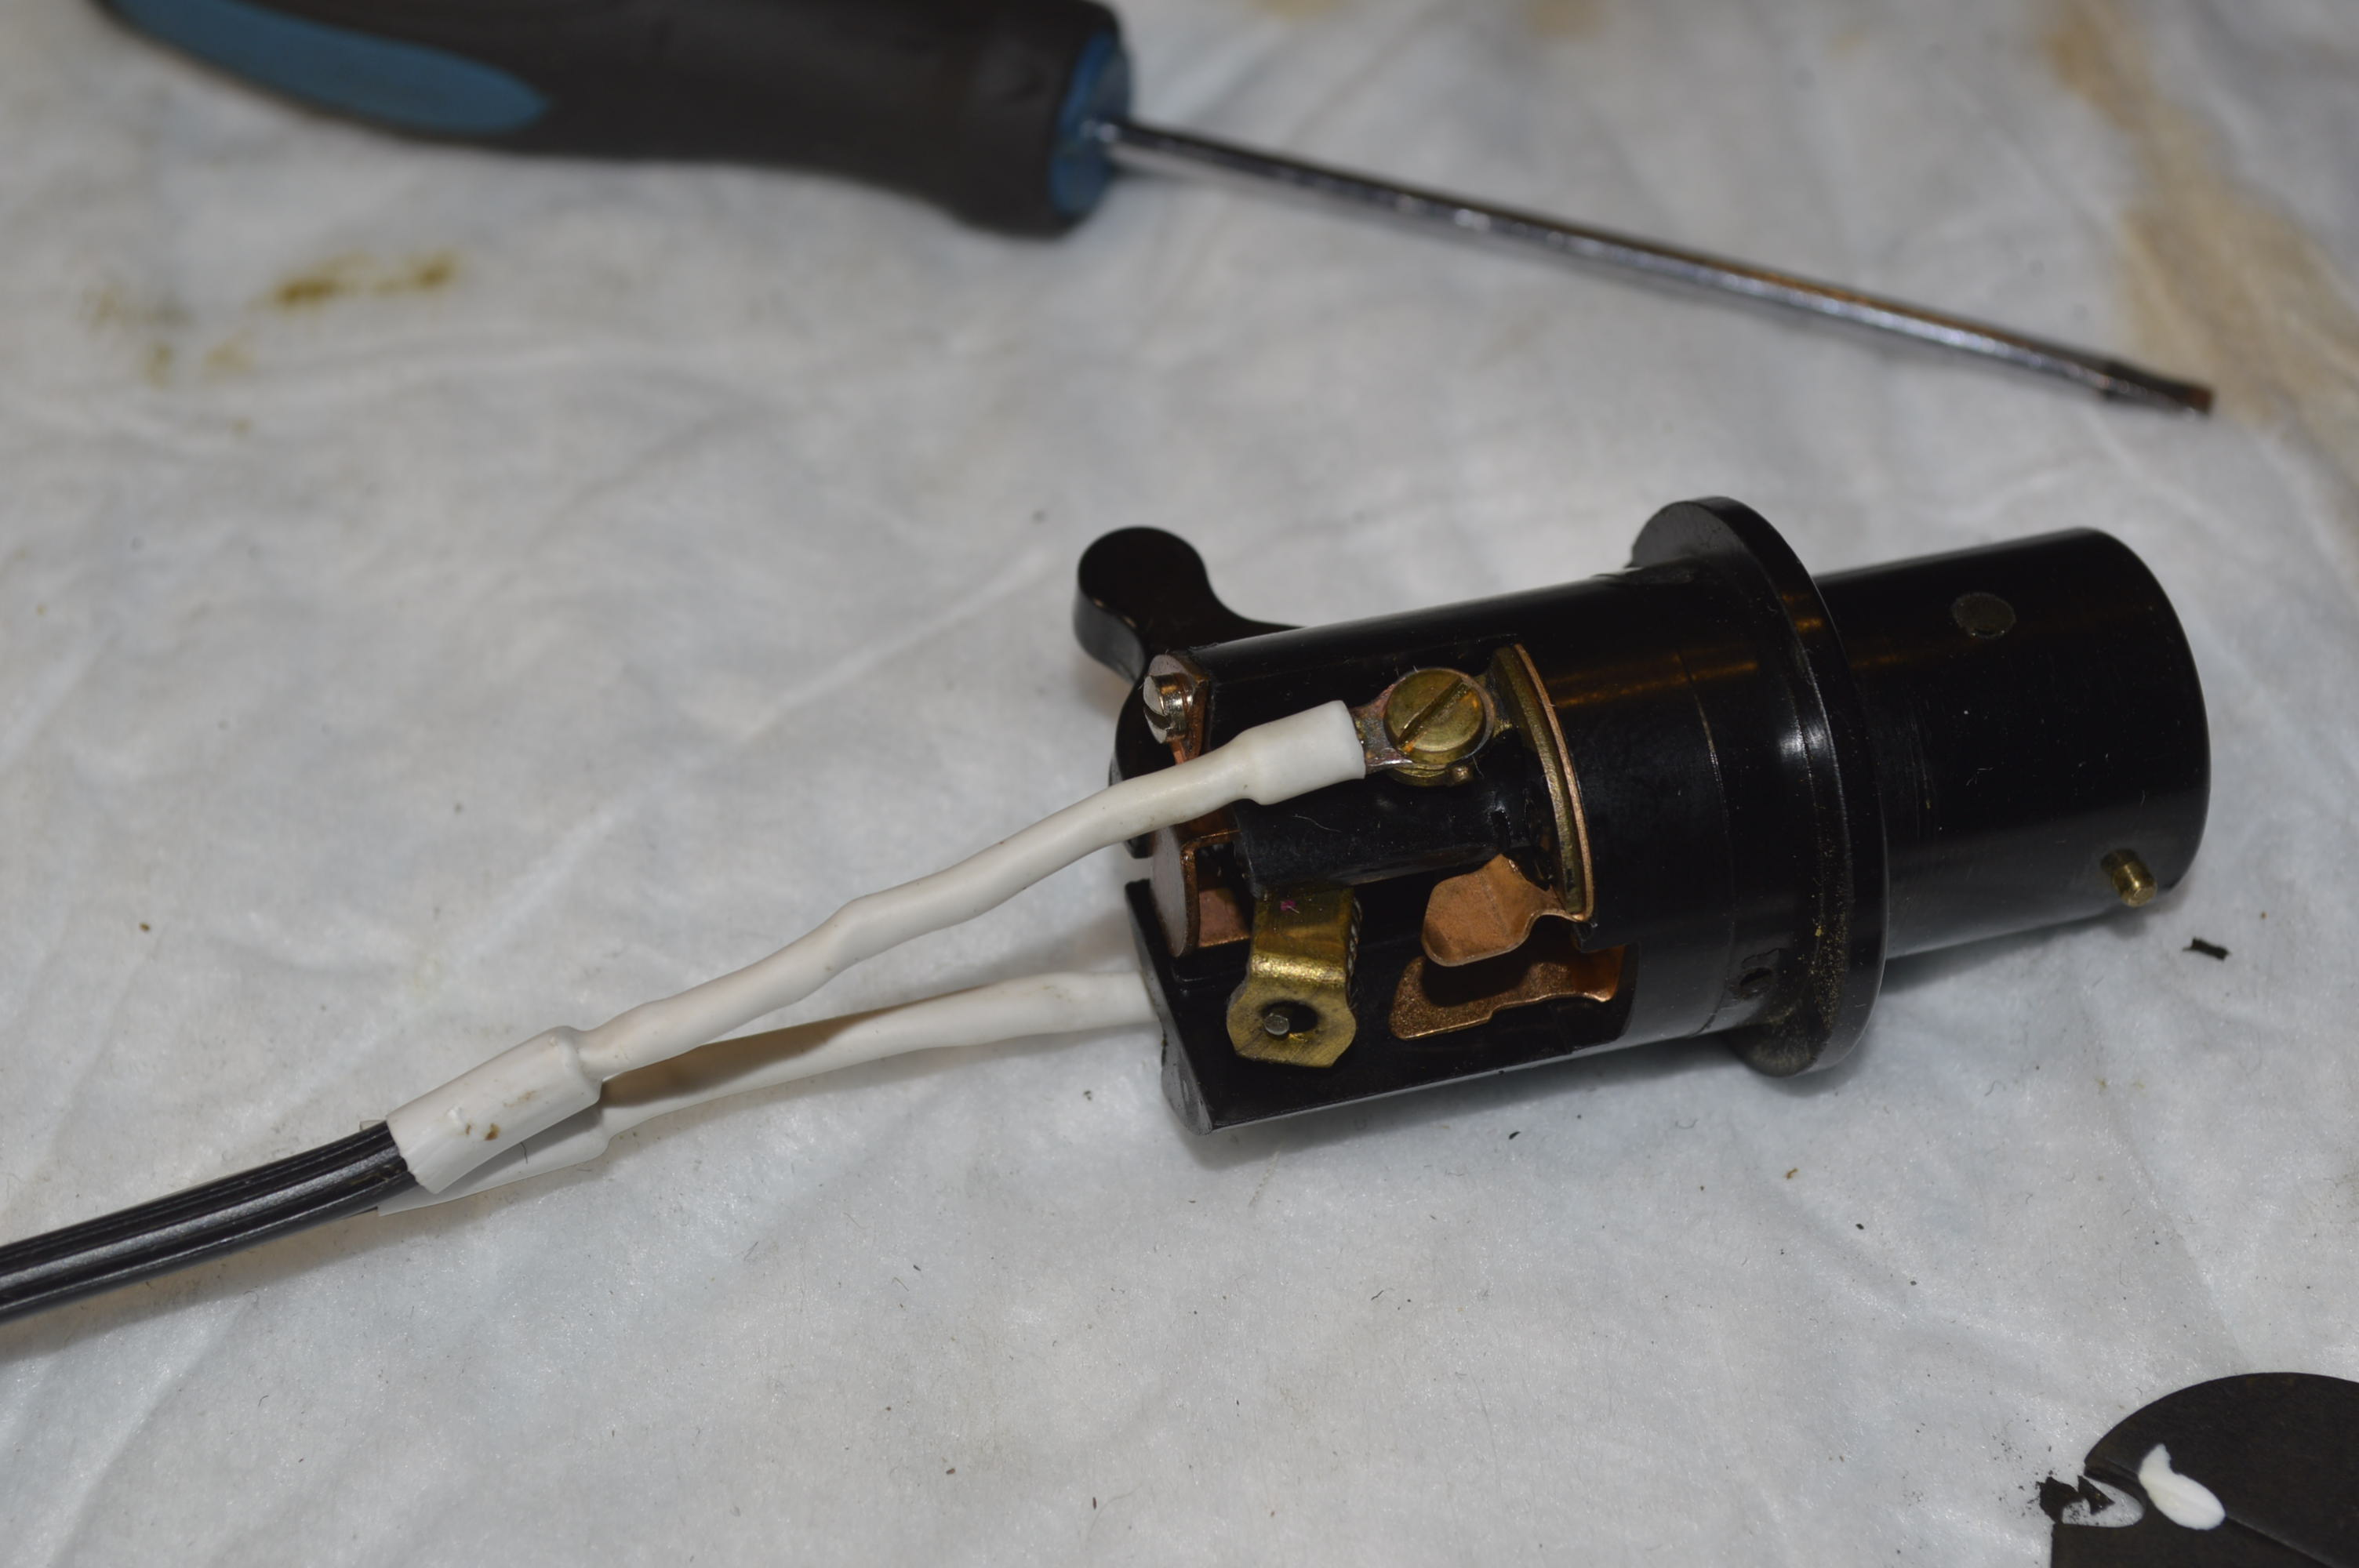
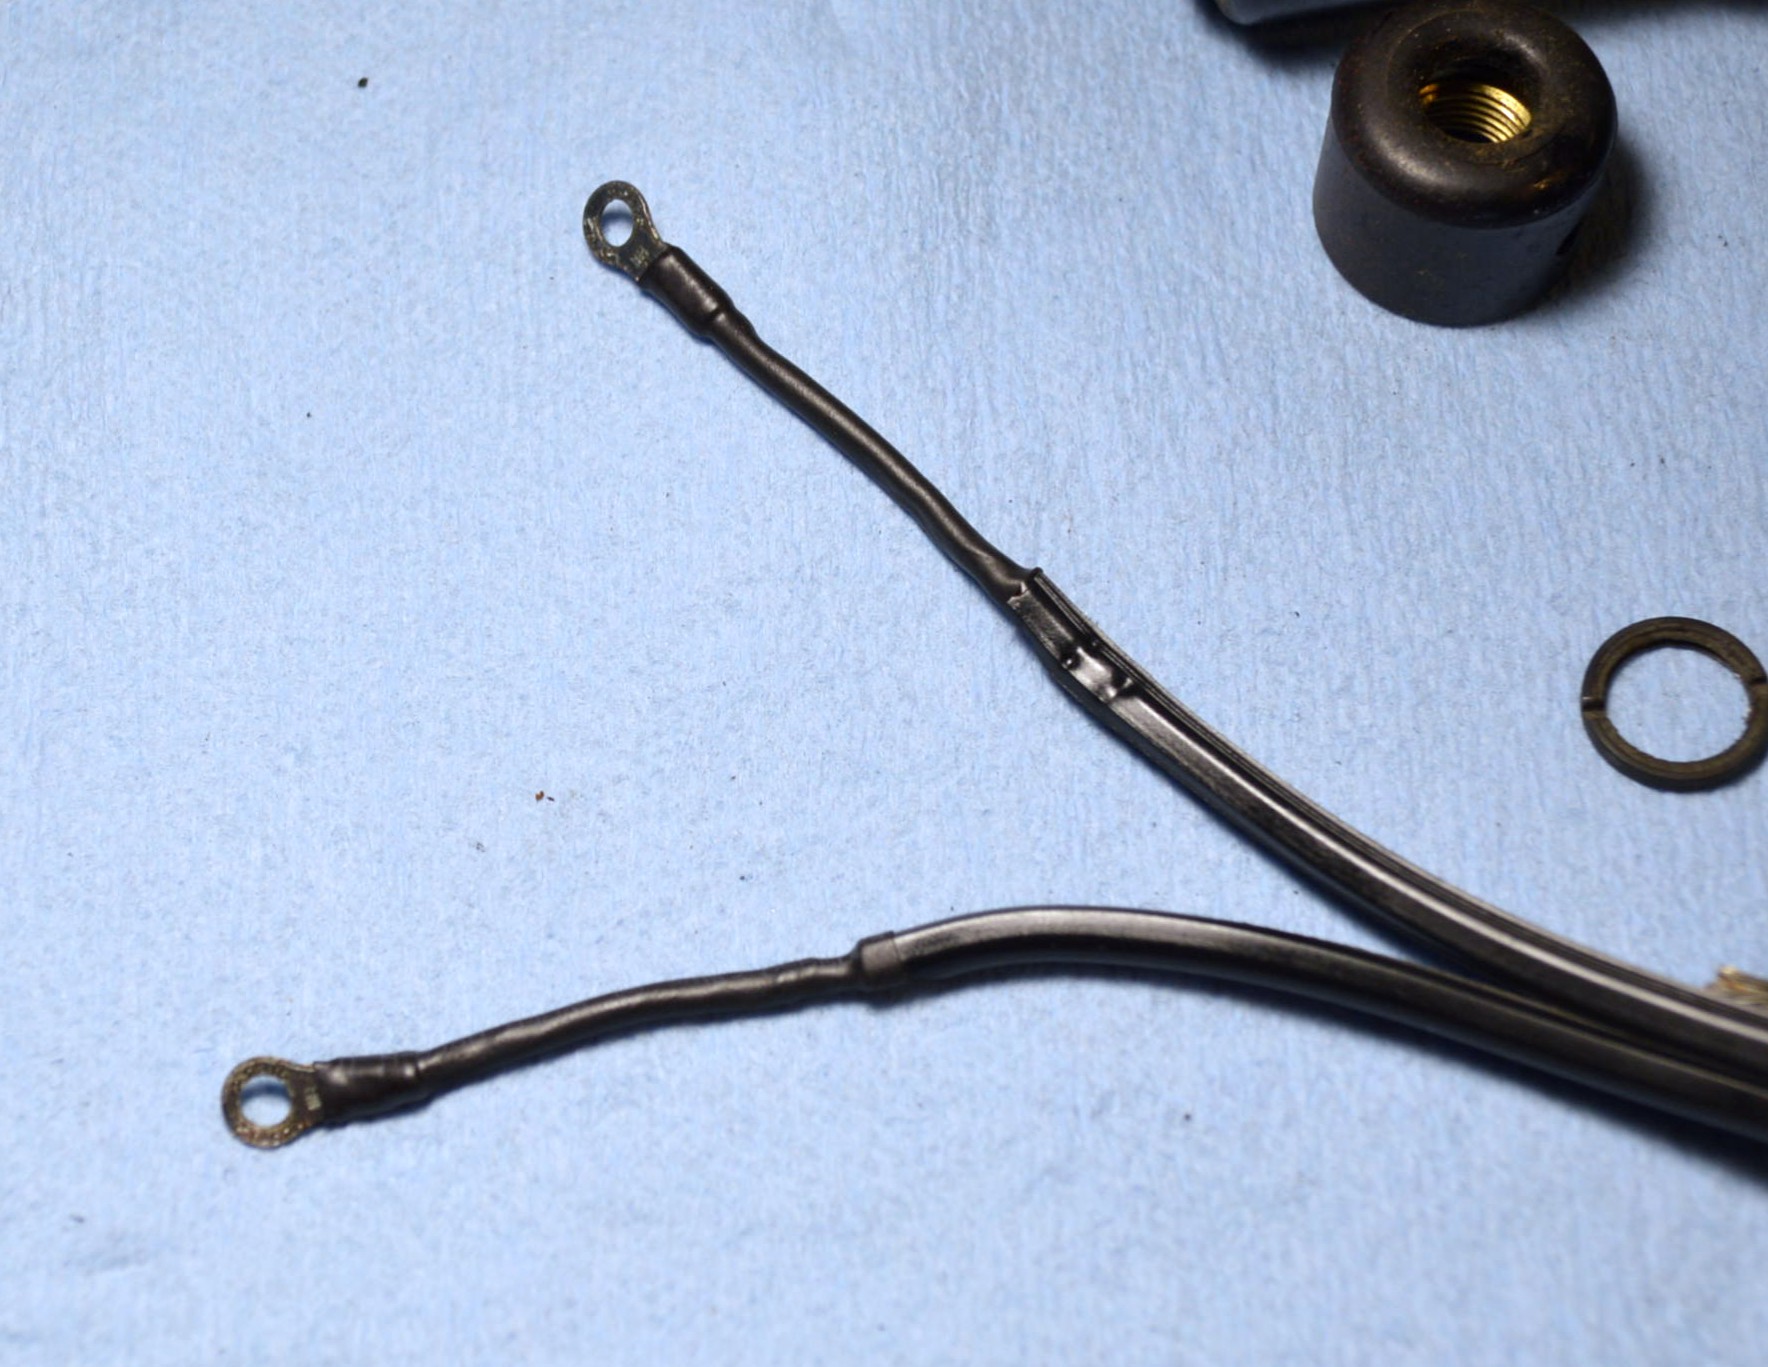
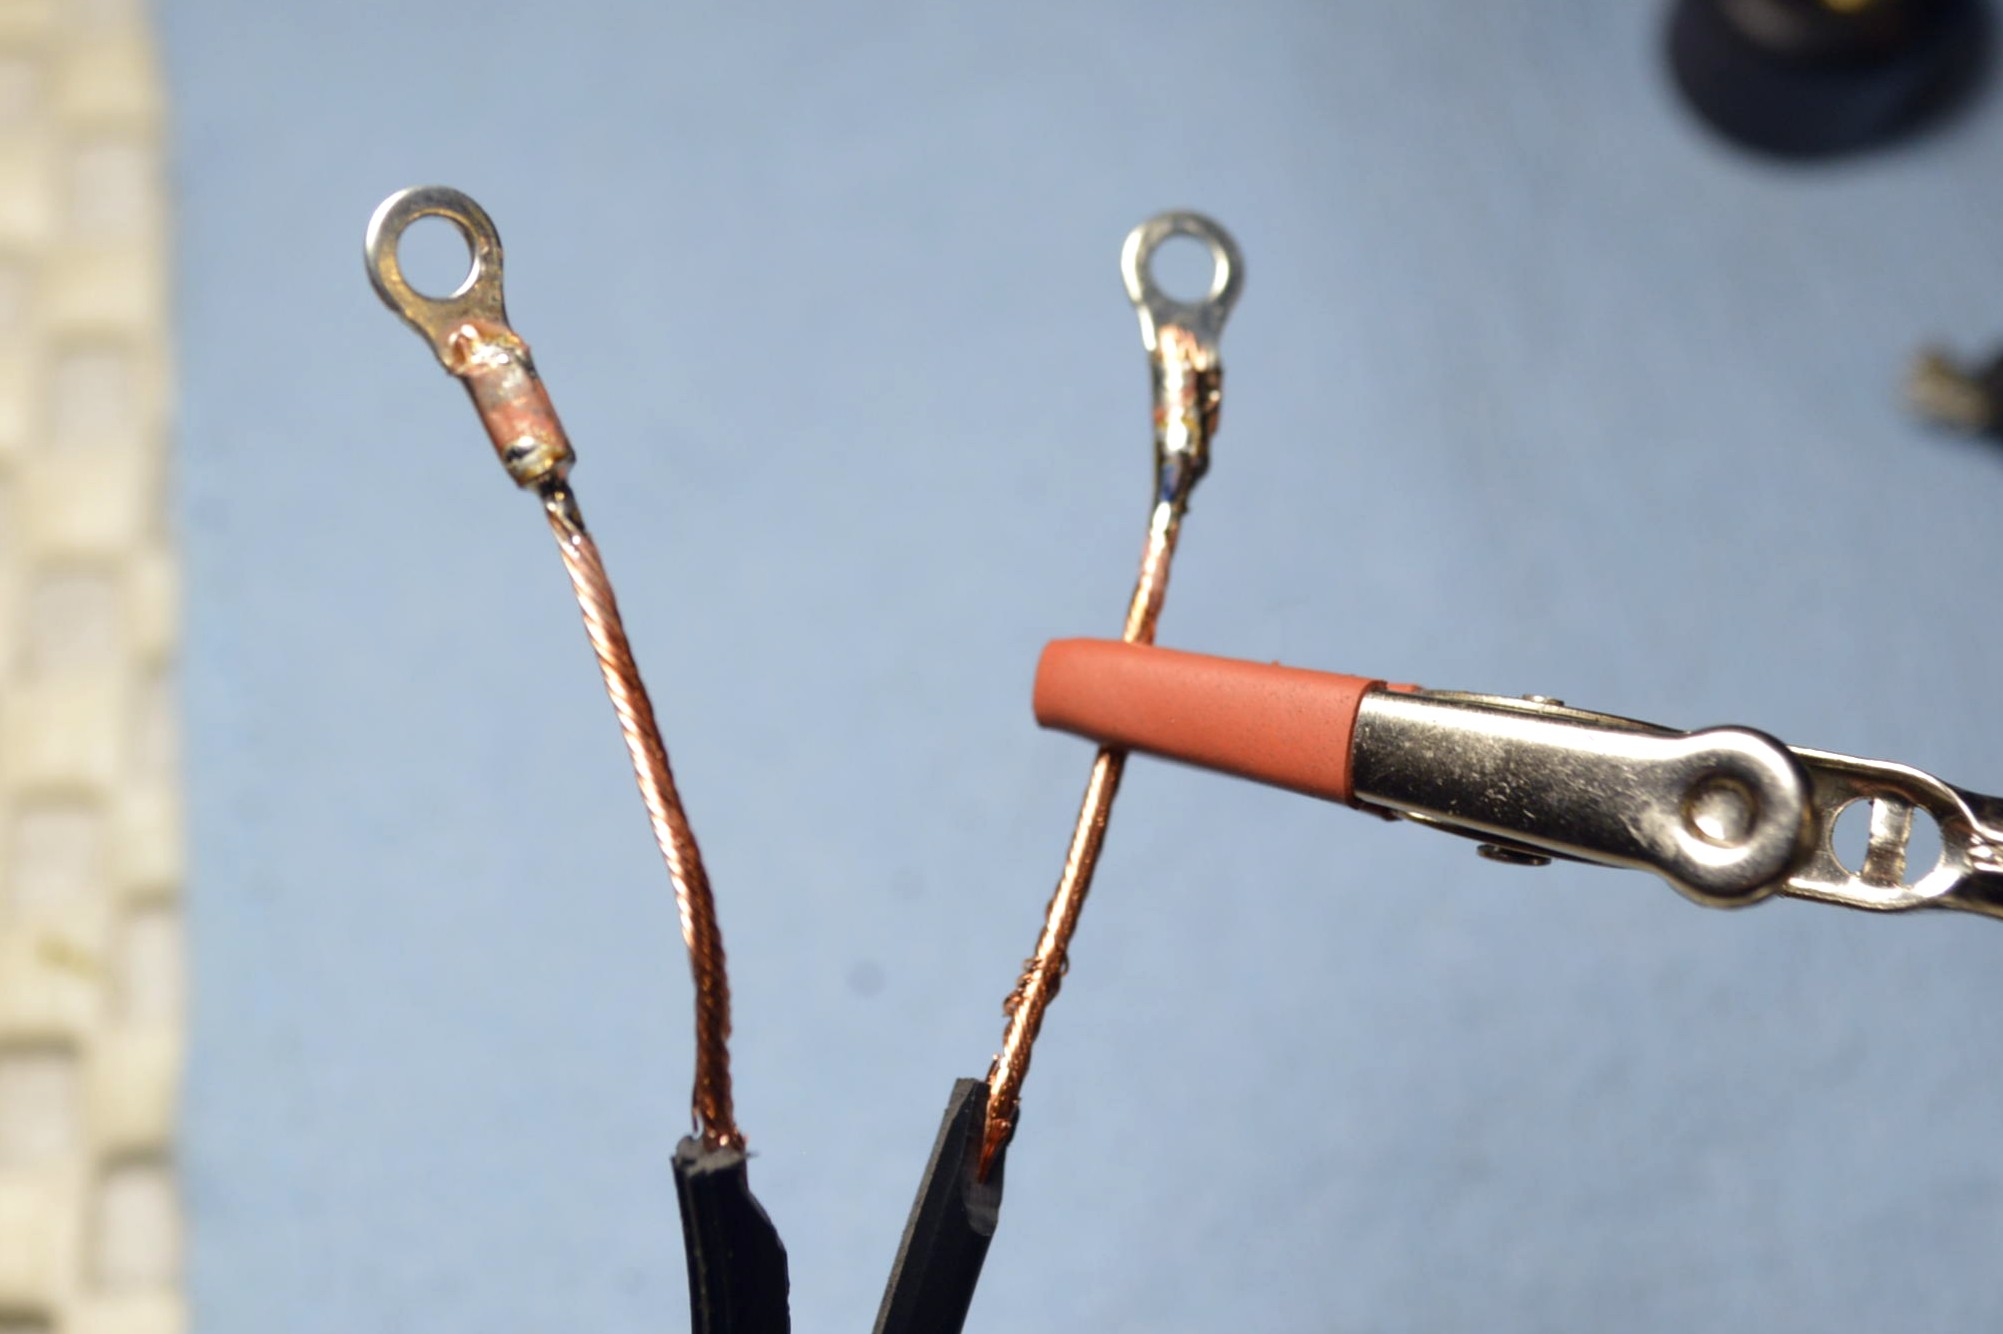
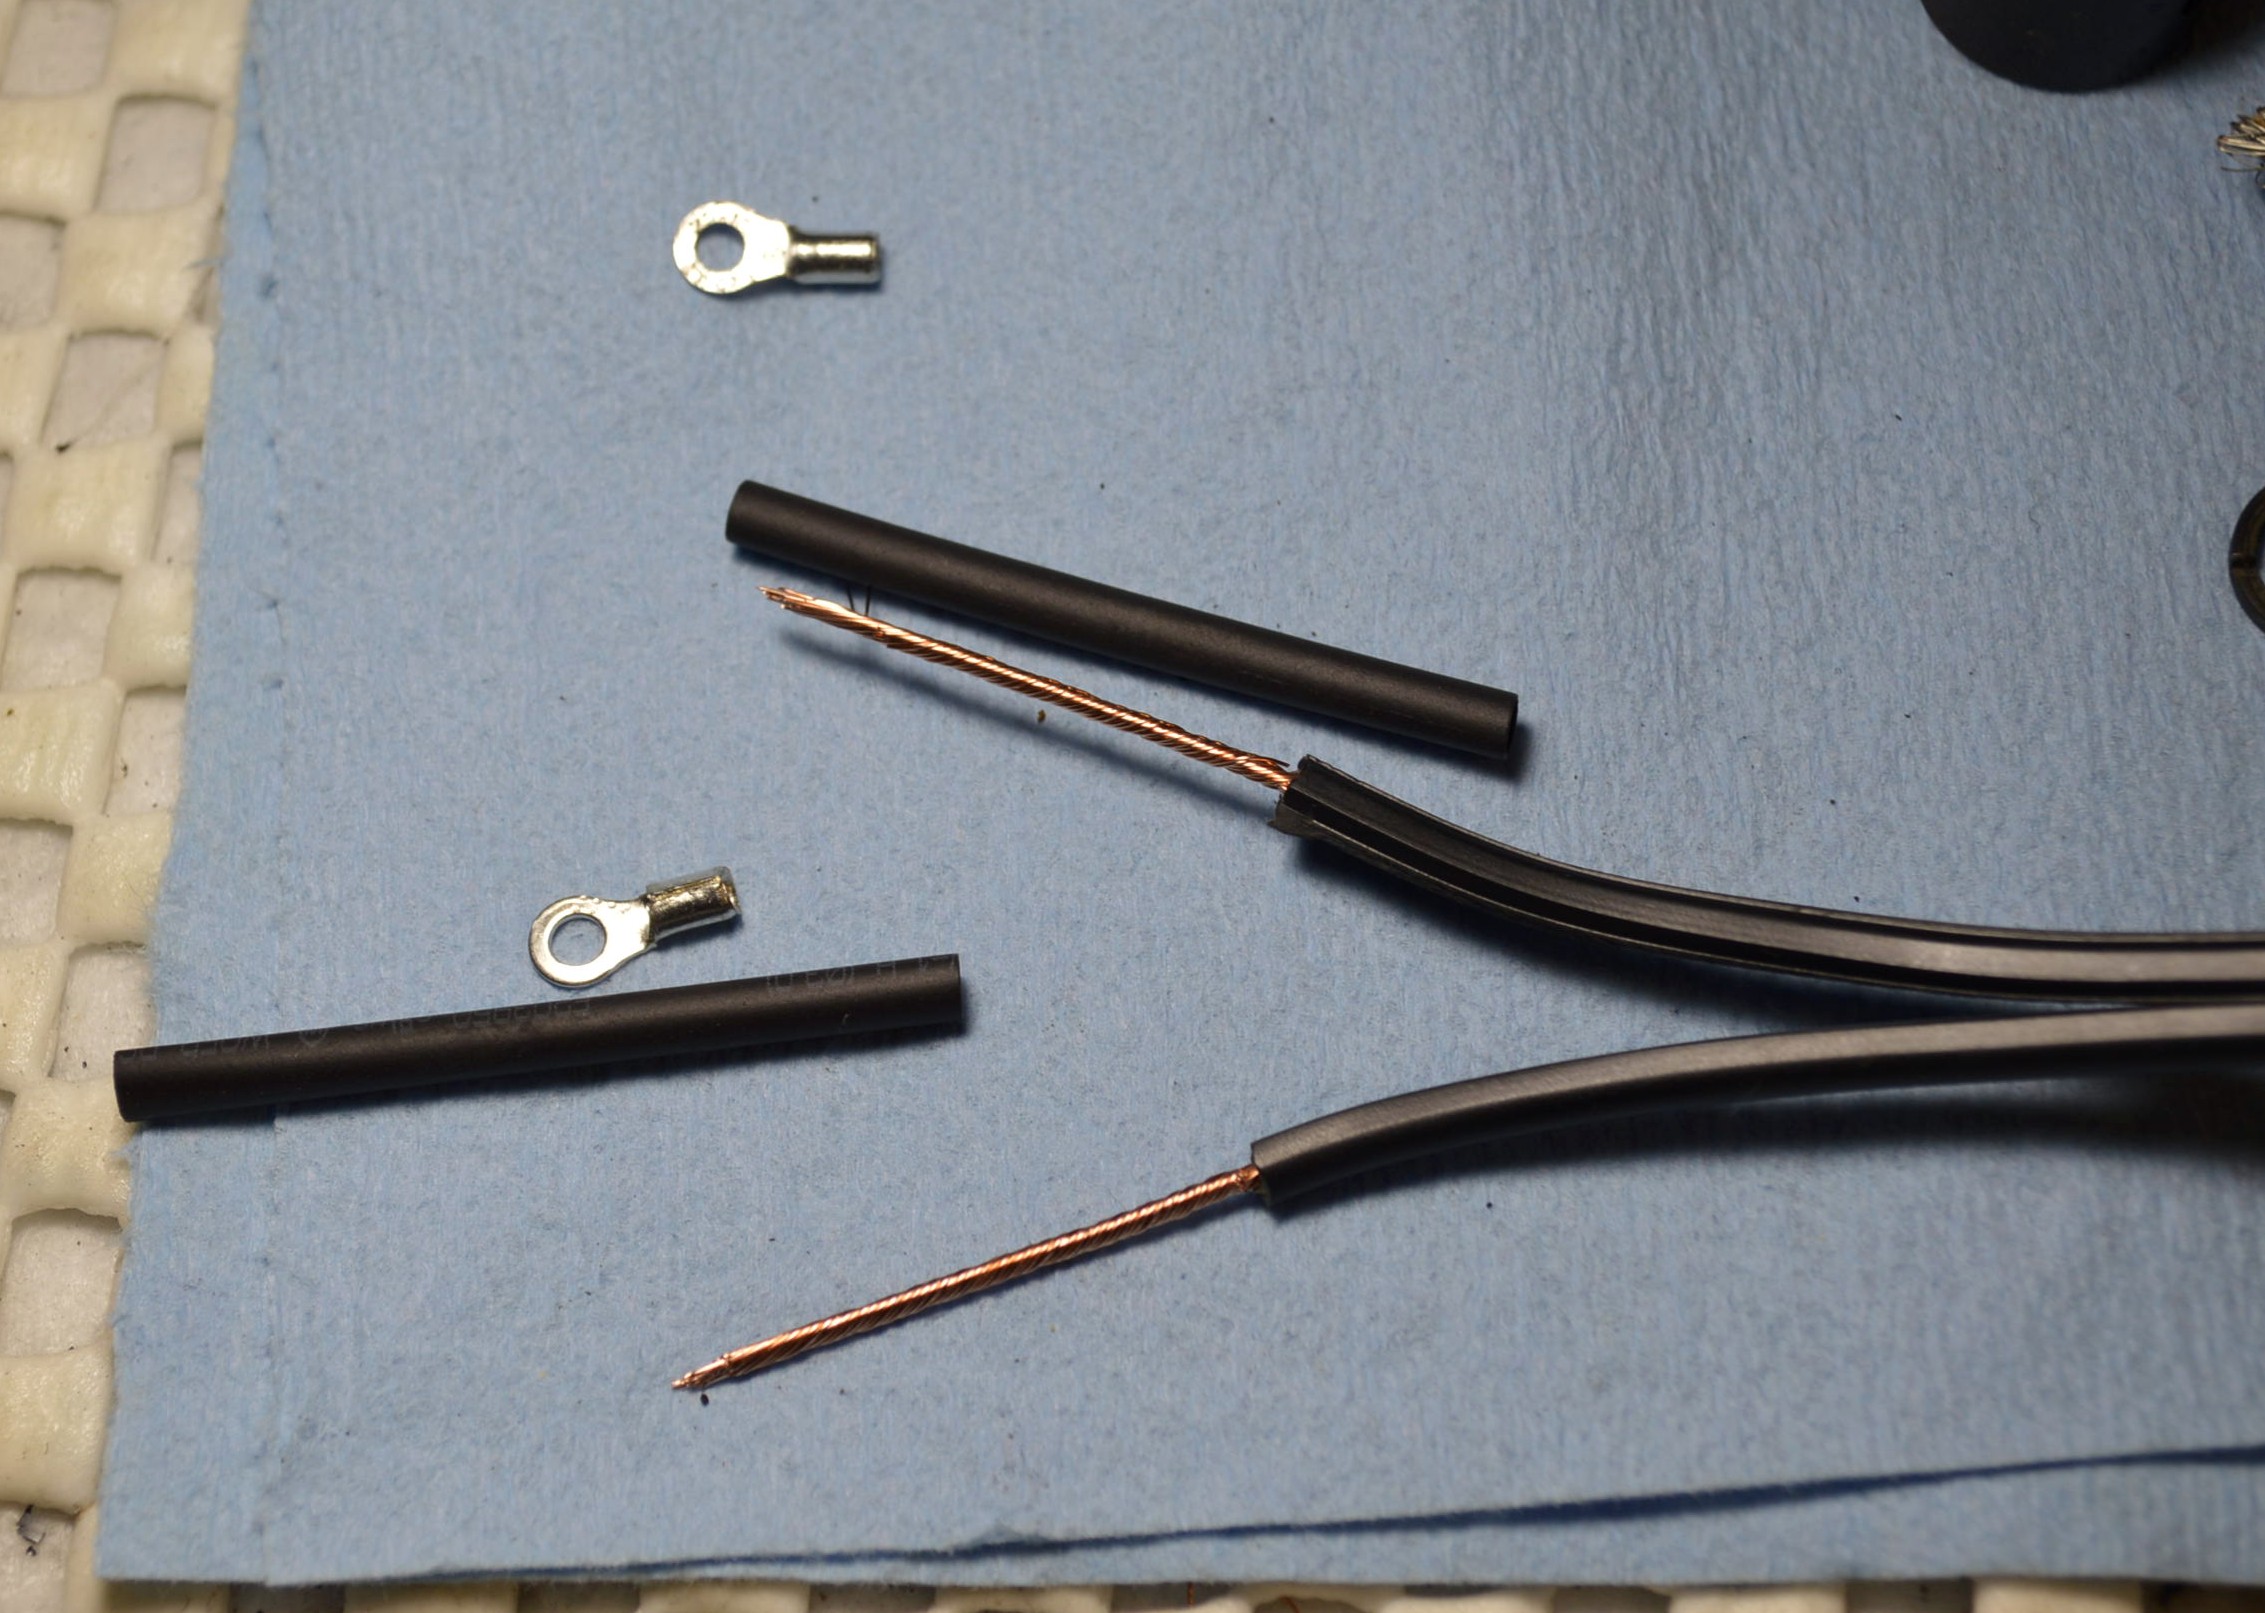
Here the wires must be de soldered from the light switch terminals. The old wires are used as a template to cut the new wires. The fit is tight in the fixture and there is no room for excess wire length.
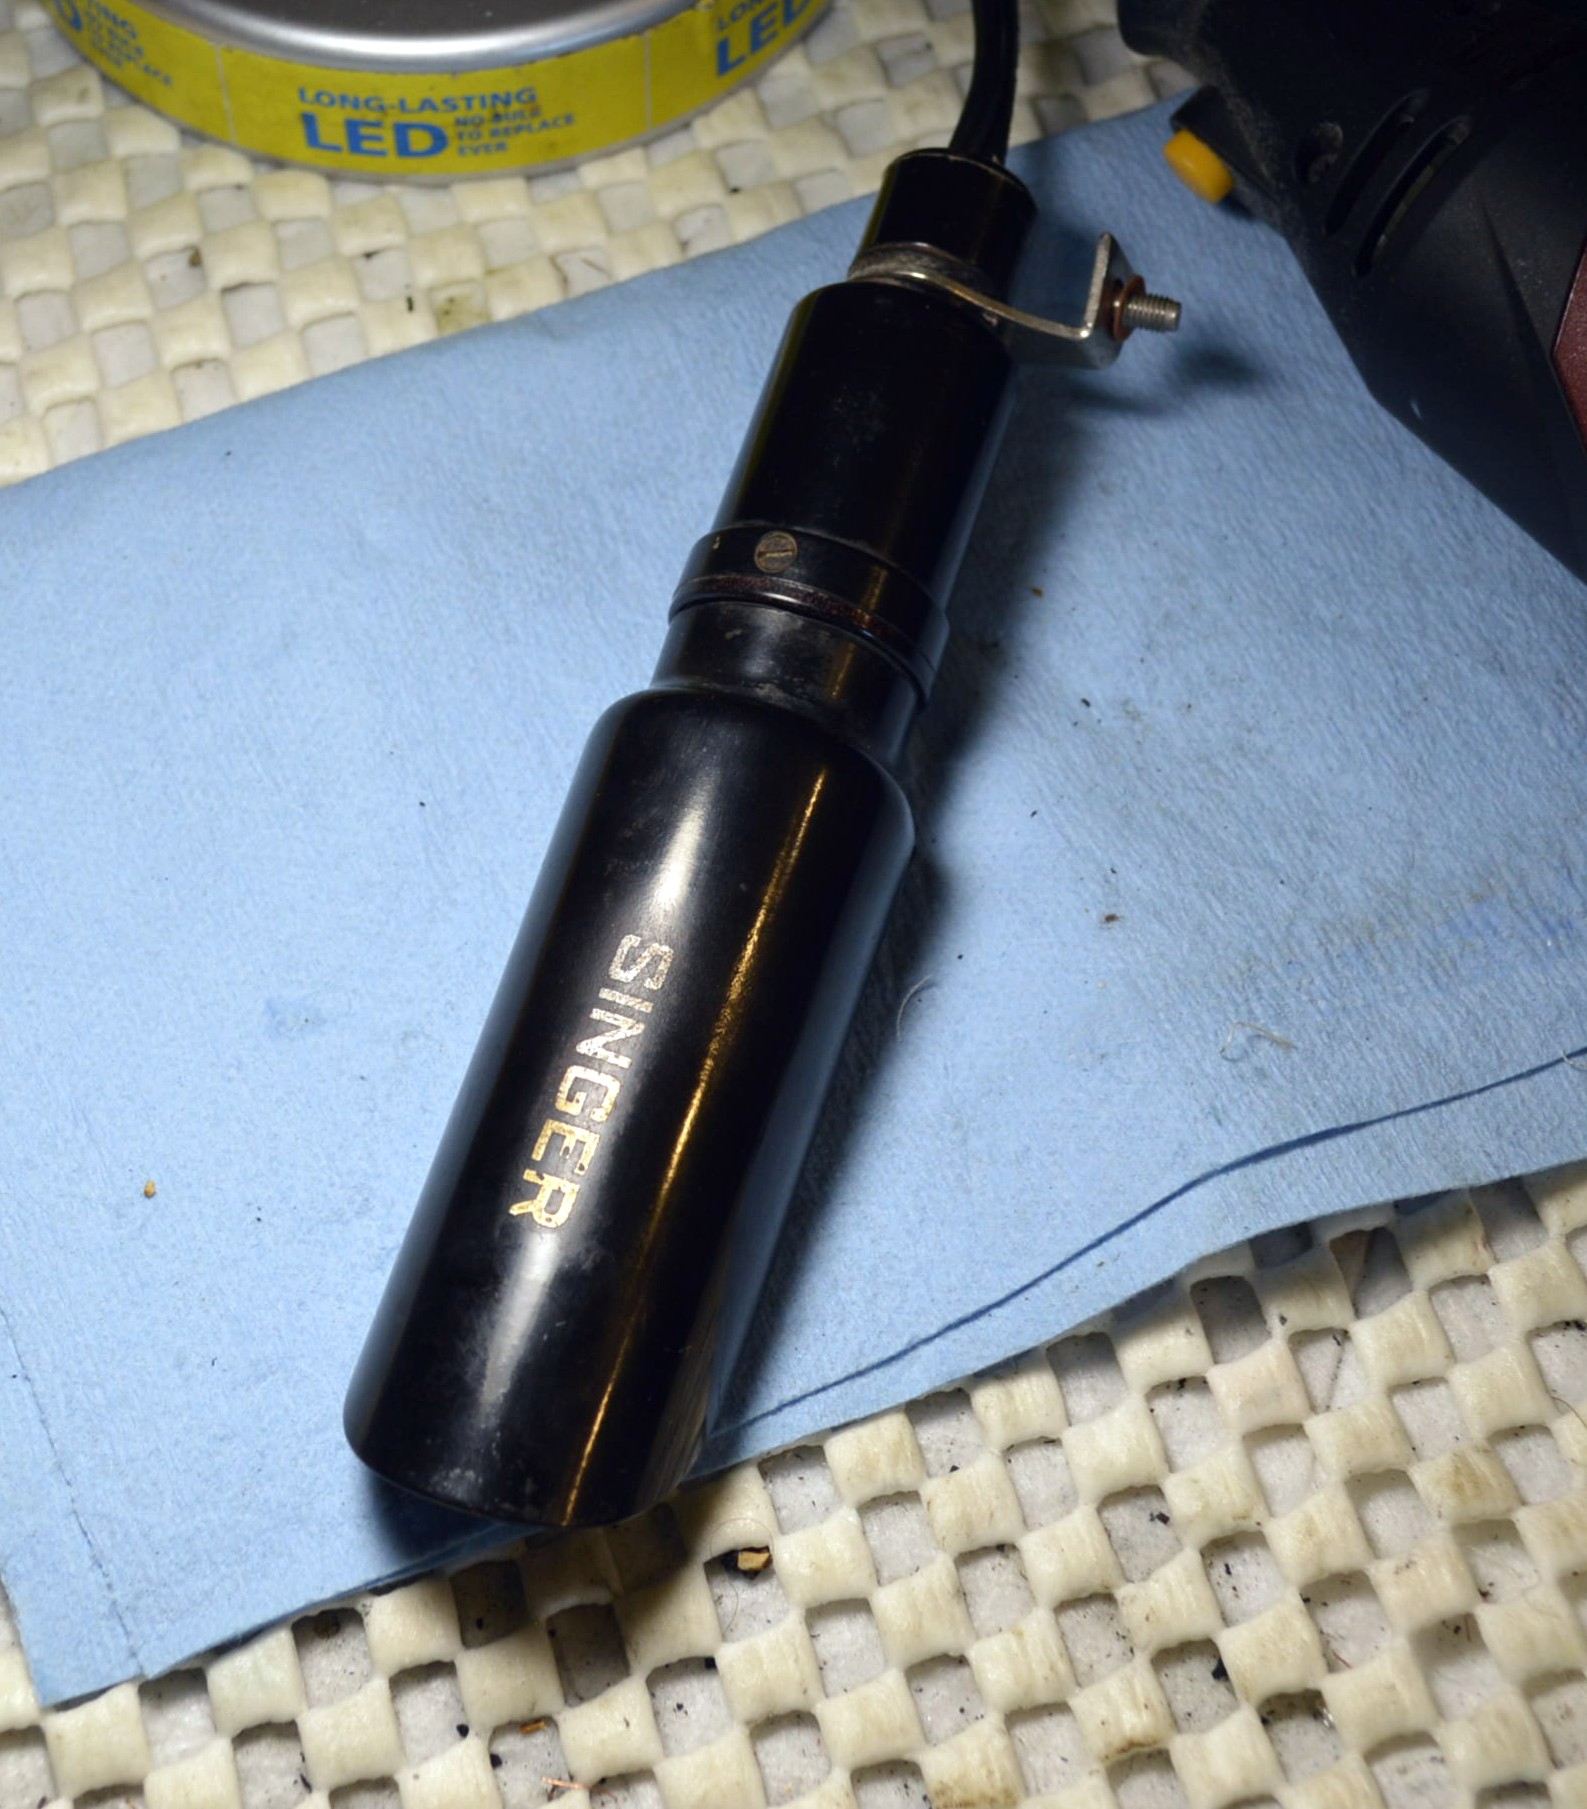
The new wire is soldered to the switch terminals and the fixture is reassembled and cleaned.
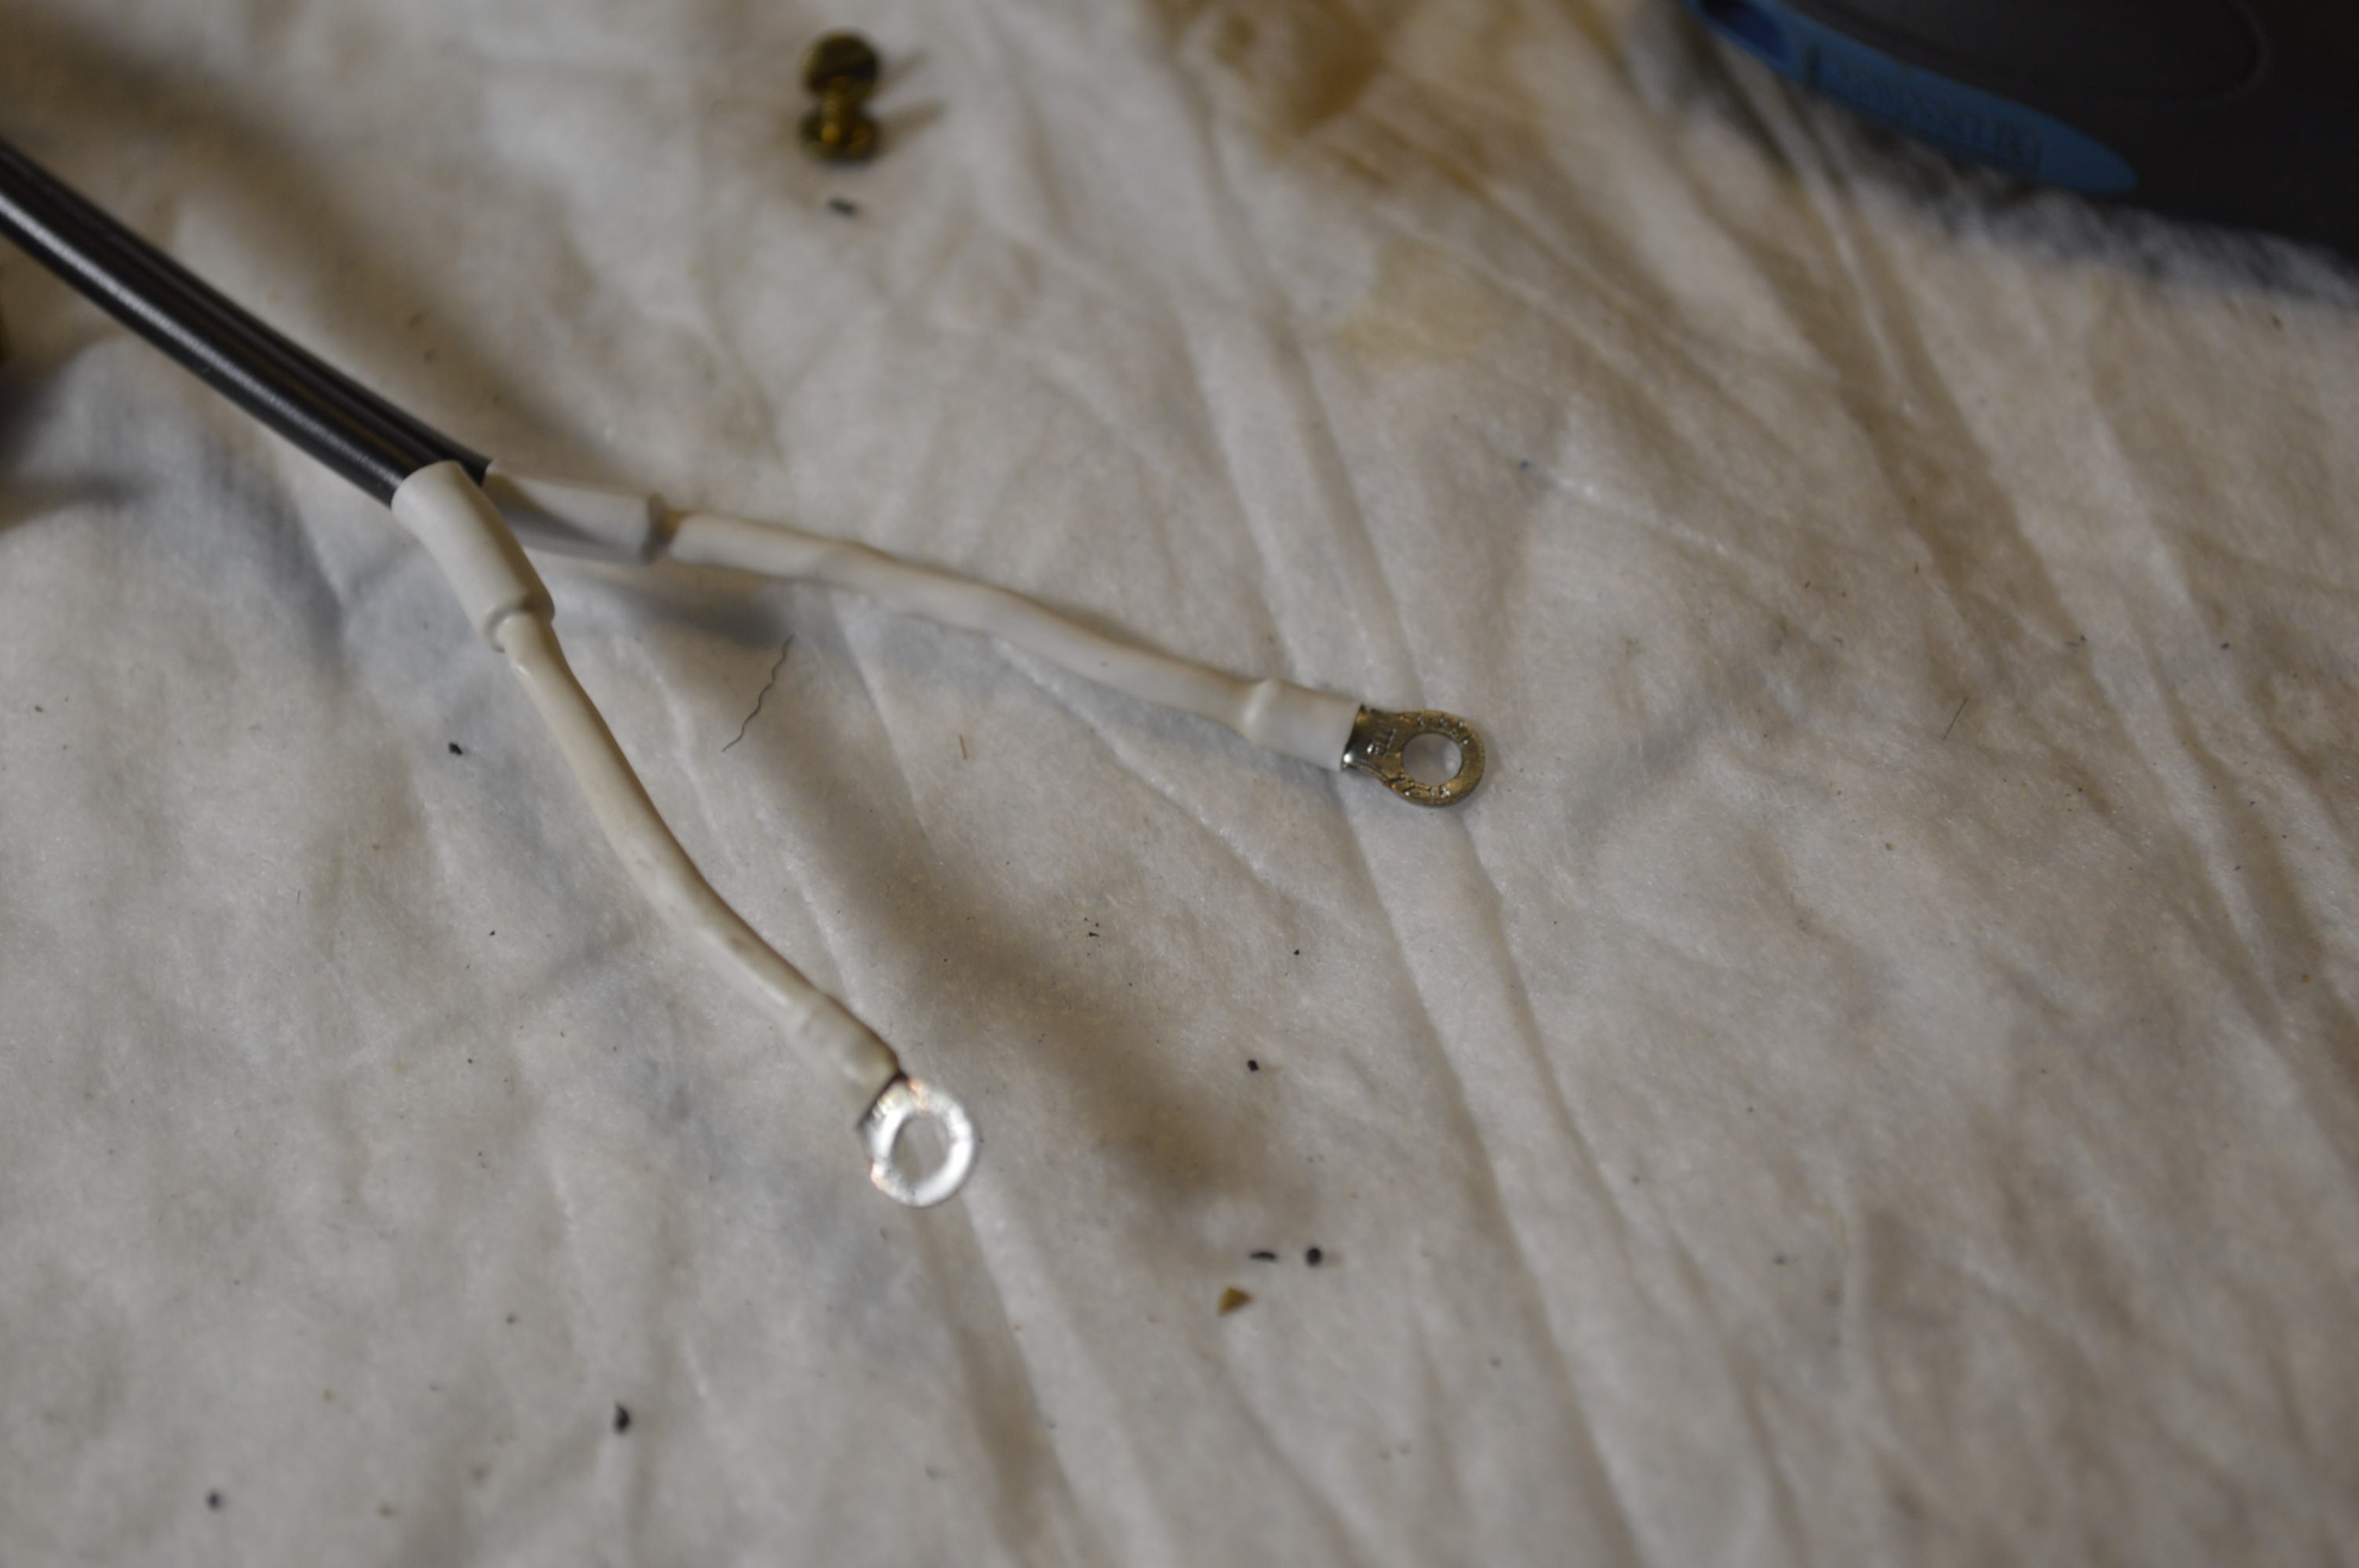
Now this is finished, the new wires have terminals soldered on the ends and heat shrink tubing over the soldered terminal shank.
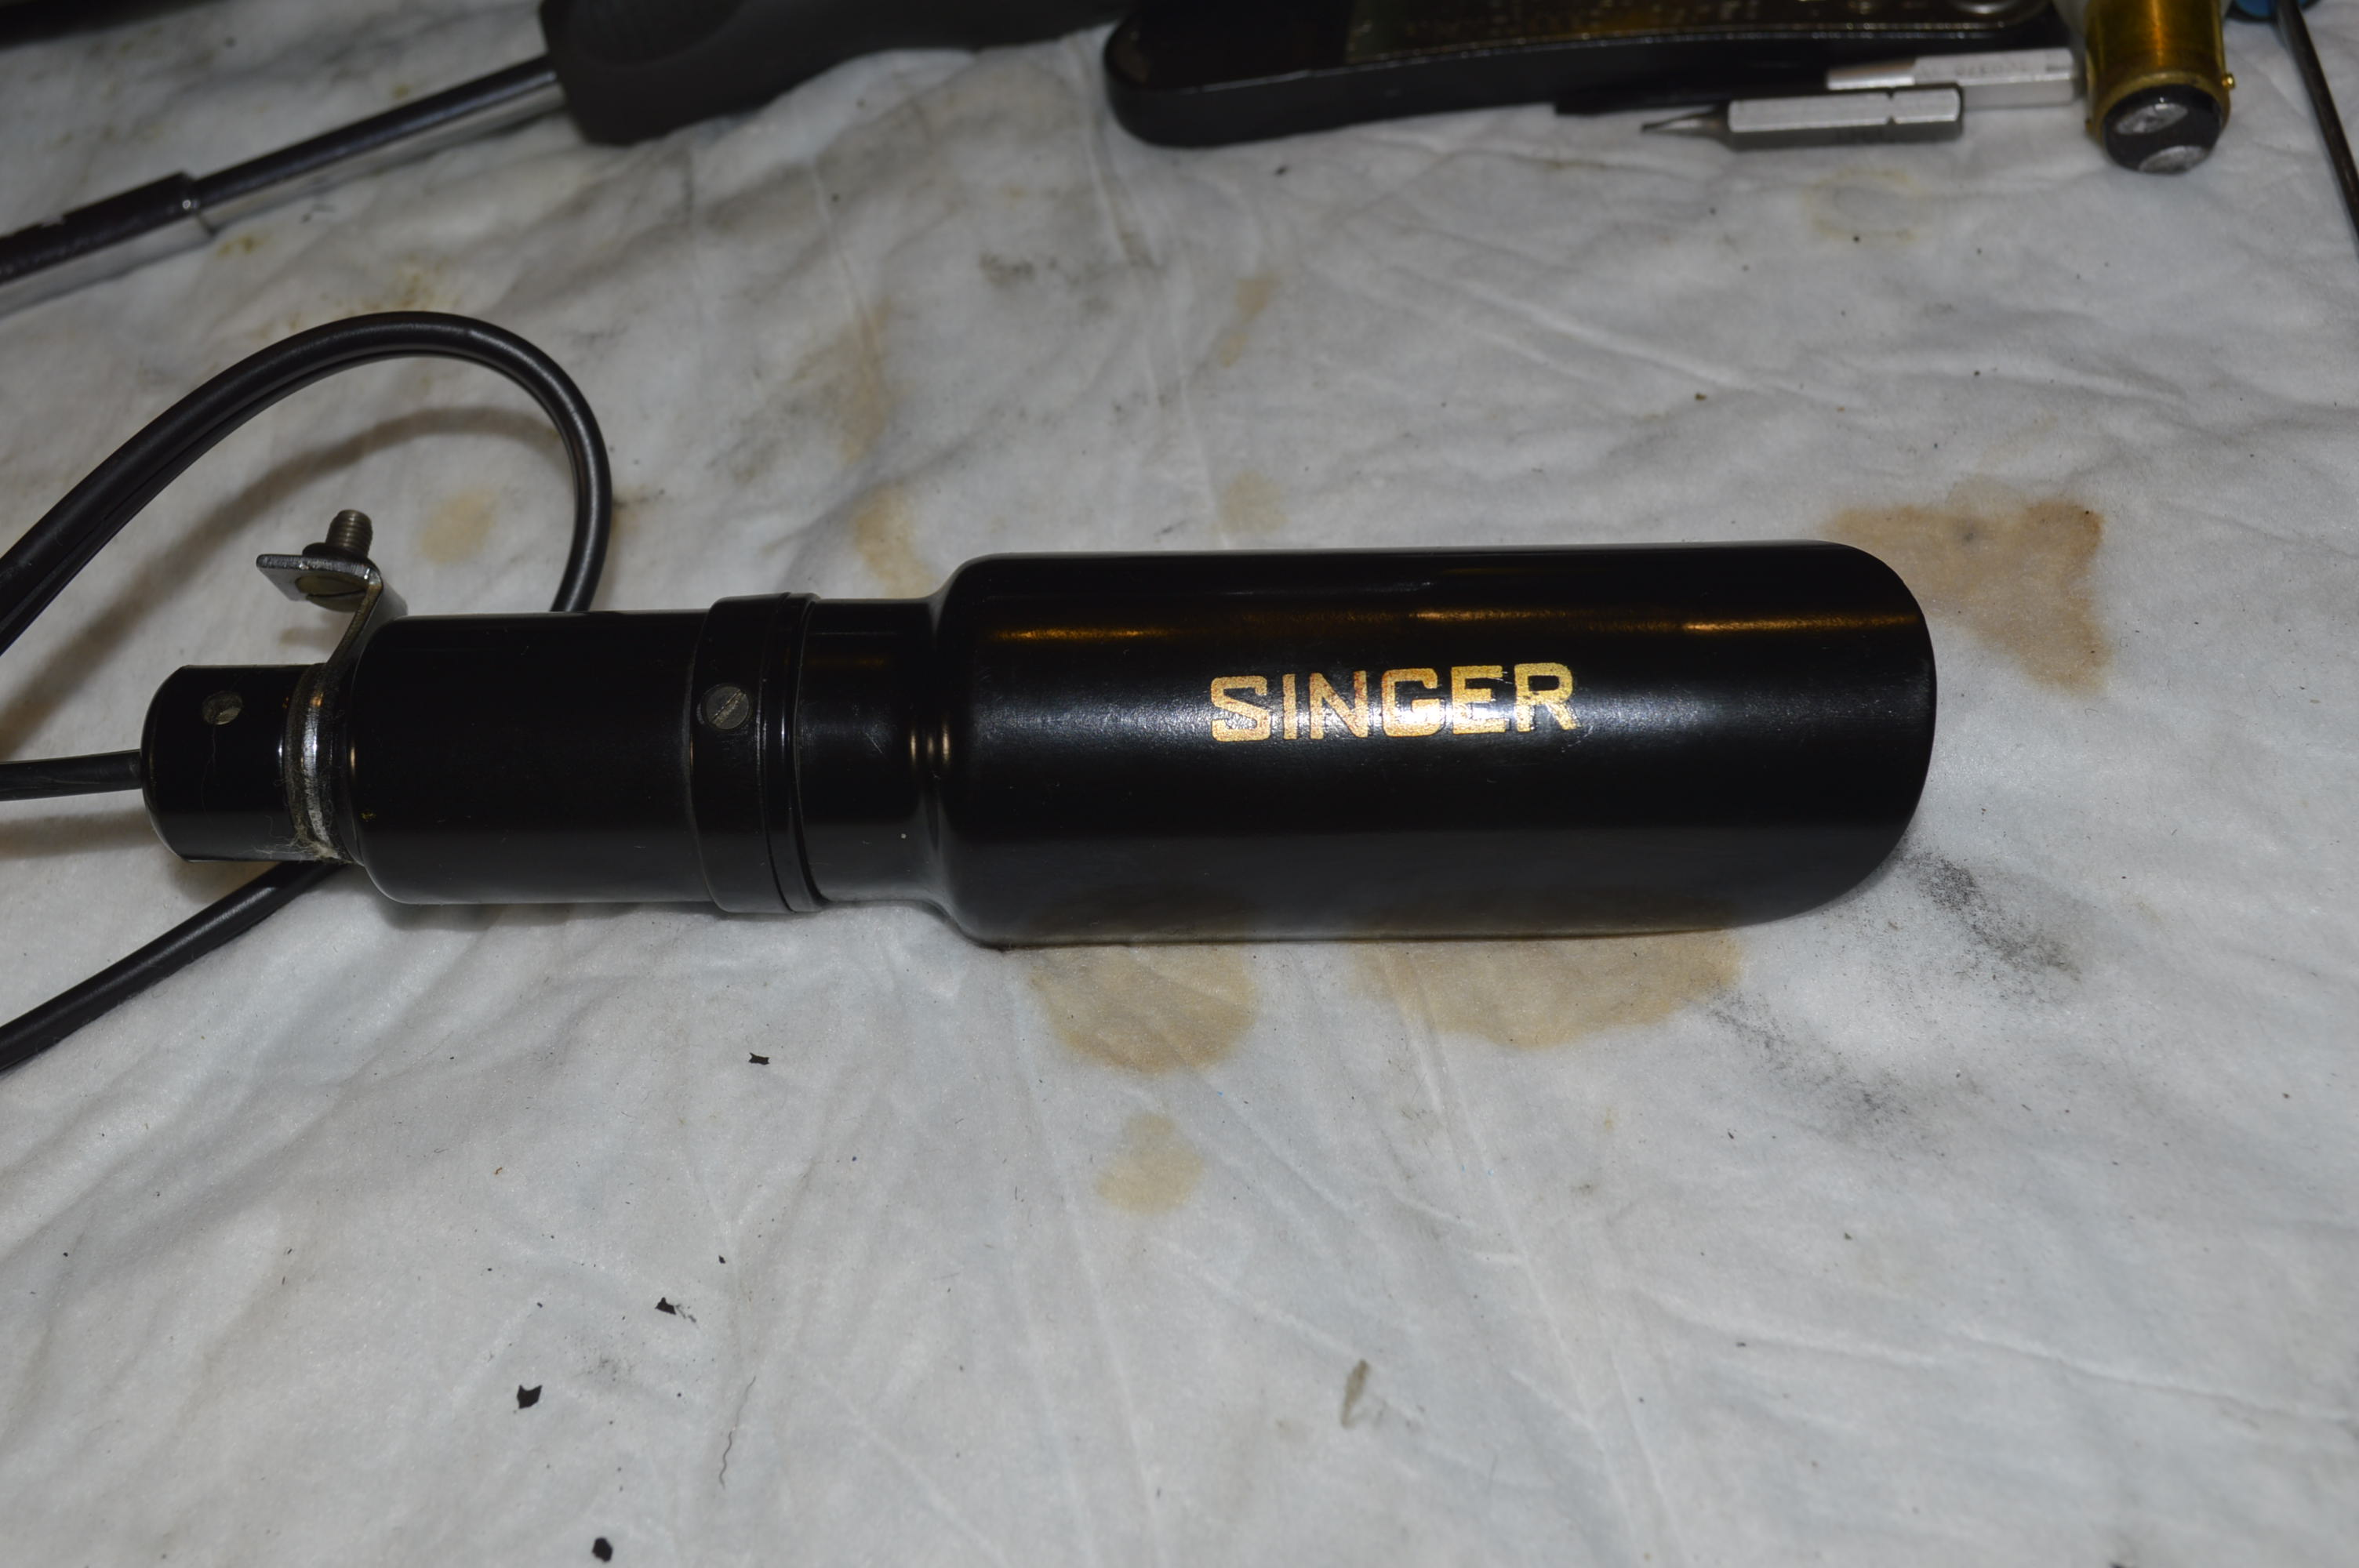
The final step to install the light and the motor is to connect the wires to the terminal plug.
Finally, the plates and covers are polished with jewelers rouge and buffed on a 6″ buffing wheel and put back on the machine.
The machine is then adjusted for tension and proper feed.
Thats it! This completes the mechanical and cosmetic reconditioning of the sewing machine.
With the machine finished, I turn my attention to the case. I think that unless the case is damaged or the finish is severely compromised, the less you do, the better the result. Just like the wood work and furniture in your home, a bentwood case darkens and “mellows” with age. Stripping or refinishing removes years of character. Because the finish on this case is in very good condition, there isn’t a lot of work to do. I will limit the process to cleaning with Murphy’s oil soap, and rub it with two coats of linseed oil to re-nourish the finish. While a few small dents will remain in the case, it is not worth the risk and try to fix them. From my view, I think the repair would be more visible than before, and the finish would be disturbed. The final finish looks like this, and I think it looks great! The aged patina is still there and it is a beautiful contrast to the beautiful black sewing machine sitting in it.
Here is the result of all of the hard work, many hours, and attention to details.
Tell me what you think! Don’t hesitate to contact me if you have any questions, and please visit our Etsy store at https://www.etsy.com/shop/pungoliving, to see our restored fine high quality sewing machines.
I have had a lot of interest recently in the Singer model 66. I’m not too surprised in the inquiries I’ve received, what really surprises me is that I haven’t received more inquiries about the Singer 66! Simply put, the Singer model 66 is a great straight stitch sewing machine. It isn’t the star of the show in the singer line up… that’s reserved for the model 201 and model 15, but it’s not for lack of quality and fine craftsmanship.
The 66 is the successor of the Singer model 9W, which was first produced after Singer bought out Wheeler & Wilson. It was mechanically the same design as the Wheeler & Wilson D9, with minor modifications to the bed size to accommodate Singer’s hinge spacing. Anyway, Singer began production of the model 66 in 1903, and discontinued the model 9W in 1913.
The model 66 was an entry level machine priced much less than a model 15. Still, it cost a princely sum for folks back then and its price equaled about an average month’s wages. Think about that for consideration of anything you might pay a months wages for today.
The model 66 is a fantastic, if not simple machine. It introduced the horizontal top loading bobbin and oscillating hook mechanism. This resulted in a machine that ran smoothly and produced a near perfect stitch. But that’s not the best part of the model 66… it is one tough and durable sewing machine. It was never advertised as “heavy duty”, but it is exactly that. The machine is very forgiving in the thickness of thread, or how much heavy fabric you could stuff under the presser foot. It can sew canvas, and it can sew silk. It’s simple straight forward sewing mechanism is darn near indestructible. In essence, it is a machine that should be a serious consideration for anyone looking for a sturdy well built high quality straight stitch sewing machine.
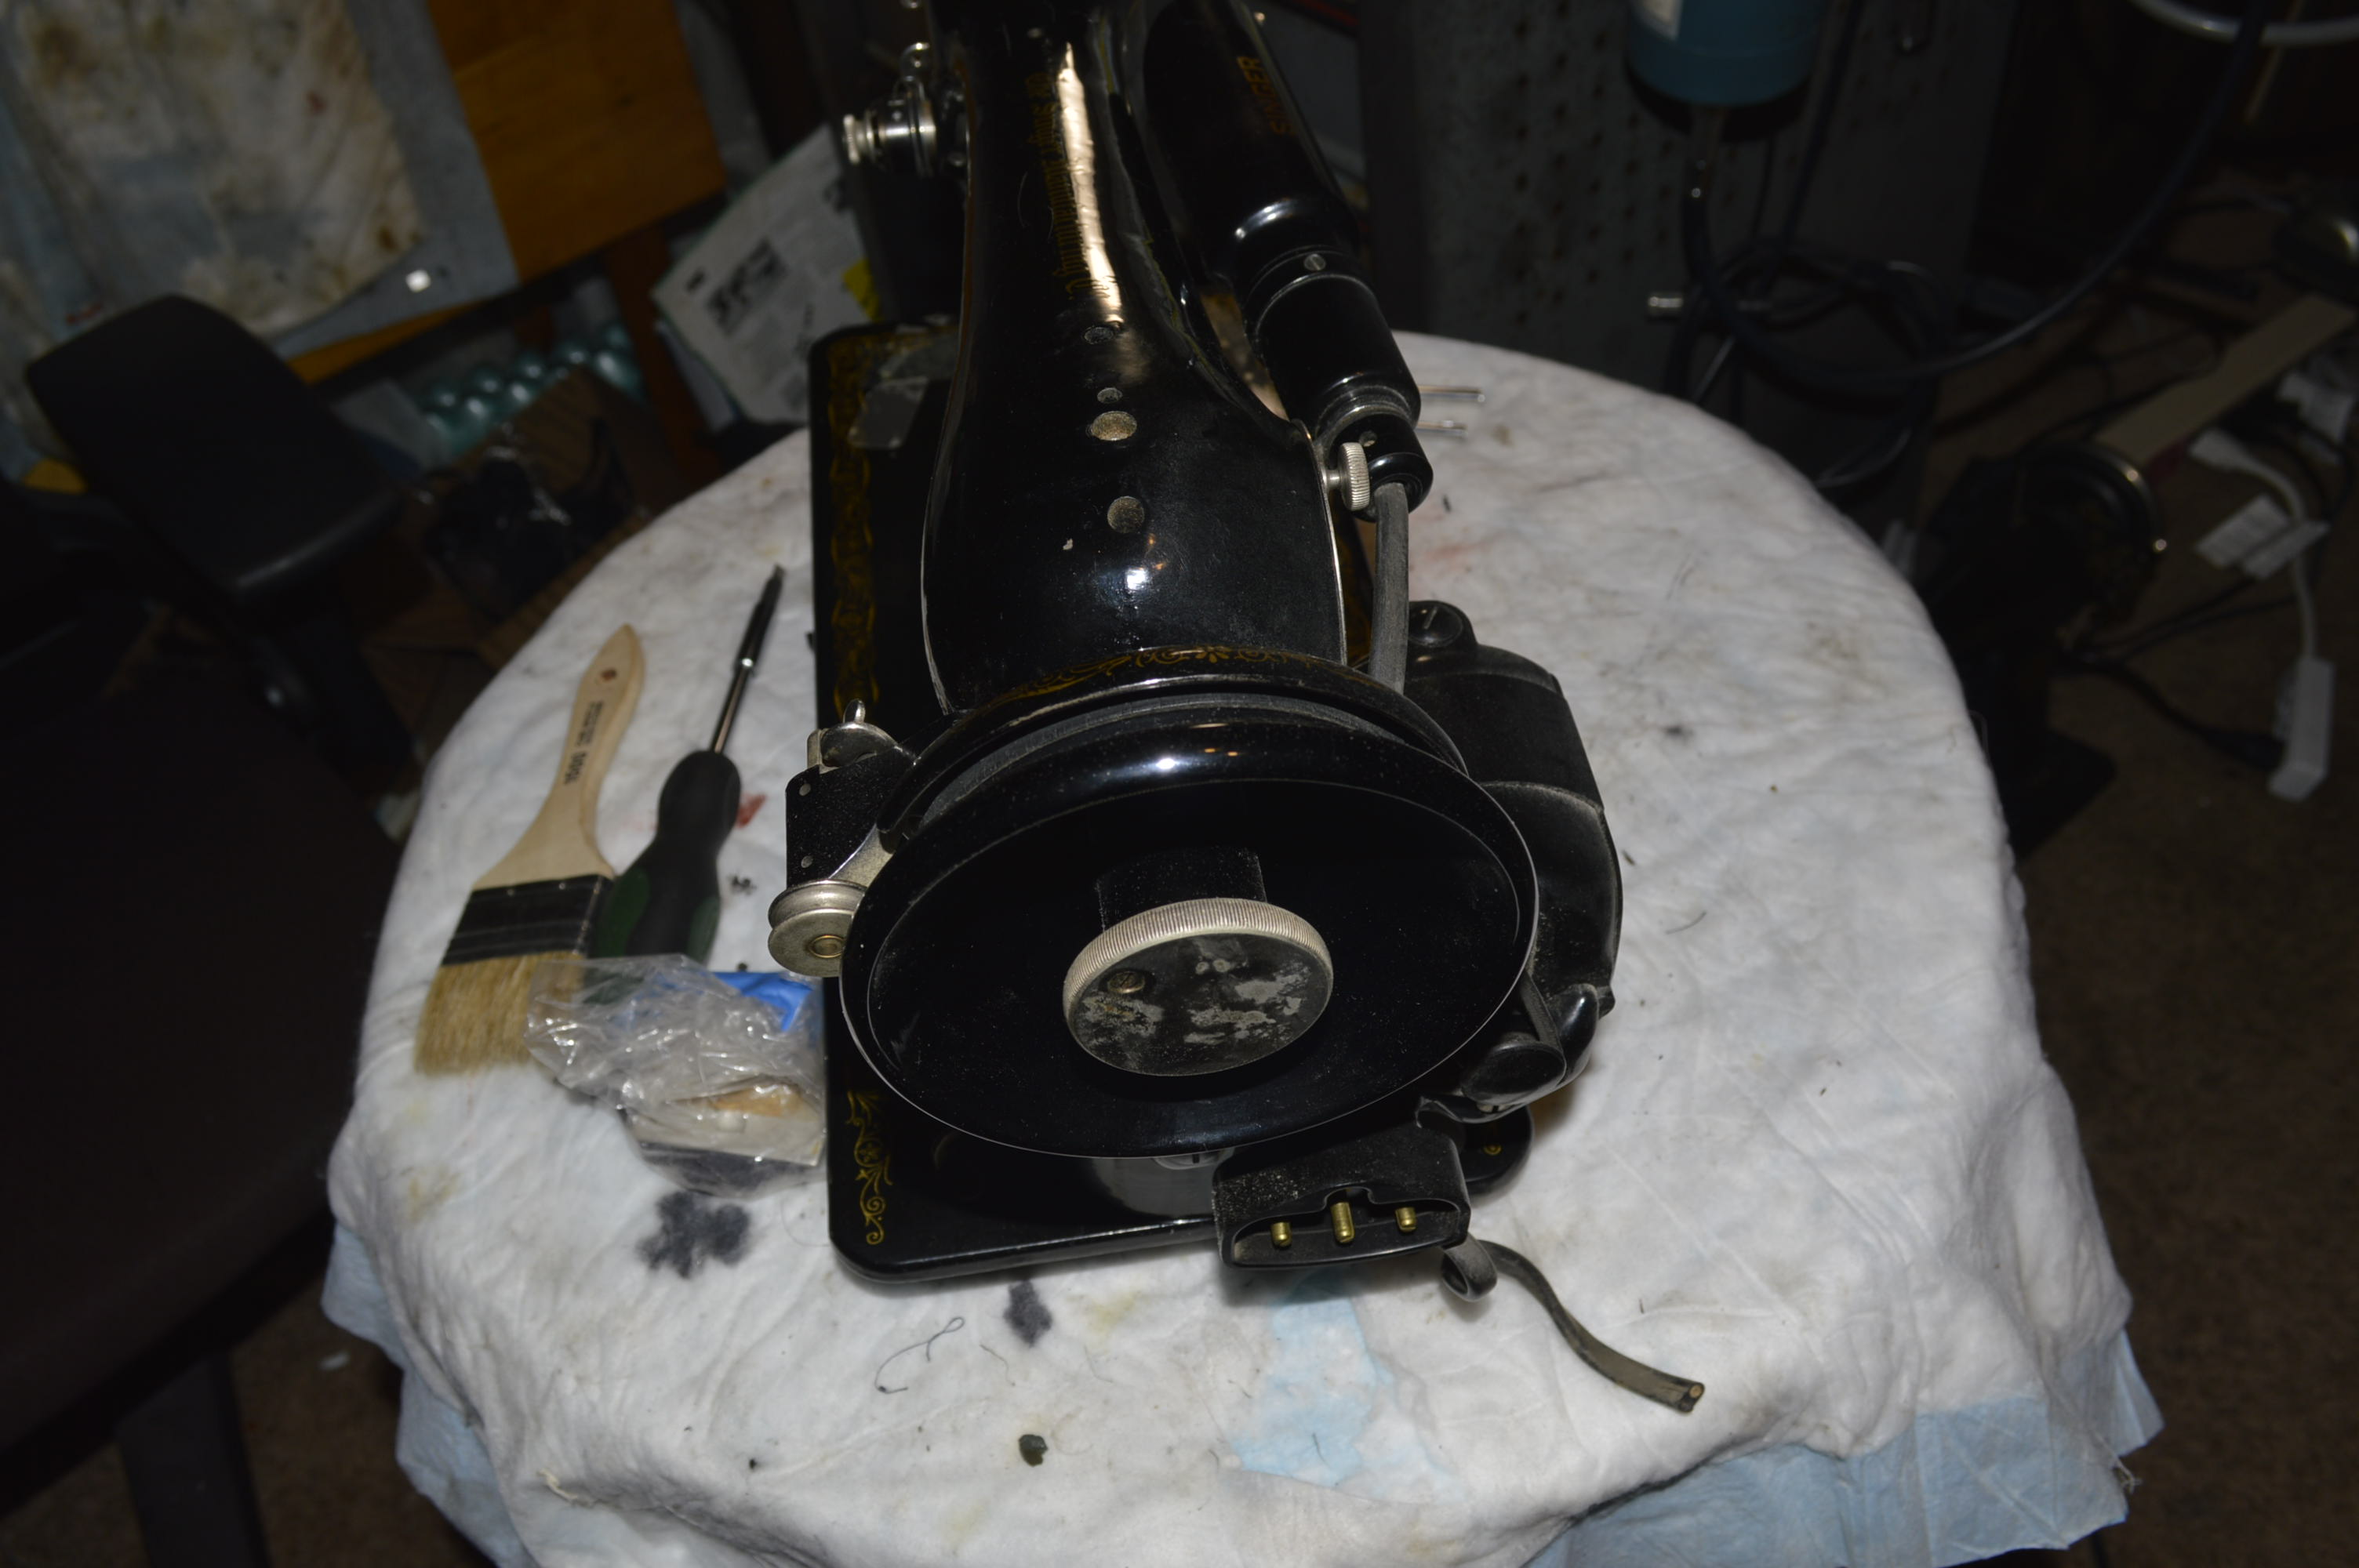
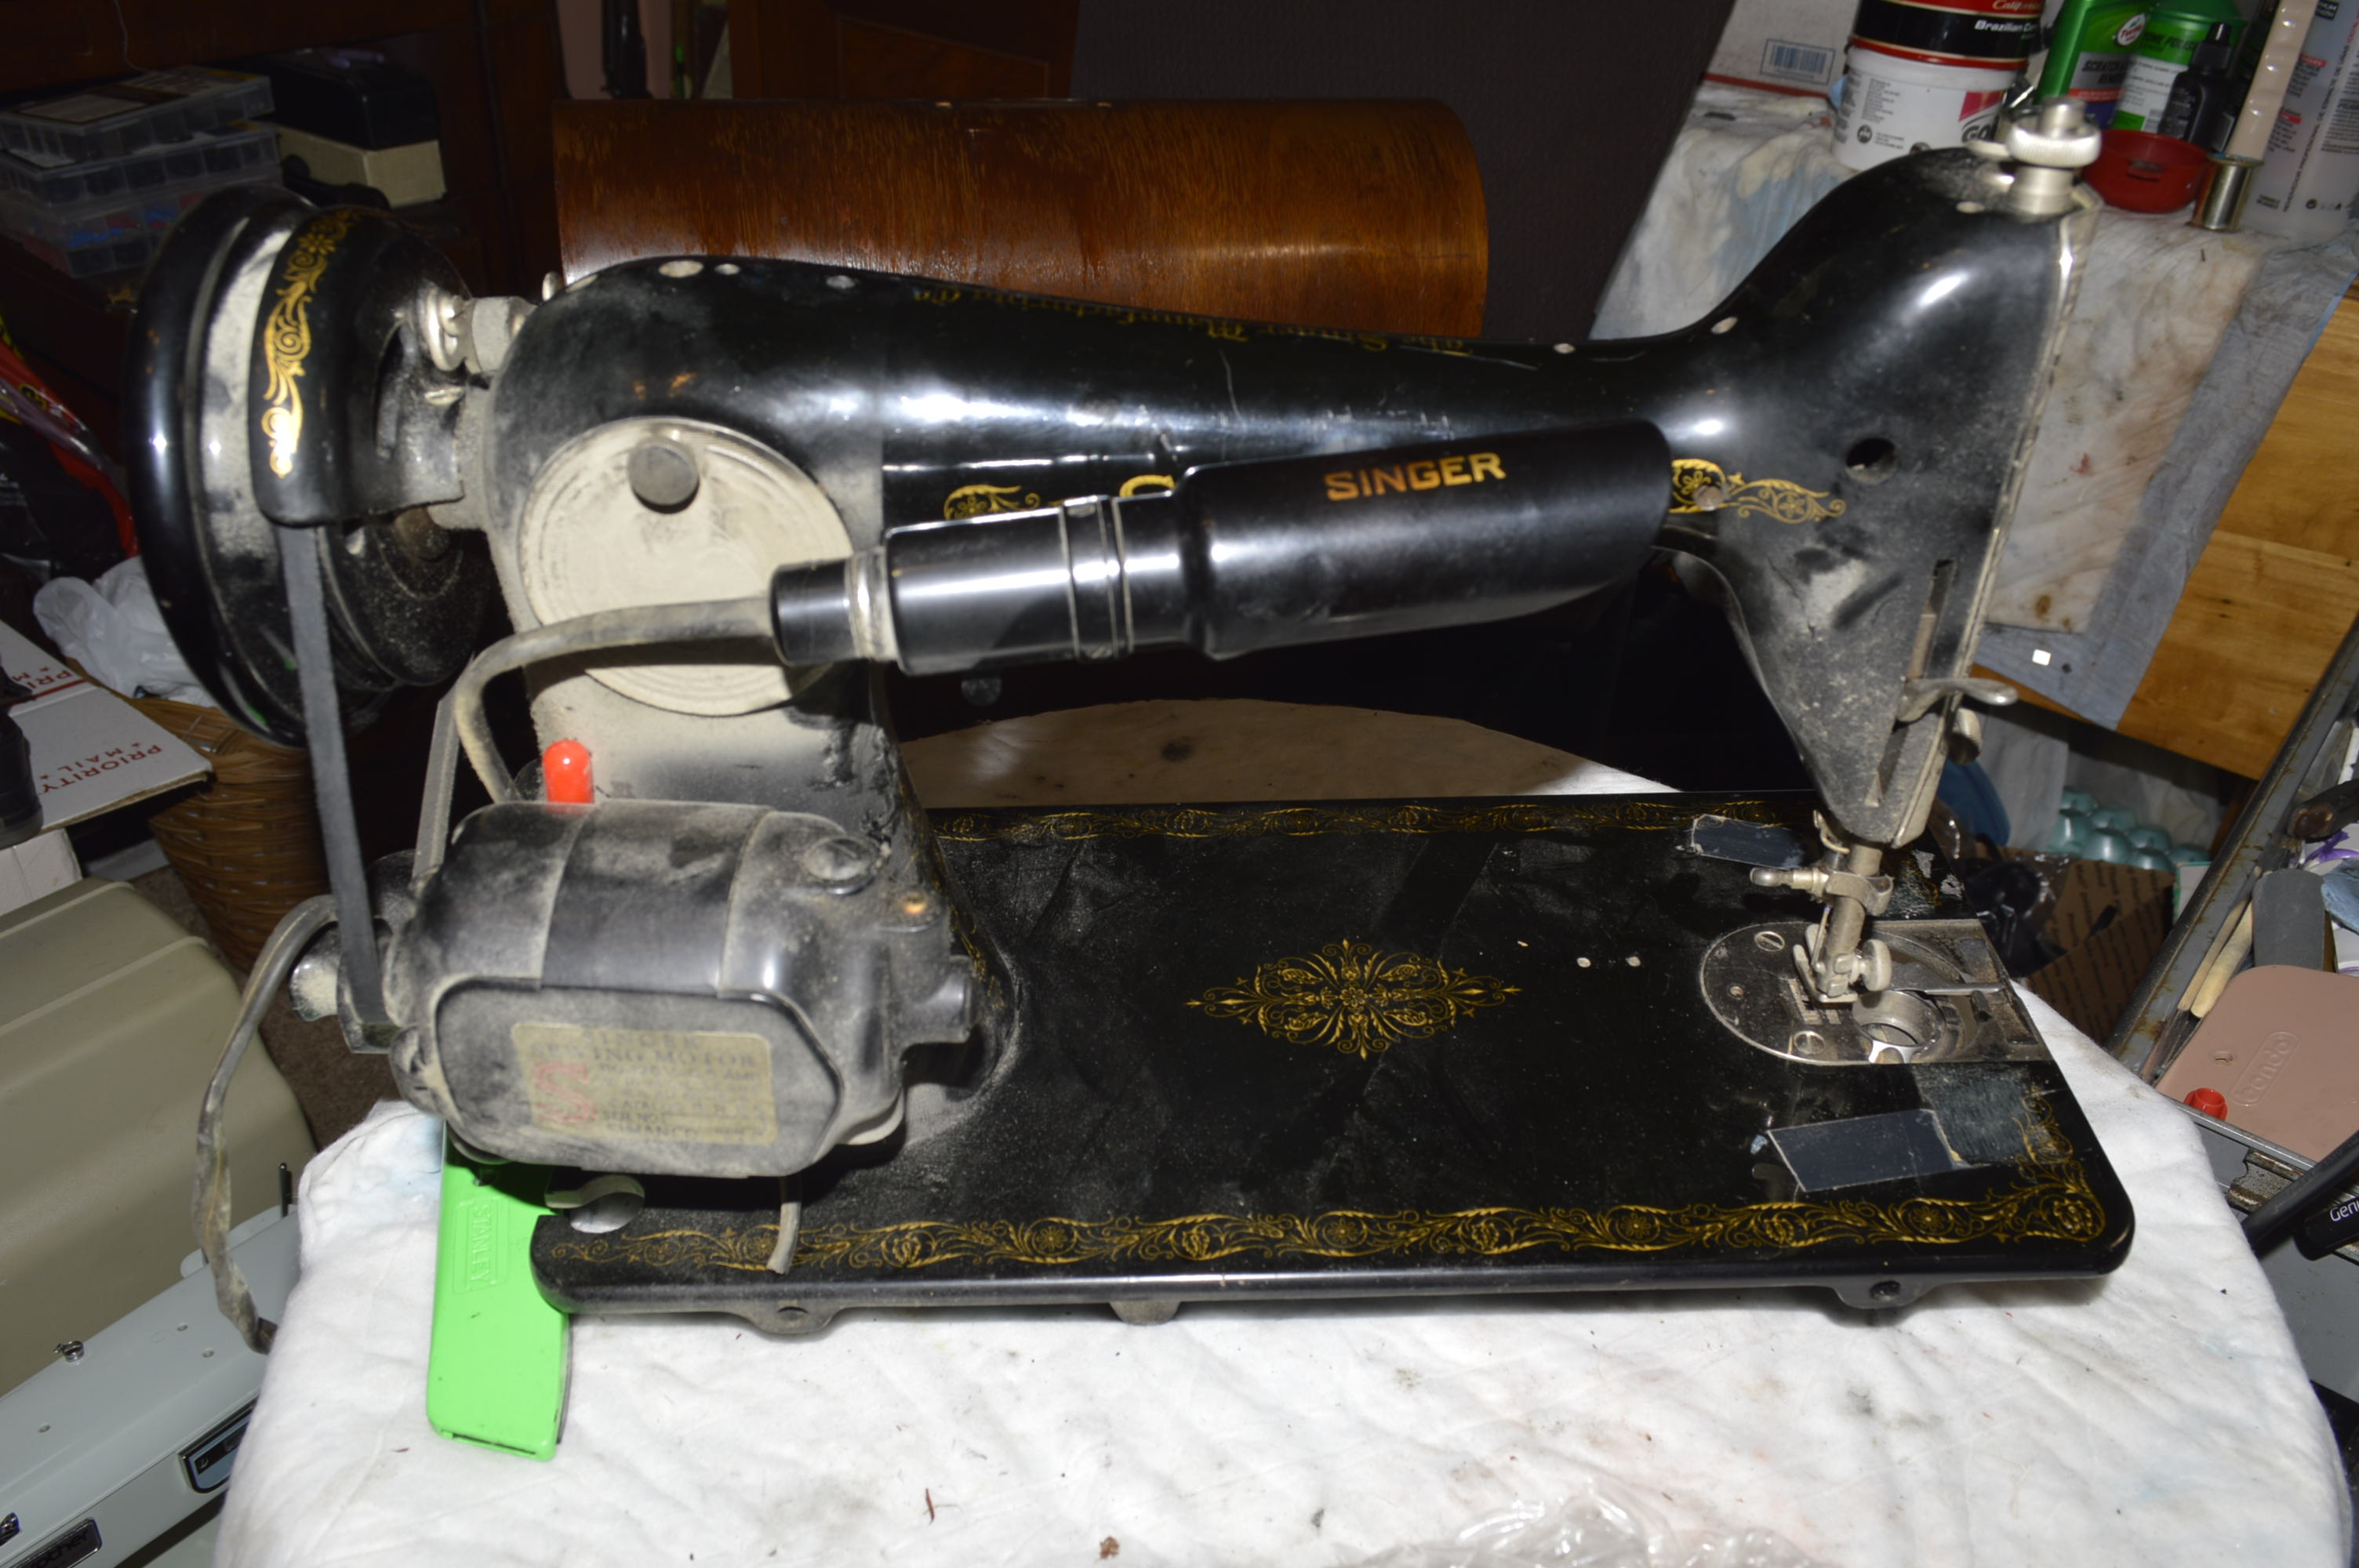
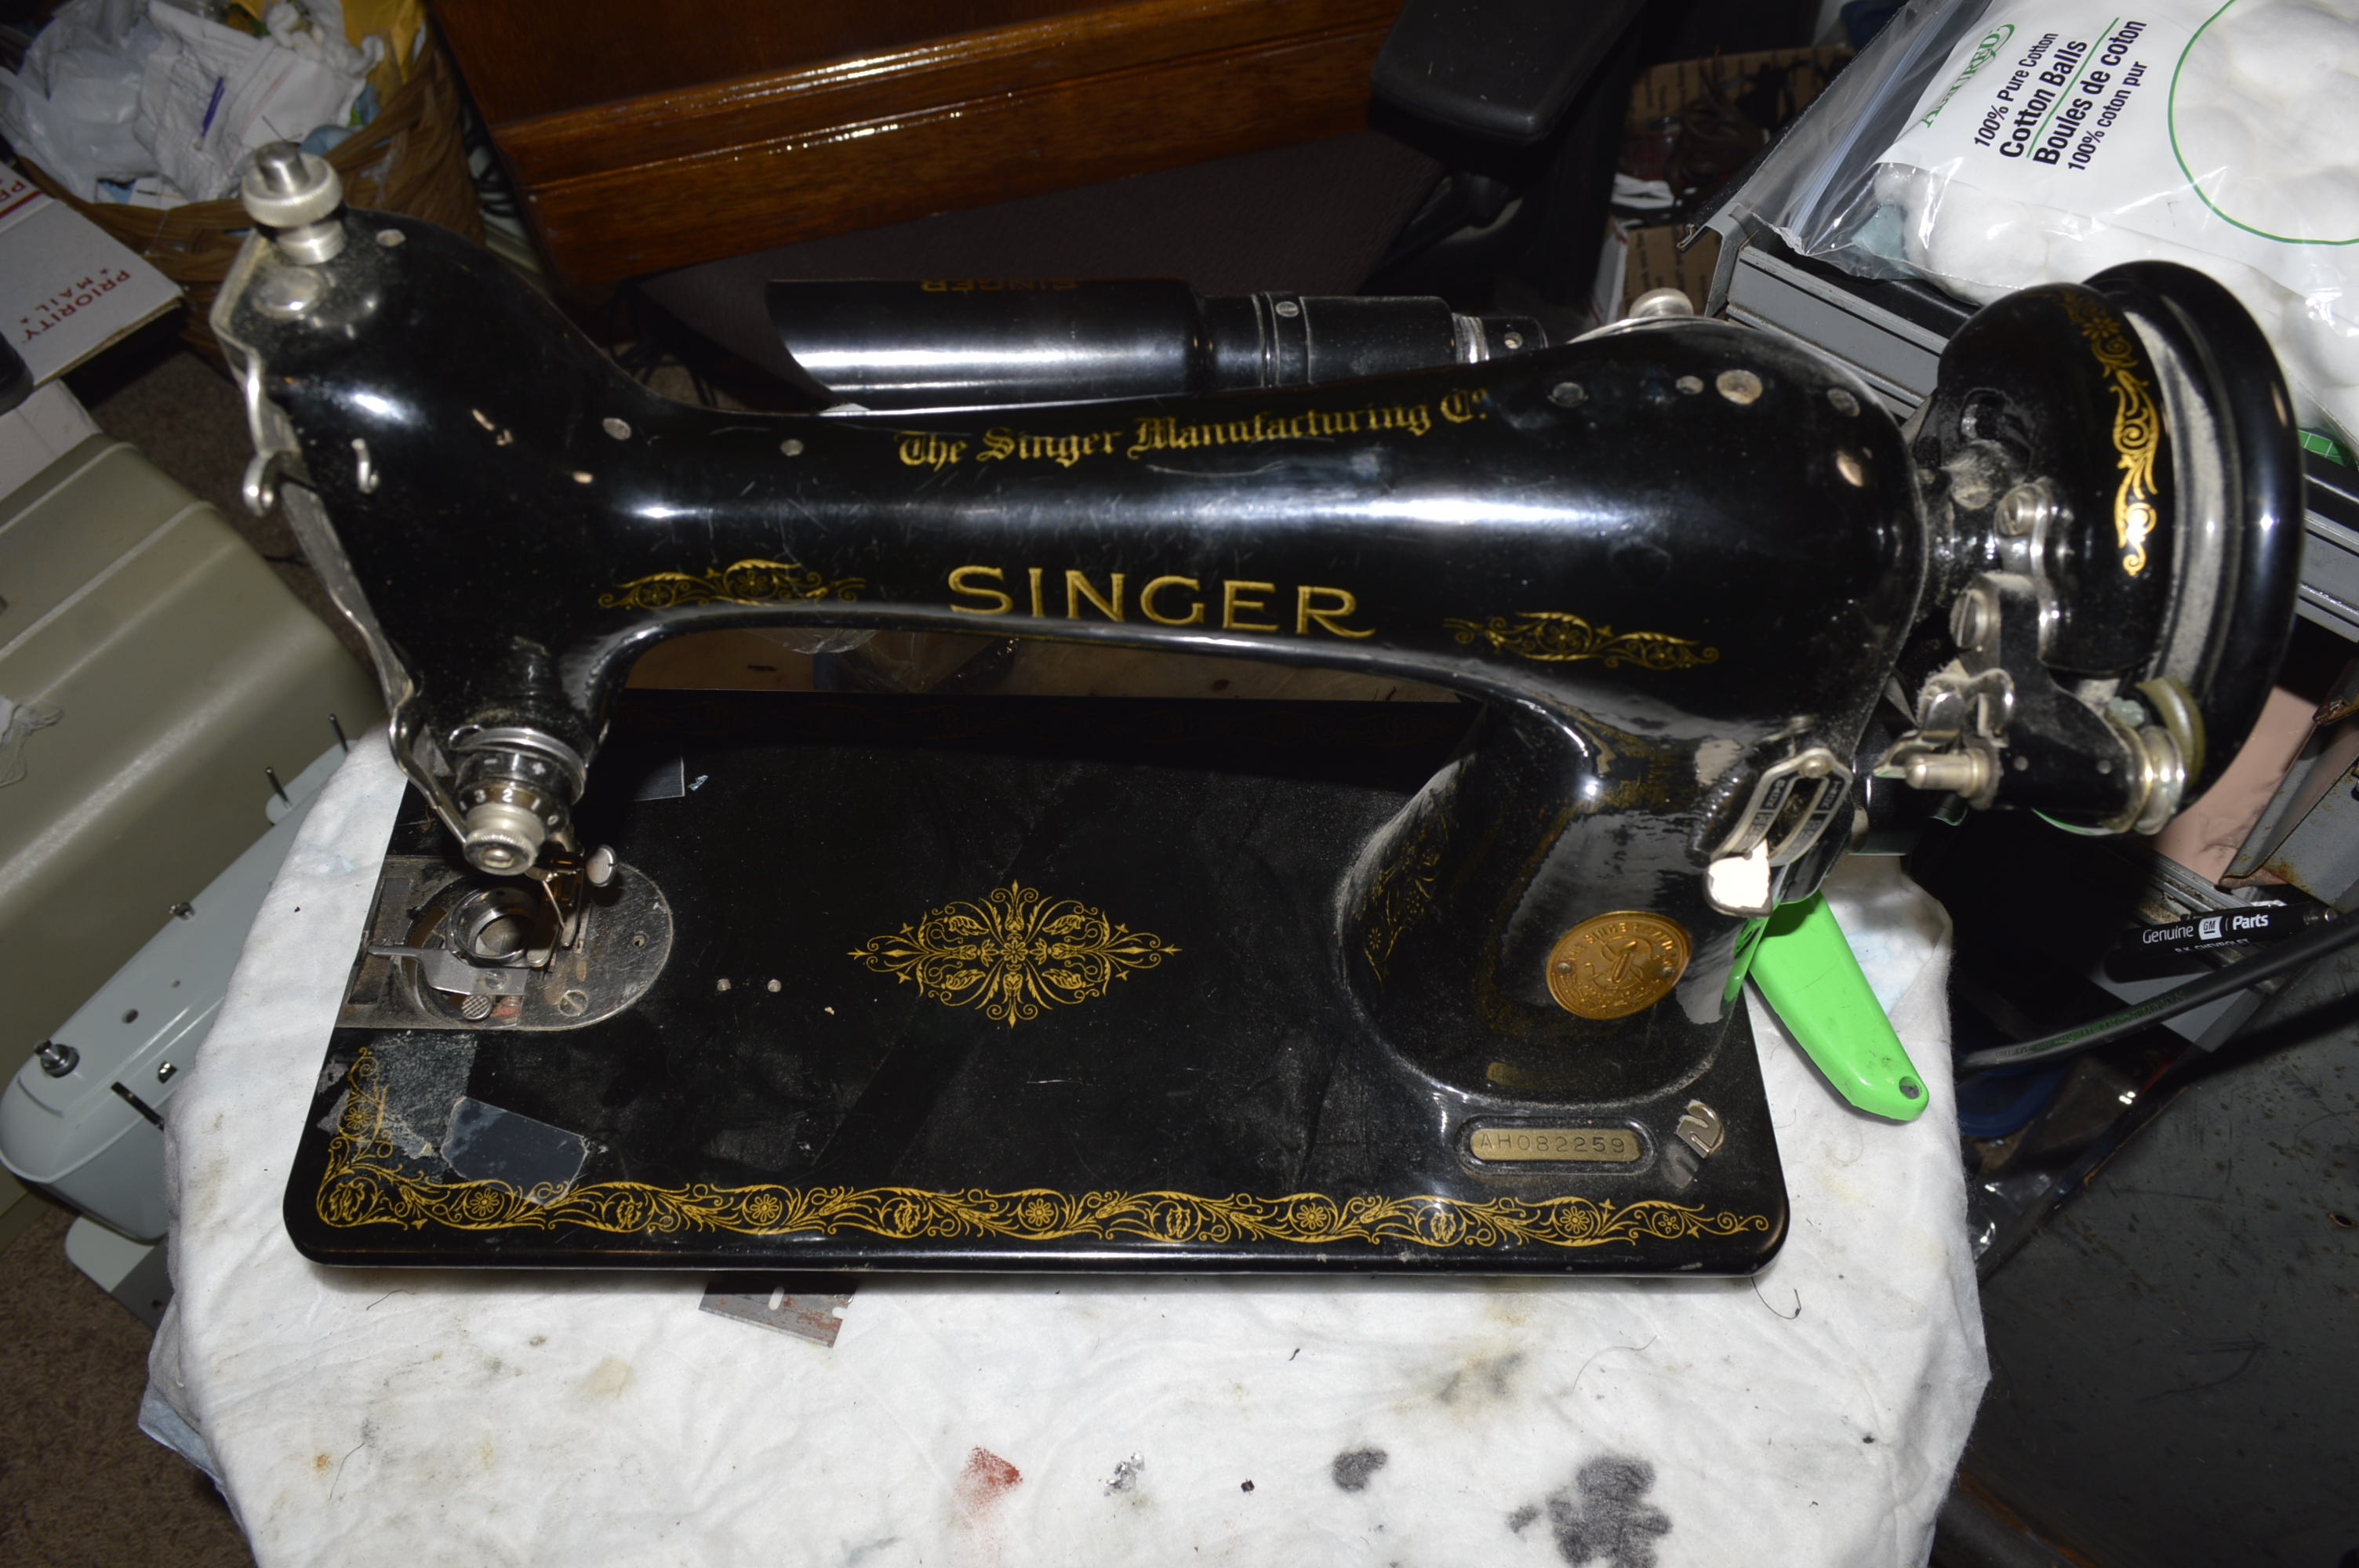
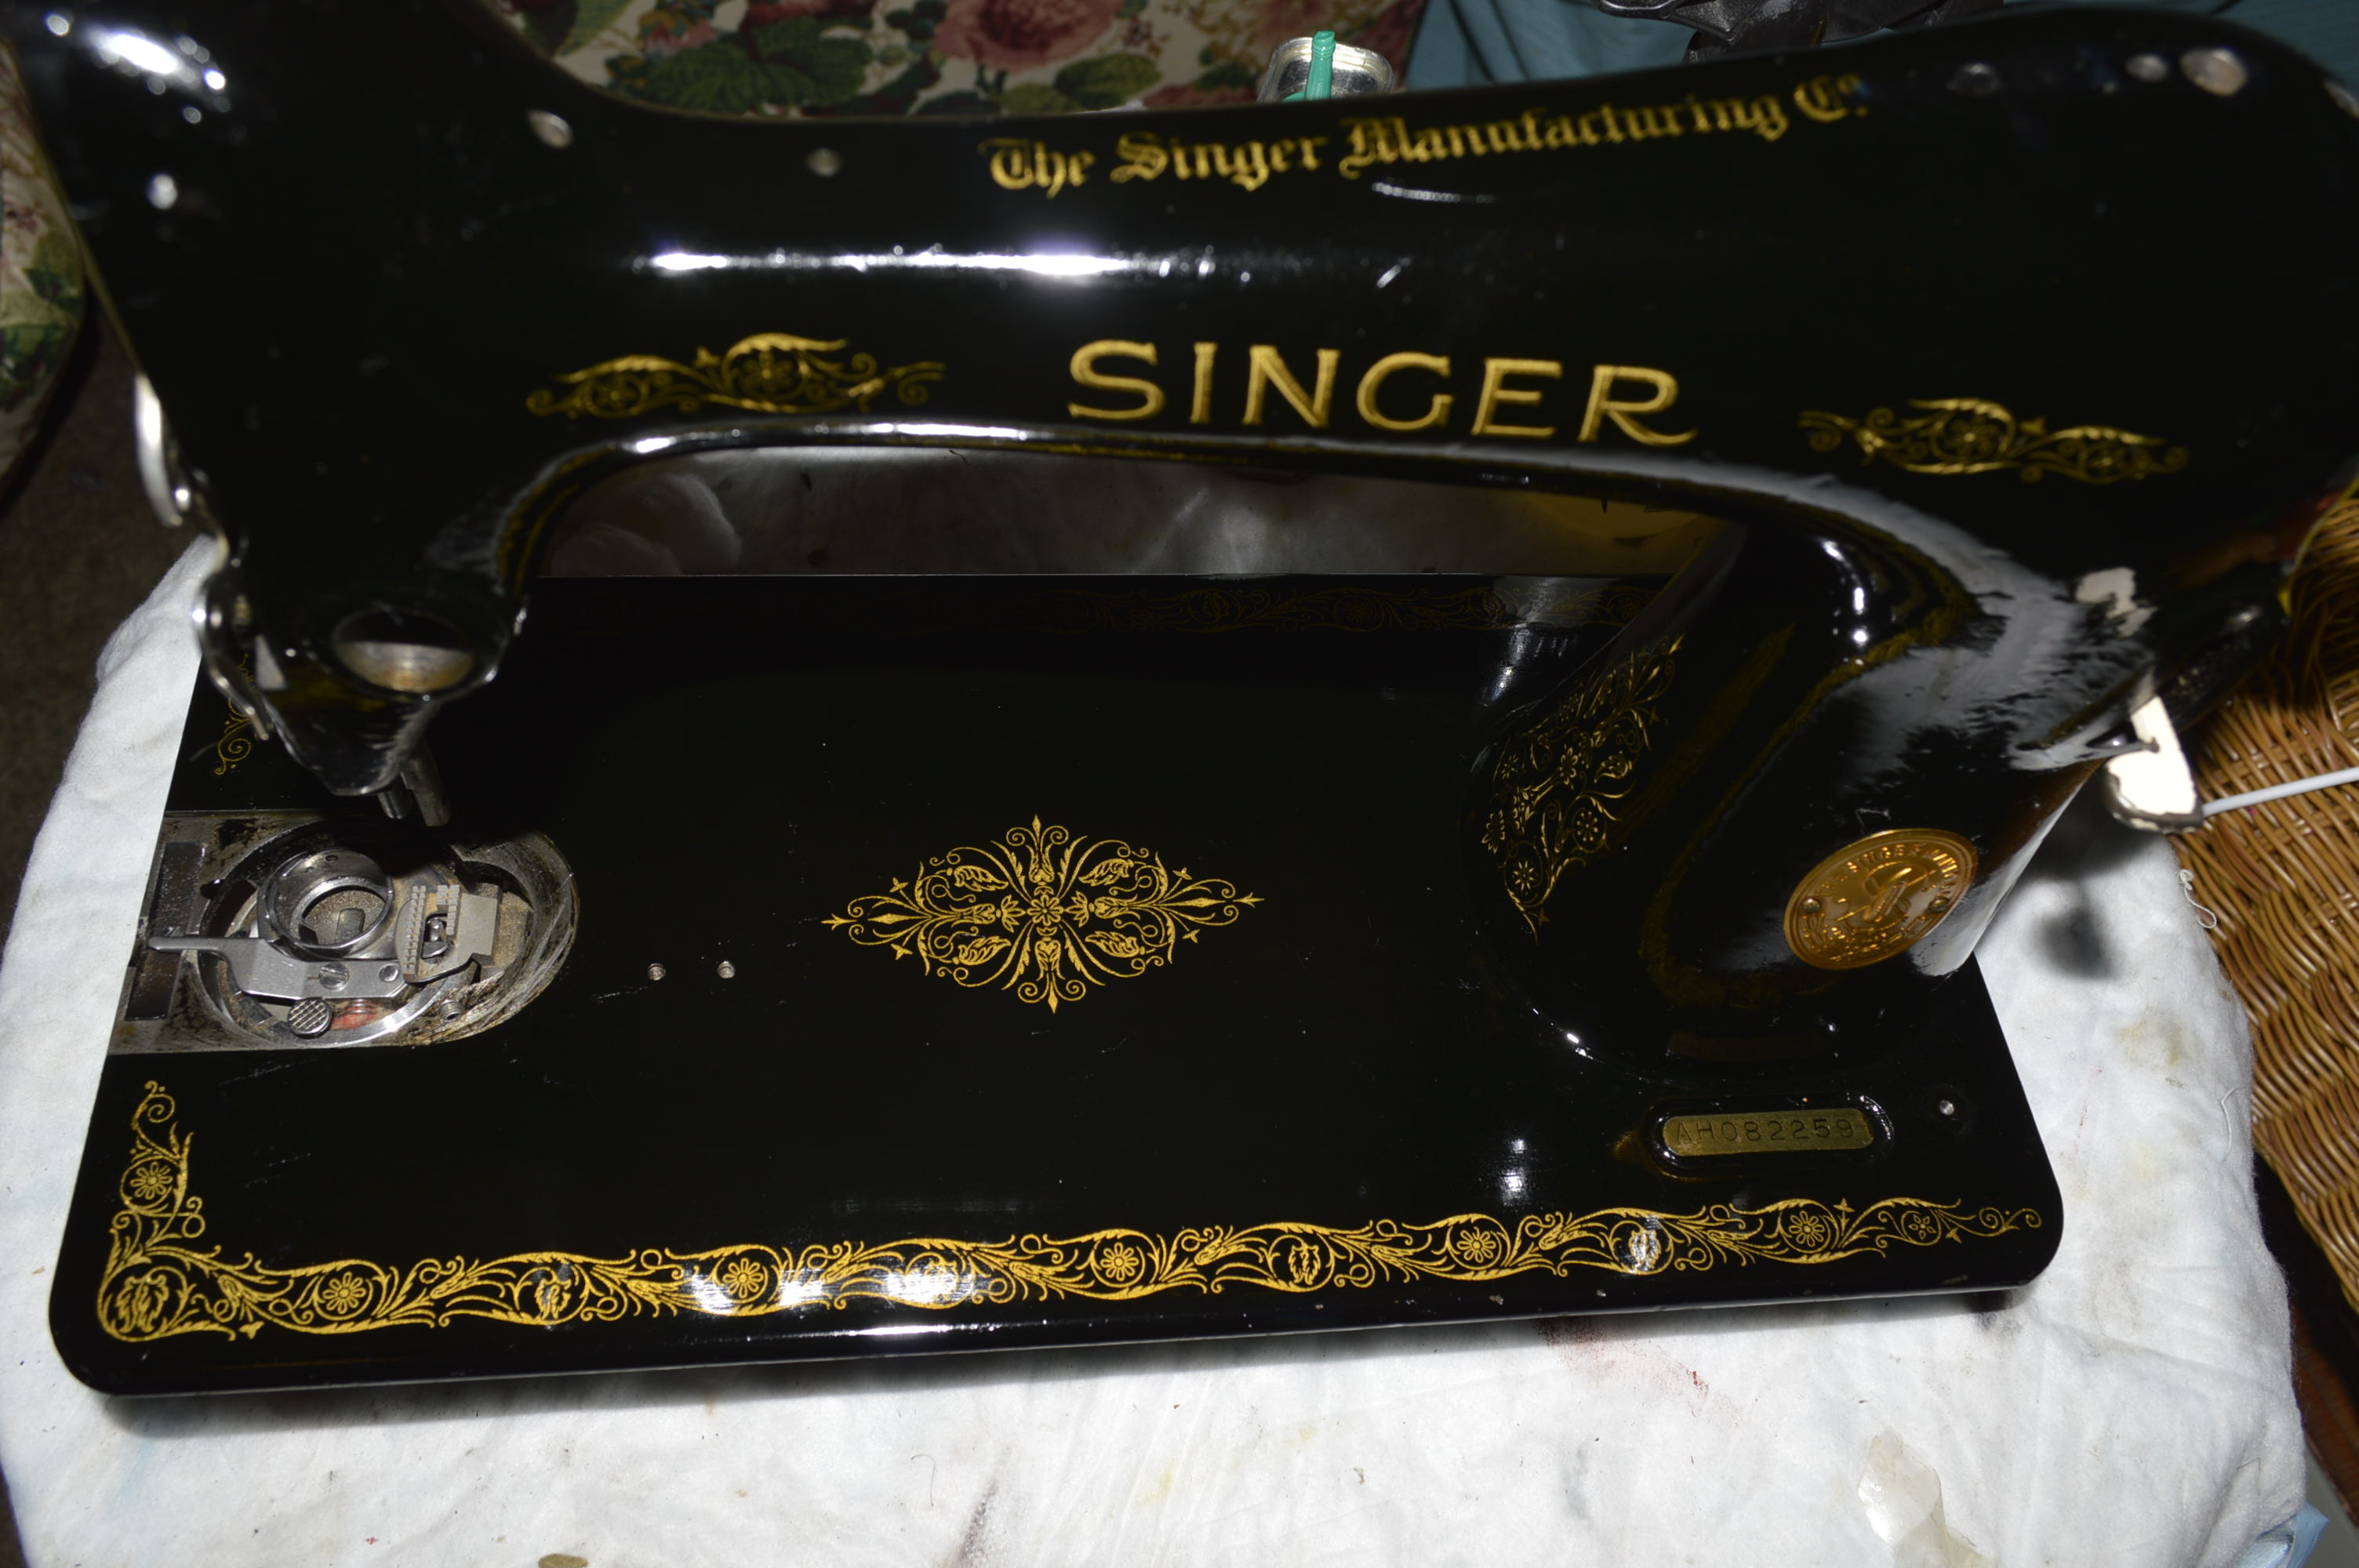
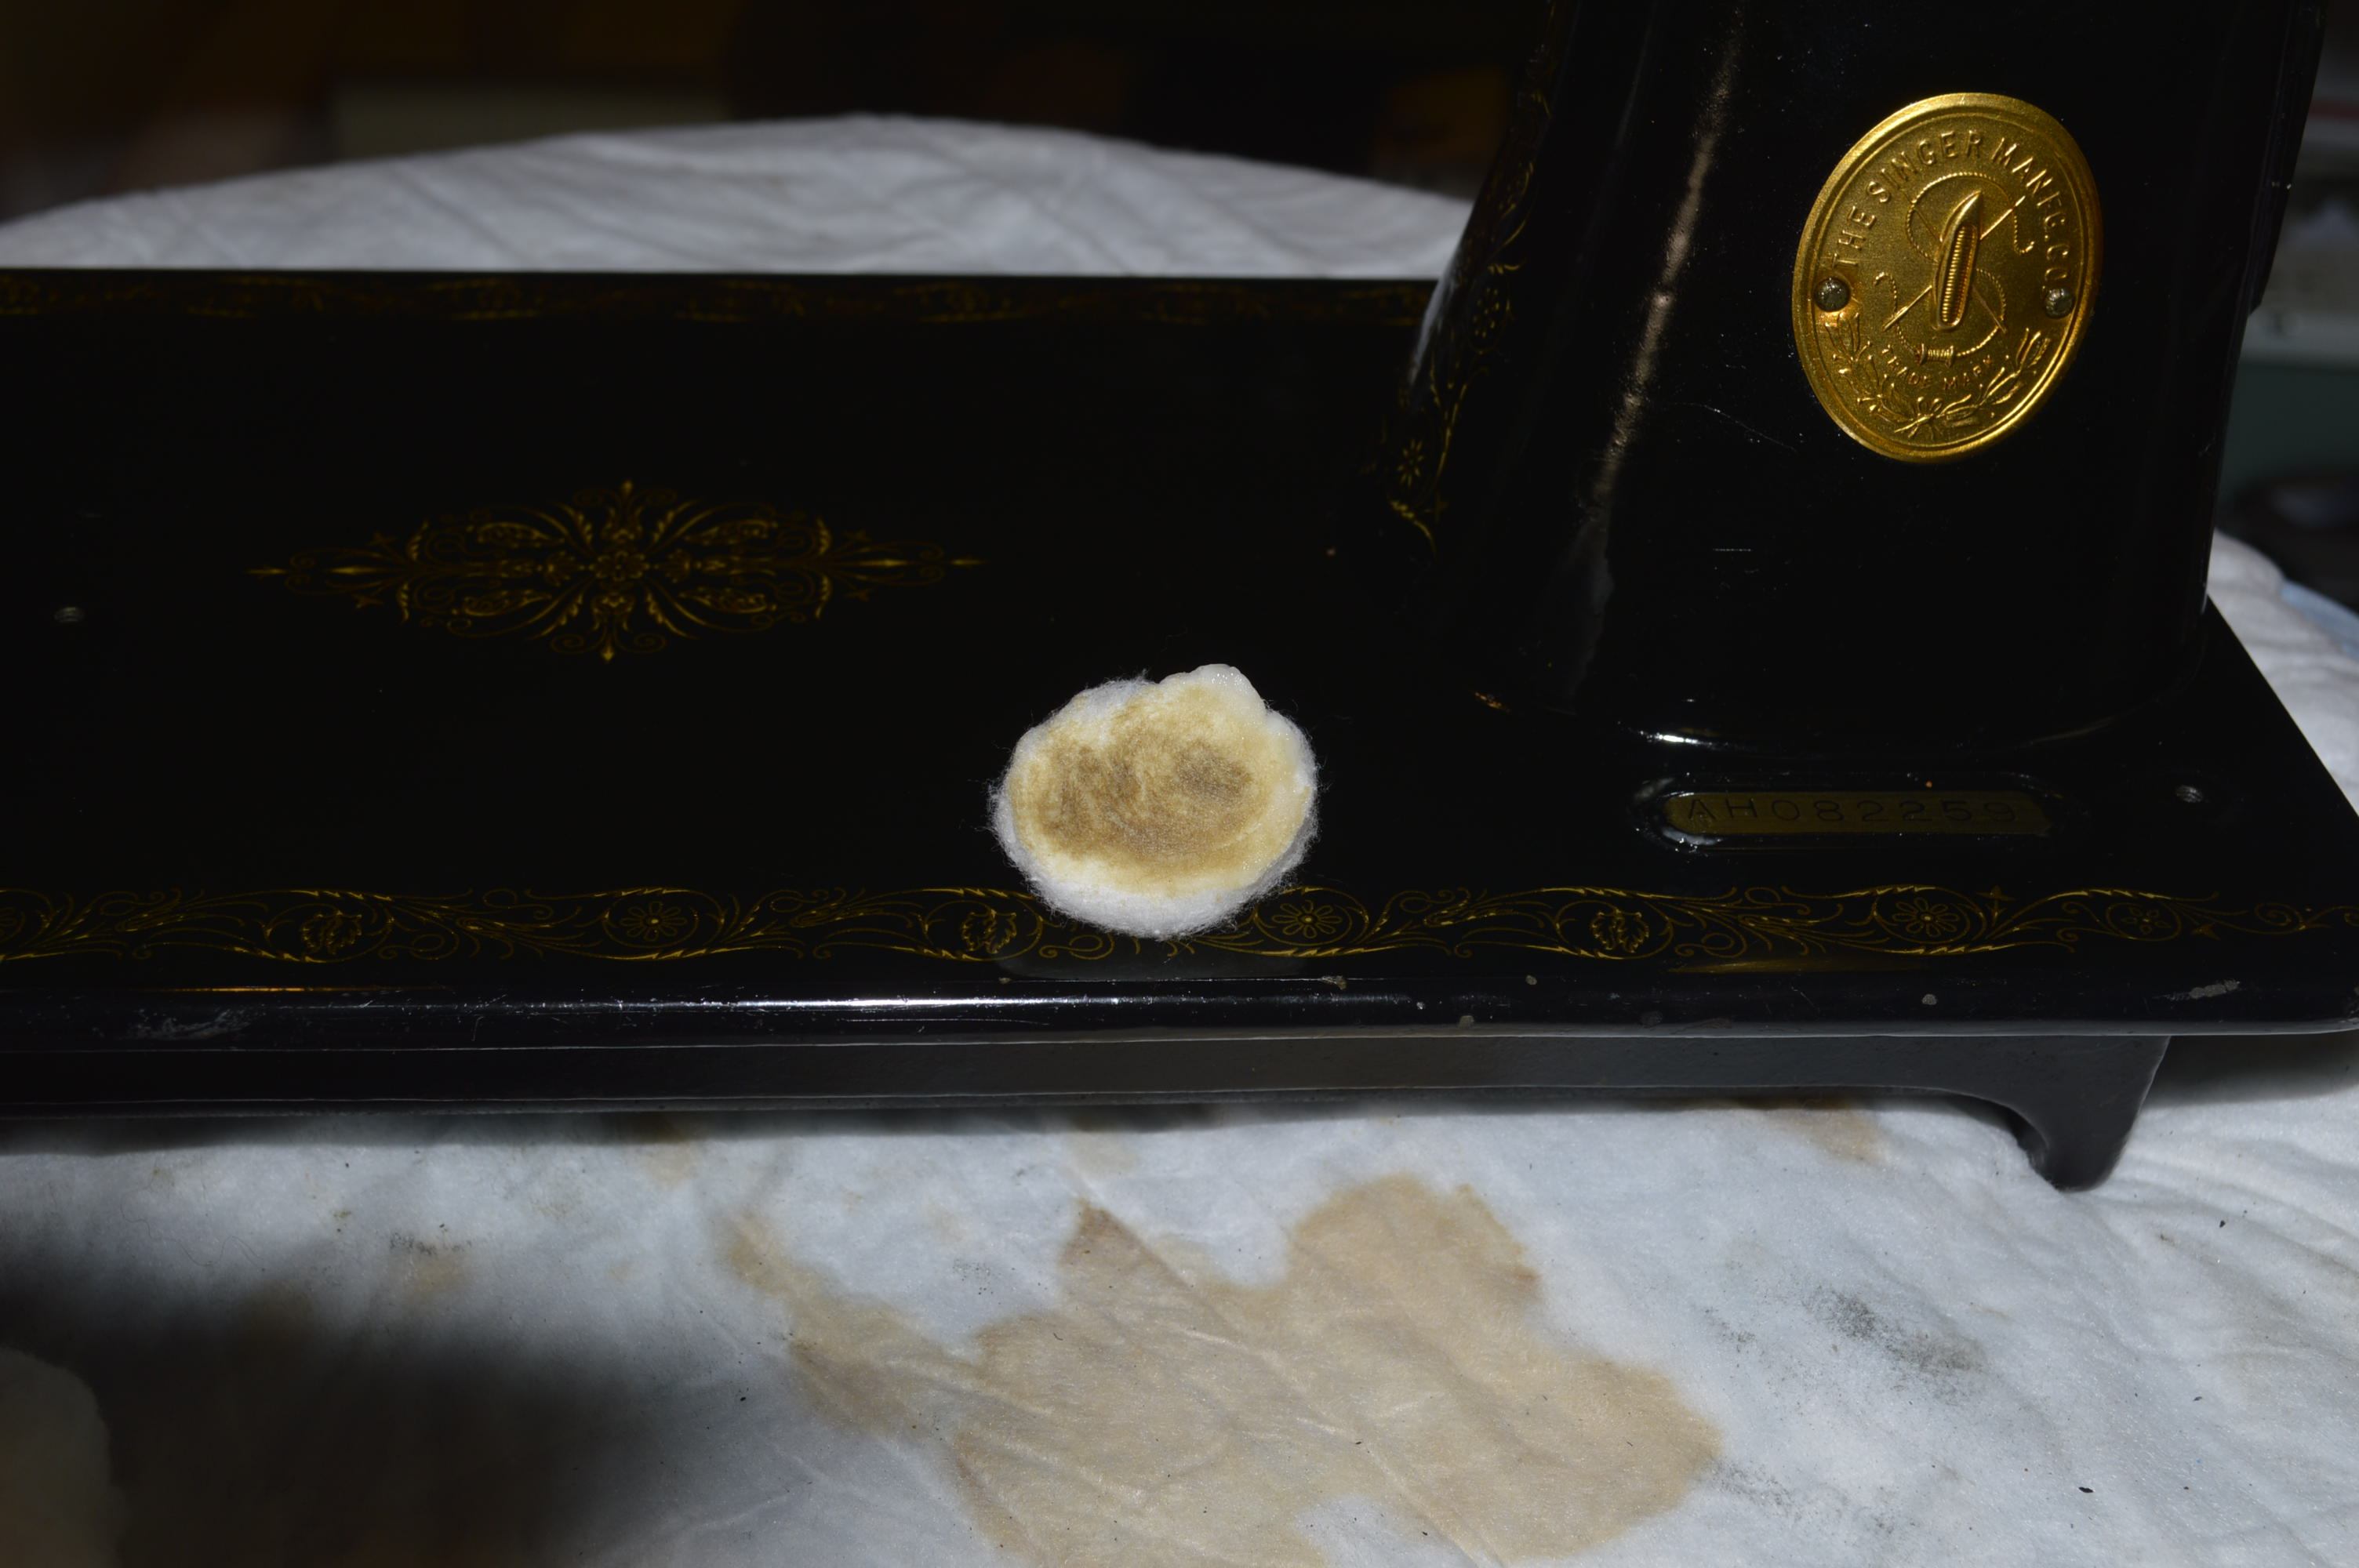
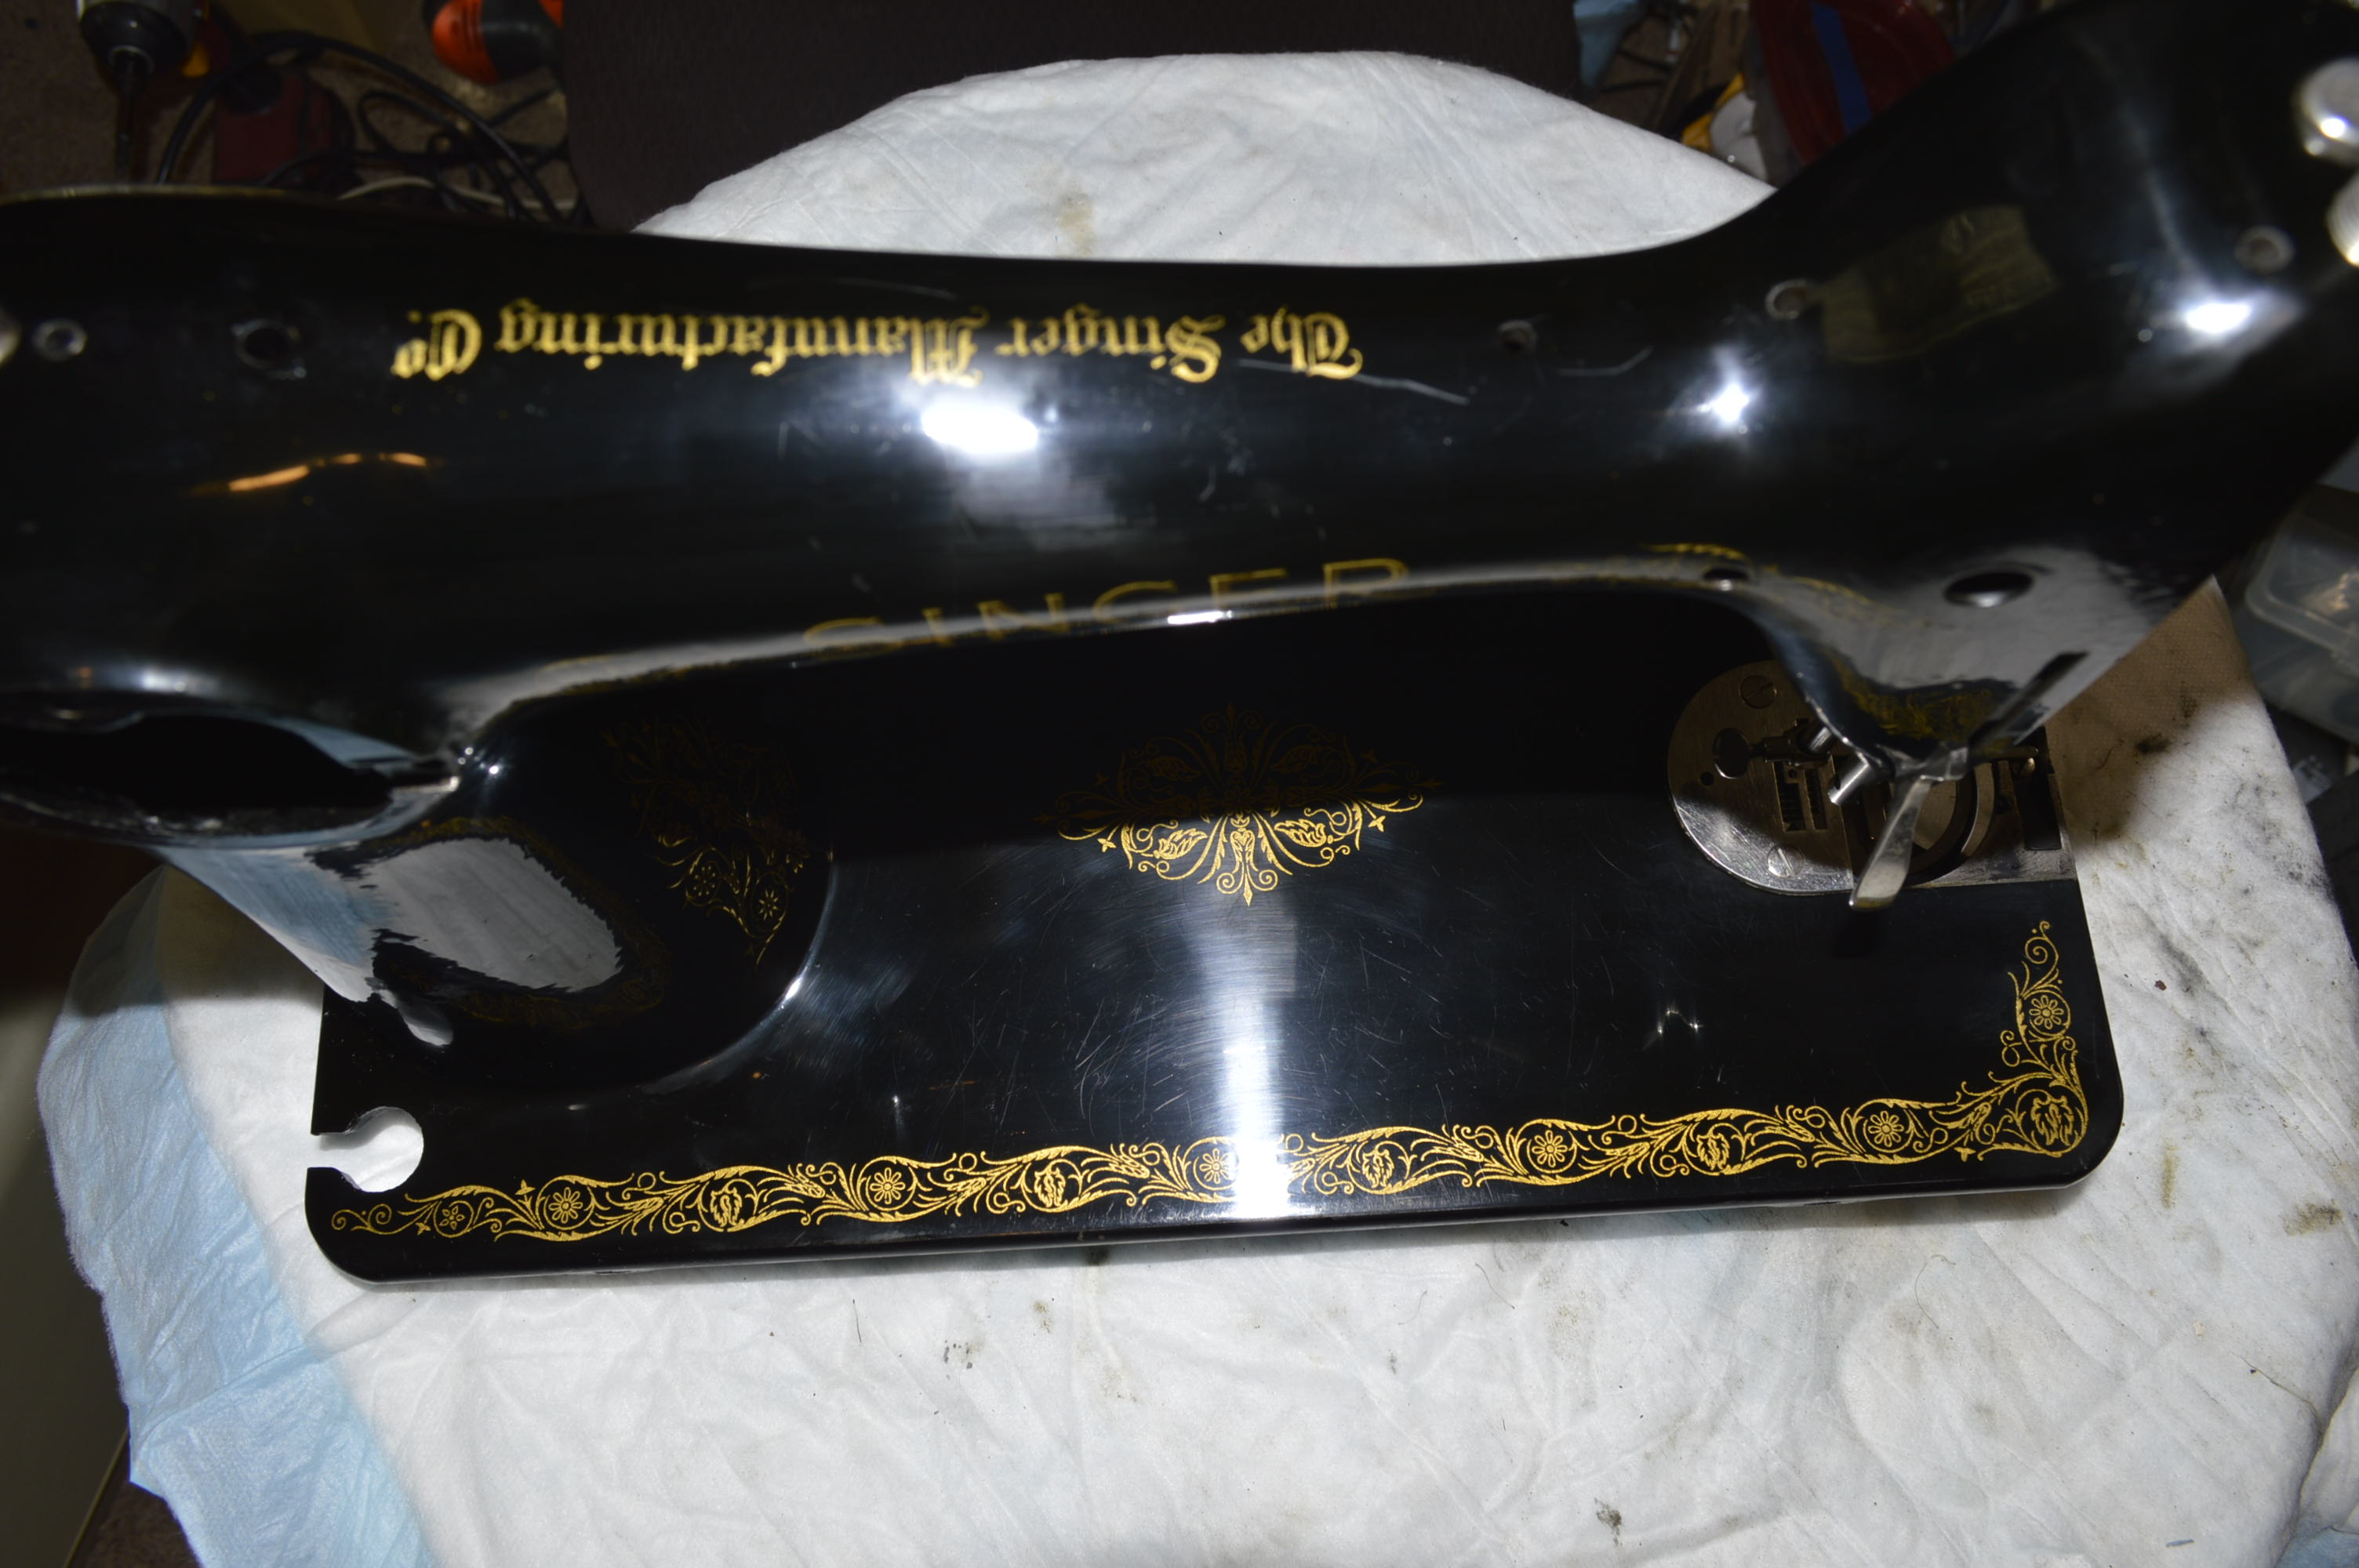
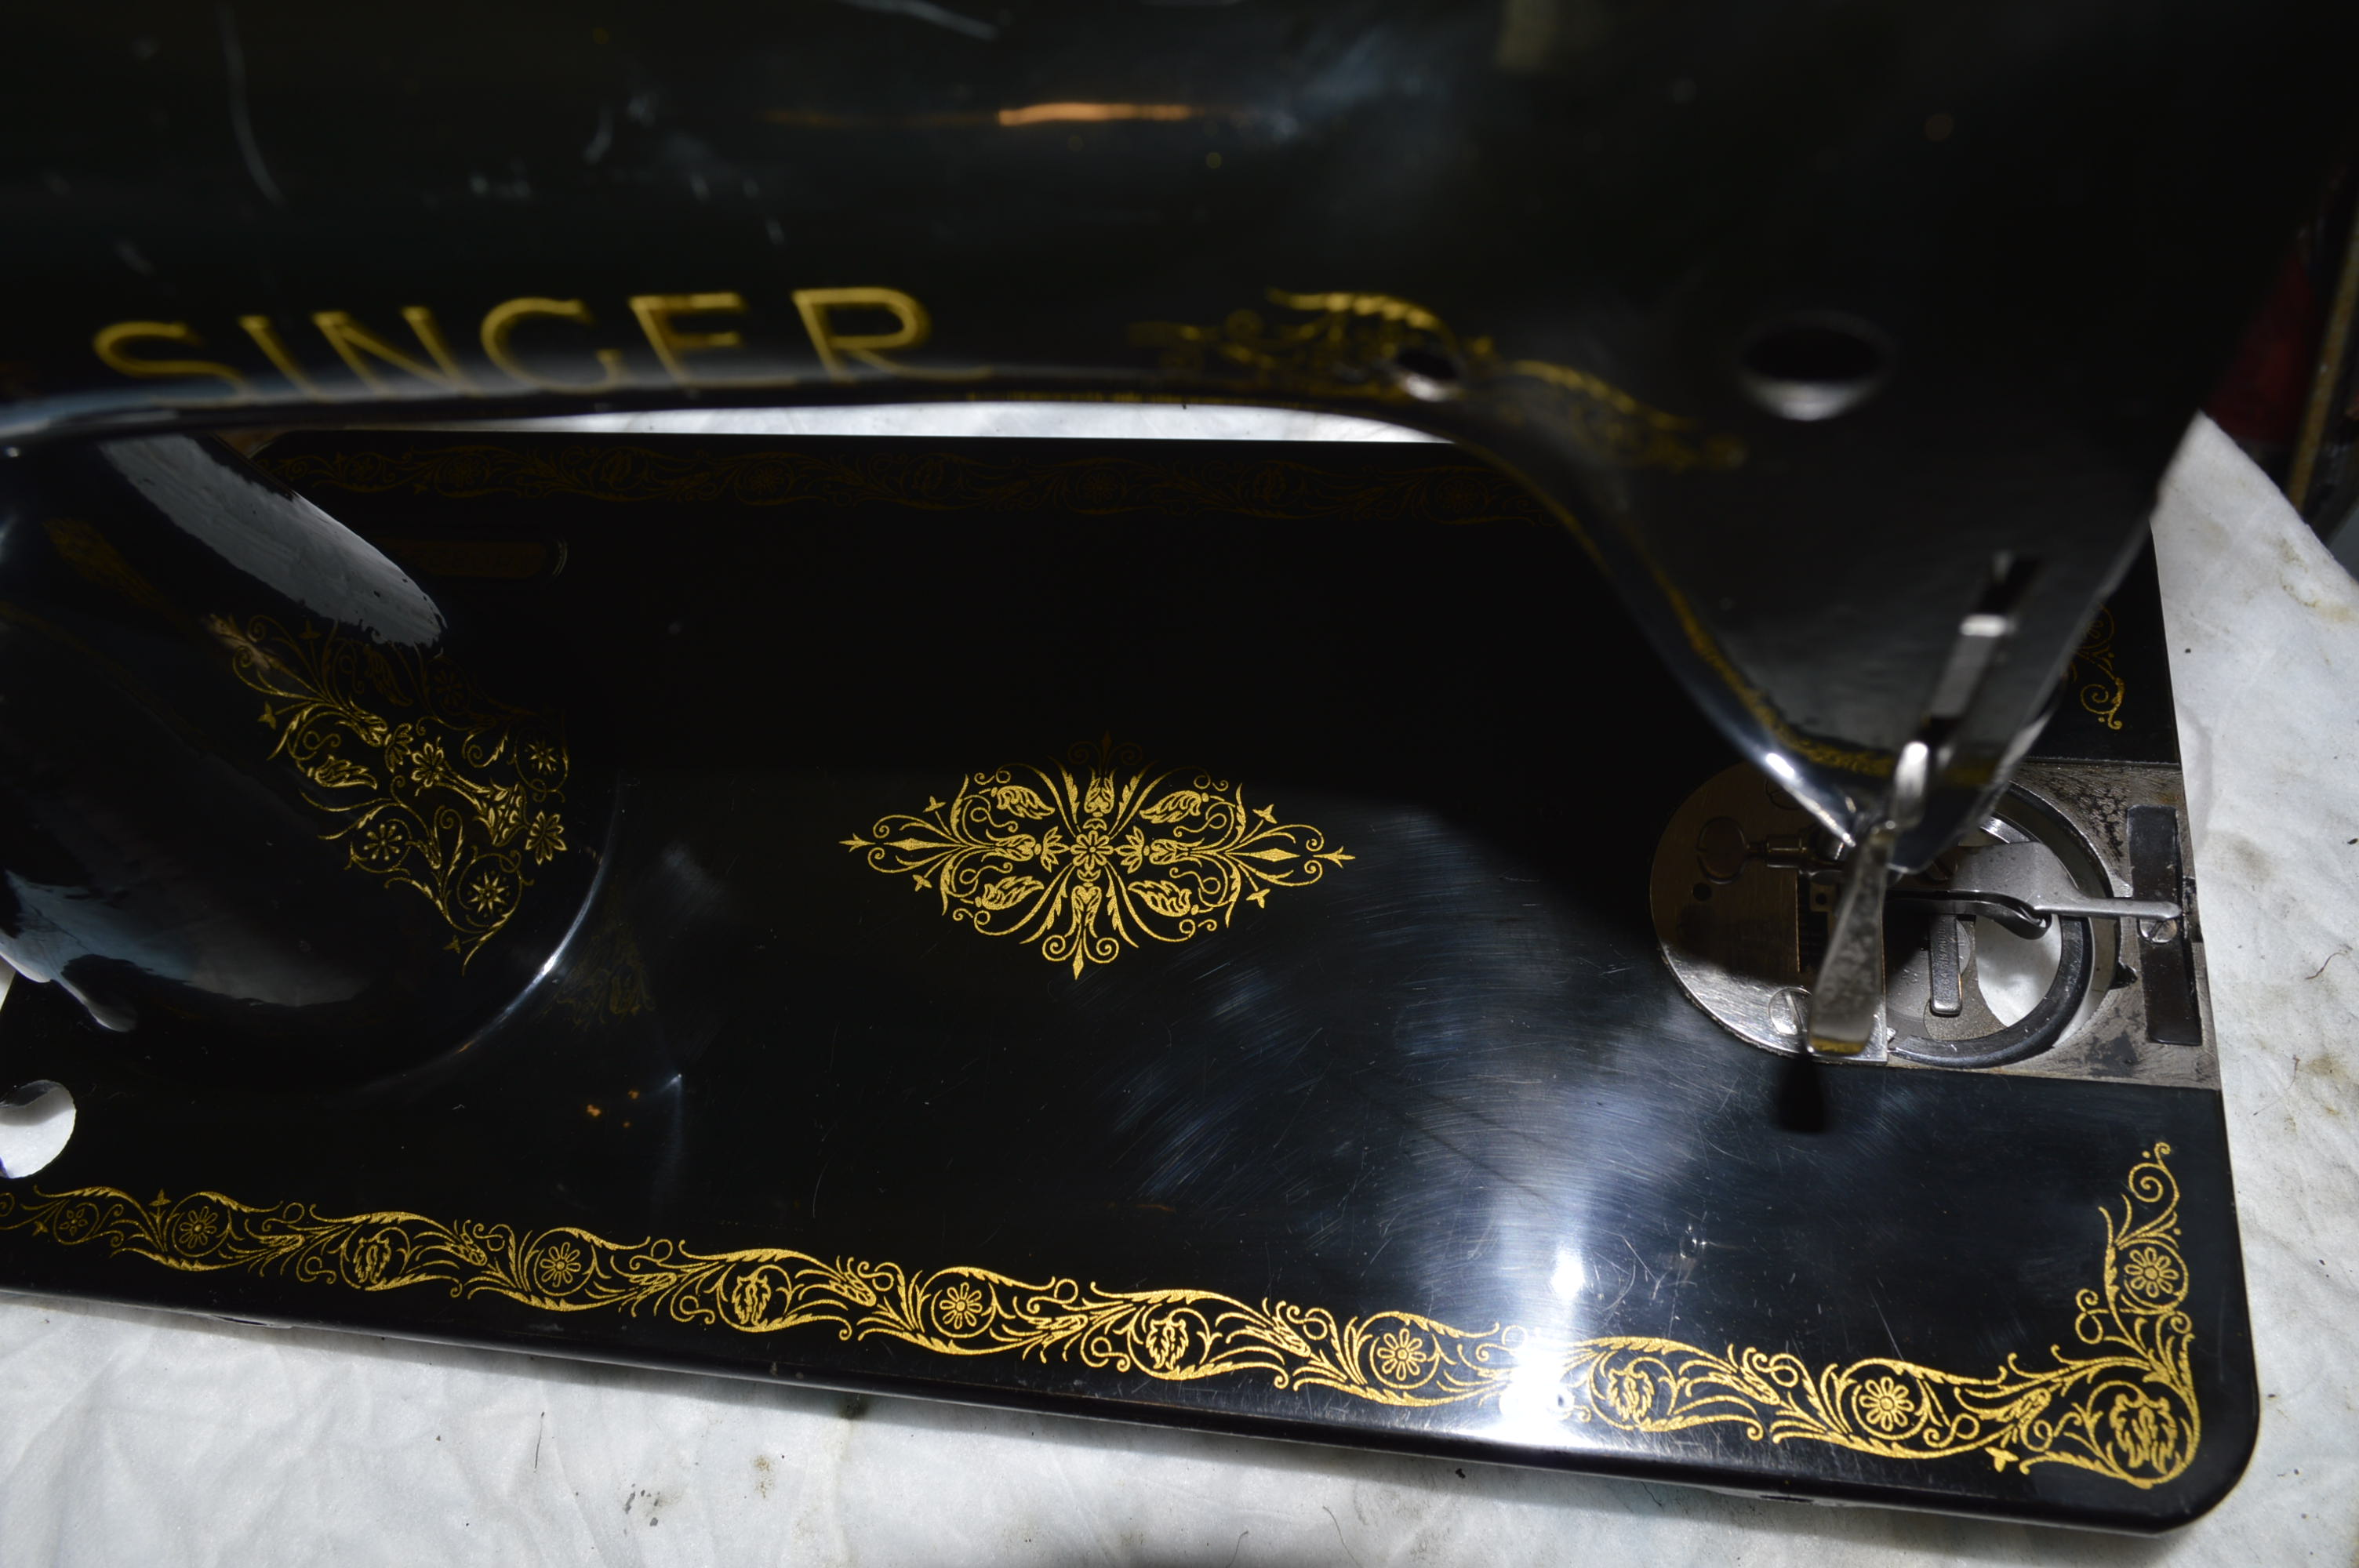
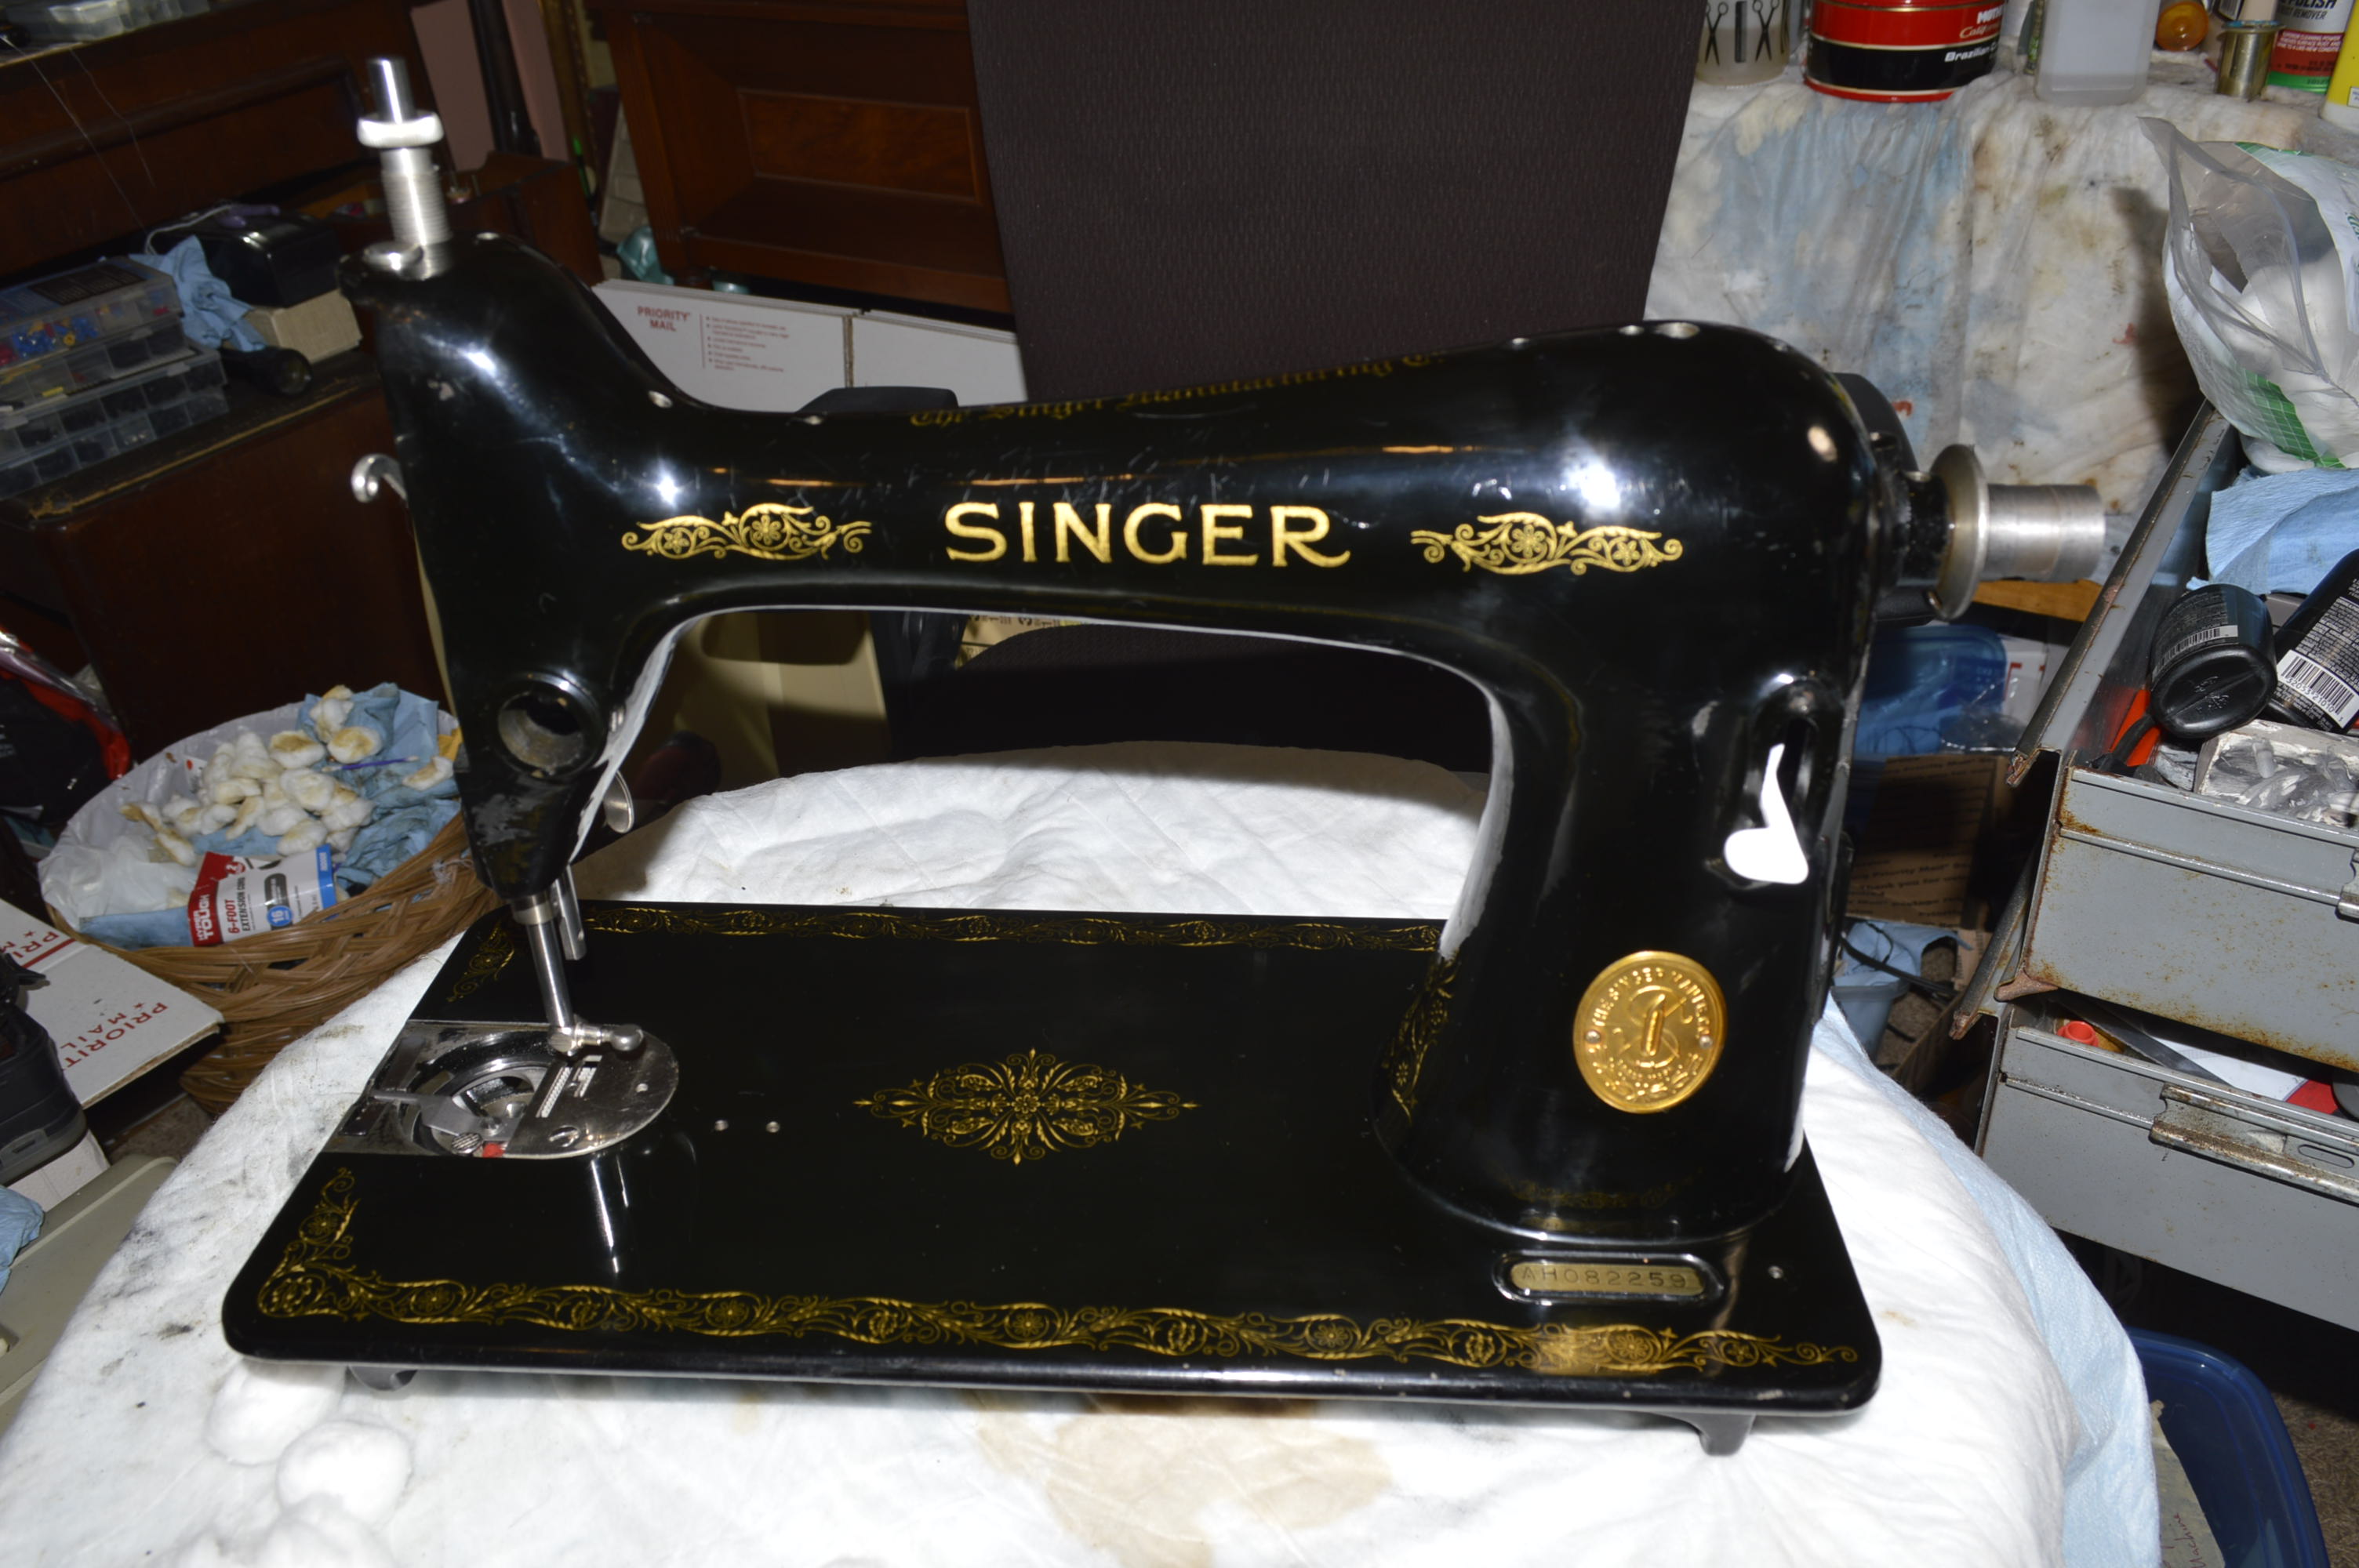
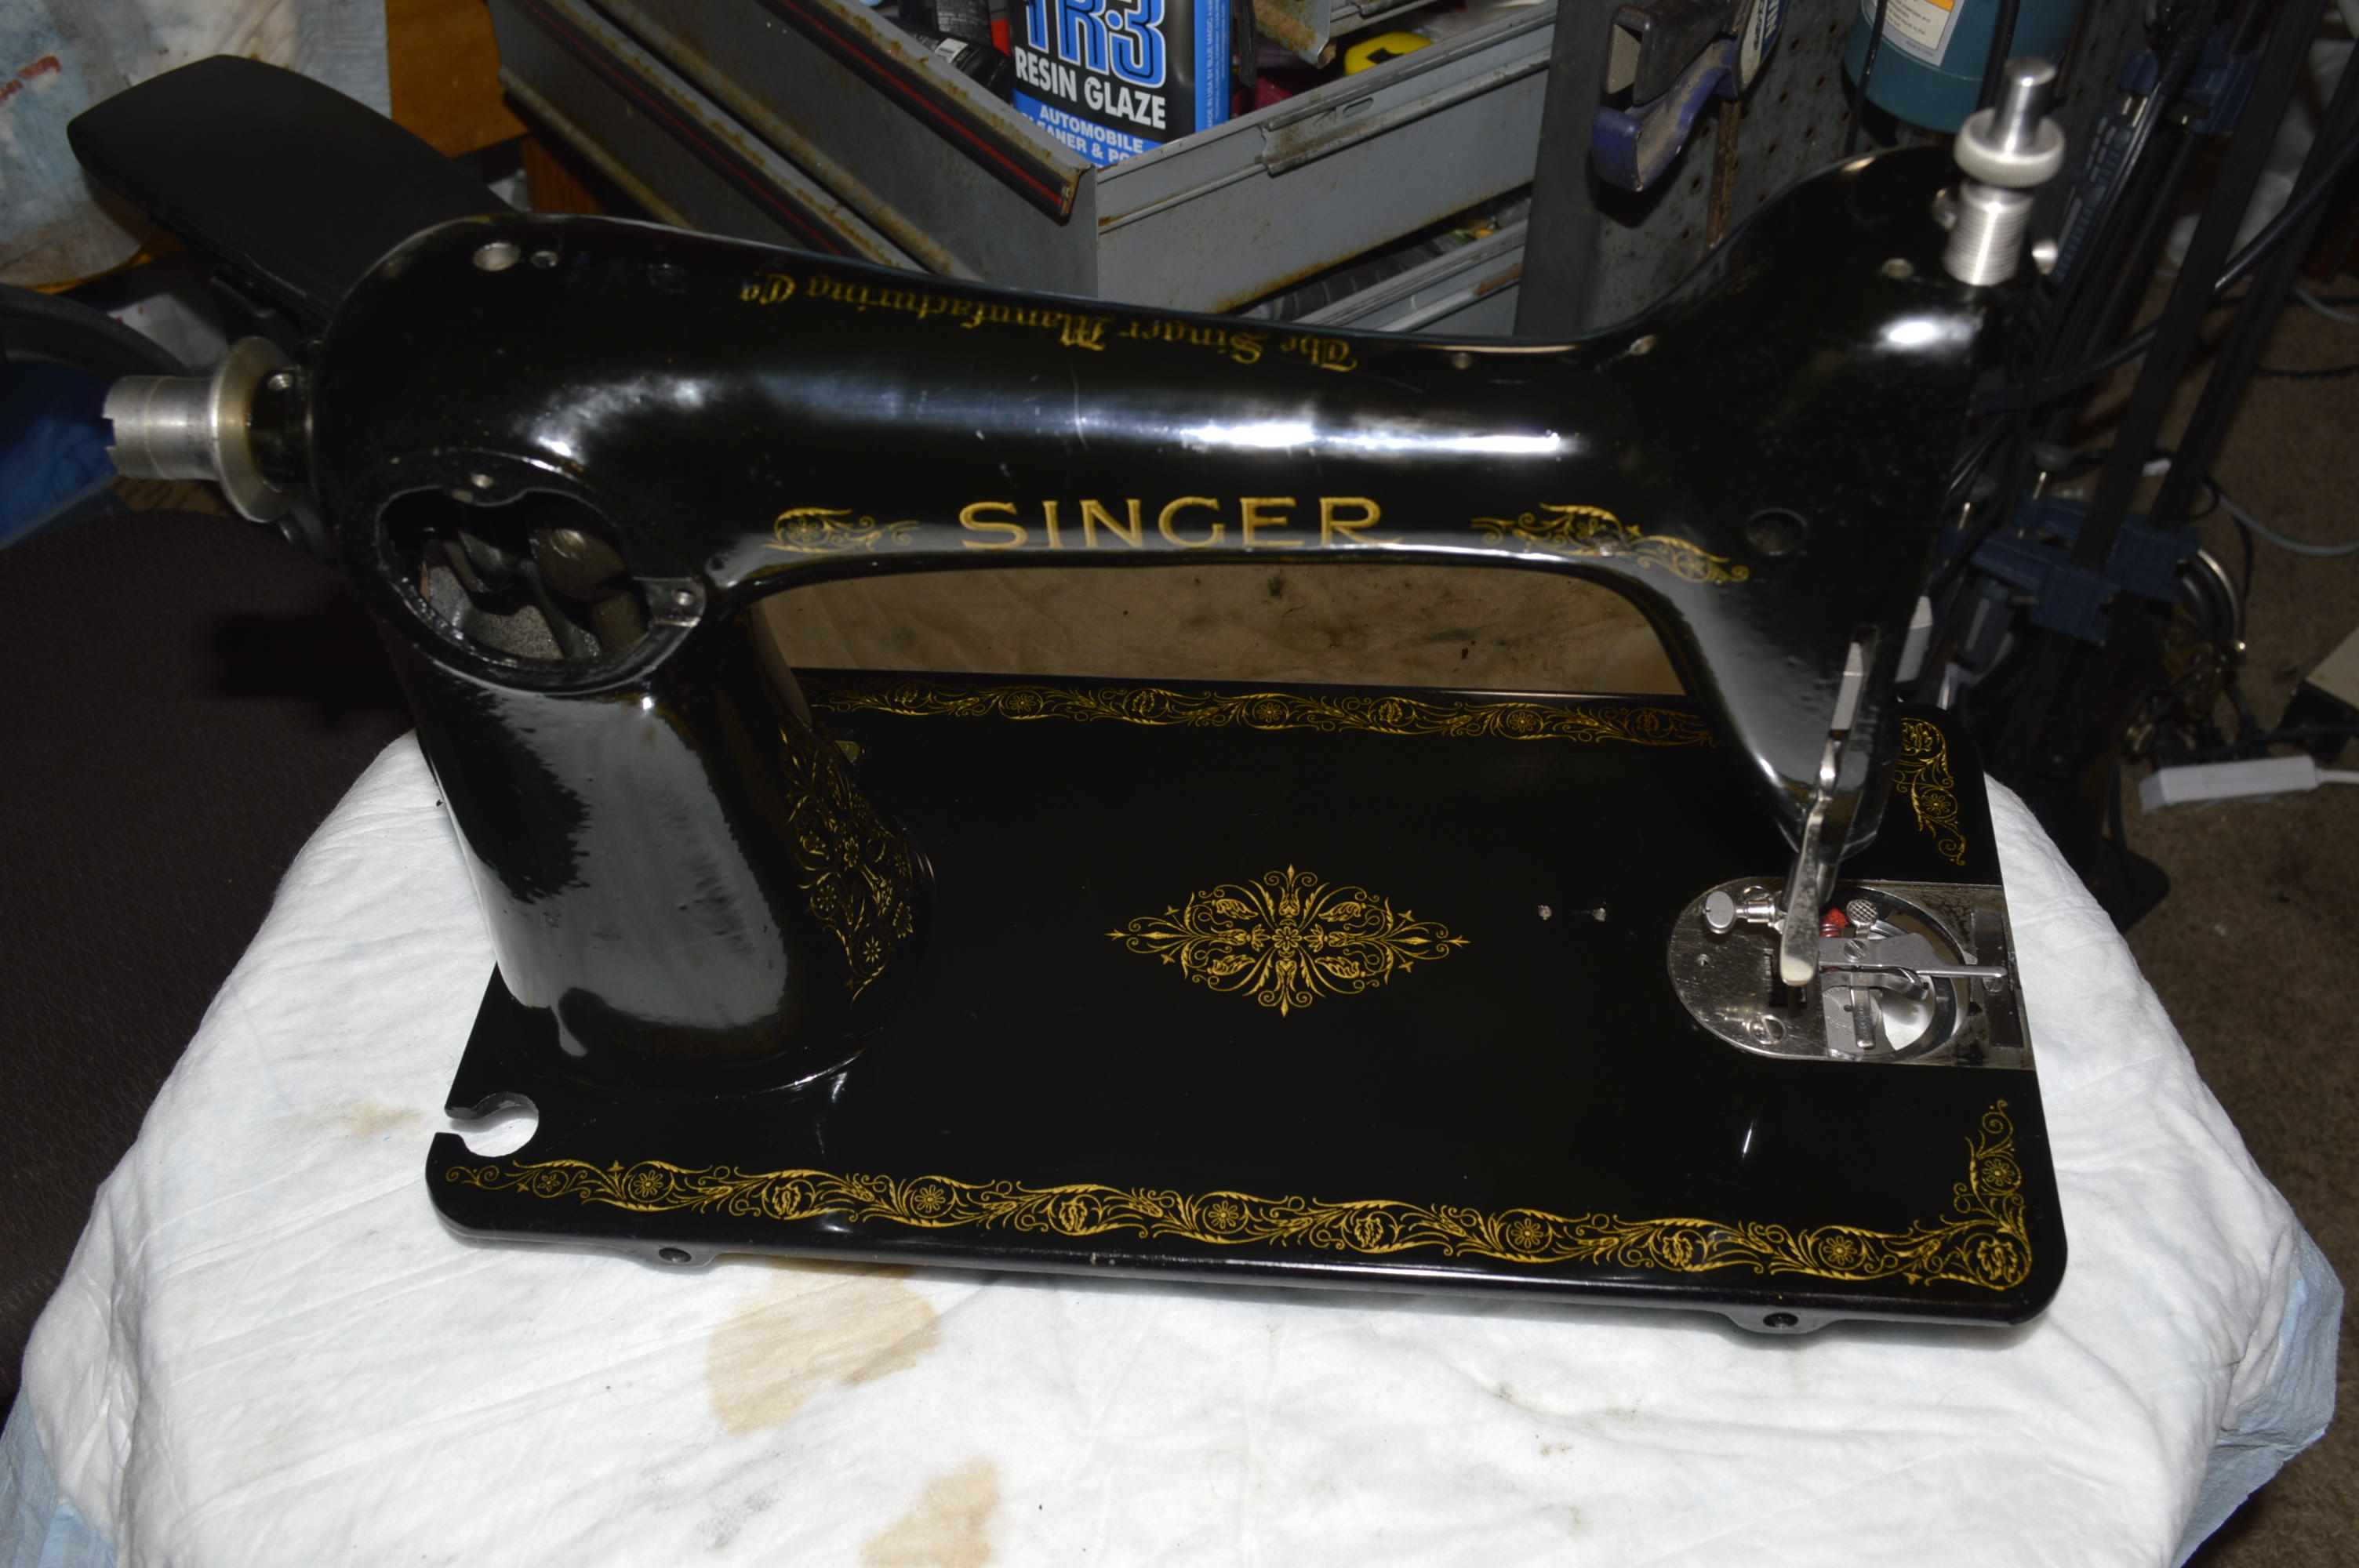
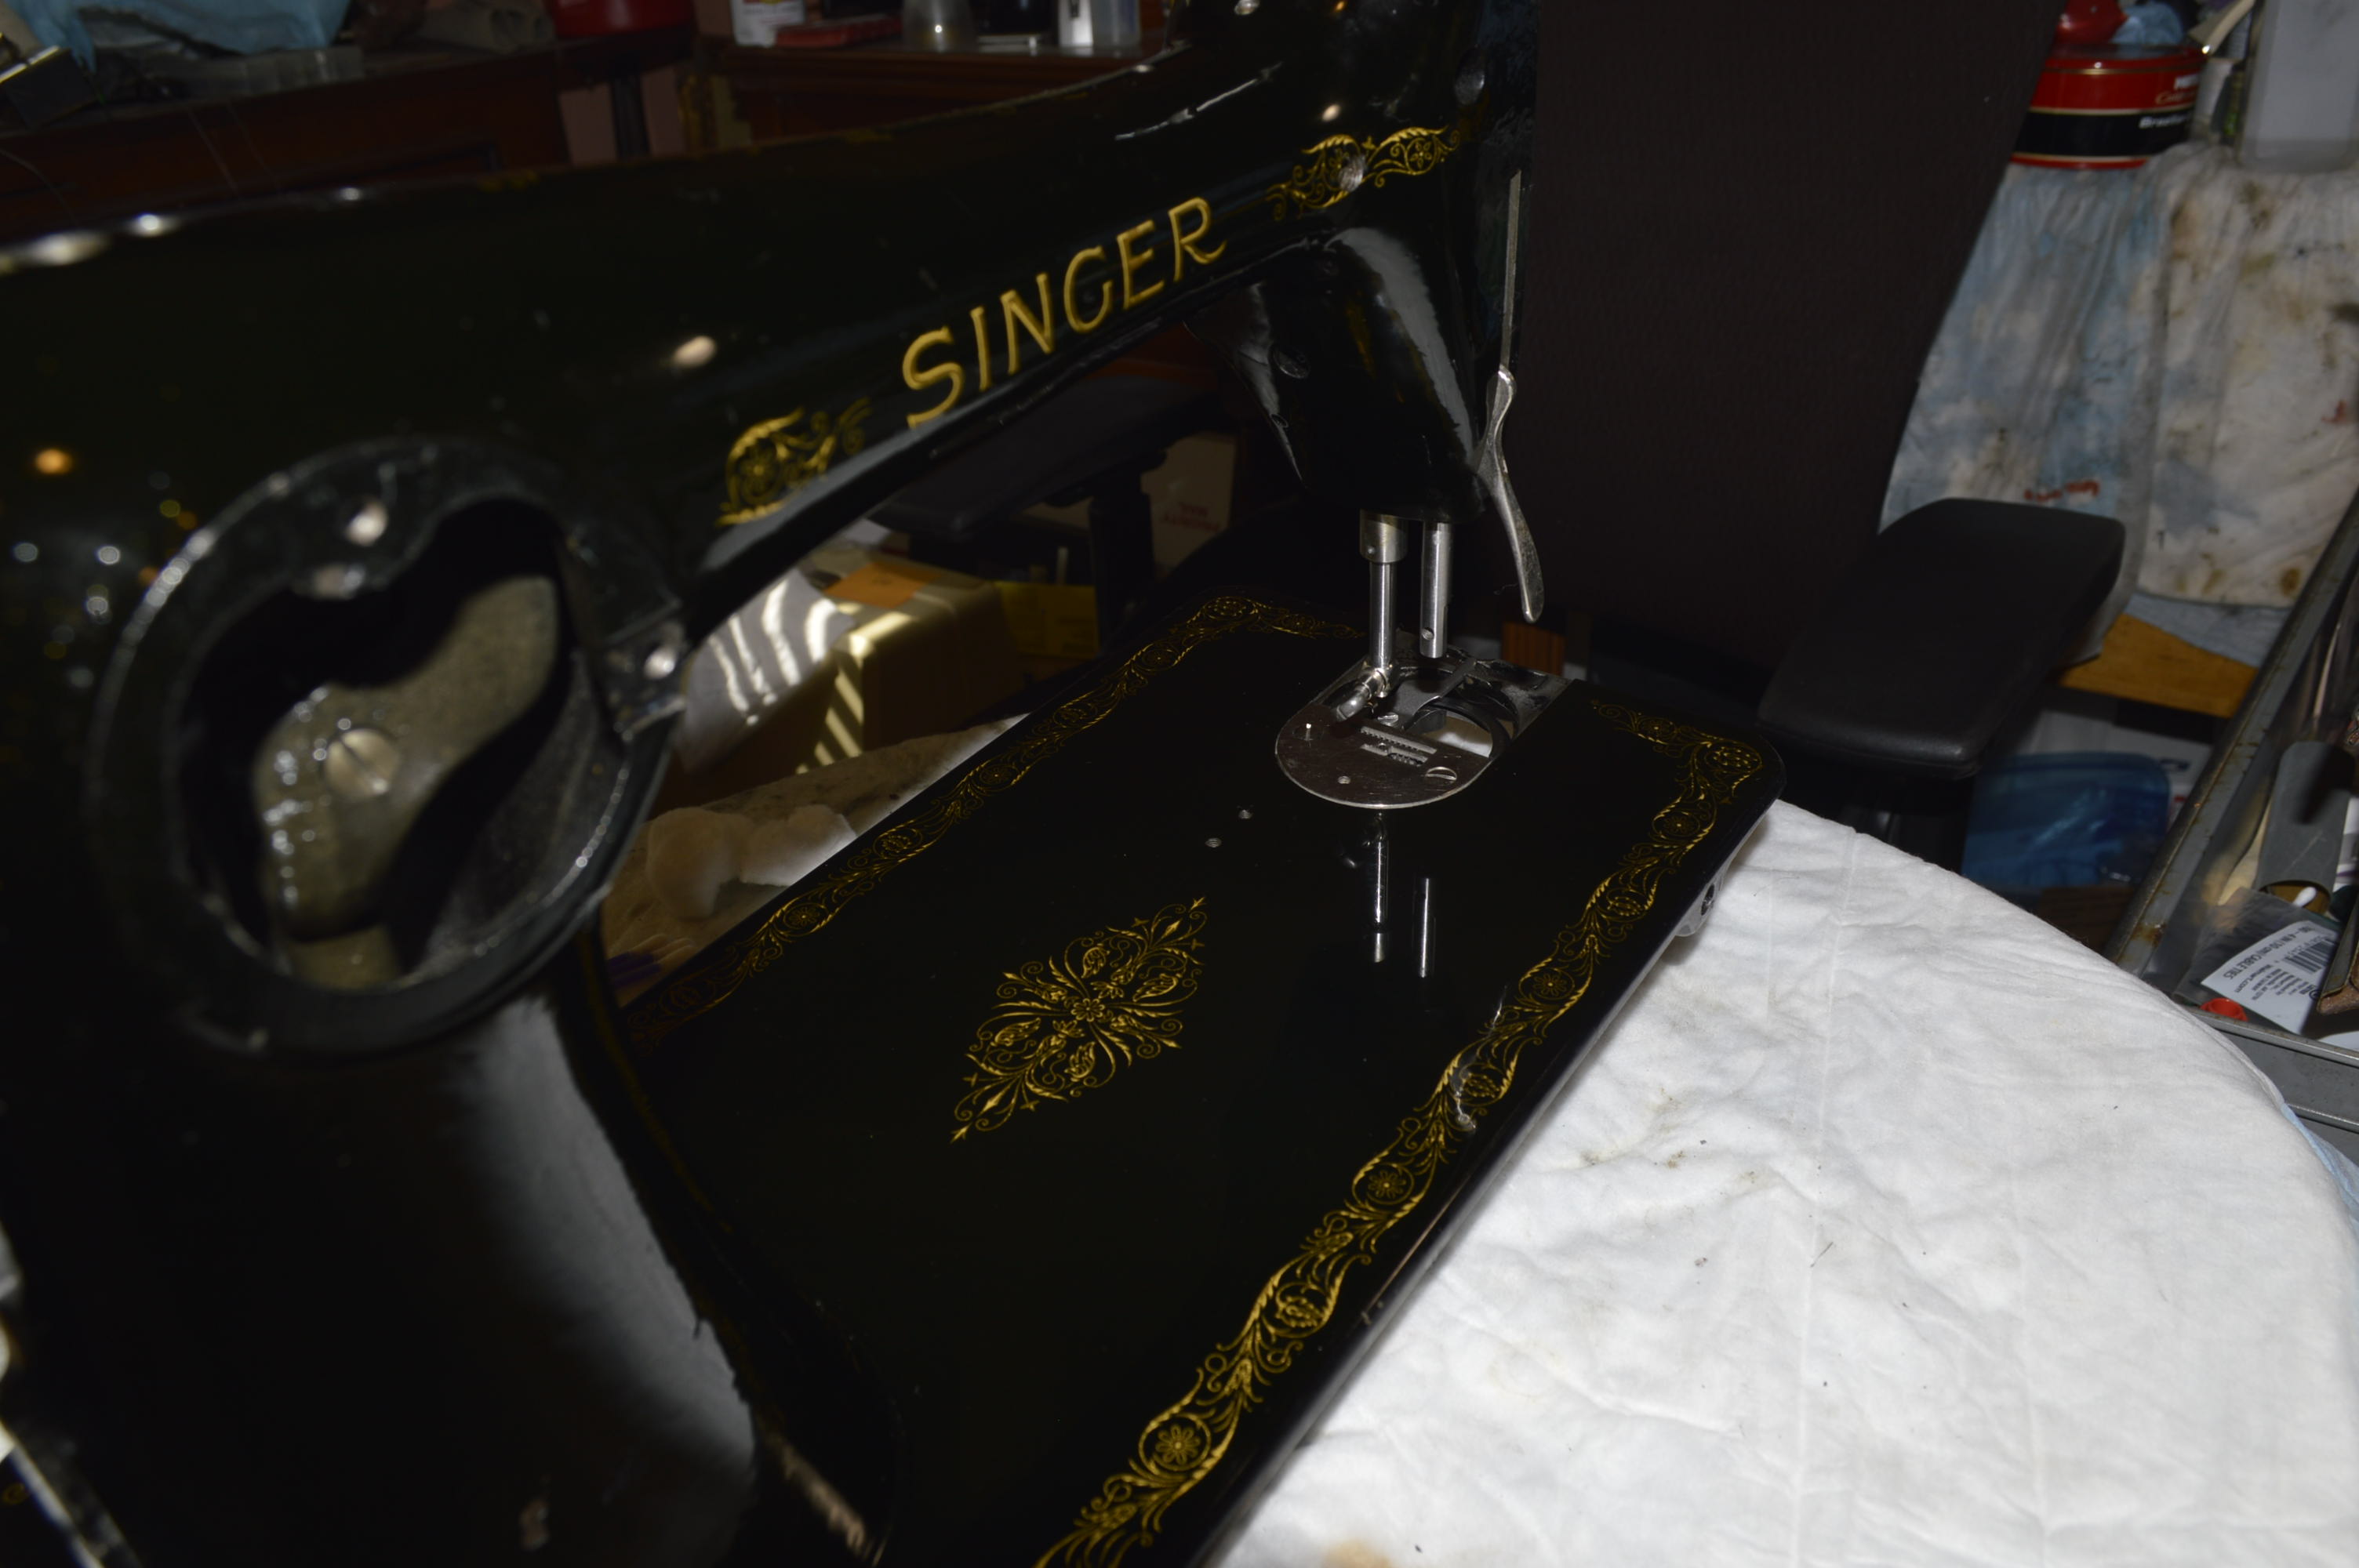
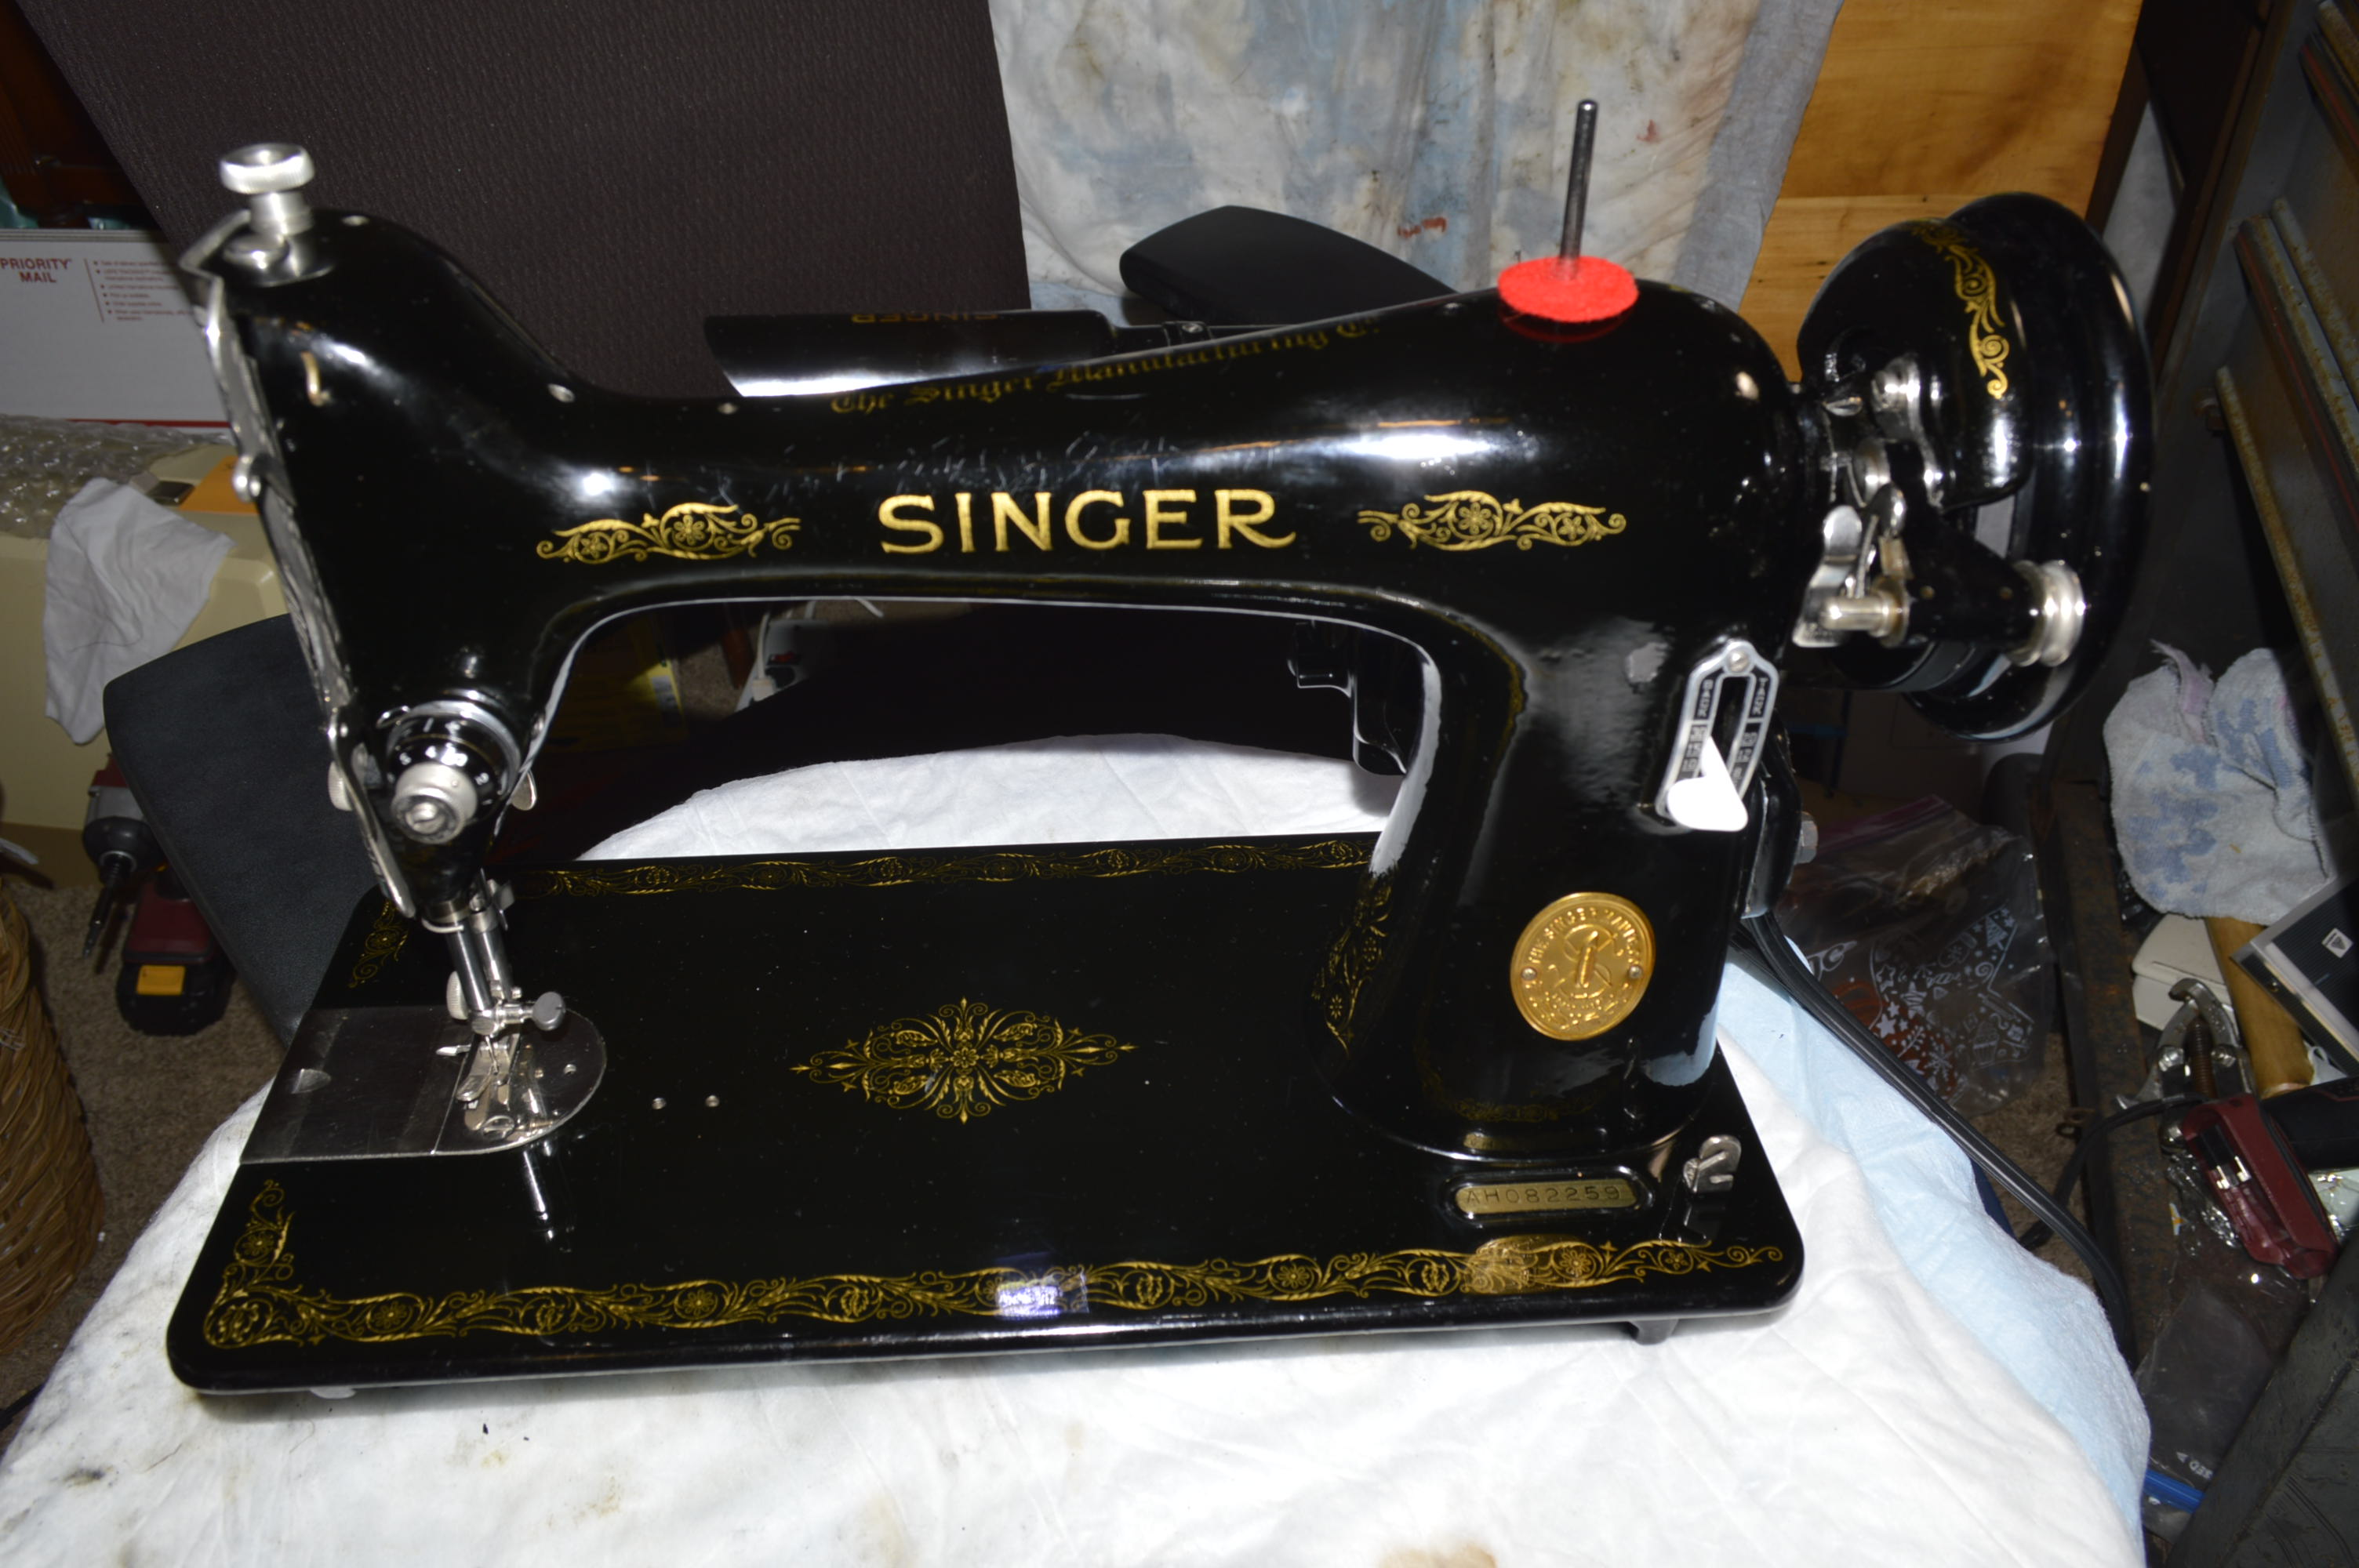
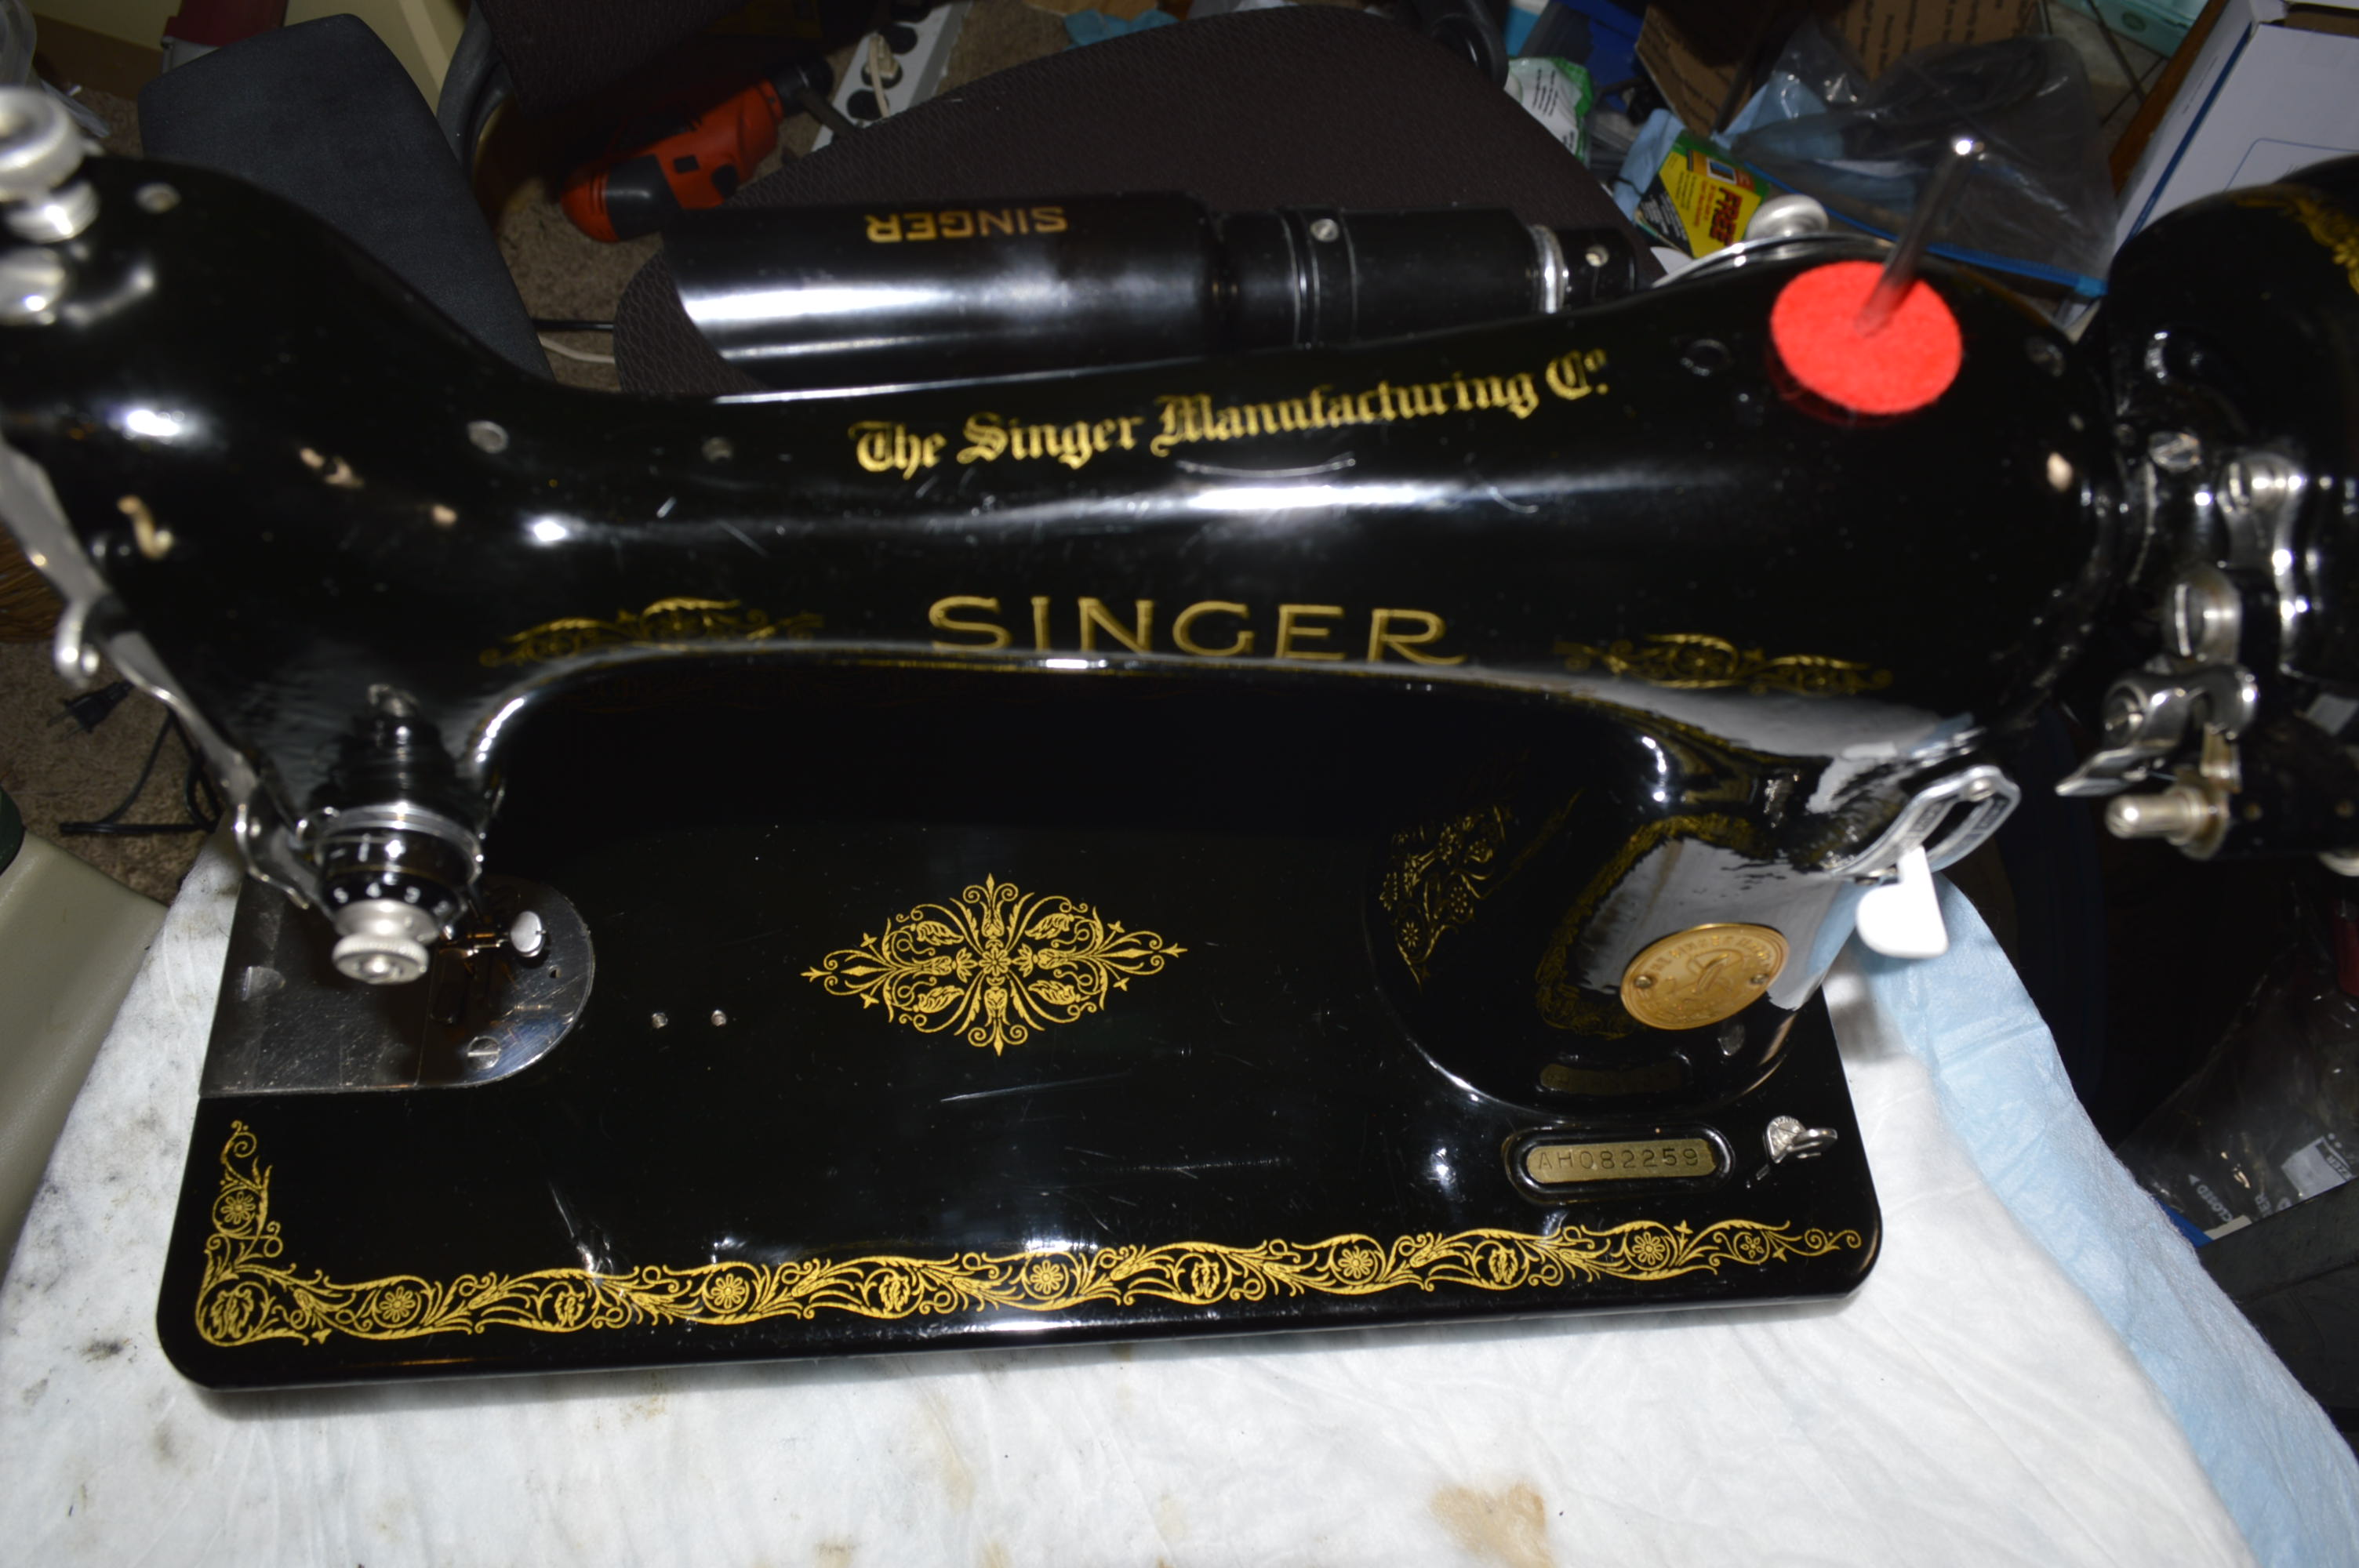
The topic here is the reconditioning of a vintage model 66 sewing machine, and I have a great example to work with. This particular machine’s serial number is AH082259 and she was born on May 9, 1947. She shares her birthday with 14,999 sisters. When I received her, she was dusty, but right away I could tell that she would be in excellent condition when the reconditioning was complete. The decals are rich gold in color and absolutely flawless over the body of the machine. The paint was in great condition with only a few shallow scratches to prove that she had been used. This is what she looked like “out of the box” after dusting with a clean paint brush. This machine is going to turn out beautiful.
After dusting, I cleaned the body of the machine with sewing machine oil so I could inspect the shellac coating. The shellac coating is so important because it protects the decals, and tells me how deep I can go in cleaning the machine. The true potential was revealed with no more than this simple oil cleaning method.
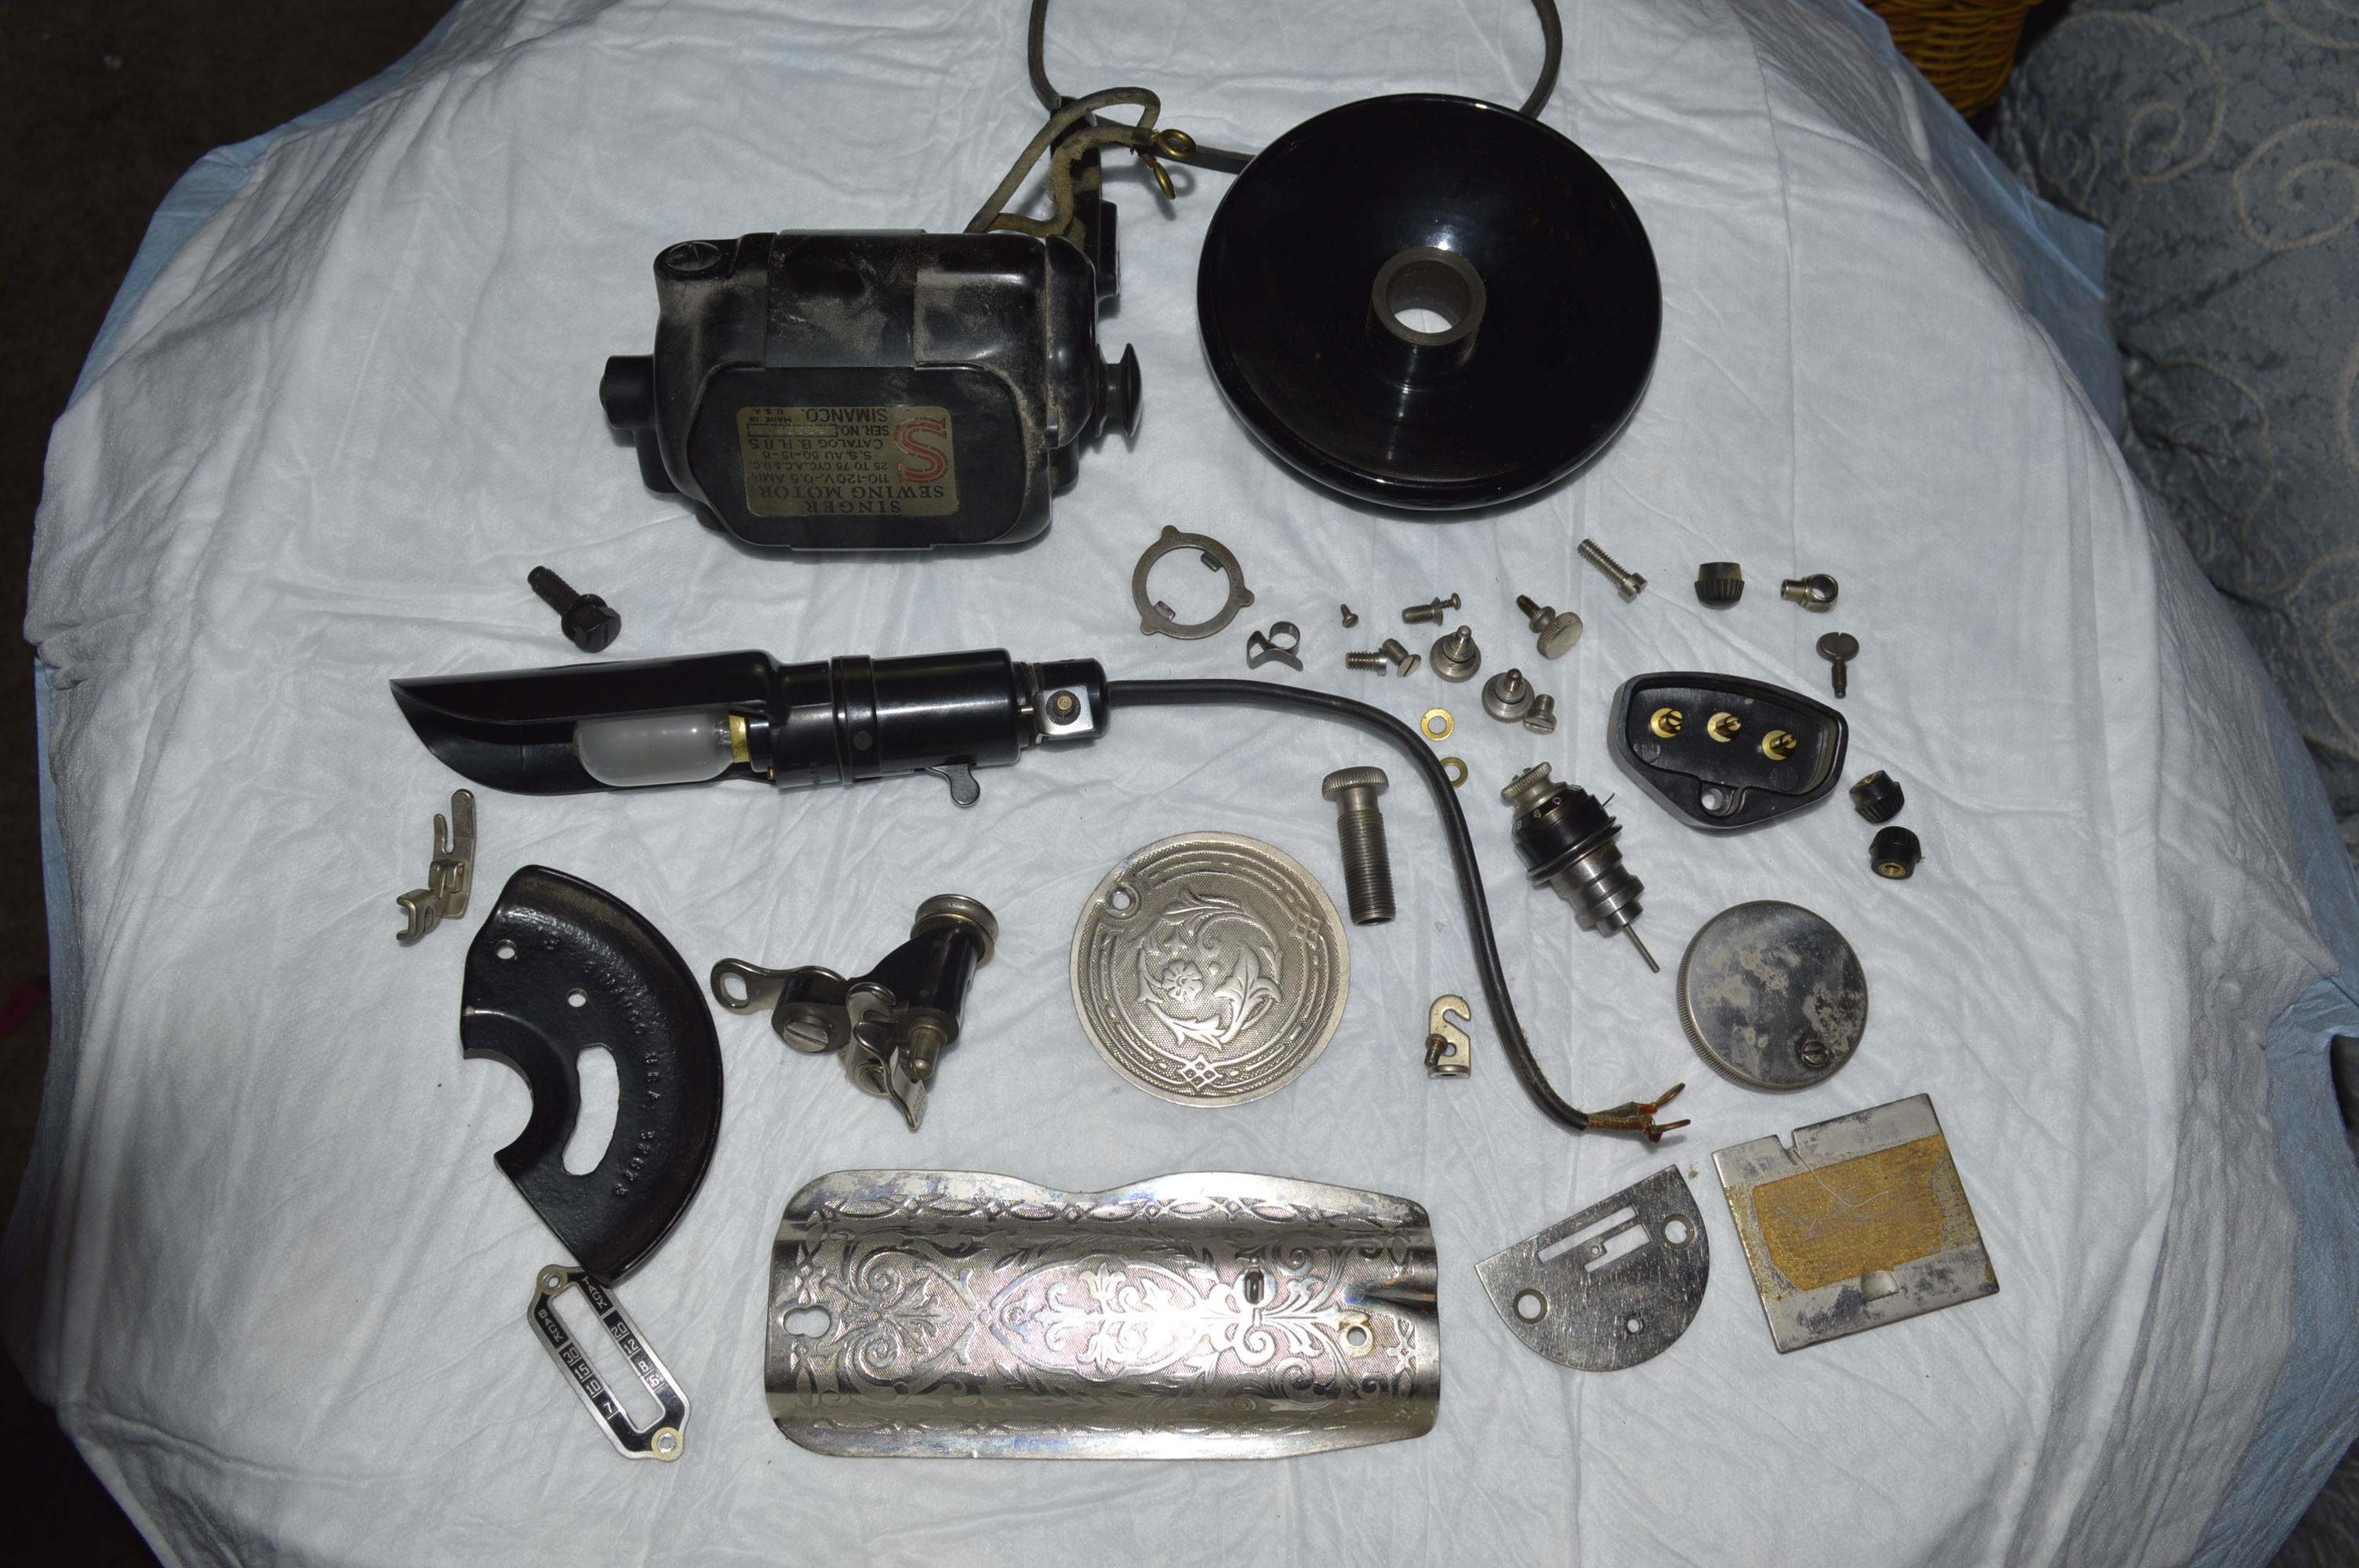
You may have noticed, but all of the plates, covers, the bobbin winder, the bobbin winder guide, the balance wheel, and the motor was removed before cleaning. This machine is getting an extensive reconditioning, and it is easier to clean if I get all of this stuff out of the way. It makes cleaning the body so much easier. Except for the tape residue on the paint, you might ask, why clean it any further? Well, It does look great, but there is more potential left in getting that beautiful finish that these vintage black lacquered Singers are coveted for. These are the parts removed laid out for cleaning and reconditioning.
The tape residue was a job in itself. Actually, it was two types of tape… scotch tape, and masking tape. The scotch tape comes off easily with a little WD-40 and gentle scraping with a finger nail. The masking tape is another story. I don’t know what they made that stuff with back in the day, but it was not easy to remove. After time, patience, and a lot of scraping and rubbing with cotton balls, the tape was gone and the finish below is perfect.
Using a flashlight to inspect the surface, I noted the machine had a uniform green hue over the entire body of the machine. This tells me that the shellac coating is intact and the decals well protected for more deep cleaning.
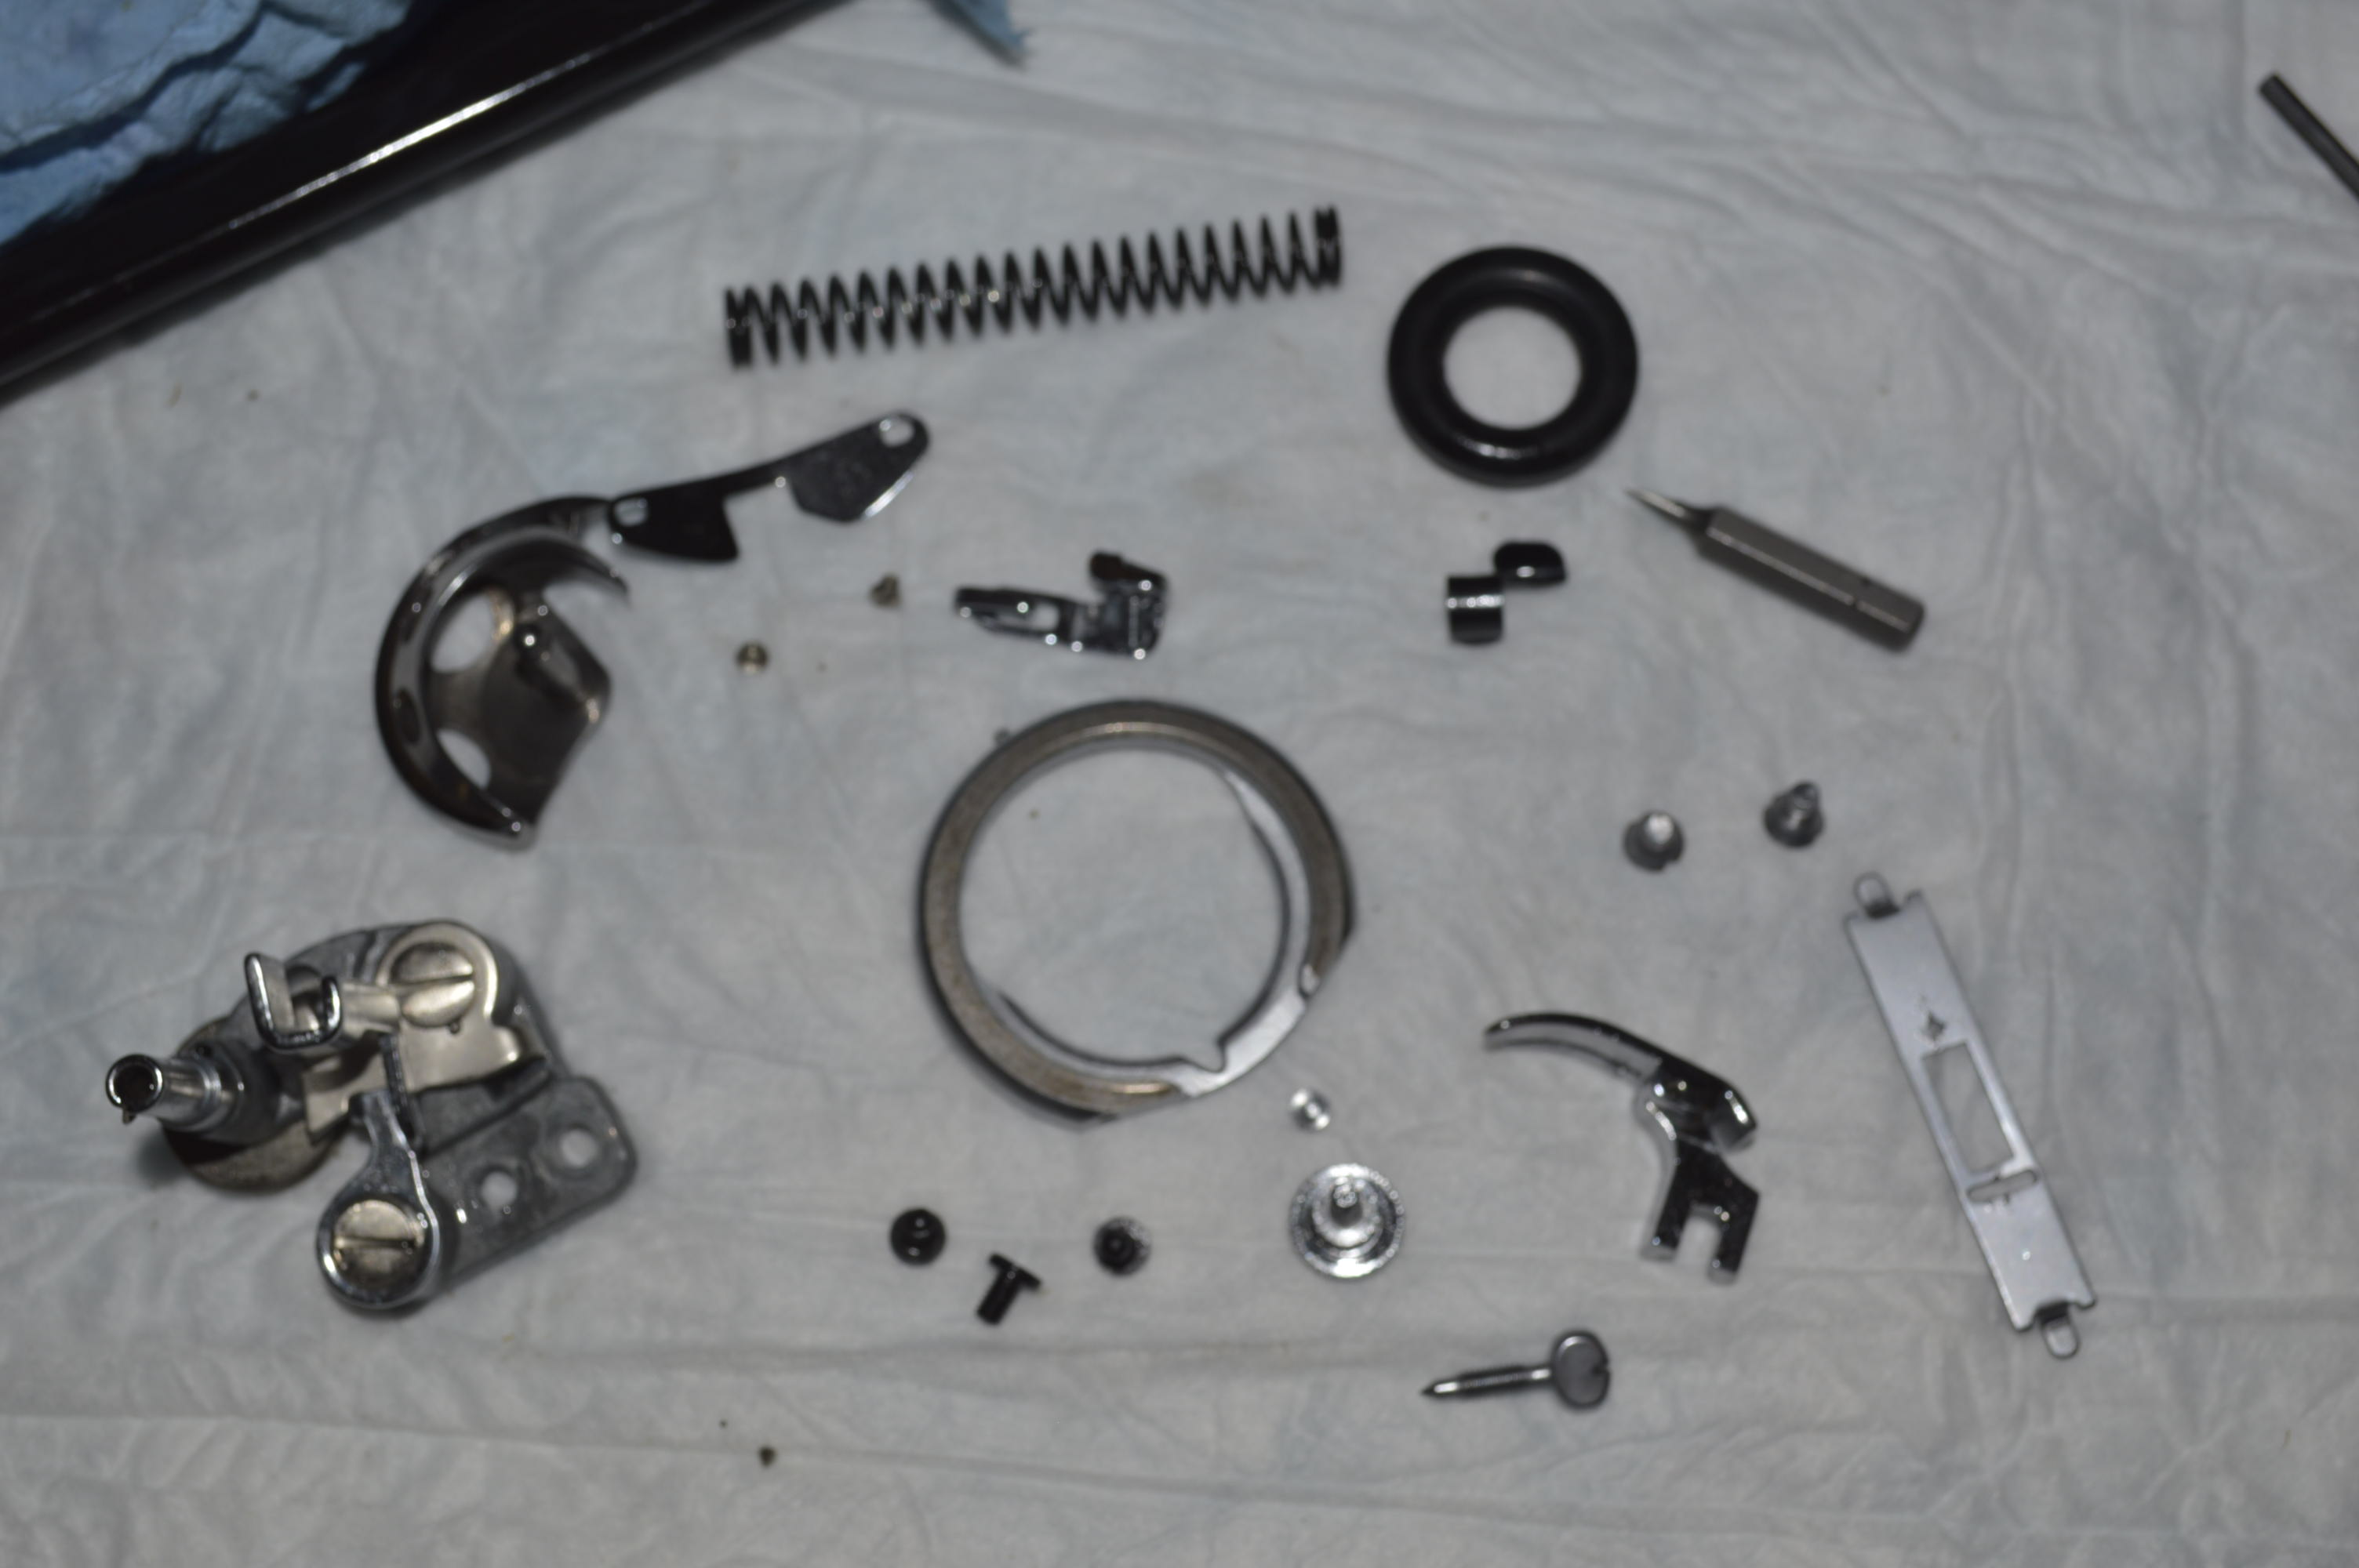
Rather than continue cleaning at this point, I began the reconditioning of the machine by removing all of the assemblies in the head. The next three pictures show you before, after, and the parts laid out for cleaning.
Next came the disassembly of the parts under the bed. Again, you can see the before, after, and the parts laid out for cleaning.
Now, if you zoom in on the pictures of the parts from the head and bed laid out for cleaning, you will notice that they have a film of old oil varnish on them… it’s the “coffee color” coating the parts. This oil varnish is on all of the parts, including the parts that rotate, rub, or are in contact with another part, and it is present inside and out on these parts. This is what sets reconditioning apart from servicing. You can clean the outside of these parts and oil them all day long, but unless you disassemble them, you can’t get to the inside of these parts, and that’s where the work gets done… that’s where the smoothness is. All other cleaning is cosmetic, but cleaning these internal surfaces will change the character of the machine and result in a “factory fresh” feel in the smoothness of the machine… it’s that noticeable.
Here are the same parts after ultrasonic cleaning, and a soak in WD-40 to remove any water left behind by the cleaning.
The parts are hand rubbed with a shop towel to remove the WD-40 residue from the surface… then an extra step is taken. All of the parts that mate together, fit inside one another, and rub together are cleaned further with a dremel and a soft steel wire wheel brush. This is done to ensure that they turn, and rub, and mate together smoothly. The next few pictures will show you the finish this accomplishes.
The presser bar and the needle bar need to go even a step further. After ultrasonic cleaning, they look clean, but these need to be polished as smooth as glass. This picture is before…
This picture is after…
With all of the parts cleaned and ready for reassembly, my attention is turned to the motor. This particular motor appeared to have good wiring, but due to its age and the fact that you cannot see any cracks in the insulation under the outer covering, the wire is replaced. Regardless of how good a motor looks, it is disassembled and cleaned, the armature is polished, and the grease wicks are replaced. The brushes in this motor are in excellent condition, so they will be cleaned and reinstalled.
The motor in original condition…
The motor disassembled…
The old and new grease wicks…
The armature and motor shafts are polished…
The new wires soldered in place of the old wires… The red tubes are shrink tubing that will cover and protect the solder joint.
And the motor is assembled and bench tested… As expected. the motor runs smoothly and powerfully.
Did I mention that these Singer motors are fantastic? They were made to be serviced, and I prefer these original motors over any new aftermarket motor available today. That brings me to another point that is often overlooked. This is a 0.5 amp motor. The model 66’s balance wheels have a larger diameter belt groove, so it is in effect “geared down”. Believe it or not, this motor will perform as well and appear as powerful as a motor twice it’s size in a modern “plastic” sewing machine… at least in my comparisons.
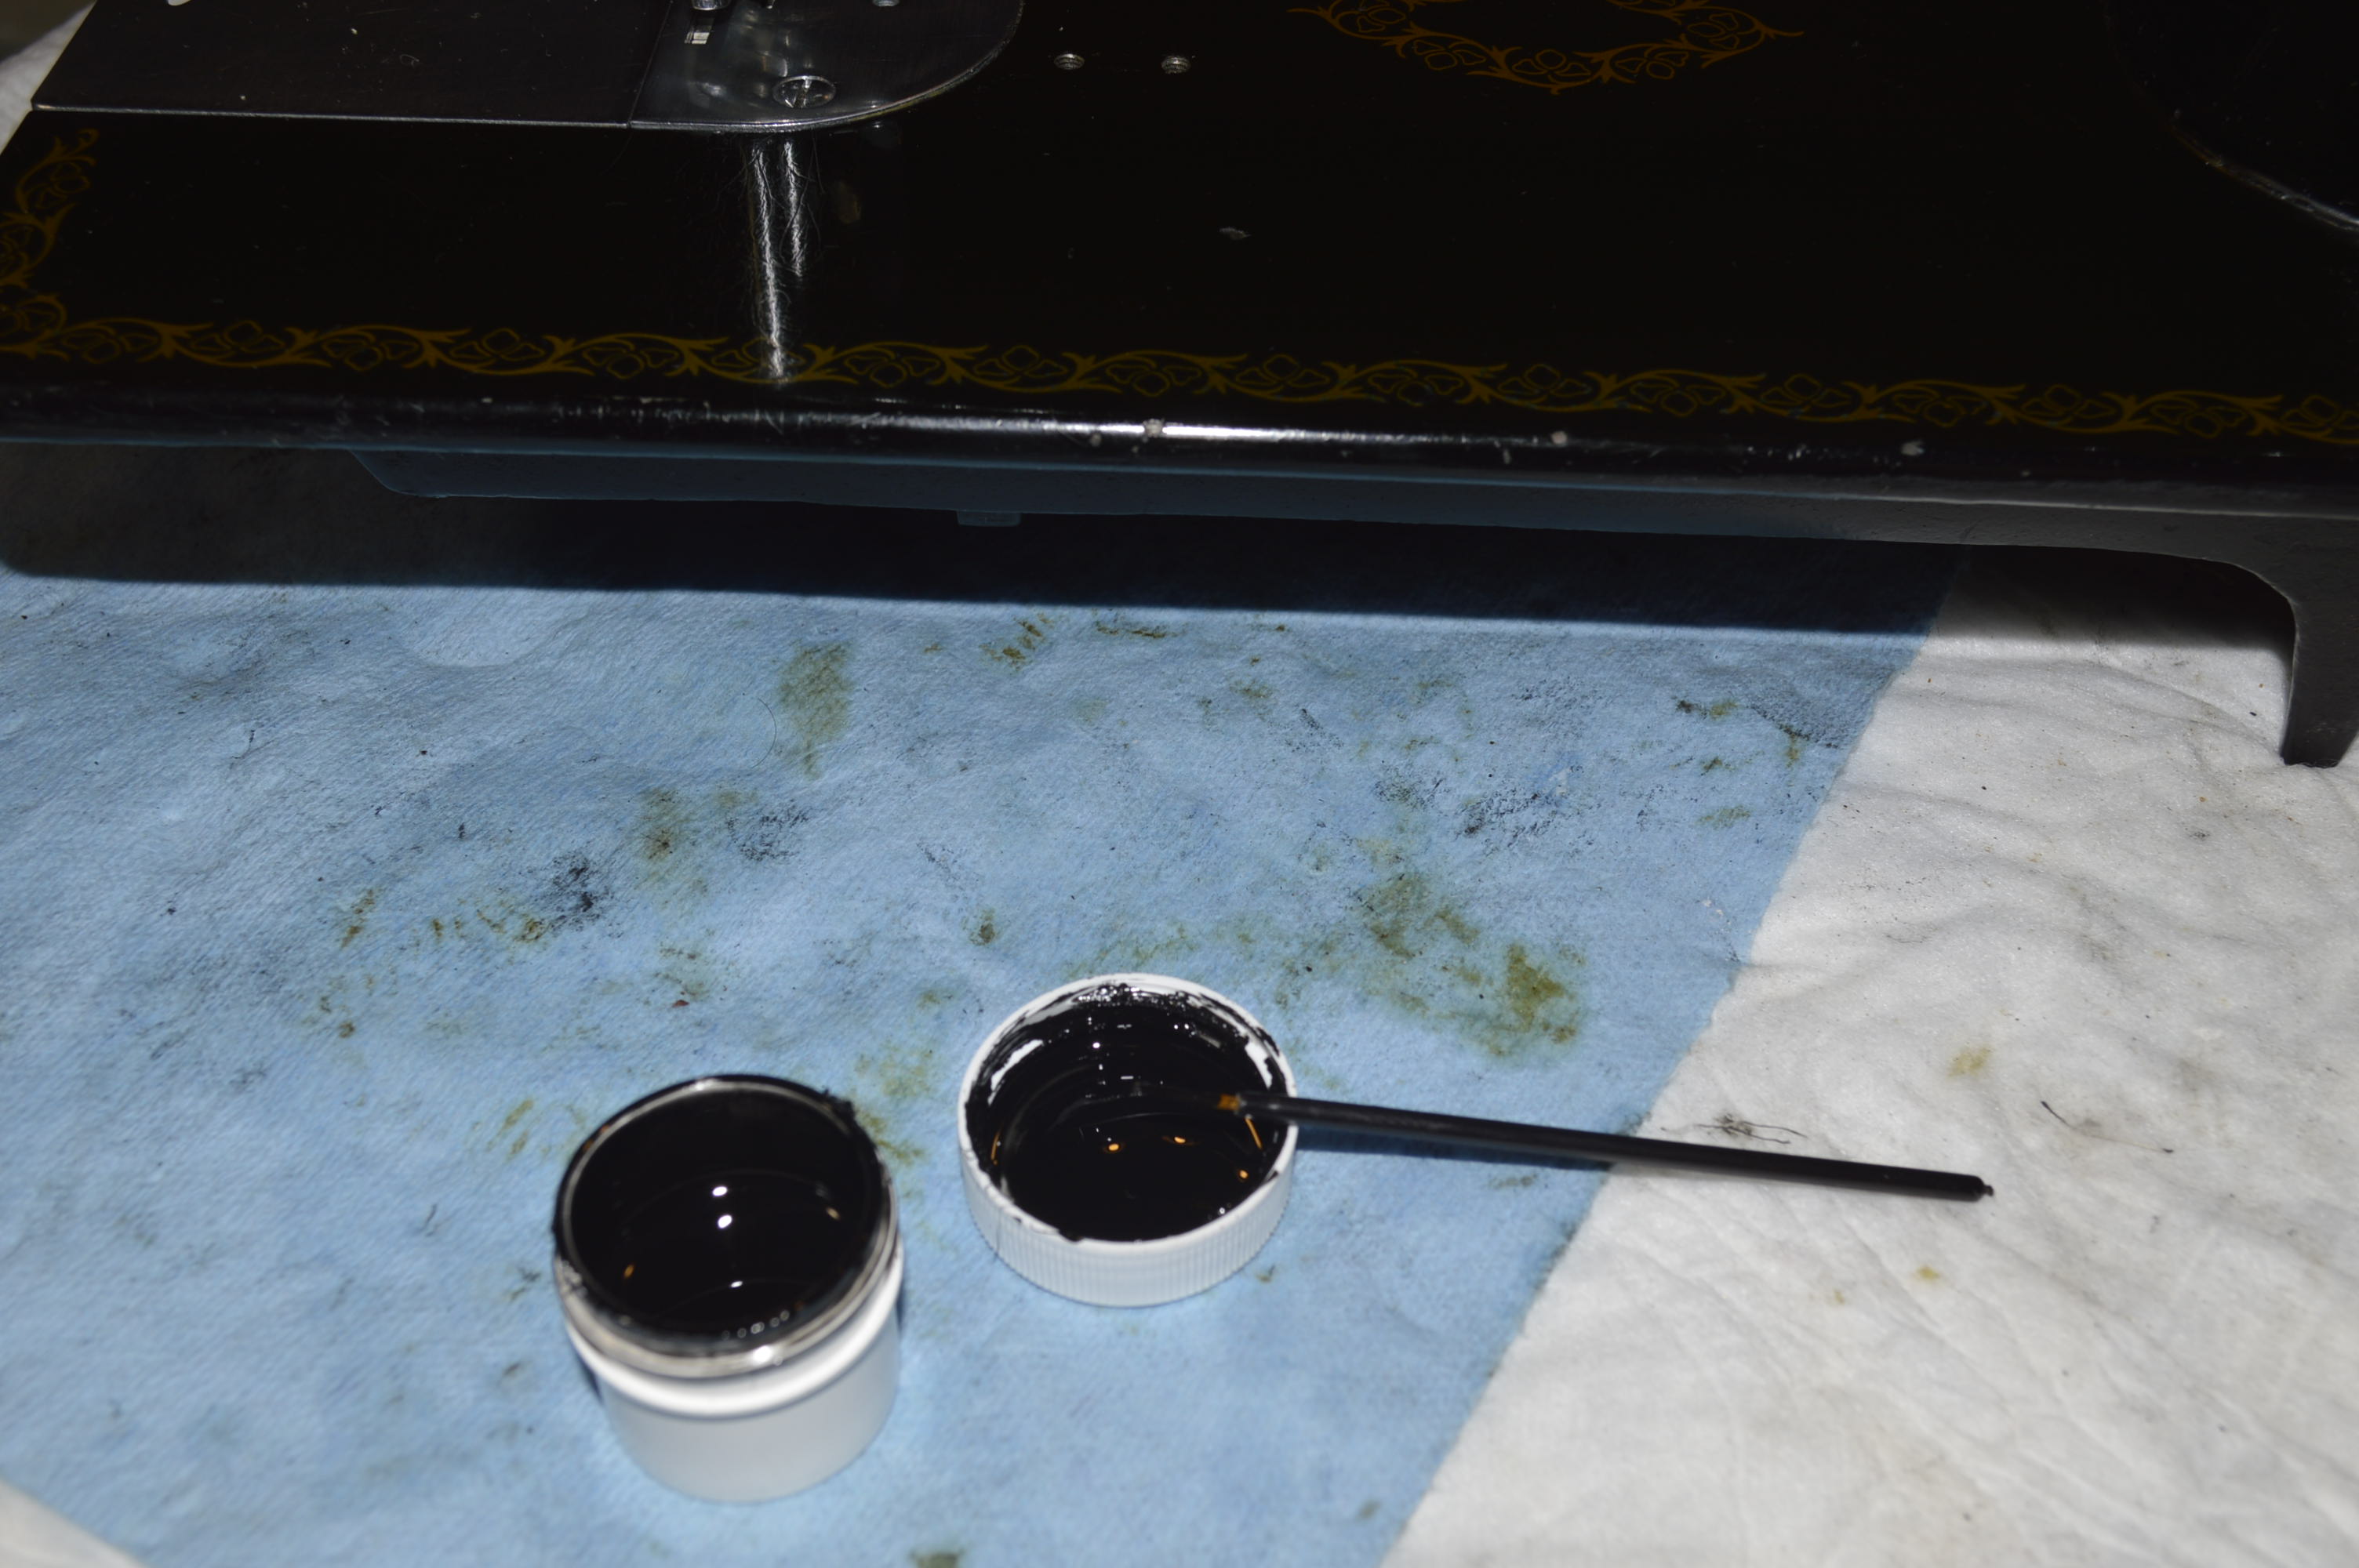
The next step is to clean the top tension assembly. This is simply done by disassembling the tension mechanism and ultrasonic cleaning and a soak in WD-40. There are a few extra steps that need to be taken with this assembly. Because the tension assembly is in on the thread path, and its purpose is to clamp the thread between the tension discs, and because thread wraps around the tensioner post, it must be free of any oil. These parts are soaked in 99% alcohol (I’ve read moonshine is even better) to remove any traces of WD-40. The tensioner post is wire brushed to make sure it is smooth and will allow the thread to pass without wearing on the thread.
There are two parts that regulate thread tension on a sewing machine. The top tension dial we are are all familiar with (and was just cleaned), and the bobbin case tension regulator. Bobbin thread tension is achieved by passing the thread between the bobbin case and a leaf spring. The leaf spring tension is adjusted by a very small screw that clamps the thread between the spring. This is a very important step. A small bit of crud or thread lodged behind the spring can cause erratic tension problems.
The tension spring is removed from the bobbin case, ultrasonically cleaned, soaked in WD-40, and then soaked in alcohol. It is then reassembled and adjusted for the proper tension.
The next step is to rewire the light fixture. This is a simple straight forward operation that involves disassembling the light fixture housing, removing the old wire, soldering terminal connectors on the new wires, and reassembling the light.
Now that the light is rewired and cleaned, the machine is ready to be reassembled.
Bottom mechanisms assembled…
Top mechanisms assembled…
Now that all of the grubby finger print producing work is done, it is time for deep cleaning. The machine is cleaned using cotton balls and GoJo hand cleaner… don’t laugh, GoJo is a lanolin based cleaner that is very good at dissolving dirt and oil, and when used properly, will not harm the finish or decals on the machine.
You can see the dirt it picked up… remember, this machine has already been cleaned with oil. The brown stuff is oil, but the darker stuff is dirt. The secret to GoJo is to go over small areas and change the cotton balls frequently. This keeps dirt picked up on the cotton ball from migrating and possibly scratching other areas on the machine. Following the cleaning of an area, cotton balls are used to remove remaining GoJo and buff the area just cleaned. Many, many cotton balls are used. The results brings out a deeper finish…
But, cleaning with GoJo is merely the precursor to glaze polishing. This is where the real finish comes out. The product I am using here is TR3, made by Blue Diamond. The process is similar to waxing your car, only the work proceeds in small areas. Application of the glaze polish goes in a back and forth motion to avoid swirls, and the polish is worked into the surface until it starts to dry. The area is then buffed with cotton balls in a the same back and forth motion to reveal the polished surface. This is repeated over the body of the machine.
Because the finish of this machine is in such good condition, I decided to apply a second glaze polish. This time, I am using a product called “Meguiar’s Mirror Glaze”. This is a product that I have had great results with, and it seems to have a finer “cut” than the TR3. Following the smooth surface produced with the TR3, the Meguiar’s should produce a mirror like finish. The application is the same… lots of cotton balls, lots of rubbing, and lots of attention to details. As expected, the final surface is smooth as glass and “squeaks” when you rub it… perfect.
Next, the few small chips are paint matched… all small paint chips are filled in. Very few on this machine.
Before
After
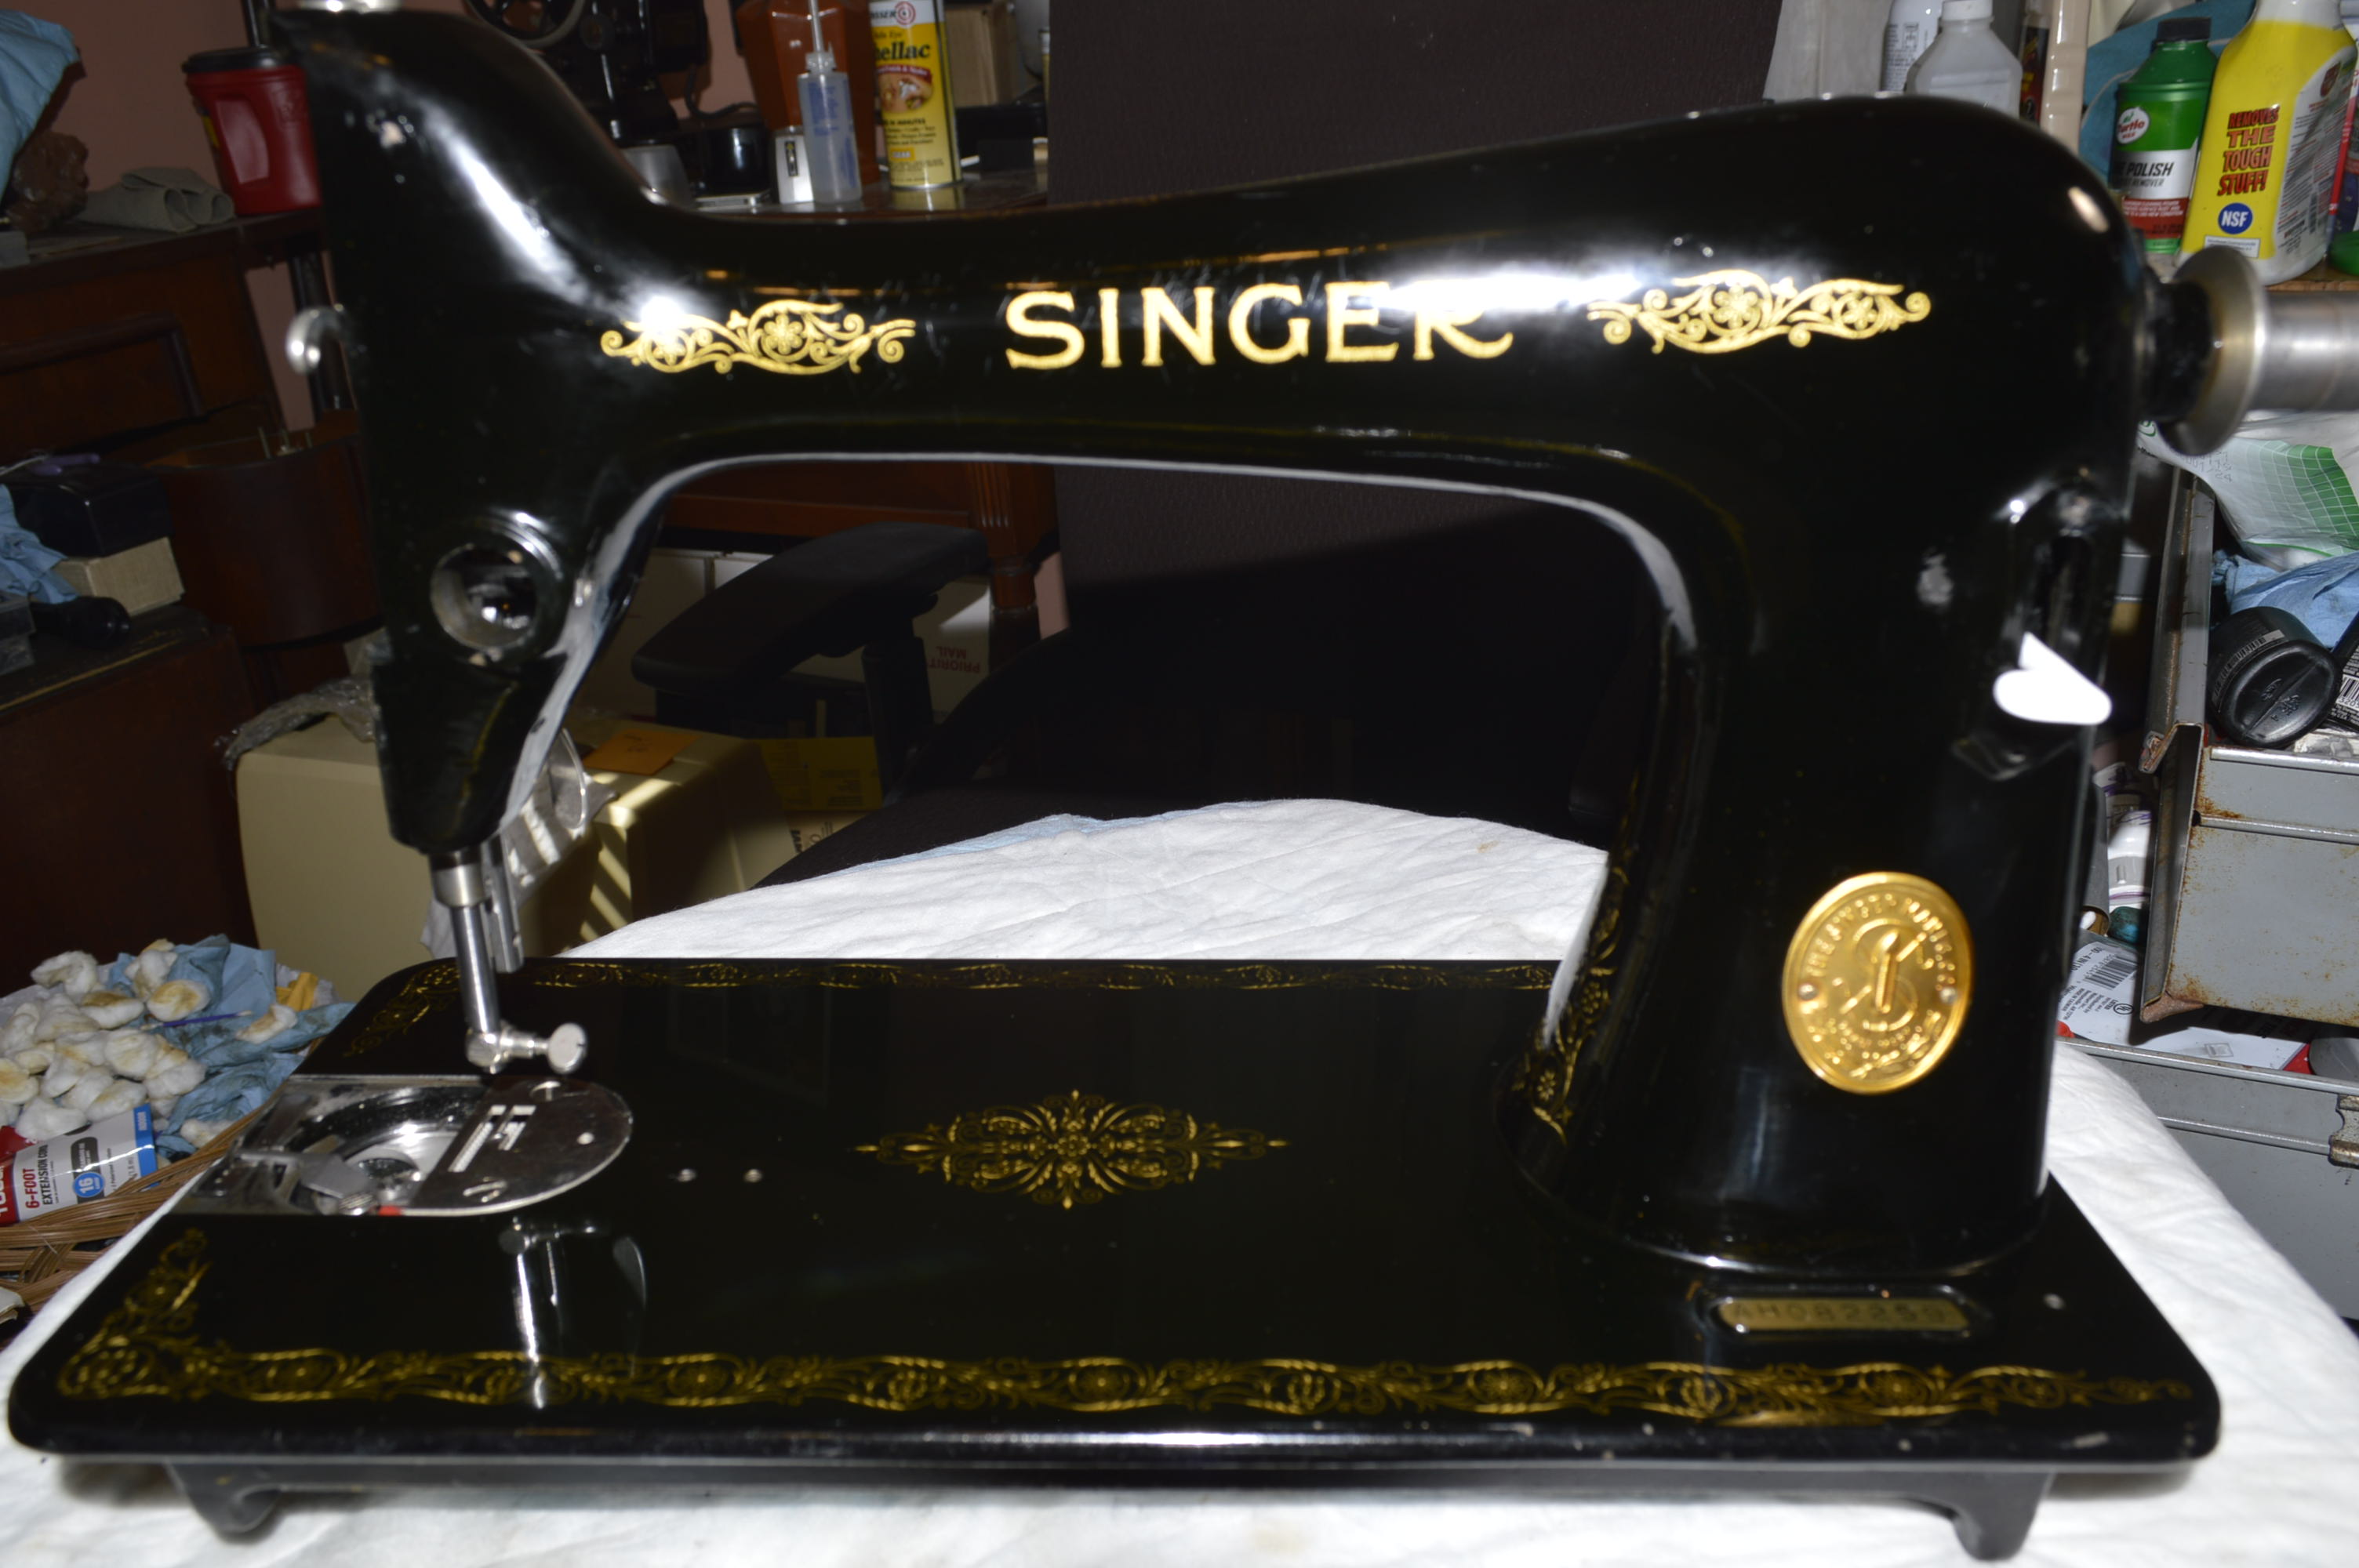
The final step is to buff the face plate, side cover plate, bobbin cover plate, needle plate, and balance wheel stop motion knob with a 6″ buffing wheel and jeweler’s rouge. When assembled, the machine is complete and ready to sew.
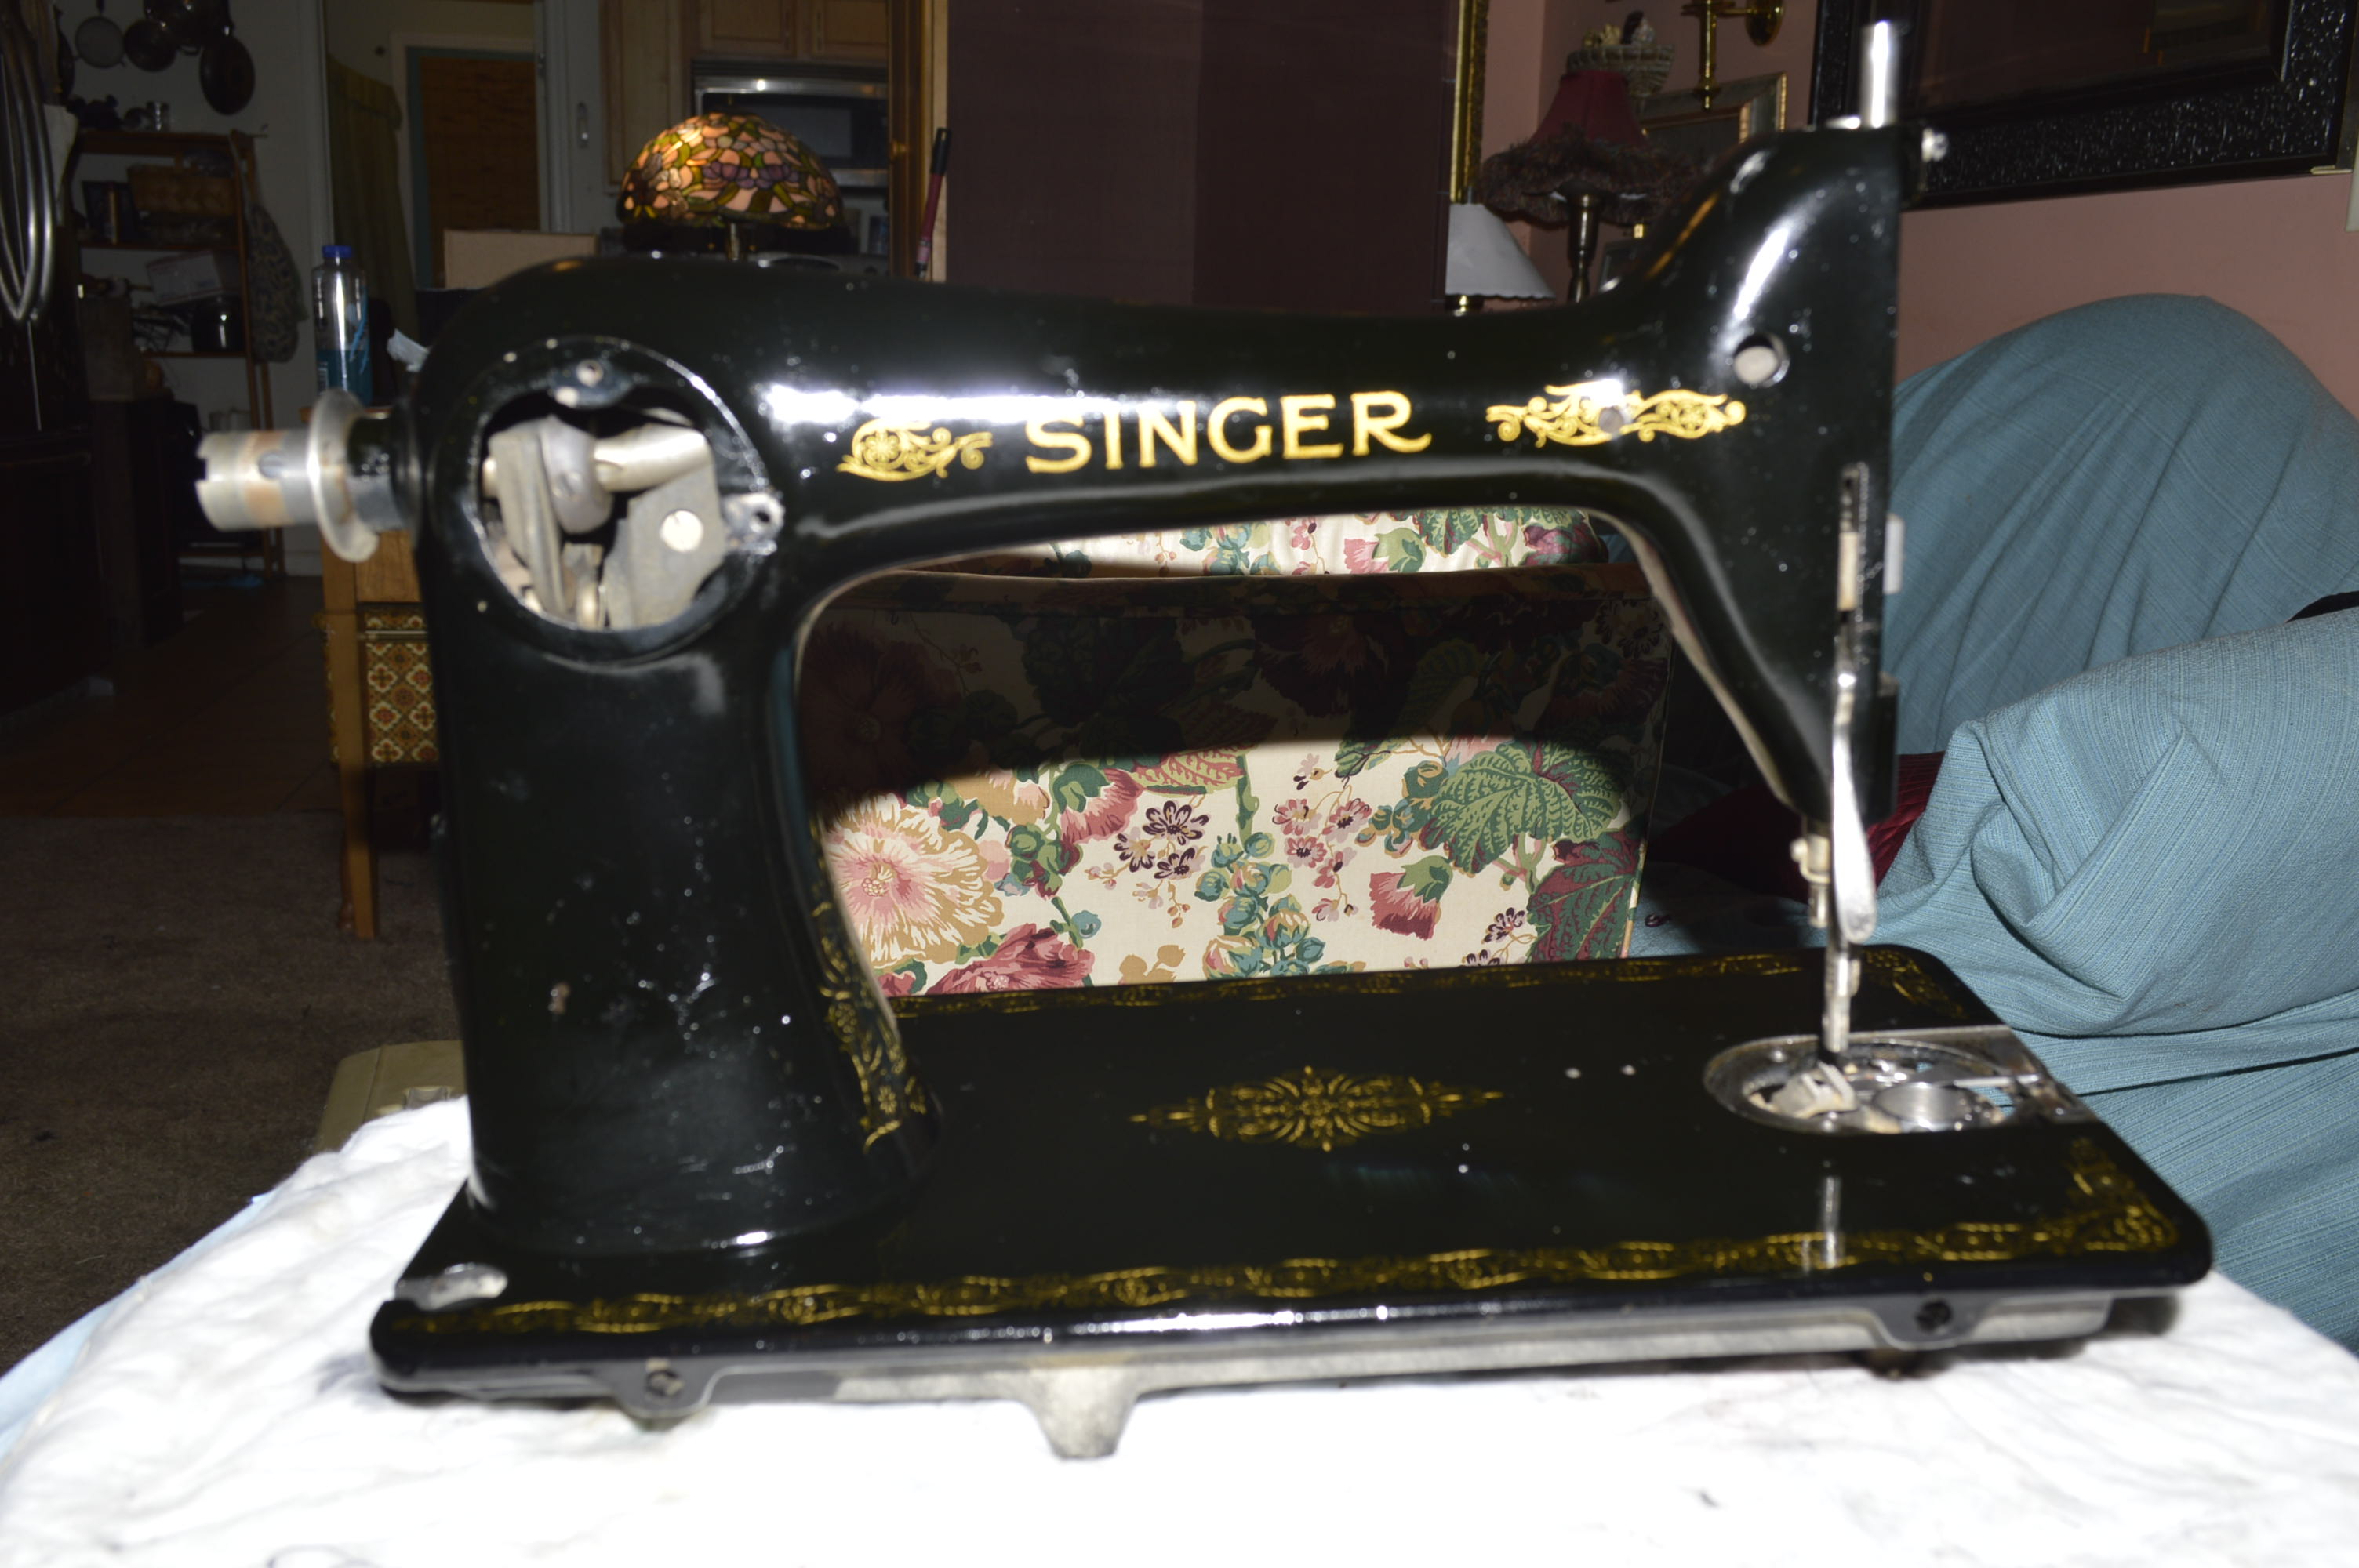
She is an absolutely gorgeous Singer Model 66… Not bad for a 72 year old Singer!… If you have one in better mechanical condition, and she looks this good, please send me a picture!
To see this and other beautifully restored vintage sewing machines, please visit our etsy store at:
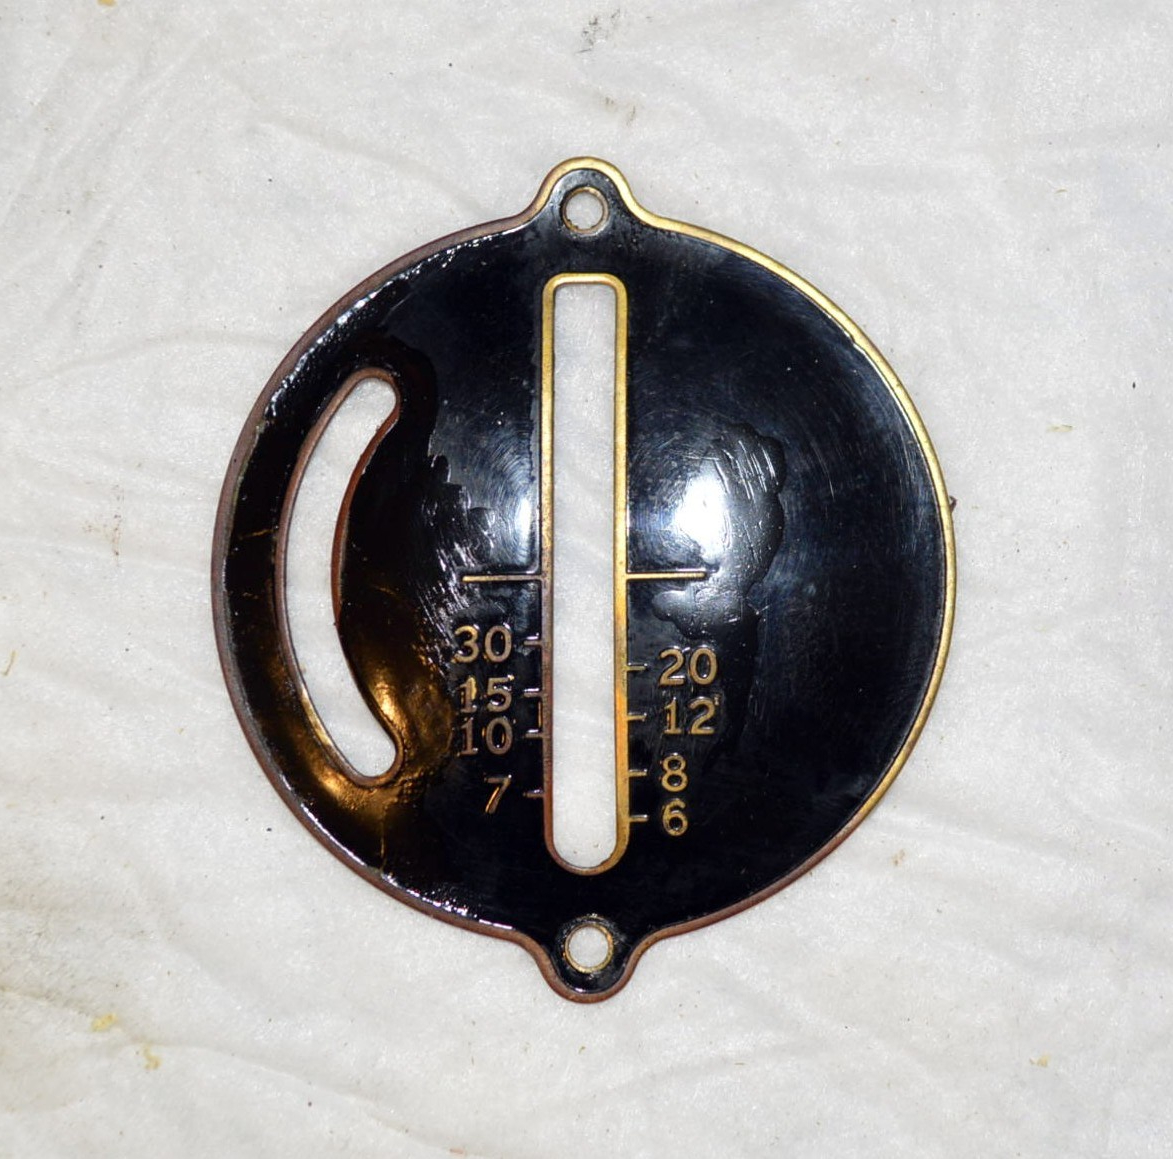
Vintage Kenmore sewing machines, especially the 158 models manufactured before 1976, have gained a reputation for quality, durability, ruggedness, and ease of use. Over the years, the Kenmore 158 models, made by Maruzen in Japan, were manufactured with a myriad of different models and features. Useful built in stitches, cams, attachments, accessories, high shank, low shank, external motor, internal motor, flat bed, free arm, etc, were found on different series in the models. One thing that remained constant and shared by all is the ability to sew with a minimum of fuss with adjustments and produce a great stitch. The reason? They are built to high quality standards demanded by Sear and Roebuck to back up their satisfaction guarantee. One this that is prominent on many Kenmore’s is the 25 year warranty label proudly displayed on the body of the machines.
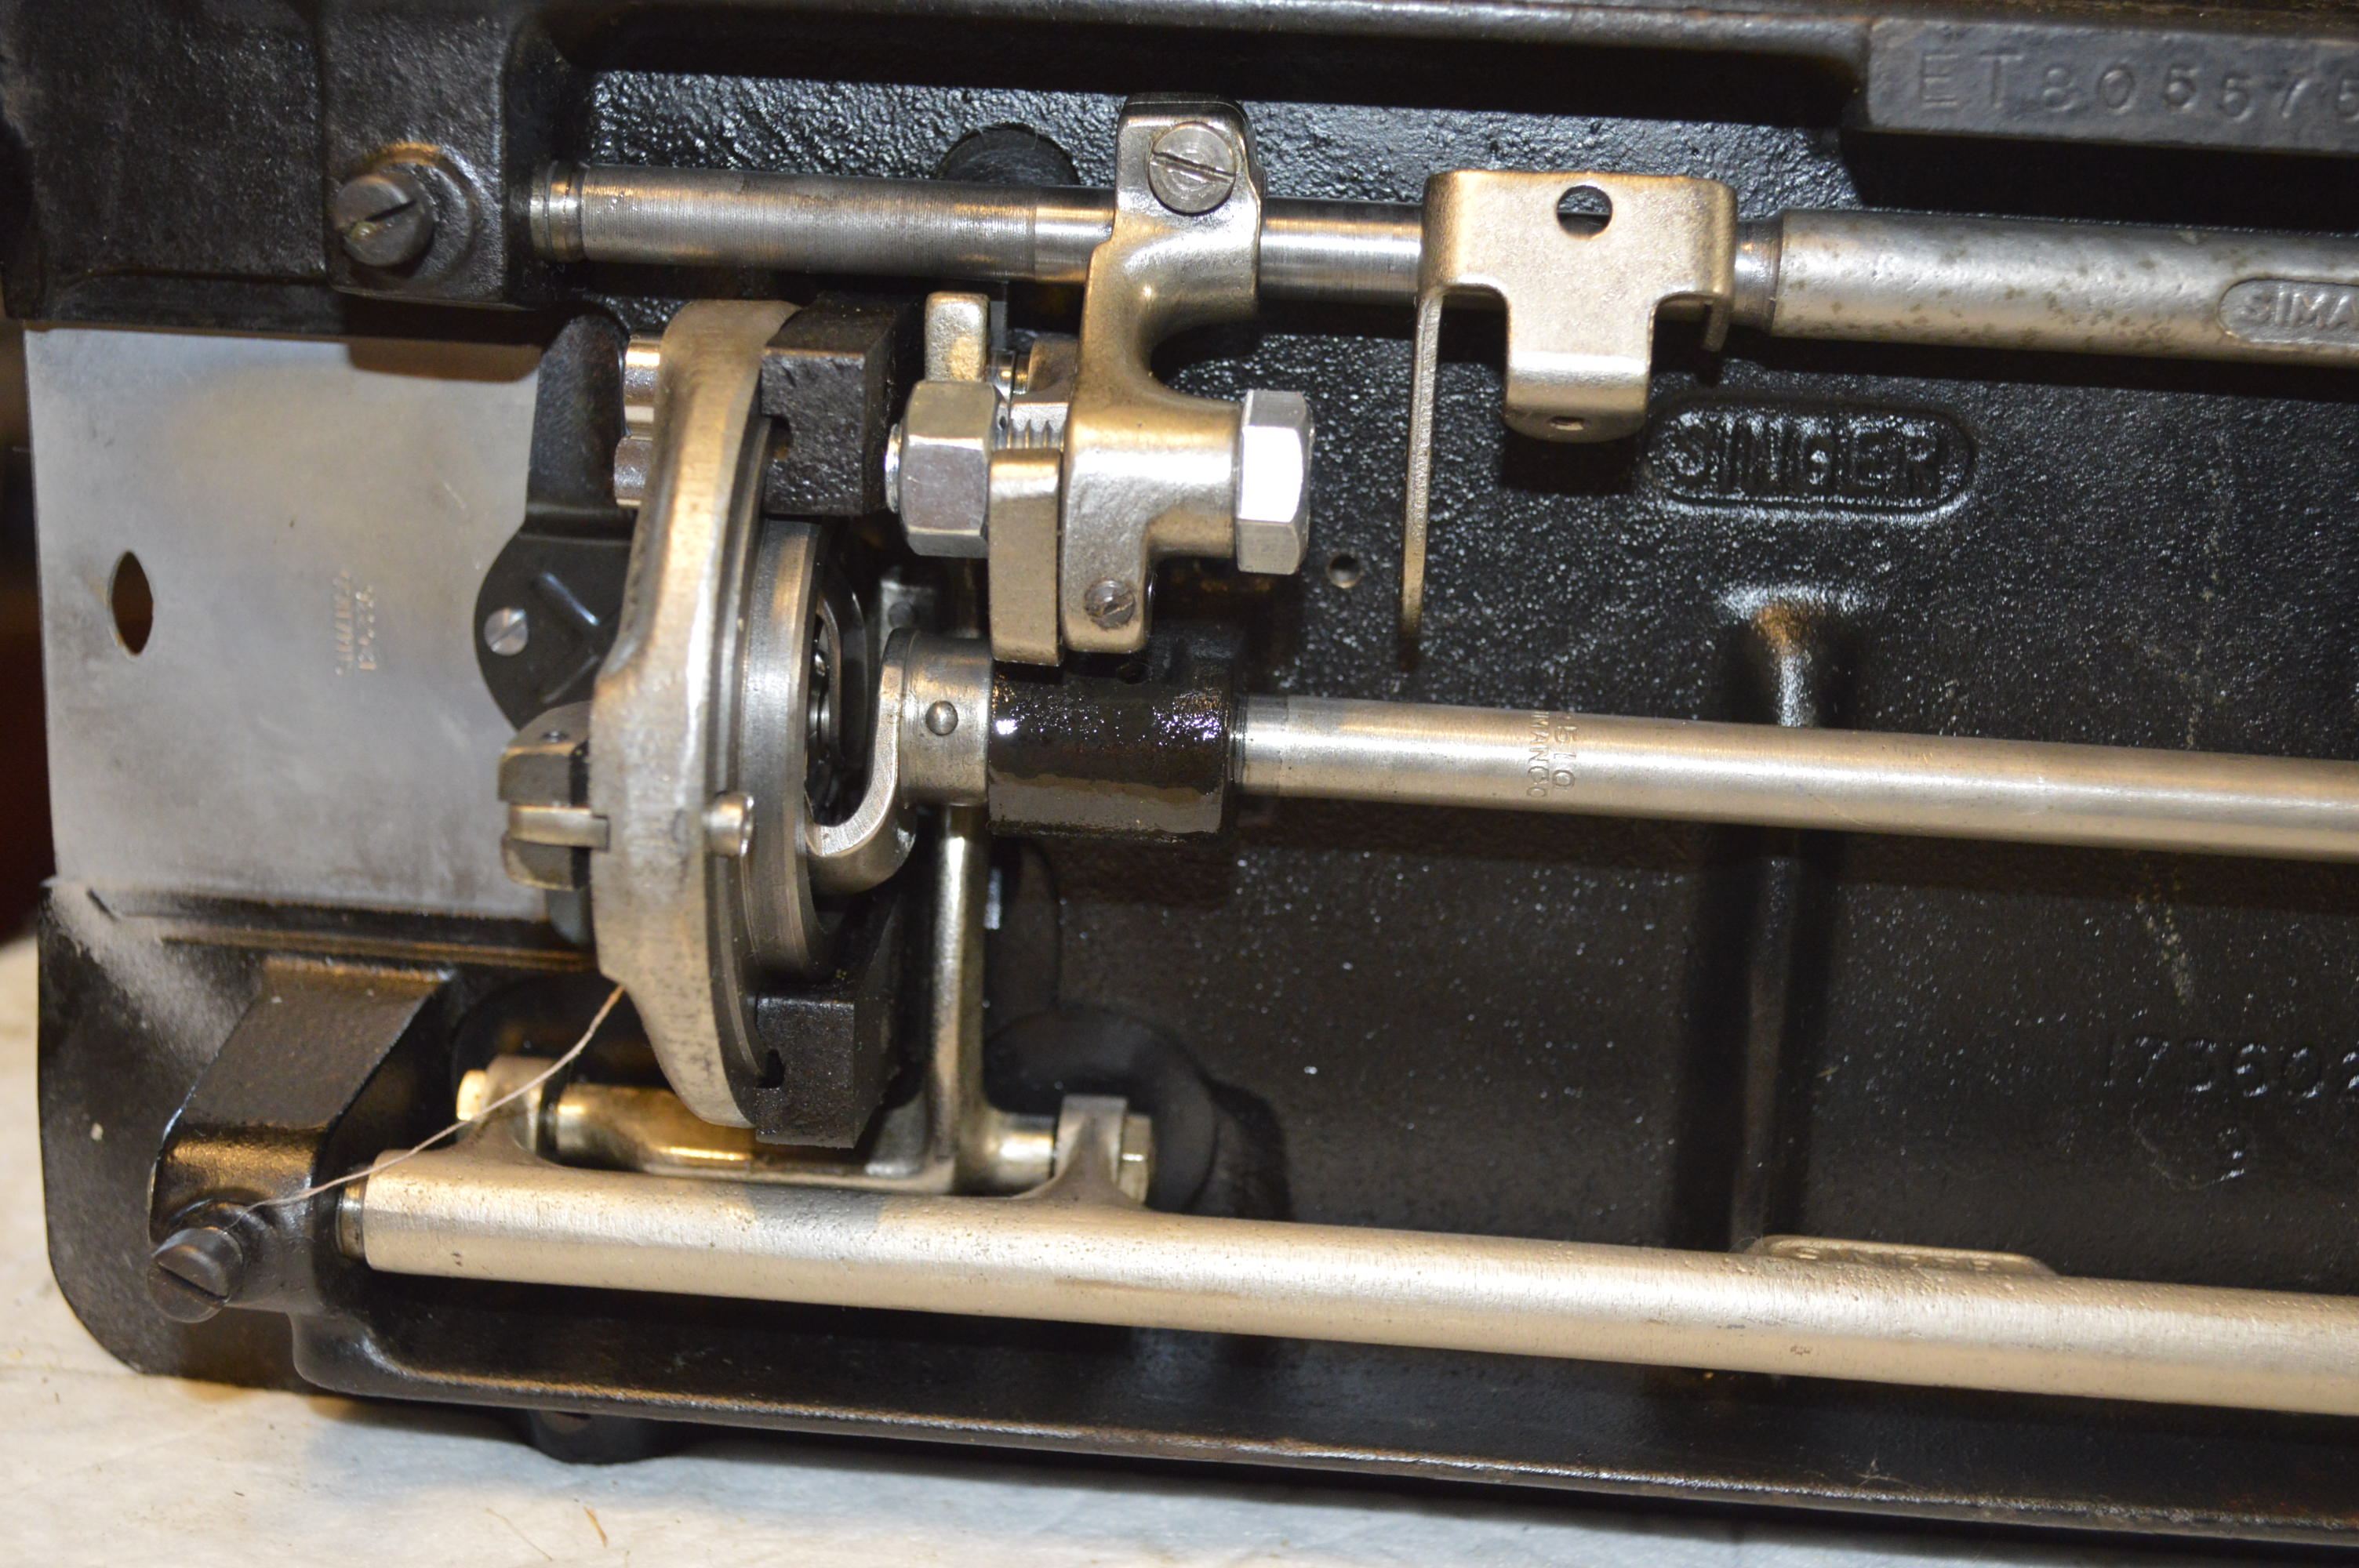
The 158.1802 series sewing machine is regarded by many as the “Best of the Kenmore’s”. There is a lot in the machine to back this claim up. The body is enameled cast aluminum rather than cast iron. All of the the internal mechanisms are steel. The internal cam stack, the gears, the drive shafts, the exterior knobs, the balance wheel, and the face plate are metal, including the decorative plate on the nose. With a 1.2 amp motor and reduction belt drive, the machine is powerful. It runs quietly and smoothly. It’s super high shank and generous presser foot bar extension are capable of sewing projects that were never intended for this class of machine… but its there. From all angles, the 1802 is a very good sewing machine.
Servicing a Kenmore is a very straightforward process. The key to these machines is cleaning and lubrication. Adjustments to the sewing mechanism is very uncommon and rarely needed. Motor reconditioning is always done, but Kenmore motors are very durable and the reconditioning is done more for continued longevity than it is to restore performance… at least in my experience. So, the topic here is servicing a 158.1802, but the steps are pretty much applicable to any similar Kenmore.
First step is cleaning. The paint on these machines is very durable, so cleaning is much simpler, in that detergents can be used without damaging the finish… no, you can’t use solvents or abrasive compounds, but a diluted solution of Krud Kutter (what I use) works very well. There is a lot of mechanical linkages and moving parts in these machines that need to be cleaned, but disassembly is not necessary, or advised. Fortunately, they are pretty accessible for cleaning. These components are cleaned with cotton swabs.
Parts that should be removed are the presser foot, needle plate, bobbin cover plate, balance wheel, bobbin case, shuttle hook, bobbin winder, and the top tension assembly. All are easy to remove.
Removing these assemblies makes cleaning the moving assemblies and feed dogs easy… just takes time and attention to detail to remove any old oil, varnish, and lint accumulated over the years.
These parts are ultrasonically cleaned and set aside for reassembly. They can be easily cleaned with a cotton swab and detergent.
The underside of the machine is easy to access. There are a few things to do under here besides cleaning. The motor will be reconditioned without complete removal, and the gear case will be serviced.
All of the mechanisms here are cleaned and oiled.
Motor reconditioning…
Armature Polished
Armature Before Polishing
Complete and Ready to Install
The motor brushes are removed, the coils cleaned with CRC electric cleaner, the armature is polished, the brushes are reconditioned, and the motor is reassembled and oiled.
Gear Case Cleaning…
This glob of grease is doing nothing to lubricate the gears. You can see the cavity in the grease where the gears sit, but no grease on the gear teeth. This is all removed and the gears regreased.
Top Tension Assembly Cleaning…
The tension assembly is disassembled, ultrasonically cleaned, and reassembled.
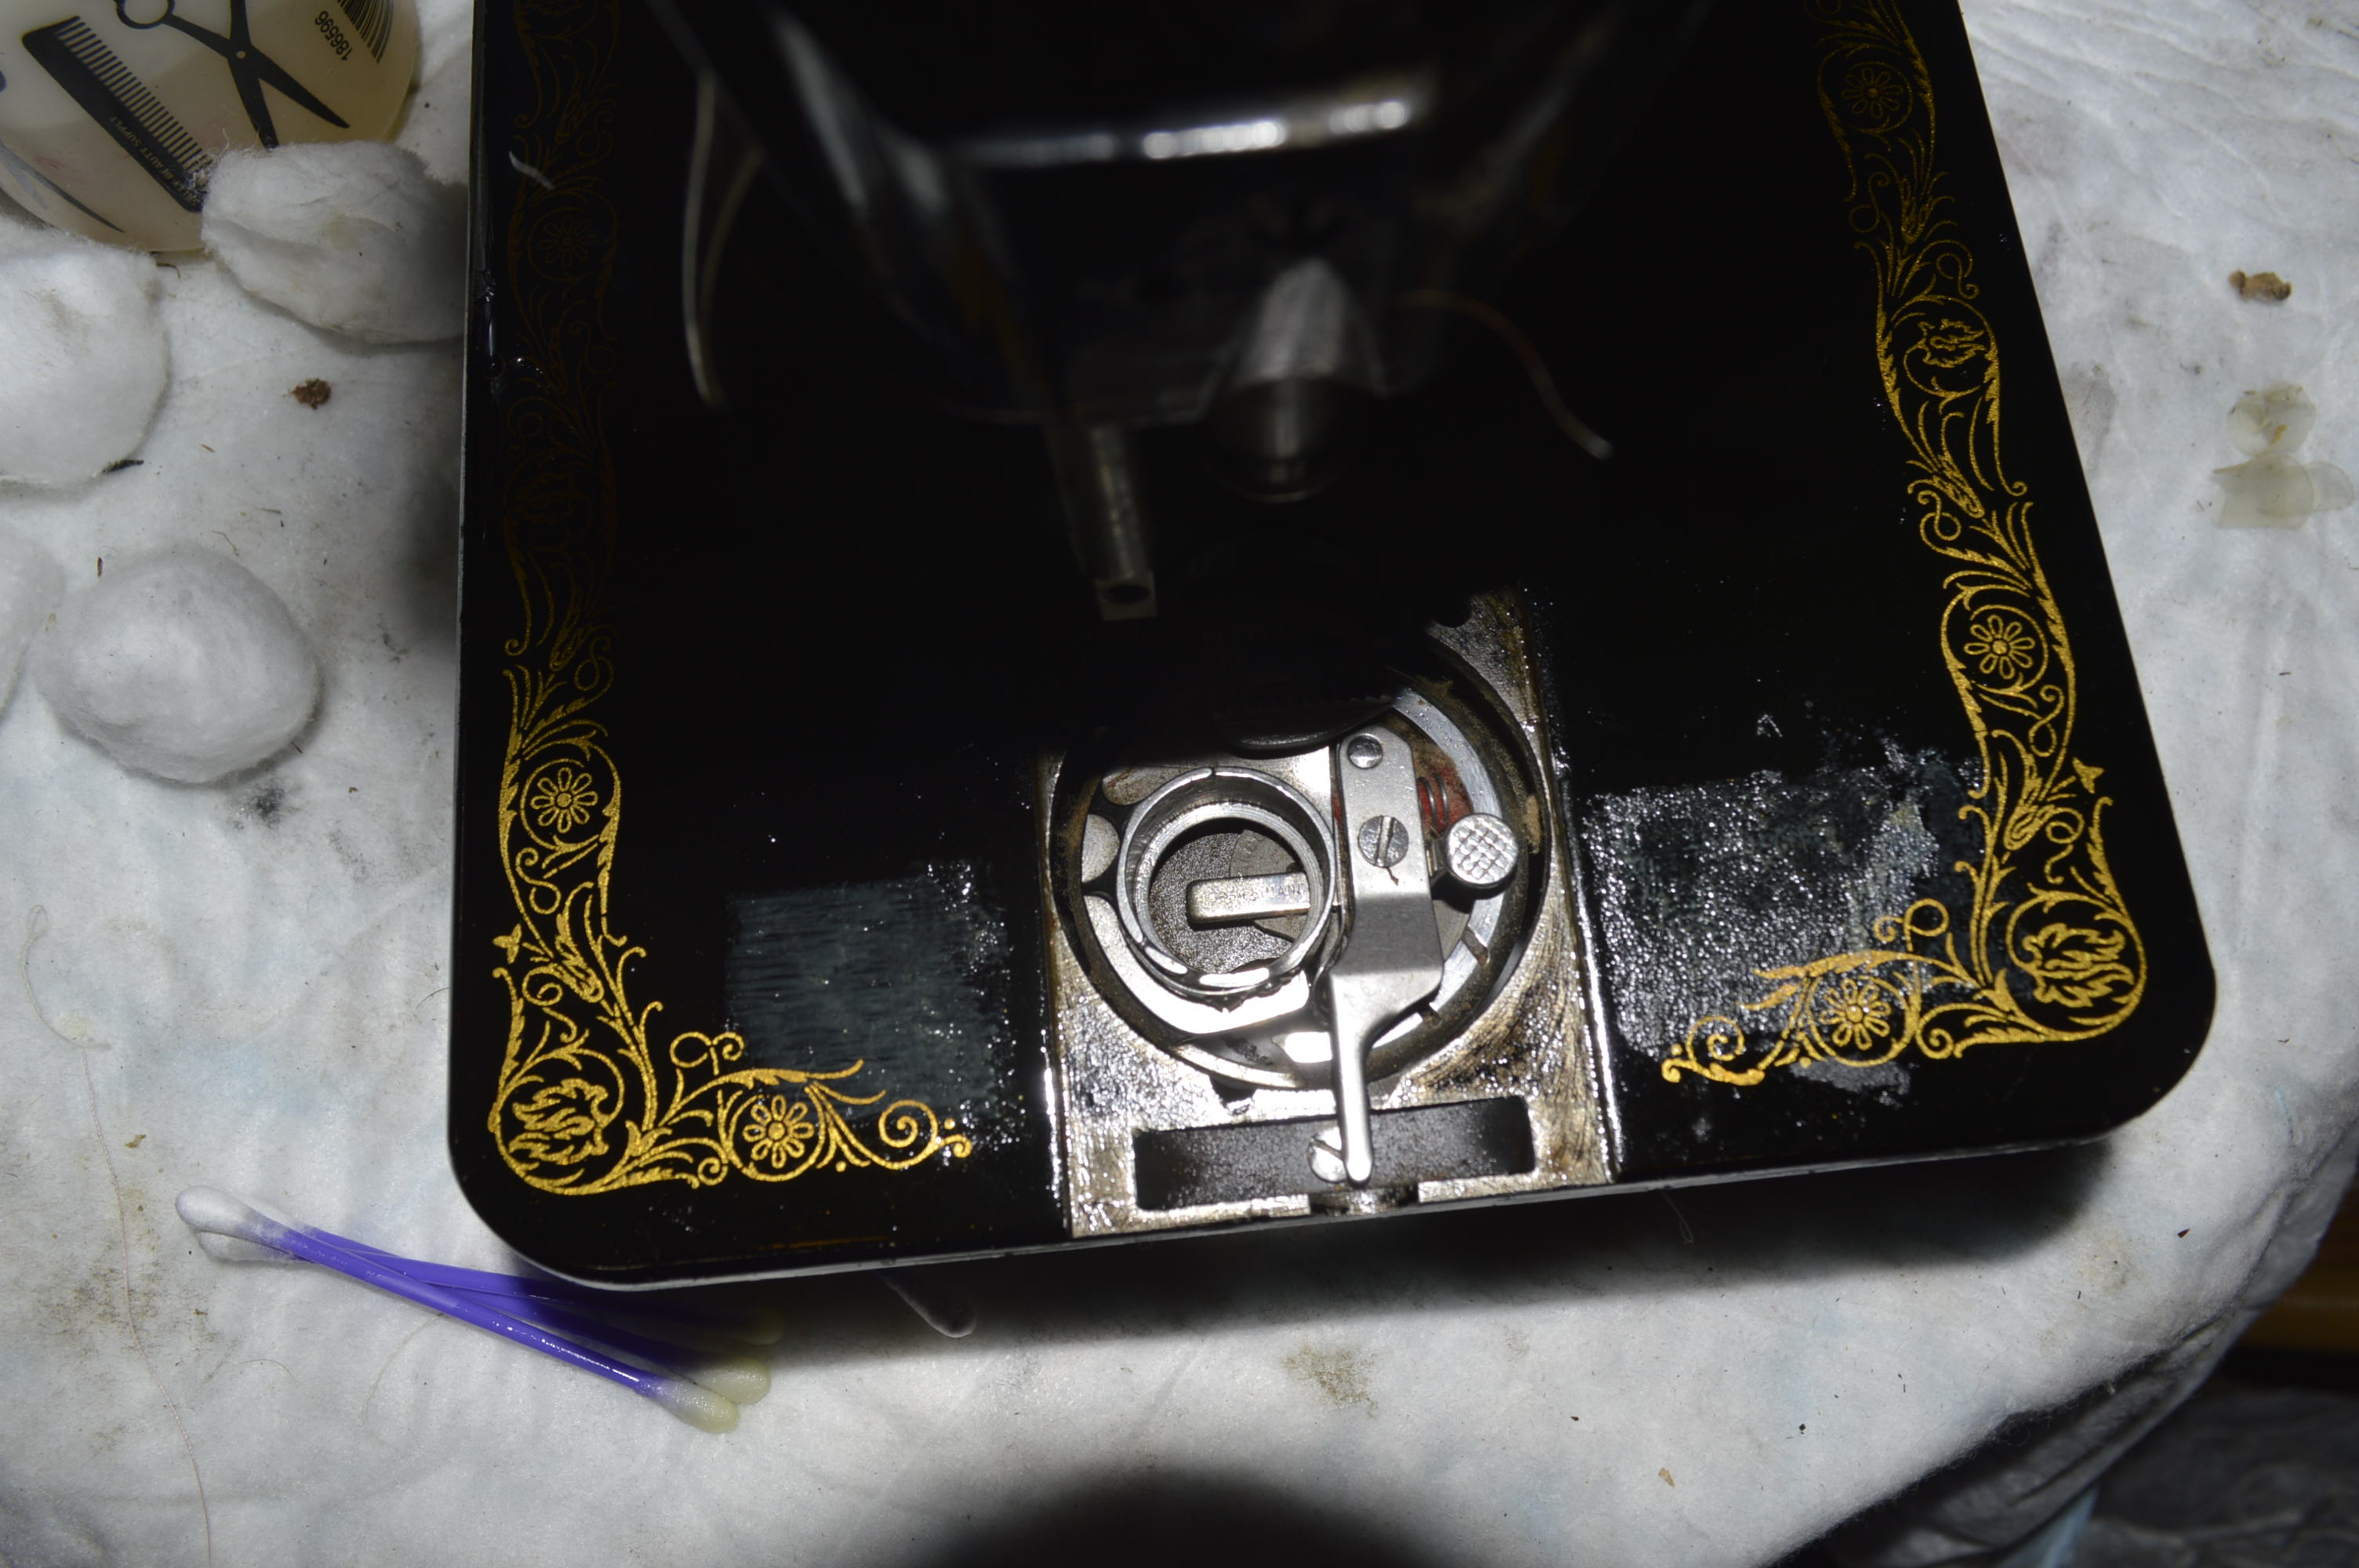
Bobbin Case Cleaning…
The bobbin case and the bobbin case leaf spring is removed and cleaned. This is a very important step not often discussed in cleaning or servicing a sewing machine. A bit of dirt or corrosion here can cause a host of tension problems and poor stitch quality. If you look closely, you will see some dirt on the bobbin case body and leaf spring. These parts are ultrasonically cleaned, then soaked in WD-40 to remove any water remaining in the assembly, then soaked in 99% volume alcohol to remove any WD-40 remaining in the assembly. It is very important to keep these components free of oil.
Sewing Machine Arm Mechanism Cleaning…
There are no screws to remove, the top cover pops off to reveal the sewing mechanisms. Cleaning the assemblies is straight forward. The gears are cleaned and re-greased. After all of the assemblies are cleaned, they are oiled.
The Front Sewing Head Cleaning…
The light bulb bracket is unfastened and swung out of the way for access, The mechanisms are accessible for cleaning and oiling.
All of the sewing mechanisms under the bed, under the top cover, and behind the front cover are given a light coat of WD-40 spray. While not a lubricant, it will provide a protective coating.
Cleaning the Body…
Not much to say here, but the body of the machine is cleaned with a soft cloth, some mild detergent, and some cotton swabs will remove any dirt, dust, or oil on the painted finish. Follow the cleaning with an application of good carnauba wax and buffing, and the machine will look new. This is especially true with this machine because there is no plastic to clean or worry about damaging .
Now everything is clean, every thing is reassembled, and everything is properly lubricated. All that remains is adjusting the top tension, and the bobbin case tension. This is done by running the machine.
That’s it! While it is time consuming, the detail involved in cleaning and reconditioning is worth it. This 1802 will run and sew great for a long time to come. If you have a Kenmore of this vintage, this level of cleaning will bring your machine back to the peak of its performance and you will see a noticeable difference in how she sews!
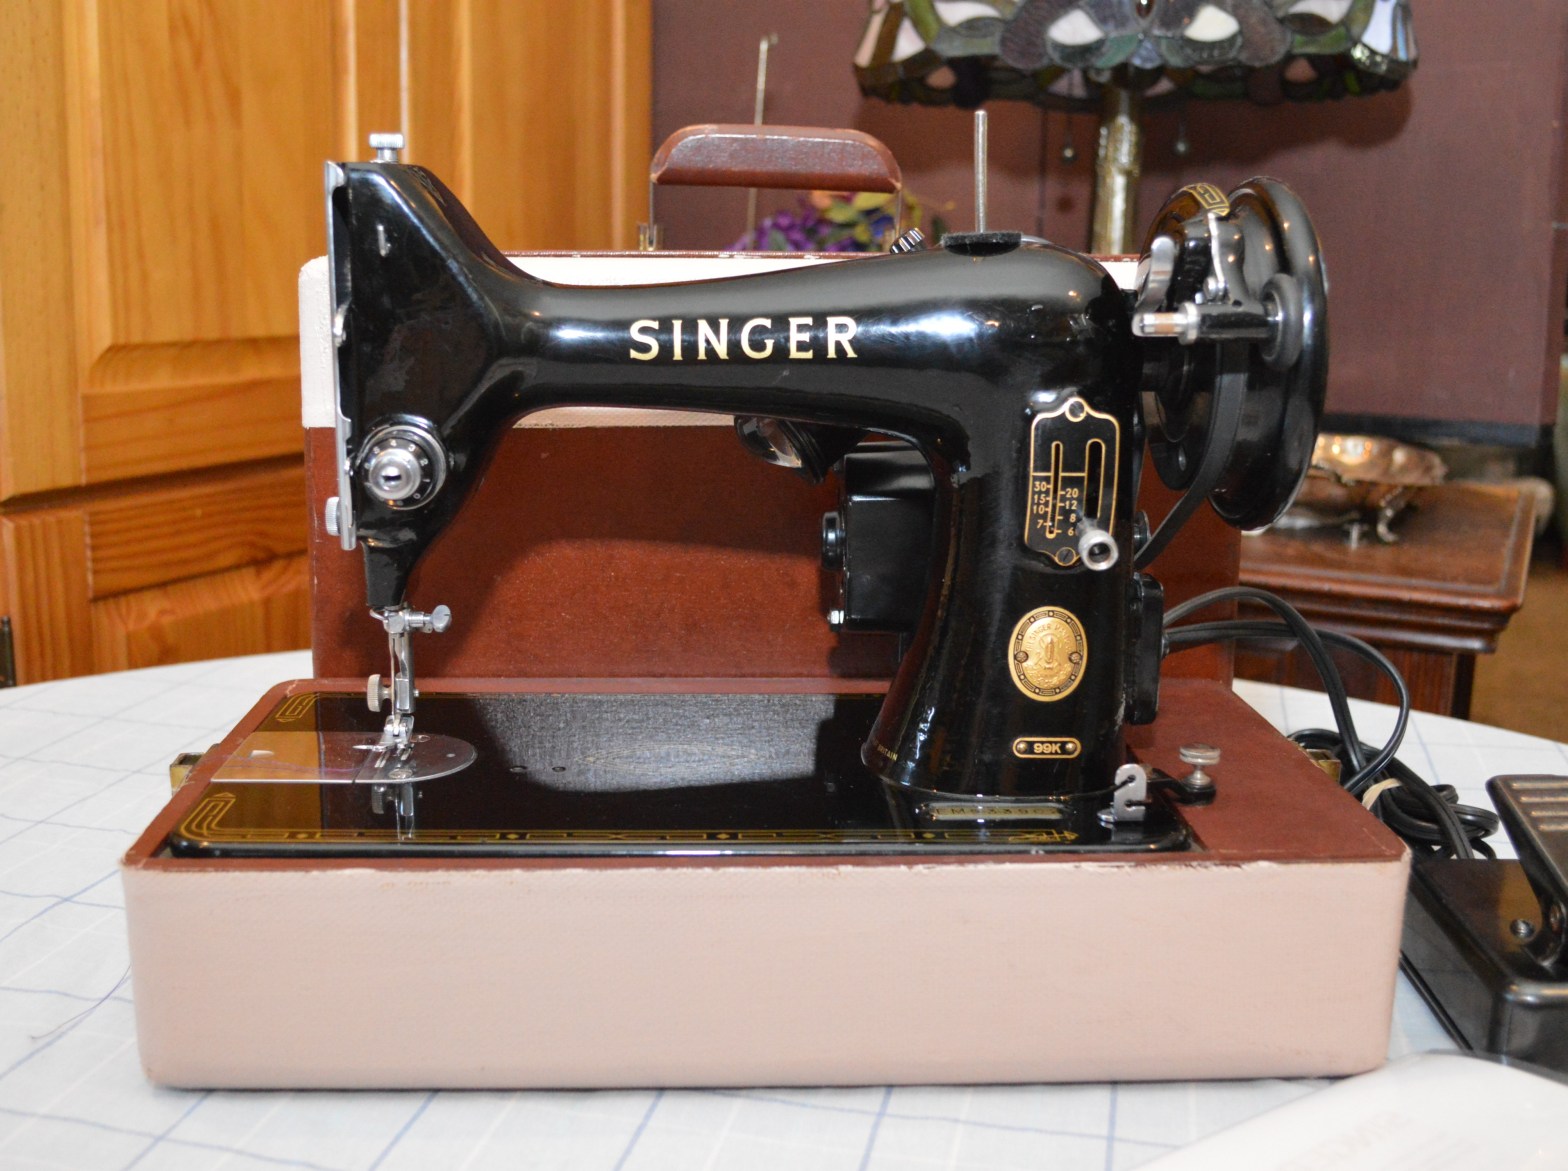
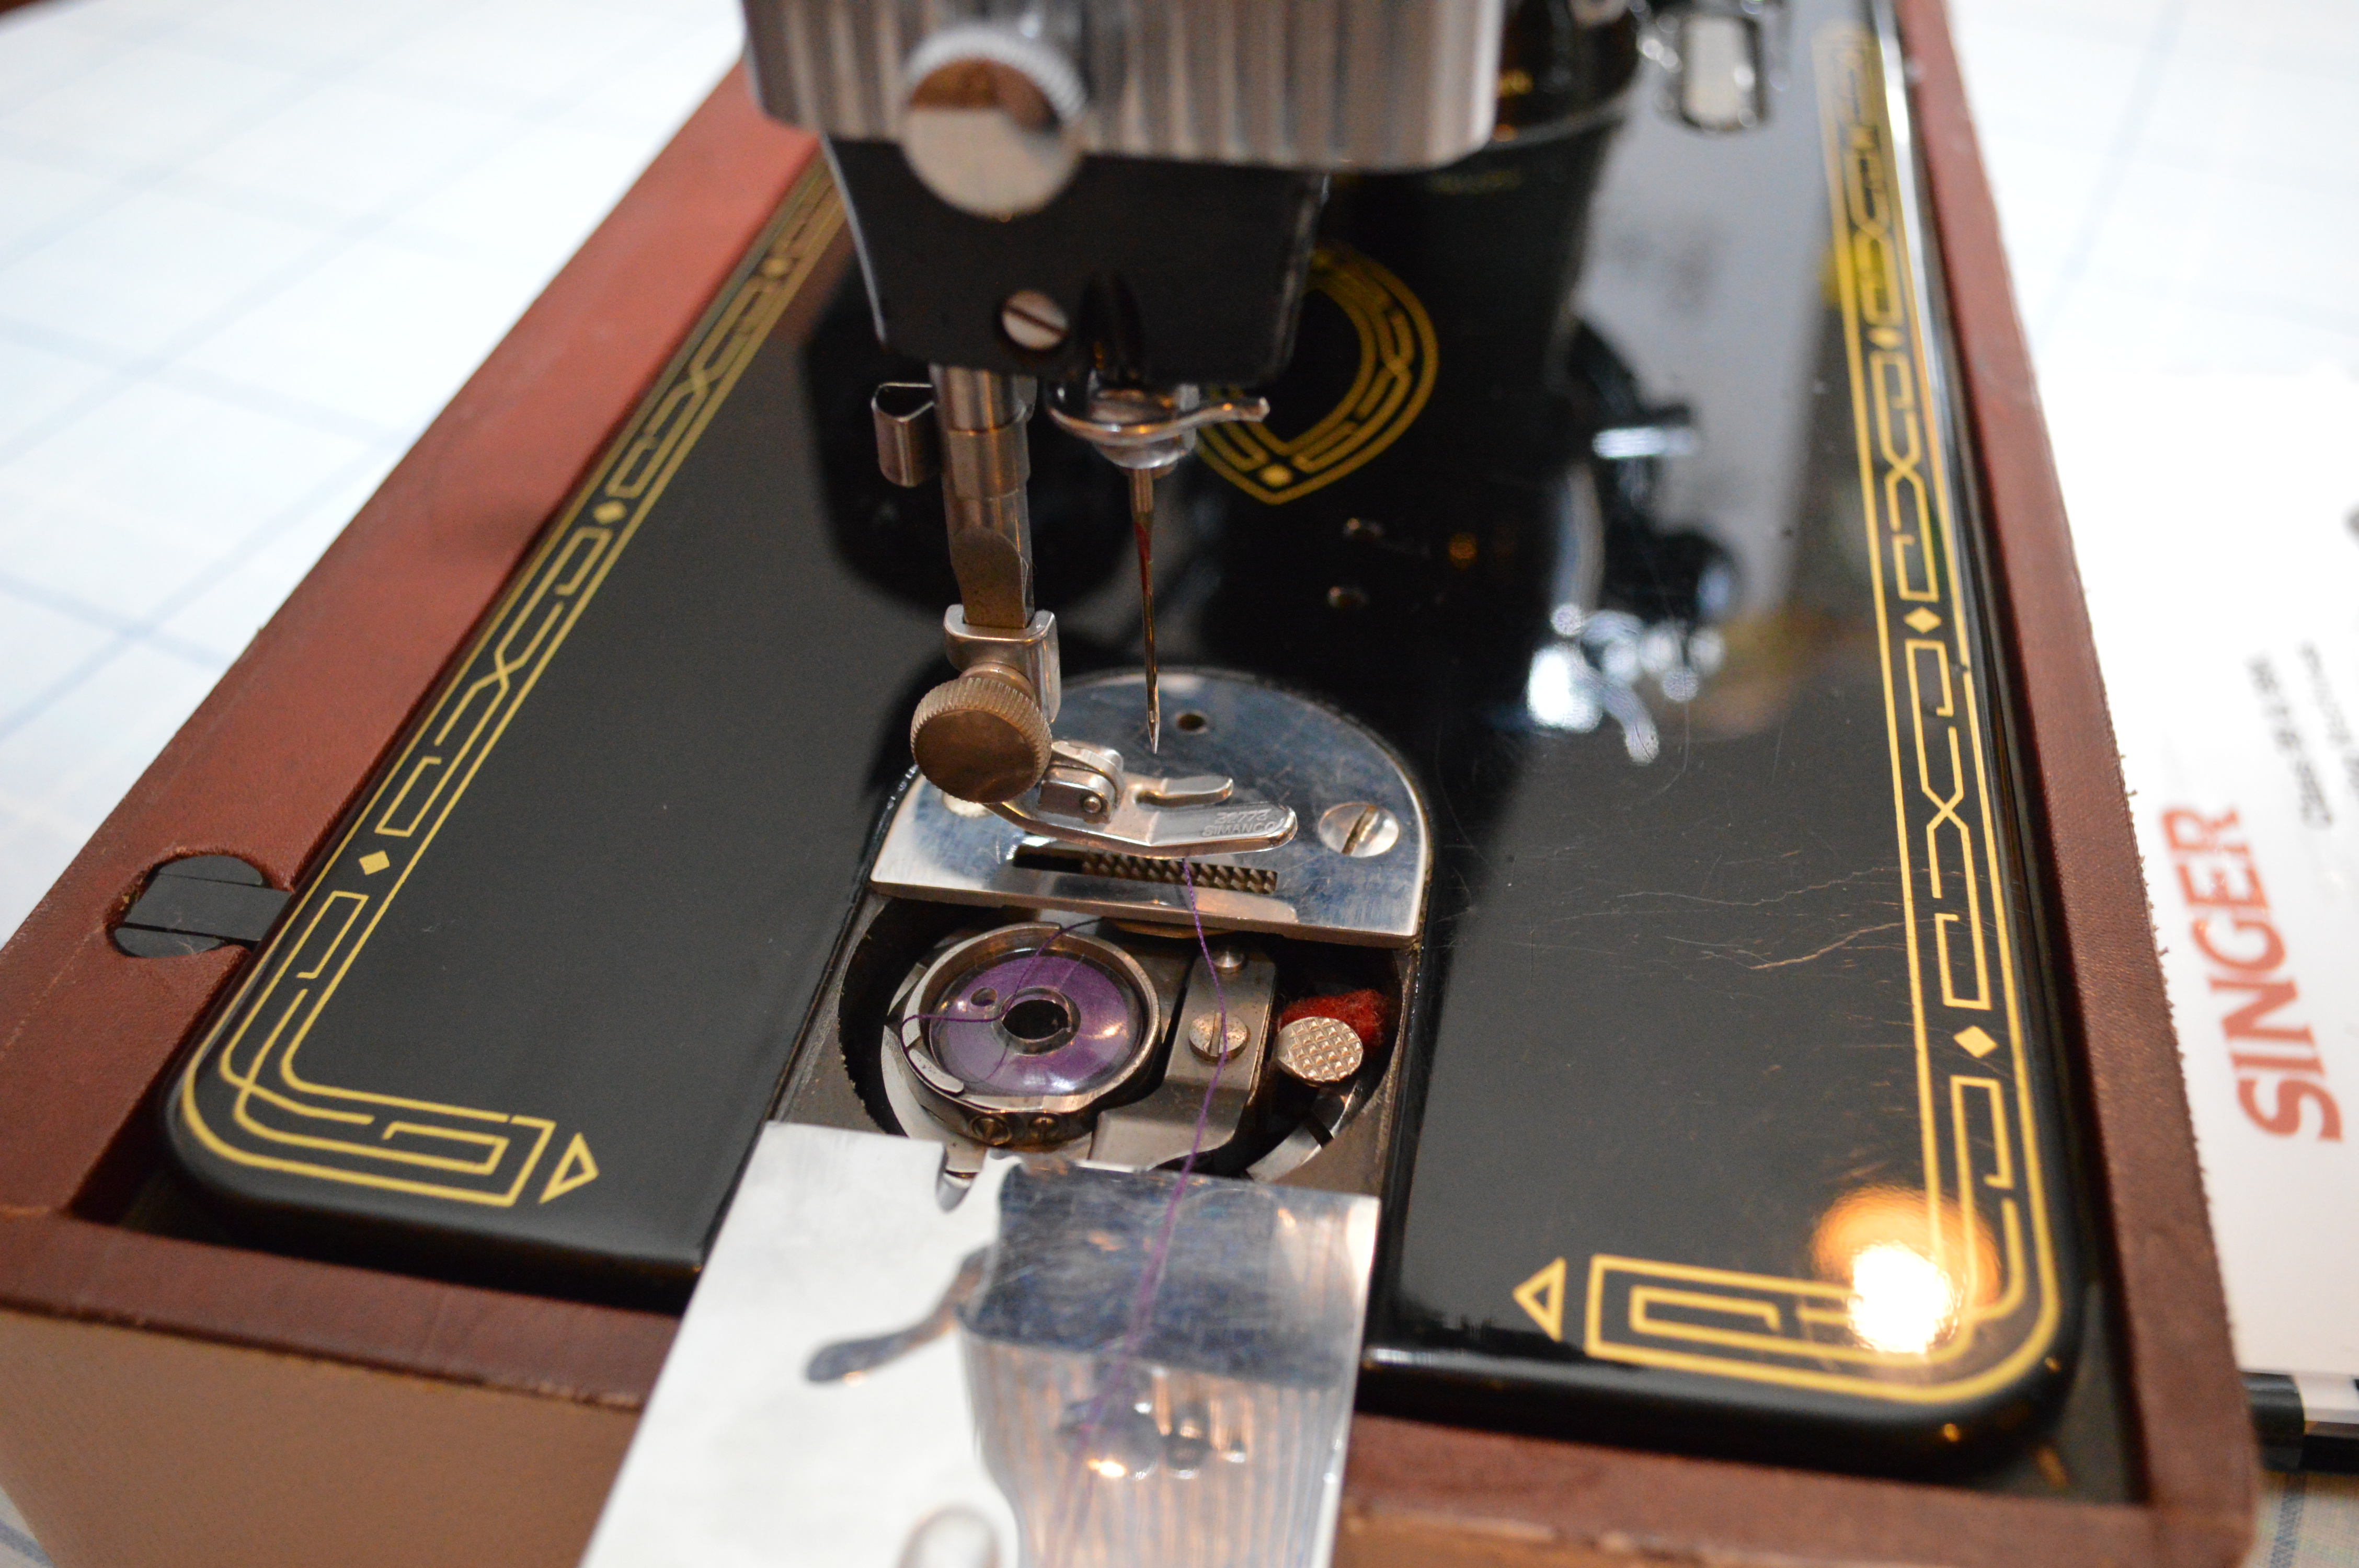
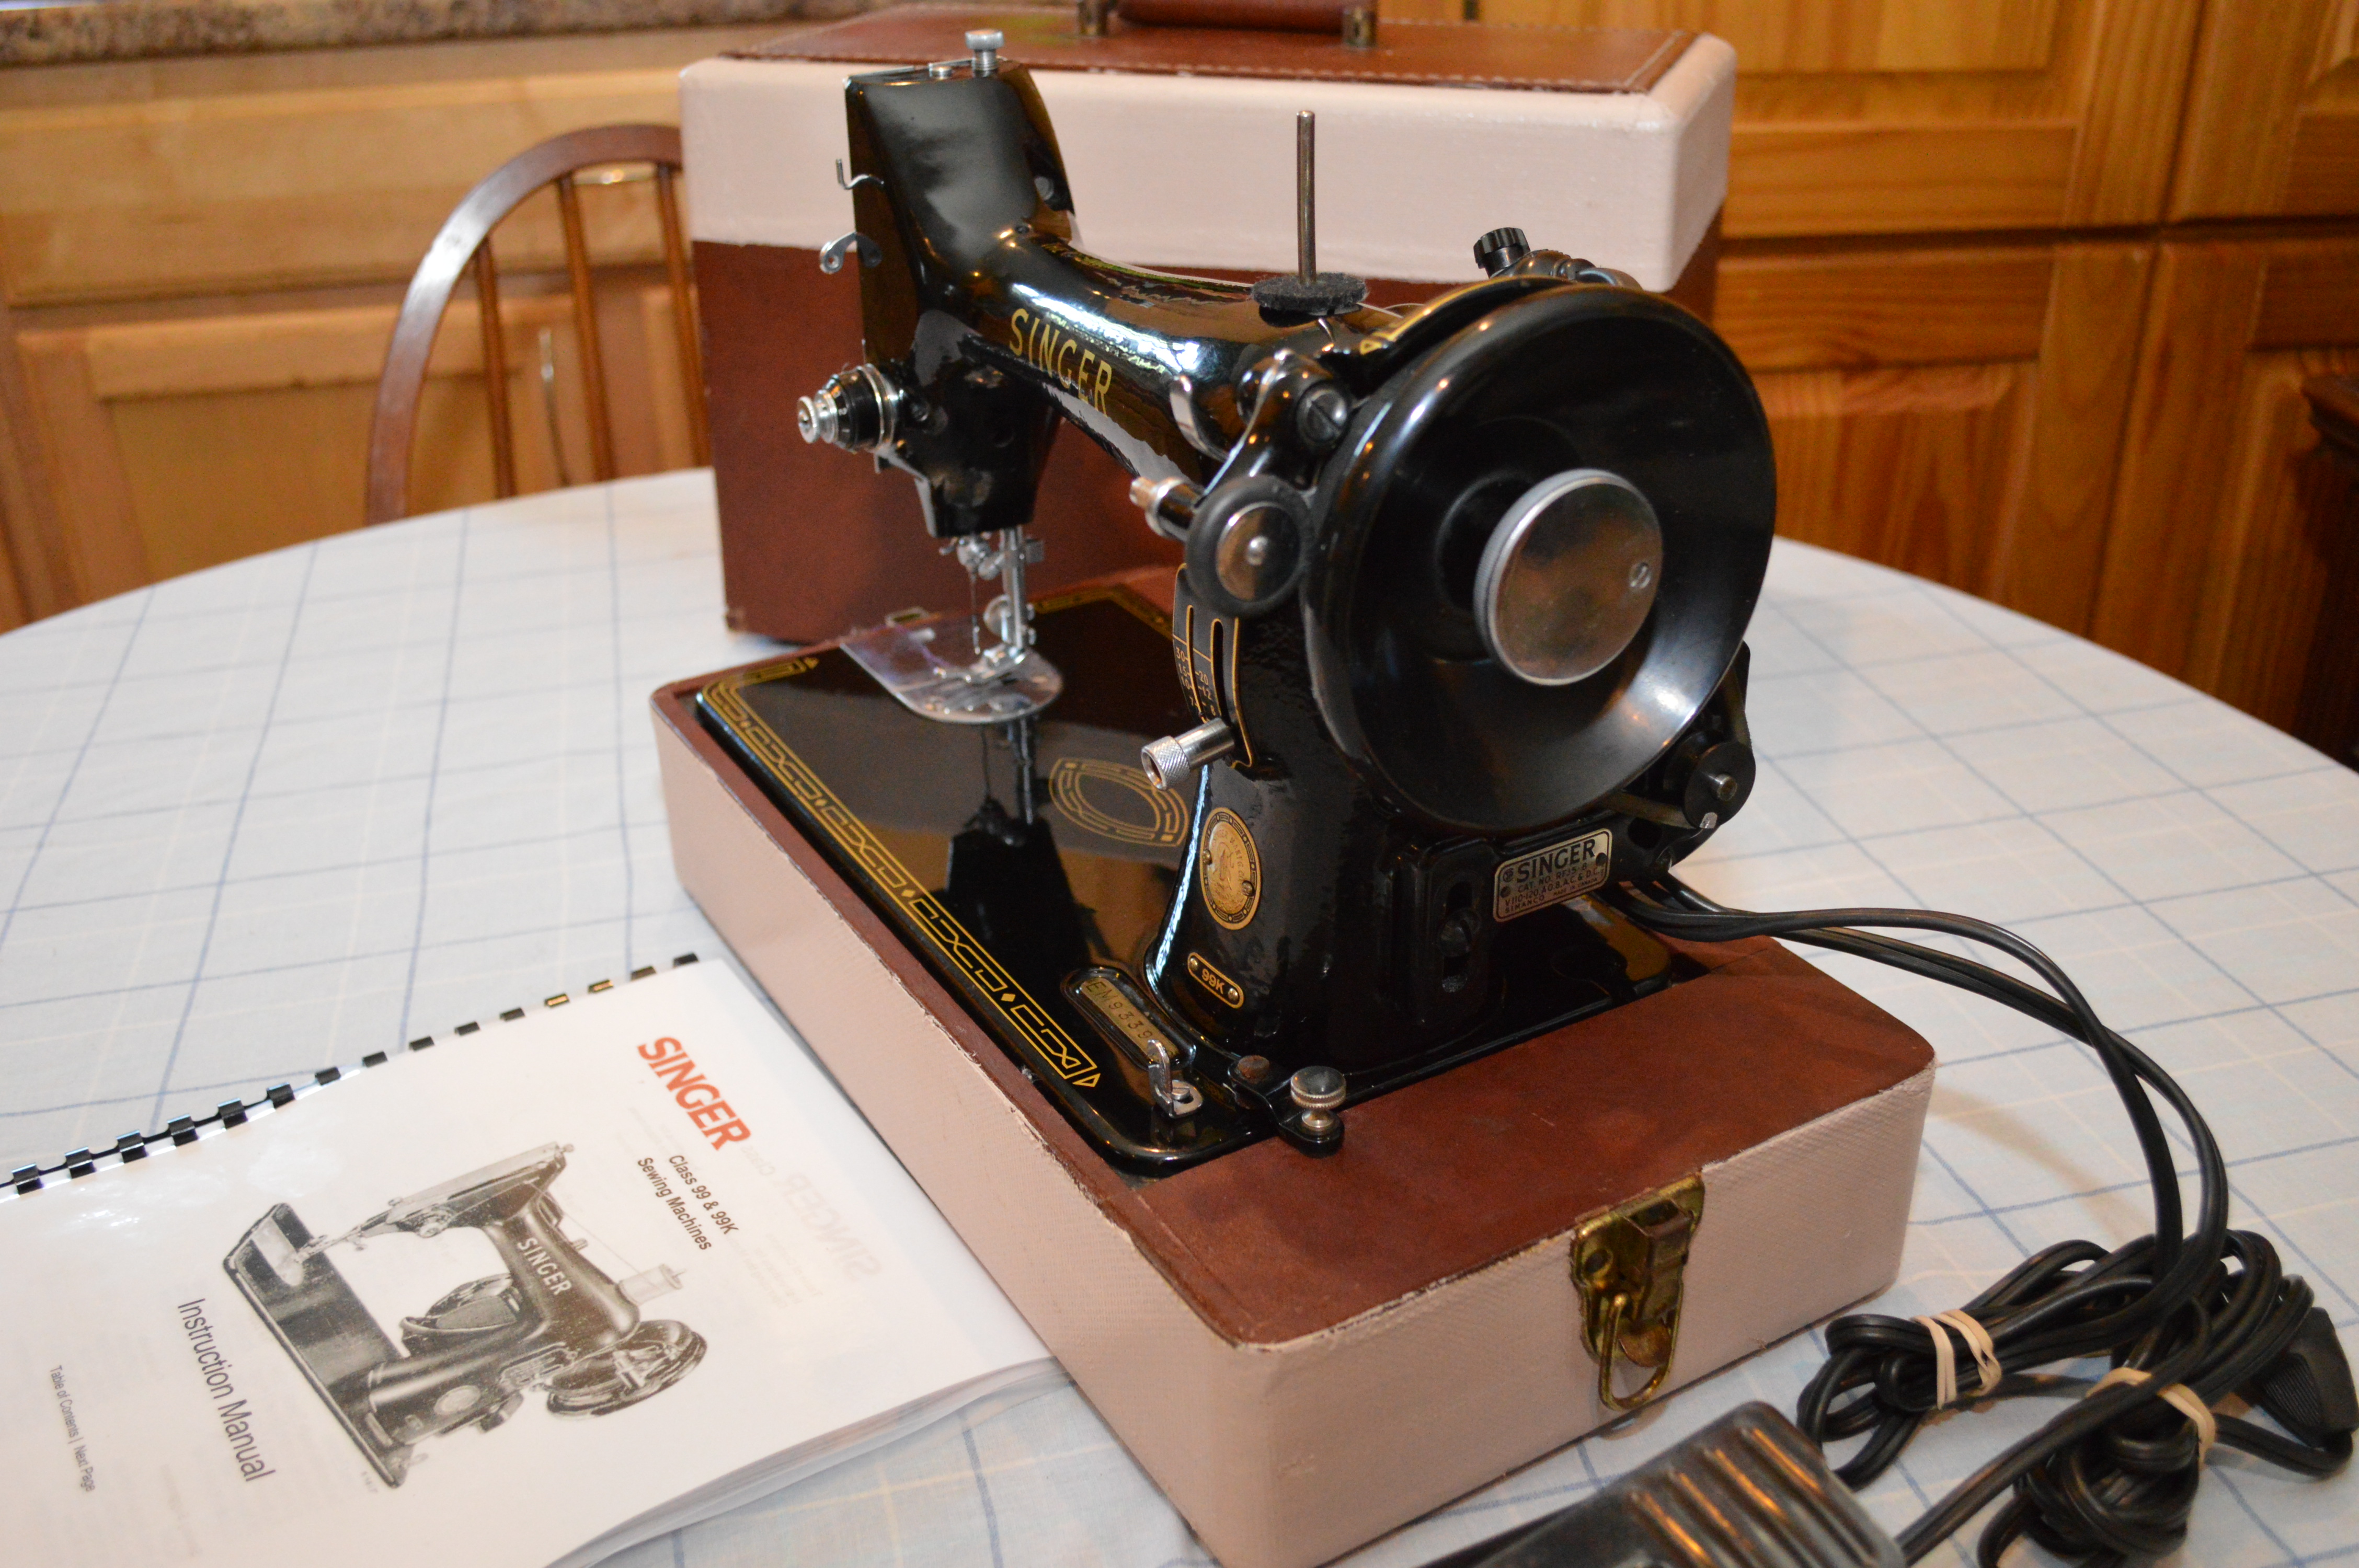
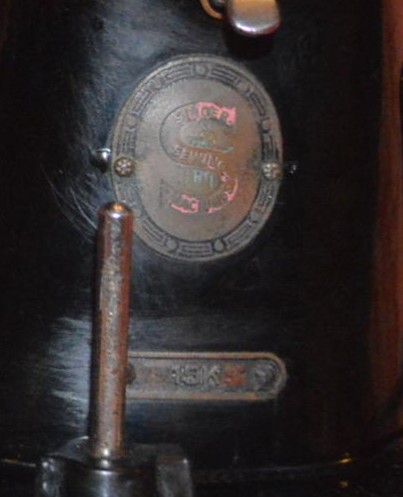
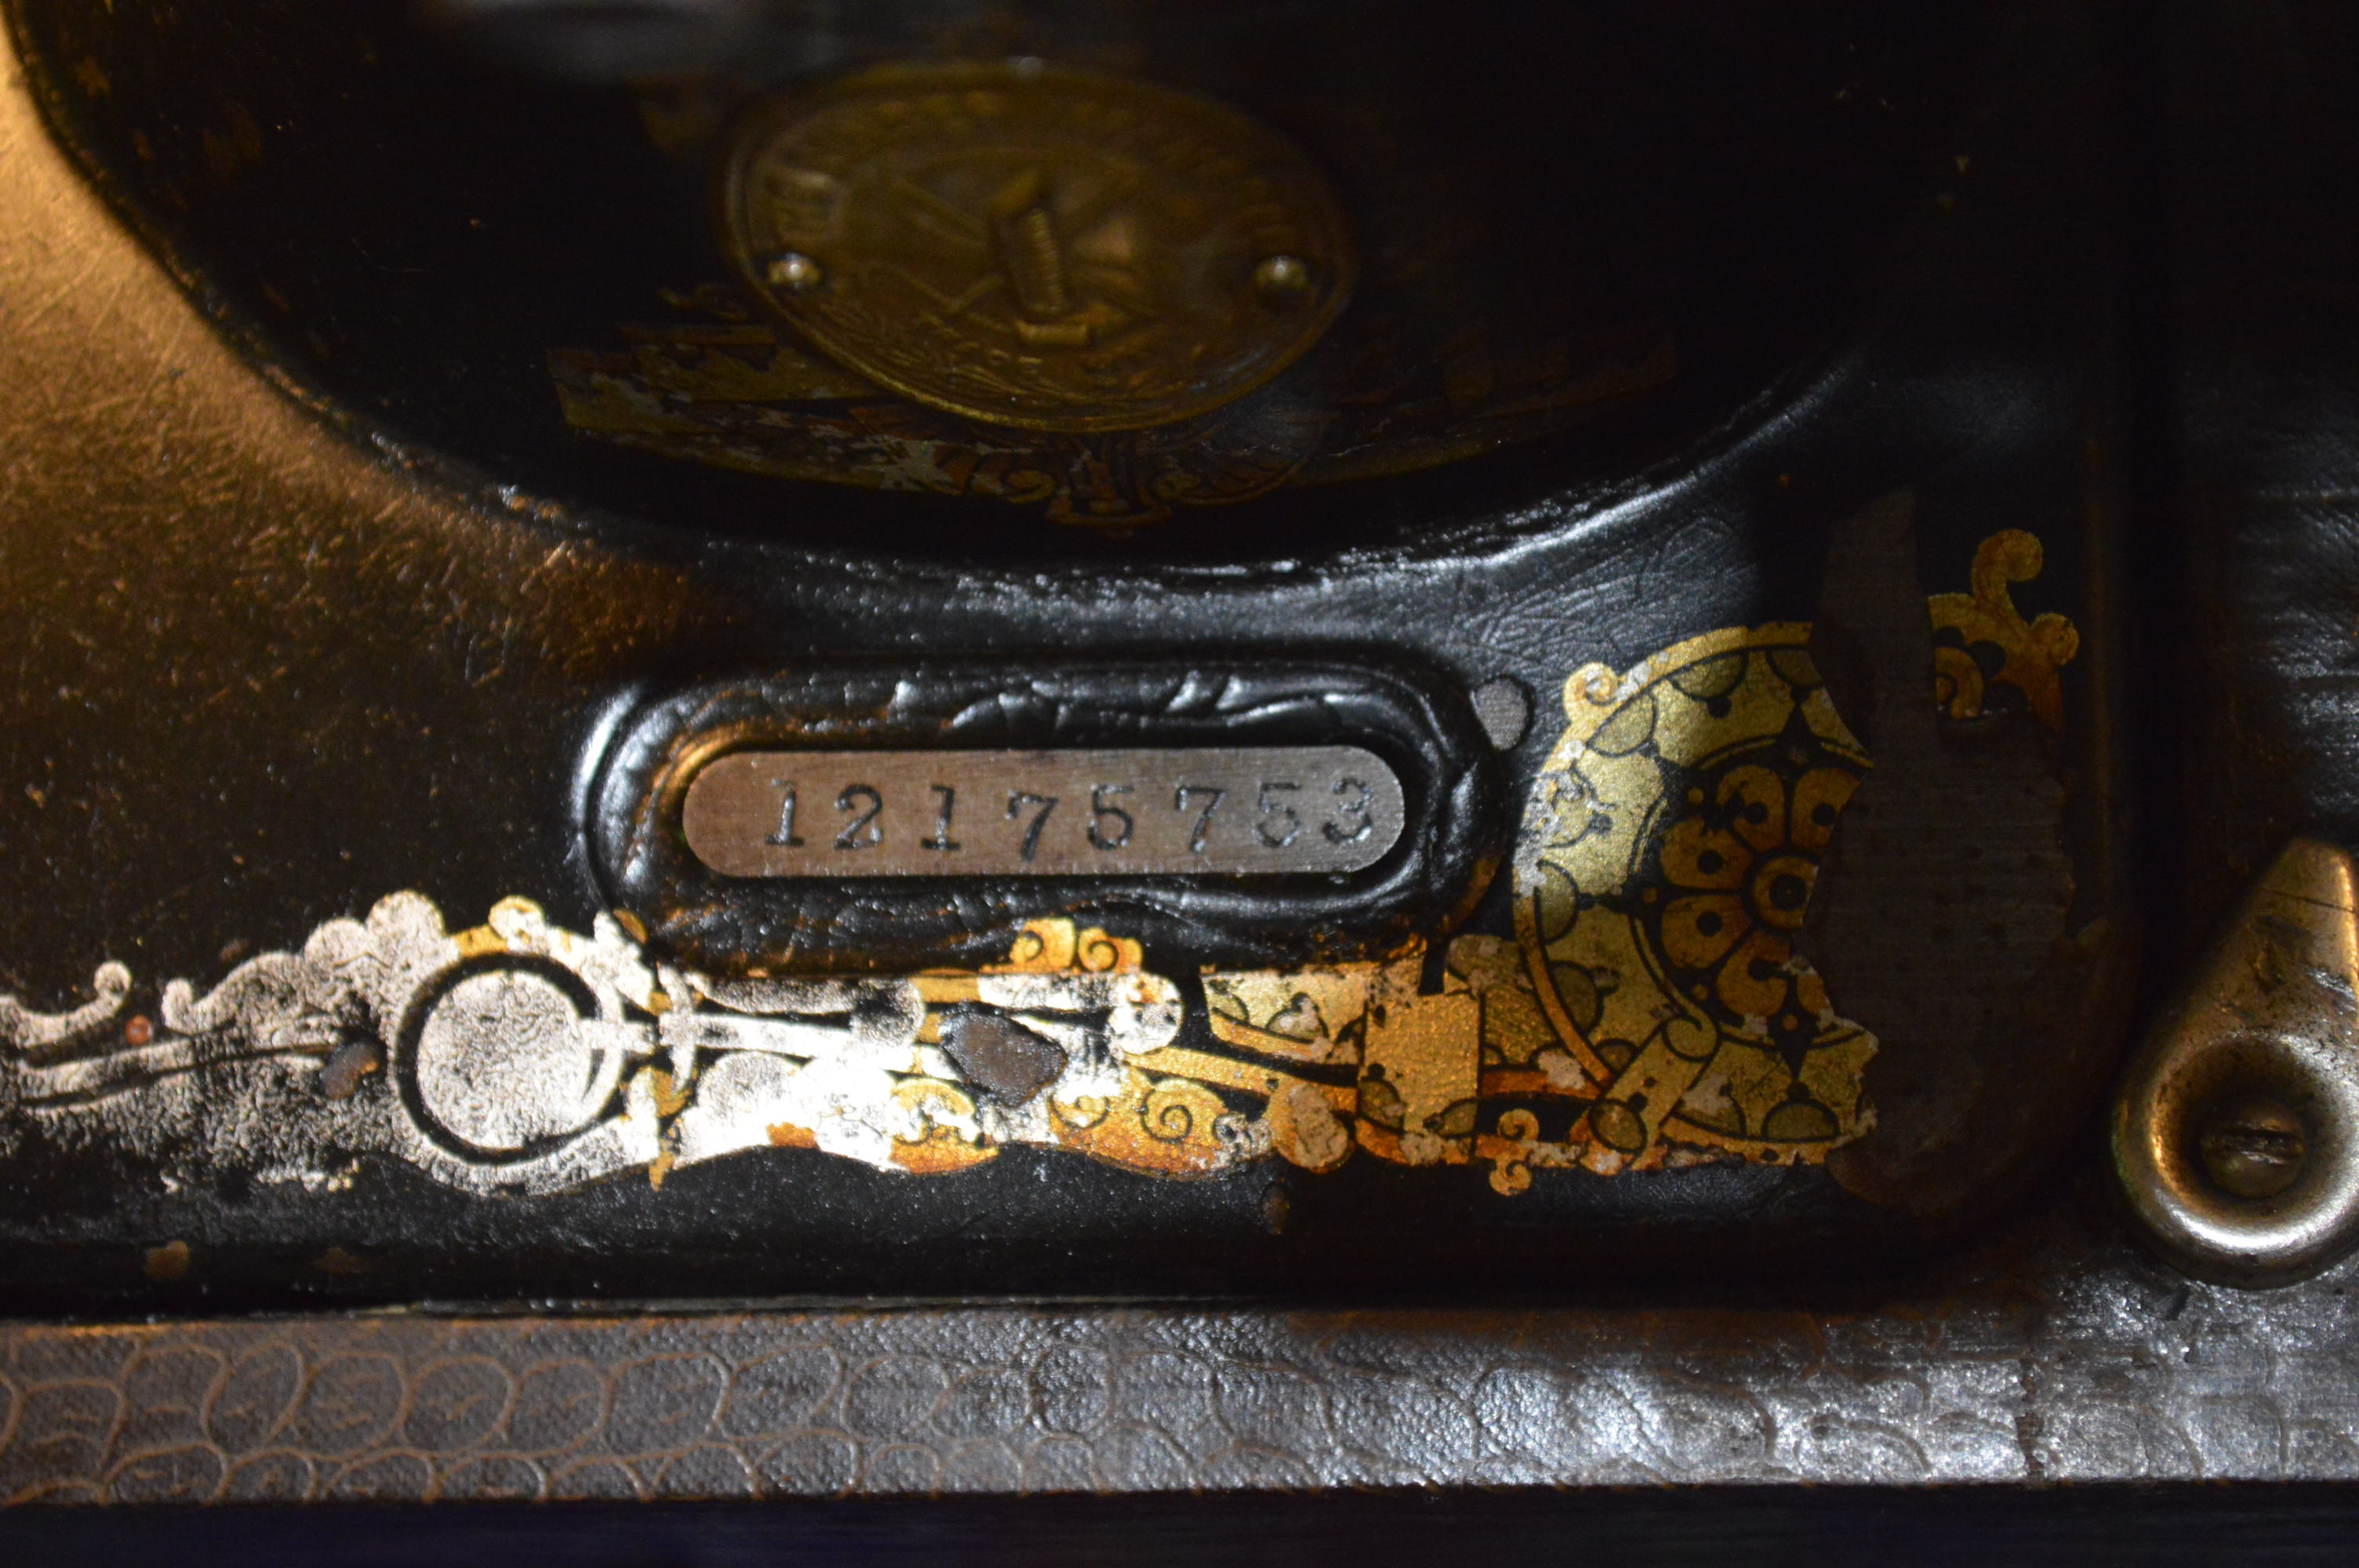
So my next project is a beautiful Singer model 99K-31. Serial Number EM933902 reveals that she was born on November 6, 1957, and shares her birthday with 49,999 sisters.
We look for these wonderful old black Singer sewing machines of ANY model. Mechanically, they are built with superior fit and finish. They are all mechanically durable and can be reconditioned to sew like new. Cosmetically, they run the scale from well worn, to hardly used. Reconditioning decals and compromised paint is difficult to achieve with out a tremendous amount of work and expense, and you end up with a beautiful machine… but not original. That is why the vintage black Singer’s we acquire and recondition for our Etsy PungoLiving Vintage Sewing Machine store inventory are all in better than “good” cosmetic condition. We are picky about the machines we select. We understand that condition is tied to age, and also to price (we often pay a premium for these machines). While they be in less than perfect condition when we get them, the finish and decals must be such that after the many hours we spend in cleaning and reconditioning the machine, the paint, decals, and mechanisms will be beautiful in appearance and worthy of display.
This model 99K-31 met and exceeded all of our expectations, the machine came to us in excellent cosmetic condition. The case has the typical issues but will be in great condition after it is detailed.
The reconditioning process is the same for all of our machines, and despite its beautiful condition when we got her, disassembly and cleaning is always the first step. In this case, all body, plates, covers, head, motor, bobbin winding assembly, balance wheel, tension assembly, bobbin case, all of the mechanisms in the sewing head, and all little shiny bits are removed. This allows cleaning to be done without obstruction. Under the bed, all of the mechanisms including the feed dogs, shuttle hook, rocker arms, and related assemblies are removed.
Thats One Big Dust Bunny… One of Many!
The parts are laid out and sorted for ultrasonic cleaning.
The red felt is important and is not ultrasonically cleaned. The thread clearance mechanism is ultrasonically cleaned
You will see why this is important. Look closely at the parts and pieces I have laid out for cleaning. You will notice that there is old oil varnish (coffee colored) on all of the parts. This varnish is also present INSIDE the bearing surfaces that are in contact and rotate out of sight in the assembled sewing mechanism. This is really important, even though this varnish build up does not affect the smooth turning of the mechanisms, the effect of this varnish cannot be detected except by comparison of “before” and “after”… but its there! This is the difference in the time it takes to “recondition” a machine, rather than cleaning and “servicing” a machine. I can clean and oil a machine to look like new, but the varnish is still in the bearing surfaces where it will remain unseen.
The following shows the same parts after ultrasonic cleaning.
Notice that all varnish is removed. These parts are submerged in WD-40 and allowed to soak. This displaces all water. Each of the pieces are wiped by hand to remove excess WD-40 and are ready for assembly.
While all this is taking place, the body of the machine will be meticulously cleaned, polished, and buffed by hand. Even though the protective shellac is in great condition, there is dirt hiding that isn’t readily seen on the finish. Deep cleaning reveals this.
You can see by the dirt on the cotton ball, there is some dirt that can be removed. This machine was clean and looked great after deep cleaning.
The motor is the next component to recondition. This will involve disassembly, cleaning, armature polishing, wick replacement, and brush reconditioning. The wires on this machine are flexible, free of cracks, and will be reused. This is unusual and retains the vintage “look” of these wires that cannot be duplicated with new wiring.
The motor is cleaned, lubricated, and reassembled.
The parts are reassembled, lubricated, and adjusted for proper clearances and specifications.
The machine turns with much less effort and is smooth as silk. This will result in more efficient piercing at the needle.
Following the cleaning, polishing, and hand buffing, the finished machine looks great and is in excellent “near mint” condition. Only the smallest scratches in the finish can be readily seen and you need to get pretty close to see them… I call this a “1 foot machine”… stand a foot away, and you would think it was new.
Here is the finished product…
If you are considering the purchase of a “reconditioned” sewing machine, ask what that included. To us, reconditioning means only one thing… There are only two times in this machines history where it has been so clean, or operated so smoothly. The first time was when it was new, and the second time is now. Yes, it is expensive, but lowest price does not mean best value, The finished condition, effort in cleaning to achieve that condition, and the tear own and reconditioning of one of these vintage black Singer sewing machines is what you are paying for.
Thanks for looking! Don’t hesitate to contact me if you have any questions, and please visit our Etsy store at https://www.etsy.com/shop/pungoliving, to see our restored fine high quality sewing machines.
“Making a silk purse out of a sow’s ear”. I heard this old saying when I was a kid. It means being able to turn something ugly or inferior into something attractive or of value. So it is with vintage sewing machines. Say you come across an old black Singer sewing machine in your travels and it is dirty, or rusty, or so stiff it will hardly turn … is it worth a second glance? Well, unless the cast iron bed or sewing arm is cracked in half, I think the answer is “YES!”. The decals may be in great shape or maybe they are worn from use, it doesn’t matter. Why? because it is fully capable of being a reliable, attractive, and wonderful sewing machine with some cleaning and thorough reconditioning.
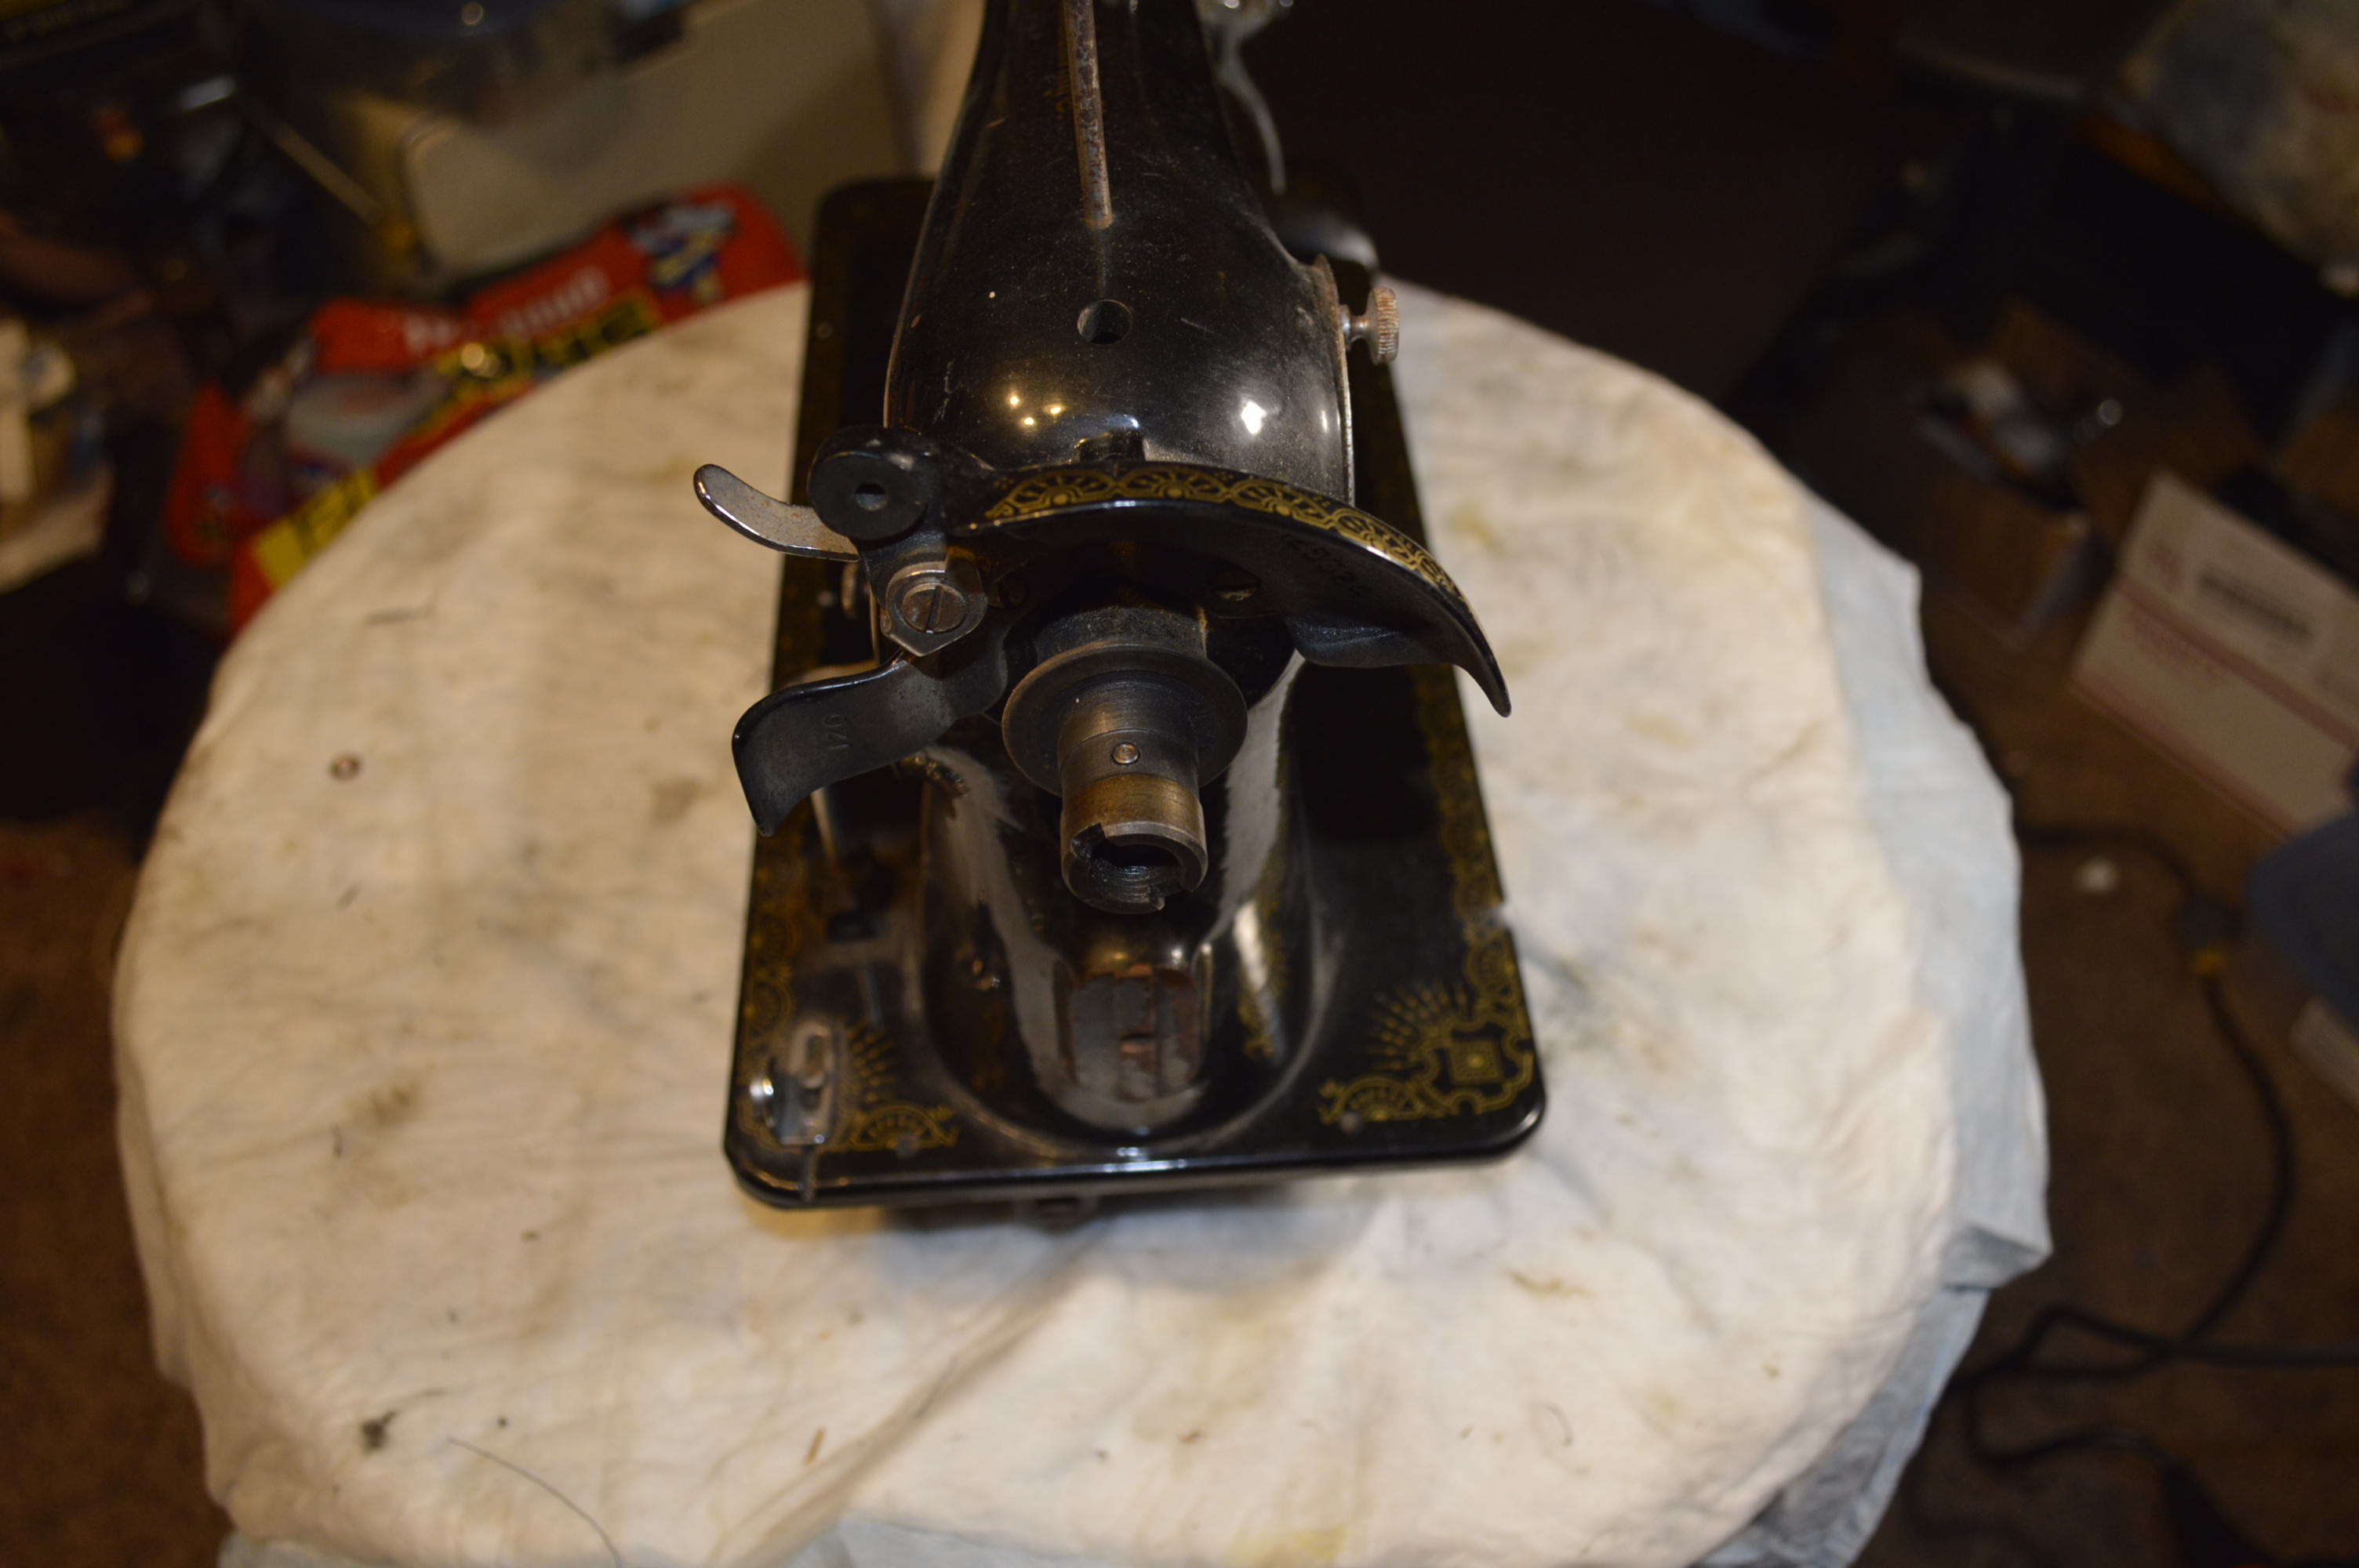
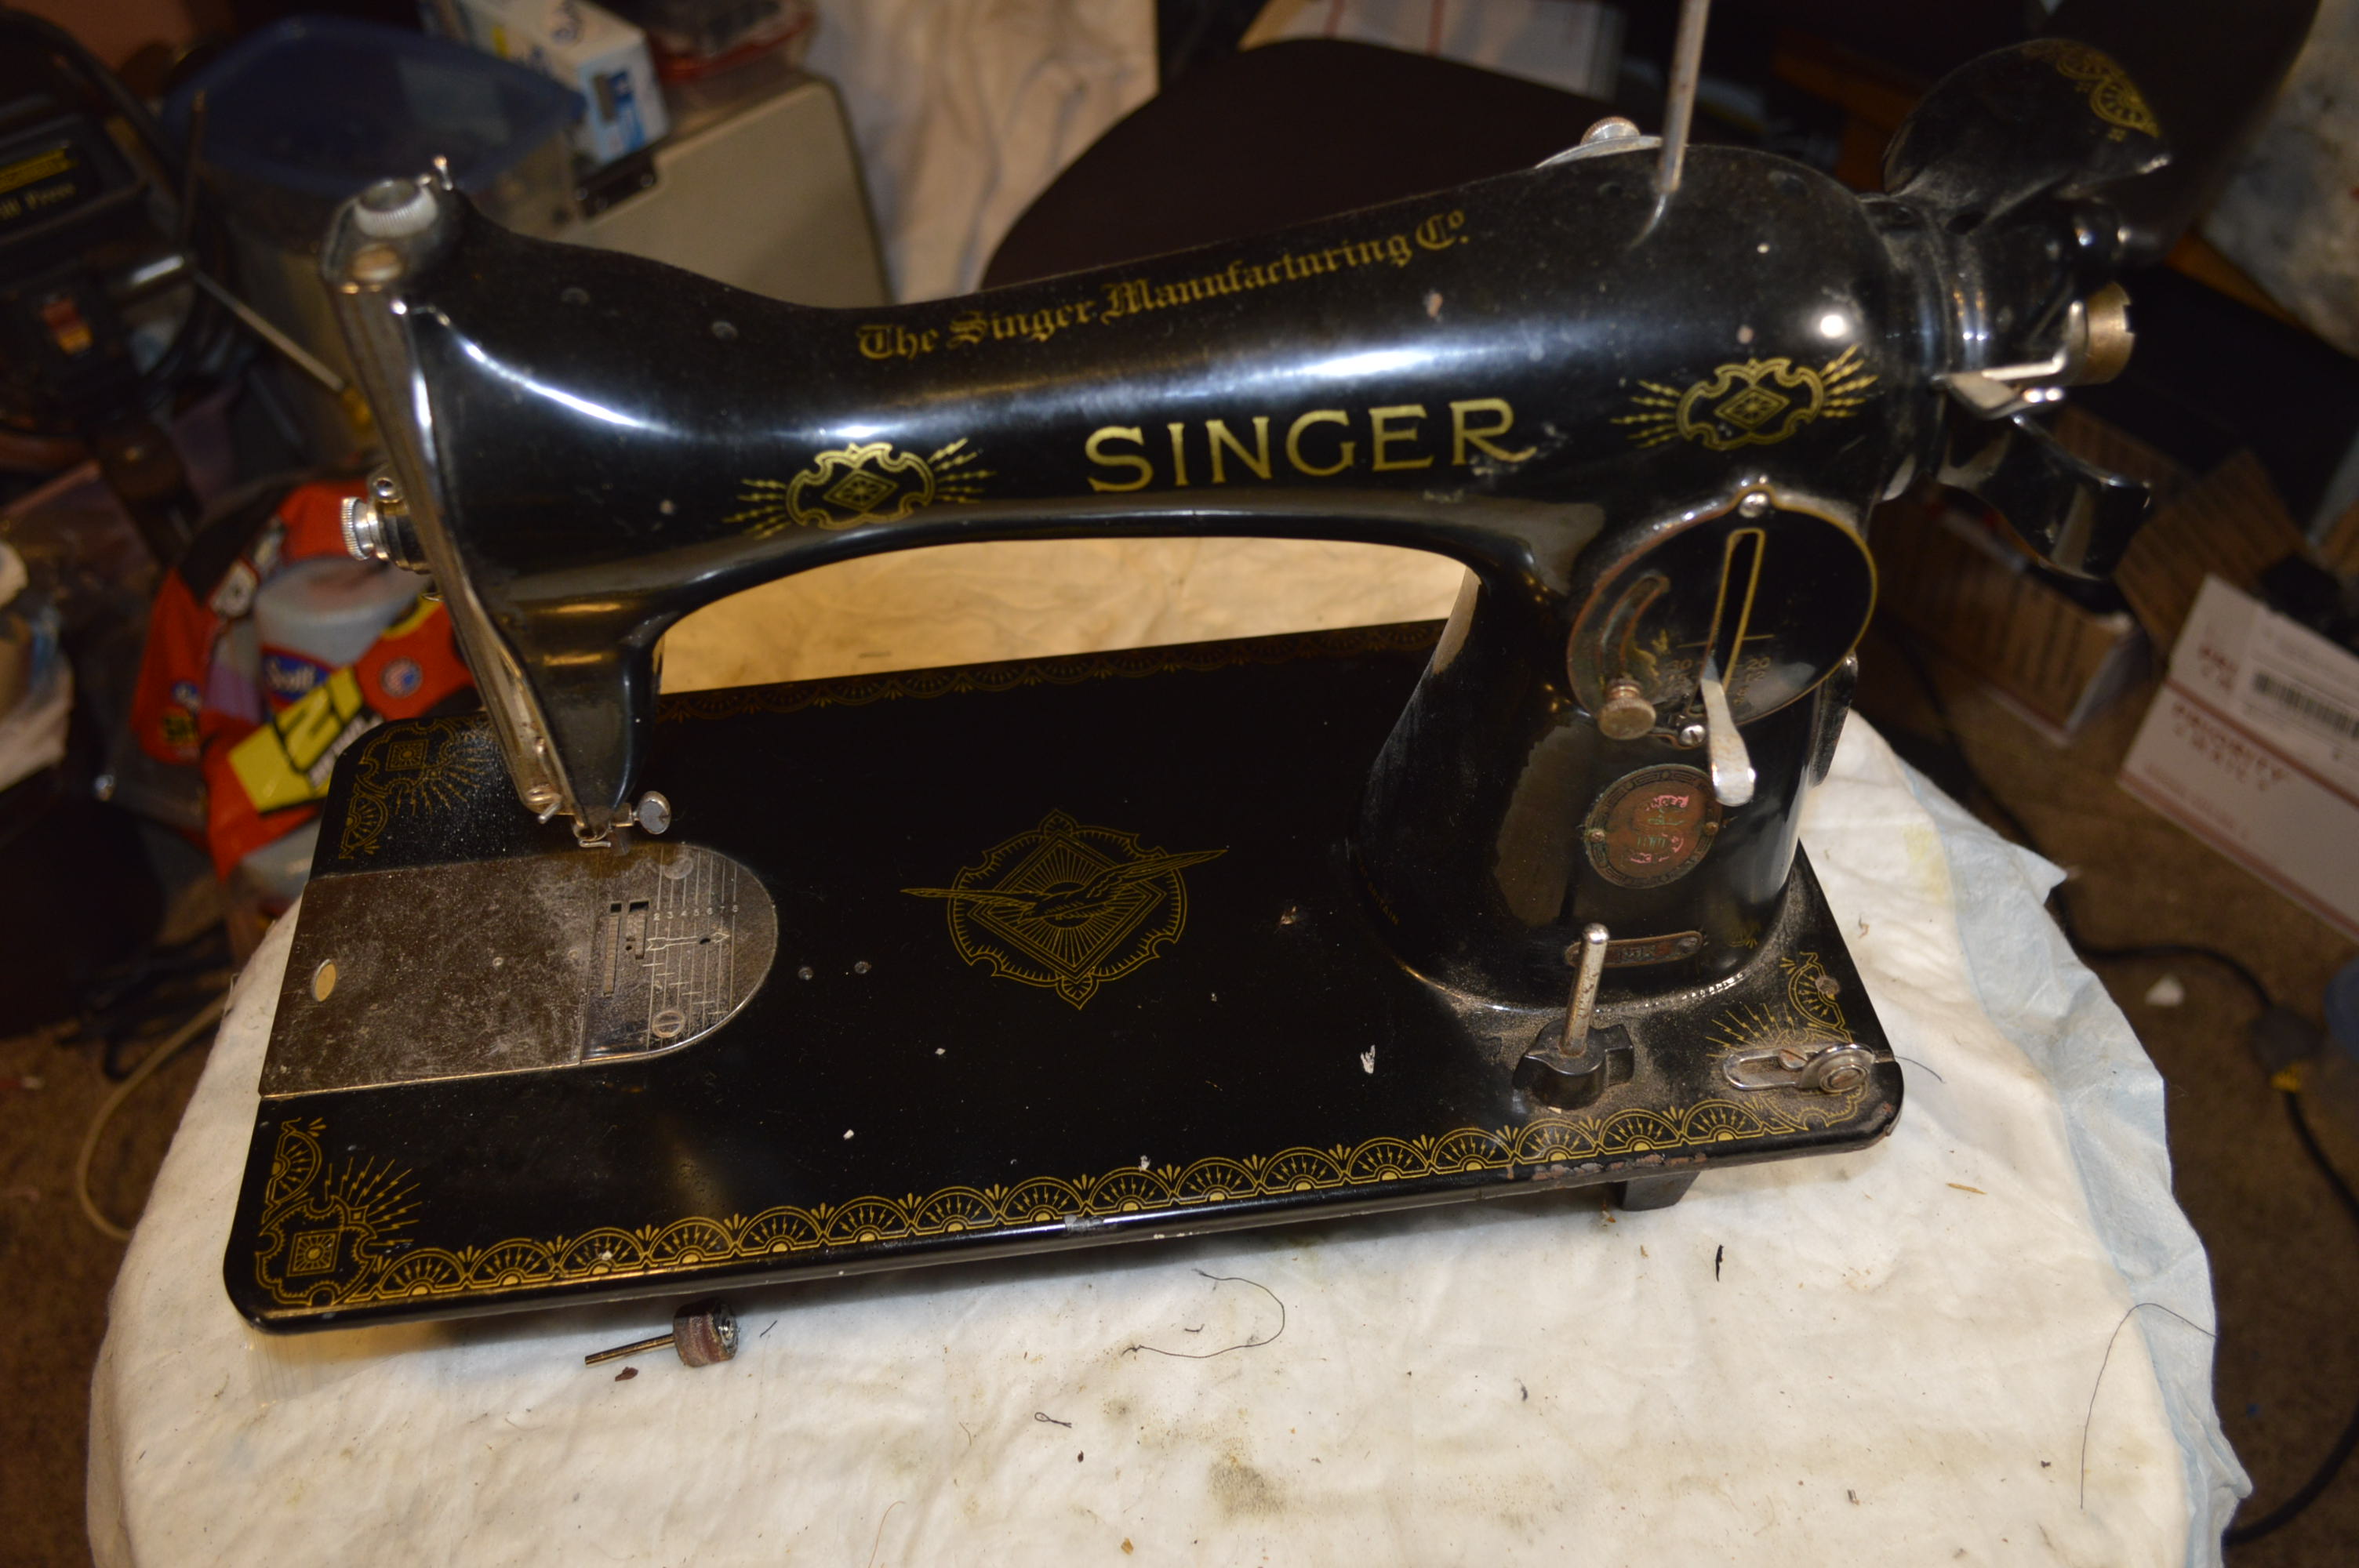
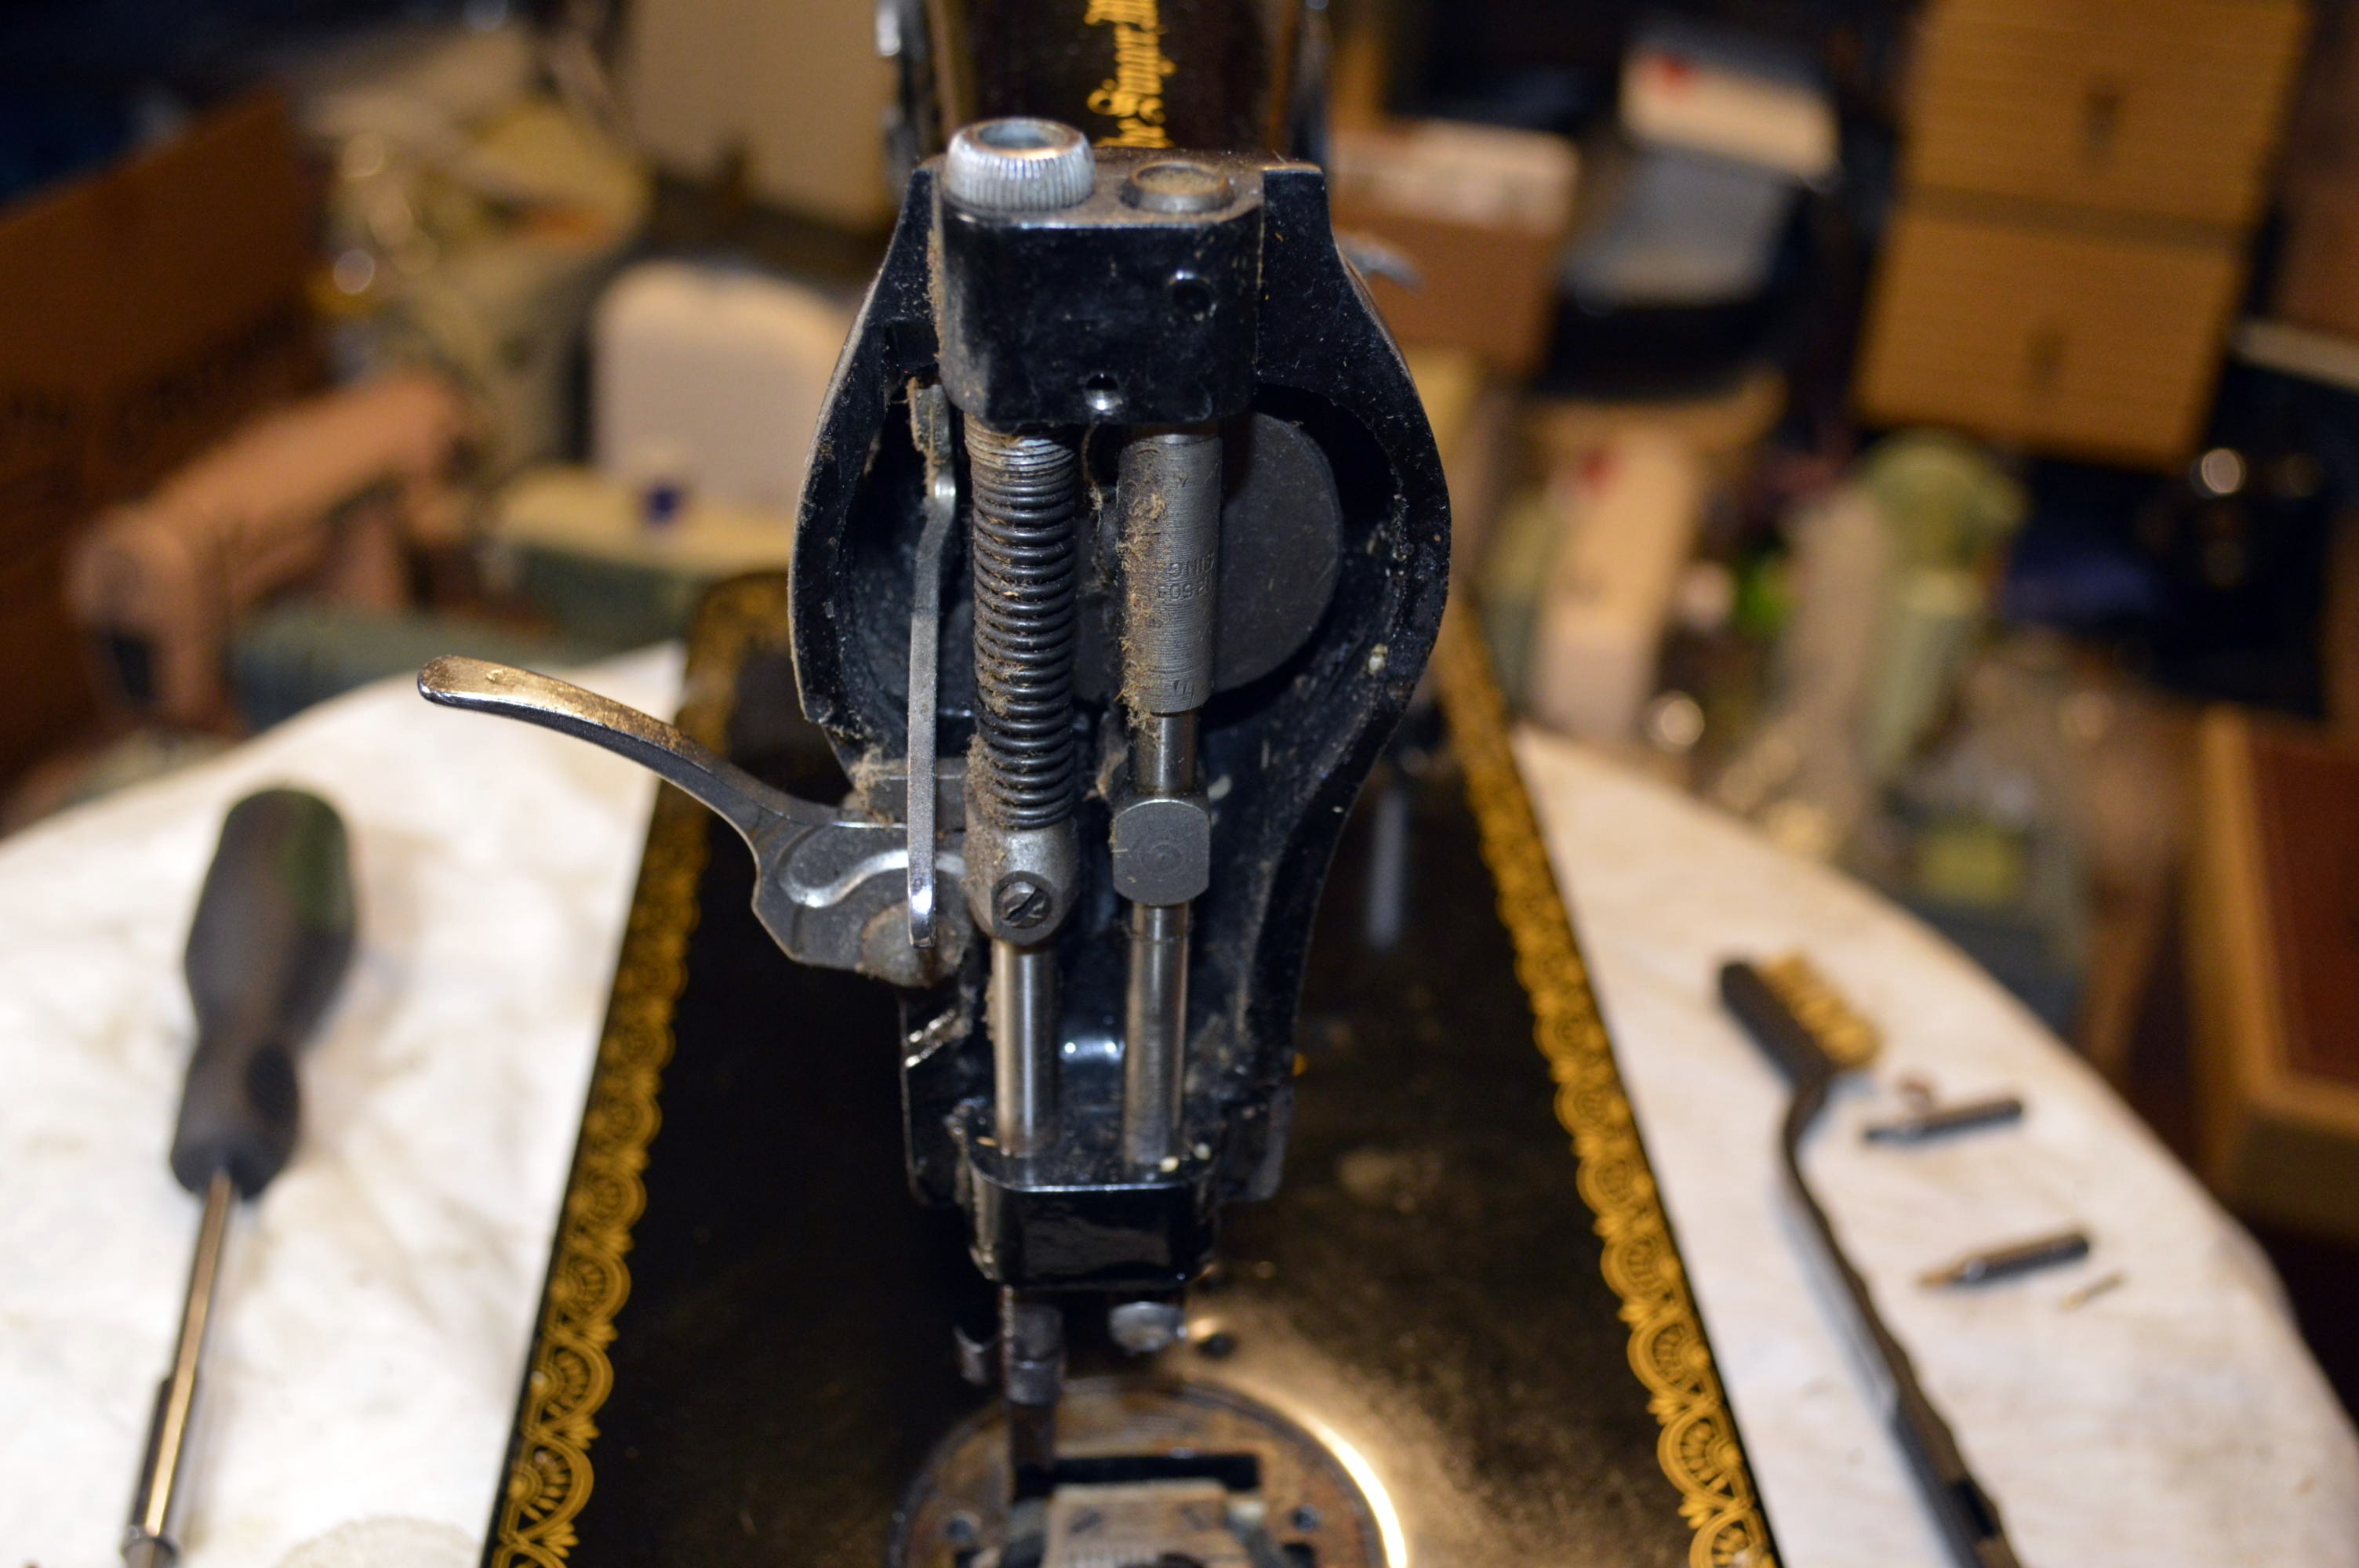
It’s a lot of work, but the outcome is well worth the effort. As an example of the processes involved in cleaning and reconditioning one of these high quality gems, I have a 1962 Singer model 15K-110 to show you. I originally intended to use this machine as a “donor” machine to recondition another Singer model 15 manufactured in 1938. Unfortunately, the 1938 machine was damaged beyond repair in shipment… yep, poor packing in shipment can break cast iron pieces and destroy a piece of history. Well, now the tables are turned and the 1962 Singer is the only candidate for reconditioning.
About the machine… Singer began production of the model 15 in the early 1870’s and it was in constant production until the early 1960’s. Essentially it remained the same machine with a few features added in its evolution. The last model produced was the model 15-125. Many are familiar with the Singer model 15-91 because of its gear drive and potted motor, but they were manufactured in different variants. This one is belt driven by an external motor. The Singer machines made in Great Britian and Scotland were designated with a “K” following the model number. This Singer model 15K-110 simply signifies that it is a model 15 made at Singer’s Kilbowie plant in Scotland, and it is the 110 series. No, it is not rare, but it does represent the first model 15 that Singer produced with the feed dog drop mechanism activated by a knob located on the sewing bed, adjacent to the sewing arm pillar. This will be important later. For now, lets just focus on the process.It also has the RAF decal set (yep… Royal Air Force).
This is the Singer 15K-110 in basically the condition I got her in… except for a little oil I applied to the sewing bed to assess the lacquered finish. Notice the distinctive “RAF” decals?
The next pictures are of the donor machine.
This is the 1938 Singer 15K that I originally intended to restore… but the machine’s casting that holds the bobbin shuttle race and hook was broken in shipment.
Between the two machines, I have enough to make one, so here it goes. Oh, I forgot to mention to set your expectations appropriately. Damaged decals will always be damaged. Deep scratches will always be seen, and any corrosion or scratches present on the plates, levers, or screws will always leave their mark. The cosmetic condition of all these blemishes can be greatly improved, but don’t expect them to look like new… just a thousand time better.
Before starting the cleaning process, remove the needle if present, all of the covers, plates, the presser foot, the motor, the balance wheel, the bobbin winder bracket, and the bobbin winder guide located on the bed of the machine. This will give much easier access to clean the body of the machine.
In cleaning, the first step is to remove any dust and loose debris. This is easily accomplished using a dry paint brush to gently wipe the surface.
The next step is to use sewing machine oil, applied with your finger in a gentle circular motion, to gently loosen up and dissolve any grime or dirt more deeply embedded in the finish. Follow with a soft cotton cloth (an old white t-shirt works well) to remove all excess oil. Once this is done, it is a good idea to stop and assess the finish. If the decals show signs of “silvering”, that is, they look silver instead of gold, proceed with caution. This means the protective shellac coating applied over the decals is gone and the decals can be easily damaged. If this is the case, it is best to stick with sewing machine oil and gently clean the machine in small sections, and only gently rubbing the decals.
To better assess the condition and coverage of the shellac coating and identify sensitive areas, shine a flashlight close to the machines finish. The shellac coating will appear with a green hue. Often you will see the green hue with patches and areas that are jet black. These black areas are the original black lacquer japanned finish, and the shellac has worn away. Be especially attentive to the decals. If they are covered with the green hue, they are protected and can be effectively cleaned, if not, they are unprotected and must be cleaned gently with nothing but sewing machine oil. Luckily, the shellac coating on this machine was in very good condition.
Once you know the condition of the finish, Use a cotton ball with a few drops of oil on it to get a deeper cleaning. Work in small areas (about the size of a half dollar). Again, use a gentle circular motion and check the cotton ball frequently for dirt and debris. Change cotton balls often so you don’t scratch adjacent areas with the contaminants picked up by the cotton ball. Continue this process until all areas of the machine have been cleaned. as you can see from the pictures below, the machine looks much better.
If you are satisfied with this finish, you can stop here. If the condition of the finish allows, you can get a deeper cleaning. For this, I use a product called GoJo. It is a lanolin based hand cleaner and is generally safe for the finish where the shellac coating is intact. Note: there are two different types of GoJo… one with pumice, and one without. DO NOT use the GoJo with pumice in it. It will destroy the finish on your sewing machine. The cleaning process is similar as before, but instead of oil on the cotton ball, use a small amount of GoJo. Again, work in a circular motion in a small area. Gentle pressure is all that is required. wipe gently with the cotton cloth between cotton balls. Repeat over the same small area until the cotton ball comes up clean. Repeat until the entire surface of the machine has been cleaned. Be particularly careful when working near the decals. Gently rub the body of the machine with a clean cotton cloth to remove all traces of GoJo. At this point you should see a deep shine.
But you can’t stop here… following the GoJo cleaning, there is more shine to be obtained. Oops! see that white paint? You may have some similar blemish, but if not, you can ignore the next few steps I took to remove it. In an instance like this, oil didn’t work, GoJo didn’t work, and alcohol or acetone will remove the shellac coating. I have found the best method for cleaning this is by very cautiously using a product called Goo Gone and a cotton swab. Goo Gone’s label directions claim it will remove latex paint without damaging oil paint. I have had good success with this product, but every time I use it, I’m completely focused on what it is doing to the finish, especially here because it is covering the decals. Here is how I proceed. Pour a small amount of Goo Gone in the cap and set it close to where you are working. Dip the end of a cotton swab in the cap to pick up a small amount of the Goo Gone… it does not have to be soaked, and shouldn’t be. Working an area the width of the cotton swab, turn the cotton swab in a twisting motion. After a few twists of the swab, stop and use a cotton ball with a few drops of oil to wipe the spot you just cleaned to remove the Goo Gone. It may take a few applications in the same area before the paint is removed, but it will soften and remove the latex paint. Always follow up the application of Goo Gone by wiping with oil applied to a cotton ball. Don’t rush, it is a tedious process to get all of the white paint off so be patient.
Little…By Little…By Little… until it is gone.
The paint was completely removed, and the finish and decals are undamaged… glad that’s over.
Now the machine is clean, it’s time for the polish. I use a good glaze polish made for automotive paint finishes. I’ve used different brands and I haven’t seen much difference in the performance. This process is slightly different. Apply a small amount of polish and instead of working in a circular fashion, rub the polish in a back and forth motion. I prefer working parallel to the long edge of the bed. Still work in a small area (about the size of a post-it note). When the polish begins to glaze, buff the polished area with a clean cotton cloth. Repeat the process over the whole surface of the machine. The finish you see here is the best you are going to get…
Polish is not a protective coating. You will actually hear the finish squeaking when you are hand buffing the polished surfaces and it is necessary to apply a protective coating. You actually have two options here. You can coat the entire surface of the machine with a light coat of sewing machine oil. This will nourish the shellac coating and keep it looking great. Or you can use a high quality carnauba wax followed by a good hand buffing. On high quality original finishes, I prefer oil. On good quality original finishes, I use wax for a thicker protective film. Folks are divided on which is the best, so I’ll leave it up to you. to decide what method you prefer. For this project, I chose carnauba wax. I chose the wax over the oil to ensure all parts had prolonged protection.
Clean all of the parts you took off separately. use cotton swabs and alcohol or acetone (I prefer acetone) to clean the brown varnish off of all of the affected parts. typically the needle bar and presser foot bar. Be VERY careful not to drip or otherwise get acetone or alcohol on the paint… it will strip the varnish and leave an irreversible paint defect. Clean any painted parts with GoJo and oil. Make sure you clean all of the lint off of the feed dogs, sewing machine head, and in the bobbin case.
The finish on this machine turned out beautiful. The decals are intact and in excellent condition, there are a few scratches that remain on the bed, but they are what they are… just the result of use over 56 years. Over all, it looks fantastic.
This machine is in for more than just a deep cleaning. It has a long way to go before it is completed. Reconditioning involves removing all of the parts and pieces of the sewing mechanisms in the sewing head and under the bed. I broke up the cleaning process from the reconditioning process for a reason. Most folks will clean and oil the machine and live happily with the results. It is well worth the effort and well within most peoples abilities. Reconditioning a sewing machine on the other hand is a completely different story. Most folks should not attempt to completely disassemble a sewing machine unless they are technically inclined. There are lots of parts that have to be reassembled and adjusted for the machine to work properly.
Without a high degree of technical know how, and service manuals for reference, it is better to clean and lubricate your machine and leave the sewing mechanisms alone. Reassembly is always the reverse of disassembly, but there are a lot of steps to remember, small screws and fasteners that look similar but not quite, and screws and fasteners that are hidden from even close inspection. In short, its easy to break or mess something up.
I’ve got some practice here, so I’m going to show you the process I use.
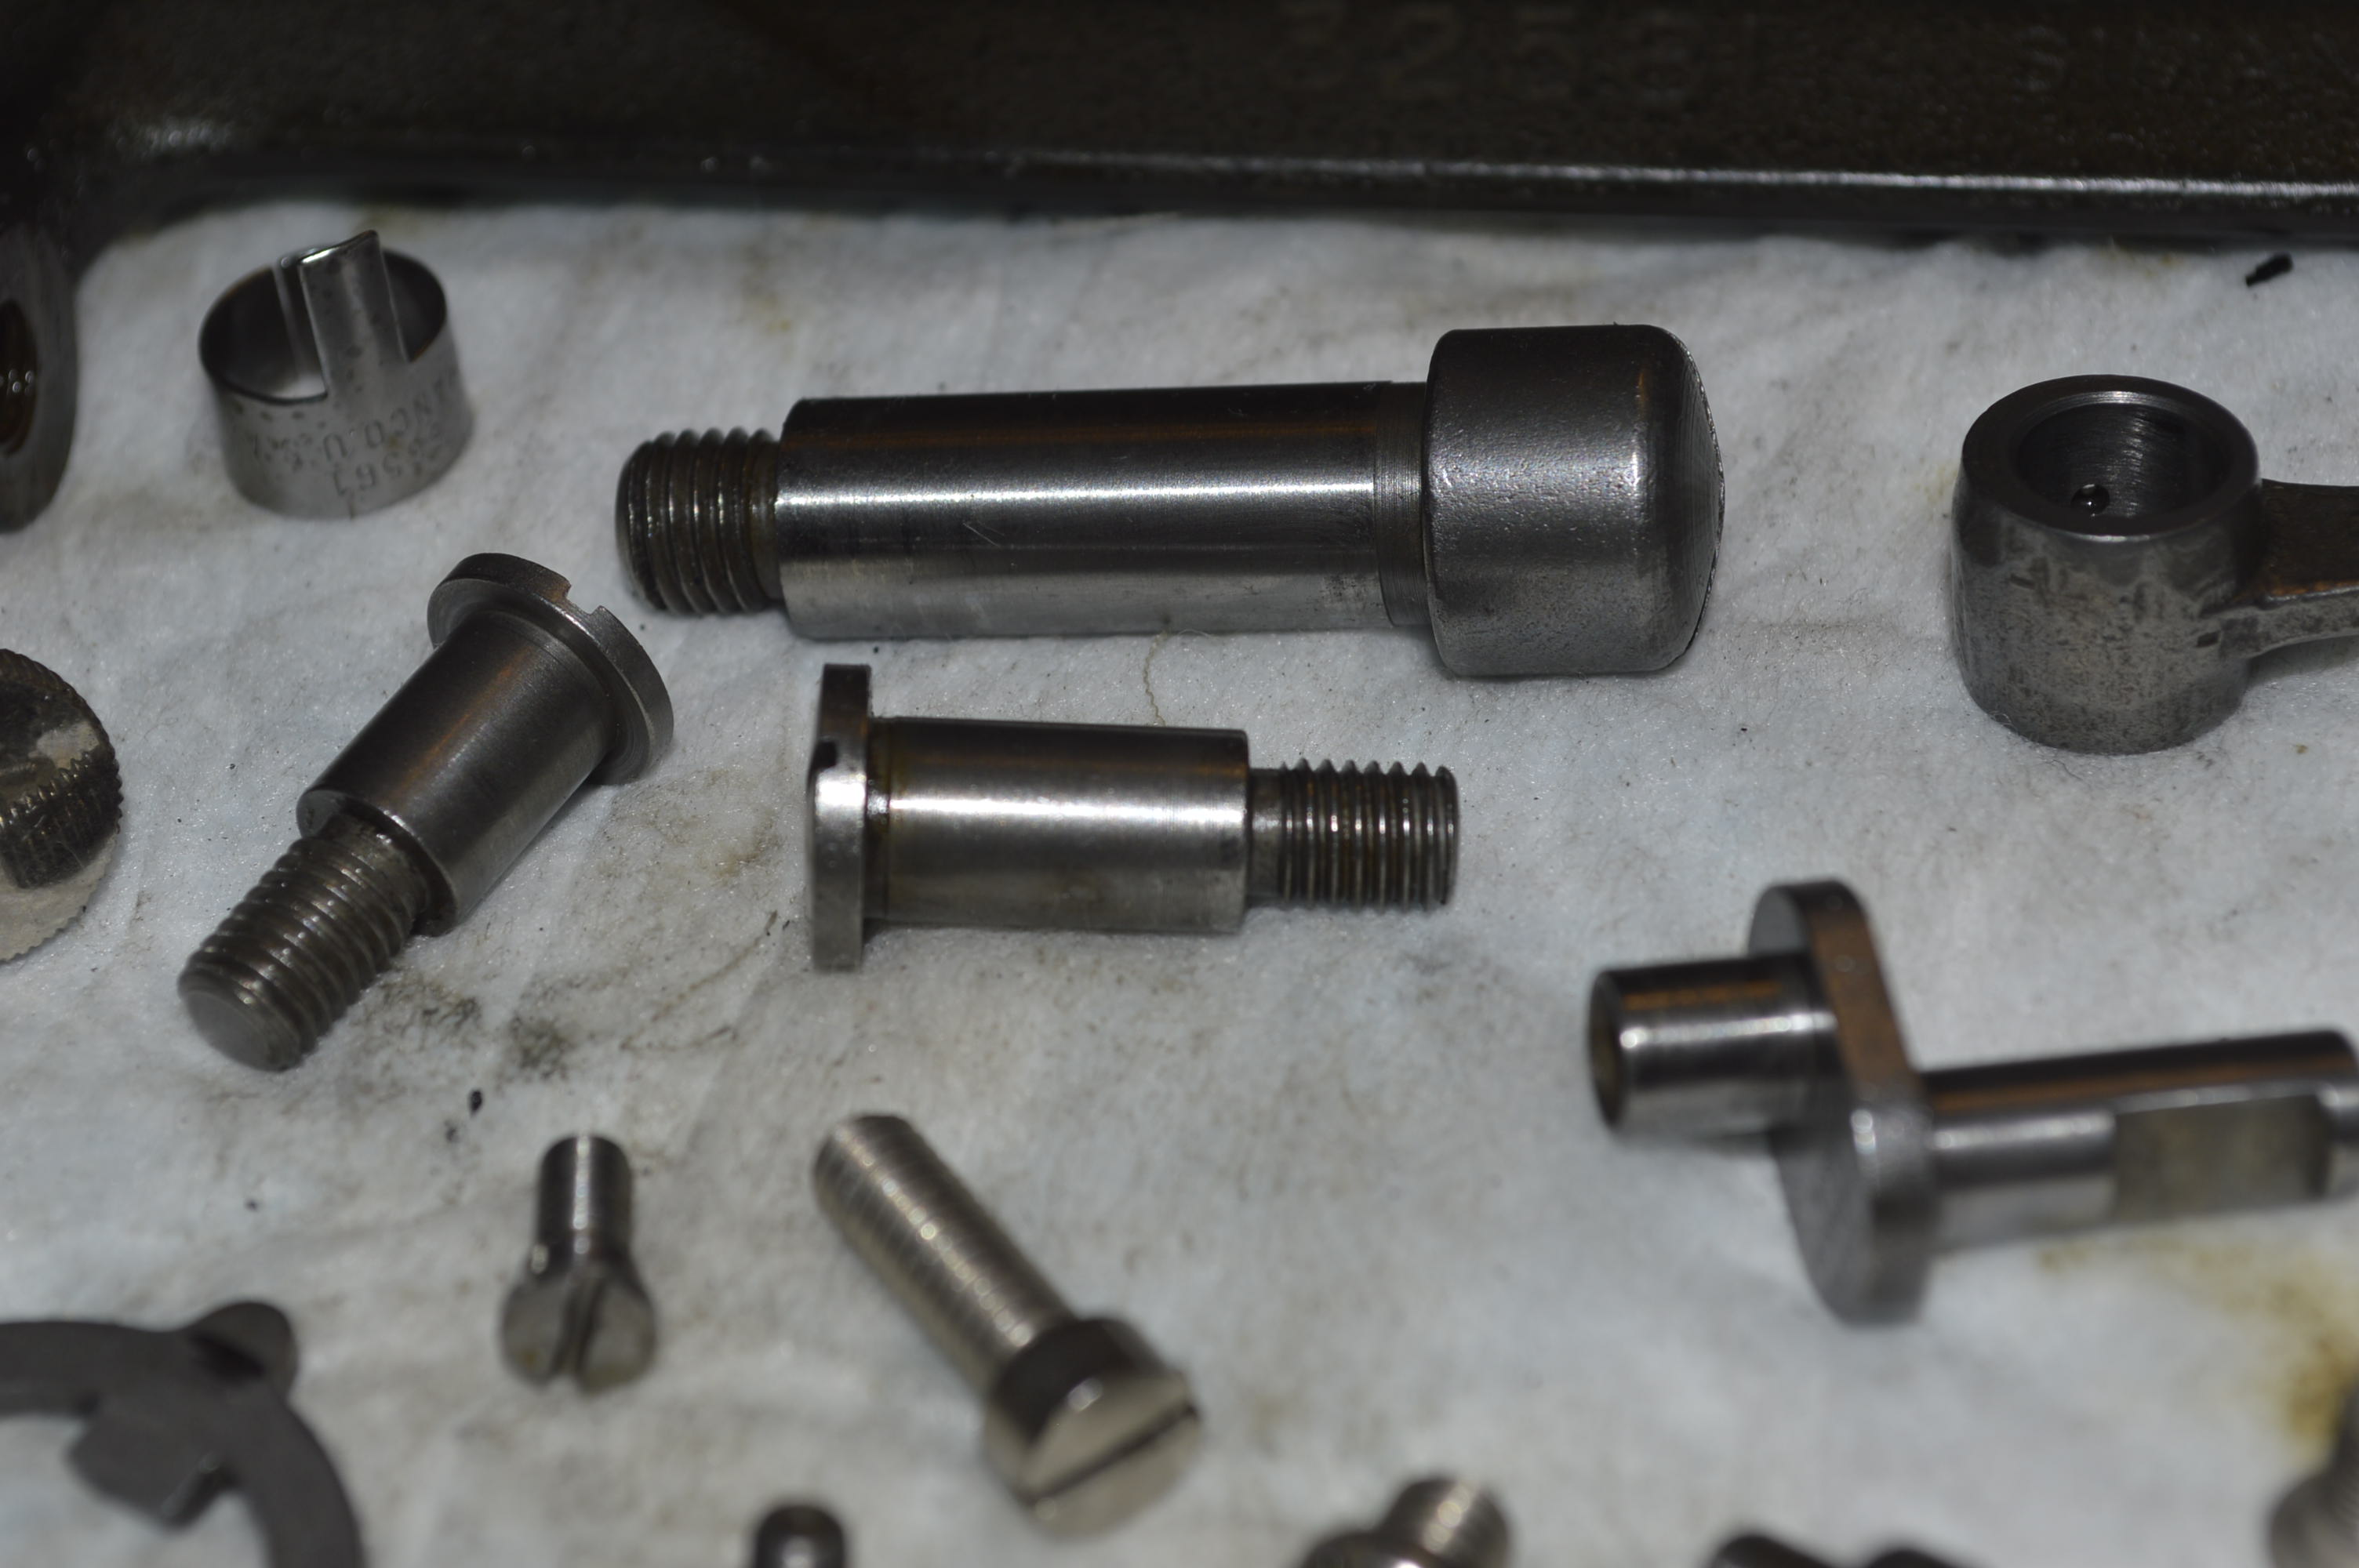
All of these components must be removed
Similarly, all mechanisms beneath the sewing bed must be removed.
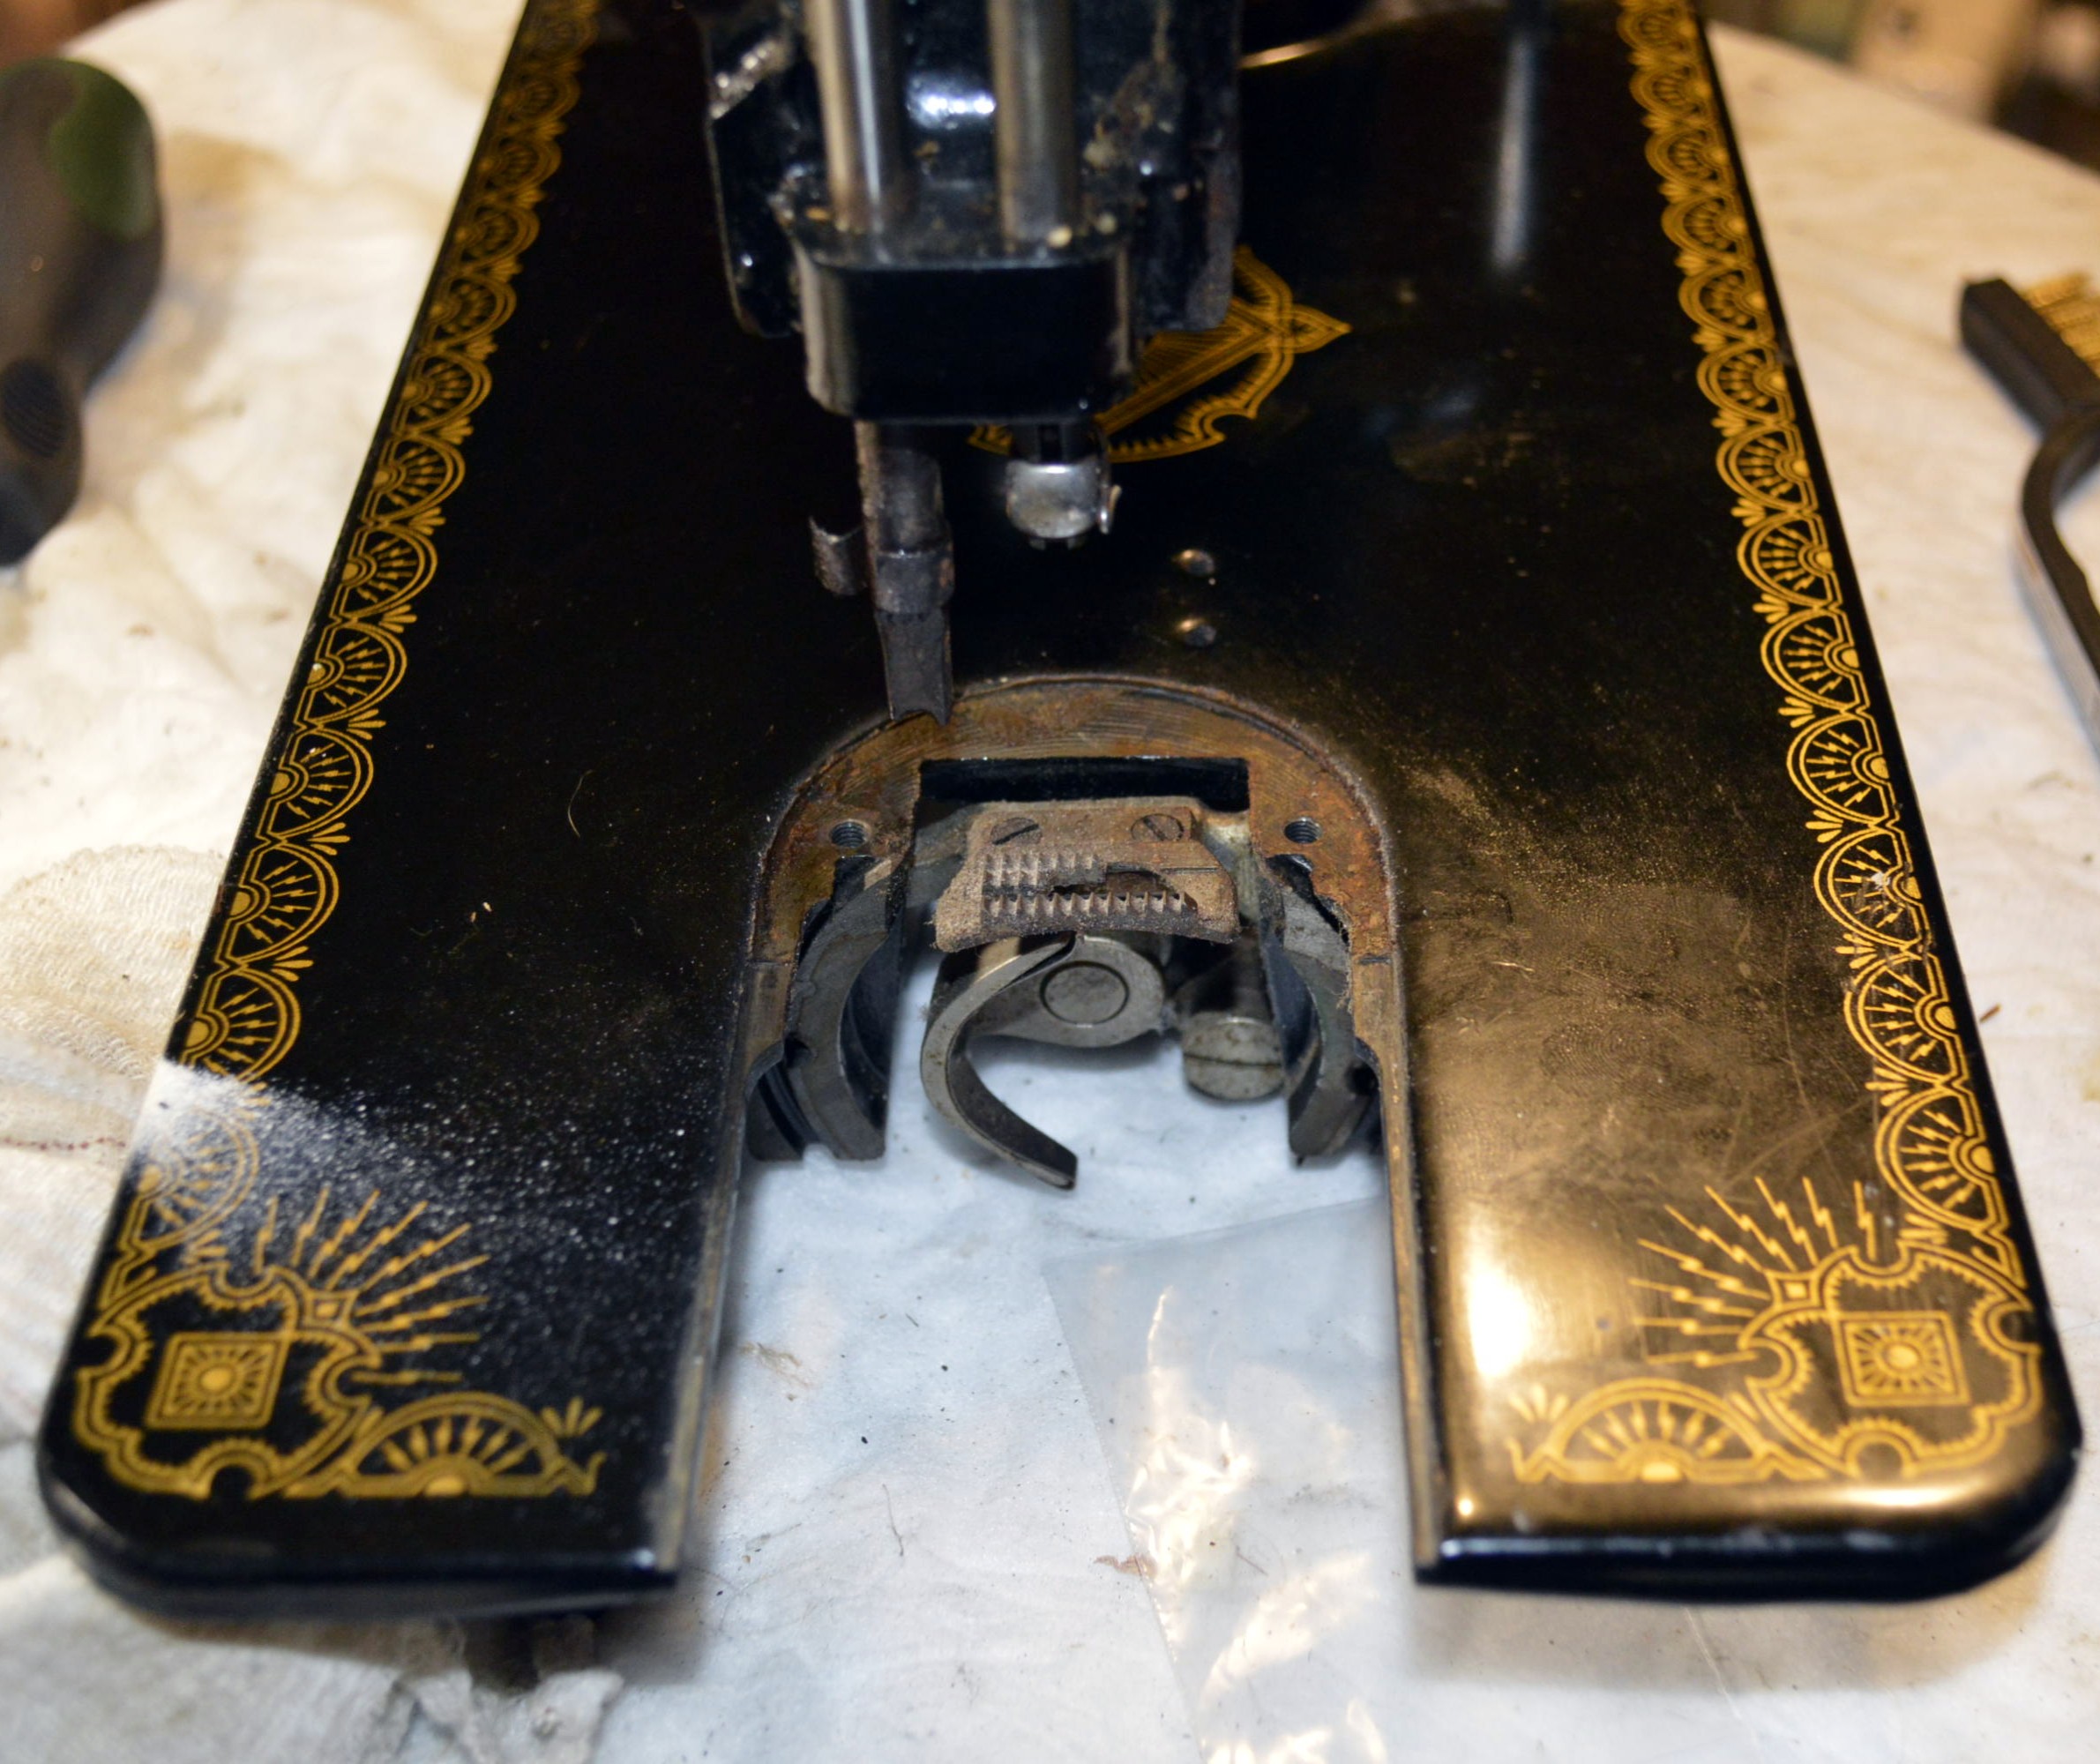
There are two rods that go thru the pillar. The rod on the left has a forked end that engages an eccentric cam for the stitch length control. This fork and the associated stitch length control mechanism will be removed.
The rod on the right is the connecting rod that attaches to the main shaft in the sewing machine arm. This rod does not need to be removed on this machine. The horizontal shaft in the sewing arm and the connecting rod on this machine was free of play and turn freely, so they are left in place. It is best to avoid disconnecting it or any components in the sewing arm unless it is necessary.
Here are all of the parts removed to be reconditioned.
Following ultrasonic cleaning and a soak in WD-40, they look much better. All varnish, dirt, and oil are removed from all parts… inside and out.
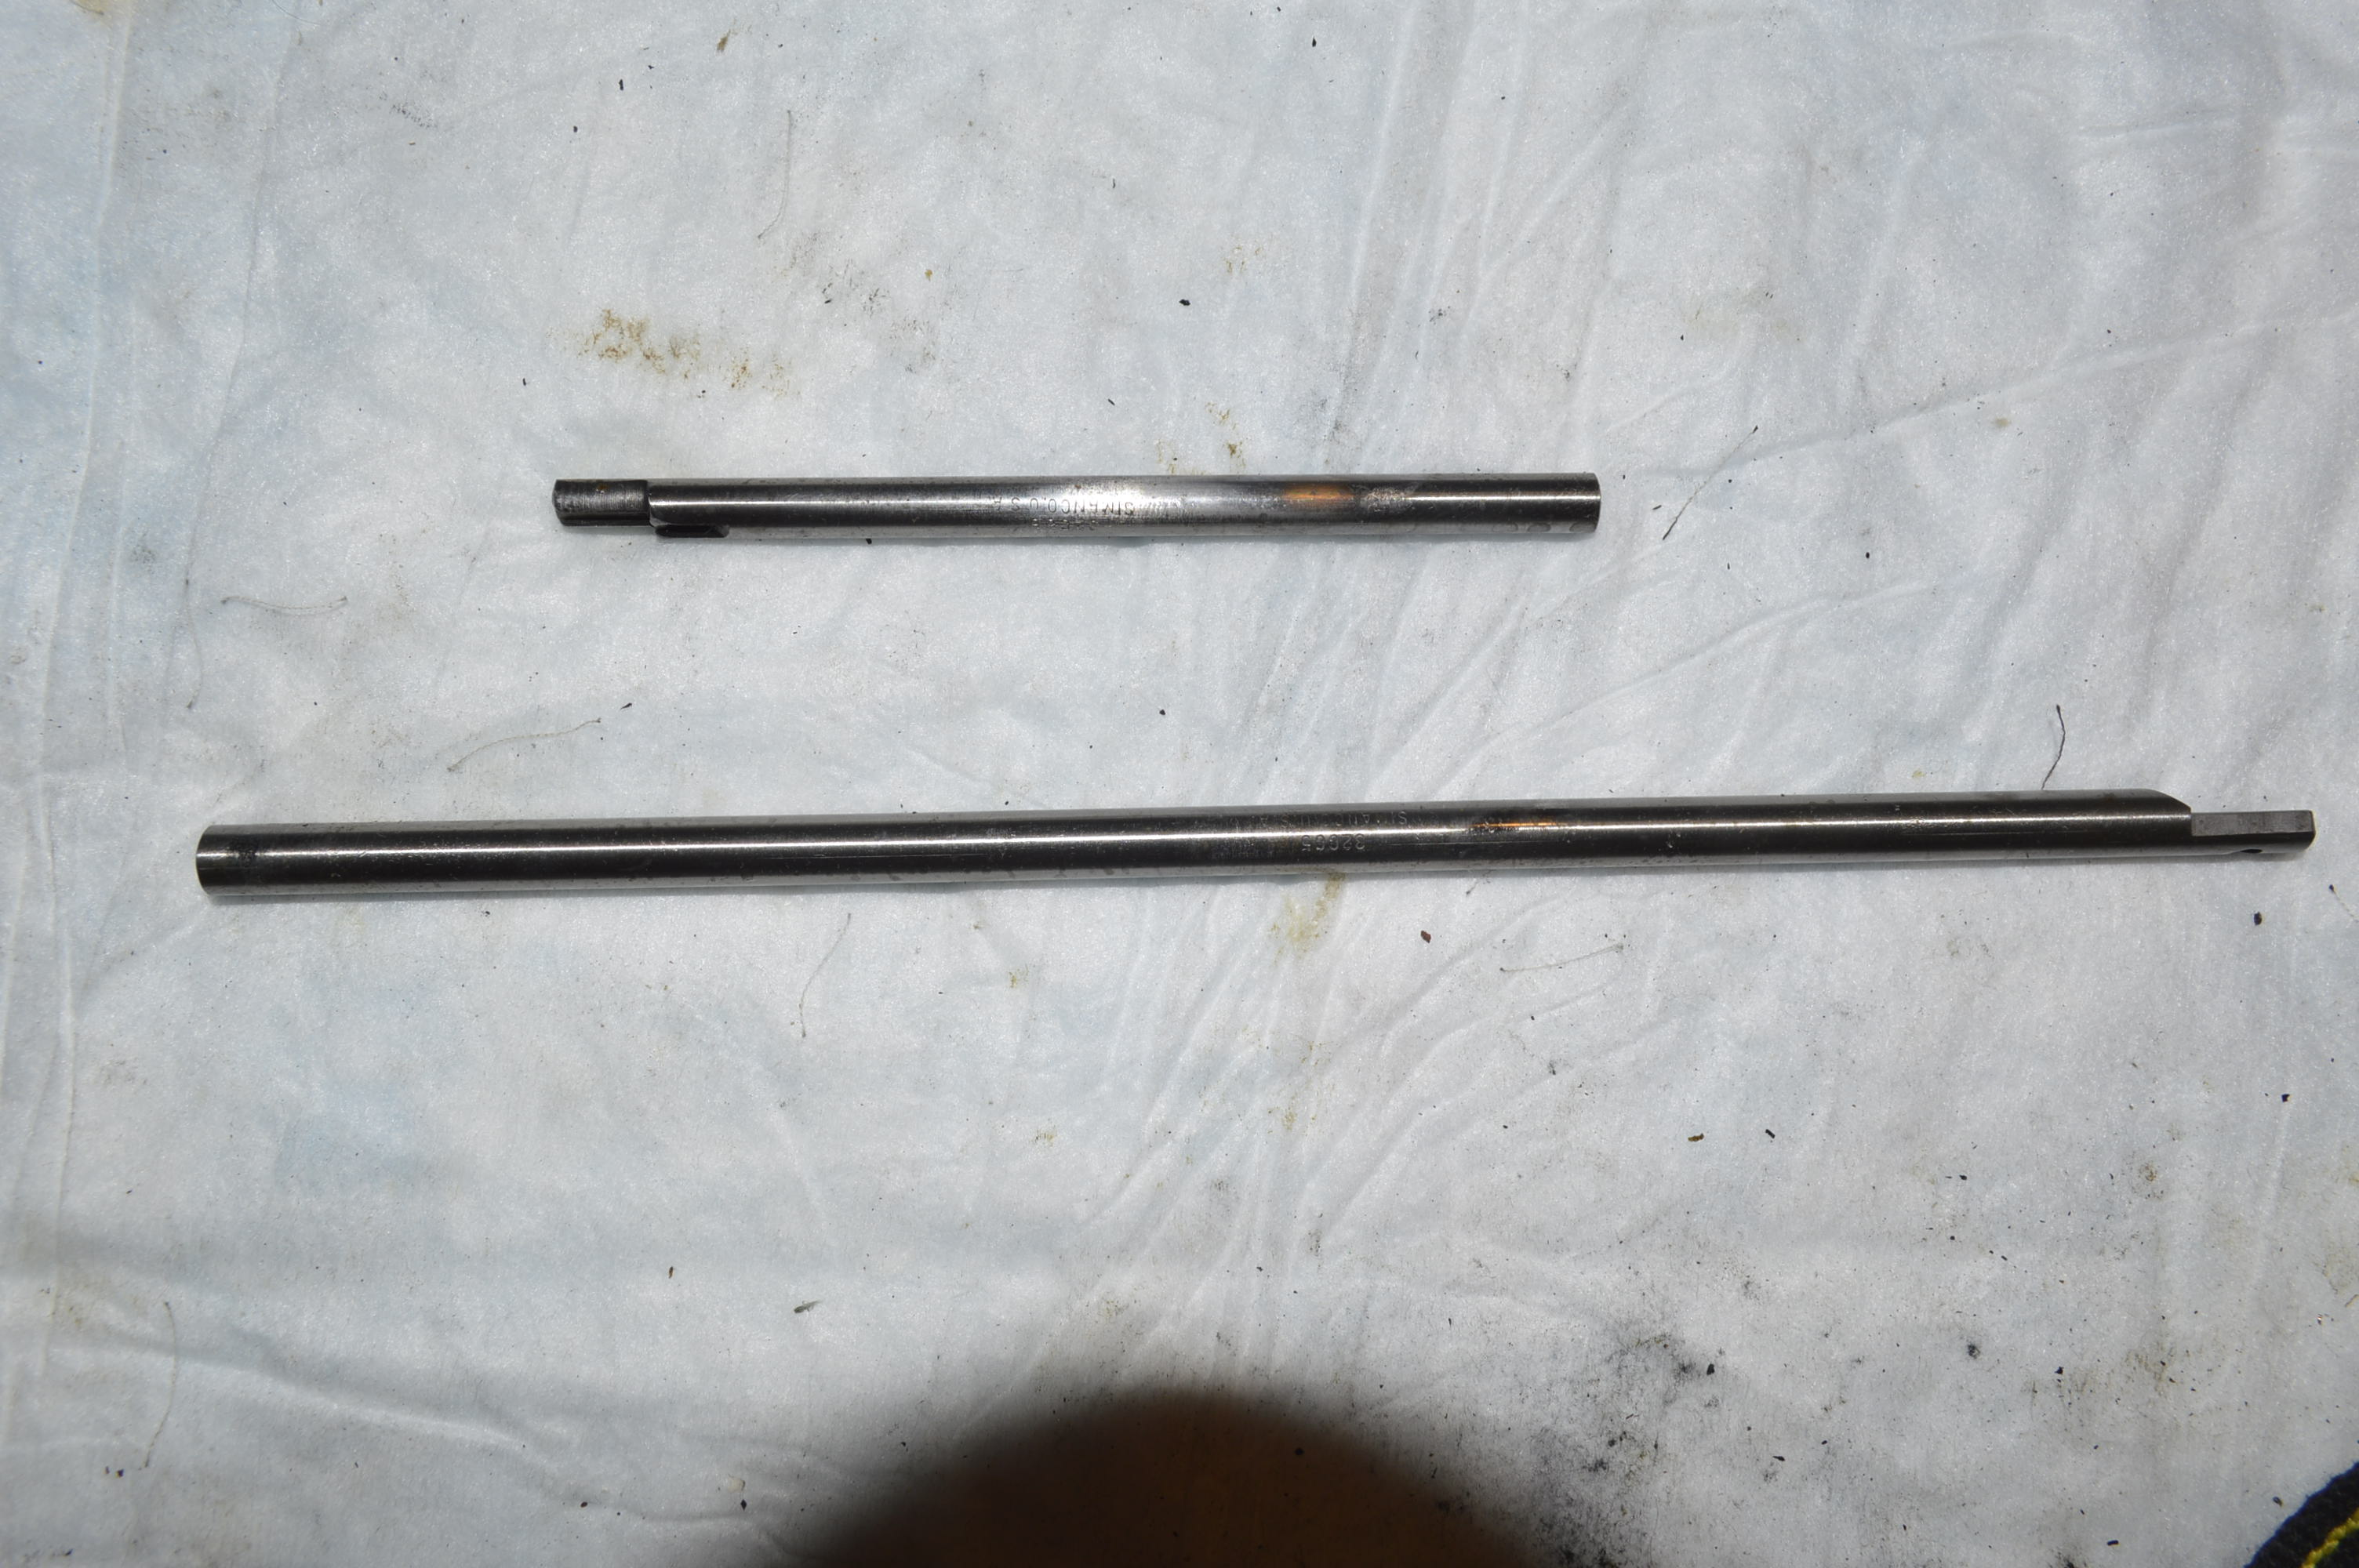
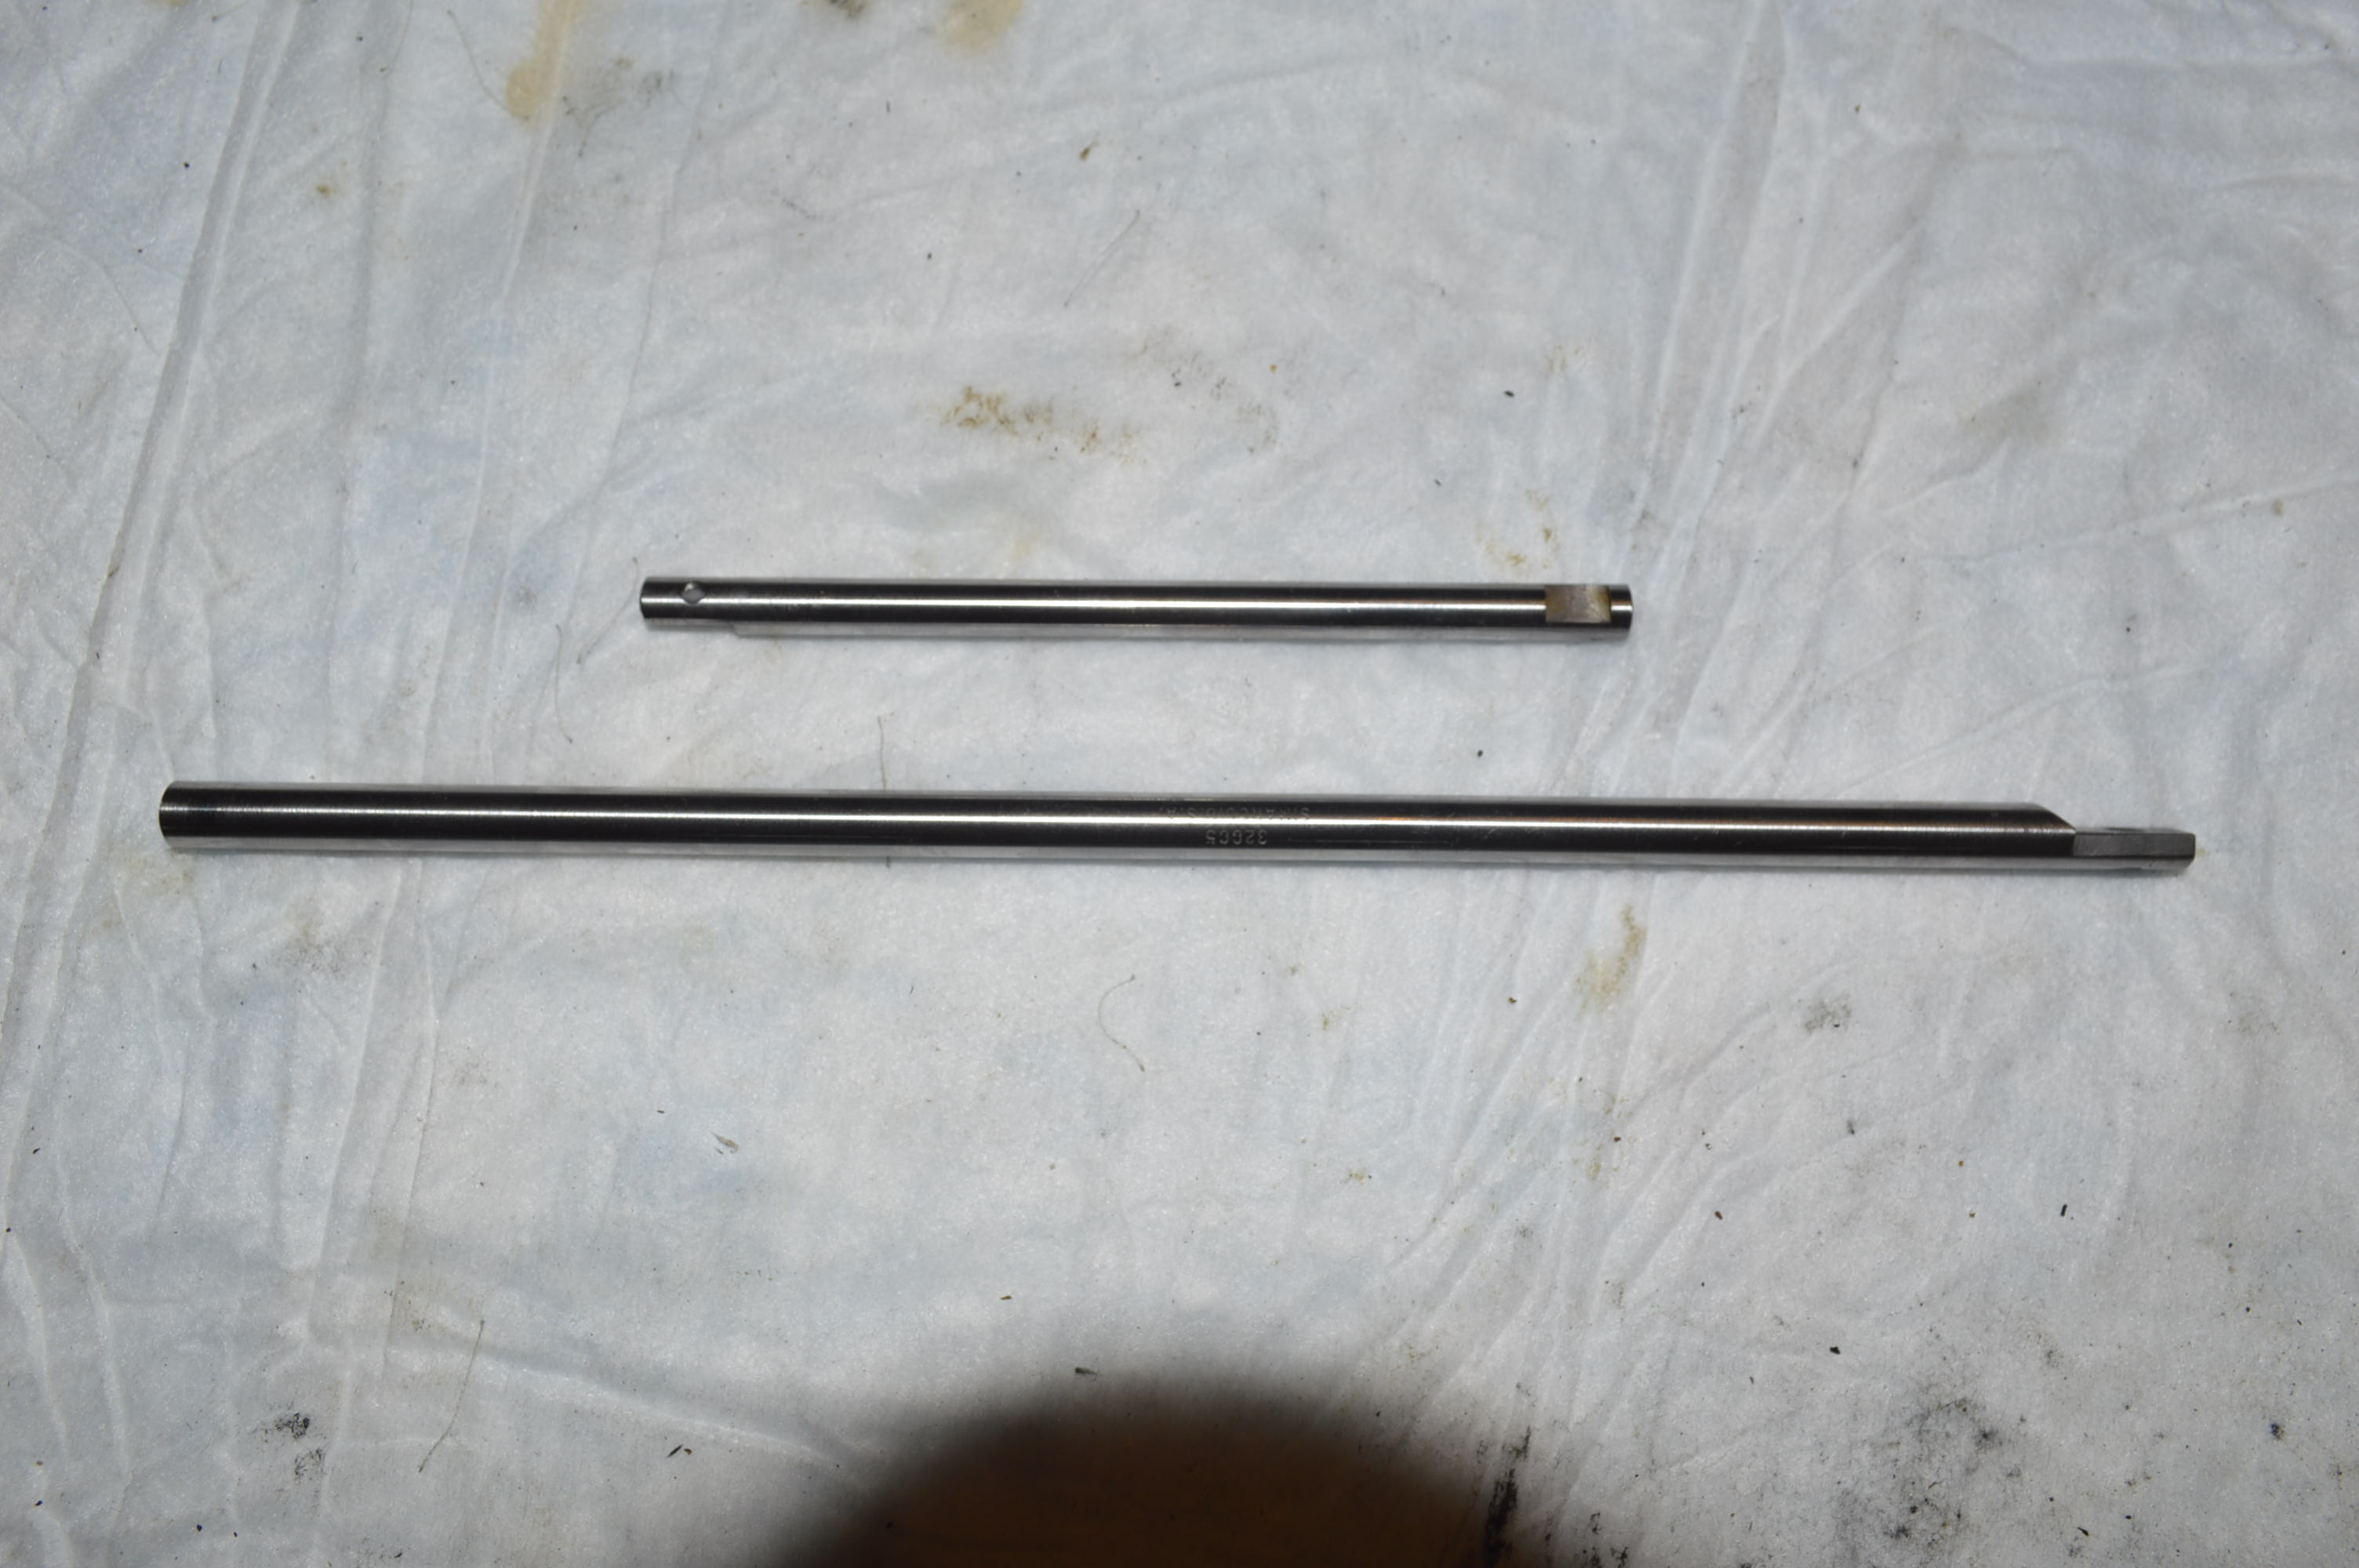
Now, here’s the thing that is different on the 15K110 from other model 15’s,… Remember I mentioned the drop dog feature being located on the bed adjacent to the pillar? Well, it turns out the entire linkage and engagement mechanism is missing. To make things worse, I can’t find a replacement part anywhere. This wouldn’t have affected my buying decision as a donor machine, but it might have if I knew that this was the machine I was going to spend hours on reconditioning. I will have to keep looking for the parts. They may or may not ever be found so I have to make a choice. Either will disable the drop dog function. I can use the same part from the older donor machine, or I can lock the existing mechanism linkage in place with a bolt. The other part that needed to be replaced was the presser foot bar, but fortunately, the donor machine supplied this part.
Feed dog linkage from 15K110 on left, 15K on right. Presser foot bar is a match.
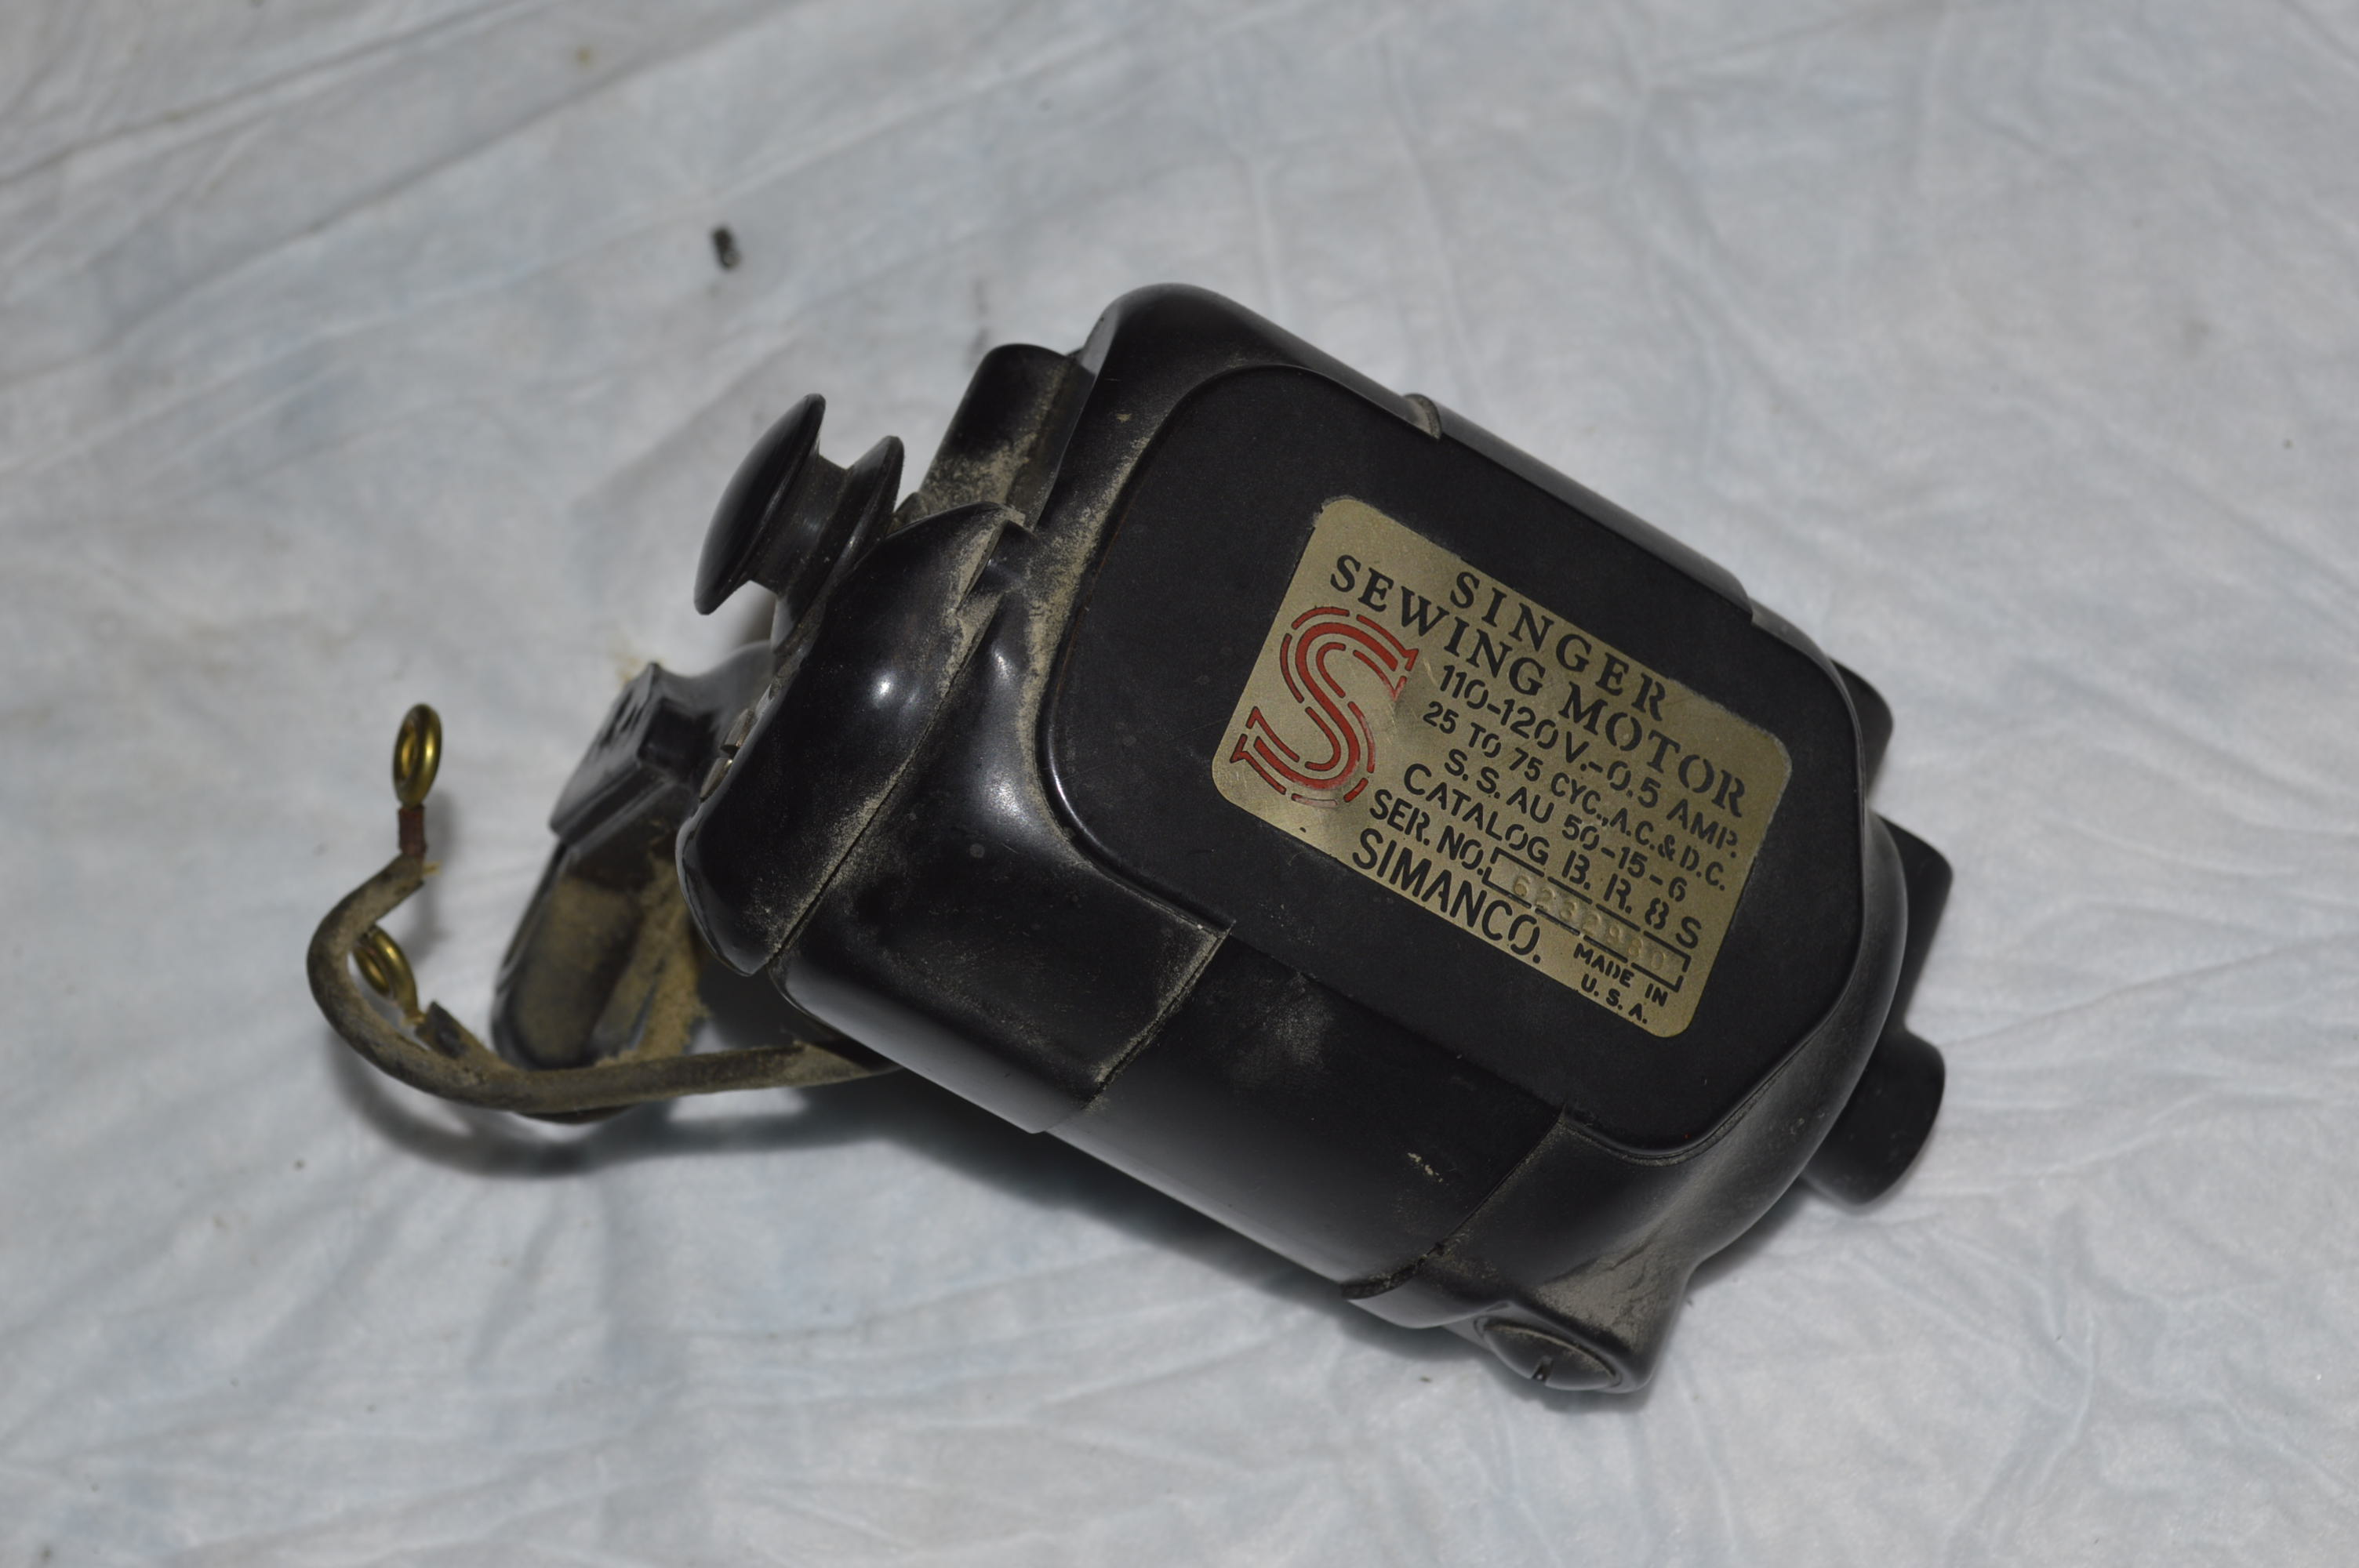
Now on to the motor… One of the most valuable aspects of what sets reconditioning apart from merely servicing a sewing machine is the reconditioning of the motor. The motors that Singer designed and manufactured are fantastic examples of durable construction. Even after 80 or more years, these marvels just keep turning. Imagine the condition of the inside of these motors after all these years! Wait… I have pictures!
This motor has not been tested… look at the bare wires protruding from the cover! But is spins free so there is a good chance that it will be a good motor when it is reconditioned. The steps are pretty simple: disassemble, clean, lubricate, and reassemble. In practice, this is quite a bit of work. First, the motor is disassembled and the parts and pieces are separated.
At first glance, and from the bits of dirt, dust, and old wire insulation, it looks pretty bad. The armature is fouled with carbon and the wires are bare up to the stator coil. Actually, this is not unusual and will be fixed. The motor brushes are in good condition and unless there is a break in the armature or stator coil wires, this motor will run again.
Wires Sealed and Reinsulated
Armor After Polishing
Armature Before Polishing
The grease wicks are replaced and re-greased, the armature installed, the cover assembled, and the reconditioned brushes installed. The motor was bench tested and runs smoothly and strongly.
Next comes the light assembly. The wires are completely worn out and new wire is required.
The steps to rewire are pretty straight forward:
Soldered Wires Reinsulated
Wires Tinned and Terminals Soldered
New wWre Stripped and Sized for Fixture Clearances
Light Disassembled
The light is covered with some paint over spray sometime in her past. It is made from bakelite and although it looks brown, it is actually black. This overspray was removed with acetone and cotton swabs. Great care needs to be taken around the decal. There is no protective coating on the decals here, so the best I can do is get up as close to the margins of the decals as possible, and then stop. I don’t want to loose this decal, and I’ll be happy with it.
The light is then reassembled and attention is turned to the cosmetic condition of the light.
Light Fixture Cleaned and Polished
Next are some of the details…
Chips Paint Matched
Stitch Length Cover Paint Worn Off in Places
Here the stitch length cover has been cleaned and the worn off paint areas repainted with “lamp black” paint… this is the closest match I can find and its pretty close. I am not going to blend the edges any further… not much to gain and much to lose.
The small paint chips on the edge of the bed is paint matched with “lamp black” paint…
Half of the chip has been painted to show “before and after” Its a real close match.
That’s it! Everything is clean, lubricated, reassembled, and adjusted. Now for the Good… The Bad… and the Ugly…
First the good… Look at the machine after reconditioning!
After everything was reassembled and adjusted, the machine was put thru her paces and she sewed very well! Keep in mind… she started out as a donor machine . In fact the roles are reversed. I did use some of the hardware from the 1938 model 15. You may notice the face plate and back cover plate have been taken from the 1938 model 15. I just liked the look of the fancy scroll pattern more than the straight striated covers she came with. I also used the presser bar, motor, light, balance wheel, and tension control from the 1938 machine.
The Bad…
The 15K-110 was manufactured in 1962. That’s pretty young for these black lacquered vintage Singer sewing machines. As I mentioned earlier, one of the features Singer incorporated into this machine was a feed dog drop mechanism located on the bed. Too bad the under bed linkage and parts that operate this function were missing. Having the choice of using feed dog rocker assembly from the 1938 machine, I decided to keep the machine intact and “fix” the feed dogs so they would work without these parts. Heres how I did that…
I simply put a bolt in place of the retractable pin it is supposed to have. This means that the feed dog drop is disabled, much like the earlier model 15’s before they had the ability to drop the feed dogs at all. If I ever come across the correct parts, it will be easy to get the mechanism working as it should. That’s it! Not so bad after all.
The Ugly… Remember about setting expectations? well, here’s why. Neither machine was complete with all of the little chrome plated bits and pieces in great condition. Those that were in the best condition were used. As a result, some of the parts that were installed had rust or corrosion that was removed, but is no longer “shiny”. Or a cosmetic condition that could not be improved. Some of these parts are shown here,
As you can see, the light shroud has some “haze” around the decal. This is actually a rust colored paint over spray from some event in its history. It must have been primer, because it was very difficult to remove. It took several hours and lots of cotton swabs to clean the fixture. Rather than sacrifice the decal, I was satisfied to work to the margins of the decals and leave it alone. Also, the presser foot screw had surface corrosion that went thru the plating. I was satisfied to remove the corrosion and let it be. The Singer badge has damage from corrosion and paint loss. Except for cleaning, I decided to leave this alone. Anything I did would have removed more paint and result in more damage. The stitch length cover was similarly affected with corrosion and lack of paint in places. Here I opted to paint match the area and leave it alone. I felt that any attempt to blend in the repaired area would create more damage. Sometimes it better to leave well enough alone, and tell people these defects and marks of wear adds “character” and are “reminiscent of her veiled and storied past experiences”.
All in all, cleaning and reconditioning of this machine is a complete success. I am satisfied with how she looks and how she sews. She runs smoothly, quietly, and forms a great stitch… exactly as she should. Is she as good as new? Well, in function yes. The only time in her life it has she been cleaner is when she was new. The greatest advantage to this level of reconditioning is that all old oil and varnish build up is removed from the outside and INSIDE of parts, including those that rotate in contact with each other. It really is a noticeable difference and the machine will run well for a long time to come.
Well, that pretty much whats involved with cleaning and reconditioning a vintage black Singer sewing machine… and how to make a silk purse out of a sow’s ear.
Sewing machine restoration is a time consuming process. The details matter to get the best presentation from a sewing machines finish that is 50 to a 100 years old.
These are the machines that have lacquered finishes and decals. These are the machines that have accumulated layers of dirt, dust, and grime over the decades. These are the machines with the shiny steel, nickle and chrome plated pieces that have become dull from the buildup of varnish (that coffee colored coating you notice on the needle and presser foot bar) caused by oil aging over the years.
You have to be concerned about what the best outcome can be for the parts you are working on, and then choose the cleaning processes that best achieve that goal. People tend to concentrate on the painted finish and decals, and there is a lot of information about how to clean these surfaces. But what about the shiny bits? The presser foot, the needle plate, the covers, the small shiny screws and fittings, the presser foot bar and needle bar. Then there is the bobbin case, the tension assemblies, and the rocking and rotating parts. All of these must be cleaned. All of these require different cleaning methods than the paint and decals.
Fine #0000 Steel wool and wire brushes may seem to be appropriate in some places, for example where there is corrosion or pitting. These should be the last resort methods where nothing else will work. Realize that these abrasive methods will result in creating fine scratches that will ultimately dull an otherwise shiny surface that must be polished later to restore their shine.
Removing grease and varnish on the shiny bits can be accomplished with alcohol and acetone using cotton swabs and cotton balls. This method represents the majority of work in a restoration, but must be done cautiously. A drip of alcohol or acetone on a painted surface will damage the finish. So, cleaning the shiny bits is a tedious and time consuming process. It would not be unusual to use a hundred or more cotton swabs to accomplish the task.
Enter the ultrasonic cleaner… this wonderful appliance has saved me countless hours of hand cleaning small (and larger parts). It is now my go to method for any unpainted part that can be removed from the machine.
The theory behind ultrasonic cleaning has been used for a long time in industry. Its simple… a dirty part is submerged in water. The cleaner creates a high frequency wave in the water. Small microscopic bubbles form on the parts surface. The bubbles implode and create a high pressure (though microscopic) vaccum called “cavitation”. The dirt is sucked off of the surface without damaging the part.
My cleaner is large enough to accommodate the face plate, the inspection covers, neele plate, bobbin cover plate, feed dogs, tension parts, and all of the small miscellaneous shiny bits such as screws, and levers, Rotating parts and rocker arms are also effectively in the ultrasonic cleaner.
Mine heats the water to about 150 degrees, and with a small amount of degreaser and a 15 or 20 minute cleaning cycle, they come out looking almost like new. The following example is the best I can offer…
Before Ultrasonic Cleaning Part from a Vintage Singer Model 15-90 Manufactured in 1938Same Part After Ultrasonic Cleaning
Following a rinse and a bath in WD-40 to displace any water left behind, it is a simple matter of wiping the cleaned part with a clean shop towel. Tension parts get a final soak in alcohol to remove any trace of the WD-40, we don’t want any lubrication here.
If you are interested in getting a great result on these shiny parts, and want to save yourself a LOT of time, ultrasonic cleaning is the way to go. By the way, in the absence of oil buildup, water is all you really need to use to get great results. Soap or degreasers are not necessary. It is great for many other applications such as cleaning jewelry, sunglasses, dental implants, carburetors, etc… So you can get one and justify the very reasonable price!
My experience with vintage sewing machines made in Europe is non-existent. I have plenty of experience with many Singer, Kenmore, New Home/Janome, Brother, White, and other similar Japanese brand machines and I have found them all to be of good quality.
Well, I acquired a Necchi BU Mira about 6 months ago. I heard so many great things about the Necchi BU machine from others, I wanted one. It is a basic straight stitch and zig-zag machine with an external motor, mine does not have the seemingly complicated “magic wheel” but it looks like the bracket is on the machine.
When I got the machine I was tied up in reconditioning other vintage machines, and except for cleaning and lubricating, I didn’t attempt to service it any further. I did try it out to sew how she sewed… fail. To be honest, I was not happy with the first sewing experience because the fabric did not feed reliably thru the feed mechanism… I figured the feed dogs needed adjustment so I packed it back in its case and put it in the corner for another day.
Well, another day was today! I prepared the machine so I could adjust the feed dogs, and a curious thing happened… the feed dogs appeared to be working fine. I tried to sew with a piece of scrap fabric, and it sewed just fine. Apparently, the oil I applied sat soaking for 6 months and freed up the feed dog mechanism.
My first impression of the machine is consistent with that of any high quality all metal vintage swing machine of this caliber. The machines mechanism is smooth as silk. Except for a clicking sound from the bobbin case, only a very slight “whir” could be heard from the motor, I think that much of the bobbin noise can be eliminated by some simple adjustments, or perhaps the bobbin case is not the proper one for this machine, but works.
In all honesty, I did not think the stitch quality was up to par with the machines reputation and pedegree… not bad, but not as straight as expected. Again, I suspect that adjustments will improve the stitch quality a great deal. All, in all I am very satisfied with my Necchi BU Mira and see a lot of potential in it. I am confident that with a detailed reconditioning, it will be a superb sewing machine.
Here is what I like about the sewing machine:
It has a very smooth drive and sewing mechanism. The high quality of its manufacture is evident everywhere you look.
It has a dual (high/slow) speed motor.
It is very quiet and smooth in operation.
The tension control is incredible… it is actually a micro adjustable tension control. 4 or 5 full turns of the tension dial to change the tension from a setting of “3” to “4” on the dial. This kind of tension control is fantastic.
It has a cast iron body and its weight makes it very sturdy and durable.
All of the sewing controls operate smoothly and finely… no creep or tightness anywhere thru the range of motion of the controls.
It uses a regular 15×1 needle and class 15 bobbin.
It is a low shank machine, so commonly available low shank accessories should work (I hope).
The external motor and belts can be readily acquired and replaced.
Needle piercing power was impressive. There was no hesitation or sense of stalling when starting in thicker folded fabric.
Here’s what I don’t like about the sewing machine:
Availability of replacement body parts (levers, controls, etc. is almost non-existent. (my machine has a broken needle position lever that I can’t find, even after looking for 6 months… but it will turn up eventually!)
Ease of service. Trying to work on the mechanisms in the sewing arm is extremely difficult… at least with common tools. The entire sewing arm is cast iron. There is no “top” to remove. the only access is thru a port on the rear of the pillar that is covered with a metal plate (typical of many machines), or by removing the front control covers. Even then, it is a tight space to work in. Neechi must have had special tools to get to some of the screws in this area.
All in all, it is a fine machine… is it as fine as a Singer 201? well, I wouldn’t go so far as to make that claim… but its a keeper!
Well, today we got a “new” Singer model 15… serial number 12175753.
From the serial number she was born in 1873… that makes her 146 years old. The decals are worn but mostly there… very pretty ornamentation for her age. She began her life as a treadle machine. She was converted from a treadle machine by drilling a hole in the rear of the pillar and bolting on an electric motor. Similarly, the rear cover was replaced with a retrofit cover and light.
The ornamentation decal set is called the “Owl”… I see why.
The machine was tight and the mechanism was stiff. The balance wheel turned with some resistance but the needle went up and down and the feed dogs worked.
A little bit of sewing machine oil and the machine was cleaned of years dust and dirt accumulated from years of not being used. A few drops of oil at each of the oiling points and the machine freed up and she turned smoothly.
Now get this… my Wife threaded the machine, we plugged her in, and she began to sew… a little tension adjustment and she sewed well… and she was quiet! Look at the stitch!
Keep in mind, the machine has not been cleaned, she has not been adjusted, the tension mechanism has not been cleaned, the shuttle hook has not been cleaned, it is the same needle that she came with, and except for the sewing bed and arm, all of the dust and lint that was on/in her is still on/in her… so why did she sew at all, much less so wonderfully?
The answer is these vintage all metal sewing machines were made to sew even if they are neglected, not maintained, and ultimately abused. When this machine was manufactured, she changed people’s lives. She had to be tough and versatile. She is “heavy duty” by necessity, but she was never touted as such (unlike the phrase tossed around loosely as it is today). It was taken for granted that she would sew, and sew well. It is clear from the condition that this machine has been well used and no doubt given some maintenance. The quality of the materials and manufacture are excellent. By today’s standards, it is phenomenal quality. The precision and reliability of the mechanism is unchanged even after 146 years. She is one tough sewing machine.
How good are they? well, I know that she will only improve after she is fully serviced and cleaned. I’ve been thinking about what else I own that will be working as it was designed to do after 146 years. The only thing that came to mind is a cast iron pan, and maybe one or two pieces of furniture. I would wager she will still sew after another 146 years and probably outlast the pan.
Beautiful form, beautiful gold decorative decals, beautiful chromed plate and covers, beautiful black japan lacquer paint… just this description is enough for many people to think “Singer sewing machine”. They fit the description and more. Aside from outstanding build quality in the machines sewing mechanisms, no effort was spared in the cosmetic detail and finish of these outstanding vintage sewing machines.
Due to years of use, chips in the paint are very commonly found on the sewing bed edges, the sewing arm, and around the rim of the balance wheel. I do not find these chips objectionable, but when reconditioning a classic vintage cast iron black Singer sewing machine, it makes a difference. If you are contemplating paint chip repair on your black singer machine, you may find the following information helpful.
What I have learned is that when it comes to paint matching, “black” isn’t “black”. In fact, there is a very noticeable difference between different brands of black paint. This is true of gloss black, satin black, jet black, and flat black.
Compared to the deep black japanned lacquer originally applied on Singer sewing machines, readily available black paints look “gray” when placed side by side for comparison. Rustoleum, duplo, krylon, automotive paints, artists paints, on and on… they just don’t match the original shade of black on these machines.
The black lacquer Singer used was a formulation that used carbon black powder as the pigment for the deep black color. It was mixed in a shellac base and dipped… not sprayed or brushed on. Unfortunately, this type of finish is not commercially available today. This complicates finding a suitable color match paint considerably because any acceptable paint must have an oil base. Enamels are not compatible with and cannot be applied over this lacquer finish. The same applies to clear coats,
Based on my extensive research and experimentation, the only black paint that comes close is a GM touch up auto paint called “lamp black”. It can be purchased in small quantities suitable for chip repair. Available in paint pens and 1/4 ounce jars, it is as close to the original Singer black as you are likely to find. Use the internet to find the product as you will not likely find it at your friendly auto parts store, hardware store, Walmart, etc.
Expect to get good results on small areas (chip repairs) only. It is close in color, but noticeable upon close inspection, especially as the repaired area gets bigger.
If you are contemplating repairing the small chips on your machine, I with you the best results and hope you found this information helpful.
I was rewiring a Singer button controller today and when I was reassembling the bakelite housing, it occurred to me that the steps I take for granted may be be worthy advice to share with others.
Bakelite is really a “plastic” used from the mid 1930’s well into the early 60’s. And like any plastic, it is much softer than steel and can crack if proper care isn’t followed when reinstalling the steel screws. When it comes to reinstalling the screws, the consequences of cutting new grooves instead of mating with the existing grooves (cross threading) the screws will result in catastrophe, frustration, and tears. The damage caused by cross threading plastic is often irreversible, and even in the best case, weakens the grip of the screw.
To illustrate what I mean, the next few pictures show how this controller is disassembled… and of course, reassembly is the reverse in order of the disassembly.
Singer Button Controller
Note the screws nested in the rubber feet on the cornersThese 4 metal screws thread into the plastic body of the controller body and bottom cover
Note that the metal screws tap into the bakelite housing. The threads it cut in assembly must match the screw threads in the same grooves when it is reassembled. The steel screws are very capable of cutting new grooves in the bakelite housing when reinstalled and this will damage the bakelite housing, bind when tightening, and will likely break or crack the housing. This is true of all plastic housings so this advise spans any application where plastic is fastened with screws.
Prevention is simple. It is easy to align the steel screw threads with mating grooves in the plastic… When you set the screw in the hole of the part to be reassembled, don’t start by turning the screw clockwise (tightening). At this point, you can’t feel where the threads of the screw and the grooves in the plastic mate. Instead, start by turning the screw counter clockwise (loosening) while gently applying downward pressure to the screw. Usually, the weight of the screwdriver is enough. As you are turning the screw counterclockwise, you will feel the screw “set” and the first thread of the screw will settle in the first groove in the plastic. At this point, proceed to tighten the screw. it will not try to cut new grooves (cross thread) but will follow the existing grooves and tighten smoothly.
Its simple, dependable, and will prevent damage to the plastic part being reassembled.
I have been hearing and seeing many sewing machines described as “heirloom quality”. To me this connotes a vision of a sewing machine built to last for many generations… hundreds of years of service with simple oiling and cleaning.
The dictionary defines heirloom as “A valuable object that has belonged to a family for several generations”. How long is the span of a generation? Wikipedia defines the length of a generation as this…”In population biology and demography, the generation time is the average time between two consecutive generations in the lineages of a population. In human populations, the generation time typically ranges from 22 to 33 years”. So, if we lean to the longer period of 33 years, a one hundred year old heirloom is only 3 generations old.
Now, back to the subject, what is an heirloom quality sewing machine and why do I care? Obviously, it depends on the definition of heirloom quality. There are many vintage sewing machines that incorporate plastic parts that have lived long enough to pass thru at least one generation. For example, a vintage sewing machine made in 1978 (date chosen because by that time, the all metal sewing machine was a fading memory) has been around 41 years. Based on my assumptions, It has been passed down once, and is in the hands of the second generation and may have sentimental value. It meets the definition of “heirloom”. Springs became very common in sewing machines in the early 1950’s (2 generations) and though they are “all metal”, the springs prove to be a weak spot in their design to last many generations.
Lets contrast this with a Singer model 27 we own and sew with regularly. It was made in 1874. It has been around for 145 years. Based on my assumptions, it has been passed down four times and is in the hands of the fifth generation.
Are they all heirloom quality sewing machines? I’m going to take a side and say no… nope… nada… forget about it. They are as different as black is to white. There is no real comparison. Why? the old all metal, and I mean no plastic anywhere except the motor belt and bobbin tire (textolite is an exception… see my blog on this subject) is immune to failure from regular use or the ravages of time (barring abuse or leaving it in the yard for the winter). They can be passed from generation to generation forever. To me, heirloom quality is devoid of springs, plastic gears, plastic cams, plastic covers, plastic control knobs, etc. They are made with steel, bronze, aluminum, magnesium, and cast iron. They are precision machined to run with simple maintenance, and the typical time these machines are actually run suggests that they can sew forever… With simple regular lubrication and cleaning, the sewing mechanism will never wear out. I’m serious, our 1874 machine still has tight precision fit everywhere and the sewing mechanism is smooth as silk. Even though the paint has worn to bare metal in places, the machine is unaffected in its performance. Electricity was an emerging science and not yet envisioned for electric motor driven sewing machines. They were run with a hand crank or a treadle belt. Our started out as a treadle but is now fitted with an electric motor for convenience… It is interesting to note that the motors used on the early machines still run even after almost 100 years! True heirloom quality sewing machines are very common. They include all of the “black” singers, all metal Necchis, Elnas, Bernina’s, Kenmores, New Homes, White’s, and many others.
Plastic on the other hand degrades with time. It cannot be prevented or avoided. A plastic gear anywhere will break in time. Springs will break over time. Any plastic part used to operate a control function of the machine will be rendered inoperable.
Ten there are “almost all metal” hybrids. There are a very large number of good quality vintage sewing machines that have all metal sewing mechanisms EXCEPT for one or maybe two minor plastic gears. I have several such machines that are 60 years old and still running fine… but they will not stand the test of time. The composition of the plastic prove they can’t, and replacement parts are not obtainable. Even these otherwise all metal machines must be evaluated for heirloom quality. I have replaced more than one spring necessary for proper function of the machine. Even if available, a replacement plastic gear will in its time break again.
What about all metal machines constructed with no plastic but incorporate springs? I would say that they are superior in all other respects to their plastic parts cousins, but true heirloom quality? That’s a distinction you must make.
Why do I care? To me, the answer lies in how long CAN a sewing machine last, not how long has a sewing machine lasted. Why would I choose to make this distinction between a machine that has proven itself for 60 years and still running strong? Well, I think that under the right circumstances, a sewing machine may prove itself to be a necessity. Much the same as they were when they were first introduced to the domestic market. I would like to think that as a necessity, an heirloom sewing machine would be defined as a machine that will work reliably for many generations. There is no second place for a machine that will be rendered inoperable simply because a key part or component that cannot be replaced broke merely due to its composition and age.
So, I have been concentrating on the more well known brand name sewing machines. Some of my favorites are Singer, Kenmore, White, and one of my favorites… New Home. I have had no shortage of opportunities to find and acquire different models in each brand. In every one of these brands, I am impressed with the sewing experience offered by almost (with a few exceptions) all of them.
I have noticed that in every instance, the newer the model, the more the changes in manufacturing techniques become apparent. For example, a Singer machine made in the 30’s and 40’s is noticeably smoother and quieter than a Singer model made in the 60’s. This is, I think, due to the complexity of the sewing mechanisms. Earlier machines were straight stitch only, and the simpler drive mechanisms were manufactured to be buttery smooth. Great for the day, but sewing machine manufacturers had to evolve with the times. The introduction of the zigzag machine changed what I consider to be a basic sewing machine forever.
The consumer quickly realized the potential of a machine that could do more than a straight stitch. Competition between sewing machine manufacturers brought with it innovation and change. New features and stitch options blossomed. The race for more stitches, driven by competition, added a lot of linkages, gears, and cam mechanisms to these later machines. No longer simple, they became quite complex. But complexity also took a toll on the amount of power delivered to the needle. This is not surprising, because turning all that extra hardware takes power, even when they are not engaged in making these added stitches. Not to be deterred, manufacturers set to optimize their designs. The net result was astounding. Motors became more powerful, gear trains were optimized to be more efficient. Bronze worm gears, sprung linkages, and gear reduction schemes were incorporated in more and more machines. The weight of all of this extra steel and metal hardware was offset by the use of aluminum or magnesium frames. With the exception of some machines that retained a cast iron frame (increasing the weight substantially), many machines weighed less!
For example, it was not unusual for a vintage cast iron straight stitch sewing machine to tip the scales somewhere between 35 to 40 pounds. By comparison, aluminum body machines capable of dozens of stitch patterns typically weigh in around 30 pounds. Their cast iron counterparts could top 43 pounds. Still heavy by modern machine standards (I mentioned in another blog that plastic weighs less than steel… no need to mention it here… so on with the story.)
Surprisingly, the quality of manufacture and materials, along with intelligent design, still resulted in a smooth running, reasonably quiet machine. While they may not match the beauty and precision of the straight stitch produced by the wonderful older straight stitch machines, the difference is not worth mentioning in comparison. Those that are concerned with the best straight stitch possible already know this and tend to use the older straight stitch machines for their purpose. For utility and application, these multiple stitch machines produce an impressive straight stitch, and the quality of the added pattern stitches is impressive as well.
Bravo vintage all metal manufacturers of fine quality multiple stitch machines! Three cheers to the feature conscious consumer who pushed the envelope of sewing machine evolution by demanding more features for their hard earned money! Take a bow, you have expanded the average sewing machines capabilities to a new horizon! Sewing machines will never be the same… Still, I’ll never part with my Singer 201-2.
Take a look at this… it is a Brother ZU2-B687 “Pacesetter”. It was manufactured by the Brother Sewing Machine Company in the 1960’s. This model is all metal (except for 2 plastic camstack drive gears, the stitch length control end cap, … and the light switch knob). Everything else is metal. It weighs 27 pounds, which is hefty by today’s standards. Is this an advantage? Well, the weight makes it solid as a rock on the table and makes it a smooth running machine. It features 25 stitch selections, including automatic button hole and straight stitch. It has a 1.2 amp motor, which is a beast compared to most modern machines. The feed dogs drop for free motion embroidery or quilting. It travels in a virtually indestructible case. It has a 2-tone paint job and stainless and chrome accents that give it both personality and style… Every mechanism is designed for adjustments and serviceability.
This machine produces beautiful stitches…
I have seen this machine sell on eBay for around $100.00 (including shipping). If the machine was reconditioned I would expect it to sell for about $250.00.
It has been sewing for 50-60 years and is showing no sign of stopping.
Some people would say “That’s a lot of money for an old sewing machine…” But I couldn’t disagree more.
For a comparison, this is a Brother CS6000i.
The Brother CS6000i is a very popular machine. It gets generally good reviews and people prefer them over other similar machines in its class. I used this plastic machine for my comparison to the Brother Pacesetter because it is a Brother sewing machine, and it is comparably priced.
This machine is almost all plastic. It has metal in places that are necessary, such as the needle bar, the presser bar, the motor internals, and a few bits and pieces inside the machine. The machine is light and portable. It weighs in at 10 1/2 pounds. It features a .65 amp motor. The feed dogs drop for free motion embroidery or quilting. It has an array of 69 stitches and a few other features that are useful. The mechanism is designed for only basic adjustments and it is not easily serviced.
It doesn’t have a case but it has a convenient built in handle molded into the top of the machine.
It is white plastic, has some blue accents around the information LCD display, and is about as plain as a light pole.
It is not likely that it will be sewing reliably in 50-60 years. It’s control relies on printed circuit boards and it will die as its planned obsolescence design requires it to do.
The machine also makes beautiful stitches (I don’t have any pictures, its been a long time since it was used).
You can purchase this machine today for about $170.00 with some added attachments included.
Now, I have to ask myself. Which is the better value? Which machine is built to last and sew reliably for a lifetime? Which machine has the better style? Which machine is powerful enough to sew heavy fabrics as well as delicate fabrics without punishing the drive mechanisms?
Some people would say “That’s a good price for a new sewing machine…” But I couldn’t disagree more.
Assuming they were priced the same, which sewing machine would you choose. Well, I choose the vintage Pacesetter. The biggest question I have is not why these quality all metal vintage sewing machines cost so little, but why don’t they cost more?
This is a Kenmore model 158.1430. The model number is irrelevant to this post because I have found that in general, the vintage Kenmore 158 series is a very high quality sewing machine. They feature powerful motors, good stitch selections, and probably the best button hole system on any machine of its vintage. In all regards, they are very capable, reliable, and consistent sewing machines. They are a very good value for anyone interested in a vintage sewing machine.
But… one comment I have heard fairly frequently is that there is a noticeable “knocking” noise when the machine is sewing. There is nothing wrong inside of the machine and I have found this to be consistent with most of the Kenmore 158 series. It is less noticeable in some machines than others, but it is still noticeable.
The cause of the noise is the thread spool moving up and down on the spool pin when the machine is sewing. The movement isn’t very noticeable, but if you watch closely, you will see it. Every time the thread spool drops back down, it will hit the top cover. Because the top cover is metal it causes a “knocking” sound, even if you are using a spool pin felt.
Looking at the underside of the top cover, you can imagine how this happens… the top transmits the sound like the head of a drum. To fix this, all that is required is something to insulate and dampen the sound. I have found that a small layer of packing foam (like the stuff used to pack china) is perfect… it is thin, it is soft, it does not degrade or shed fibers, and it is very easy to cut.
Place the top cover over the foam sheet, trace the outline, cut inside of the line so it fits inside the cover, and just lay it in place. If it is cut a little oversize, it will stay in place. No gluing is necessary.
If you look at the cam mechanism in the machine, you will see that there are no moving parts that will hit the foam, and the foam will lay safely on top of the mechanism without jamming any mechanism inside the machine.
The difference in the sound is noticeable. The knocking noise is eliminated, and the overall sewing experience is improved.
I had a good question asked by someone who was concerned about a Singer model 15-91 with a potted motor and “fiber” gear. She wanted to know if a 15-90 with the external belt drive motor was a better choice. She had read that there may be an issue going through a heavier thickness of fabric with potential of the fiber gear breaking on the 15-91 and then you would be out of luck.
I had never had or heard anyone express this concern, but now I have no doubt that it is probably a concern shared by many other people. I decided that it is a worthwhile topic for a blog.
Getting into this topic, I will state up front that the presence of a textolite gear in an otherwise all metal machine is perfectly acceptable… no reason to be concerned… nothing to see here… move on… I would like to hear from people who disagree and I would like to hear about their experience with this gear breaking. The vintage all metal sewing machine community would benefit from the discourse as well.
Is this saying that a textolite gear is indestructible? Of course not. I’m sure they have failed for one reason or another. I would counter that needle bars have been bent, arm shafts have been bent, rocker assemblies have been bent, bobbin case hooks have been bent, and so on. The real question is how often do these things happen?The answer is not very often.
What is textolite? Textolite was a material developed in 1936 by GE (General Electric). It consists of a fiber wound gear infused with bakelite. It was used in every Singer sewing machine with a direct drive motor since it was developed. This includes all of the best vintage gear driven Singers… the 201-2, 15-91, 301, 328K, 401A and 403A, 500A and 503A, and later… pick your favorite.
I have never known of any instance where this gear has broken or cracked. Since the question was asked, I did some research to see if I had missed something and maybe I was taking the durability of textolite for granted. I may be wrong, but if the textolite gear was a problem and prone to breaking, you would hear a lot more about it in the vintage sewing machine forums, and blogs, and in the discussion groups you searched for the topic. Now, consider the topic of sewing machine manufacturers switching from steel gears to nylon gears in any brand of vintage sewing machine. You soon realize from a little research that it was the end of an era, and not for the better.
What makes me think that the textolite gear is not prone to failure? Well, there is no doubt that it is durable, time has proven that. But also, the balance wheel is designed with a shock absorbing system built into it. This system allows the gear to slip slightly if the machine encounters a change in load suddenly, for instance, a change in fabric thickness, a broken needle, or whatever else might suddenly spike the load in the gear train. I will explain this in a little more detail.
The textolite gear is attached to the balance wheel so it is allowed to slip slightly as the machine starts and stops (I know the gear looks greasy and dirty… I am disassembling for cleaning and re-installation in a Singer 201-2).
Note the position of the screw in the gear retaining collar at the top of the balance wheel. Think of this a the center position. I have put 2 white dots on the textolite gear to show the distance the gear is allowed to slip, thus absorbing any shock load the gear may encounter. I am going to keep the balance wheel in the same place and twist the gear.
Gear twisted counter clockwise…
The gear has a spring mechanism in it that allows gear movement to the position of the white dot. This absorbs the shock to the gear as the machine revs up.
Gear twisted clockwise…
Notice the dot has moved in the opposite direction. This shows what happens when you stop the machine, for instance it hits an obstruction (maybe caused by changes in fabric thickness). This absorbs the shock to the gear as the machine slows down.
This is really quite a bit of distance allowed for the gear to rotate in relation to the balance wheel. Singer must of thought about this too, because a lot of design went into it. The next few pictures show how it works.
This is the textolite gear with the collar removed. See the small dot on the gear? That is a pin that goes thru the gear and engages in the end of a spring.
With the gear removed, you can see the pin in the gear and a cover plate over the spring. You can spot the end of the spring in the slot opening in the plate.
With the plate removed you see the spring… there are also 2 eccentric studs (1 you can see) that allow the spring to move evenly in the housing and support the spring thru its travel and evenly distribute the shock load on the spring. The other end of the spring fits on a pin set in the balance wheel. This spring mechanism allows the spring to rotate in both directions and absorb any shock caused at the motor, or at the needle.
Now, let me play the Devil’s advocate and say… “Well, MY gear broke and I told you so!” Well, even in the event the gear did break (I’m sure it has happened to someone somewhere) it is not disastrous. You can replace the gear, though it is a little bit of work, but the worst case scenario would be to replace the balance wheel… gear and all. I just checked and there are quite a few on Ebay for about $25 shipped. The repair is as simple as removing the balance wheel free motion knob and washer, the balance wheel pulls out easily, slip the new balance wheel on, replace the washer and knob, and you are done. Who knows, maybe you would prefer a prettier balance wheel and now is the opportunity to upgrade!
So that’s my textolite gear defense. This gear is made from a very durable material. The shock absorbing spring mechanism makes sure the gear is not over stressed. Don’t let the presence of this gear in the beautiful all metal vintage sewing machine you are considering deter you from buying it… Really.
So why is there a fiber gear in the machine you are claiming is all metal? Well, I’ll tell you. There are 4 places in an all metal sewing machine where material other than steel, bronze, brass, aluminum, or iron is generally accepted and the machine is still considered to be all metal. One is the textolite gear, the other is plastic pattern cams, another is a motor belt, and the last is plastic trim pieces and/or covers (I don’t particularly like plastic covers, but I don’t let them deter me form acquiring the machine).
Okay, so why did Singer put a textolite gear in the machine in the first place? Well, I don’t know. I don’t think it was a cost cutting measure… they didn’t cut costs anywhere else (in the early vintage models at least). My guess would be that the gear itself is intended to absorb shock. A textolite gear will absorb shock, while a steel gear would translate the shock to another component. It may also have been used to quiet the gear train. If you know, I would be glad to know the answer.
So, there you have it. Let me know if you agree or if you disagree. I would like to see more information on the topic.
We have had the opportunity to work on many different brands and models of all metal vintage sewing machines. The reason we do is because the quality in these machines is not matched by any but the most expensive sewing machines on the market today.
I have talked about superior materials, precision tolerances, quality of finish, the stitch quality, durability, reliability, and more. I will continue to do so. Nothing drove my point home more to me than when I noticed this…
This is the presser foot bar lifter. It attaches to the lift lever, and clamps to the presser foot bar. See that little screw? its tiny… why is it there?
Here is another picture of it…
This is the assembly it mates with… by the way, this happens to be a Singer model 201-2 made in 1952…
Have you guessed why it is there? Well, its purpose is to adjust the side to side clearance of the presser foot bar to the presser foot lift lever. This is to ensure that the presser bar foot doesn’t wiggle side to side when the machine is sewing. Tightening this screw wedges the “wing” wider so there is no movement… its an adjustment.
Why did they do that? They probably didn’t have to, and I don’t think anyone would notice if they didn’t. They did it because in those days, details mattered. These machines were made to that level of detail. They were not the only manufacturer that cared about details like this, but as an example, it is is the level of detail Singer put into their engineering and manufacture, and you can see similar examples of this just about everywhere you look on these machines. Adjustments for wear, adjustments for timing, adjustments for needle transportation, darn near an adjustment for everything that the machine does to make a stitch.
Its no wonder that these things will last lifetimes with a little cleaning, oiling, and adjusting. So, if you need another reason to consider before getting (or keeping) a vintage all metal sewing machine, this is it.
By the way, does your sewing machine have this adjustment built into the design?
Buying a vintage sewing machine has many advantages that simply cannot be found in new domestic sewing machines. Quality materials, quality manufacture, precision mechanisms, style, and power are some of the features vintage sewing machines have to offer. Well, they don’t build them the way they used to, in fact it would be prohibitively expensive. Even after 50 years these all metal pieces of machinery are still capable of sewing a fine stitch. With minimal cleaning and oiling, they can sew for another 50 years or more!
The biggest choice is what machine to buy. So many brands, so many features, such a wide range of prices makes choosing the right machine for you a little more complicated. Even if you know exactly what you are looking for, how do you know that any particular sewing machine you are looking for is going to live up to your expectations.
I see many listings online for any particular (not rare) sewing machines and the prices vary widely from very cheap to very expensive. What sets them apart? Well, the answer is really simple… you do. Always keep in mind, the lowest price, or the highest price, does not necessarily mean the best value.
Some listings may say “runs” which really means the needle goes up and down. Some say “great condition”, but what does this really tell you about the machine? Some say “serviced” but again, what did the servicing include. I see “heavy duty”, “commercial grade”, and “industrial strength” for machines that are not and were never intended to be. Some say “rare” or “antique” . How should this affect a fair price?
So, the bottom line is what you know, and what questions to ask. If a machine is simply described as “runs”, then you probably should. Most likely, the machine has been passed down, traded, “worked” on, or has an unknown history. There is no way to tell what is worn, misadjusted, cracked wires, condition of motor and so on. The seller obviously does not know either.
A machine listed in great condition has similar risks. What does it even mean? Before considering this machine, ask questions that are important to ensure the machine is worth the price. What makes it in “great condition”. If the seller knows, he/she should bend over backwards to tell you.
“Serviced” is a vague term and the definition of what constitutes “servicing” a sewing machine signifies very little without description. Is servicing just oiling , dusting, and adjusting the thread tension? Or does it include a thorough checklist of the many parts and mechanisms that are so important to a sewing machines performance? Has the wiring been replaced. Has the motor been disassembled, cleaned, and lubricated. Has the sewing drivetrain been adjusted to factory service tolerances. Well, these are questions you can and should ask. Someone who has really “serviced” the sewing machine should be happy to tell you all of the steps he/she took in servicing the machine.
What about sewing machines listed as “rare”? Well the truth is less exciting. Except for a very few examples, no sewing machine model is rare… millions of all but a very few models were produced in the last century and a quarter. Check it out… Singer kept a record of every sewing machine model they ever produced. You can look up any serial number and find out what day, what year, what model, and how many were made. Japanese vintage machines are less well documented, but tens to hundreds of thousands were made. If you see a claim that a particular model is rare, do a little research before you pay a premium for rarity.
How about “heavy duty”, “commercial” or “industrial” being applied to a domestic sewing machine listing? Should you pay a premium for these descriptions? In one word… no. Except for those that say otherwise (to the detriment of the buyer) no home domestic sewing machines is “industrial” or “commercial” or “heavy duty”. While they will sew heavy weight garment fabric admirably, it is just as important as to how fine a fabric it can sew. They were not designed to sew heavy leather, canvas, or such. I will say that a vintage Singer model 66 is about as heavy duty as you can get in a domestic sewing machine. They are that way do to the nature of their construction and materials, not because they were claimed to be. Same thing goes for practically any all metal sewing machine I can think of… They are built tough, and compared to new models are certainly heavy duty.
What about the words “antique”? Does this add any value to the price? Well, except for sentimental value, the answer is no. The difference between an “antique” machine and a “vintage” machine is that to be an antique, it must be at least 100 years old. To be vintage, it must be at least 20 years old. Sewing machines built before 1900 are “Victorian”. Well, these machines really fall in a niche market. People love them and buy them and use them. They are great high quality machines, but they lack many features most people take for granted today. Feed dog drop and back tack was not available. Forget about zig-zag or other fancy stitches, they only made a straight stitch. This may or may not appeal to you. Yet, they can and do produce a very strong straight stitch, and many are family heirlooms.
So whats the point of all of this? Well, what I hope you take away from this post is This: Don’t decide on any machine you are considering based on price alone. It is worth paying more for a machine that has been truly reconditioned to sew like new and last for a very long time. I define Reconditioning as when you try to keep a sewing machine as close to original as possible, but only correct obvious cosmetic and mechanical problems and new wiring. The seller would be happy to tell you what steps he has taken to bring the machine to the peak of its performance… This is the machine you want to buy. You can expect that it is not going to be the lowest price, but it will be the best value. Differentiate between price and value. Ask questions. Be confident that your money is well spent by understanding that it costs more to buy a machine that has been reconditioned by a knowledgeable person who has spent time and money to make it so.
When it comes to brand name Singer is a household name. Singer is known for quality and reliability and Singer’s reputation is well deserved. Well, this is certainly true for the all metal sewing machines up to and including the 500 series. Then things started to get confusing… Singer numbered later models such as the 237, 347, 348, etc that are not in the same class of quality as the older model 221 or 201. or the 301, 327, 328, or the 401A, 403A, 404, 411, or the 500A, 503A. These machines are exceptional and top of their class. The later models are not. This is very confusing for you if you are looking for the highest quality machine. The differences are night and day. This said, the later Singers (up to about 1968… when Singer transitioned from steel gears to nylon gears) are good quality machines. So before you decide on a vintage Singer, date of manufacture is the key. The later models began to show Singers attempts to stay competitive with Japanese made machines that offered high quality manufacture and more features. That meant they began cutting costs by using more plastic and manufacturing less precise bobbin assemblies, (In my opinion because I work on these things). This is very confusing for you if you are looking for a high quality machine… the differences are night and day. Before you decide on a vintage Singer, date of manufacture is the key.
Kenmore machines were made by several manufacturers. early model straight stitchers were generally made by White. The 148 and 158 models were made in Japan and are very high quality. Kenmores’ generally feature 1.0 to 1.3 amp motors (compared to Singer .53 amp motors), have a larger selection of pattern cam choices (30 vs 24) for their machines that use cams, and features extra high lift. Kenmore offers probably the best mechanical button hole system of any all metal vintage sewing machine out there. The 148 and 158 series machines are powerful, quiet, and will last for a very long time. If you keep your choices to vintage Kenmore machines made up to 1972, you will probably find a Kenmore machine that has all of the features you want and will run neck and neck with a Singer of the same vintage. Usually for less money too!
Don’t ignore the Kenmore over Singer for a high quality vintage all metal sewing machine!
So, you are considering the purchase of a vintage sewing machine… Good choice! Maybe you like the quality of construction, the smoothness (feel) of the machine when you turn the balance wheel. Maybe you like the variations of style or color these vintage machines possess. Maybe its the feel of metal as opposed to plastic. Maybe you want a sewing machine that was made before the idea of planned obsolescence crept into the manufacture of domestic products. Maybe the low cost of a well built high quality vintage machine is your first consideration. After all, for $100 to $200 you can purchase a good vintage sewing machine that has been serviced, cleaned, and adjusted to sew great, whereas that level of quality would be prohibitively expensive to manufacture today (when they were manufactured, they were very expensive, often the cost exceeded a full months wages for the average person). If you are mechanically inclined, you can pick them up for very little money and return them to their full potential with little effort. Well, if you are interested in reading further, I will offer some advice that may help you decide on a particular vintage sewing machine.
All metal construction – A deciding factor for me is first and foremost the machines construction. Sewing machines have been available in the domestic market for almost 170 years. During the majority of this time, regardless of who manufactured the machine, one characteristic they all shared was that the bodies were made of cast iron or aluminum and the components were made of steel or bronze. This offered many advantages for the end user. More of a consequence of manufacture than design, they had to be manufactured with durable metals and machined to precise tolerances to operate reliably. The byproduct of this “limitation” is an overbuilt, durable, and reliable “heavy duty” sewing machine. It is true and undeniable that they can last more than a lifetime with minor maintenance… my Wife sews on a Singer sewing machine made in 1874 and it runs smoothly and produces a near perfect lock stitch.
Year of manufacture – All metal sewing machines began to phase out steel gears in favor of nylon gears between 1968 to about 1972. The effect on durability was catastrophic. Nylon gears would work perfectly well for a long time, but not for decades. Over time, the nylon would deteriorate and fail, leaving the owner with the option of an expensive repair or a new machine. Play it safe and look for a vintage machine made prior to 1968. For machines manufactured later, do your homework and make sure you are considering an all metal machine. For example, Kenmore and others continued to offer all metal sewing machines until about 1972 and they are good high quality machines.
Brand Name – Stick with Singer, Kenmore, Brother, or White. The US is saturated with these brands and you can find an almost endless supply of replacement parts at reasonable prices. From motors, controllers, wiring, internal parts, and accessories, you can keep your machine running for a very long time. I’m not trying to endorse these over any other brand… Other high quality machines such as Bernina, Pfaff, Elna, Necci, Husqvarna, and Janome are always worthy of consideration because they are all high quality and precision built, but replacement parts may be hard to find and be much more expensive for these brands.
Origin of manufacture – All metal vintage machines made by Singer, or a branded machine made in Japan are of very good quality. These include Kenmore, Brother, and (for the most part) White. If you live in the USA, you can’t go wrong limiting your choices to these brands. I am not saying that other brands are less worthy, but for ease of service and parts they probably offer the best long term value for your money.
Expectations – If you are planning to sew canvas, leather, or other dense thick material, don’t consider any vintage domestic sewing machine regardless of brand… all metal or not. They were not designed for this purpose and will not last long in continuous use on these materials. If you need more than 27 or so decorative stitch patterns, look elsewhere. All vintage all metal machines capable of producing decorative stitches use internal metal or plastic cams and/or plastic pattern cam inserts to produce the pattern (plastic here is an exception to the all metal rule and have proven durable for this application). They sew these patterns via mechanical action and will produce a very satisfactory stitch but keep in mind, the stitch pattern is accomplished by swinging the needle bar only, the feed is always forward, never back and forth.
Do your homework – The internet is a vast resource for getting information, reviews, demonstrations, and advice for just about any sewing machine model you are considering… This is important because even vintage all metal sewing machines had models that proved to be problematic and should be avoided.
I hope that this advice will start you in the right direction for finding a great quality reliable all metal sewing machine that suits your needs. With all the choices available on the market, I know you will find a machine that suits your need and provide many years of service. Please let me know what you think!
It all started out good. I purchased the machine for a good (but not great) price at an auction. I chose it mainly for it’s condition… the paint was very worn, it had quite a few chips and scratches, and the decals were in pretty sad condition. I purchased the machine because it was a perfect candidate for a complete restoration with no guilt.
We currently have in our collection several 201-2 machines, One belonged to my Mother and was made in 1938. This machine was made in 1940, and the others were all made in the 1950’s. While I was disassembling the machine, I noticed some things that are different from all the others. This one has a pressed in needle bar assembly instead of the typical needle bar assembly where it is camped with a screw. Digging deeper into the machine I noticed that the presser foot spring had worn grooves into the presser foot bar. This can only happen from a tremendous amount of use. Showing these differences to my Wife, she said she believed it had been used by a home seamstress, possibly to support her family during hard times. Knowing that these machines were actually used by people during hard times to feed and cloth their families, this reinforced her desire to keep the machine and she said “Its mine… we are keeping this one”.
The project started out well, but as I was disassembling all of the parts and fiddly bits, I came up against a screw in the take up lever assembly that wouldn’t budge. Despite having all the proper tools, I couldn’t get it loose. At long last, after applying (apparently) too much effort, one half of the screw head sheared off. Fortunately, the mechanism is captured by the half of the screw head and the mechanism won’t loosen up and works perfectly (Singer 201’s are one tough machine). I explained the situation to my wife, and with her encouragement, we decided that since we are keeping it for our collection we would keep going with the restoration, document it for you guys, and have a beautiful restored 201-2 that WILL sew consistent with its pedigree, even with a busted screw head. The only condition I had was that it would be painted any color but black…
Unfortunately, I do not have any pictures of the machine before I disassembled and removed the paint. I captured photos of the process after and it is quite revealing.
Singer shellac top coat is pretty easy to remove. That’s why it is so important to avoid damaging the decals when cleaning one of these black lacquered beauties. The lamp black Japan lacquer finish is another story. This is the hardest finish I have ever tried to remove… Citrus stripper, forget it. Kleenstrip… is that all you got? Didn’t come close to finding any chemical stripper yet that works and I am willing to use.
To sum up what I started and catch up to the point I started to document the project, it went like this…I removed the finish by sand blasting the body of the machine. In preparation for the sand blasting, I removed everything except for the arm shaft and the drive gear connected to the arm shaft. The motor and balance wheel was removed. The connecting rod, stitch length assembly, and the badge were removed. The gears and gear shaft under the bed were removed, as well as the bobbin case/ hook assembly. The rocker arm assemblies were also removed. Typically, I remove all of the parts in the sewing machine head including the presser bar assembly and the needle bar assembly. The presser foot assembly was removed, but as stated earlier, the needle bar assembly was destined to remain in the machine. What the heck, I figure all singers start their life forged in fire so I couldn’t do worse.
I covered all of the holes with duck tape and sand blasted the body of the machine to bare metal. This served two purposes, it took the machine to bare gray metal, and it evened the finish without damaging it. This makes paint prep easier. After the machine was sand blasted, I dipped the machine in a vat of kerosene heated to 145 degrees until the body of the machine reached 145 degrees and then let it cool in the kerosene until it reached the ambient outside temperature (you guessed it, my wife won’t let me do this in the house). After the machine was removed from the kerosene, it was power washed with water inside and out. It was then placed in a vat of water with a small amount of detergent and again heated to 145 degrees until the body of the machine was 145 degrees. Instead of letting the machine cool with the water, the machine was removed from the water hot. Because the temperature of the machine was 145 degrees, the water flash evaporates before any rust can form. I then used compressed air inside and out to remove any remnant of sand blast media, I sprayed inside of the arm shaft with WD-40 (for a word on using WD-40, see my topic on oils to use and oils to avoid under the “tips and tricks” menu), waited a bit, and again use compressed air inside and out. Finally, I oiled the arm shaft and arm shaft bushing liberally. The paint remaining on the body (protected by the duck tape) was removed with 100 grit sandpaper. Now I am caught up.
Components Removed (except armshaft) Prior to Sand Blasting
I covered all of the holes with duck tape and sand blasted the body of the machine to bare metal. This served two purposes, it took the machine to bare gray metal, and it evened the finish without damaging it. This makes paint prep easier. After the machine was sand blasted, I dipped the machine in a vat of kerosene heated to 145 degrees until the body of the machine reached 145 degrees and then let it cool in the kerosene until it reached the ambient outside temperature (you guessed it, my wife won’t let me do this in the house). After the machine was removed from the kerosene, it was power washed with water inside and out. It was then placed in a vat of water with a small amount of detergent and again heated to 145 degrees until the body of the machine was 145 degrees. Instead of letting the machine cool with the water, the machine was removed from the water hot. Because the temperature of the machine was 145 degrees, the water flash evaporates before any rust can form. I then used compressed air inside and out to remove any remnant of sand blast media, I sprayed inside of the arm shaft with WD-40 (for a word on using WD-40, see my topic on oils to use and oils to avoid under the “tips and tricks” menu), waited a bit, and again use compressed air inside and out. Finally, I oiled the arm shaft and arm shaft bushing liberally. The paint remaining on the body (protected by the duck tape) was removed with 100 grit sandpater. Now I am caught up.
That’s when I noticed the crack… actually 2 of them. They were tightly closed cracks on the sewing machine arm, and I can’t tell you how it happened. Well, I’m turning back now. In my younger days, I was a welder apprentice, and then certified welder in the Naval Shipyard. I know from experience that there is only one way to repair cast iron and that is to braze it, (No… I’m not going to get into a discussion by many that say they weld cast iron with welding rods. While there are welding rods designed to do the job, I have never seen any really good results). Either process, if used requires the piece to be heated to at least 500 degrees. After the brazing (welding) is done, the temperature is much higher. To prevent the cast iron from cracking when it cools down, it must be cooled slowly and in a controlled fashion. I can tell you that this ain’t going to happen on a sewing machine. I believe that the bushings and tight tolerance shaft would be damaged by the warping that would inevitably result in the repair. My only feasible SAFE option was JB Weld 2 part epoxy. I’m moving on.
If you noticed, there are holes drilled at the end of the crack. These holes will prevent the crack from growing any further. The crack was routed out with a carbide bit in a dremel drill.
The groove was filled with JB weld…
After curing for 24 hours, the JB weld was contoured flat… One thing that is readily noticeable is all of the casting defects in the body casting. You don’t have to do anything with these, but for a restoration, I want a smooth finish, so these defects just won’t do.
Next step in the process is to cover the body with body filler glazing compound. All of this will be sanded off and the pits will be filled flush with the surface.
After sanding, it looks pretty much like it did, except for now it is smooth.
I noticed a seam on the back of the machine where the casting line was exposed, so it was contoured with the dremel, and glazed to fill the rough surface.
See Seam Under Motor Boss
Seam Ground Flat
A final sanding over the entire surface of the machine with 150 grit sandpaper and the machine is ready for masking, priming,and painting.
The machine is coated with 3 coats of white primer, allowing adequate drying time between coats. Each coat of primer is followed by wet sanding with 600 grit sandpaper for a smooth primed surface ready for paint.
The first coat of paint is applied and allowed to dry for 24 hours before wet sanding… 3 coats will be applied for a deep smooth color… my Wife chose “Pink Peoney”.
Top Coat of Peony Pink
Well, that’s where the project is today. I’ll continue with the project over the next few weeks to complete the paint, reassemble the machine, apply restoration decals, top coat, and final polishing.
The machine has had 3 coats of peony pink, followed by wet sanding with 600 grit sandpaper. The final sanding was only enough to remove the smallest defects. The machine was wrapped in a plastic bag and set aside. It will cure for about 2 weeks before applying decals… What to do now? Time to get to the motor.
Dissasembly is pretty straight forward:
Remove the wires from the back of the terminal block. The terminals are marked 1, 2, and 3. Make a diagram to show what wire goes to what terminal (motor, controller, and light). The digram is also easily found on the internet.
Remove the balance wheel.
Remove the motor from the machine. The screws holding it on are VERY tight. You will need a proper fitting screw driver and then tap (not HARD) on the end of the screw driver as you are trying to loosen the screw. This impact will unseat the screw and it will come out easily. Do not try to remove them using a screw driver alone. Unless the motor has been removed before, you will certainly ruin the screw heads.
Remove the cap screw on the end opposite the motor cover.
Remove the two large screws from the bottom of the motor. These are the grease wick caps.
Carefully remove the motor brush caps. You will see them on opposite sides of the motor. One on top, one on the bottom. Use a tight fitting screwdriver. These caps are brittle and can be broken easily.
Remove the brush springs (hopefully with the brush attached). If the spring pops off of the brush leaving the brush still in the housing, don’t worry, you can push them thru after the armature is removed.
Inside the motor housing, you will see a spiral gear and lots of old grease. On the end of this gear (farthest from the winding) there are 2 small screws set flush with the gear. You will need to rotate the armature to see both of them. Loosen these screws… you don’t need to remove them.
Gently remove the armature from the housing Look for a thin washer, it is either on the armature shaft or still in the motor housing. Don’t lose this, it will need to be installed for the servicing to be successful.
Remove the 2 screws holding the field coil to the housing. You will need to gently pry up on bottom of the coil. The coil will pop up. You will not be able to pull the coil any farther than the wires connecting the brush holder, but you will have enough room to remove the power lead wire to replace and solder.
There are many detailed instructions on the internet and videos on youtube. I strongly recommend you read and watch how the wires are replaced.
I disassembled the motor and was expecting that the normal motor servicing would be adequate… boy was I wrong! The motor was in pretty bad shape and the motor housing was cracked. Normally, I would replace the motor at this point, but then we wouldn’t learn anything! The motor bits after disassembly looks like this:
Motor Completely Disassembled
There are a couple of things I want to point out in this picture so if you go this far into the motor you’ll have an easier time with your motor. The first is the small washer shown just below the brushes… make sure this doesn’t get lost. it slides on the armature shaft closest to the commutator and keeps lubricant away from the windings. You may not see this when the armature is removed, but its there… held onto the bushing by grease. Make sure you find and remove it. Notice that the brush holder wires are cut. These are VERY brittle and must be gently pushed out of the motor from the inside, otherwise, the top edge of the holder will break off and be ruined. Before trying to push these out, there are 2 very small set screws that keep the brush holders in place. Looking into the motor housing, you will see them. Normally, these do not need to be removed to replace the wire leading to the motor, but since this motor housing is cracked, and it’s going to be painted, the housing will be completely stripped of parts. See how short the motor brushes are? They are about 1/3 of the original length and need to be replaced. Notice how short the grease wicks are? They are compressed with hardened grease and need to be replaced. The armature needs to be cleaned with electronics cleaner polished. The field coils are coated with grease and crud and need to be cleaned with electronics cleaner. Aside from this, I expect the motor will run fine when it is reassembled.
IMPORTANT NOTE: Do not clean any motor windings with any solvent except one made specifically for cleaning electronics. The copper wire used in the windings is coated with lacquer to keep them from contacting the other wires in the winding. Alcohol, acetone, carb cleaner, and the like will dissolve this coating and the motor will be ruined. I use CRC QD Electronics Cleaner.
On my motor, I removed the bobbin winder bracket and spool fill finger. I need to do this to repair the crack.
The motor housing openings were masked off and the housing was sandblasted to remove all of the paint.
Crack Routed for Epoxy
Same on Other side…
You can see where I routed out the crack. The crack was filled with JB weld and left to cure. After curing, the housing will be soaked in kerosene to dissolve the grease. Because the crack extends thru the housing, I will need to rout out the crack and epoxy weld after all of the grease is removed.
The Balance wheel was masked off and sand blasted, as was the motor cover. I sand blasted these as well. Next step is to prep and paint the motor housing, balance wheel, and motor cover. The motor cover was pretty banged up in shipping, so I will have to straighten it out and fill remaining dents with Bondo. In a normal restoration, I would replace the cover, but for this project, it will be repaired.
3 coats of primer, 3 coats of paint, wet sand with 600 grit between coats and the balance wheel and light housing are ready for final touch up smooth sanding and clear coat… this will be done with the rest of the machine.
The motor housing has been repaired with JB weld. the repair was contoured. Before proceeding, the entire motor housing was polished with a dremel wire wheel to remove all factory paint in every nook and cranny accessible. To look as good as the rest of then machine at the end of the project, a lot of prep work goes into the motor housing. Remember, details matter so this is the time to get it as perfect as possible.
On this motor housing, I noticed some casting defects that would, or could be visible after painting. Although I could get away with fixing only the defects that are visible from the front, back, and sides, I figure that the amount of work into the project to this point demands that any defect found be fixed.
Casting “Void” Just Left of Center
Casting Defects on Bobbin Winder “Wing”
The defects consisted in a small voids in the casting. An application of glazing compound will fill these and be sanded smooth. The housing will be finished by the same process as the rest of the machine. Always keep in mind that for the best paint finish, every detail in the prep work matters.
Glazing Compound Applied Over Defects
Its been a couple of weeks and the paint has had time to cure sufficiently to start thinking about applying decals… We haven’t decided on gold or silver printed 201 decals so I ordered both and will decide when I (my Wife) compares them to the “peony” pink color. Either way, I have another 201 restoration project in the wings and will use the other set on it.
The next step is to put all of the running gear back in the machine. I have spent some time on preparing these parts while all of the painted parts were curing. The painted parts are ready to go back on the machine.
We we not sure what to do with the stitch length cover. Neither the peony pink or white seemed to work the way we thought it would. With so much color, it seemed to disappear in the background of the machine. But, the nickel finish looks great on the cover plates and thought a shiny stitch length cover would look good too…so we stripped the paint from the stitch lever plate and buffed it to a mirror shine. Because this is the color of the steel and not plated, it is protected by clear coat. If we change our minds, we can always change it to a color.
In preparation for putting everything back together, I need to protect the finish from damage. The machine is covered with foam wrapping and cellophane. The machine will need to be handled and flipped side to side and end to end so this will protect the paint from finger prints, lubricants, and any tool marks.
During assembly, the motor will be rebuilt as well. I will breakdown how this is done next.
If you have followed the level of detail in this restoration, you can tell that details matter… Nothing done so far exceeds the detail needed to rebuild a Singer potted motor. They are exceptionally good motors and with the servicing we are doing, it will run great! The achilles heel on these motors is that the wires get brittle with age. I have not come across one of these motors yet that did not have to have the main (field coil) wires replaced. luckily, this is not particularly hard to do if you have ever used a soldering iron before, and there are detailed tutorials on the web to guide you step by step. Unfortunately, I can’t do that with this motor. I will show you what I had to do to get it back to running order! Preparation is the key to success, and here is how I proceeded with the service.
The Black Bits on the Bench is Old Wire Insulation That Fell OffDried Grease wicksSee the Black Surface of the Armature Commutator?… Also, Note the Brittle Wires on the Field Coil
The first step was to clean all of the dust, grime, and old grease/oil off of the armature and coil. I use CRC electronics cleaner because it is safe for the copper motor windings. Remember, DO NOT USE ALCOHOL or ANY solvent cleaner that is not formulated for cleaning electrical components. If you use any of these, the motor will be RUINED and you will end up purchasing another potted motor on online… better yet, get yourself a can of CRC.
The coil is clean and the wires are stripped back and ready for the new wire. Note the white, black, and red tubes in the plastic bag? That is shrink tubing. We MUST use this, electrical tape won’t work here.
From right to left, new wires are soldered to the old wires, shrink tubing is shrunk over the solder joints, and the wires are tucked neatly into the motor case. The field coil has been installed, and looking down, you can see that there is clearance for the armature… we don’t want any rubbing parts here.
The armature commutator is polished using a dremel tool and jewelers rouge. Do not use steel wool here. If you don’t have a dremel tool, use 1500 grit sandpaper and gently clean the armature by turning the armature against the commutator. Don’t rub hard and only clean it enough to remove the crud. After it is done, it is cleaned again with the CRC.
Remember that little round washer I told you to not to lose? Slide it on the shaft. Don’t put any grease on shaft just yet… we don’t want grease on the winding side of the motor. That little round washer we put on is to keep grease out. Slide the shaft into the motor housing. Once inside the motor housing, apply a little grease to the shaft, a light film is sufficient. Pull the shaft back out until the end of the shaft is flush with the bushing. slide the worm gear in place in between the bushings, line it up with the motor shaft and slide it in until it stops.
See the screw on the end of the shaft? The shaft has a flat notch in it and this set screw needs to set in that notch. The screw is removed, the shaft is turned until the notch appears, and the screw is screwed back in and tightened. The second screw on the gear is tightened next. With only the grease wicks, the motor brushes, and lubrication left to install, the job is all but done.
New grease wicks, reconditioned (The motor brushes were reconditioned by sanding the curve formed by wear flat). DO NOT USE ANY LUBRICANT unless it is for small motors. Some grease is good for gears (TriFlow grease for example) but is not intended for lubricating motors. I used Singer motor grease… Hey, its a Singer.
With the motor together, its time to start reassembling the machine. This is a pretty straightforward process and it doe not take much time. All of the gears, shafts, and rocker arm assemblies are installed.
All of the adjustments of these parts will be made before the protective wrapping is removed. The Singer adjusters manual available on line has all the information to do this to spec. Leaving the wrapping on is only a preventative measure since it will be turned back and forth to make them and I don’t want to damage any of the painted surfaces. In the meantime, I will “run the machine in” to make sure that it is smooth and all of the parts adjust to each other. Remember, Singer matched the gears at the factory and they should be installed tooth to tooth the way they were removed. I was unable to preserve any timing marks so this can’t be done now. It will be turned by hand for a while to get lubrication in the bushings, and then with a 1/2″ electric drill for 2 hours or so, adding oil occasionally. The difference in taking this step is night and day in smoothing out the machine… and it means we are getting close to the end! If there is any issue with the gear matching, I will add lapping compound and lap the gears together in their new positions… but I don’t think this will be necessary. The next step will be applying the decals. I ordered silver and gold decals… what do you think looks best!
While assembling and laying out all of the pieces, I forgot the motor cover… It needs work! In a previous picture, you can see the dent it got during shipping. With a little judicious tapping with a hammer (remember many light blows is better than 1 or 2 heavy blows will form the metal into shape and give you better control of the dent removal). So that’s what I did and then filled in the remaining dents with a light coat of bondo. After sanding, contouring, priming, and painting, it will look pretty good.
While waiting for the bondo to dry, I have moved on to reassembly of the light, and begun adjustments.
Fish the wire thru the front hole. Keep the wire up and pull towards stitch length lever. The wire passes in front of the gear shaft and tucks in between it and the body of the machine, then down thru and between the 2 “arms”The wire between the arms. There is a metal sleeve and it should be pressed in the hole with the back end pointing up…Note the end of the sleeve pressed in the hole.About as far as it goes… the light assembly has a wire clamp built in to tighten against the wire.
When installing the light it is very important to make sure the wire is routed properly. Hemastats or fine needle nose pliers is your friend and will help pulling the wire around and thru all of the tight places. Remember, the wire wraps around the FRONT of the vertical gear shaft, then between the stitch length arm and the rocker arm, and out thru the small hole in the bottom of the back of the machine. In other words, this wire is in close proximity to parts that are moving very fast when the machine is running, and contact with any moving part and this wire will end badly. I have tried to show the routing of the wire in the pictures.
Starting to put all of the parts on and it is starting to resemble a snake shedding its skin… well, more like a Singer 201.
Soon, the wrapping will be removed and the machine prepped for decals.
DISASTER! I don’t know how these things happen… I really don’t. I did not realize I had a BIG problem until I started assembling the bobbin hook thread clearance guide when I noticed the needle hit it… and not by a little either. So I checked the head assembly and needle bar. No problem there. I put the needle plate on and this is what I found.
Notice the needle missing the hole completely!
At this point it is obviously a misalignment with the sewing machine bed and the head. Now, as I said, I don’t know how this happened. Is it because of the crack I repaired? I don’t know but the crack was tight and I don’t think so. The bottom line is that the project stops here, or we get medieval on it. Well, its too late to stop here. So here’s what we do… we separate the head from the bed and realign it. Now, unless you are prepared to do some serious work, no need to read further. If you want to see how it’s done, and think “why not? It’s not MY machine” then read on. now to do this, you will need a big rubber mallet and and a impact driver.
See the three big bolts? These need to be removed with a impact driver. This is where you need an impact hammer… they will not come loose with a screw driver. See the smaller set screw just to the right of the gear? This tightens the gear shaft bushing. All of the gears and rocker shafts , and balance wheel have to be removed.
After removing these components, all you have to do is hit the side of the machine bed until it starts to loosen up. Nothing more satisfying than beating the hell out the beautiful prepped paint work that to so long to achieve… and it took a lot of beating.
If you look closely, you will see 2 dowel pins in the bed that align the head to the bed. These are hammered out and the head and the bed are reattached with the 3 bolts. The trick is to leave them loose enough to align the head and snug them down without loosing the alignment. Easier said than done because the machine has to be on its side and the head is acting like a 30 pound wrench.
So it looks like the needle is centered in the hole… that’s good. But there are two axis of alignment here, hook timing and hook to needle alignment. We got the side to side, but what about the front to back?
Notice the gap between the needle and the hook. This is a very tight and critical alignment. I need to reference the service manual to see if this is close enough… if it isn’t, we’ll need to readjust the alignment. But I don’t have it in me to beat this machine any more today. Just thinking about all of the work it will take to repair the paint damage is enough for one day. One cardinal rule to remember when working on a sewing machine, is to never let the sewing machine know you are in a hurry!
March 28
Gee, it’s taken so long to this to this point that I figured I better make it a timeline. It turned out that the gap was too wide. Tolerance was 0.000 to 0.003. I didn’t show the process but I did disassemble and adjust to 0.000 clearance. I didn’t need the hammer this time. Now, I for some reason you decide to split one of these thins in half, know from the beginning that it changes a LOT of tolerances. I had to adjust the depth of the rear spiral gear shaft and adjust the drive system all the way to the bobbin case. Now I am going to try to get it to sew before I resume the cosmetic repair/restoration.
No surprise that the crack came back… as well as the paint seam at the pillar and the bed turning into a ragged mess. While the machine was in 2 parts I sanded the paint at the pillar and the bed to make it easier to repaint it… This is what it looks like now!
It really looks worse than it is, but it is going to be a lot of work to make it look like it did. Oh, I have a surprise!
I put the face plate on! Isn’t she looking pretty! Actually, I did this for me. I needed something to remind me of her potential. Forget that there is no needle bar or tension assembly. Those are little things, and my advice for today is don’t fret over the little things!
April 14, 2019
It’s been awhile since I have had the opportunity to revisit this restoration. Aside from being busy keeping up with other projects and priorities, I finally had a chance to make progress. Now, to be quire honest, I didn’t know how this was going to end… There are many adjustments that were necessary that were never contemplated when the machine was manufactured. The alignment of the sewing arm to the bed is set by dowel pins… they are gone, and the arm was “twisted” and “adjusted” with the aid of a hammer. The gear bushings had to be adjusted to accommodate these changes and the gear lash fit by feel. Remember, these gears are mated at the factory and the tooth to tooth orientation was lapped for smooth running. There is no way of knowing what else is going to pop up and make me groan. I decided to make sure she sewed before spending the hours it will take to cure the cosmetics, even before applying decals…
So… I put all of the parts, bits, and pieces on the machine, popped in a class 66 bobbin, put a needle in the needle bar, completed the wiring, and proceeded to check her out! The first turn of the balance wheel and the needle picked up the bobbin thread… good sign. I put a piece of cloth under the presser foot and turned the wheel again and it made a stitch. A few more turns produced a few more stitches!… I attached the foot controller, pushed the pedal, and she began to sew! The stitches were well formed, the tension was balanced (luck), and the fabric feed was straight! I passed it on to my Wife, and she proceeded to run the cloth thru at full speed. Must have made 10,000 stitches before she stopped to let the motor cool.
This was done without a single adjustment made except by eye and feel. I am certain that once the proper adjustments are made, she will sew beautifully for another lifetime. This 201-2 is a true heirloom machine, never meant to sell. Again, I am impressed with how tough and durable these old cast iron Singer machines are. I am encouraged and ready to continue the full restoration to completion!
Well, that’s all I have for now. If you are interested in following my progress to completion, check back frequently… Thanks!